You have already learned the basics of creating a Comic-style. Now it's time to refine the image and apply the final touches. In this guide, I will detail the steps necessary to perfect your comic portrait. This includes applying filters, adjusting colors, and fine-tuning that will make your artwork shine.
Key Insights You will learn how to:
- Make shape corrections using the Liquify tool.
- Enhance the colors and details of your work with RAW development.
- Utilize additional plugins for detail extraction.
Step-by-Step Guide
Step 1: Let the Image Rest
Before starting the final adjustments, it's helpful to let the image rest for a short time. Save the image and leave it for at least half an hour. This will give you the opportunity to view your work with fresh eyes and recognize what may need improvement.
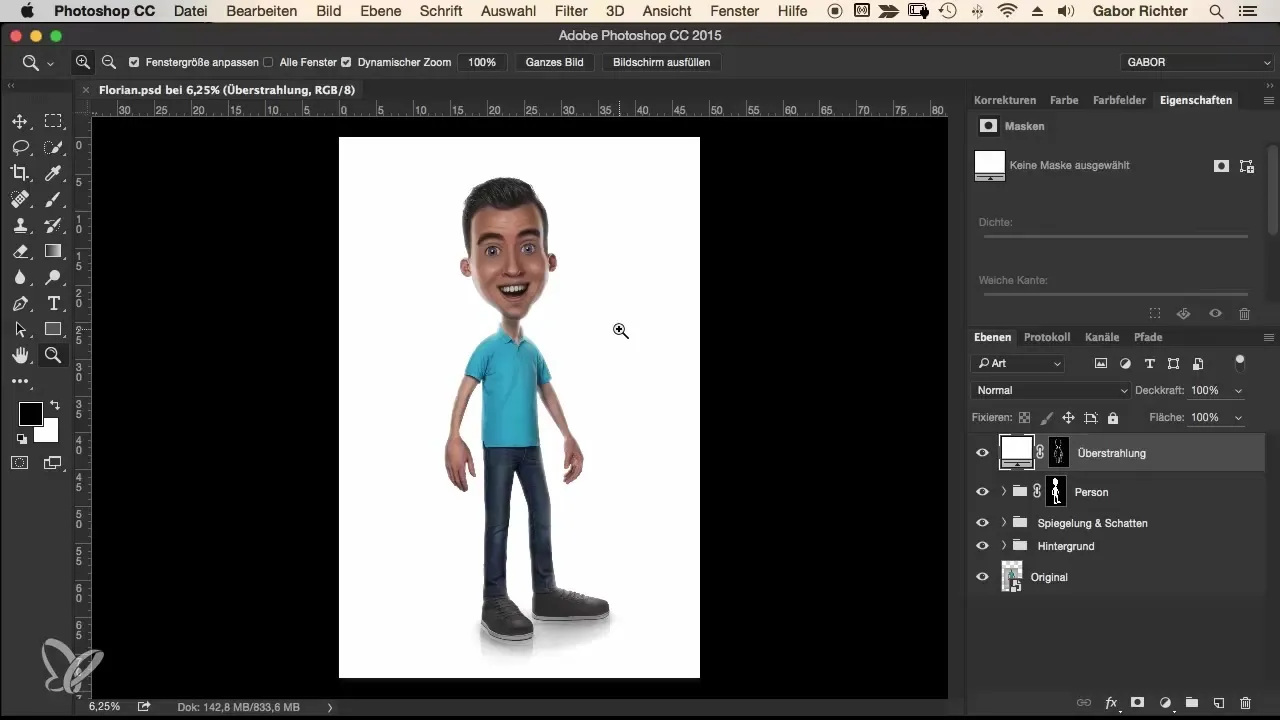
Step 2: Liquify for Shape Corrections
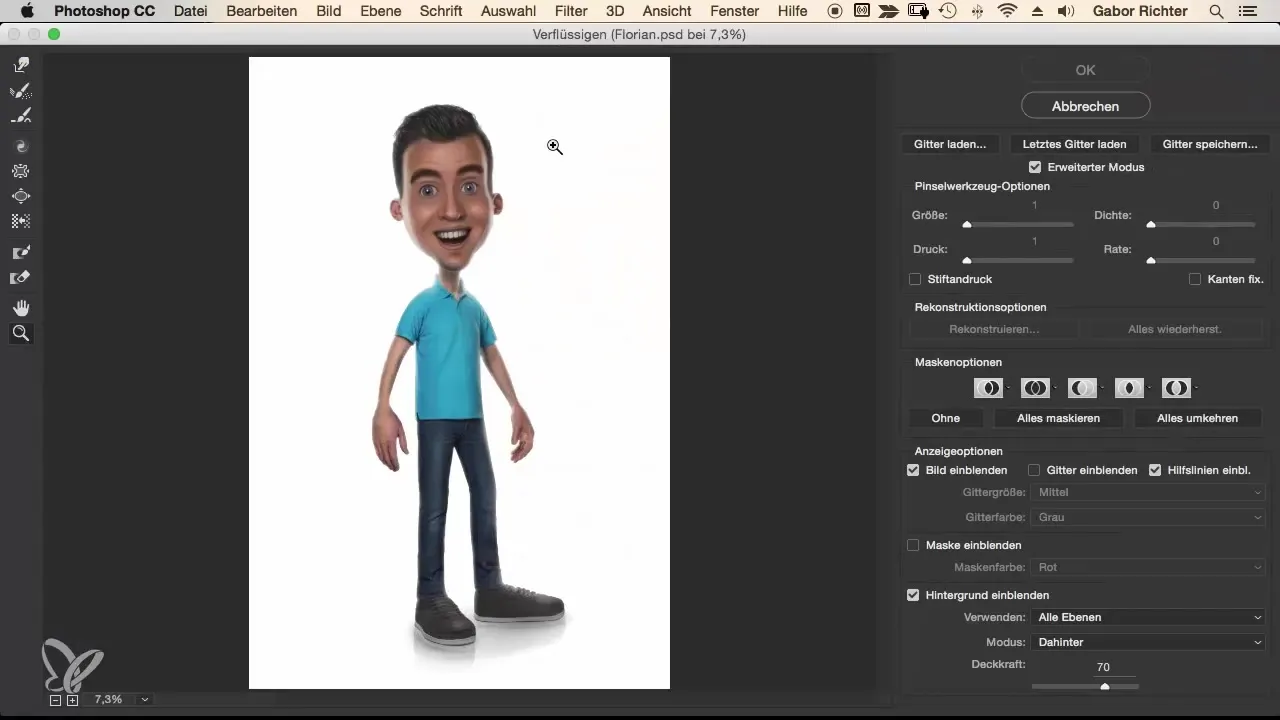
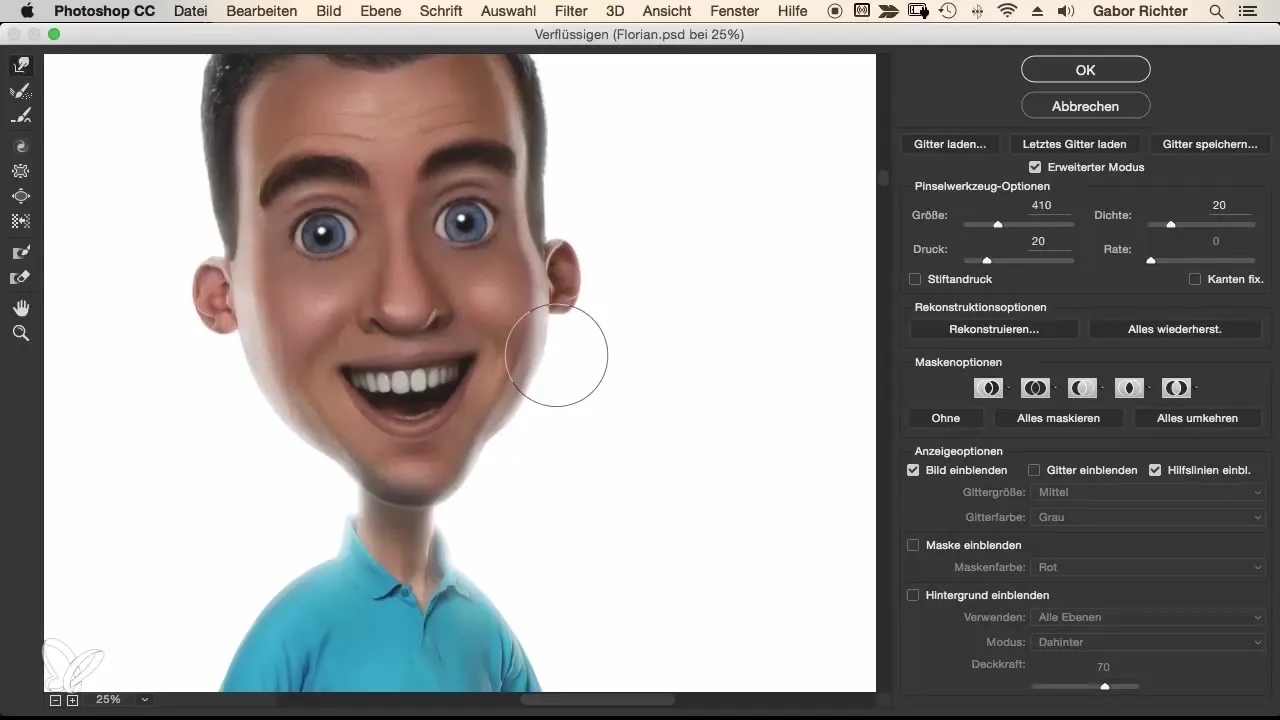
To optimize crucial details like eyes and mouth, use the Liquify tool. Start with the eyes; use the Bloat tool to make them larger. Be sure to work with a larger radius that is at least twice the diameter of the eyes.
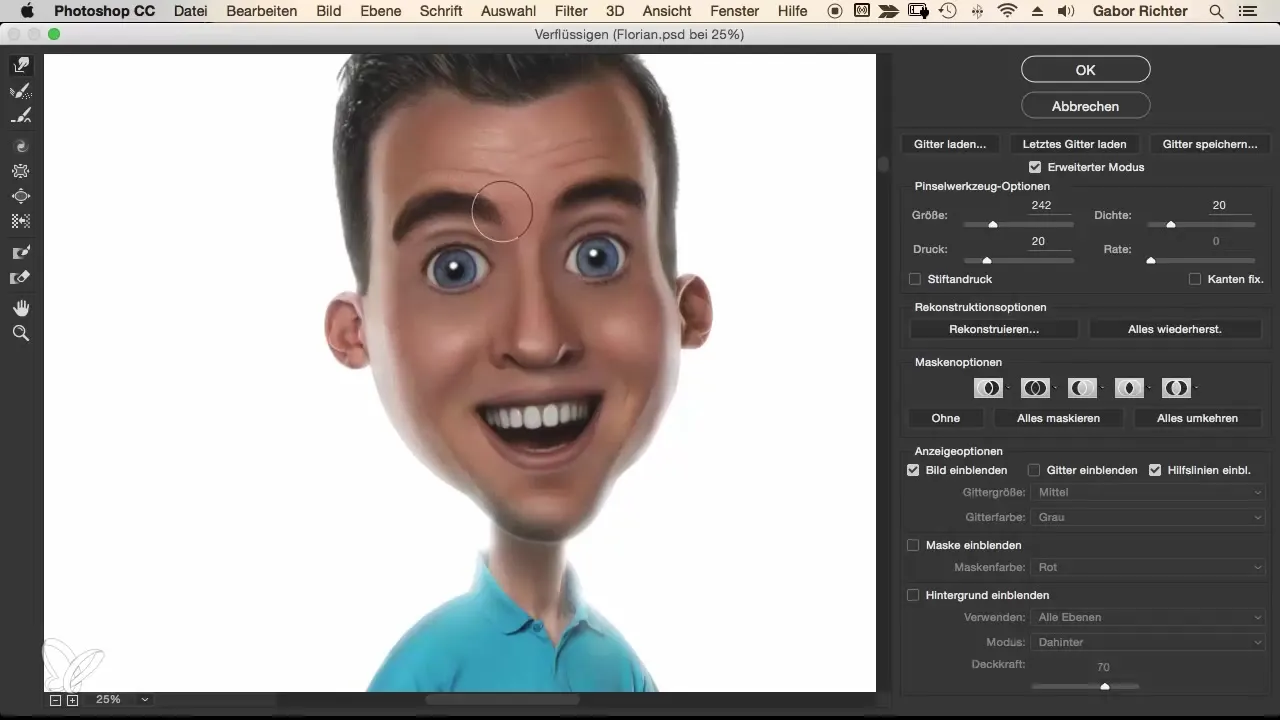
You can also make changes to the eyebrows by subtly enlarging them. Make sure throughout the process that you do not disturb the skin areas that have already been improved.
Step 3: Fine-Tuning Facial Features
Go to the nose and ensure it appears wider and more harmonious. Be careful not to change too much at once; proceed cautiously. Then work on the smile by adjusting the mouth and teeth. It can help to slightly open the mouth or adjust the teeth to create a more inviting smile.
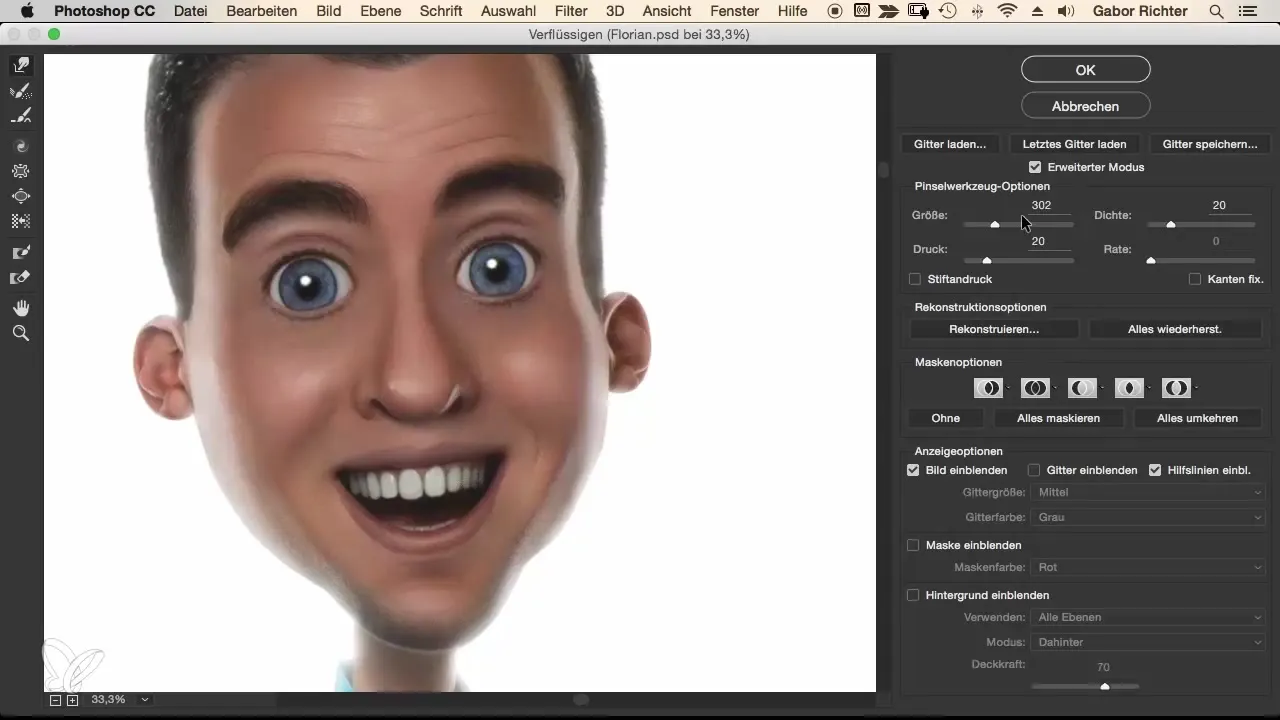
The cheeks can also be corrected. Consider whether they are too round and gently push them in to harmonize the proportions.
Step 4: RAW Development to Enhance Colors and Details
After making shape adjustments, you should keep the image open in RAW development. Start by adjusting the orange tones to brighten skin tones. This allows you to make the face appear crisper.
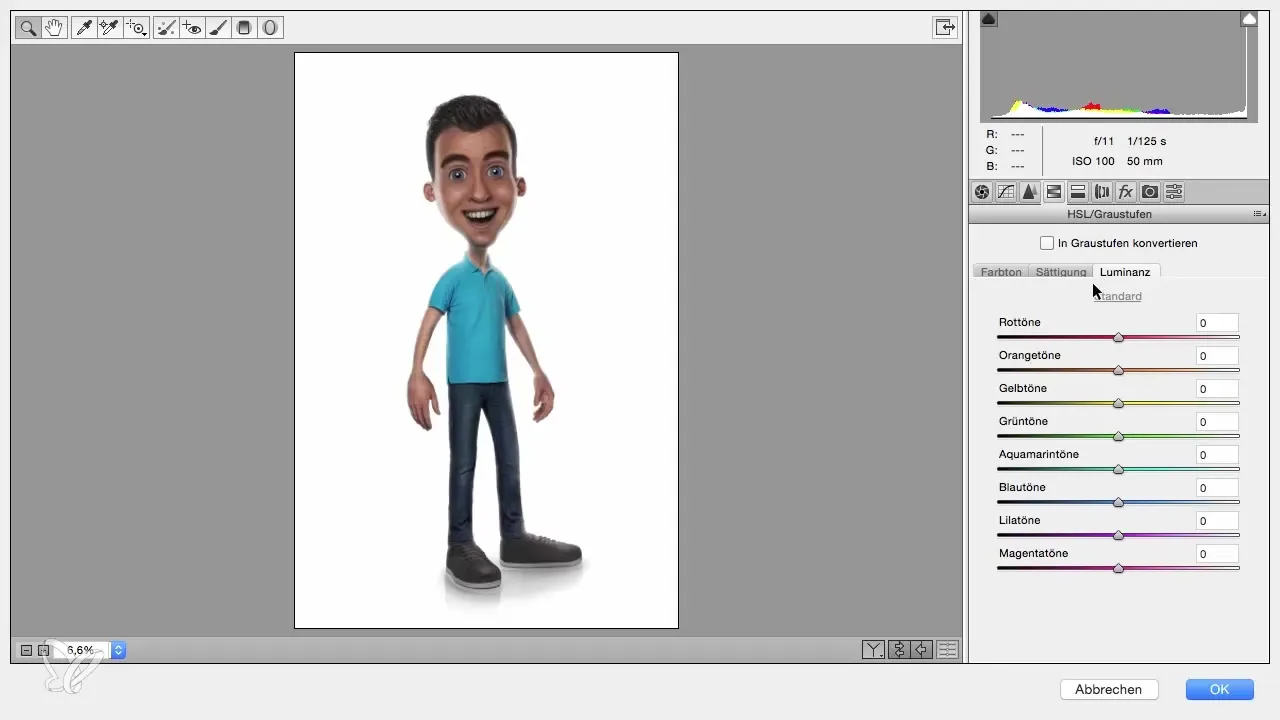
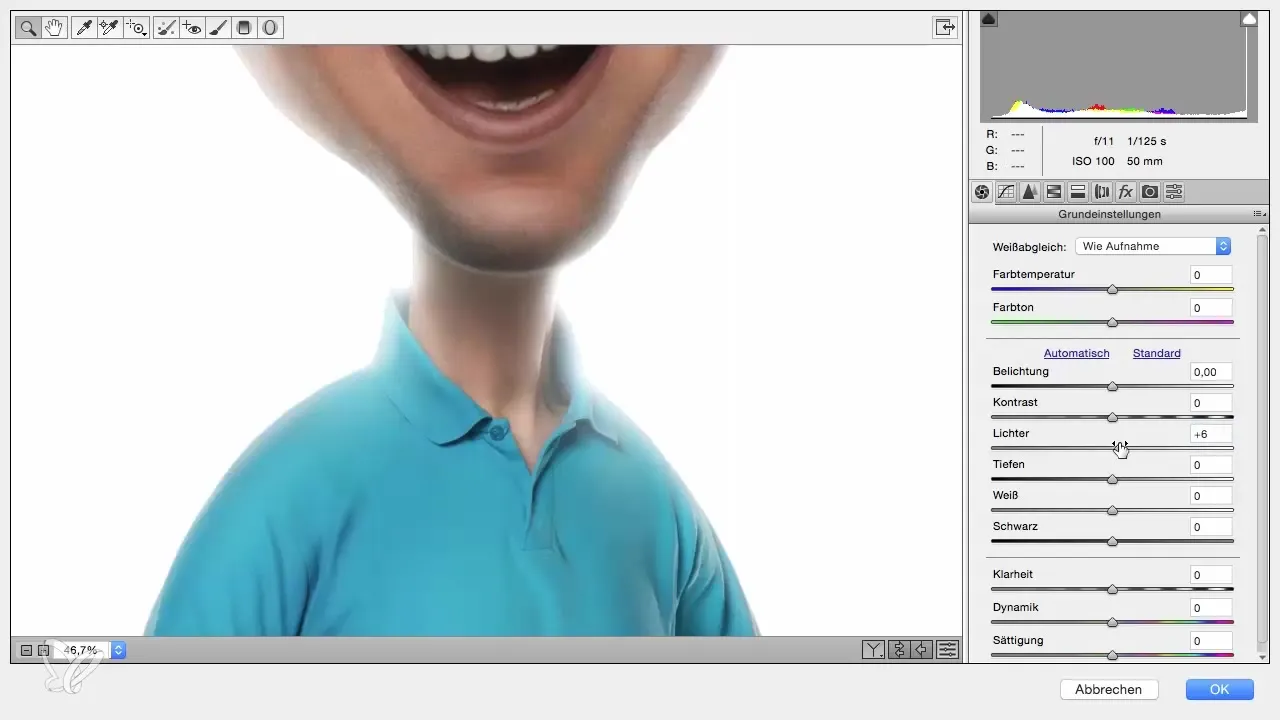
Pay attention to the luminance for blue tones as well: These can often bring out additional details. Experiment with brightness to increase overall contrast and avoid overexposed areas.
Step 5: Sharpening the Details
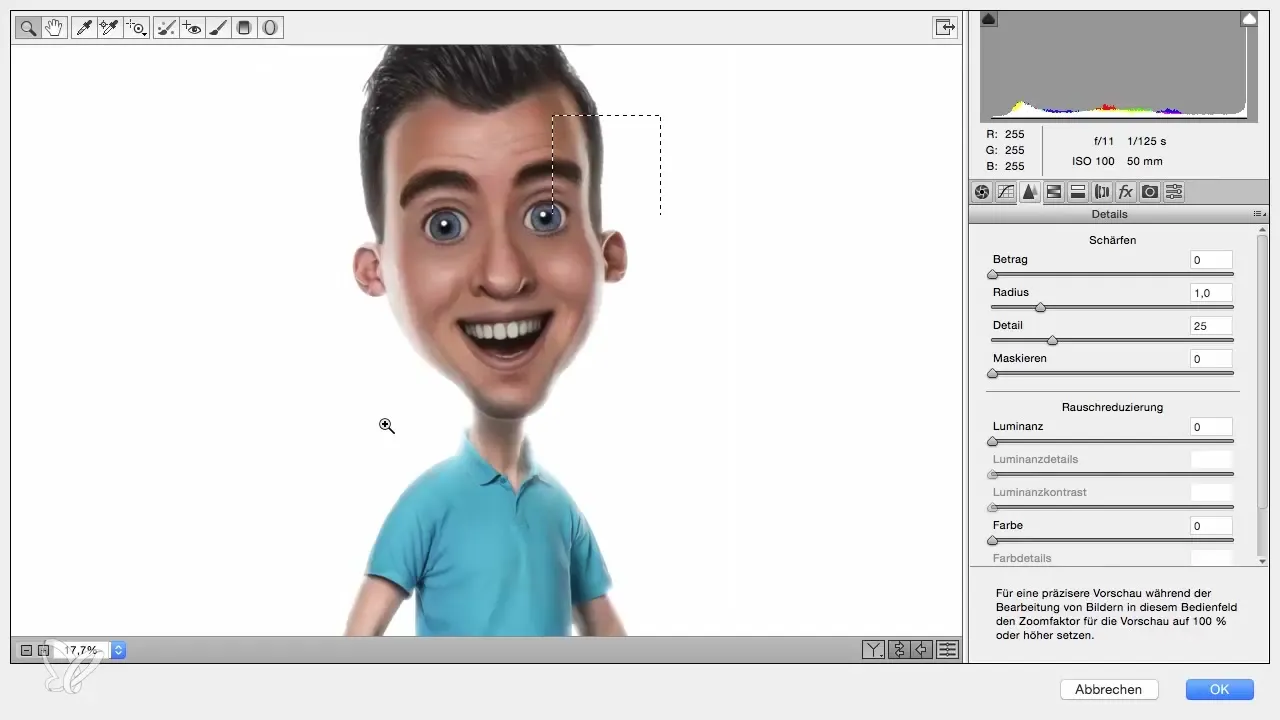
Check the sharpening slider and bring sharpness to the face to highlight learned details. A radius of 0.5 often achieves the best effect without looking overdone. Make sure everything looks even and not overprocessed.
Step 6: Application of Plugins for Final Detail Enhancement
If you have plugins available, use the Nick Filter color effects Pro and select the Detail Extractor. This filter provides a significant increase in detail fidelity and contrasts.
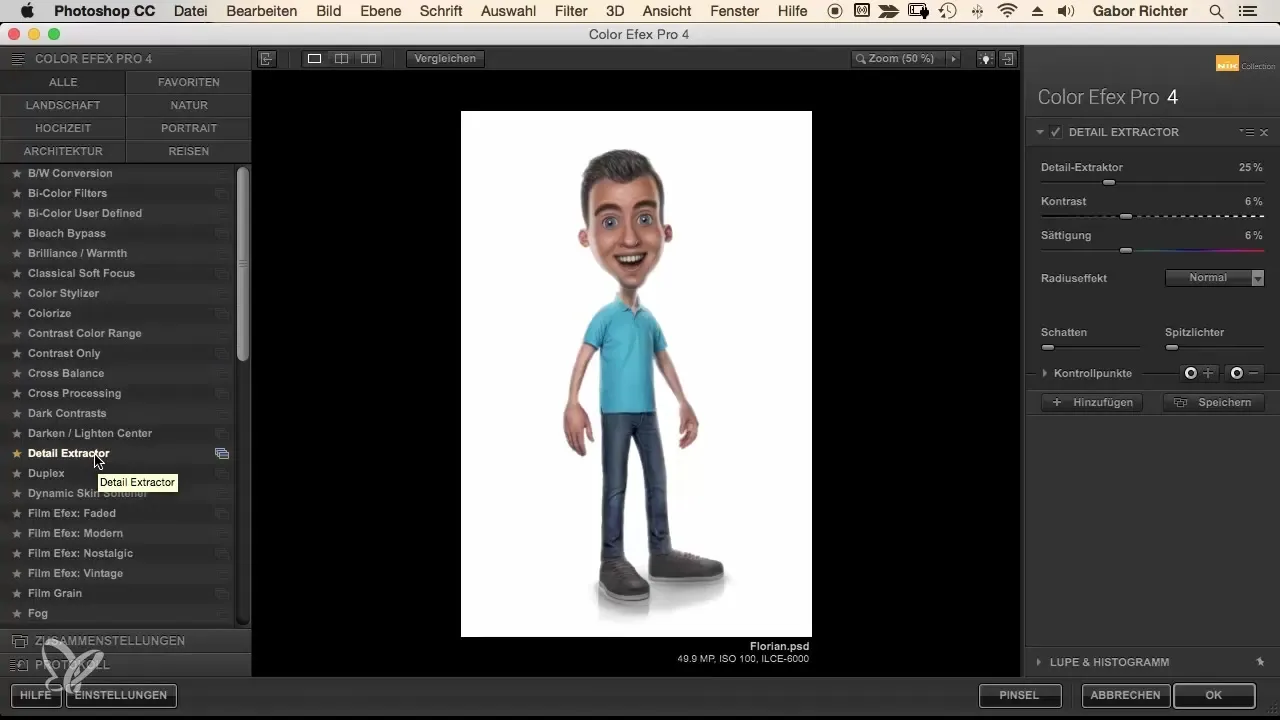
Adjust the effects to match your style, and reduce the opacity to maintain a natural appearance.
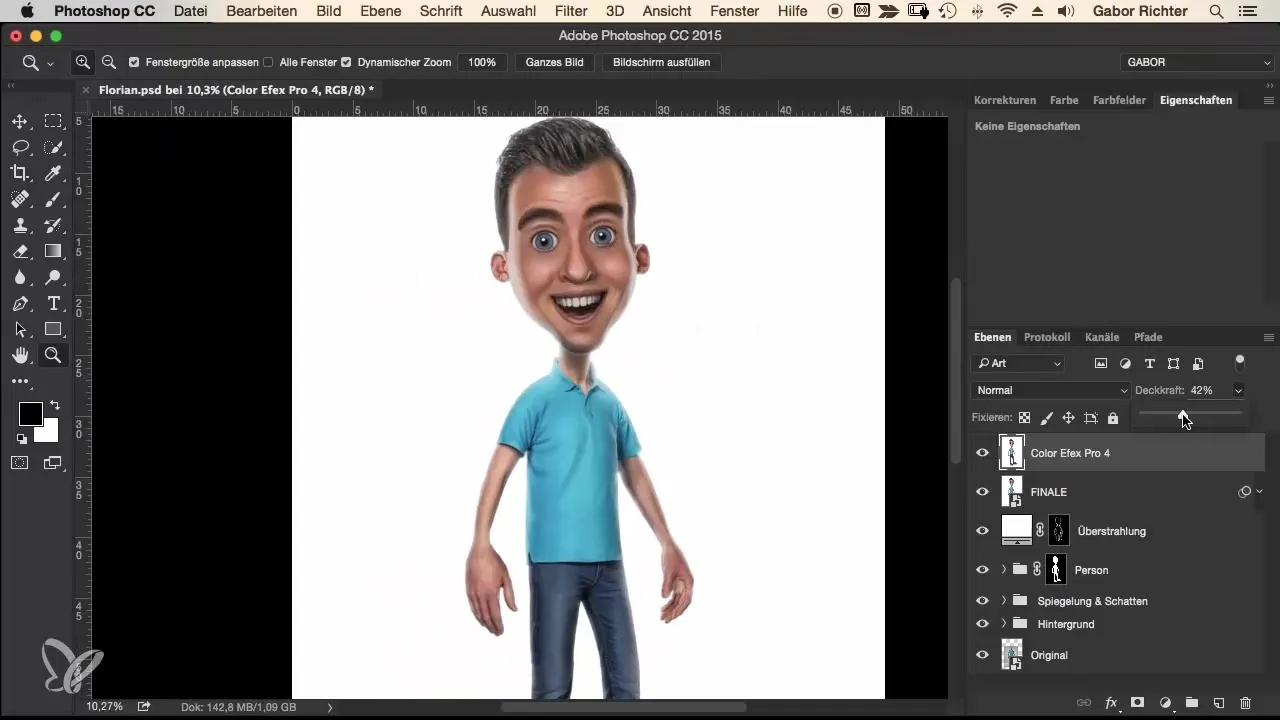
Step 7: Review and Final Save
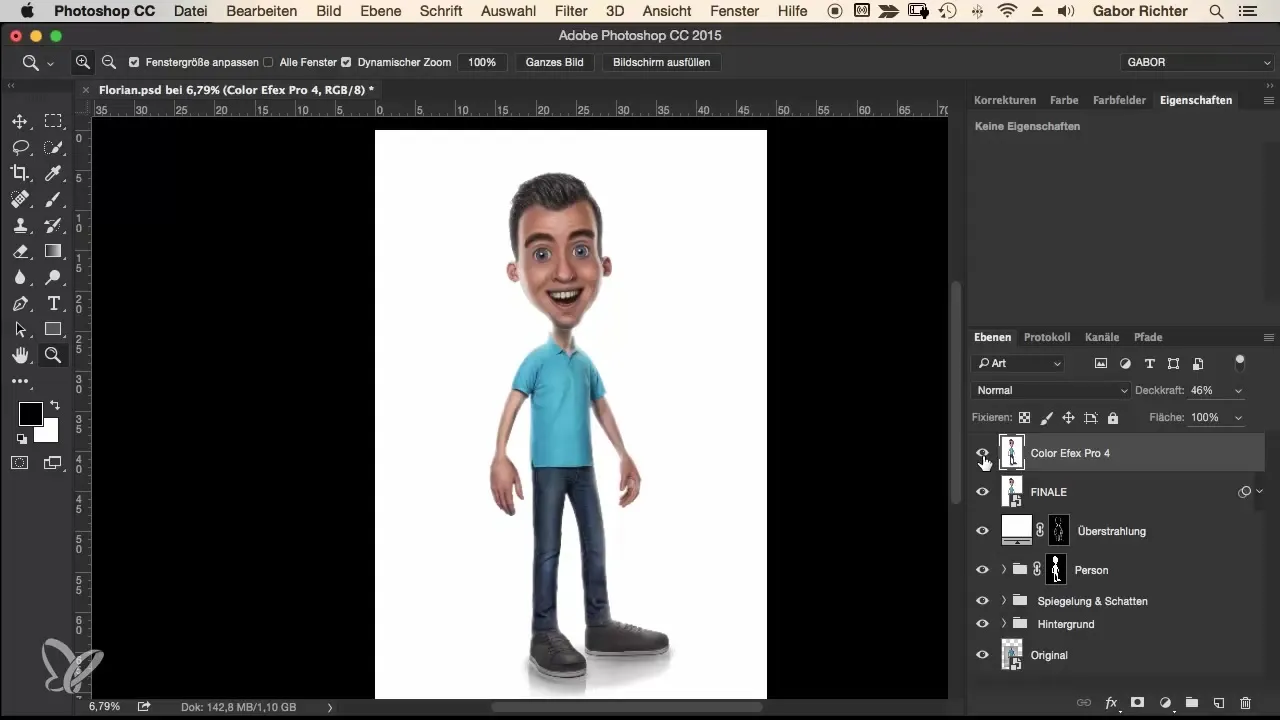
Look at your work with fresh eyes and compare the changes from "Before" to "After". Make sure that all adjustments meet your expectations and conclude your project by merging all layers into a final layer.

Summary – Implementing Comic Style: The Complete Workflow for Final Adjustments
In this guide, you learned how to bring out the best in your comic portrait through targeted adjustments and the use of filters. By carefully editing details and applying color corrections, your artwork comes to life and becomes visually appealing.
Frequently Asked Questions
How long should I let the image rest?Half an hour to an hour is recommended.
Why should I proceed cautiously with the adjustments?Too rapid changes can lead to overprocessing and affect the overall image.
Which filters are useful for color corrections?The RAW development tool and plugins like the Nick Filter are very effective.
Can I use the steps in any graphic program?The basic principles apply, but specific tools or filters may vary.
Are there alternatives to specialized plugins?Yes, many graphic programs offer built-in filters that can produce similar results.

