When working on an image in comic style and using the Liquify function, it's important to pay attention to the final details. Even though the image is nearly finished, small anomalies can play a big role and affect the overall result. Here, I provide you with a detailed step-by-step guide on how to make final adjustments to your images for a professional outcome.
Key Insights
- Take your time with corrections.
- Use markers for potential improvements.
- Work specifically on certain areas to enhance symmetry and clarity of form.
Step-by-Step Guide
To achieve the best results, follow these steps consistently. Remember to take the time to review the results and make adjustments if necessary.
Now it's time to optimize your work. Start by analyzing your image areas. A good technique is to draw two lines for the symmetry of the face: one vertical and one horizontal. Place these lines at the eyes and check if the nose and teeth are positioned correctly. If not, mark the areas you want to correct.
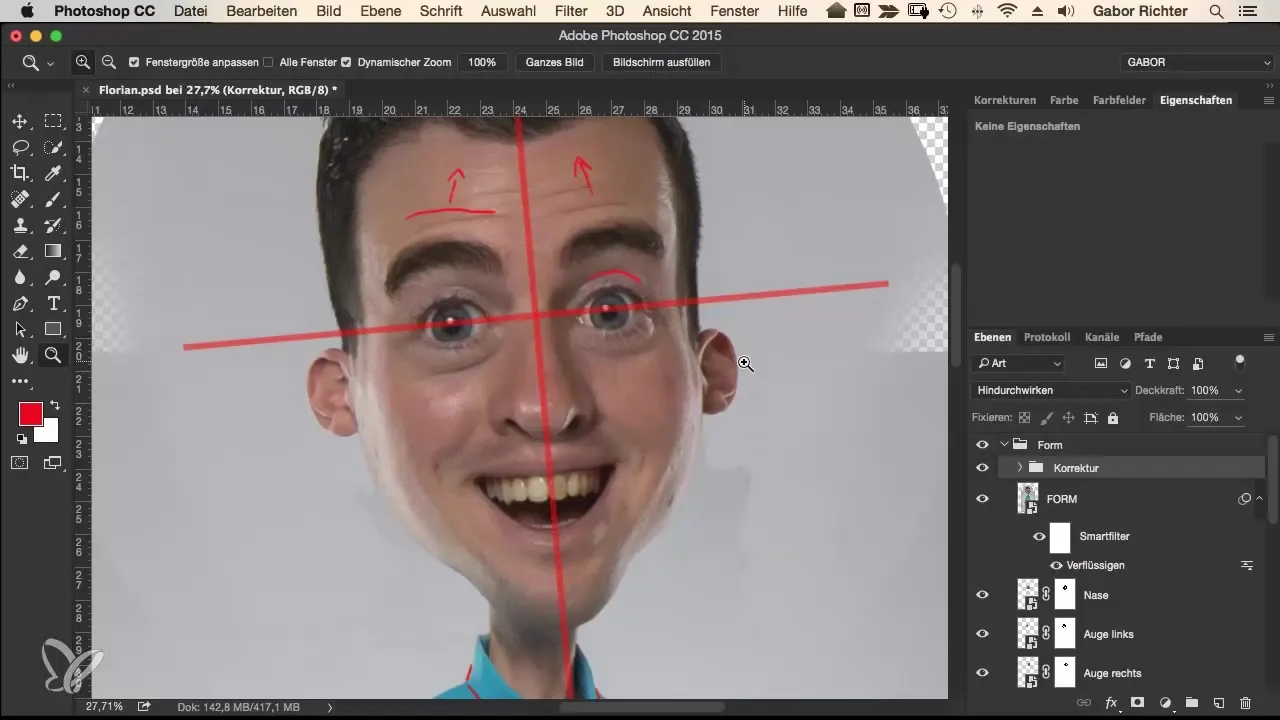
Taking the time to view the image calmly before making changes can make a big difference. I recommend using a blank layer and marking diagonally through the image what needs to be changed. Don't forget that you can also take time the next day to make corrections.
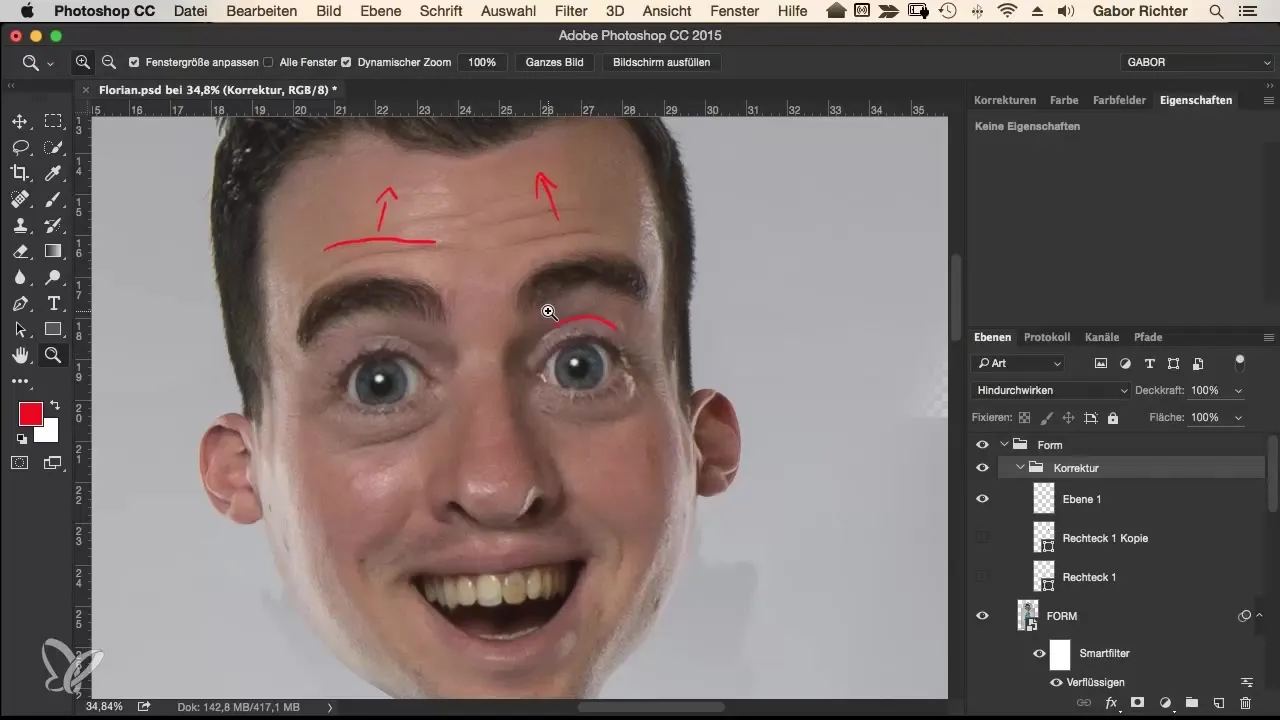
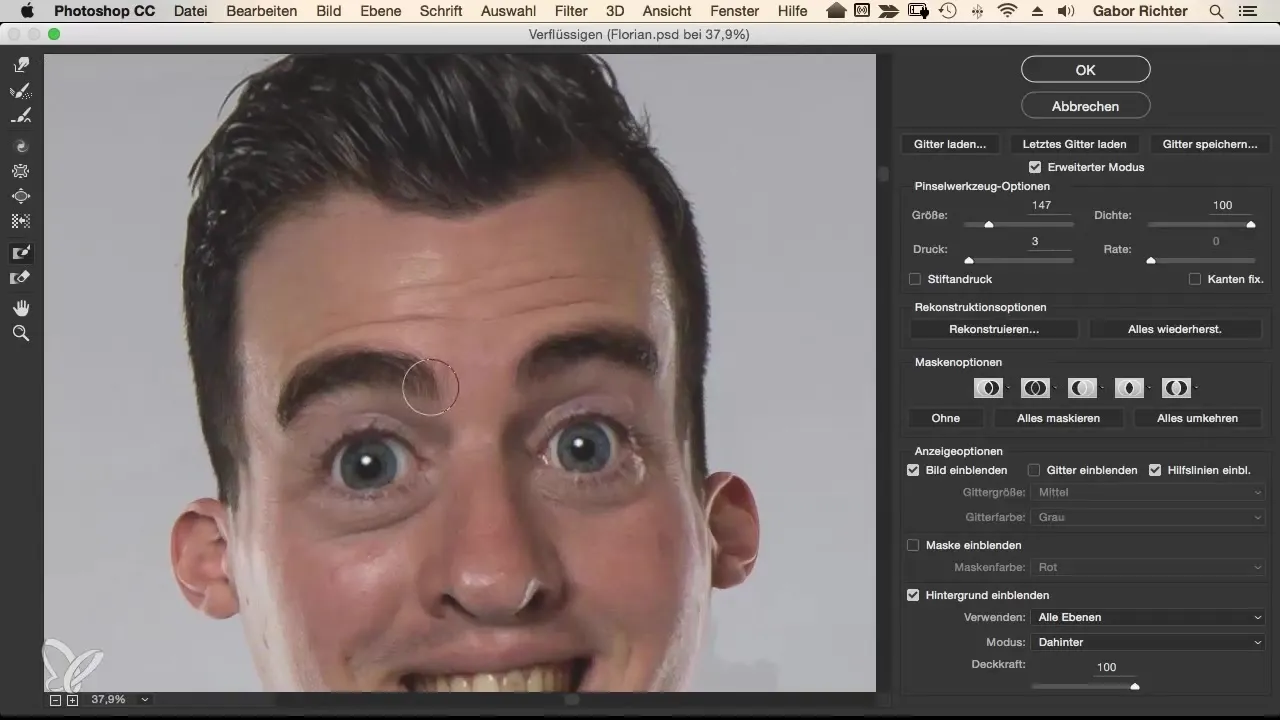
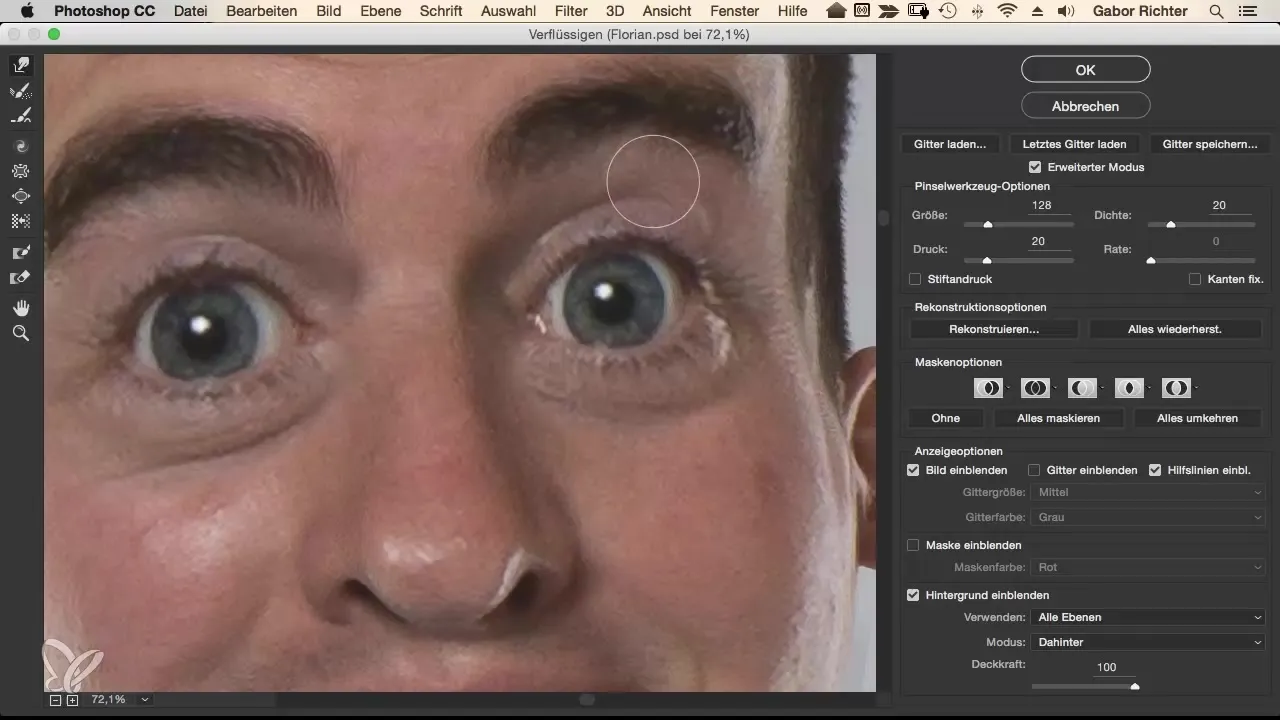
In the first step, I go into the Liquify function and start with the wrinkles on the face. These wrinkles should be pushed upwards to refine the expression. Before starting, it may be helpful to fix the eyebrows so that they are not affected during editing.
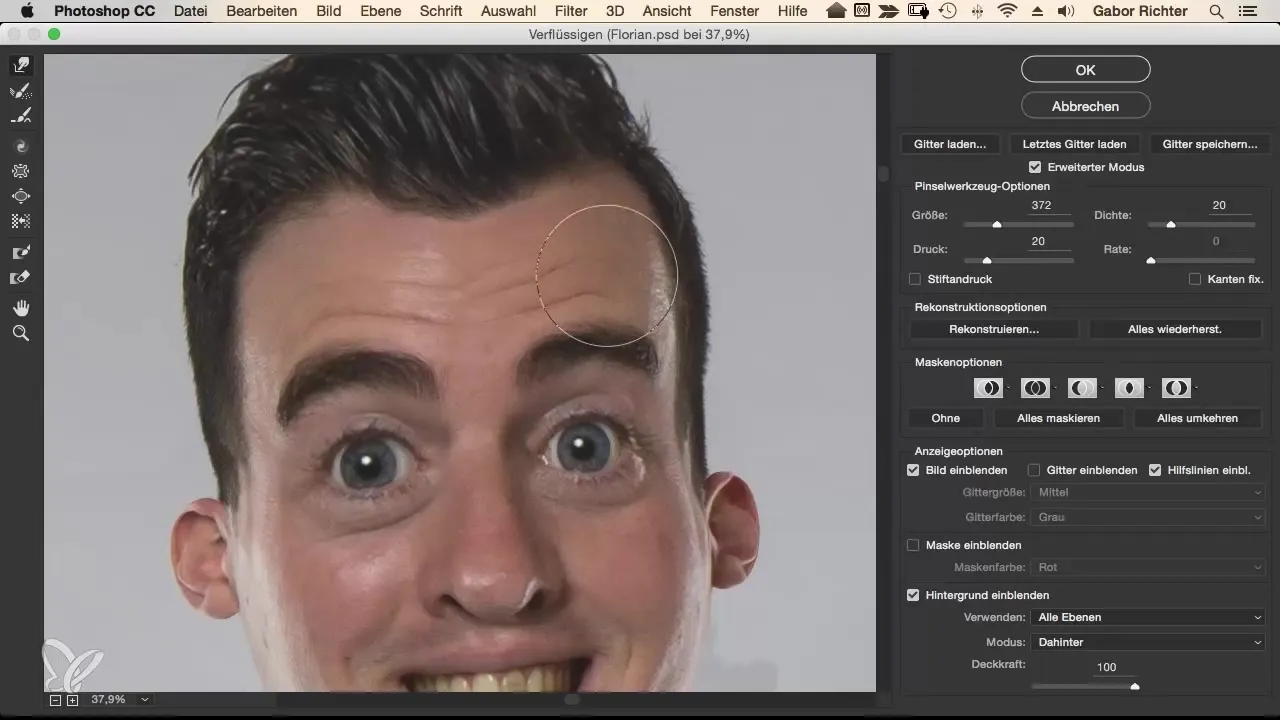
Then gently push the wrinkles upwards to create a more dynamic effect. A slight frown can help make the drawing style more lively.
Now move on to the eyelid. Check if it has a round shape. Correct the shape by adjusting the image contours. It’s important to consistently compare the previous and subsequent states.
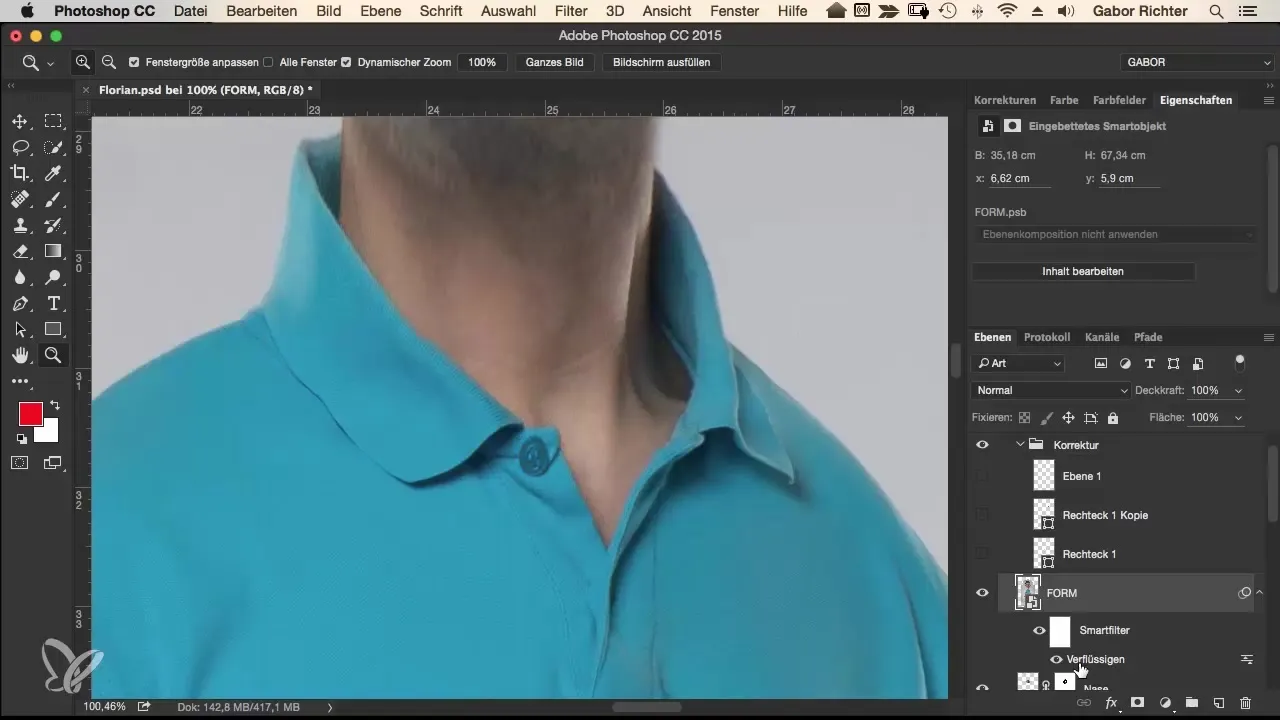
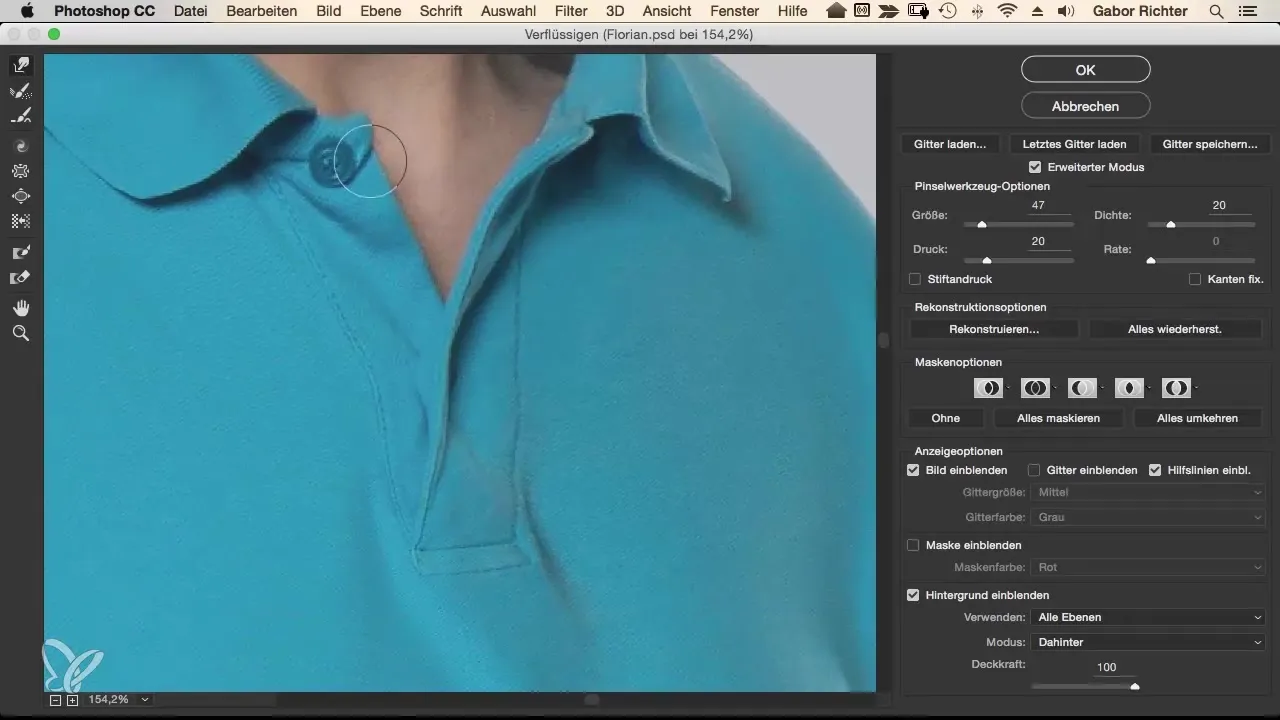
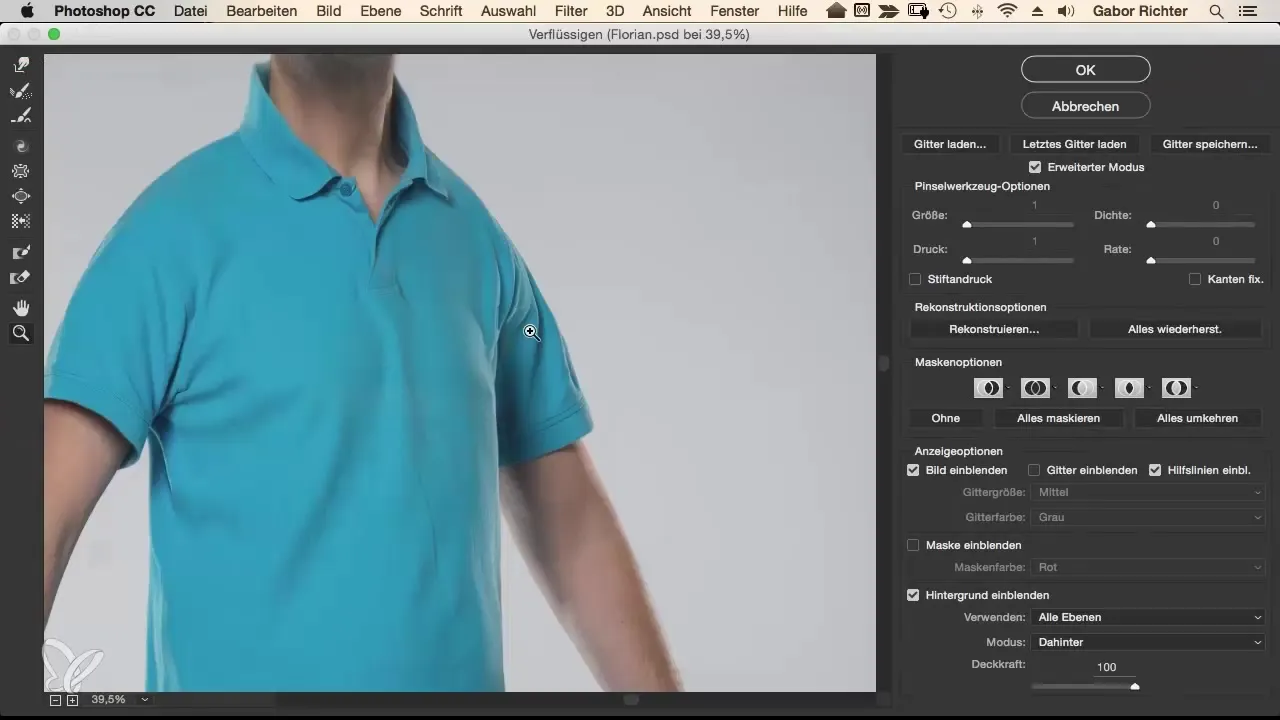
After considering the face, check the collar of the person. Make sure that the collar has the correct shape and does not appear oval. Correct lines and buttons to have a clean representation of the garment.
Perfectionism plays a big role in creating comic illustrations. The more carefully you work, the more realistic the final product will be. Ensure that lines and edges are clear and distinct.
Moreover, there are often areas that are crucial for the overall look, such as the "jelly-like" appearance of wrinkles. Correct these spots to ensure they are clearly structured and not vague.
Afterward, it is beneficial to focus on specific body parts during corrections. Pay particular attention to the legs: Check the position of the knees and replicate the aspect ratio if necessary to achieve symmetrical proportions.
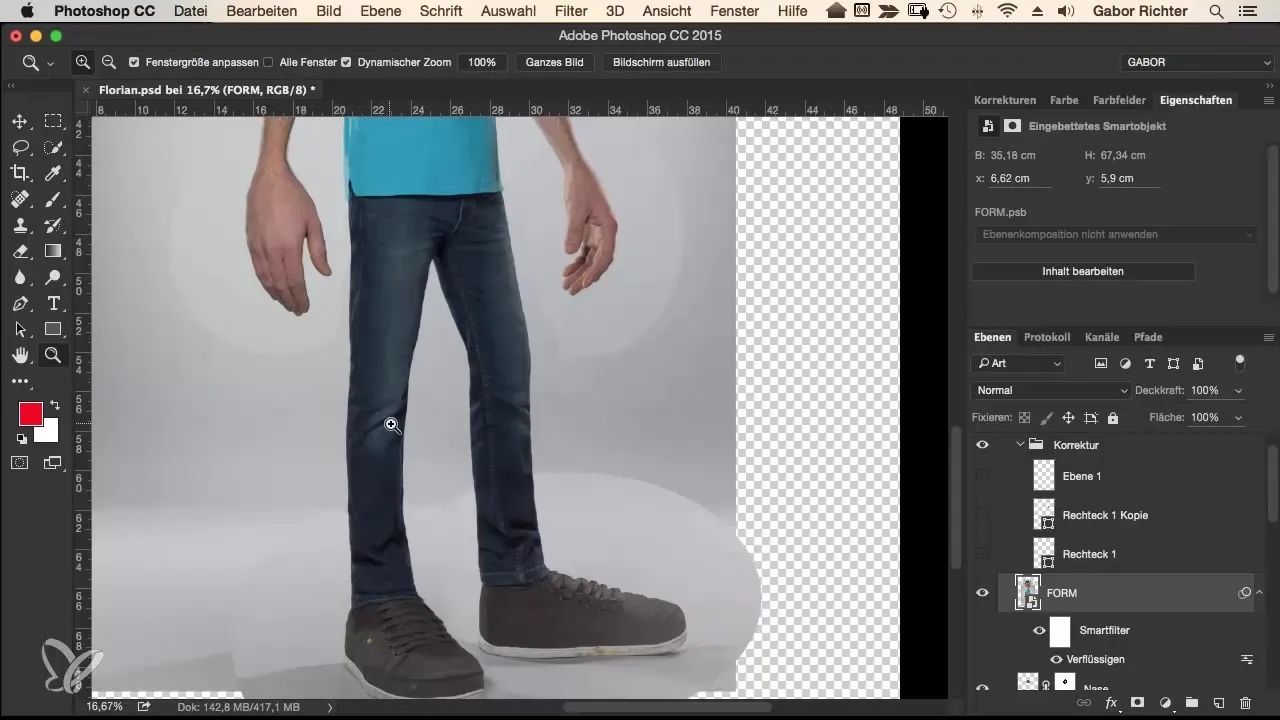
When working on the knees, gently move them to the right to create a round shape. Check if the entire leg is optimally positioned and adjust the shape as needed.
The shoes should also be made straight, as small inconsistencies here can also create a distracting impression. Ensure that the sole is well aligned — after all, all parts of the image should harmoniously fit together.
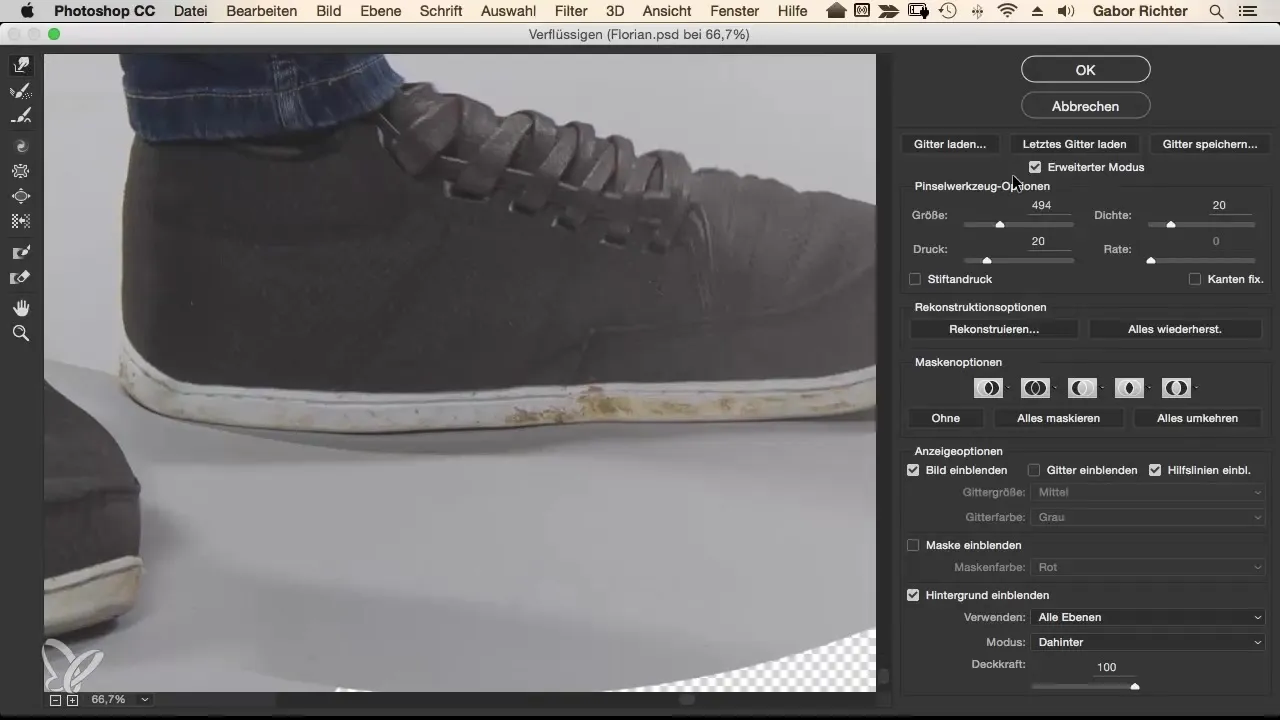
Once everything is corrected, delete the correction layers you created for your work to create clarity. But make sure to save your work regularly! A power outage or an unexpected technical glitch can cost you your progress.
Summary – Comic Style Vol. 2: The Complete Workflow
In this guide, you have learned how important it is to refine your comic illustrations down to the details. By applying the Liquify function, you achieve a precise and appealing final result. The small corrections can make all the difference.
Frequently Asked Questions
How much time should I take for corrections?Take as much time as you need. Sometimes it can be helpful to sleep on it and take a fresh look the next day.
What should I do if I can't find symmetry?Mark the areas that stand out and use the Liquify function to adjust proportions.
Do I need special tools for editing?A graphic program with a Liquify function and the ability to create layers is best suited.
How do I prevent data loss during work?Save your work regularly to ensure no progress is lost.


