Combining light and shadow can create significant differences in the atmosphere and impact of an image in digital photo editing. If you want to give your image a natural glow to soften the contours and better connect it with the background, you have come to the right place. In this guide, I will show you how to effectively implement this technique.
Key Insights
The glow enhances not only the visual impression of the image but also ensures a harmonious merging with the background. You can experiment with different brush and opacity settings to achieve the best results.
Step-by-Step Guide
First, start with a white background to make the glow stand out optimally. To create the glow, follow these simple steps.
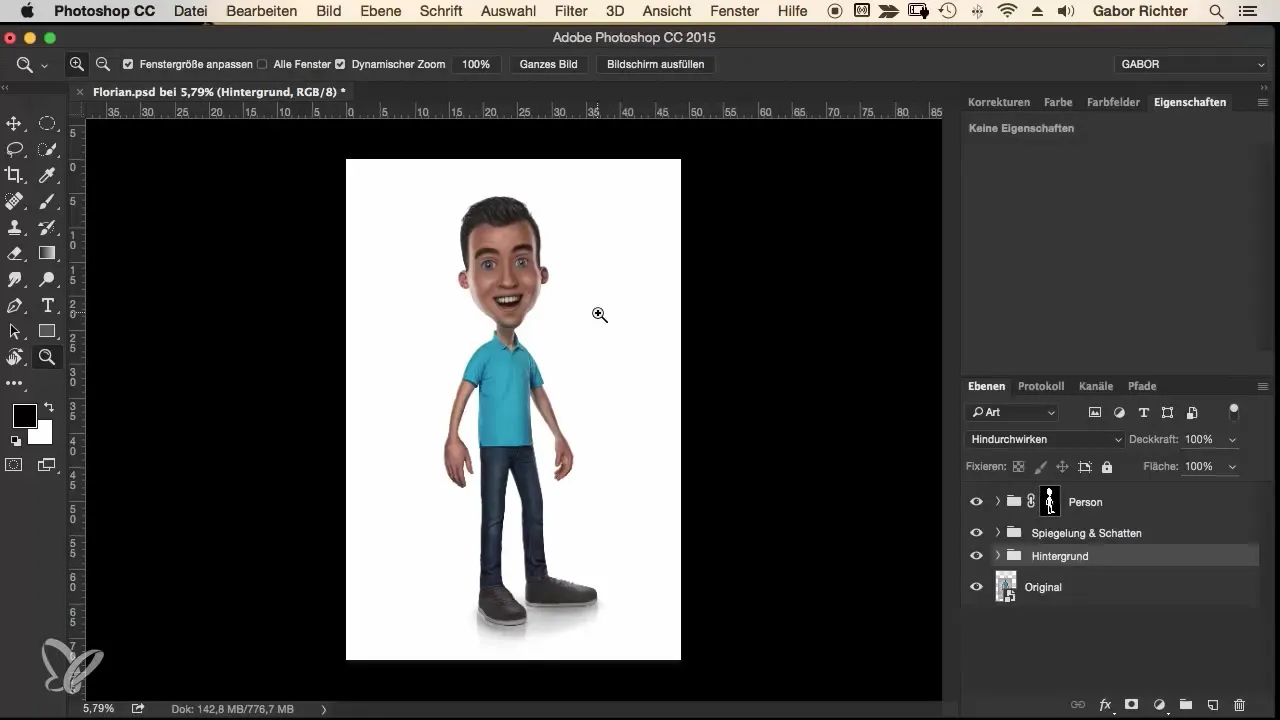
Open the image in your preferred photo editing program and create a new color layer. This should also be white to perfectly highlight the glow. Invert the mask so that the color layer remains invisible at first.
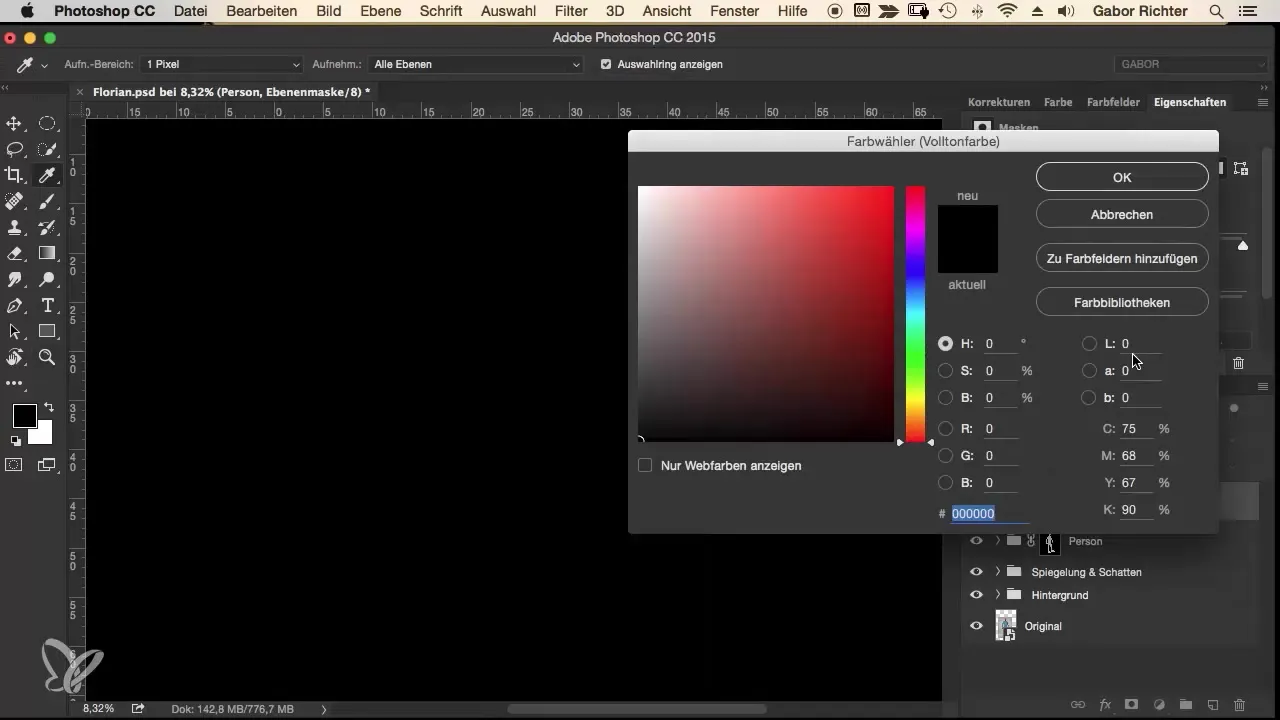
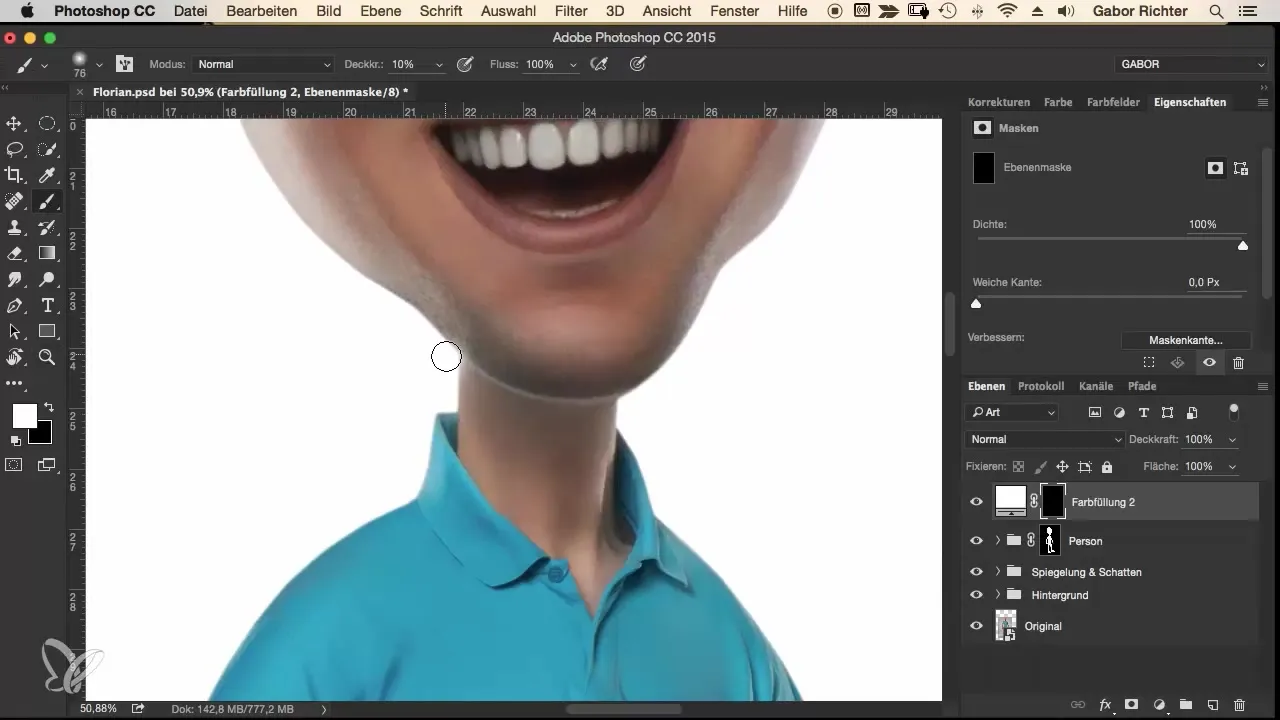
The next step is to paint the edges of your main subject with a white foreground color. Set your brush to a low opacity – about 5%. Make sure to choose a rather soft brush to achieve the gentle glow.
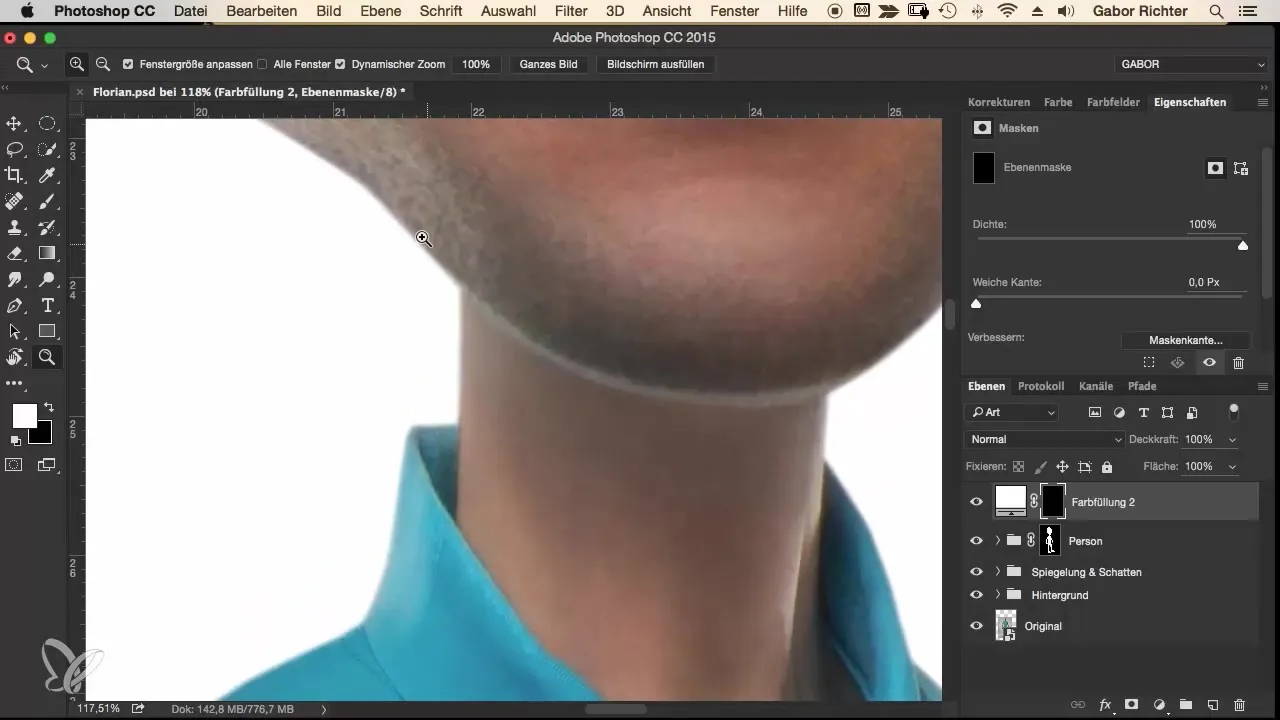
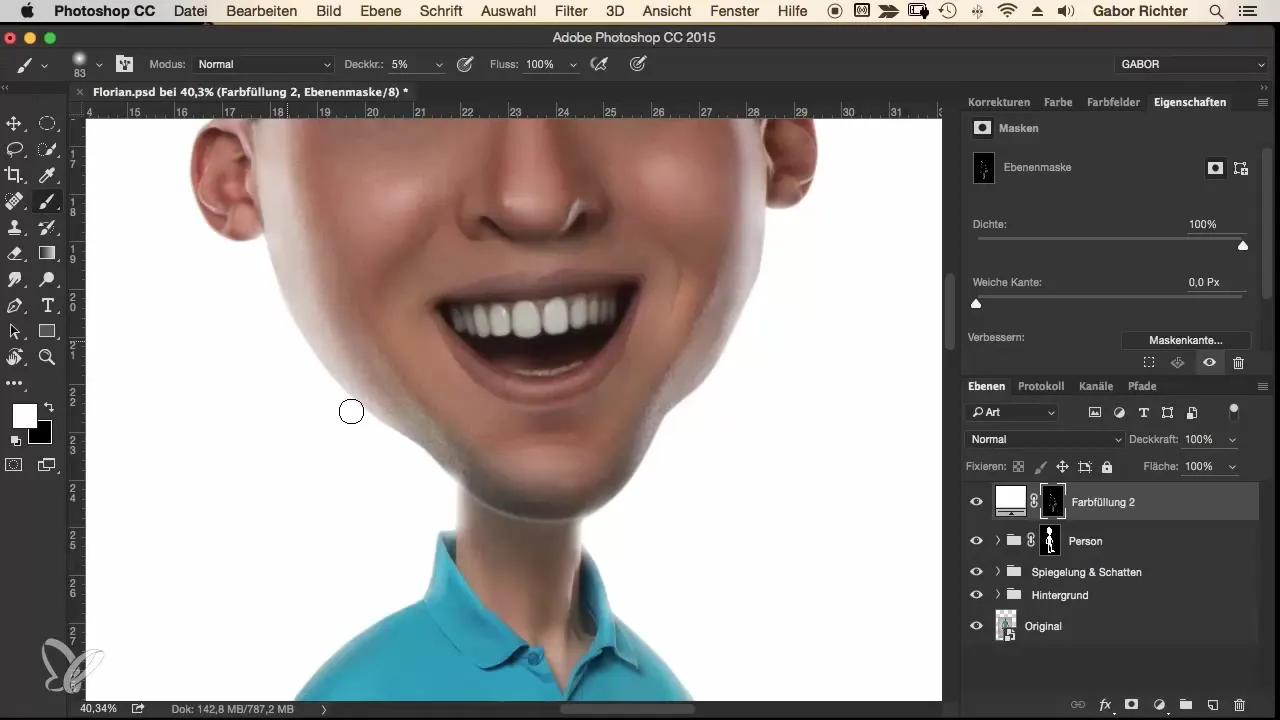
Start at the neck and chin of the figure. Carefully paint along the edges where different elements meet. These points are critical areas that particularly need the glow and thus enhance the play of light.
Distribute the glow evenly along the edges. Make sure to use about 10% opacity and add small light spots where necessary. The glow should be more intense where the edges meet.
Now also focus on your figure's clothing. Ensure that the shirt and other garments also benefit from the glow. The movement and shape of the brushstroke are crucial to enhance the effect.
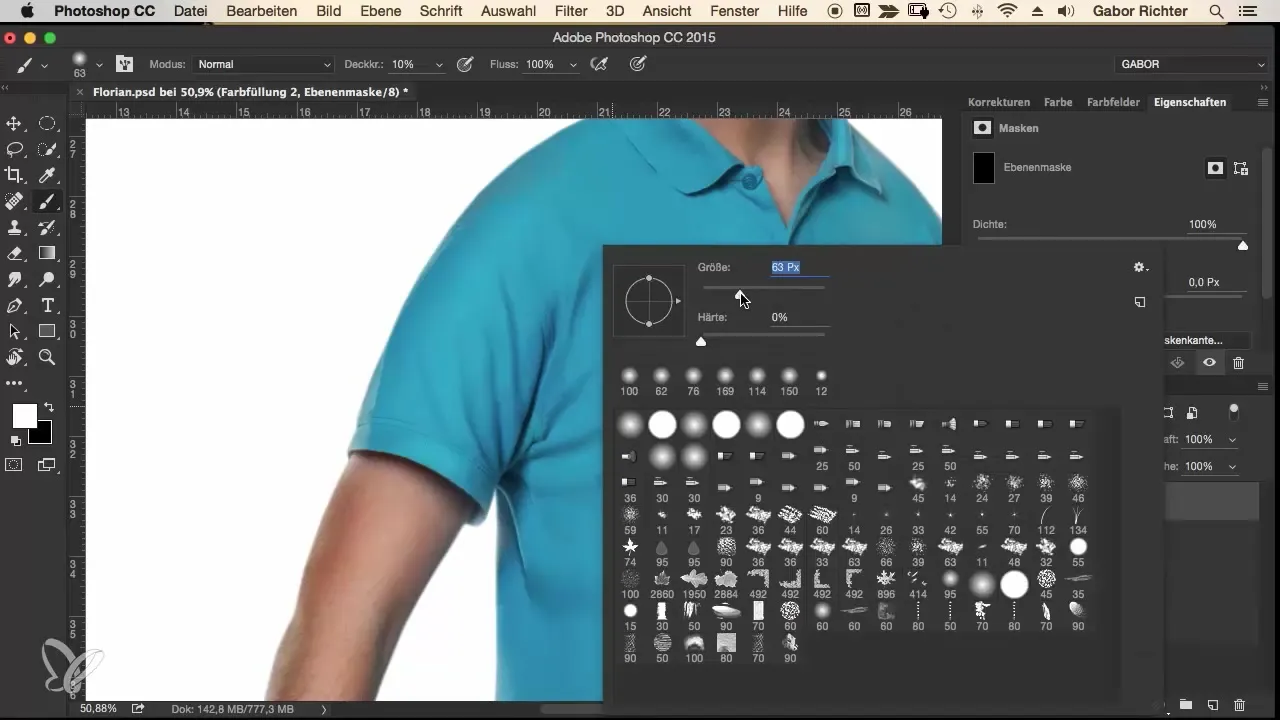
However, proceed carefully. With the shoes and the sole of the shoe, you should avoid working with the glow as shadows are predominant there. Keep the focus on the illuminated areas and refine the edges.
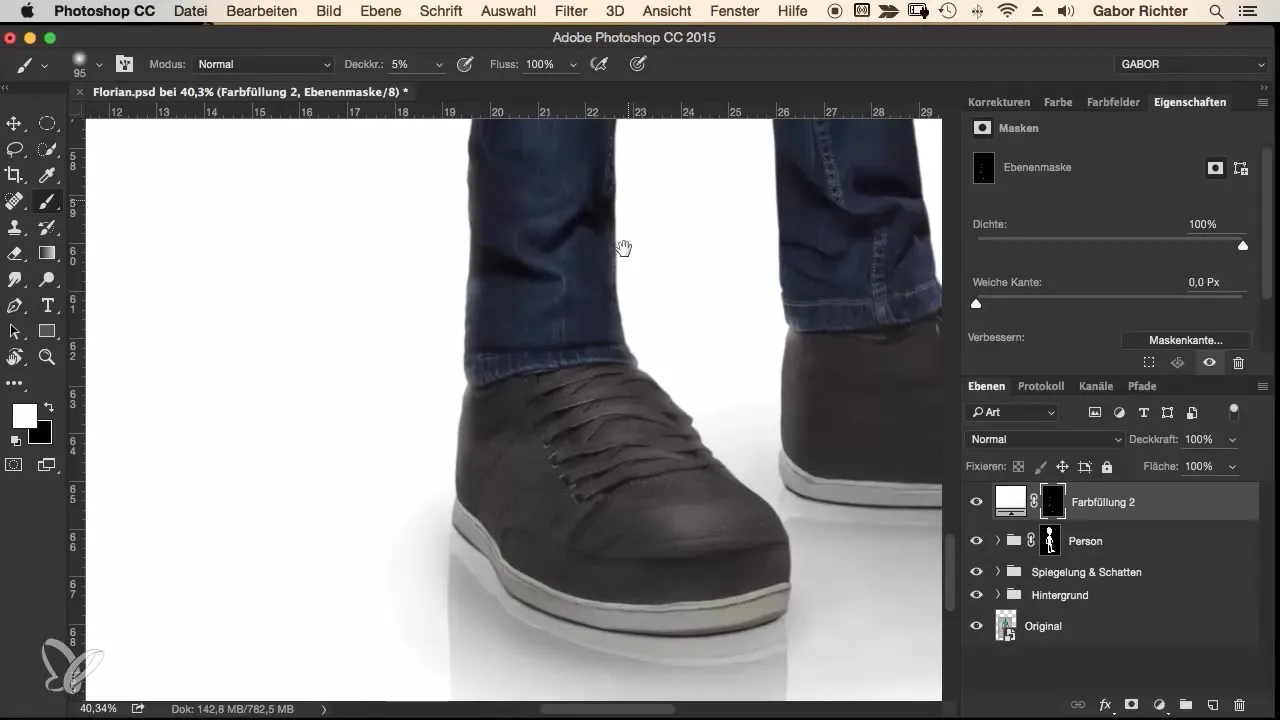
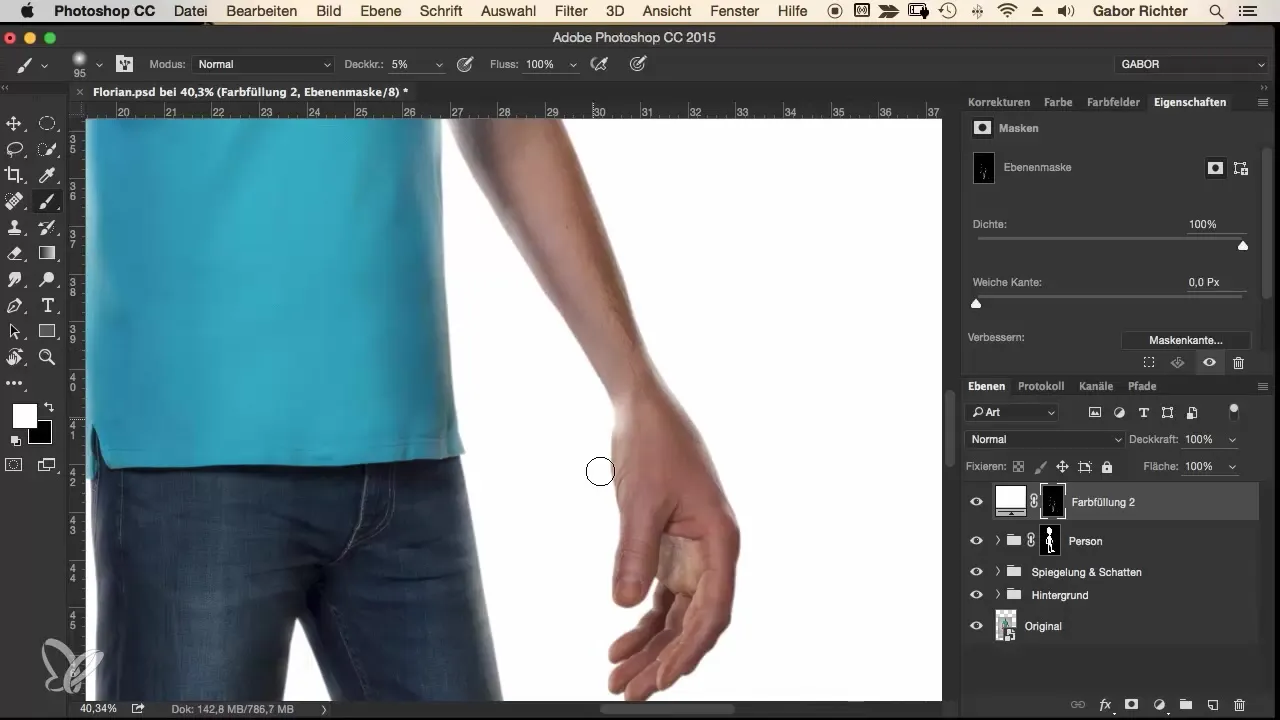
Continue using your brush to subtly enhance the supporting elements. This can also be done in areas like the arms and face. Keep the opacity low to achieve the delicate and soft effect.
Particularly the facial features, like the cheeks and chin areas, can benefit from special glow. Proceed carefully here to create a harmonious play of light.
Now it's time to check the overall look. Compare the different effects you achieved with and without the glow. This will help you refine the areas where you still see potential.
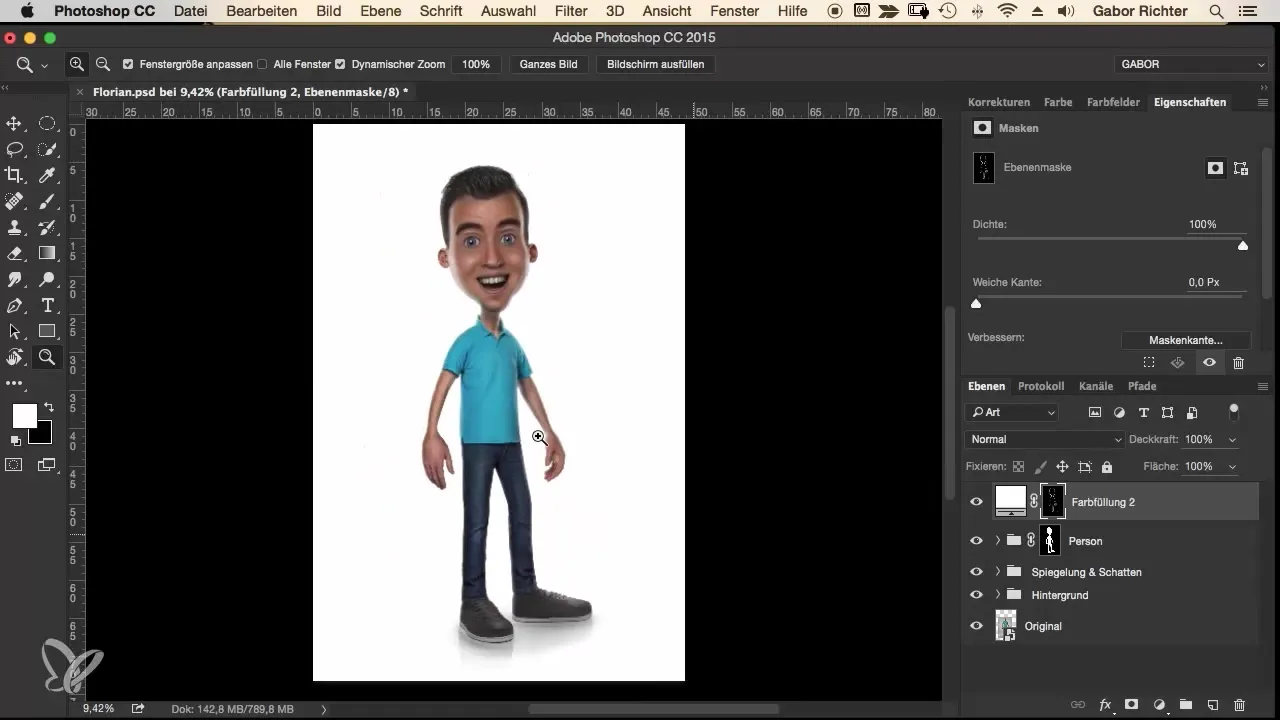
If you are satisfied with the results, save your work. You can always return to make final adjustments.
Summary – Comic Style Vol. 2: Creating Glow
The glow technique can help make digital images appear more vivid. Through gentle brush strokes and careful attention to lighting conditions, you can soften the contours of your subject and achieve a harmonious integration with the background.
Frequently Asked Questions
How do I reduce the brush opacity?You can adjust the opacity in the brush or tool settings of your photo editing program.
How often should I apply the glow?Depending on the image. Experiment with different spots and intensities to achieve the best result.
Can I use other colors as well?Yes, you can use colors that match your image. The technique remains the same.
What should I do if the colors stand out too much?Reduce the opacity of your brush and work in smaller radii or with softer transitions.
Are there special tools I should use?Most photo editing programs offer suitable brushes and tools for this technique, such as Adobe Photoshop or GIMP.


