The transformation from an ordinary portrait to an expressive comic face is an exciting challenge. Often, it is the small details that make the real difference. In this guide, you will learn how to achieve an impressive result with simple adjustments in the facial area. You will see that the fine adjustments you make to the eyebrows, nose, mouth, and teeth have a significant impact on the overall impression of the character.
Main insights
- Small changes in facial structure can significantly enhance the overall character.
- The Liquify tool is a valuable aid for adjusting facial elements.
- Always be sure to protect details to avoid unintended changes.
Step-by-Step Guide
To effectively shape the face, proceed as follows:
Adjusting Eyebrows
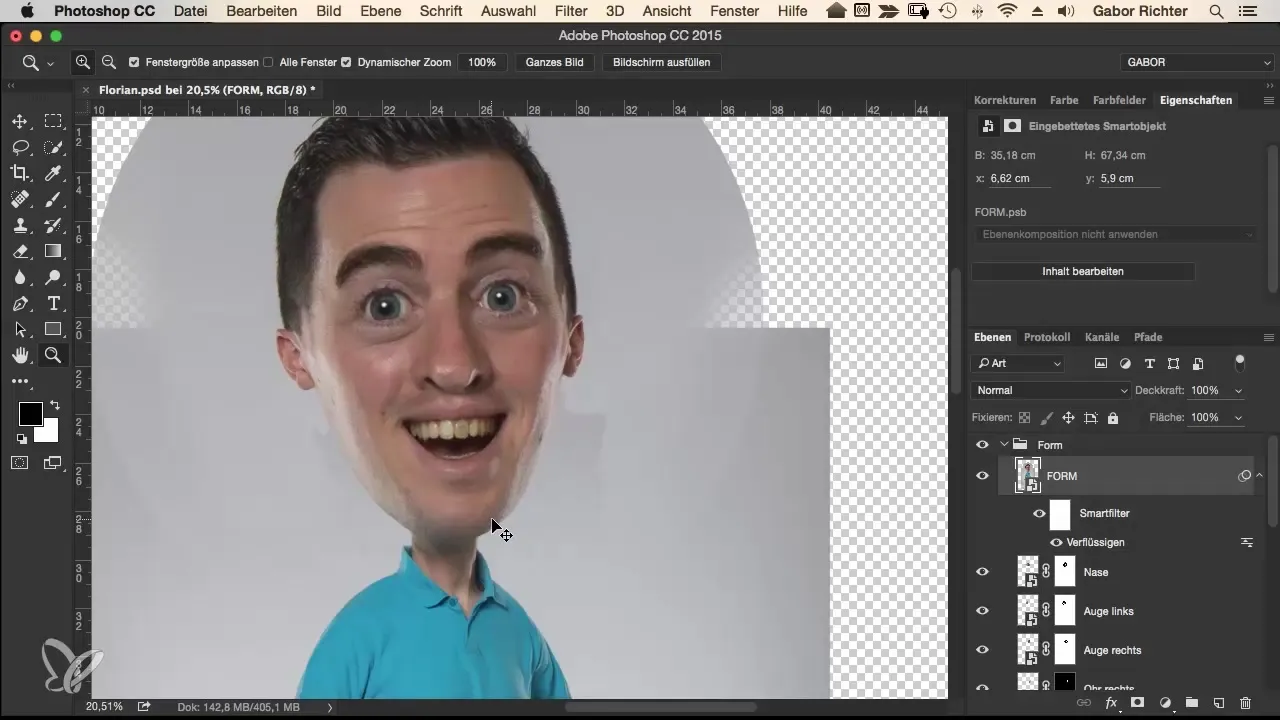
Start by making the eyebrows bushier and more expressive. It is best to zoom into the face for precise adjustments. First, protect the eyes, as you want to prevent them from being affected by the adjustments. For this, select the appropriate tool that locks the eyes in place.
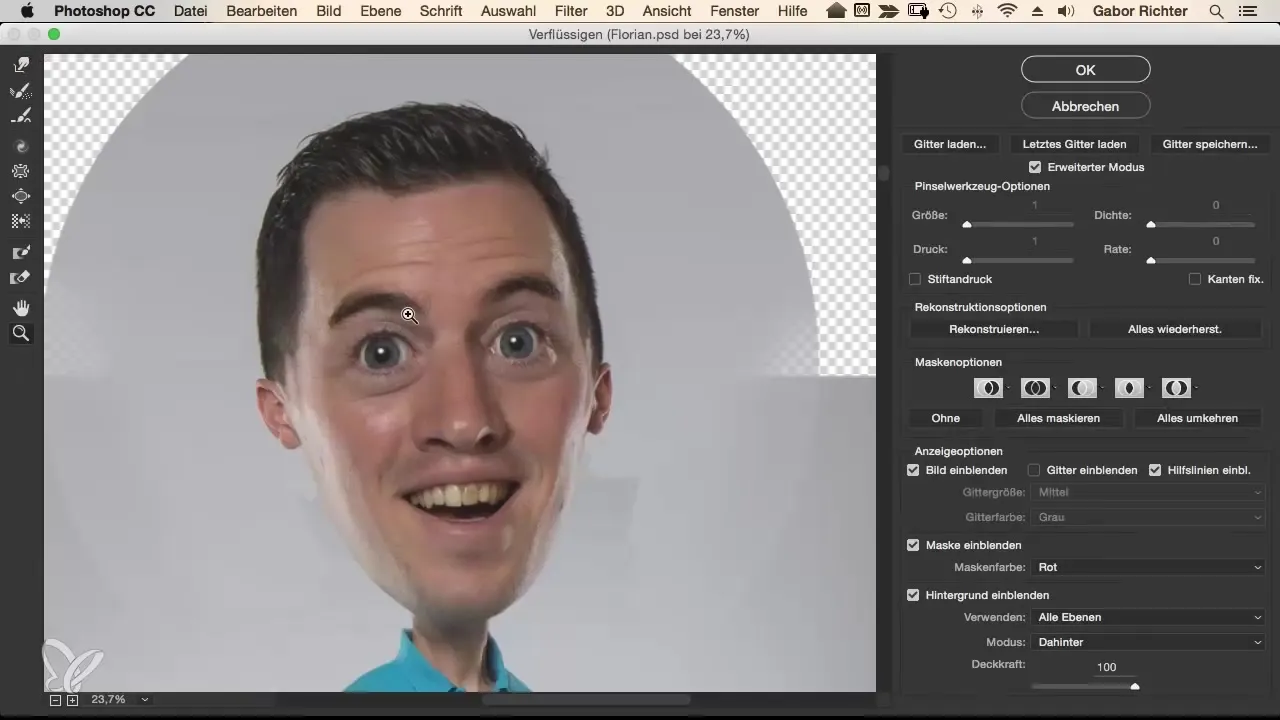
Select the "Liquify" tool and adjust the brush size so you can grasp the eyebrows well. A radius of about 250 pixels should suffice. Take your time to push the eyebrows up in the middle. This will give you a smooth and appealing result.
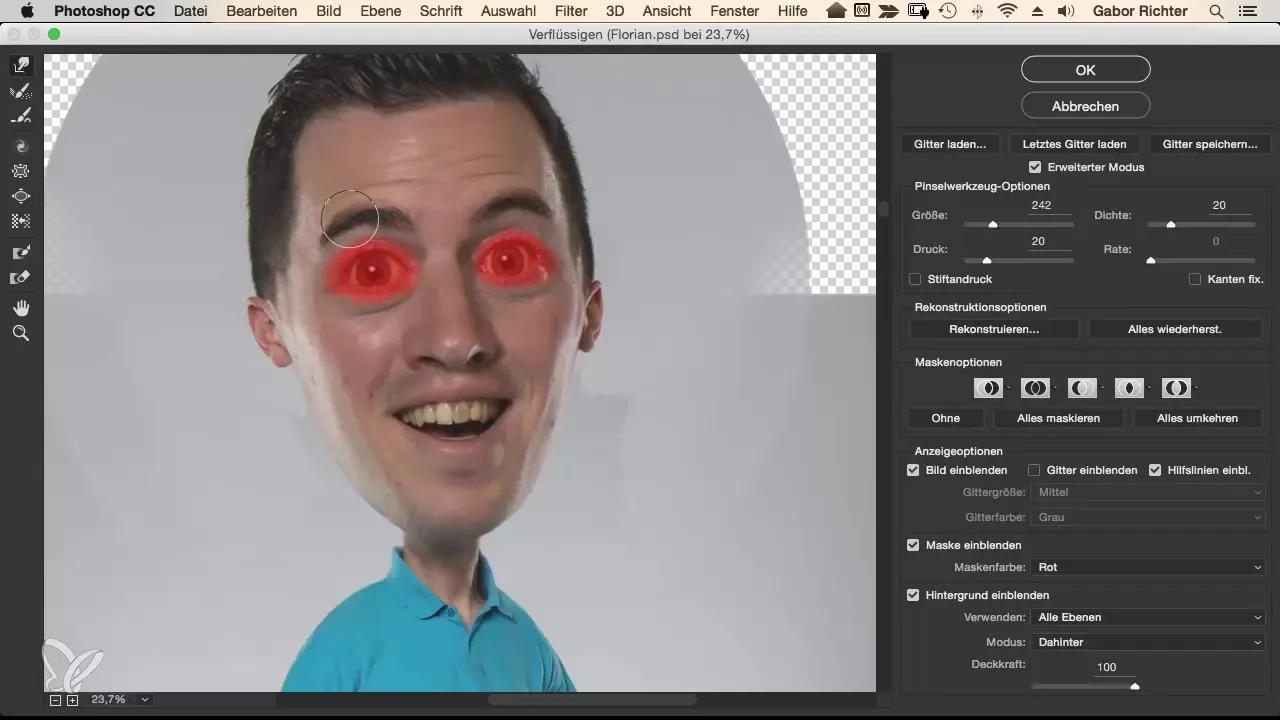
You can make the eyebrows rounder, but be sure to maintain some straightness. Change the shape gently until you are satisfied with the result.
Apply the same process to the right eyebrow, and don't hesitate to make adjustments here as well. Compare the before-and-after image to assess the progress.
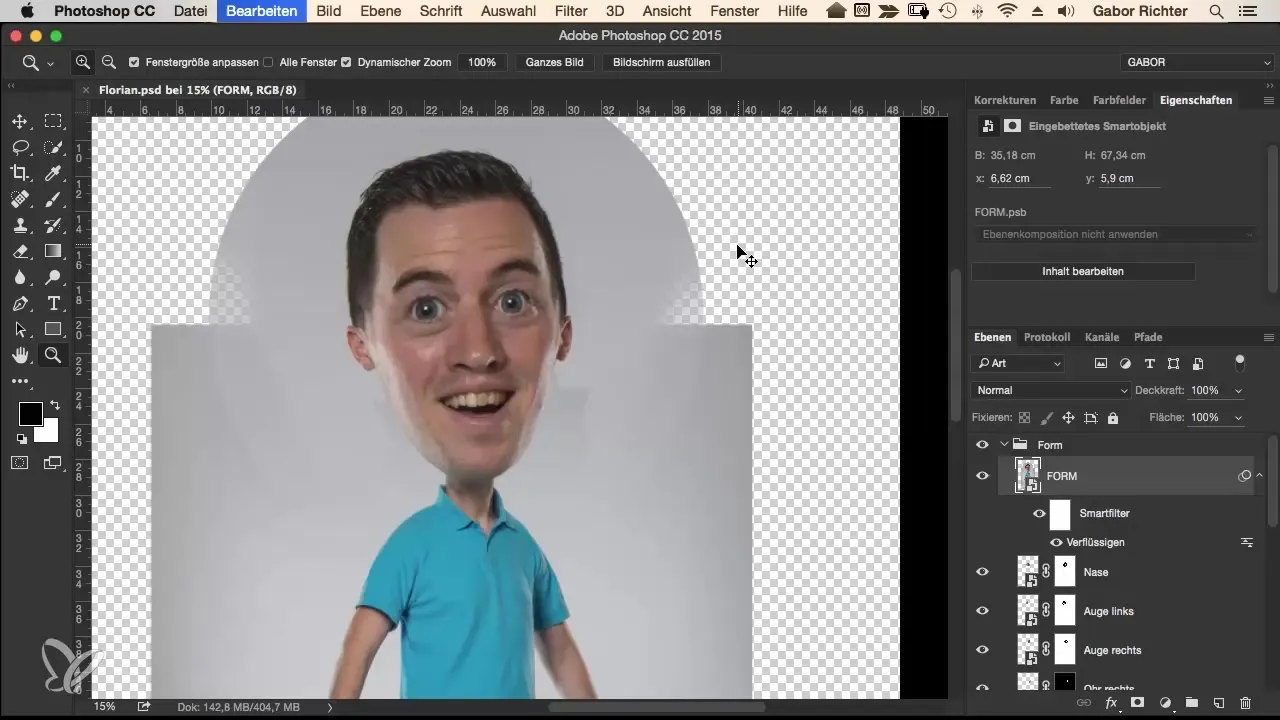
Adjusting the Nose
Now return to the nose. First, you should also protect the eyes here, so you don't make unwanted changes to their shape.
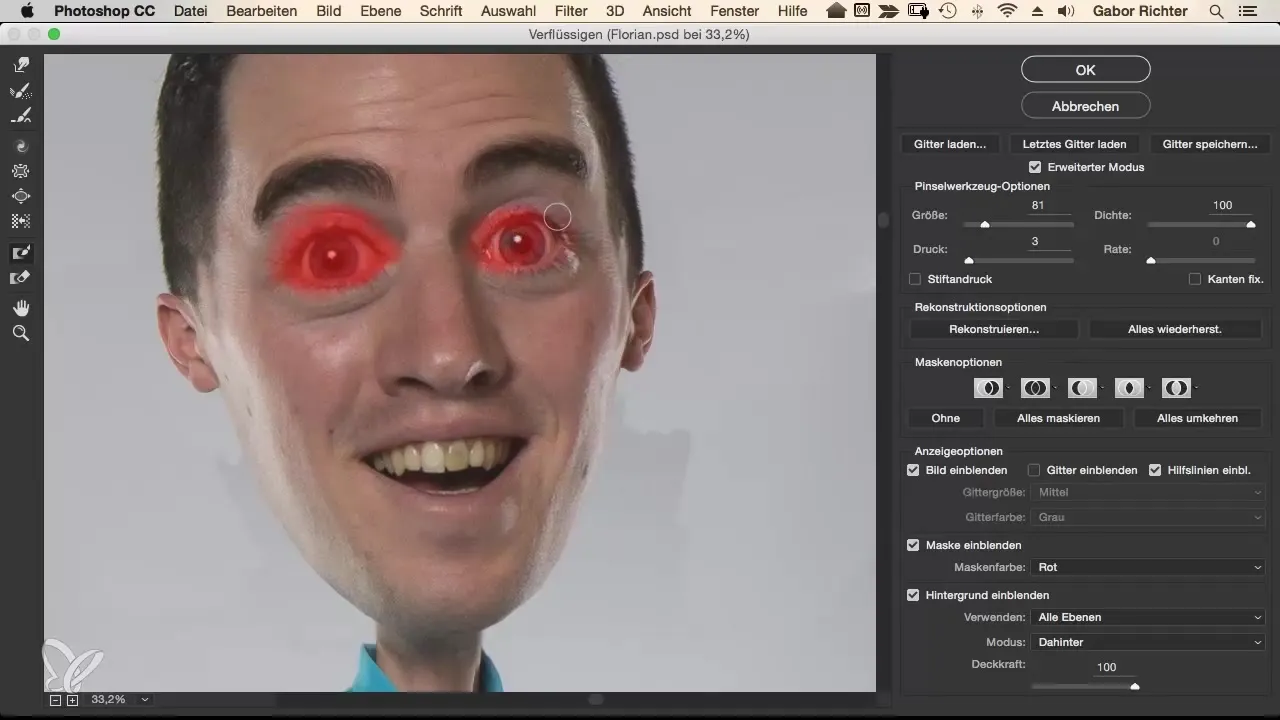
Use the Liquify tool to gently shift the nose to the right if it appears crooked. Here you can adjust the nostrils and make the nose overall a bit thicker. Focus on finding a round, cute shape that corresponds to the comic style.
If the nose is now centered on the face, you can also adjust the nostrils and optimize the size.
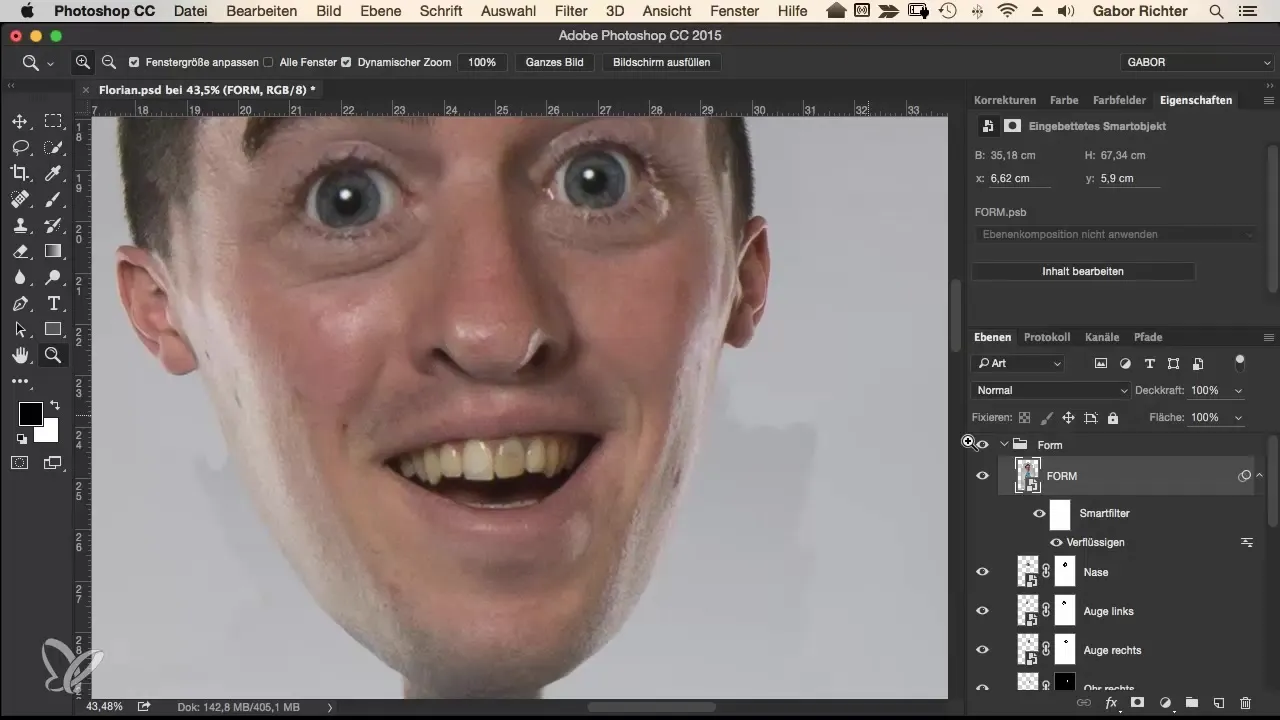
Before proceeding, compare the result again with a before-and-after. This will give you a good sense of whether the changes were appropriate.
Adjusting the Mouth
Now, let's focus on the mouth. To emphasize the smile further, first lift the corners of the mouth. This makes the face look friendlier. Don't forget to protect the nose here as well to avoid unintended changes.
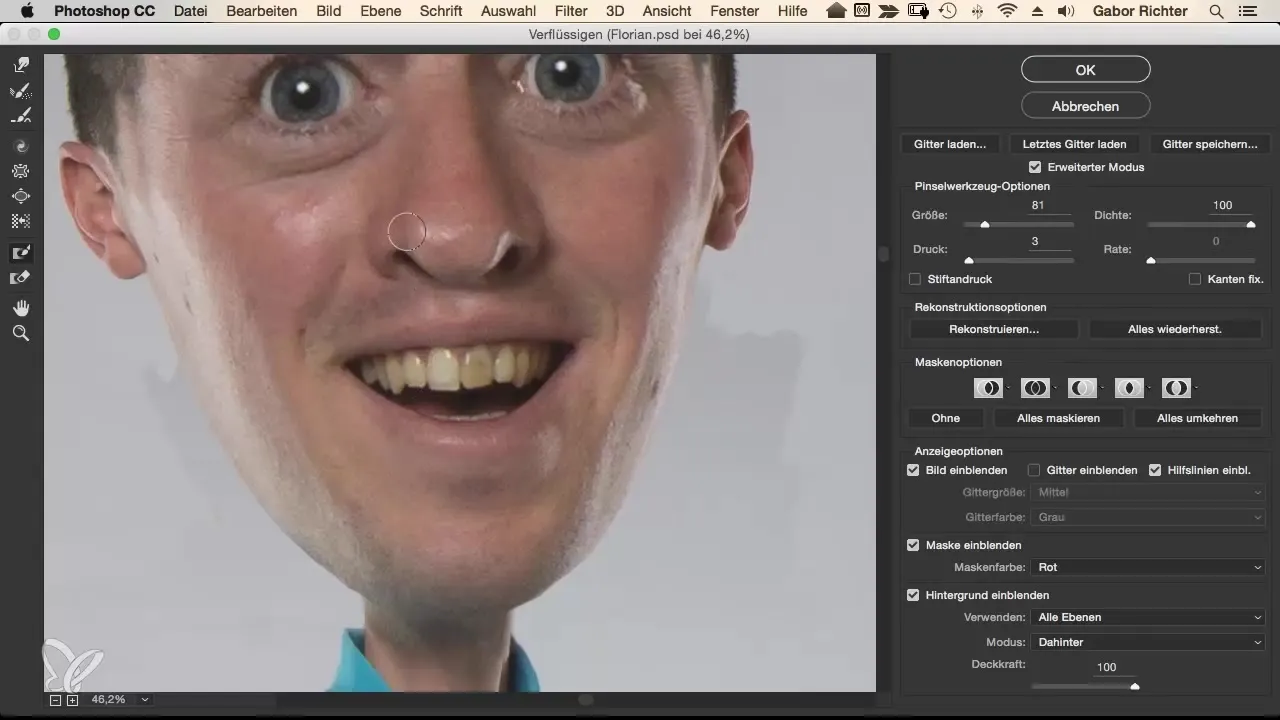
You can shape the mouth so that the lips are a bit more open. Be sure to find a connection to the tongue shape – a little comic charm never hurts!
When you are satisfied with the shape of the lips, increase the thickness of the lips. This can be depicted a bit exaggerated, as the comic style allows for it.
Remember to include the teeth in the design. Give them a somewhat wider and rounder look to make the expression livelier.
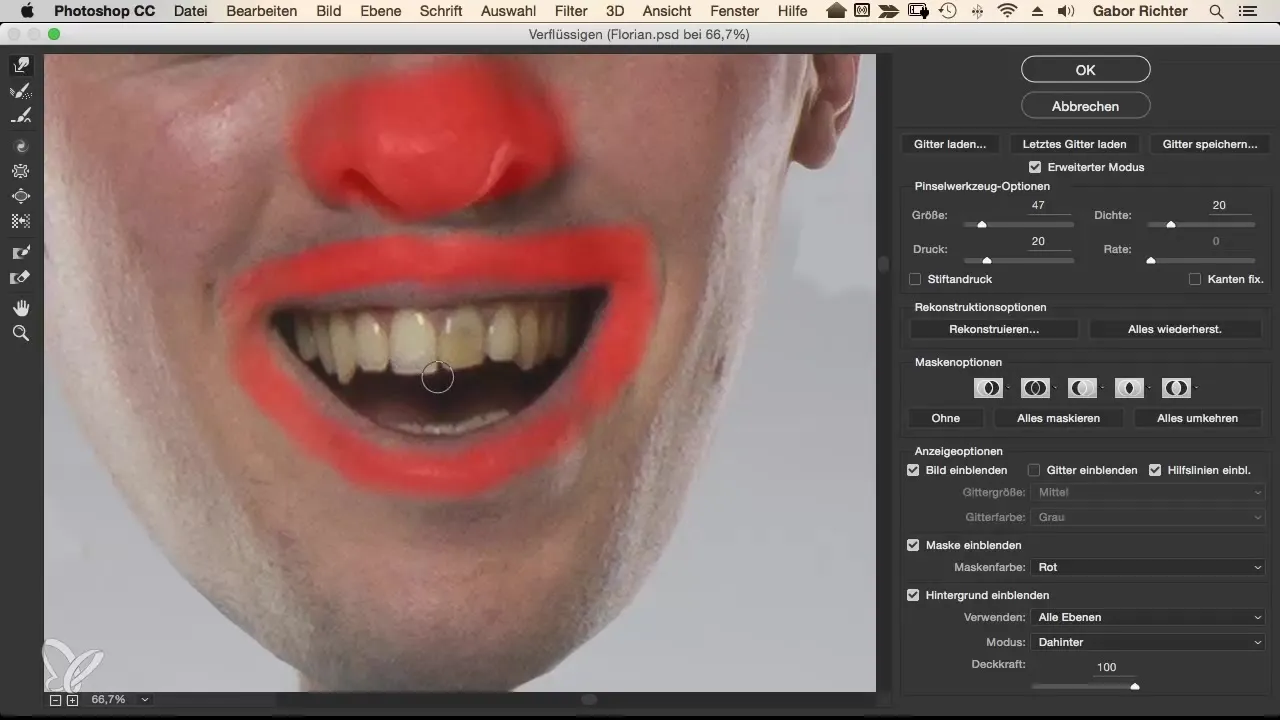
Make Final Adjustments
Once you are satisfied with the eyes, nose, and mouth, it is time to give your character the finishing touch. Ensure that all elements work together harmoniously. The overall image should be coherent and appealing.
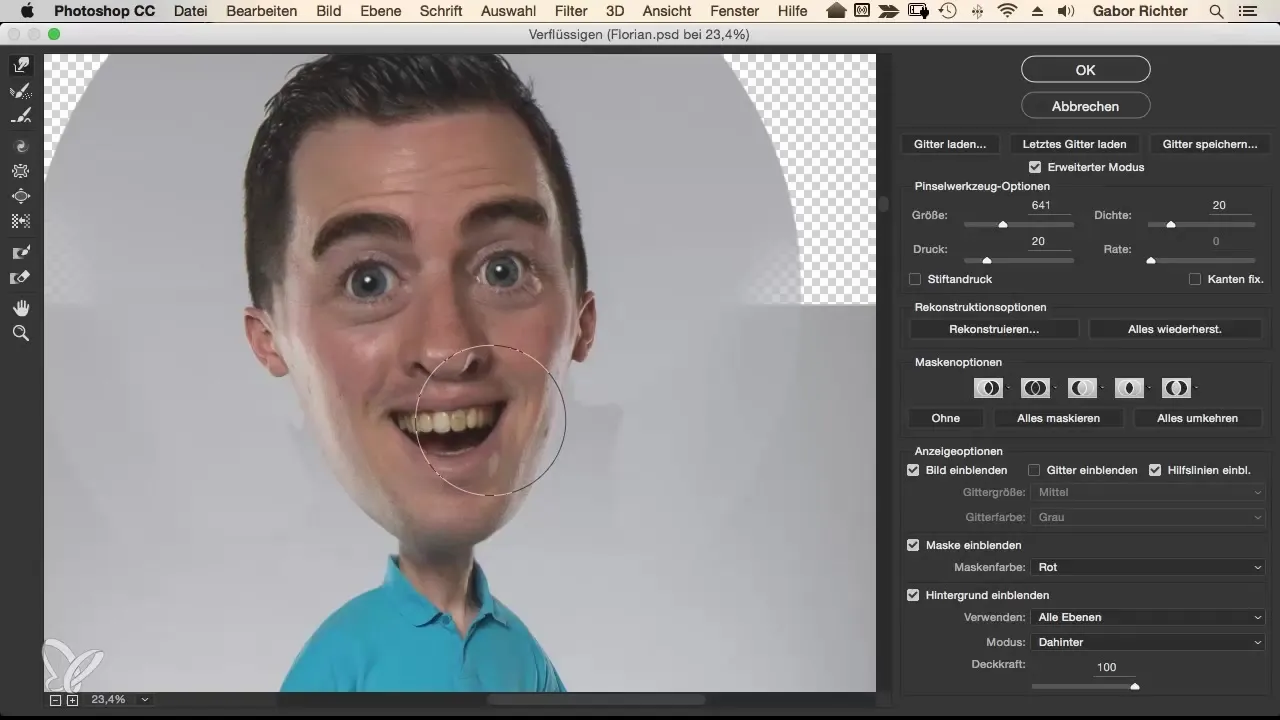
Regularly compare the before-and-after image to ensure you are on the right track and that the result meets your expectations.
Summary – Comic Face Design: The Complete Workflow for Facial Details
The art of designing faces in comic style lies in the details. You have learned how small adjustments to the eyebrows, nose, mouth, and teeth can significantly affect the expression. With the right technique and a trained eye, impressive results can be achieved.
Frequently Asked Questions
How do I protect the eyes when liquifying?Select the protection tool and outline the eyes to shield them from changes.
How can I make the lips thicker?Use the Liquify tool to gently push the lips down.
What do I do if the teeth look unnatural?Optimize the shape and position of the teeth and use the clone stamp tool for corrections.
Can I undo the adjustments at any time?Yes, many software applications offer the ability to step back through previous actions.
How often should I compare before and after?It is advisable to make comparisons regularly during the work process to gauge progress.


