Eyes are not just the window to the soul, but in the world of comics, they are also a central component of character portrayal. They can bring emotions and personalities to life and significantly influence the style of your characters. In this guide, we will show you how to edit your characters' eyes in an exaggerated, comic-like manner. You will learn how to accentuate these distinctive features to give your work an appealing and fun look.
Key Insights
- The selection of the eyes is similar to that of the head level.
- The transformation of the eyes requires precise work.
- Smart Objects offer the opportunity to maintain quality during editing.
- The brush tool allows for detailed masking.
- Experiment with different styles, including the decision to include or exclude eyebrows.
Step-by-Step Guide
Start by analyzing the head of the character in your image. The head should be large enough to highlight the exaggerated eyes, so adjust the basic proportions if necessary.
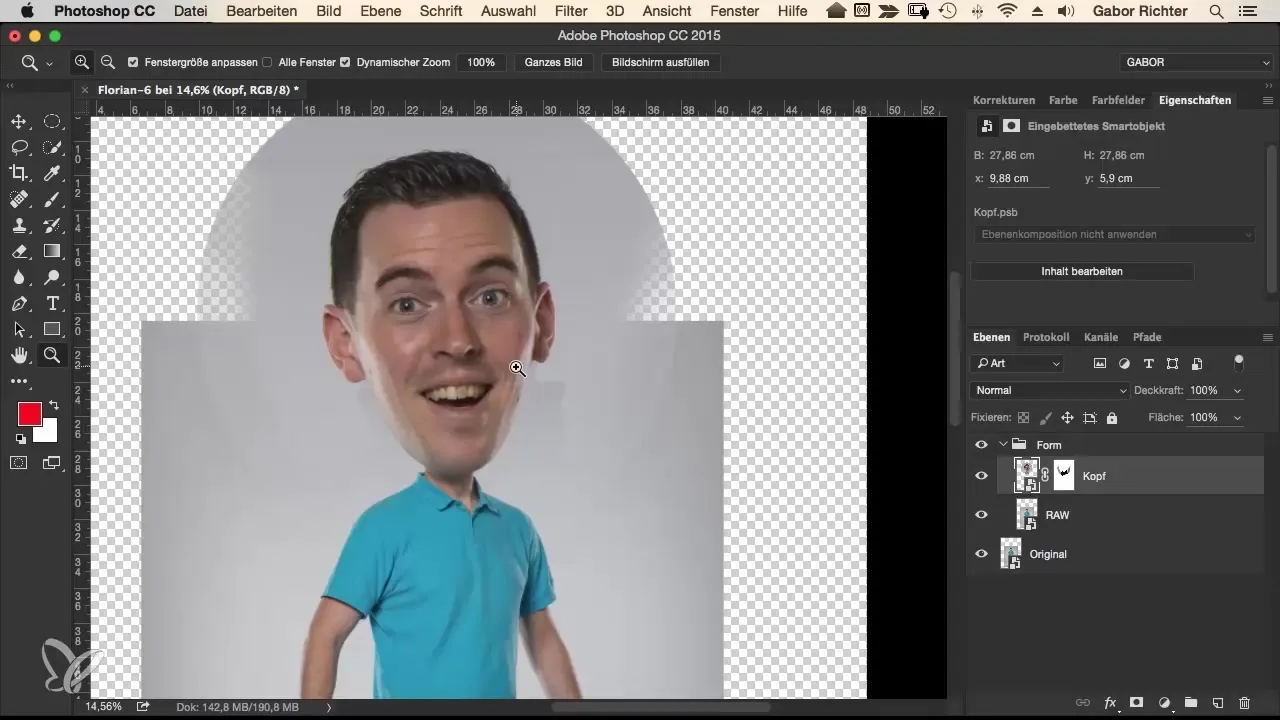
Next, select the eyes for targeted editing. You can do this by selecting the eyes in the image between different layers. Make sure not to transform the original layers, but work on the head layer.
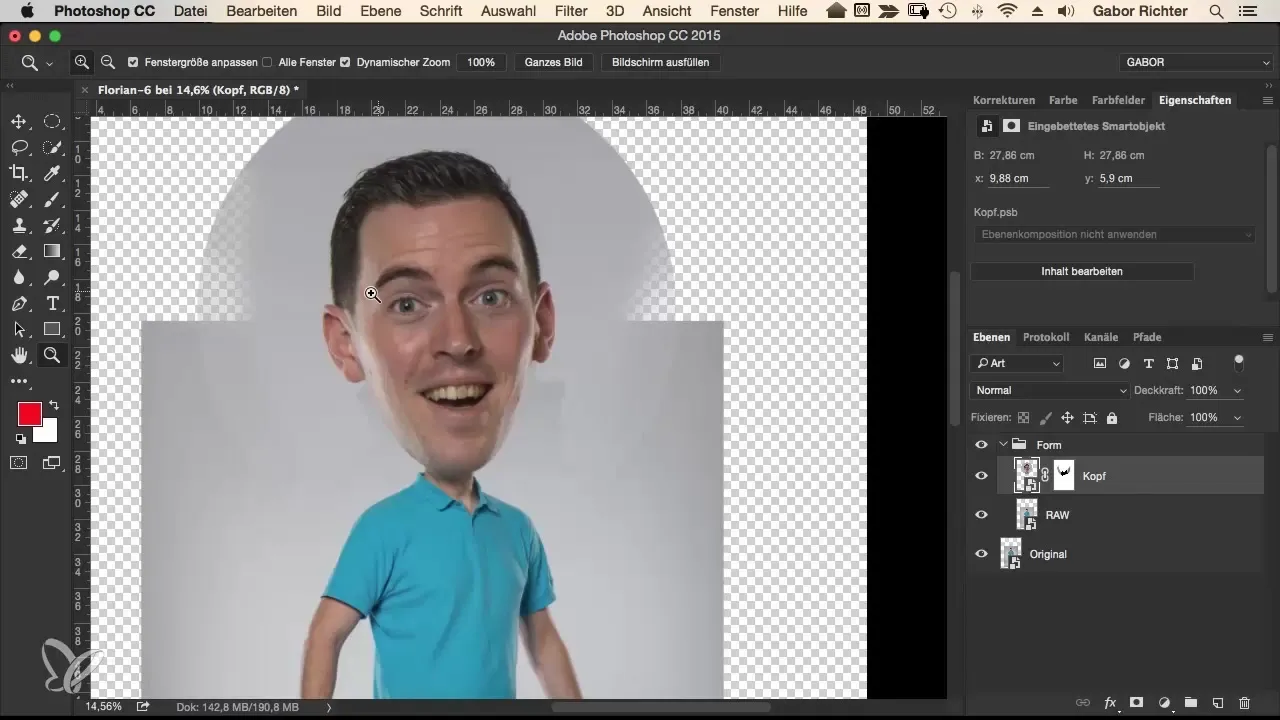
Use the keyboard shortcut Command + J (or Ctrl + J for Windows) to select the eyes and create a new layer. Name this layer something like "Left Eye." By creating a Smart Object, you retain the flexibility to make later adjustments without losing quality.
To enlarge the eyes, select the transformation tools by pressing Command + T. Set the anchor point to the center of the pupil so that the eye can be enlarged proportionally. An increase of 20 to 30 percent is usually sufficient to achieve the desired effect.
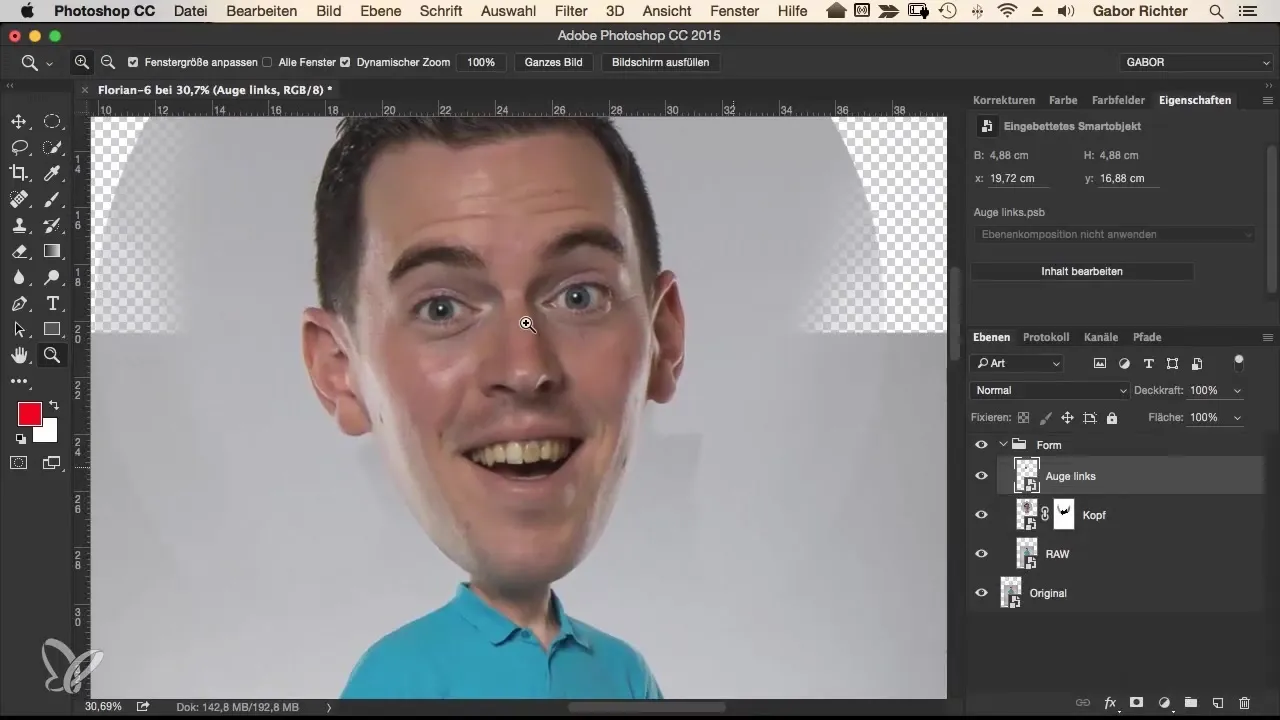
Repeat this process for the right eye. Make sure to make a similar selection as for the left eye to achieve a harmonious image effect. Use the left eye as a reference for size.
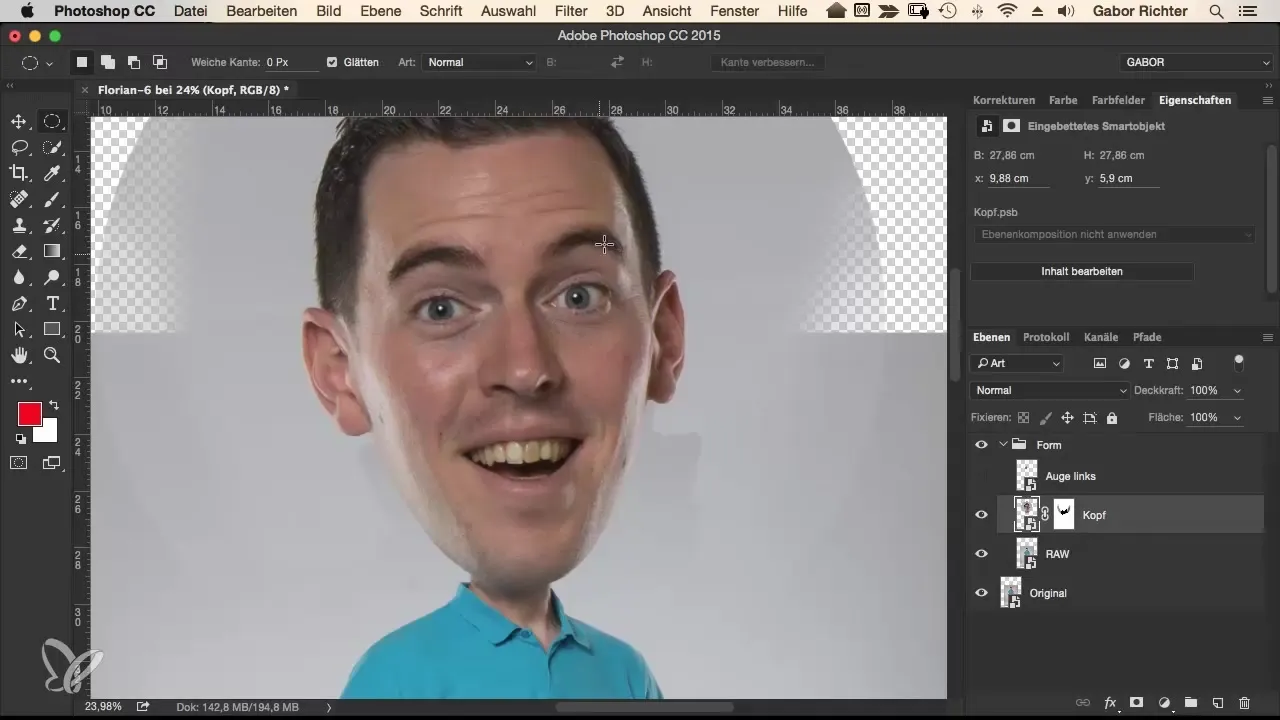
Toggle the layers so that you can adjust the visibility of the eyes as needed. To ensure everything fits well together, you should frequently switch back and forth between the layers.
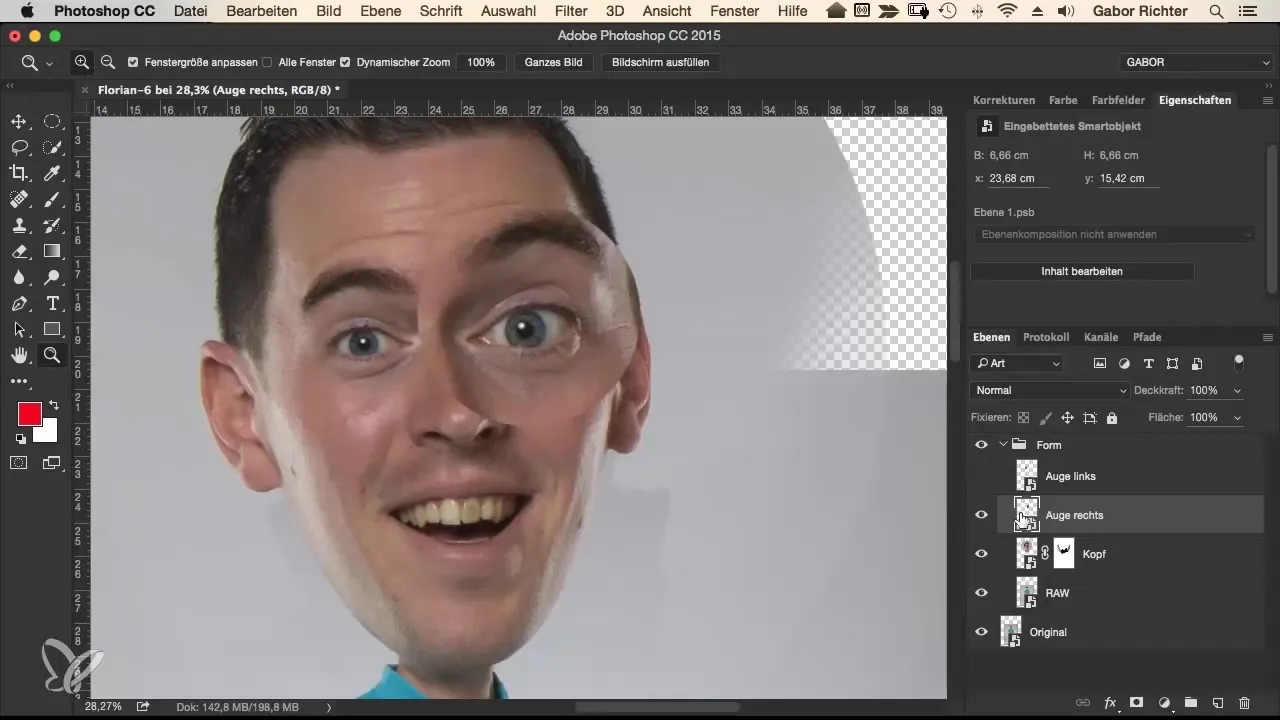
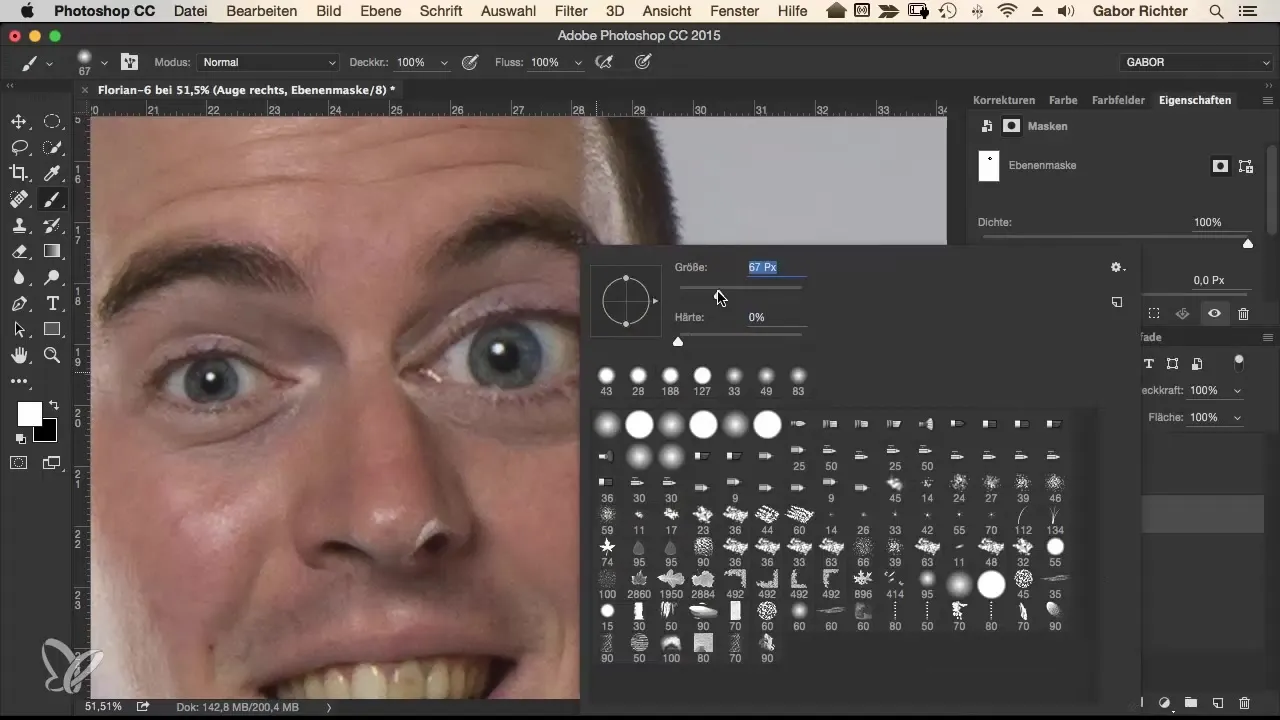
Now it is time to add masks. Select the brush tool with 100% opacity and a hardness of 100%. Set the brush size to about 127 for precise masking around the eyes. This will allow you to skillfully remove anything you do not want to keep.
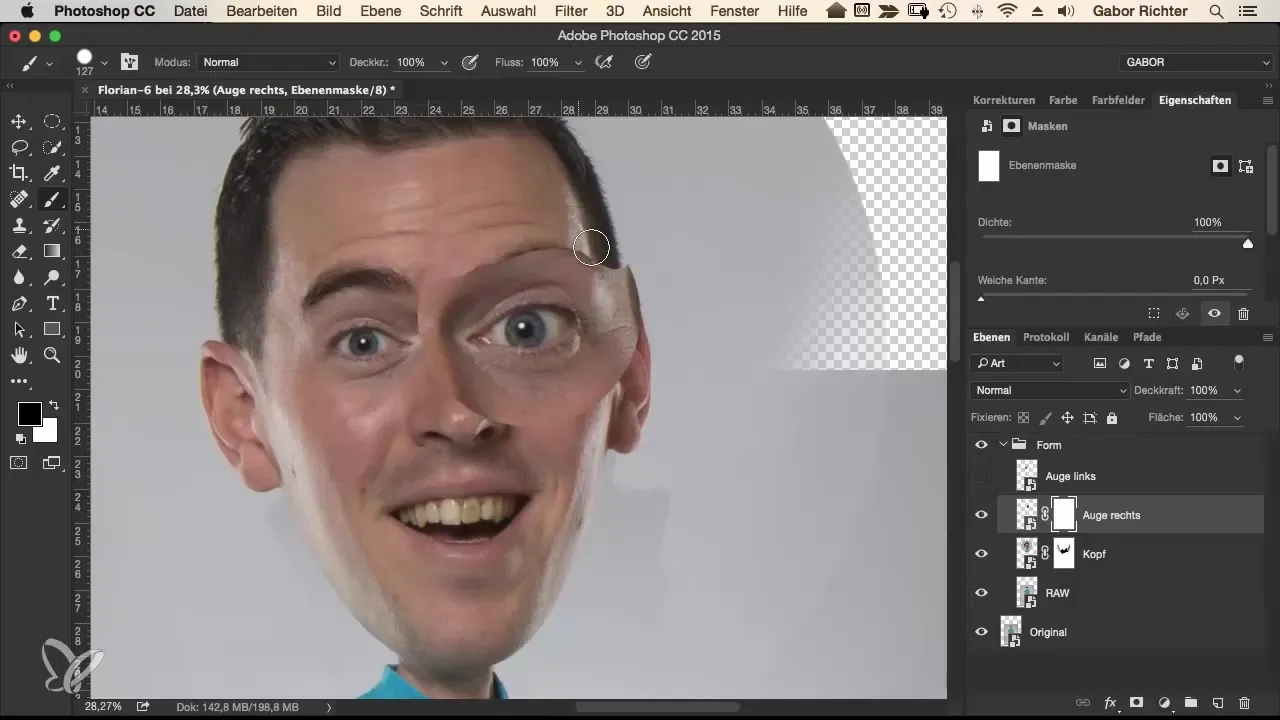
Changing the hardness of the brush is essential for a soft transition feel. You can reduce the hardness to about 70% and work slowly around the eyes so that the transitions become smoother. A little zoom can help capture details better.
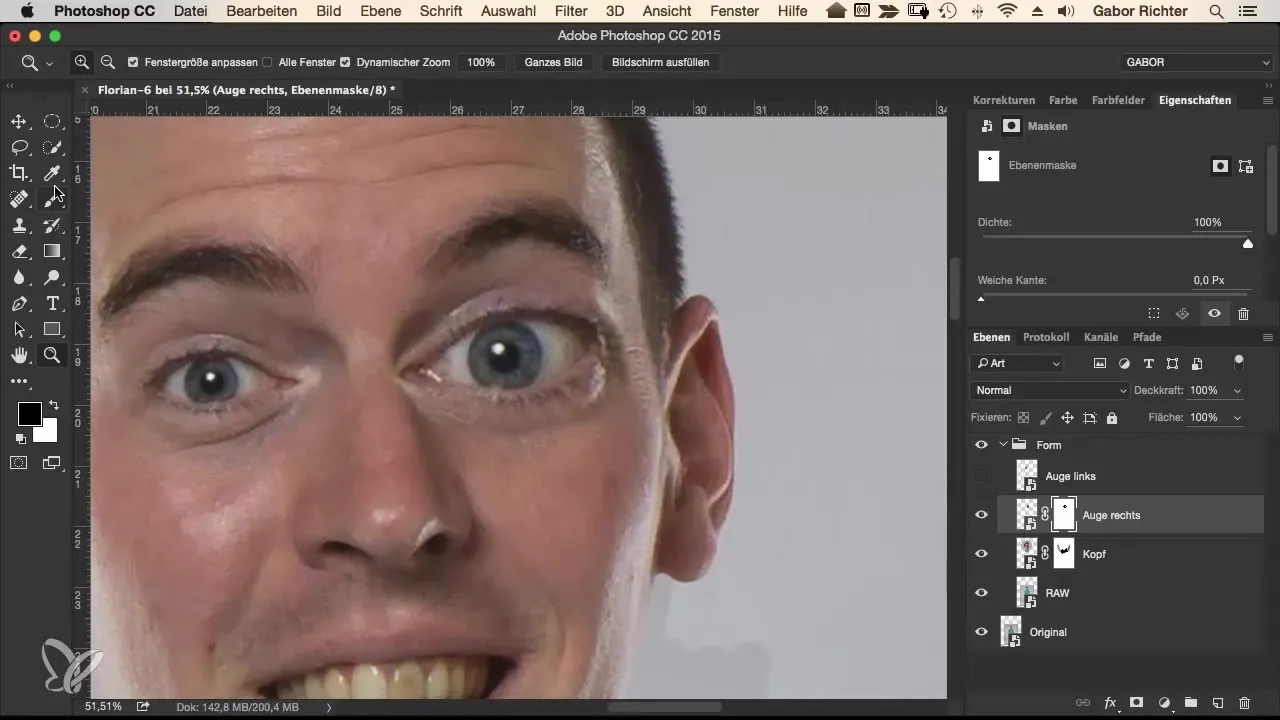
If you find that the eyelid has not been masked correctly, proceed carefully to integrate these areas as well. An additional finishing step could be to soften the masking at the edges a bit to make the transition more natural.
Another aspect to consider are the eyebrows. They also contribute to the comic-like look and can either be integrated or hidden. You can test them out and see how they affect the overall image.
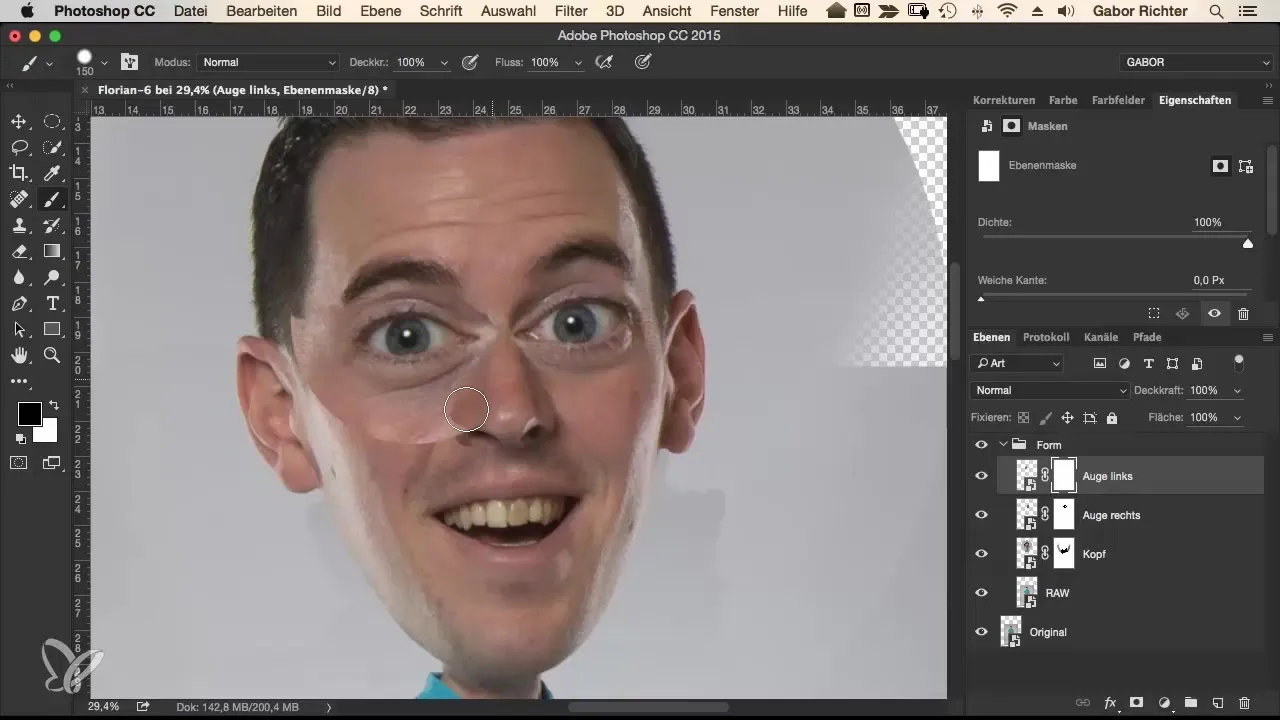
Finally, check if the eyes are positioned correctly. If necessary, go to the corresponding layer and slightly move the eyes to achieve the desired effect. This is especially helpful when the proportions aren’t quite right.
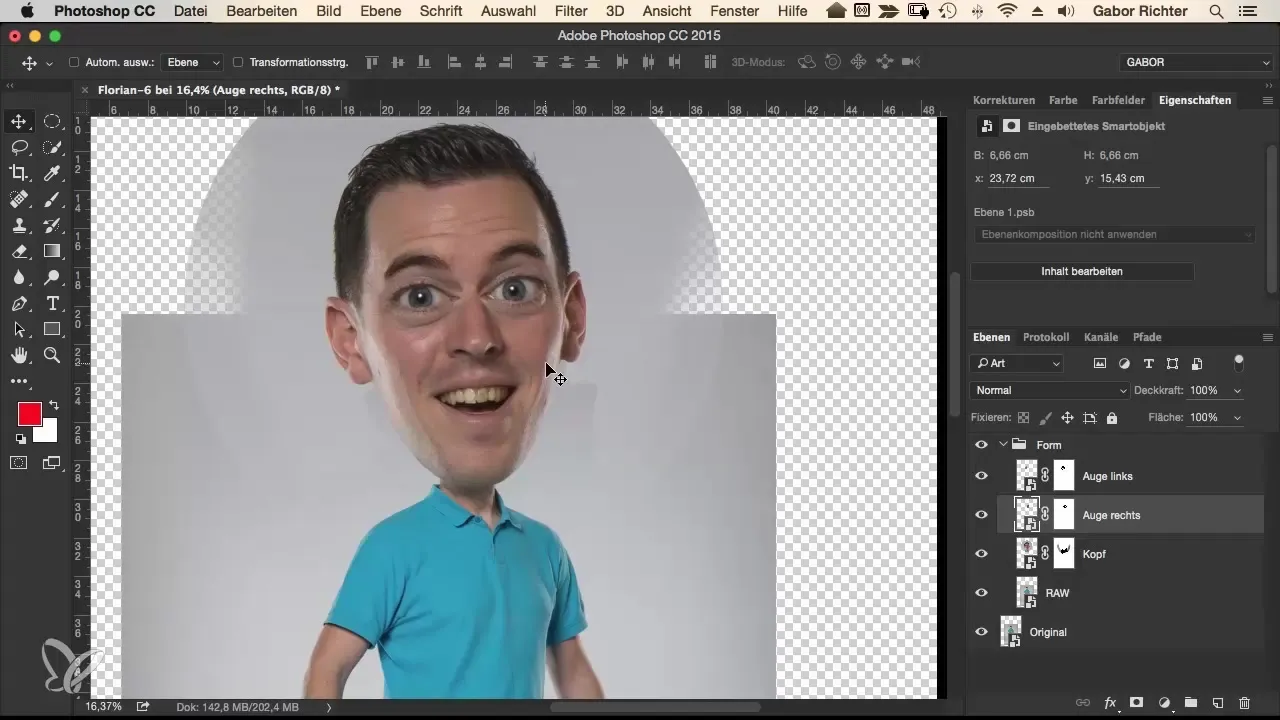
The large eyes give the character a charming and funny appearance, and gradually your image comes to life. The transformation of the eyes is a step towards a dynamic and appealing comic style.
Summary – Comic Style Vol. 2 – Inflating Eyes in Digital Illustration
In this guide, you learned how to effectively enlarge and inflate the eyes of comic characters. From selection to creating Smart Objects to perfect placement, each step has been explained in detail to achieve an optimal result.
Frequently Asked Questions
How can I adjust the size of the eyes?Use the transformation tools (Command + T) and set the anchor point to the center of the pupil.
What is the advantage of Smart Objects?Smart Objects allow you to maintain quality while editing and make adjustments at any time.
How can I achieve a natural masking?Reduce the hardness of your brush to create softer transitions and work carefully around the eyes.
Should I include the eyebrows?That is a design decision. You can test them out and see if they fit the overall effect of the image.
Can I adjust the position of the eyes afterward?Yes, you can select the layers and position the eyes for precise adjustments.


