Feet are a key element in the design of comic characters. By enlarging the feet, you can not only give the characters more stability but also strengthen their visual impact. This guide will show you how to effectively enlarge the feet of your comic characters in Photoshop to achieve unnatural yet creative effects.
Key Insights
- The size of the feet affects the overall appearance of the comic character.
- Clean masking is crucial for the transition between the feet and the underlying image.
- The Liquify filter in Photoshop is a helpful tool for adjusting proportions.
Step-by-Step Guide
Preparing the Shoes
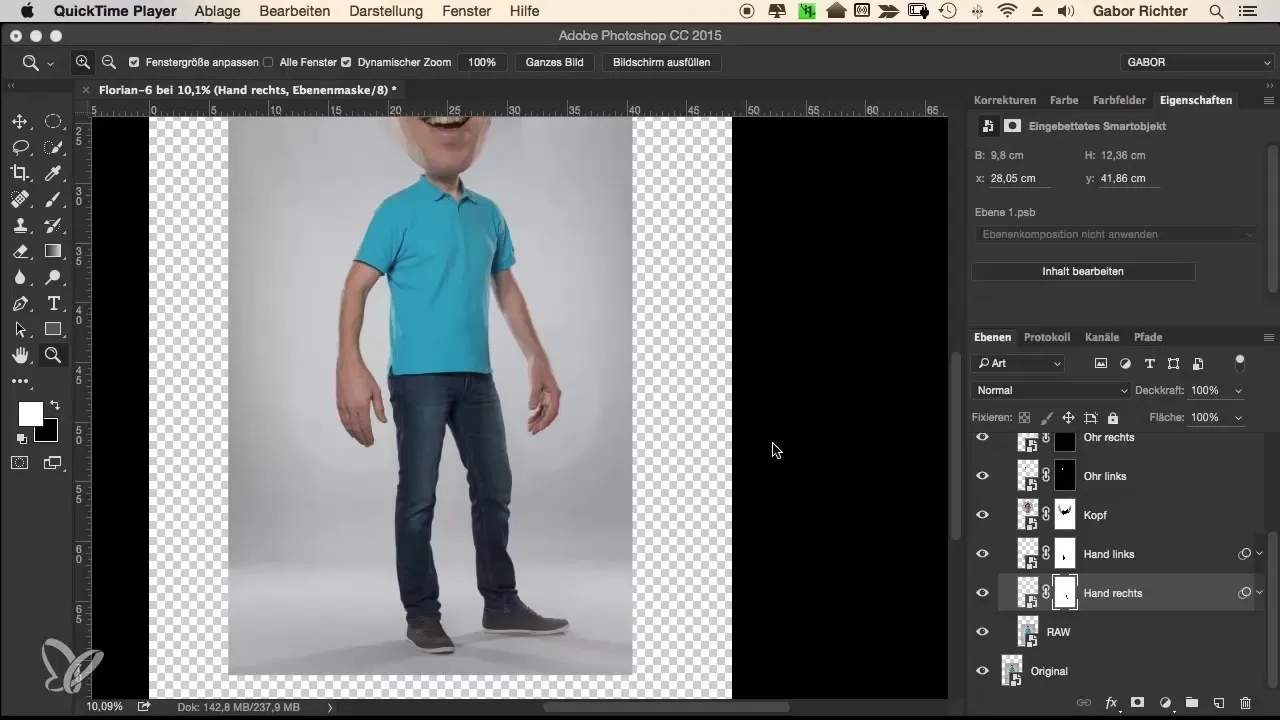
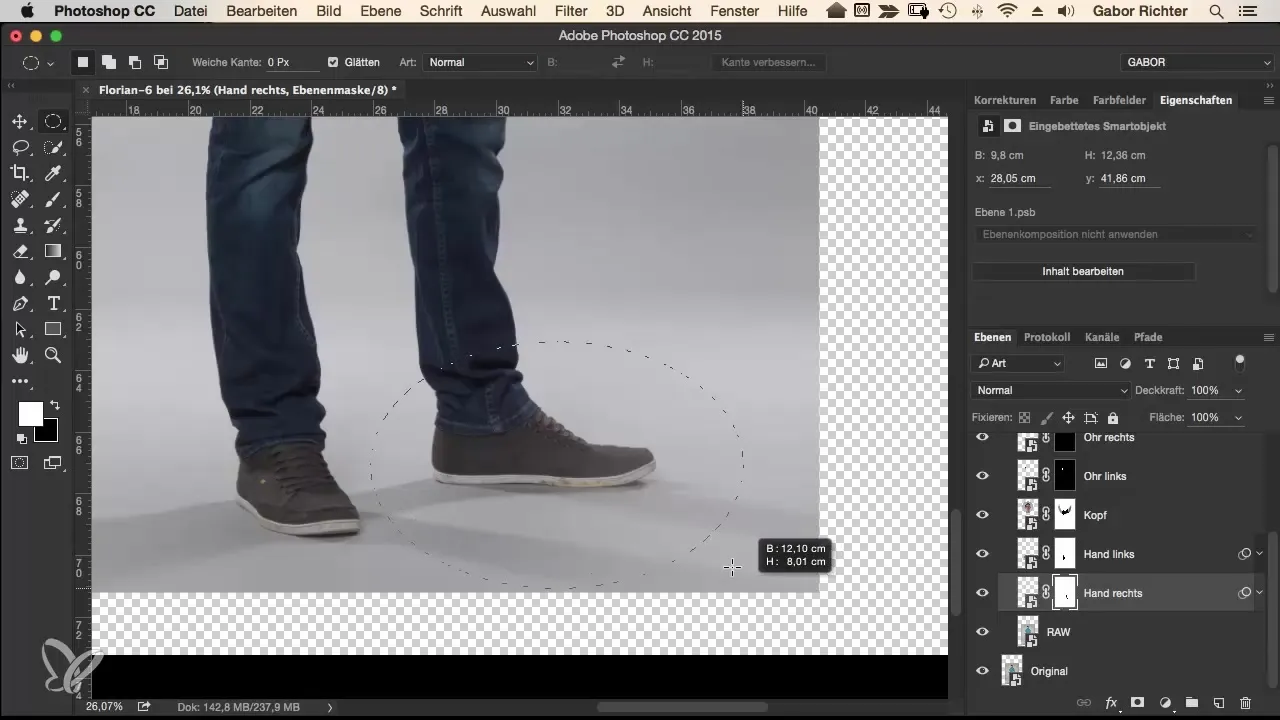
To start editing the feet, you need to cleanly select the character's shoes and create the base for your edits. First, create a large selection around the right shoe and convert it into a Smart Object.
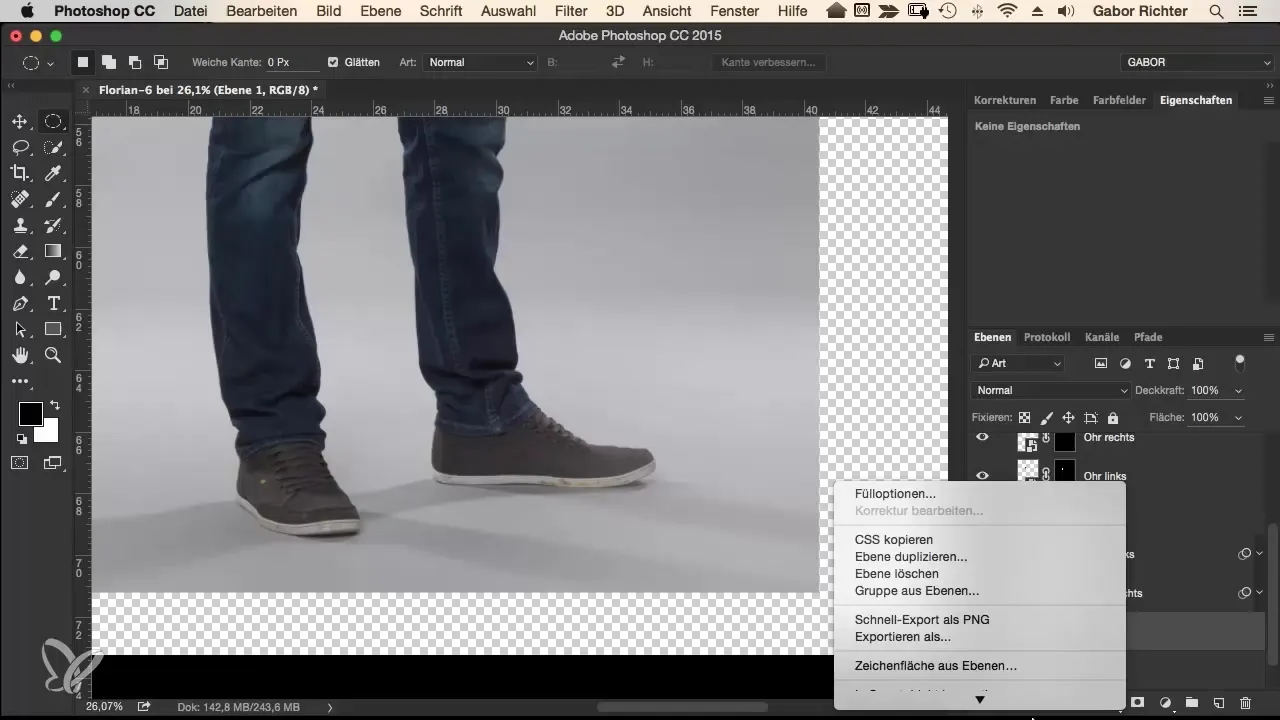
Next, repeat this step for the left shoe. Make sure to carefully select the shoe so that the selection is clean and precise. Also convert the left shoe into a Smart Object.
Enlarging the Shoes
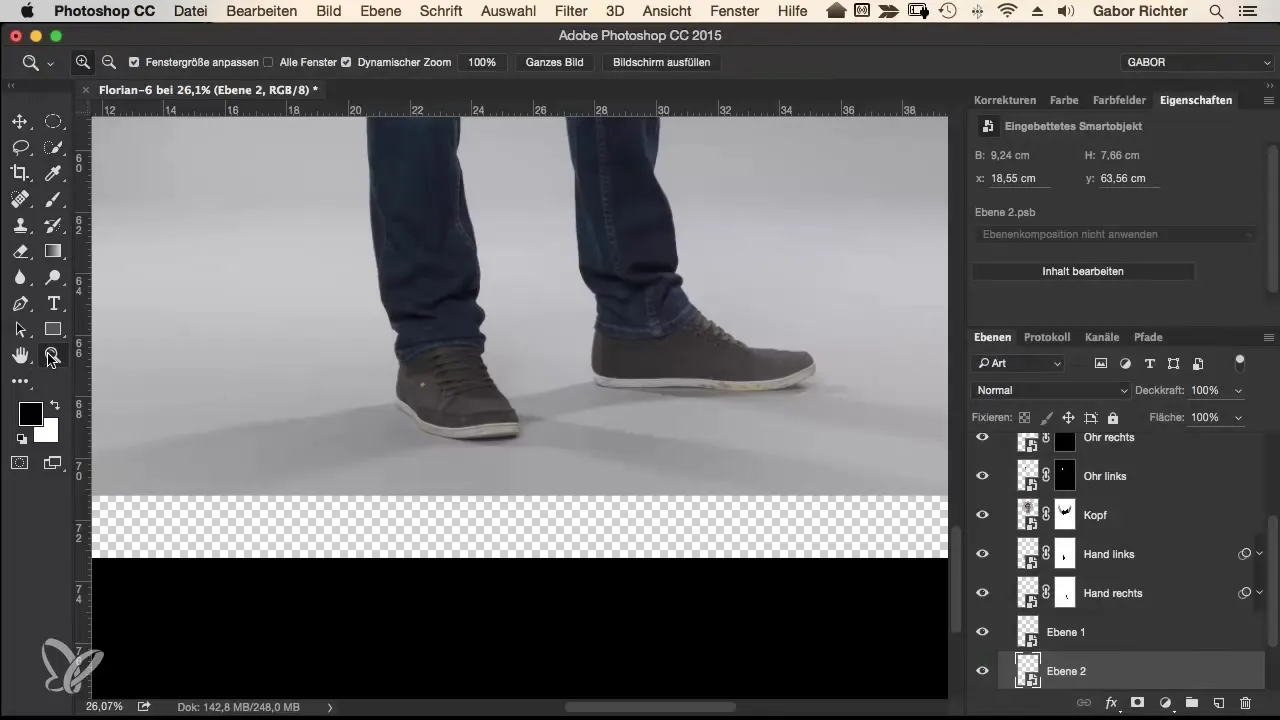
Now you come to the scaling of the shoes. Select the right shoe and scale it to the desired size. Here, you will want to go toward the pant leg and pull the shoe out so that it appears significantly larger.
Apply the same procedure to the left shoe. Again, you should find a clear approach to enlarge the shoe, ensuring that both look good together.
Adjusting the Feet
The focus on the feet is the next step. Activate the Liquify filter and zoom in on the shoe and the leg. Your goal is to make the transition between the foot and the ground smooth and harmonious, while ensuring that the shoe appears rounder and larger at the same time.
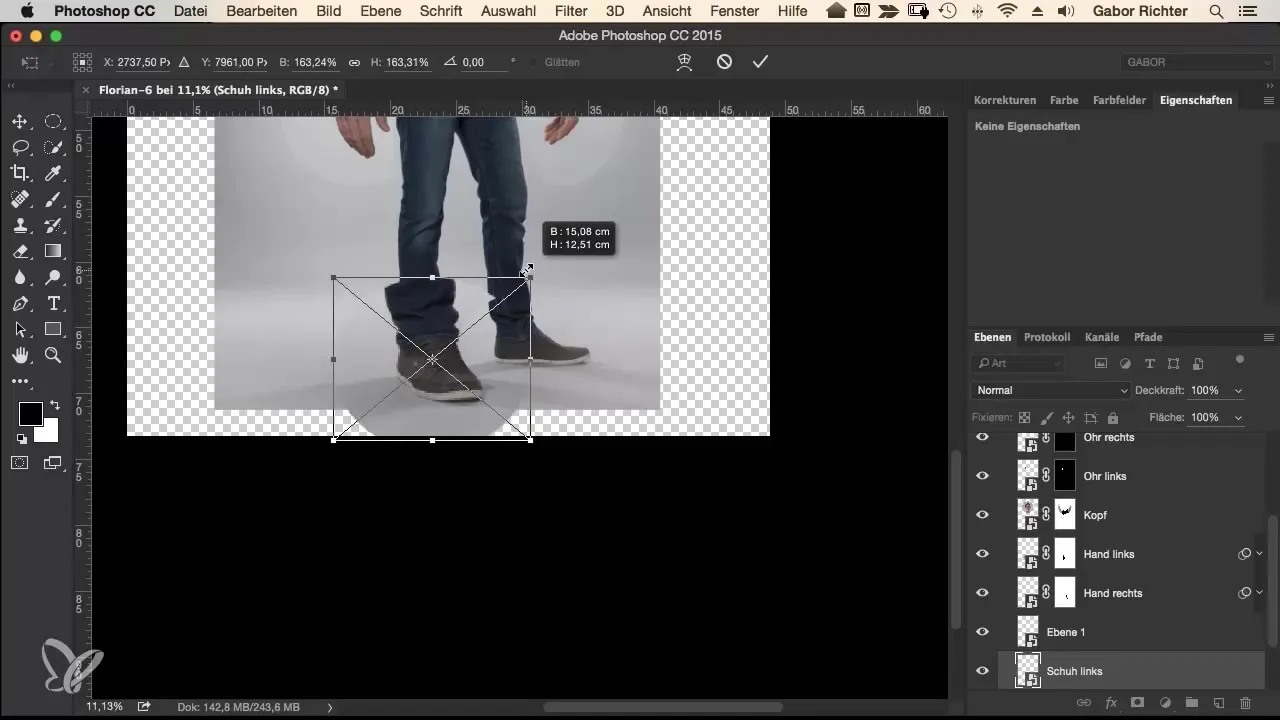
Once you are satisfied with the transition, create a mask around the edited area. Use a masking with 100% opacity to keep the edges clean. This will make the overall image appear smoother and more professional.
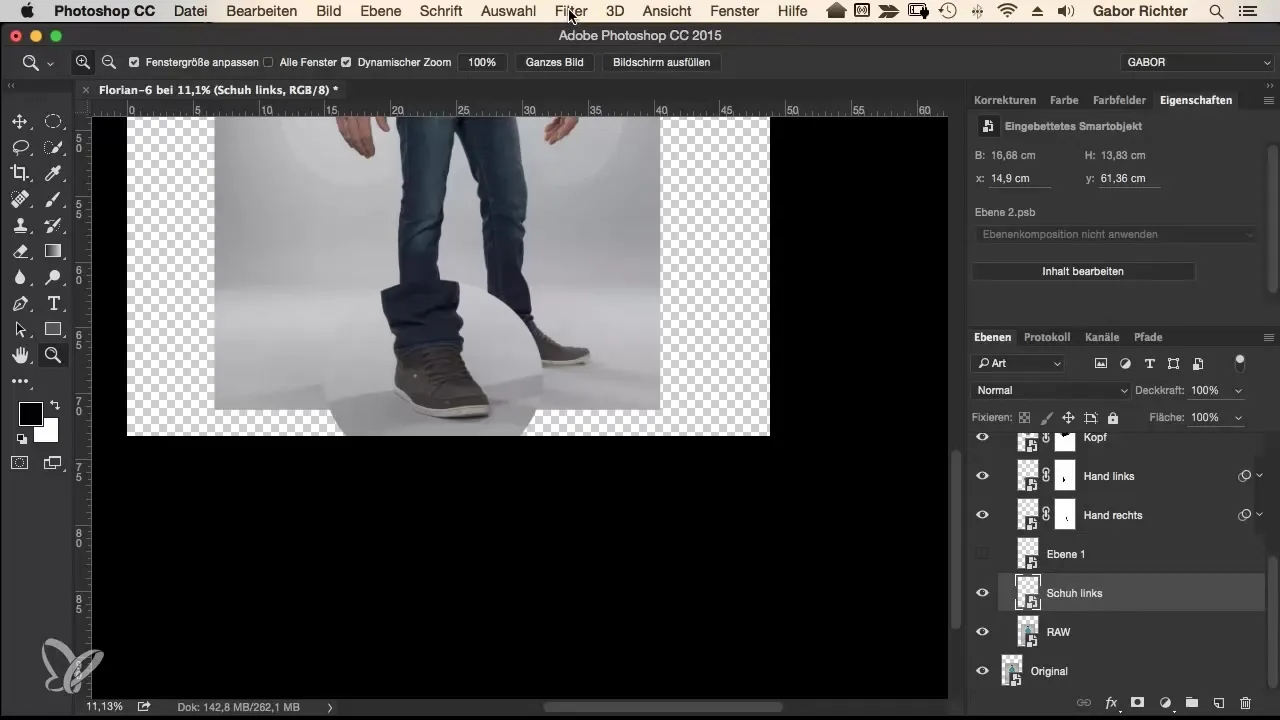
Final Adjustments
After completing the left foot, repeat the process for the right foot. Again, use the Liquify filter and ensure that the size and shape are adjusted to fit the character well.
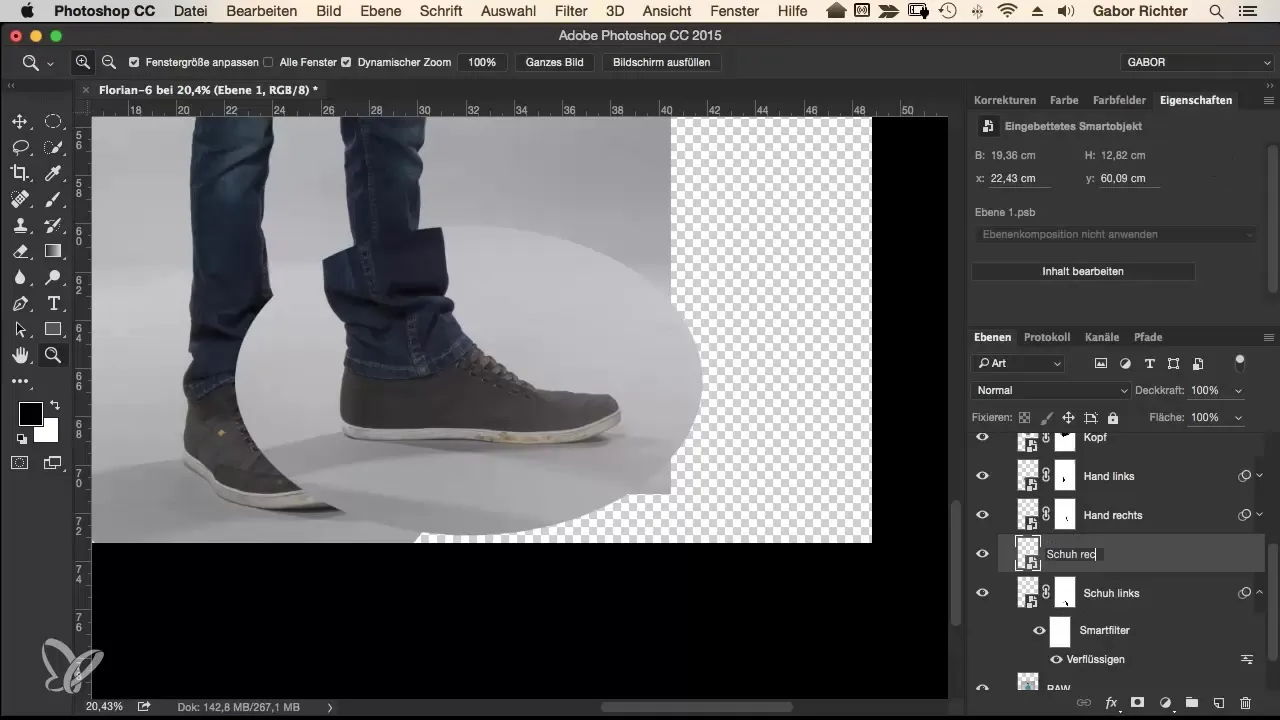
Additionally, pay attention to correcting any problems with seams or similar issues by softening the transition and adjusting the opacity to enhance the illusion.
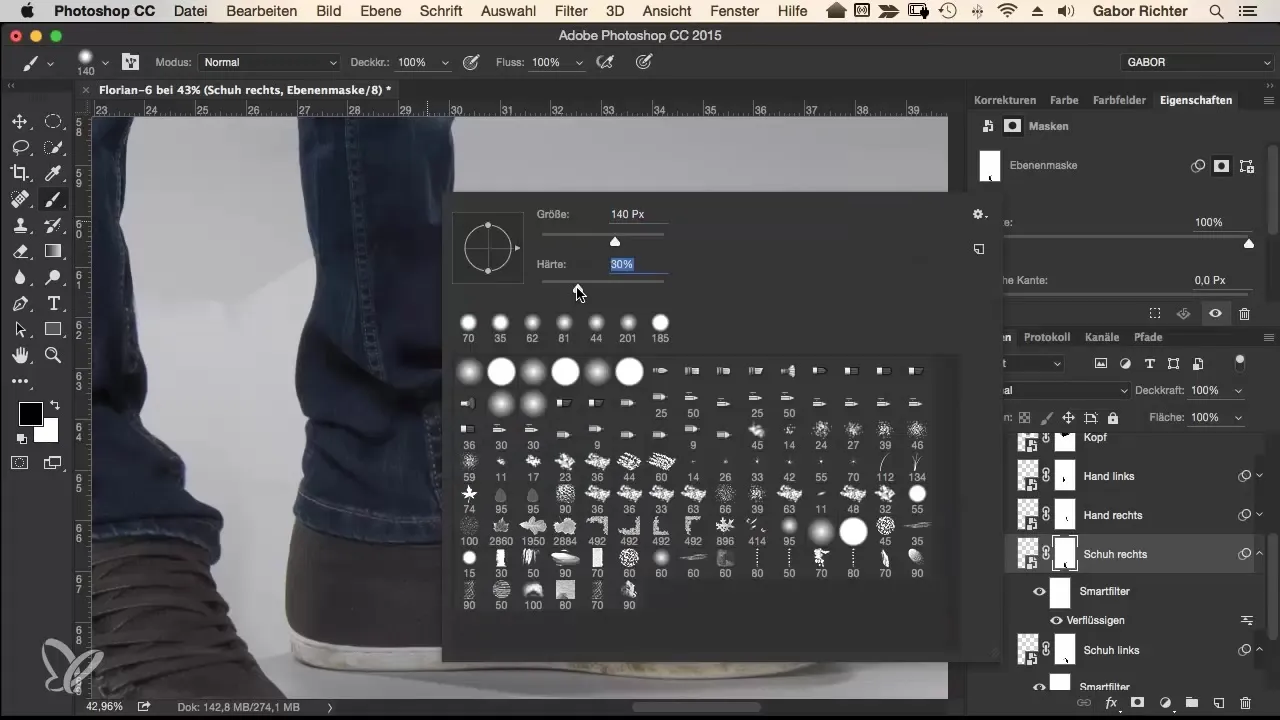
Final Review
Once both the feet and shoes have been edited, review the entire composition. Pay attention to how the new proportions interact. Remove focus from the face when viewing the overall image, and concentrate on the changes.
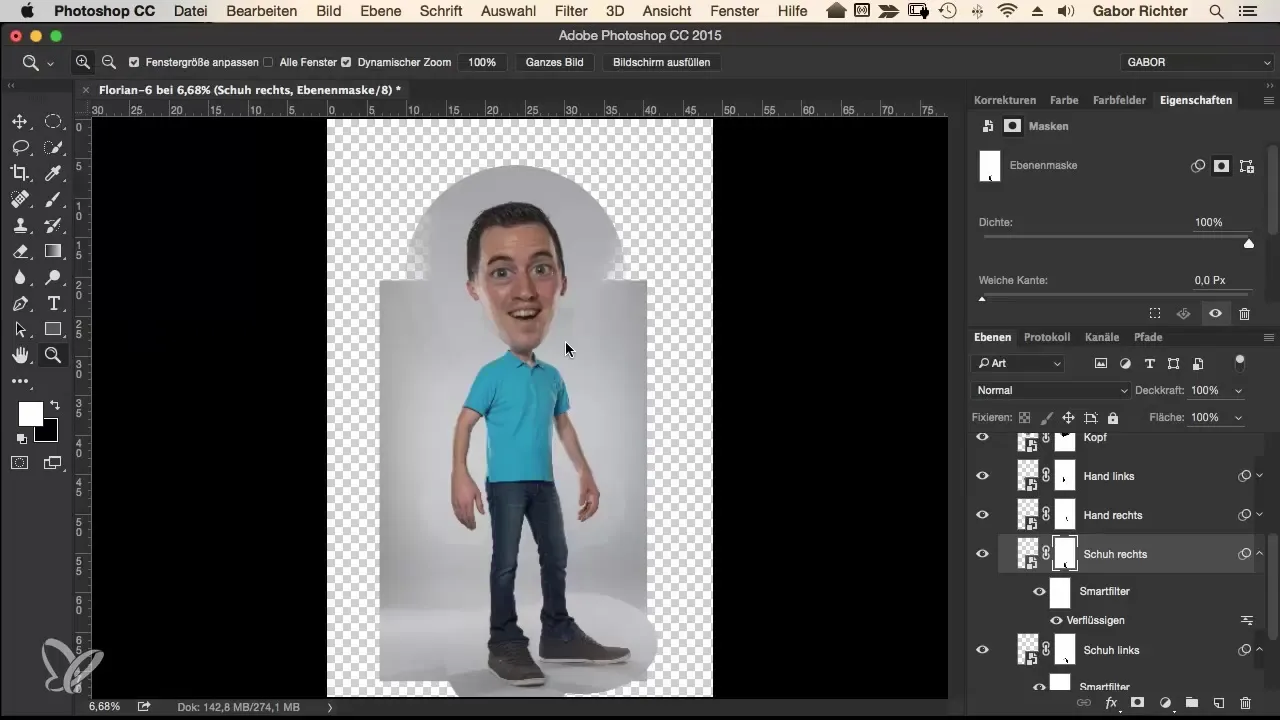
If you feel that the adjustments are successful, you can save the file or prepare it for further edits.
Summary
In this guide, you have learned how to sensibly enlarge the feet of your comic characters in Photoshop. With precise maskings and the Liquify filter, as well as a clean selection, you can effectively adjust the proportions of your characters and give them a stylized, distinctive look.
Frequently Asked Questions
What is the Liquify filter in Photoshop?The Liquify filter in Photoshop allows you to deform areas of an image to make adjustments.
How can I enlarge feet in Photoshop?You can enlarge feet by creating a selection, converting it into a Smart Object, and then applying the Liquify filter.
Why should I work with Smart Objects?Smart Objects allow for non-destructive editing so you can make adjustments at any time without affecting the original image.


