The isolating of individuals and objects is a fundamental technique in graphic design and image editing. In this tutorial, I will show you how to create a precise selection using the Pen Tool to isolate a person. Whether you're working on a project or just out of interest, this method will give you a lot of flexibility in presenting your figures against any desired background.
Key Insights
- The Pen Tool allows you to make a precise contour selection, ideal for fine details.
- Communication between the points is crucial for the quality of the isolation.
- Using groups in layer management helps keep your project organized.
Step-by-Step Guide
Step 1: Preparation
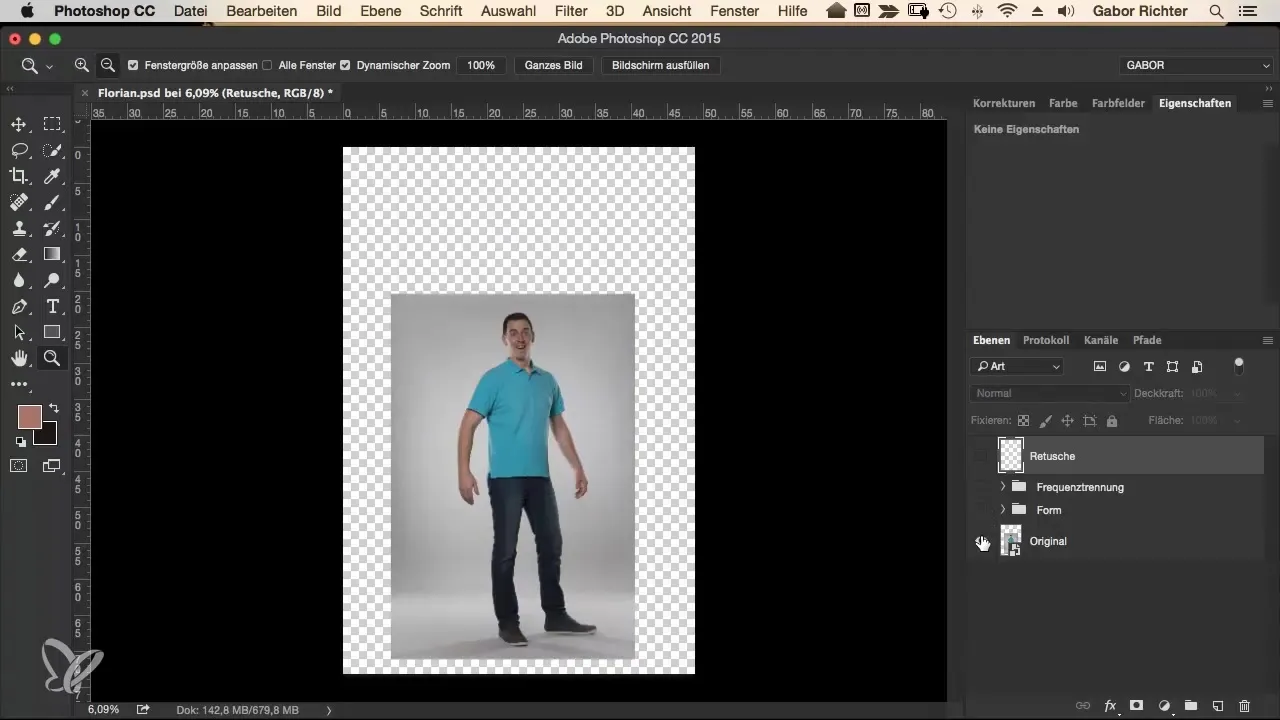
First, open your image in your chosen graphic software. Be aware that isolating can take some time and requires patience. Optimize your view by setting the image to a high resolution. You can now begin selecting your Pen Tool.
Step 2: Select the Pen Tool
Make sure you have selected the Pen Tool. It is important that the "Shape" function is turned off and "Path" is turned on so that you can control the edges of the selection precisely. Zoom in with the magnifying glass to about 200% so that you can see all the details clearly.

Step 3: Set Initial Points
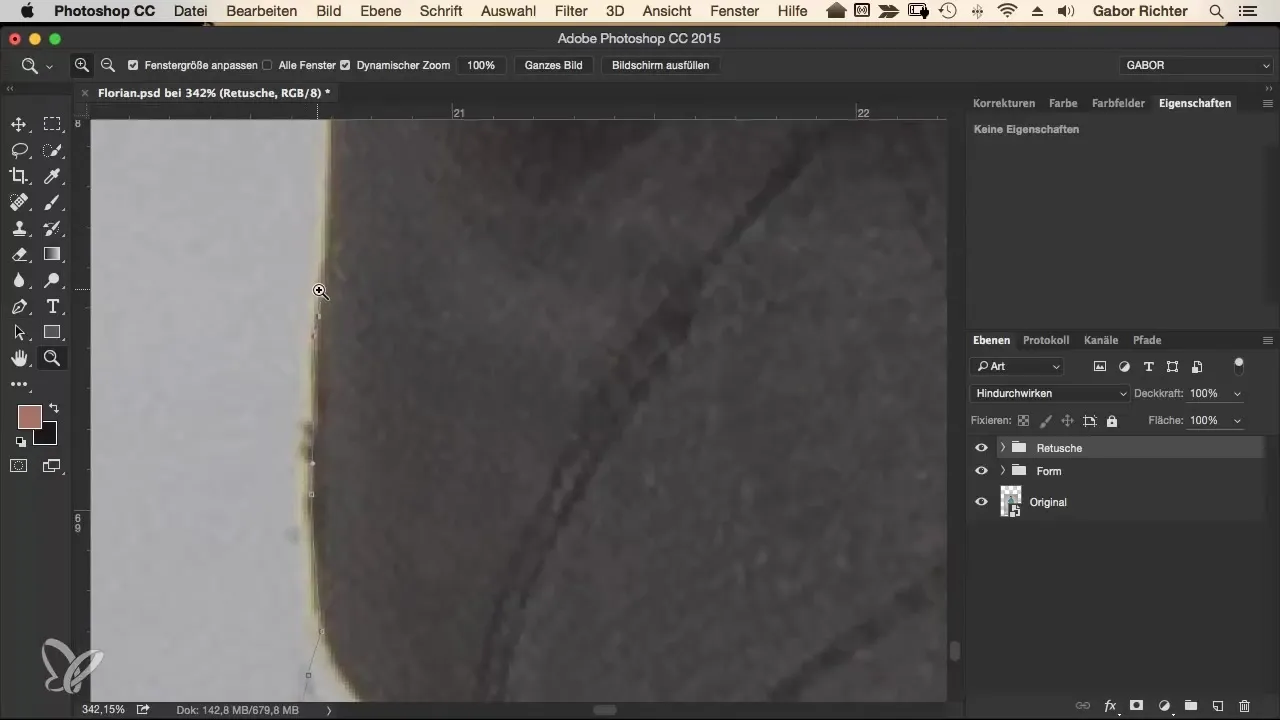
Start by placing the first points along the contours. Do not start directly on the contour, but cut away everything you do not want. The goal is to keep the contours as clean as possible. Practice handling the curves by placing points and then pulling them to form a smooth line.
Step 4: Further Define the Contours
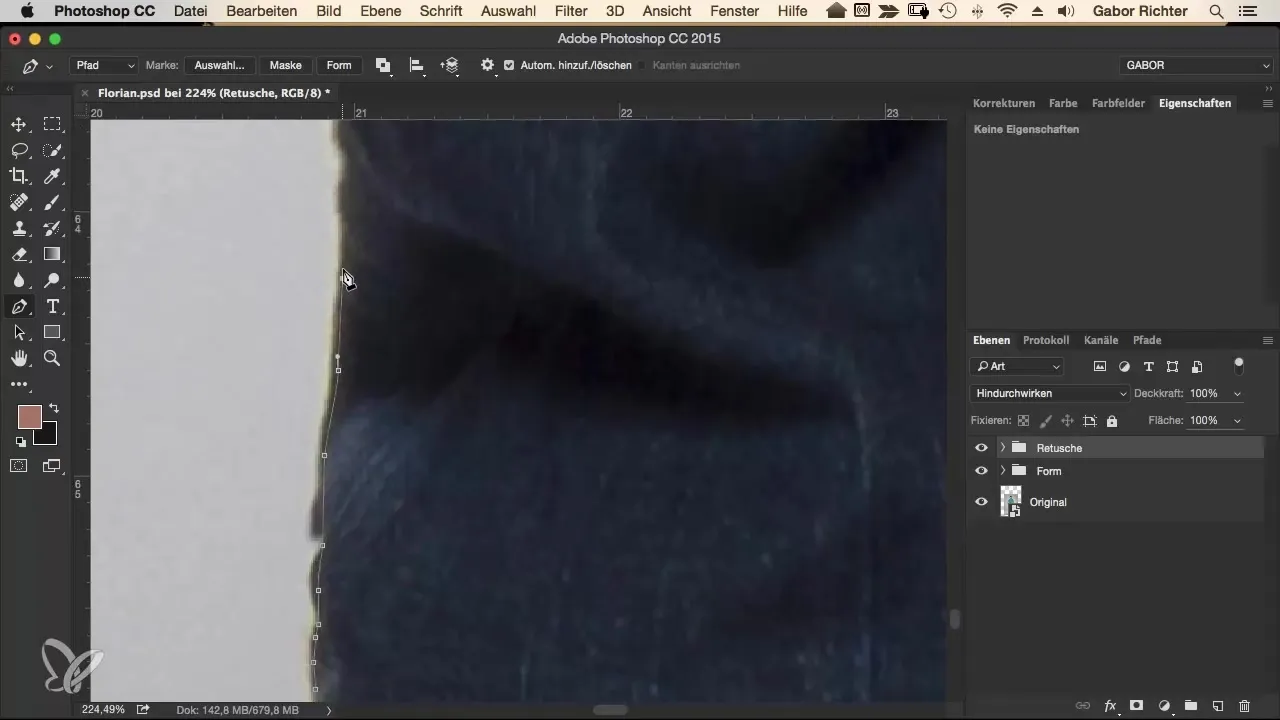
Continue placing points. Pay attention to the shape of the contours and keep enough distance to avoid blurry areas. The more time you invest, the more precise the final result will be. Allow yourself to be generous with the curves; this will make your image appear cleaner.
Step 5: Utilize Negative Spaces
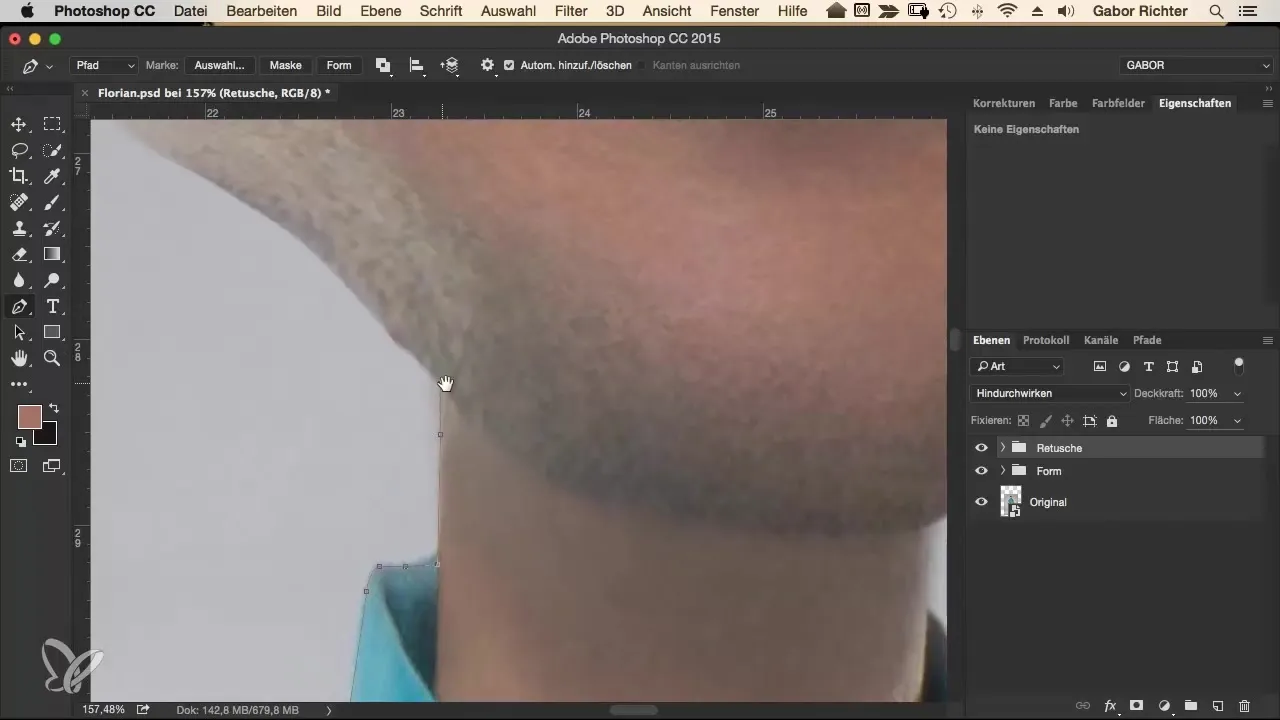
A specific technique that ensures a clean isolation is leaving out unwanted bulges or wrinkles. When you see such areas, decide not to include them when isolating. Keep the lines simple and flowing to achieve a pleasant shape.
Step 6: Have Patience
Isolating can be a monotonous task, so it is helpful to listen to music or audiobooks in the background. This can lighten the monotonous nature of the work and help you stay focused.
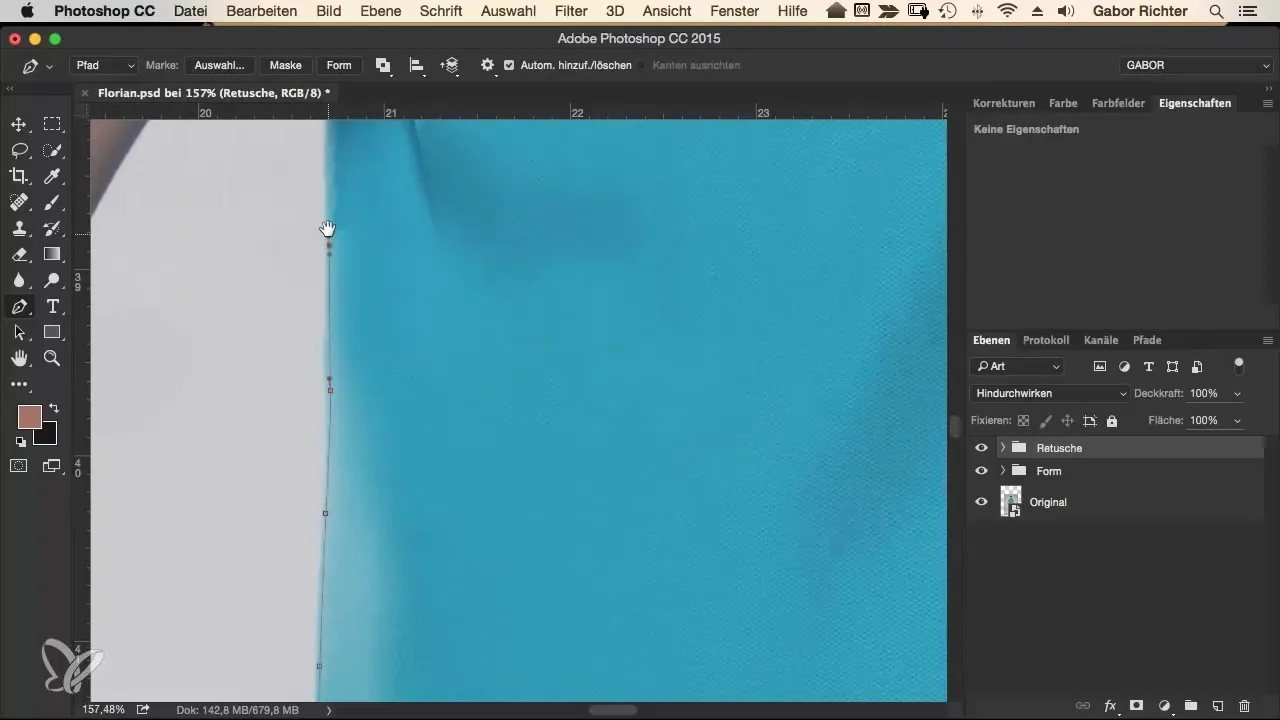
Step 7: The Haircut
When working on hair or very fine details, you might want to isolate these roughly first. Sometimes it is smarter not to consider these in the initial pass so you can refine them later with masks or simple retouching.
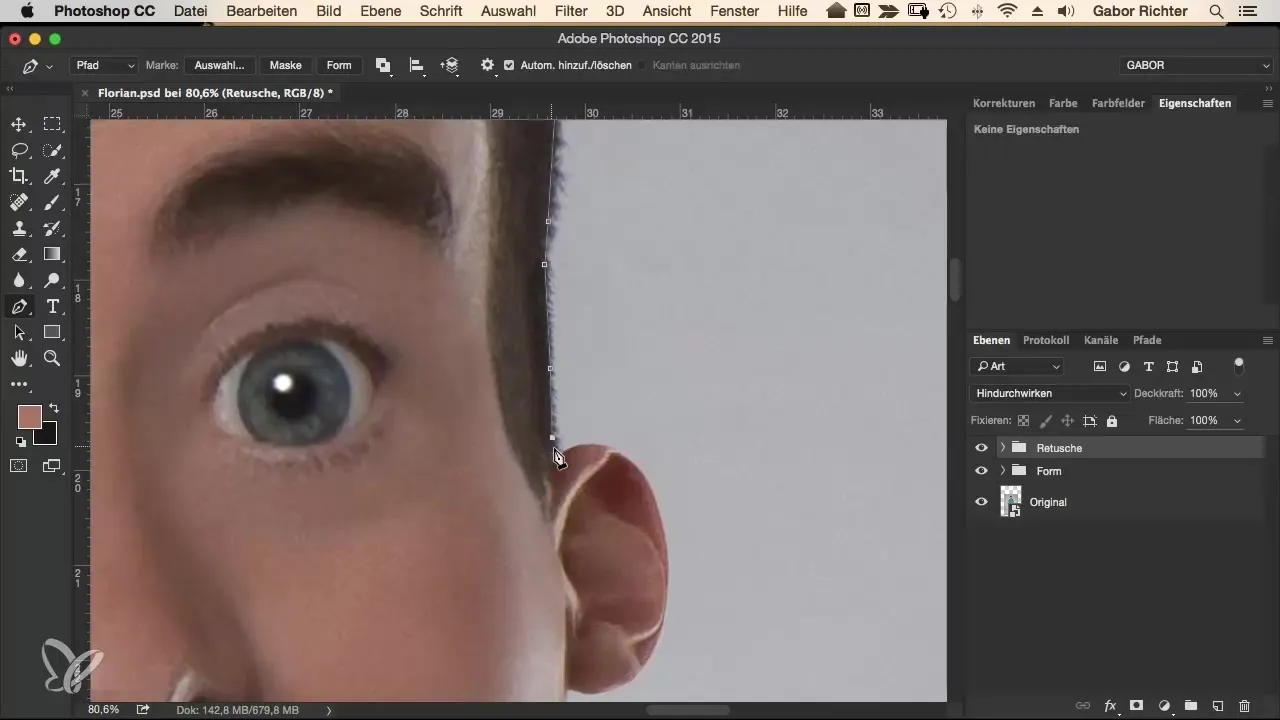
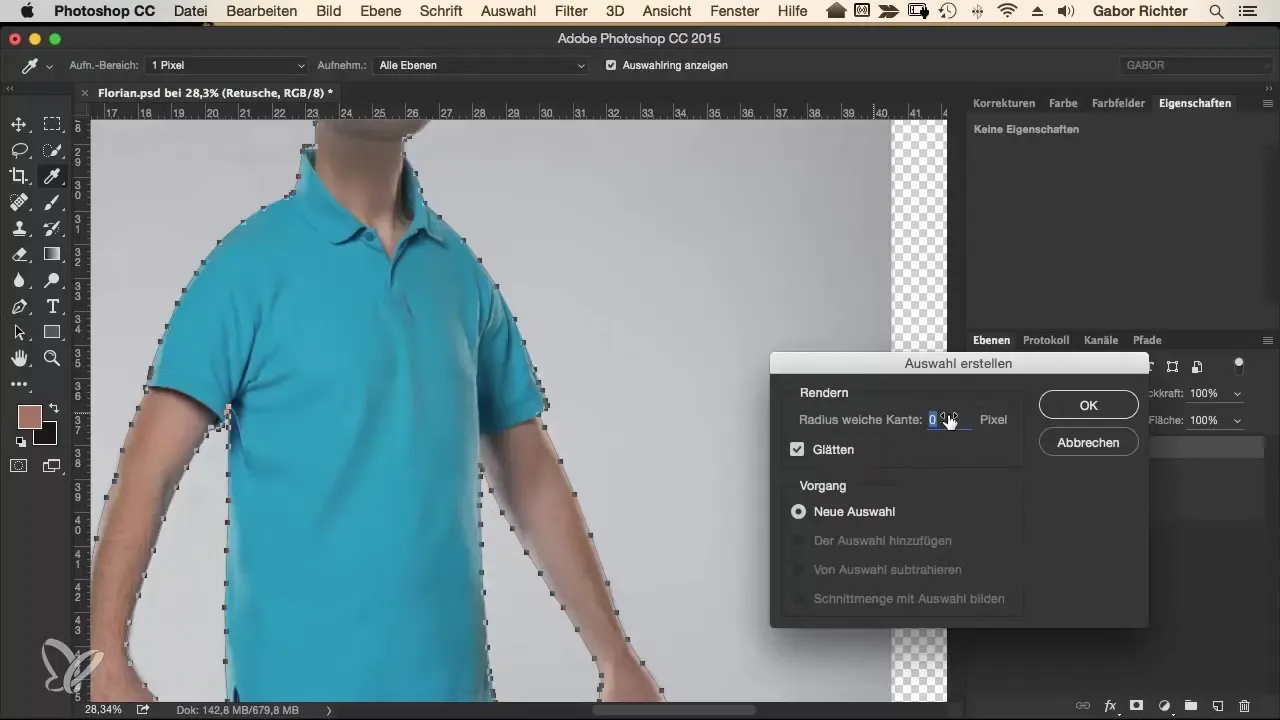
Step 8: Create the Final Selection
Once you have placed all the desired points, right-click on the selection and choose “Create Selection.” You will see that an ant line now appears, clearly defining your selection.
Step 9: Use Groups for Organization
Then pack your selection into a new group. This helps keep the various elements of your project organized and maintain an overview, especially with more complex works.
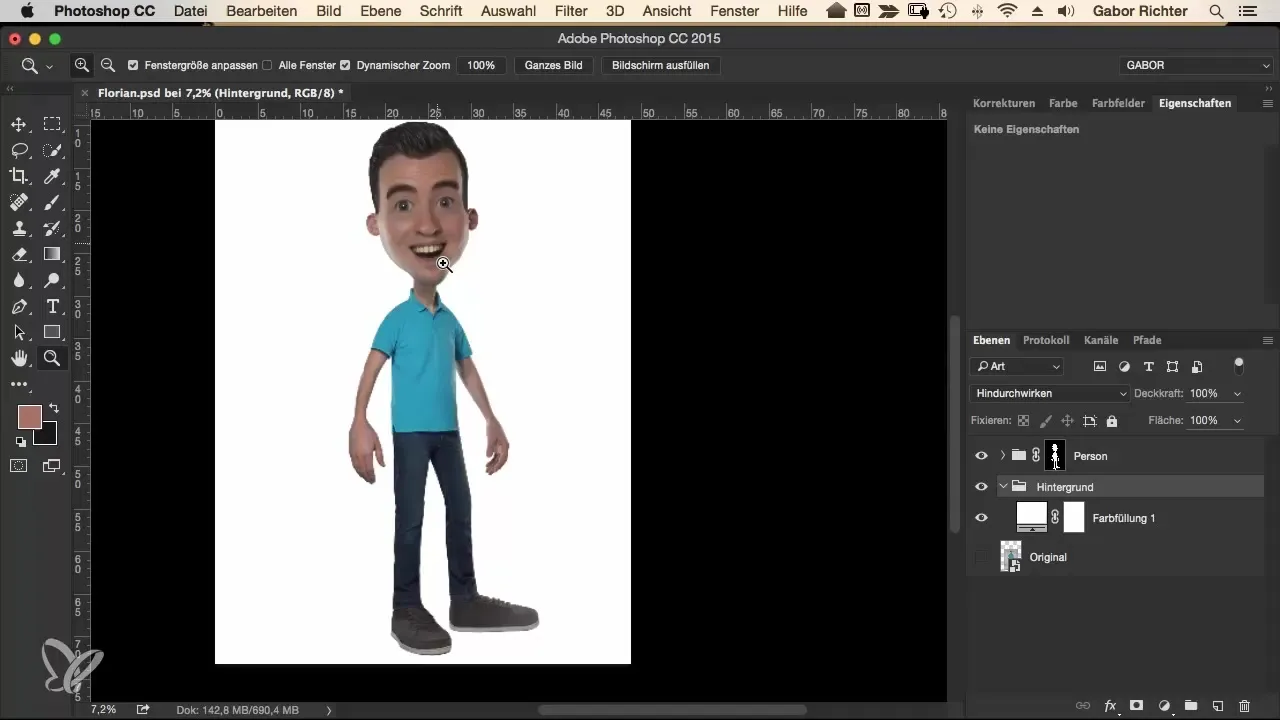
Step 10: Add Color
To give your isolated object a new background, create a color fill underneath. Choose a color that complements your isolated object to create contrast.
Summary – Comic Style Vol. 2 – Isolating with the Pen Tool
In this guide, you have learned how to effectively isolate a person using the Pen Tool. You have learned some basic but also advanced techniques for handling the tool and know how to make the result clean and creative.
Frequently Asked Questions
How long does isolating take?The time depends on the complexity of the image; it can often take between 10 and 15 minutes.
Can I automate isolating?There are services that can take care of isolating for you, but the results may vary.
What do I do with fine hair?You can initially isolate the hair roughly and possibly refine it later with masks.


