The frequency separation is a proven method in image editing to edit different aspects of an image independently. In this guide, you will learn how to adjust skin tones in comic-style images to achieve a plastic and vibrant effect. With the right techniques, you can harmonize colors and edit unwanted gray tones in the skin. Let's get started!
Key insights
- Frequency separation allows for independent editing of hues and details.
- Painting with low opacity improves the nuances of skin color.
- Precise adjustments to specific areas lead to a more natural and plastic look.
Step-by-step guide
Start with the frequency separation of your image to separate the color information from the tonal values and details. It is important to make your color selections carefully and address specific areas accordingly.
Create a new layer between the two frequency separation layers. Name this layer "Color."
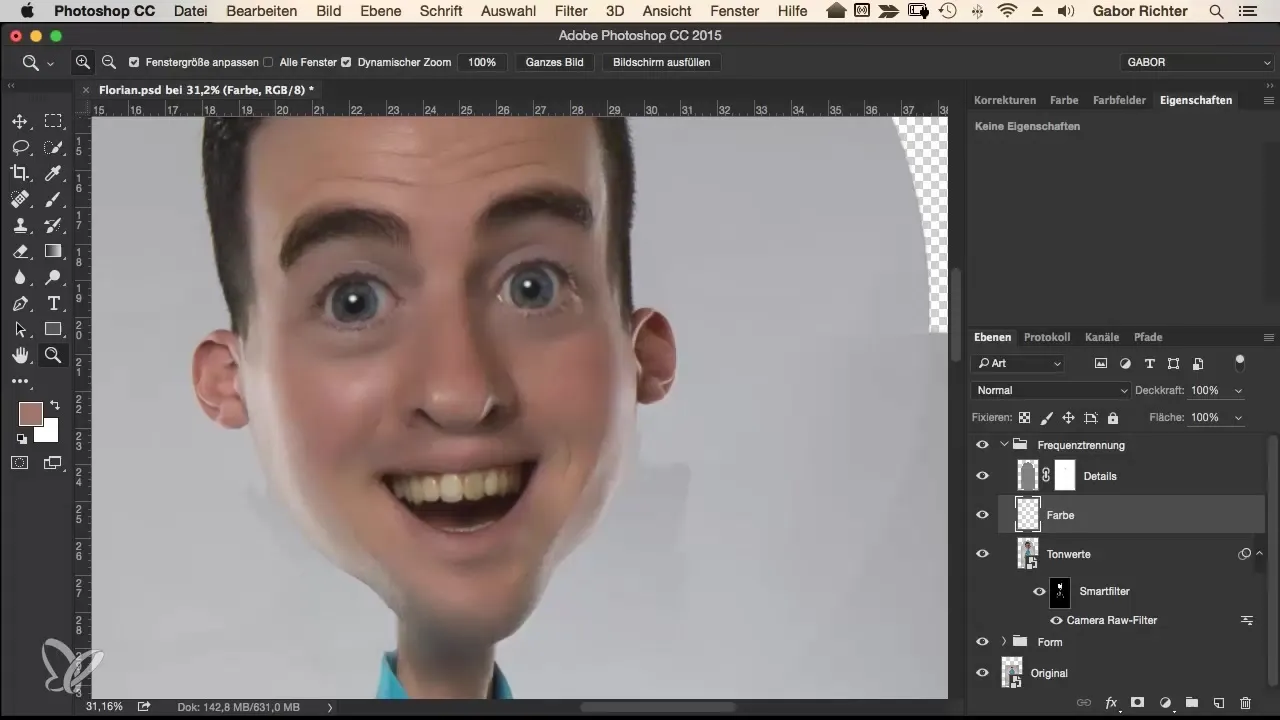
Select the brush tool and set the opacity to about 10%. The brush size should be around 80 pixels, and keep the hardness at zero.
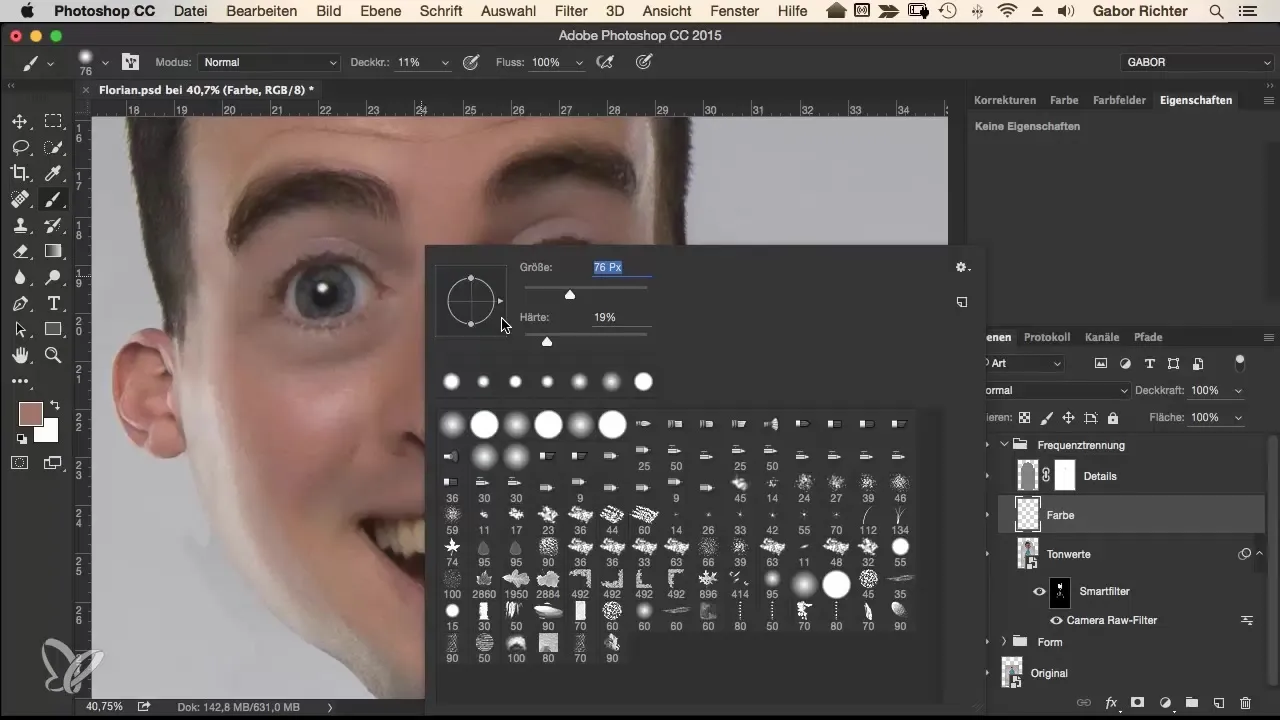
Use the Alt key to sample color from the gray areas. Start by lightening the color-deprived regions.
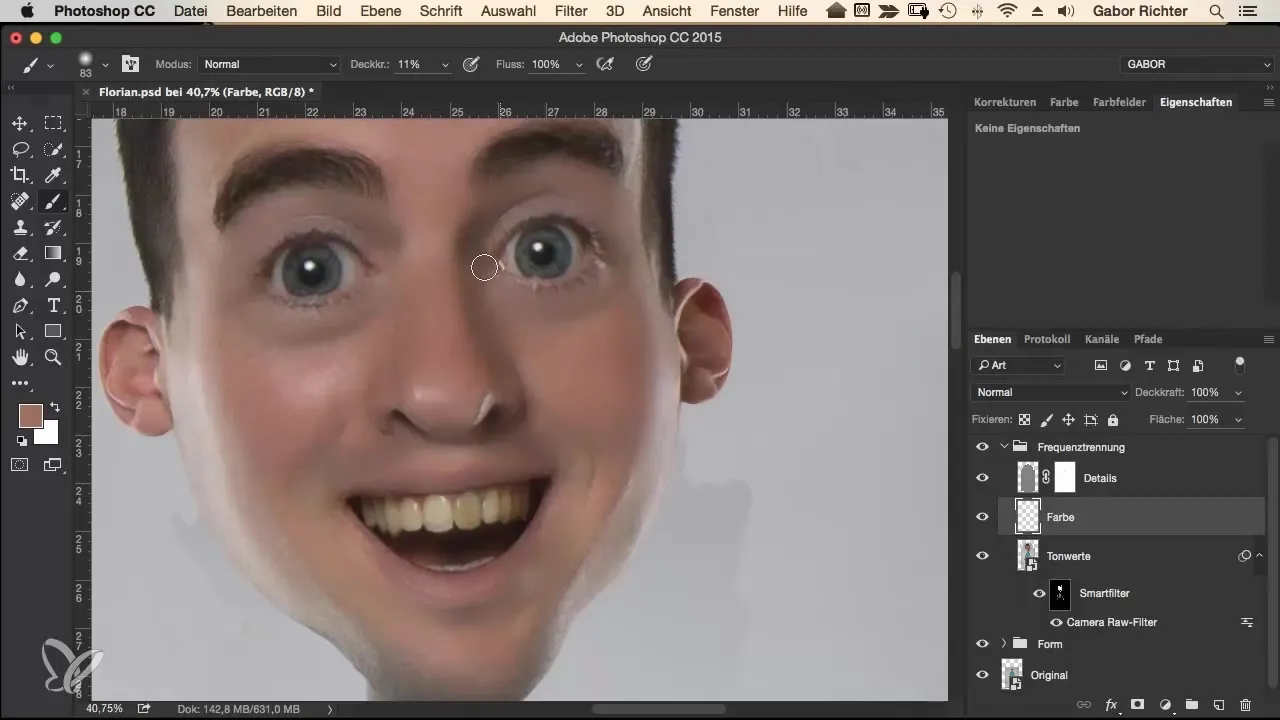
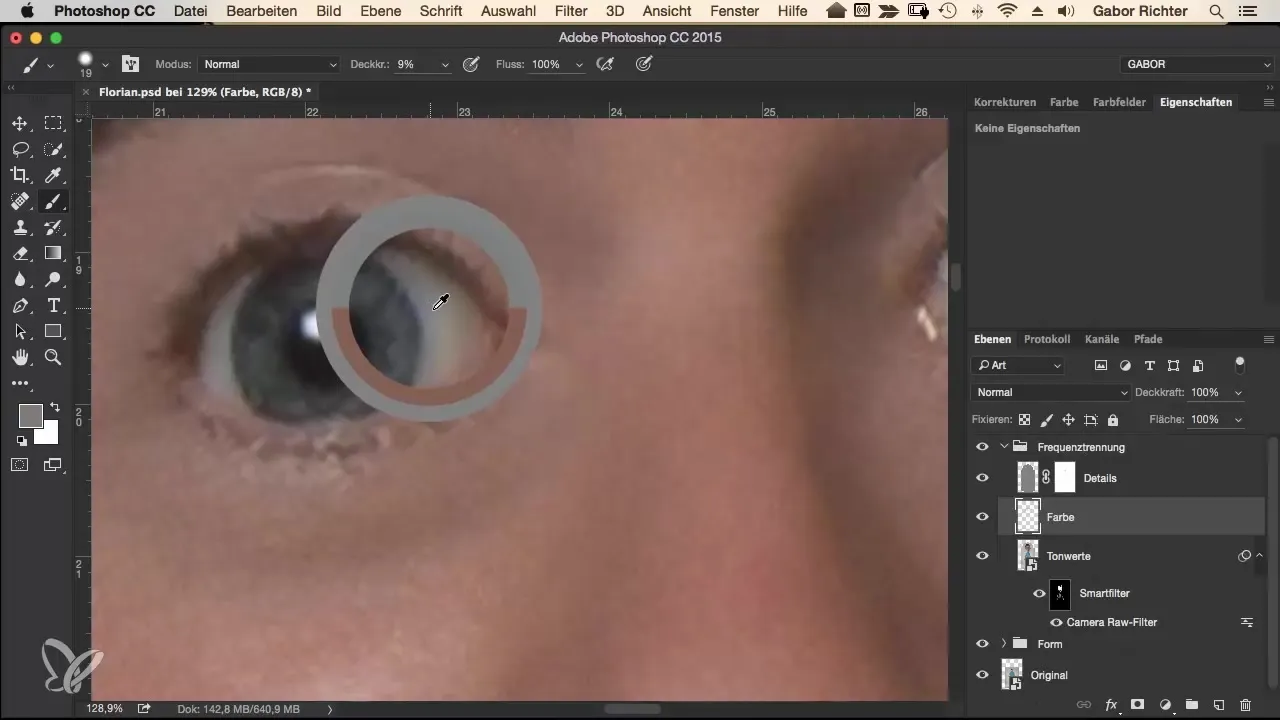
Make sure to work carefully in the dark areas, such as under the eyes, to bring color back into the image.
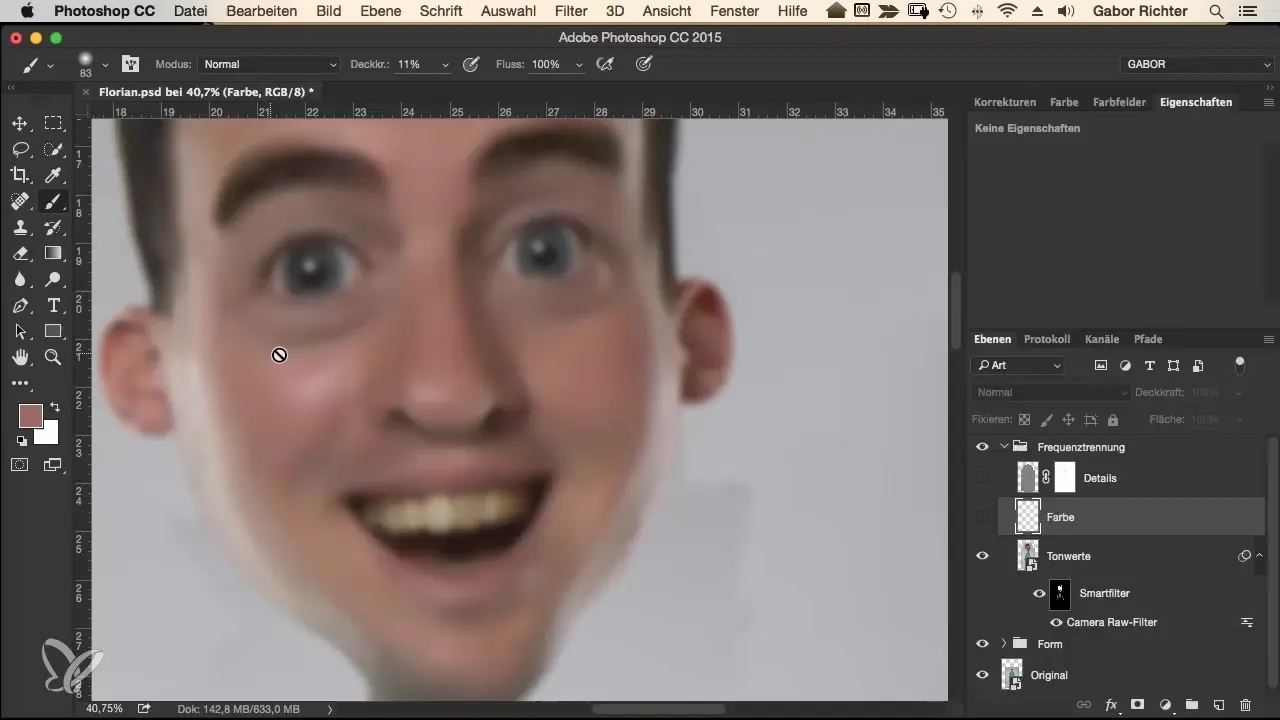
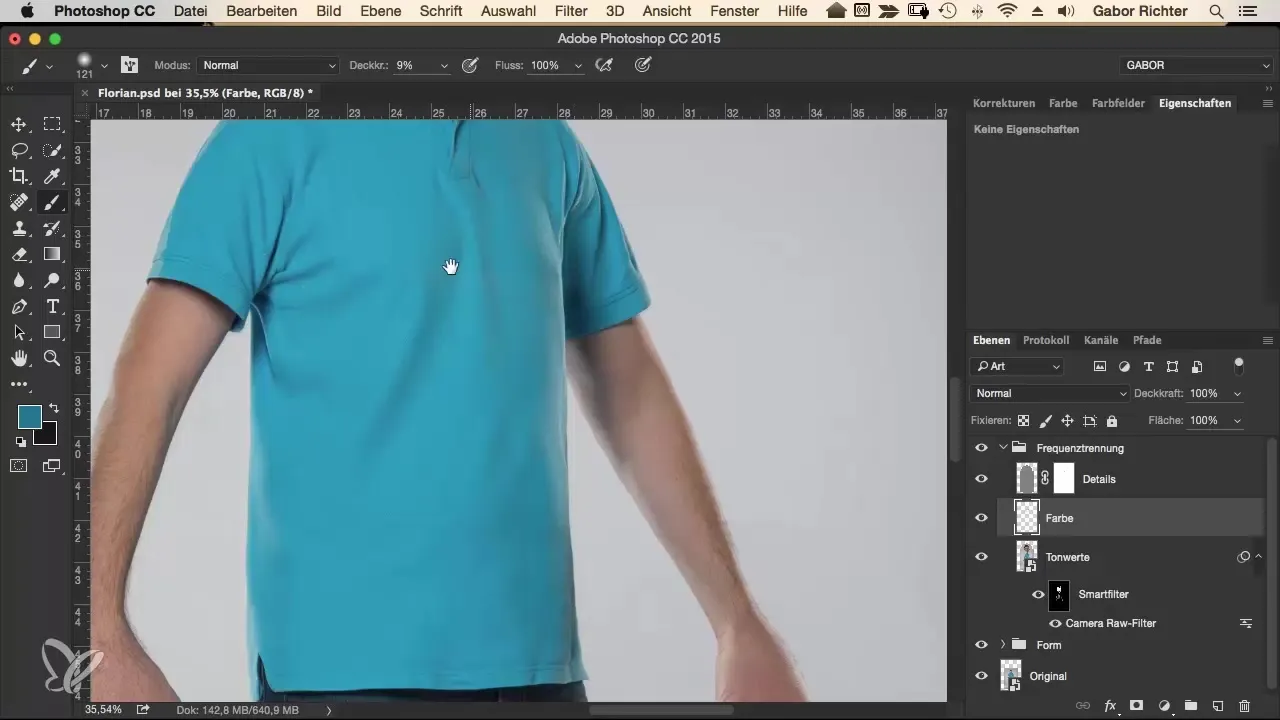
Add more color to the figure's neck using this technique. This is important as the neck often appears faded in color.
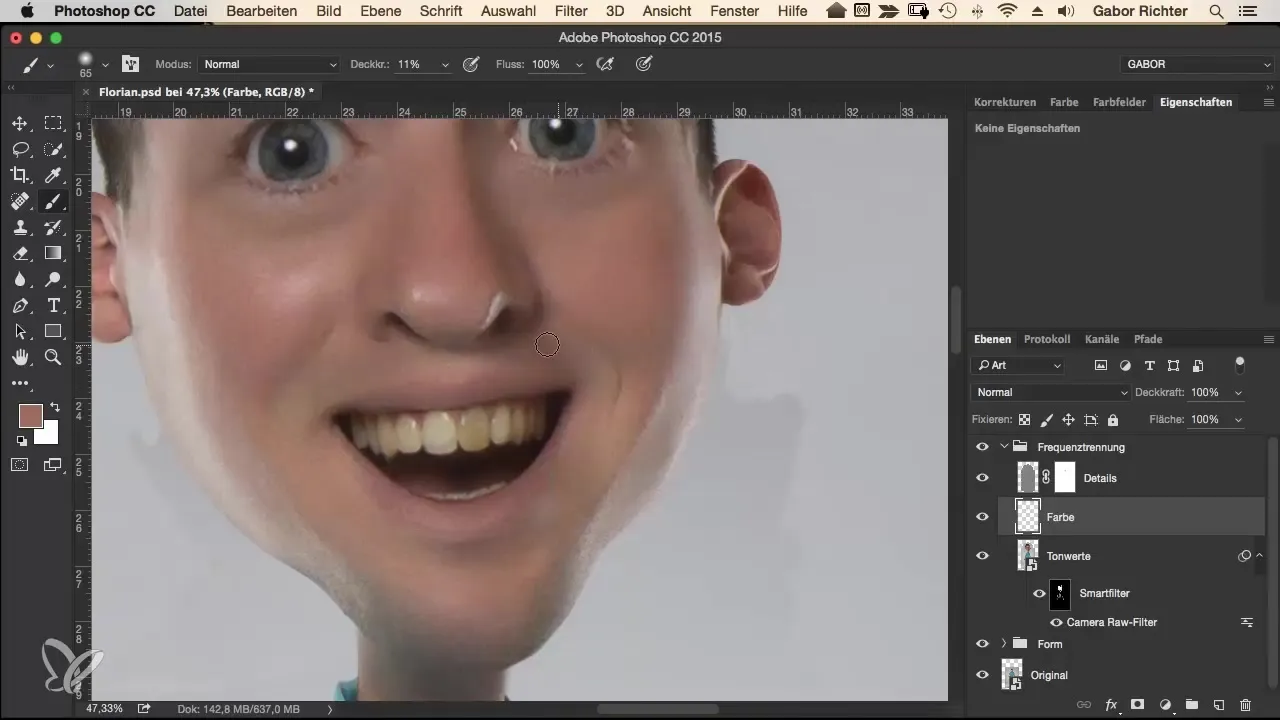
Reduce the brush opacity to about 5-6% for finer transitions. This allows for a softer color application and minimizes the risk of hard edges.
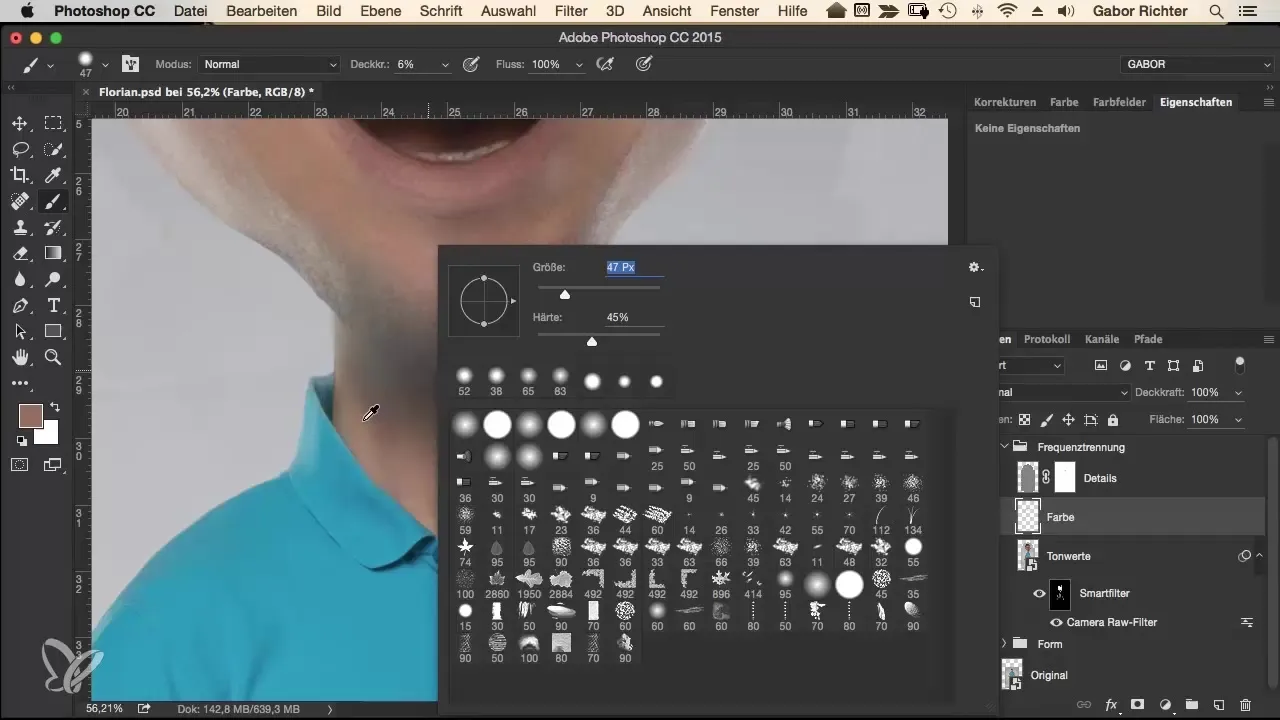
If you have already edited some gray values, regularly check your results by toggling between the different layers.
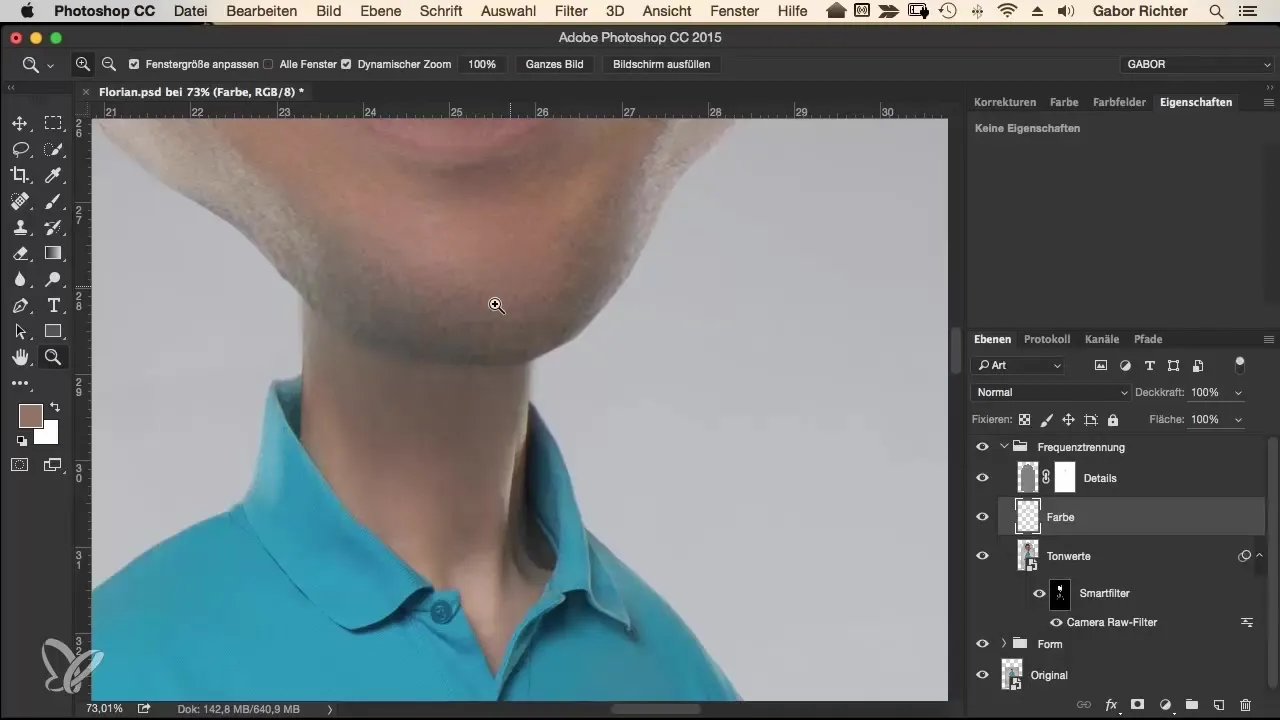
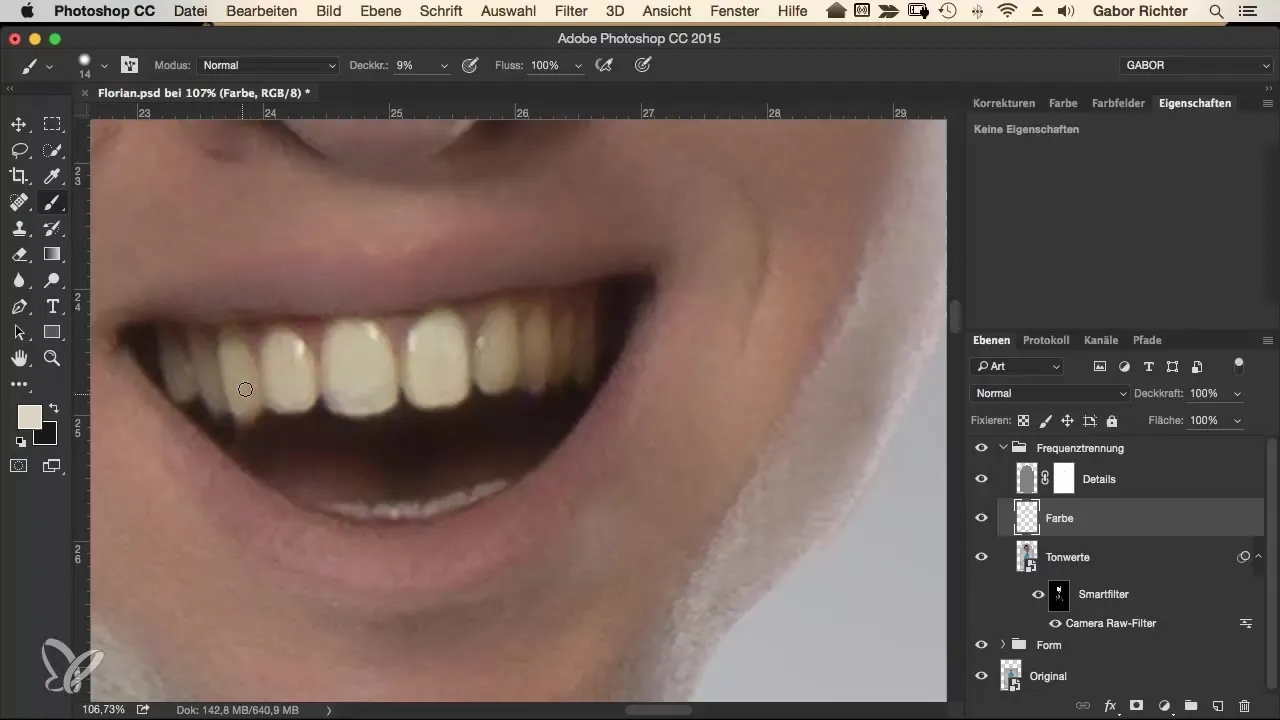
A targeted use of color can also lighten the eyelids and teeth. Use the same color brush techniques for this.
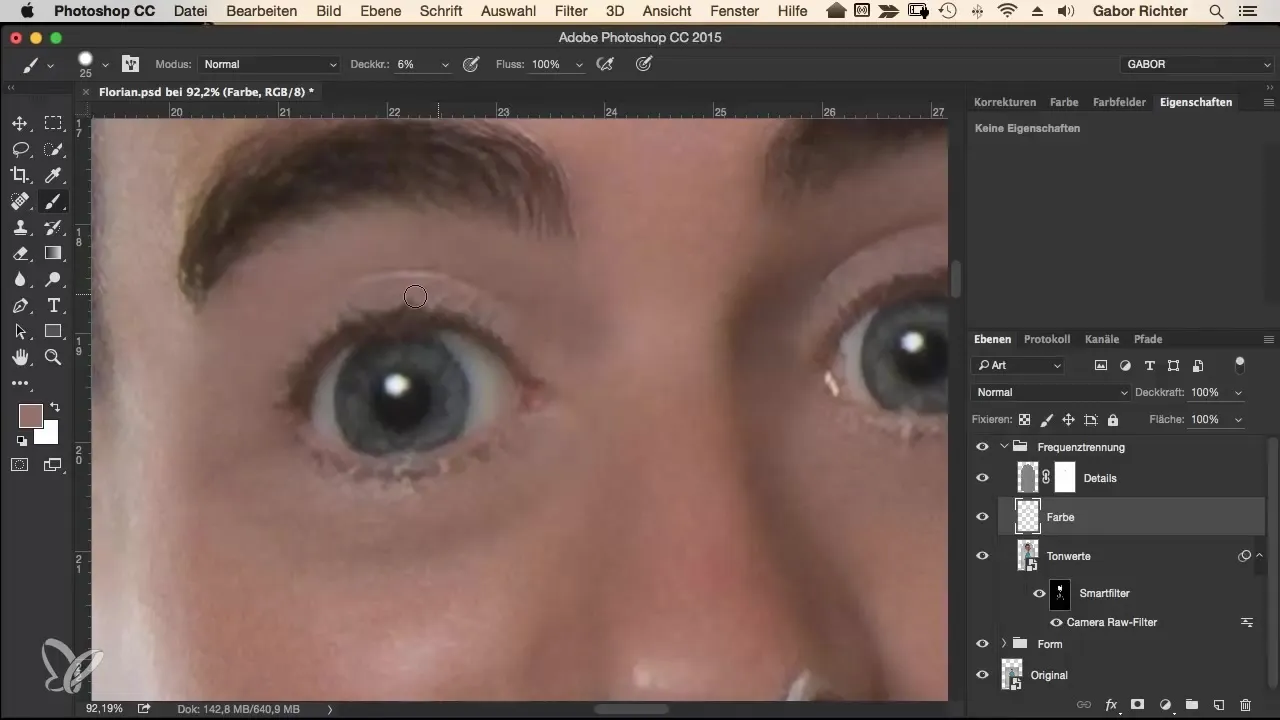
Highlight the eyes without distorting their natural features. You can lighten the colors with low opacity here.
If the teeth appear in the image, make sure to adjust them regularly to keep the overall picture harmonious.
Check the wrinkles and shadows, and decide whether they should be intensified or reduced. This is crucial for the overall impression of the image.
Create a new "Color 2" layer and set the layer mode to "Color" to transform the gray tones into more subtle, pleasant colors.
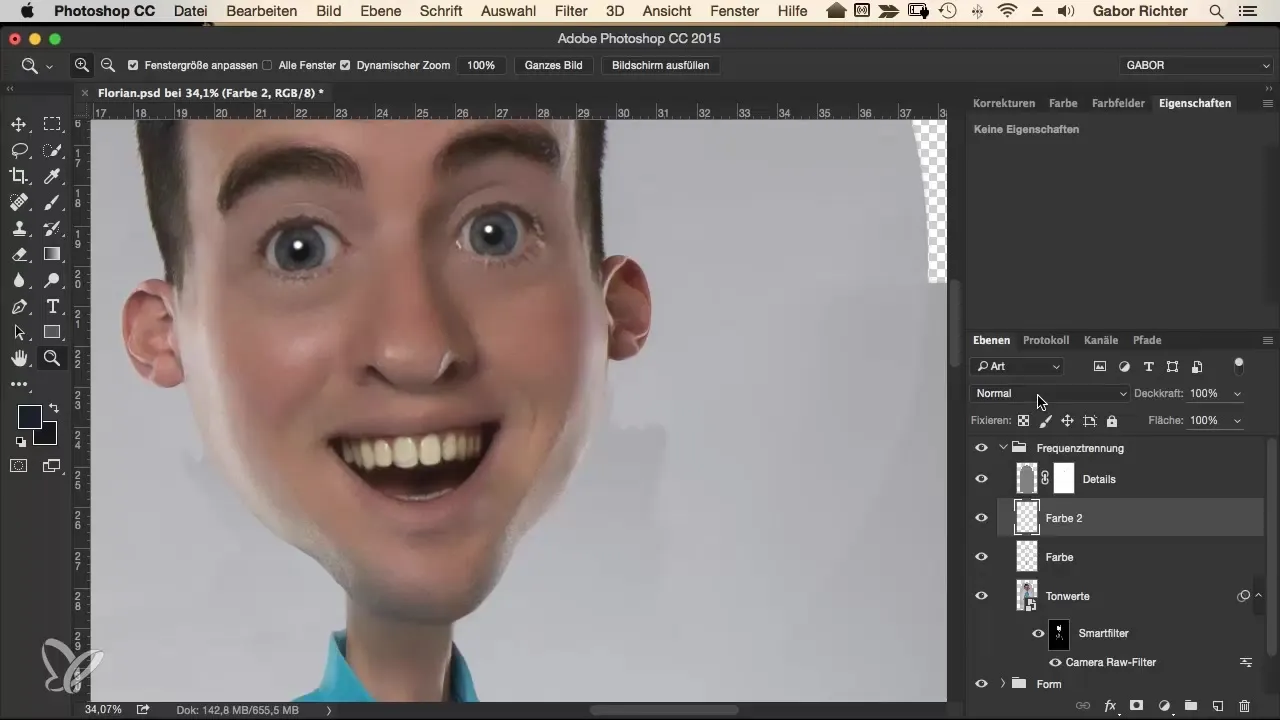
Apply the color over essential red or blotchy spots to create a harmonious skin tone.
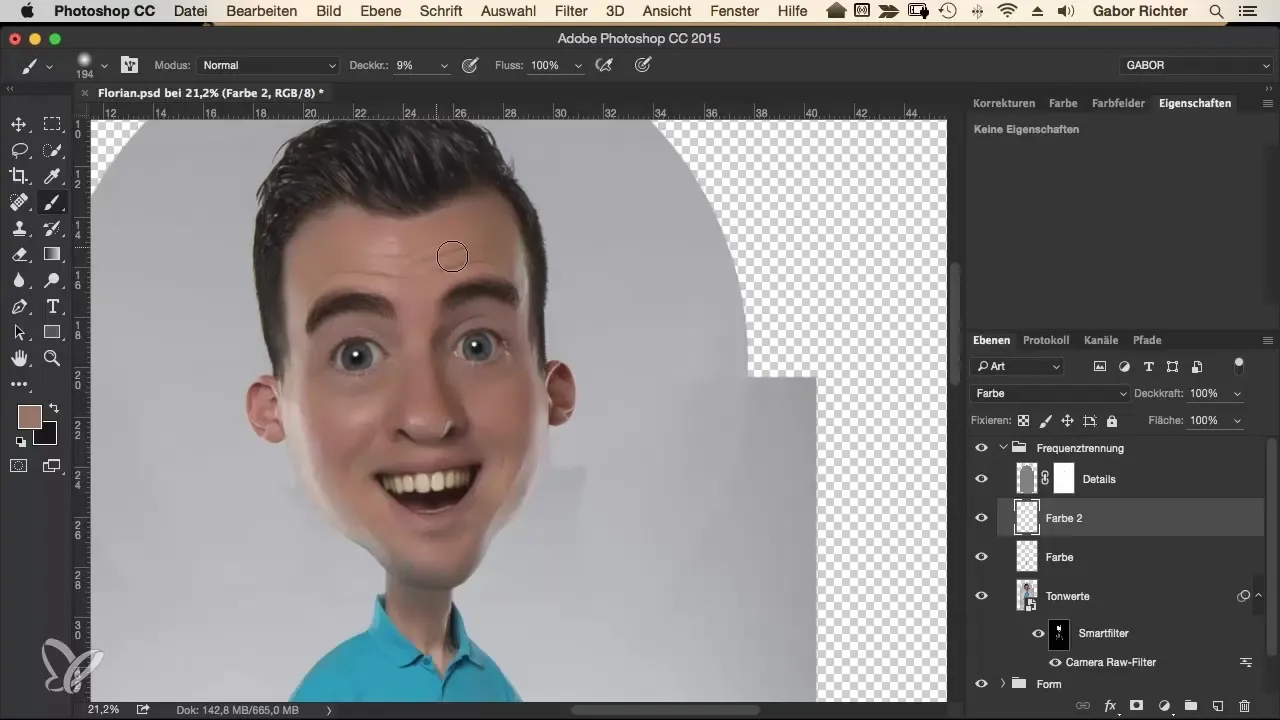
Finally, review everything and ensure that the color nuances blend seamlessly into each other. The final review should assess the overall effect of the image.
Summary – Guide to Frequency Separation for Plastic Skin Tones in Comic Style
In this comprehensive guide to frequency separation, you have learned how to correct and adjust skin tones to achieve a more plastic effect. The conscious application of different brush techniques and the use of layers are crucial for this. With some practice, you will be able to make your comic styles stand out impressively.
Frequently Asked Questions
What is frequency separation?Frequency separation is a technique to edit color information and details in an image independently.
How can I prevent blending in dark areas of images?Use a low opacity and make sure to adjust the brush size carefully to keep the transitions soft.
How do I choose the right brush size for color correction?A brush size of about 80 pixels at an opacity of 10% is often ideal for gentle color adjustments.
Why is increasing hardness important?A higher hardness can help to edit specific transitions and details more precisely.
Can I use the same techniques for other areas of the image?Yes, the principles of color correction are generally applicable, but each image requires different settings and techniques.


