The nose plays a central role in the comic style and significantly influences character representation. In this guide, you will learn how to enlarge a nose to achieve the desired effect. You will receive a detailed overview of the entire process, starting from the preparation of the image to the final adjustments.
Key insights
- The choice of the right nose size is crucial for the comic style.
- Accurate placement and masking of the nose are important to avoid distorting the character.
- Use tools efficiently to integrate the nose harmoniously into the overall image.
Step-by-Step Guide
Start by selecting the nose image. You should first choose the right nose for your character. Make sure to pick a large nose that emphasizes the comic style.
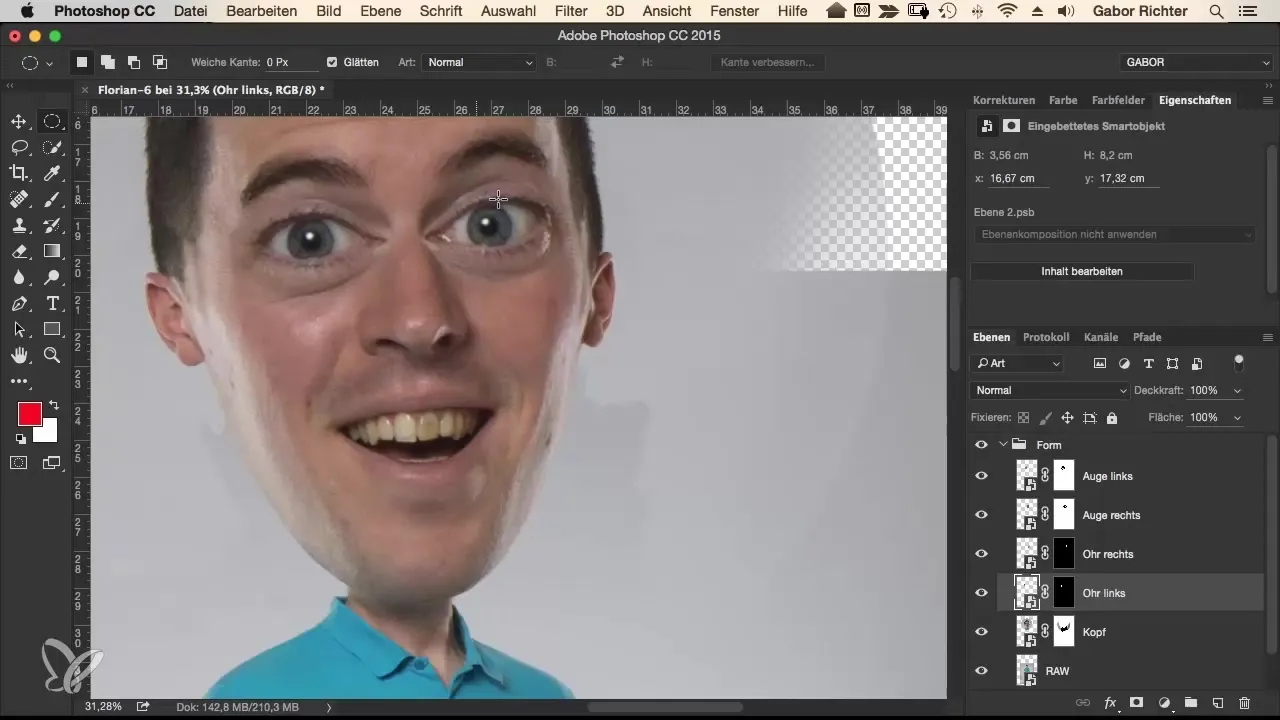
Now you need to prepare the file for editing. Go to the main layer, as you will gather all materials for the head here. It is essential to consider the structure and style of the nose.
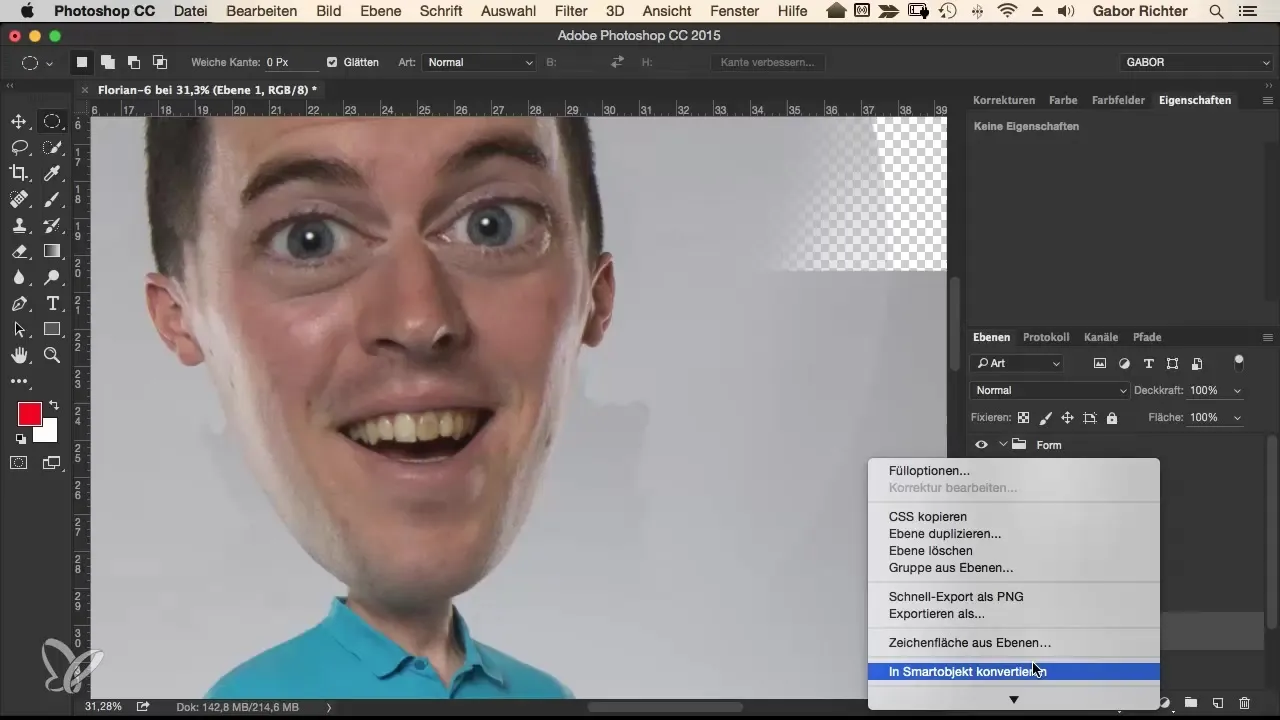
Convert your selection into a smart object. To do this, press Command + J and name it "Nose". This facilitates further editing and gives you more flexibility.
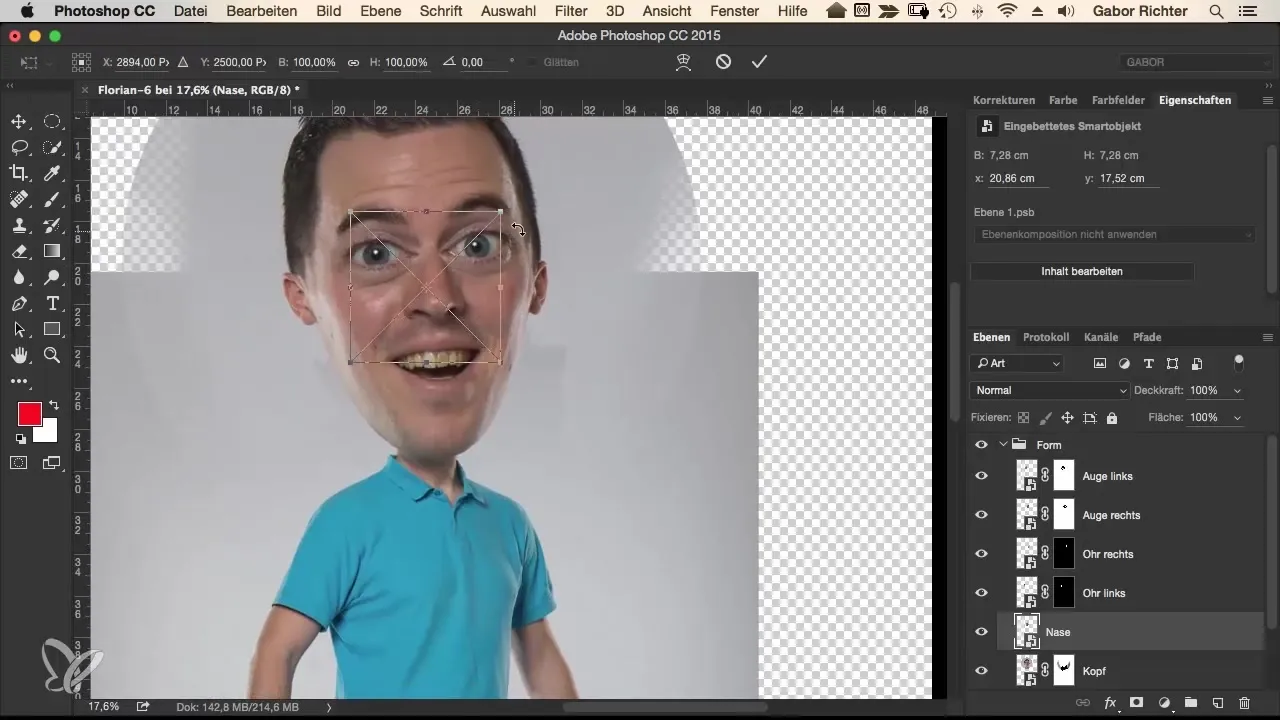
Decide on the size of the nose. In my case, it tends to a larger nose, so place it a bit higher, perhaps even above the eyes. Reduce the opacity to about 50% so you can position it better.
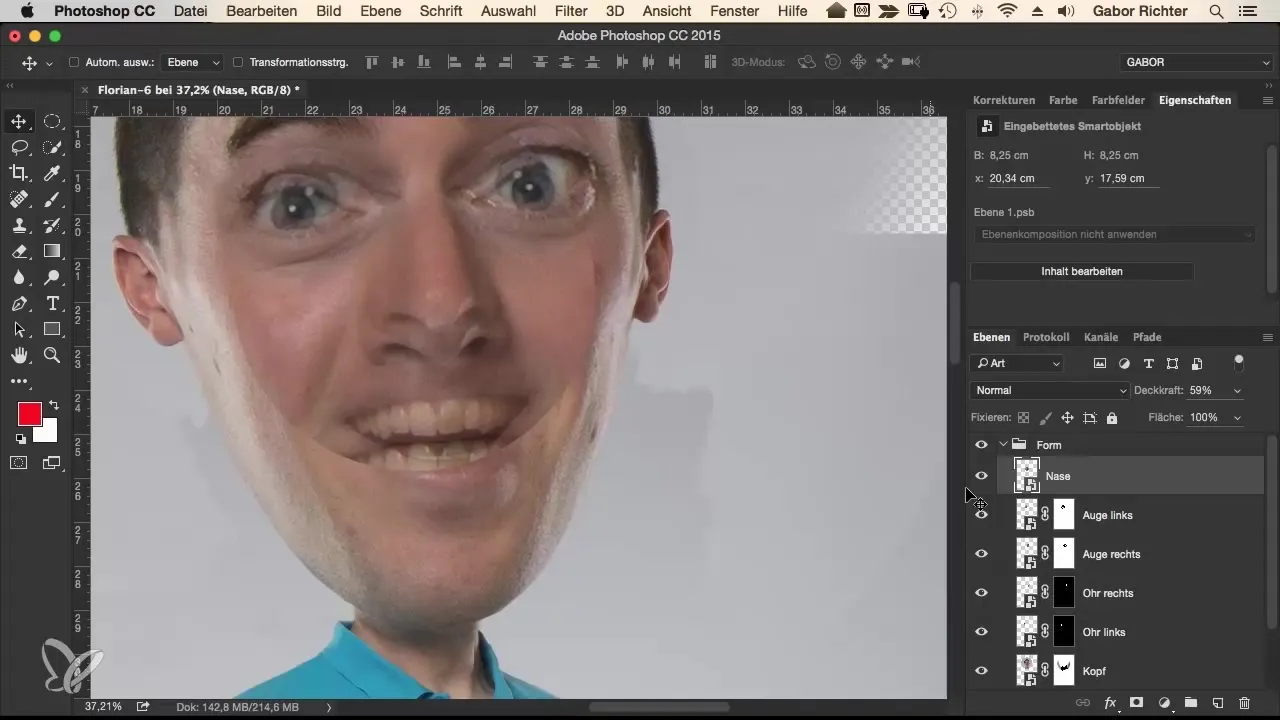
Place the nose so that it gently connects to the lips without disturbing the overall image. After placement, reset the opacity to 100%.
Apply a mask over the nose to mask out areas you do not want to keep. Make sure to work on the mask with a hardness of about 50 and a size of 170 to achieve even and clean edges.
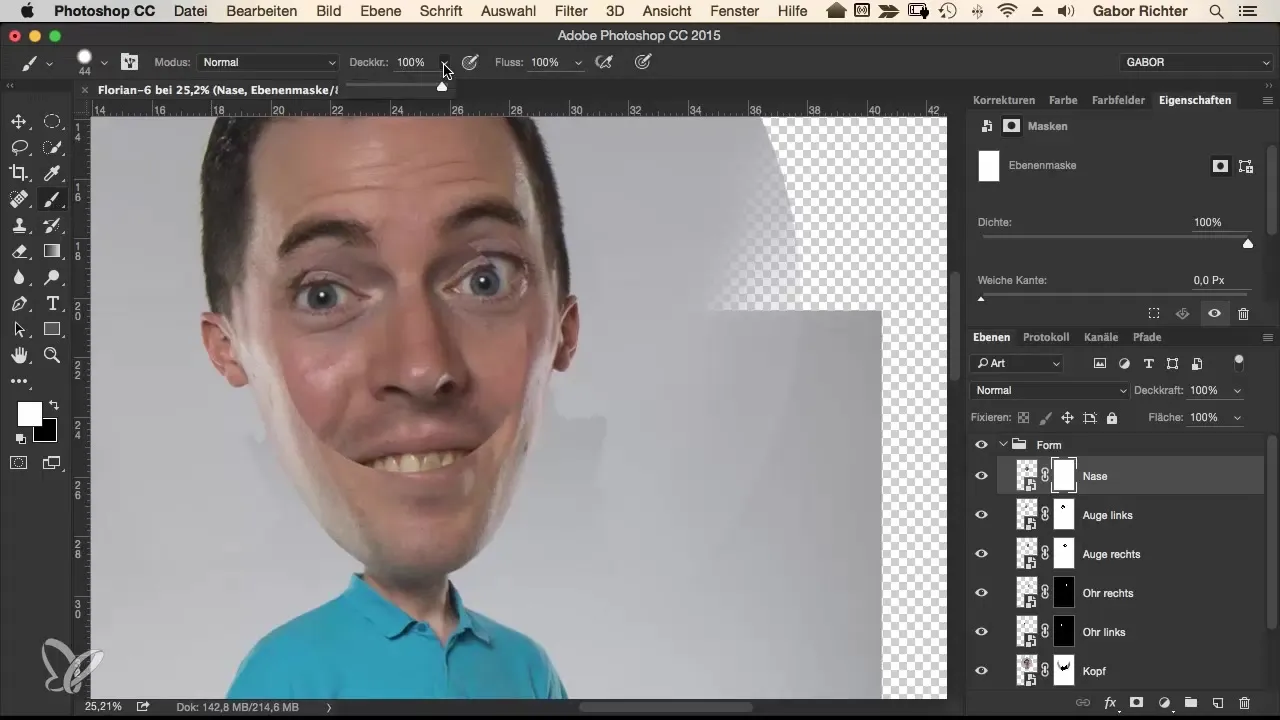
With a soft brush, wipe away the unwanted area around the nose. Ensure that the transitions look harmonious.
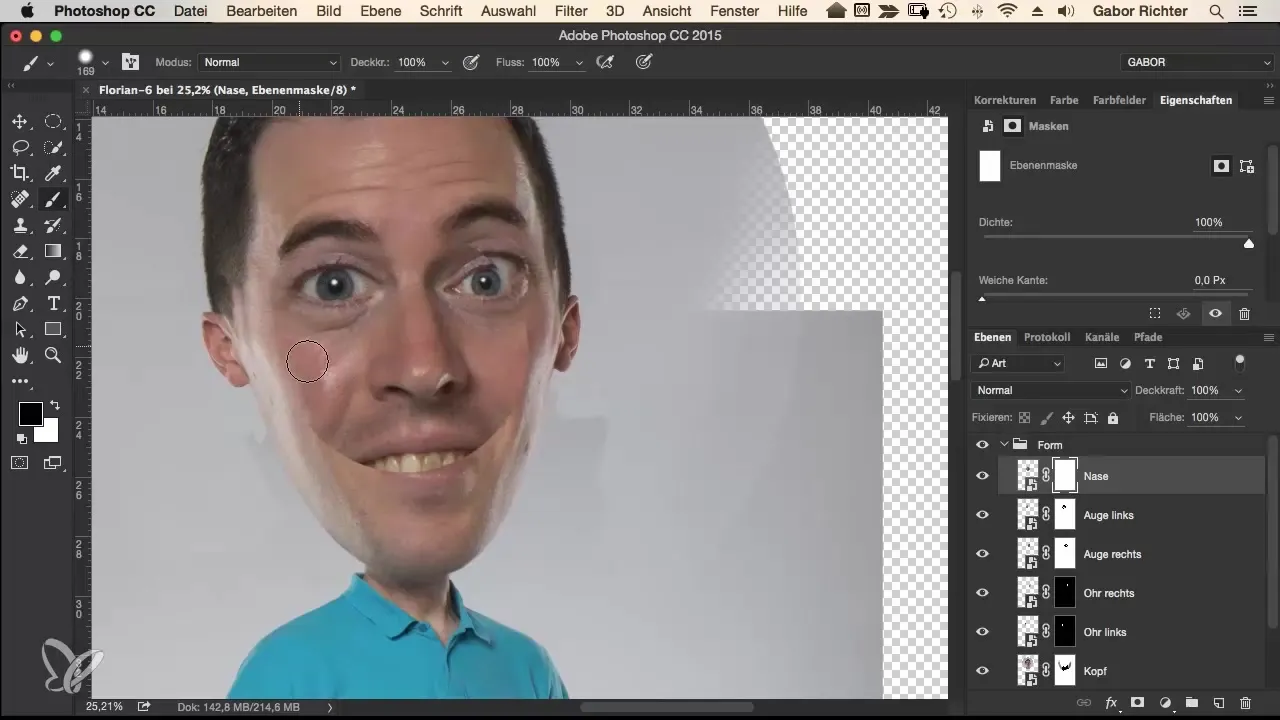
After positioning the nose, check its dominance in the overall image. You might need to slightly adjust the height of the nose to ensure it sits well.
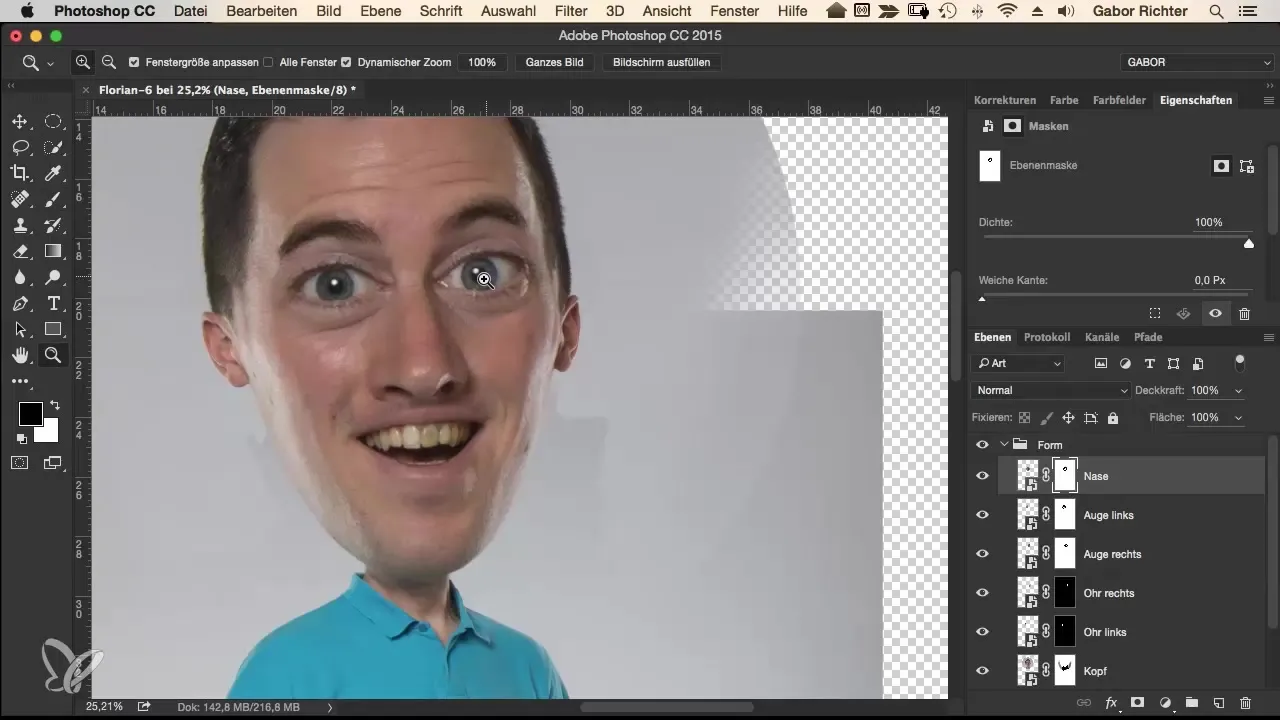
Consider how the nose interacts with the other facial features. The rotation of the nose might also be necessary so that it does not only appear dominant but also harmonious.
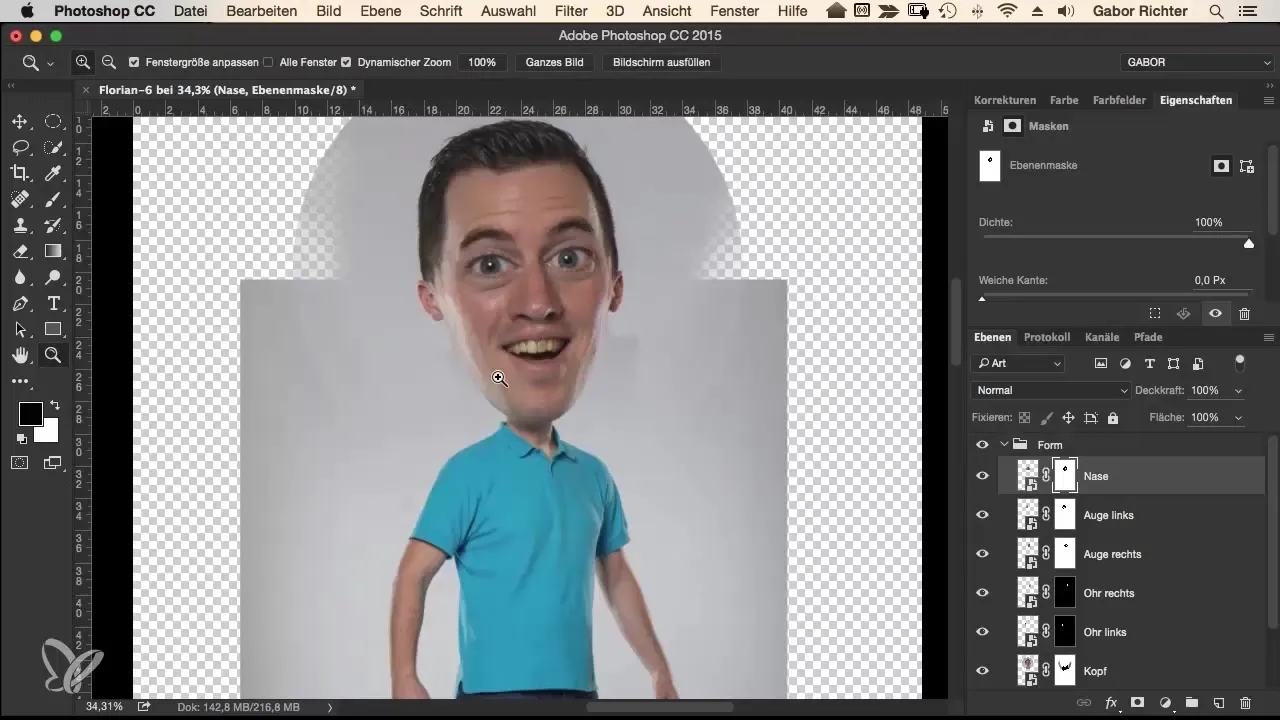
Compare the previous image with the current representation to ensure that the nose looks not only large but also aesthetically pleasing. A larger nose can appear much more dynamic when it is in the right place.
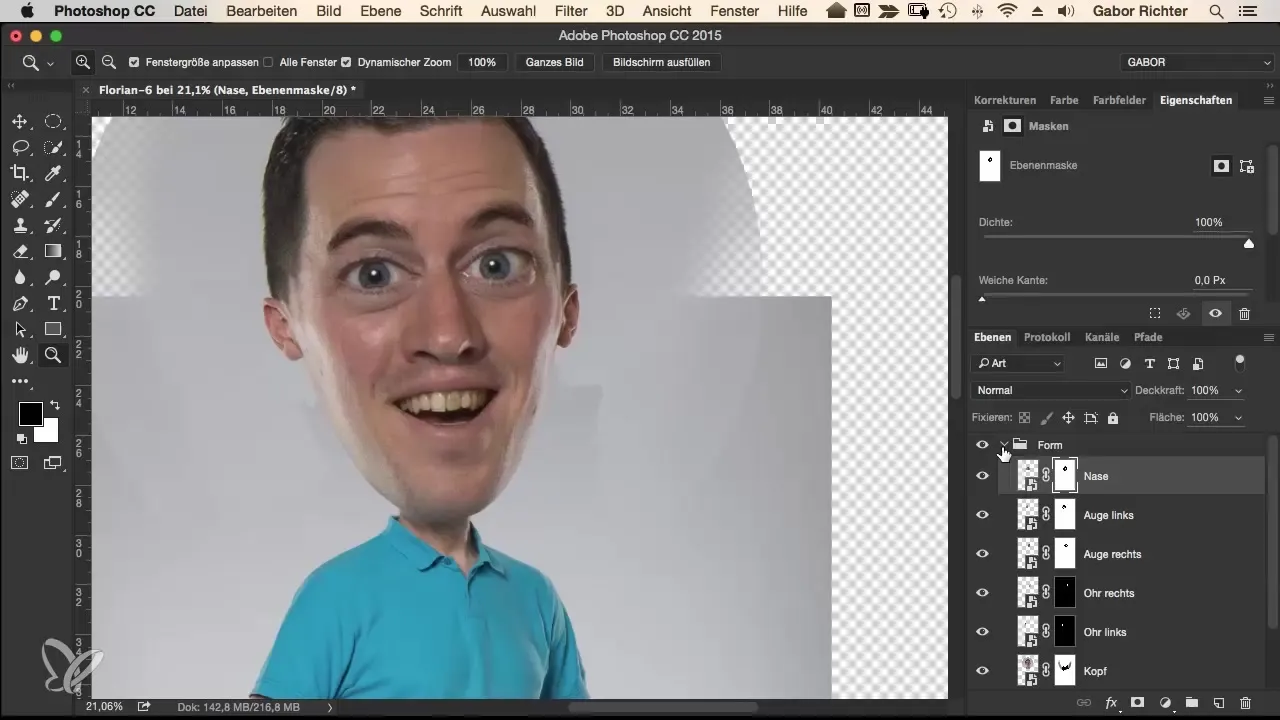
Summary – Guide to Effectively Enlarging a Nose in Comic Style
In this guide, you have discovered how important the right size and placement of the nose is for the comic style. With the steps from selecting the right image to adjustments, you now have the necessary knowledge to effectively enlarge the nose and integrate it harmoniously into the overall image.
Frequently Asked Questions
How can I adjust the size of the nose?You can change the size of the nose by transforming and scaling it in the editing program.
What is a smart object, and why should I use it?A smart object allows non-destructive editing and gives you the freedom to undo changes and make adjustments.
Can I also edit the nose in liquify mode?Yes, liquify mode is a good alternative for changing the shape of the nose if you prefer that.
How important is masking for the final result?Precise masking is crucial as it ensures that the nose is well integrated into the overall image without odd edges or transitions.
What opacity should I use when placing?A reduced opacity of about 50% helps you position the nose better before setting the final opacity.


