The frequency separation is a proven technique in image editing, especially in retouching portrait photos. It allows you to correct skin imperfections precisely without affecting the texture and important details of the image. In this guide, we will show you step by step how to effectively apply this method to achieve optimal results.
Key insights
- Frequency separation allows for separate editing of color and detail information.
- Gaussian blur and high-pass filter are crucial tools in this process.
- The use of Smart Objects offers flexibility and adaptability.
- Retouching tools like the Clone Stamp help remove distracting elements without affecting the surface texture.
Step-by-step guide
1. Prepare image for frequency separation
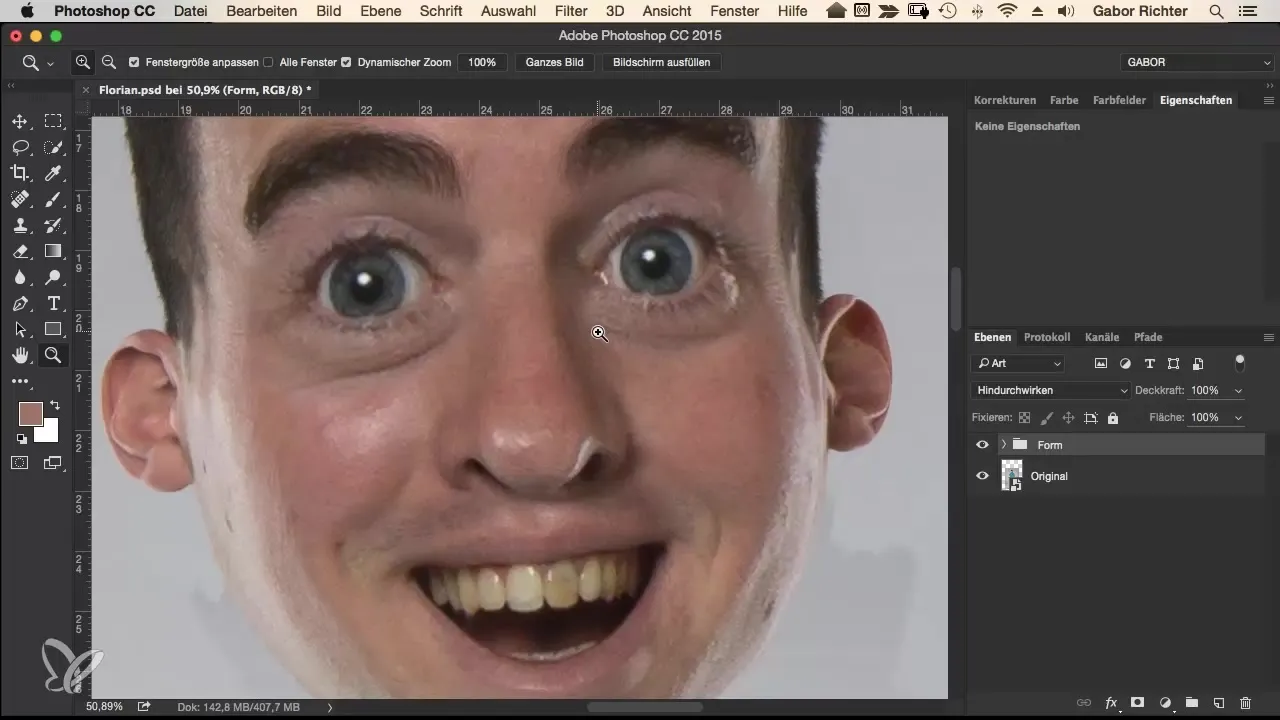
To start with frequency separation, you need to split your image into two separate layers: one for the tonal values and one for the details. Open your image in Photoshop and press Command + Alt + Shift + E (Windows: Ctrl + Alt + Shift + E) to create a new layer that contains the entire image. Rename this layer to "Tonal Values" and then duplicate it to create the second layer, which you will call "Details."
2. Soften tonal values
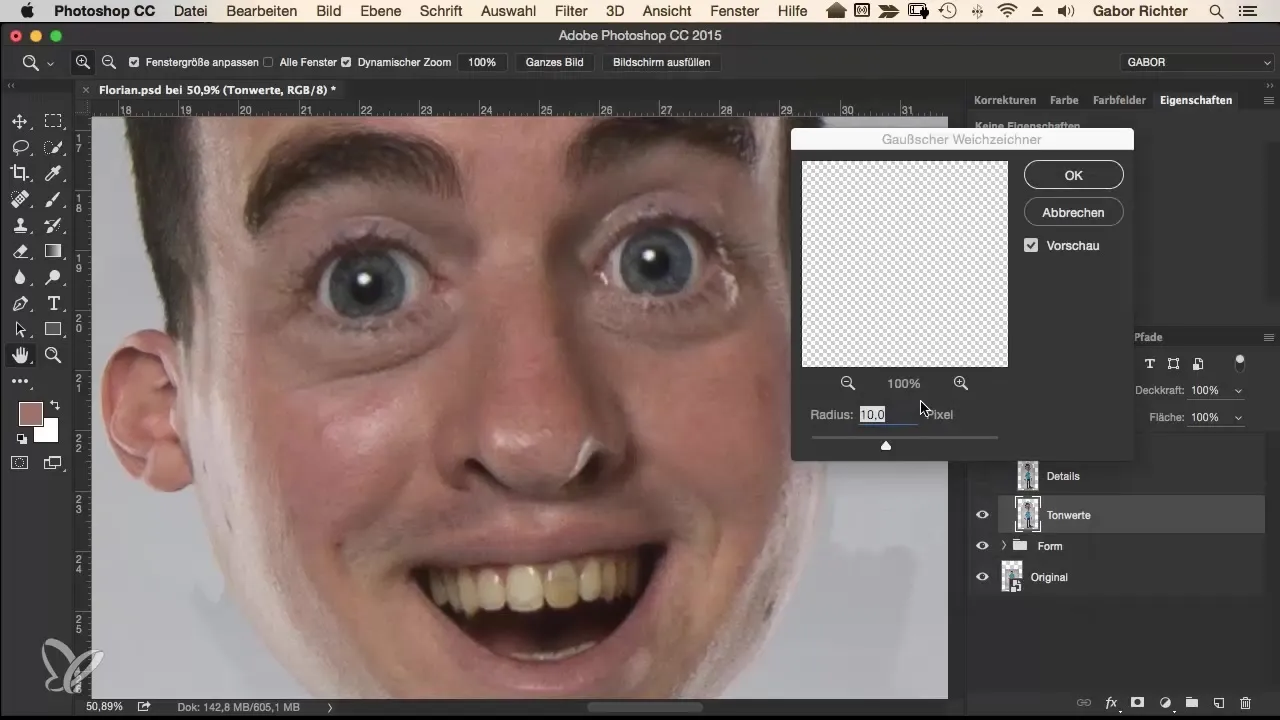
Select the "Tonal Values" layer and go to Filter → Blur Filter → Gaussian Blur. Set the radius to about 10 pixels to separate the color details from the texture. This is an important step, as you now have only the color information without the details.
3. Apply high-pass filter for details
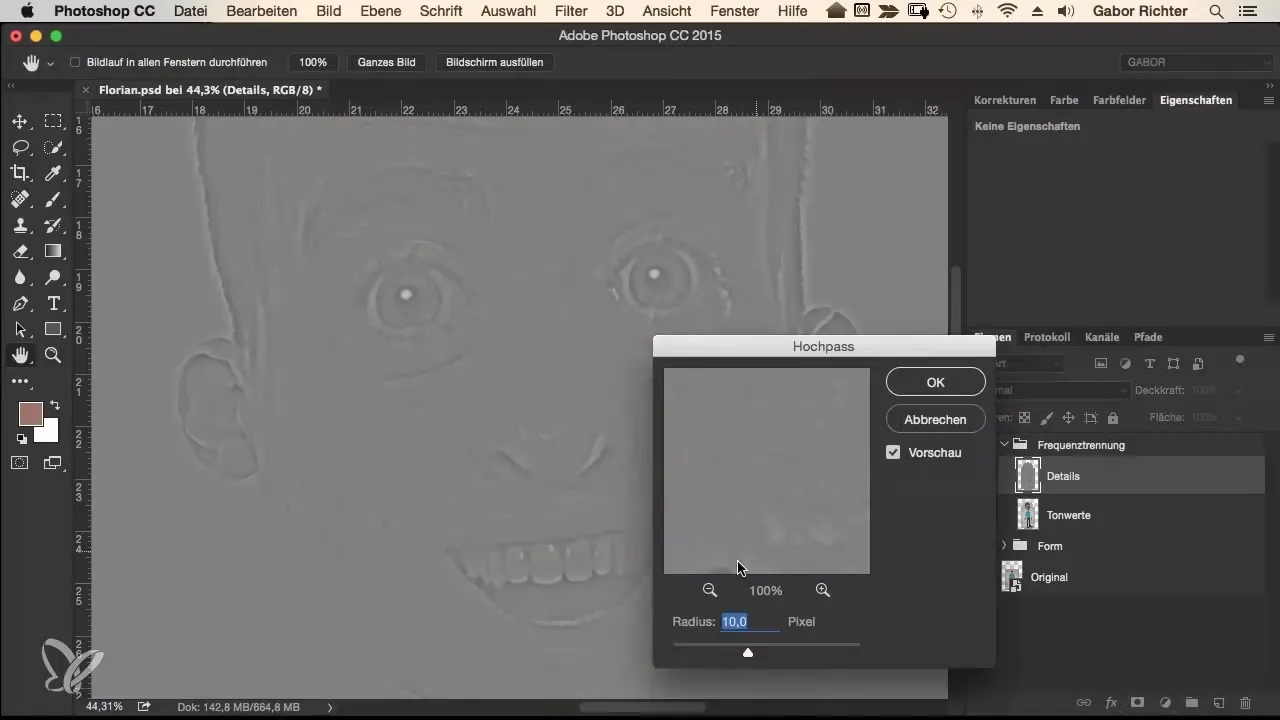
Return to the "Details" layer and select Image → Adjustments → Brightness/Contrast. Set the contrast to -50 and confirm the changes. Then go to Filter → Other Filters → High Pass. Here, enter a radius of 10 pixels to make the fine details visible again.
4. Change blending mode
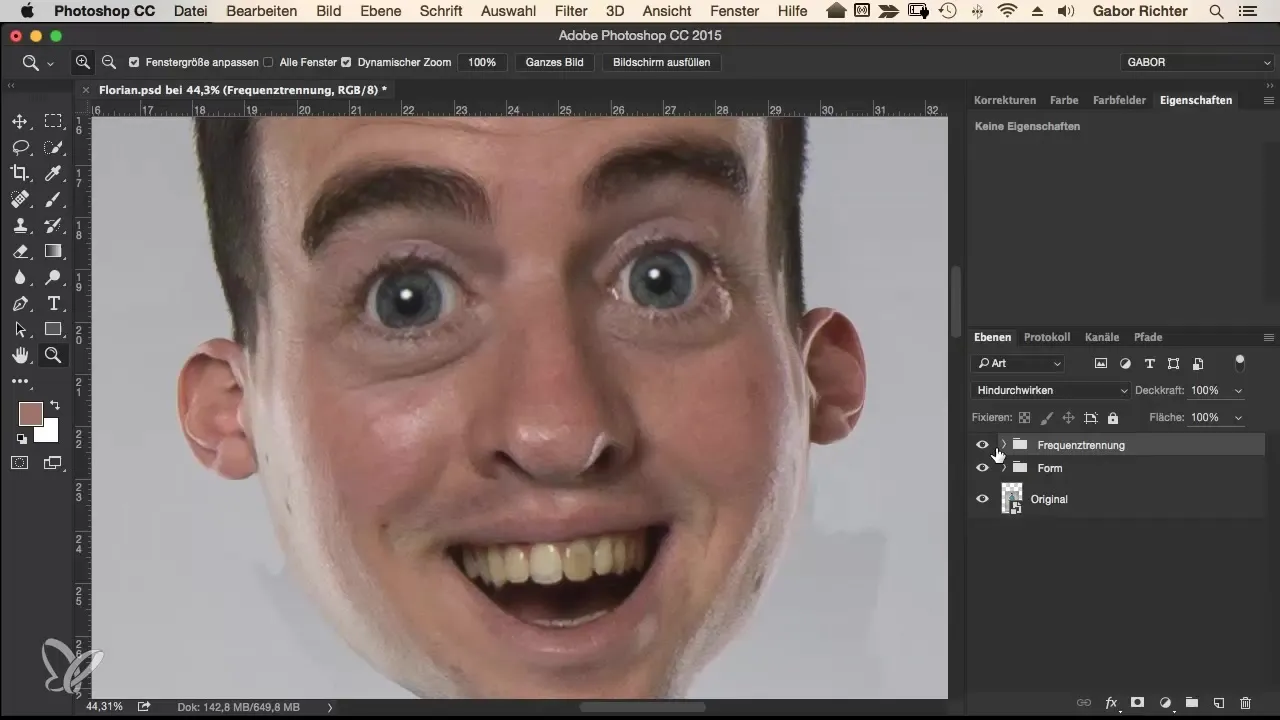
Ensure that the blending mode of the "Details" layer is set to Linear Light. This will allow the tonal values and details to work together without compromising the image. Toggle the group on and off to ensure the changes have been applied correctly.
5. Remove skin imperfections
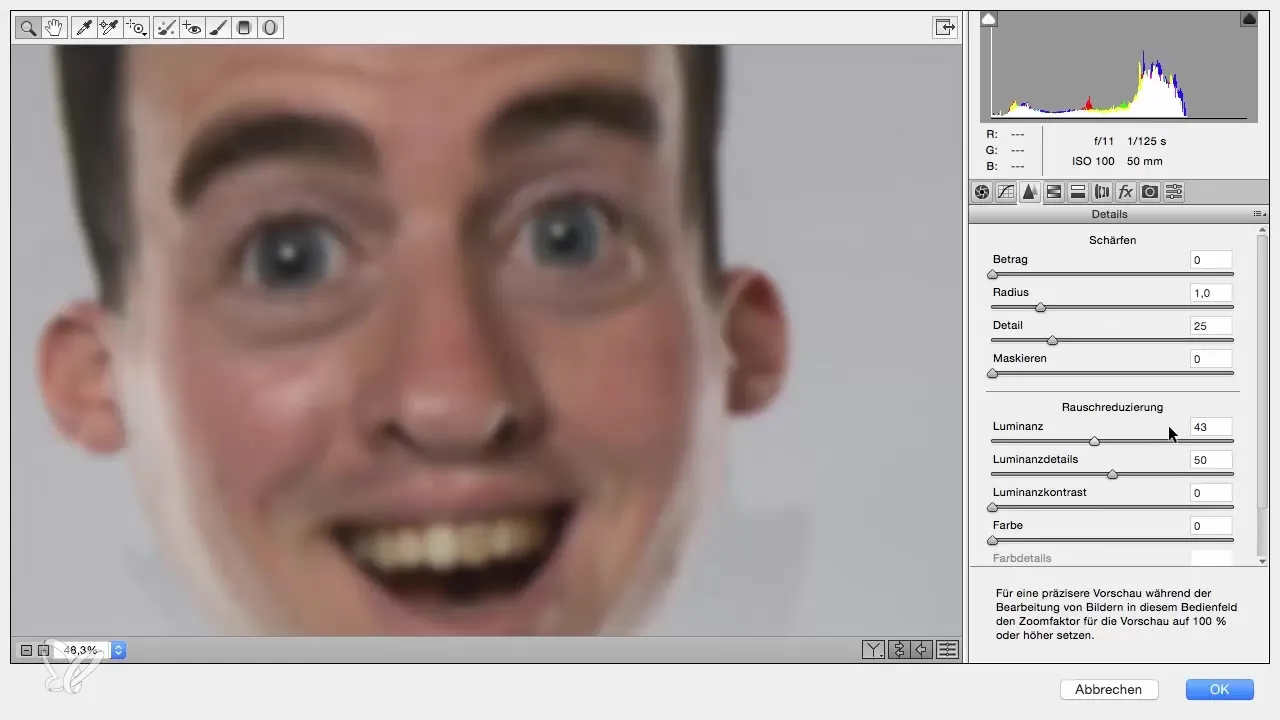
Now it's time to retouch the skin. Disable the "Details" layer and convert the "Tonal Values" layer into a Smart Object. Go to Filter → Camera RAW Filter and use the Noise Reduction slider to smooth the skin. Move the Luminance slider to the right and the Detail Preservation slider to the left until the skin imperfections disappear.
6. Adjust red tones
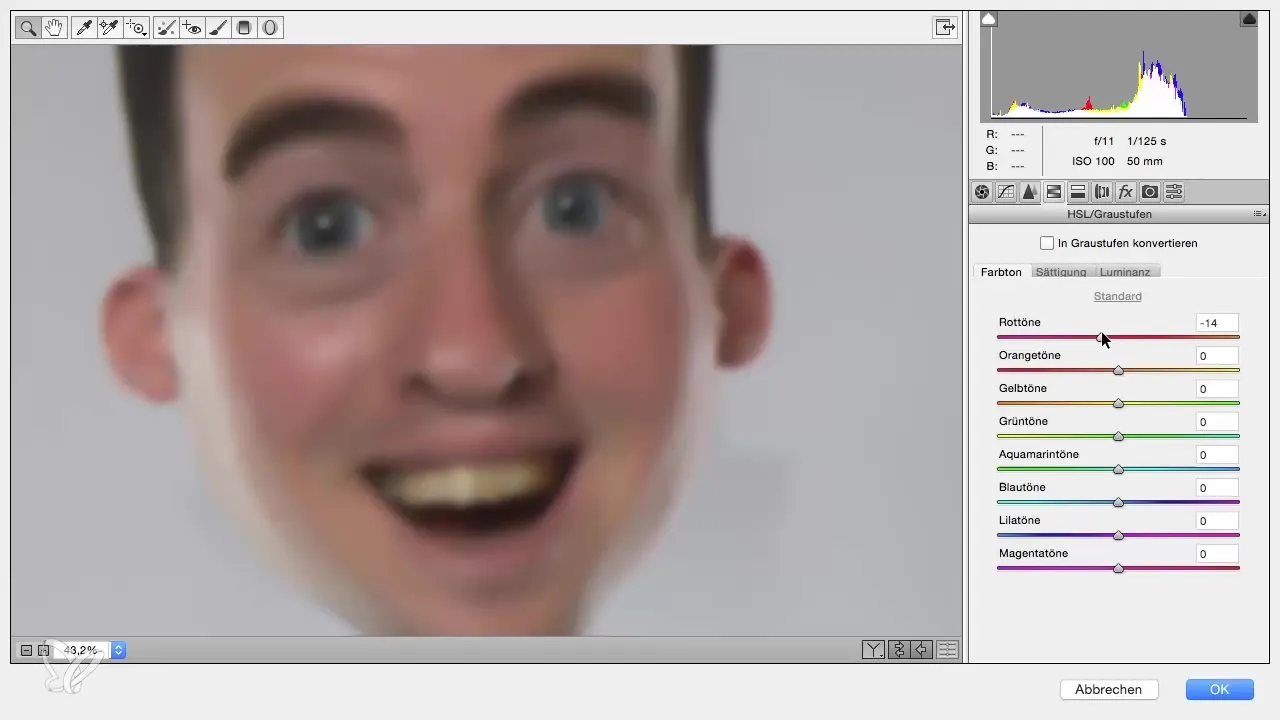
Most skin tones have red spots that you may want to adjust. Go to the HSL settings in the Camera RAW Filter and adjust the red hue to minimize the unpleasant colors. Be sure to gently move the red hues slider to the left for a natural look.
7. Selective masking
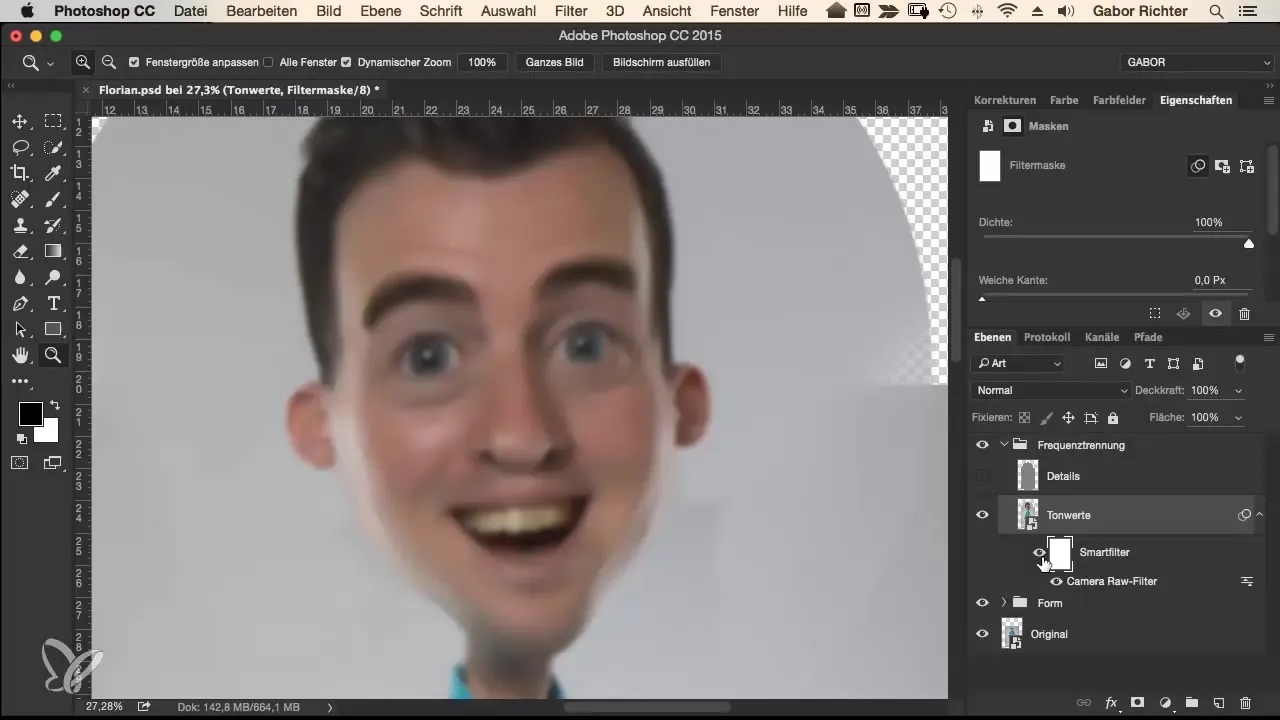
After applying noise reduction, you may not want to affect the entire image. Therefore, it's wise to create a mask on the Smart Object. Invert the mask and paint with a white foreground color where you want to apply the skin retouching. Make sure to choose the exact opacity (about 30-50%) to let the skin look super natural.
8. Clean up detail layer
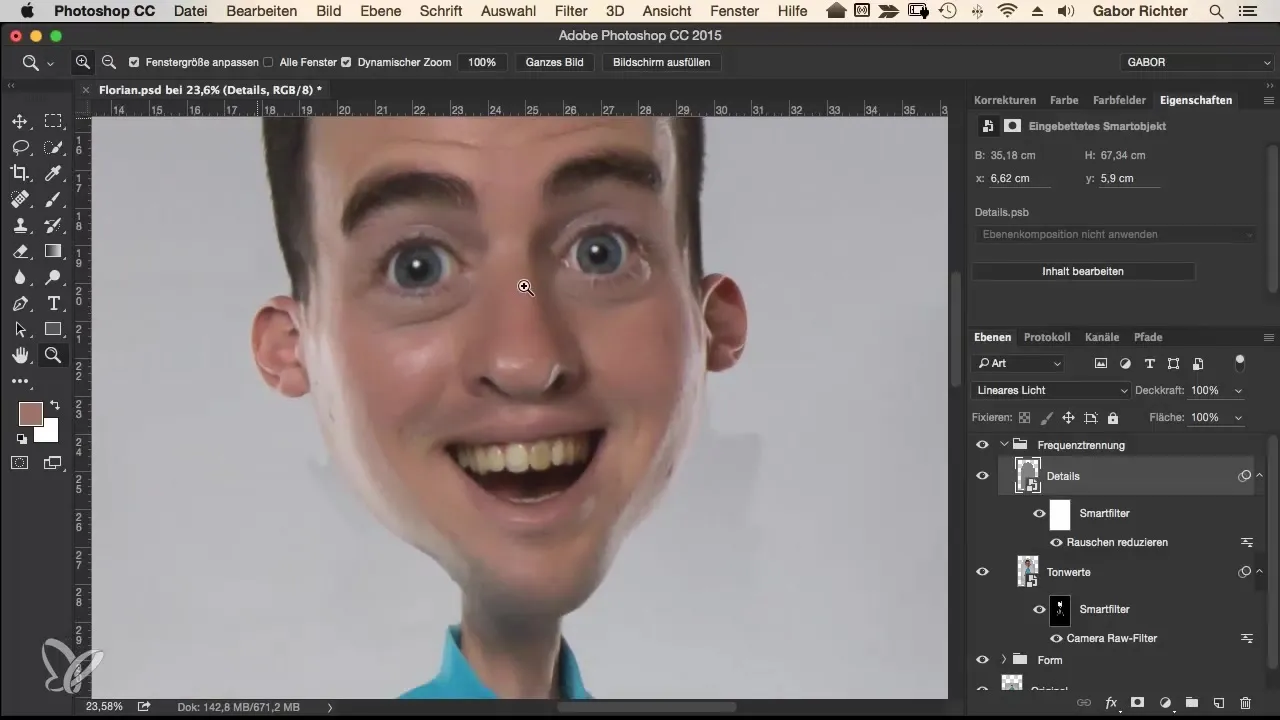
To remove unwanted, damaged pixels in the details, convert the "Details" layer into a Smart Object as well. Apply the noise filter to the 'Details' layer to improve the quality of the detail information.
9. Clone stamp for final adjustments
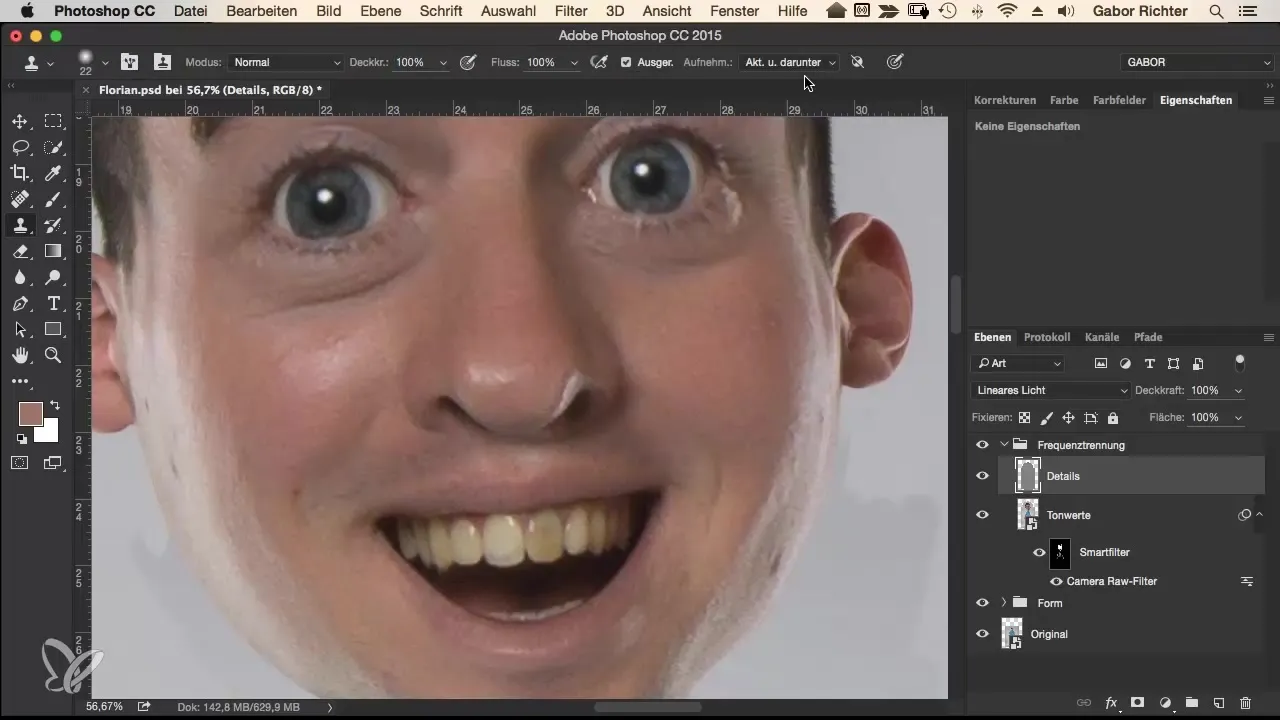
To remove the last impurities and distracting pixels, rasterize the layer and select the Clone Stamp tool. Work with an opacity of 100% and select source areas with the Alt key. Gently paint over the distracting details to achieve a harmonious overall look.
10. Match and final retouching
After applying all the steps, you should compare the before and after images. You can toggle the detail surface on and off to see what adjustments are still needed. Finally, go through the entire image to ensure that everything looks harmonious.
Summary - Frequency Separation for Perfect Skin Retouching
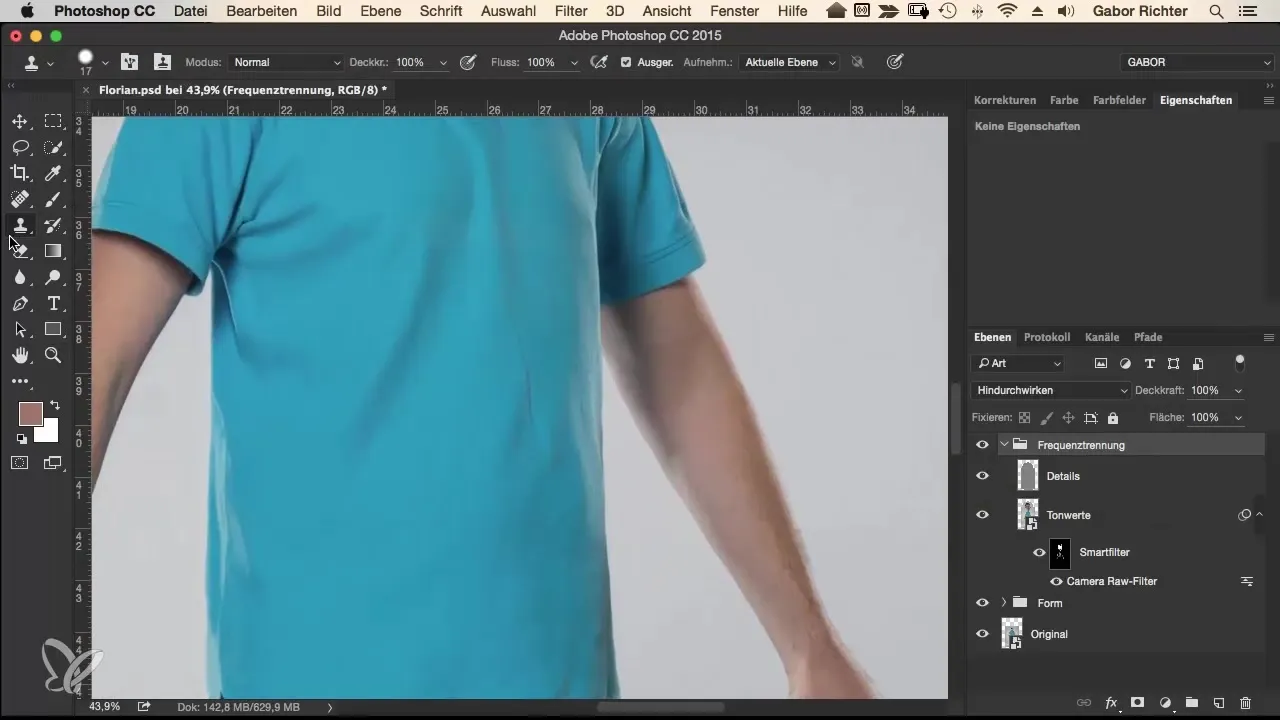
This step-by-step guide has shown you how to effectively apply the frequency separation method to remove skin imperfections without compromising image details. Through skillful application of filters and masks, you can achieve amazing results.
Frequently asked questions
How does frequency separation work?Frequency separation divides an image into two layers: one for colors and one for details, allowing you to edit each layer separately.
When should I use frequency separation?It is especially suitable for portrait retouching when you want to reduce skin imperfections but preserve the skin structure.
Can I use frequency separation in other software applications?The concepts are applicable in many image editing programs, but the exact steps may vary depending on the software.
Is there an alternative to frequency separation?Yes, you could also employ other retouching techniques; however, frequency separation is particularly effective for skin retouching.


