Do you want to expand your skills in 3D modeling and learn how to create complex shapes from simple basic objects? In this tutorial, we will show you how to transform a simple cube basic object into an appealing design that represents the beginning of your creative projects. We will be using various modeling techniques and effective tools to cut in holes and further refine the object.
Main Insights
Throughout the workshop, you will learn how to:
- Optimize the preparation of a rough cube design.
- Divide the cube into different segments.
- Methodically cut holes into the model.
- Create interesting visual effects with extrusion.
Step-by-Step Guide
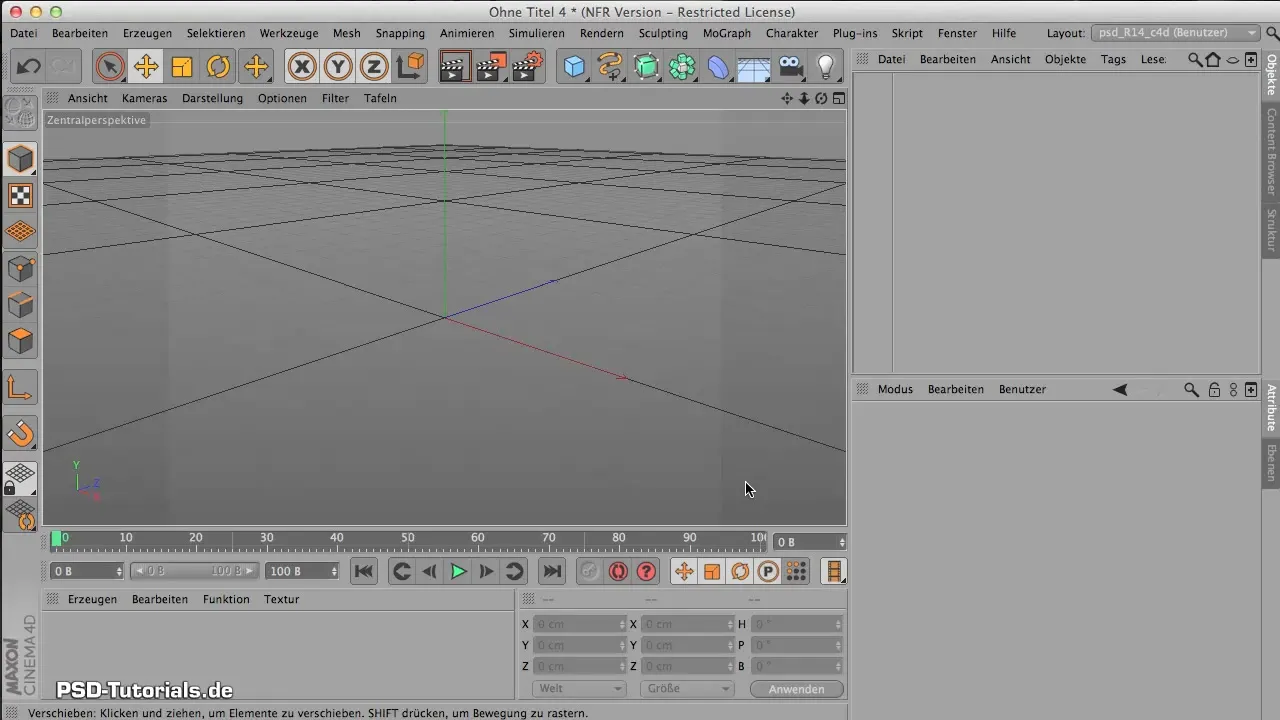
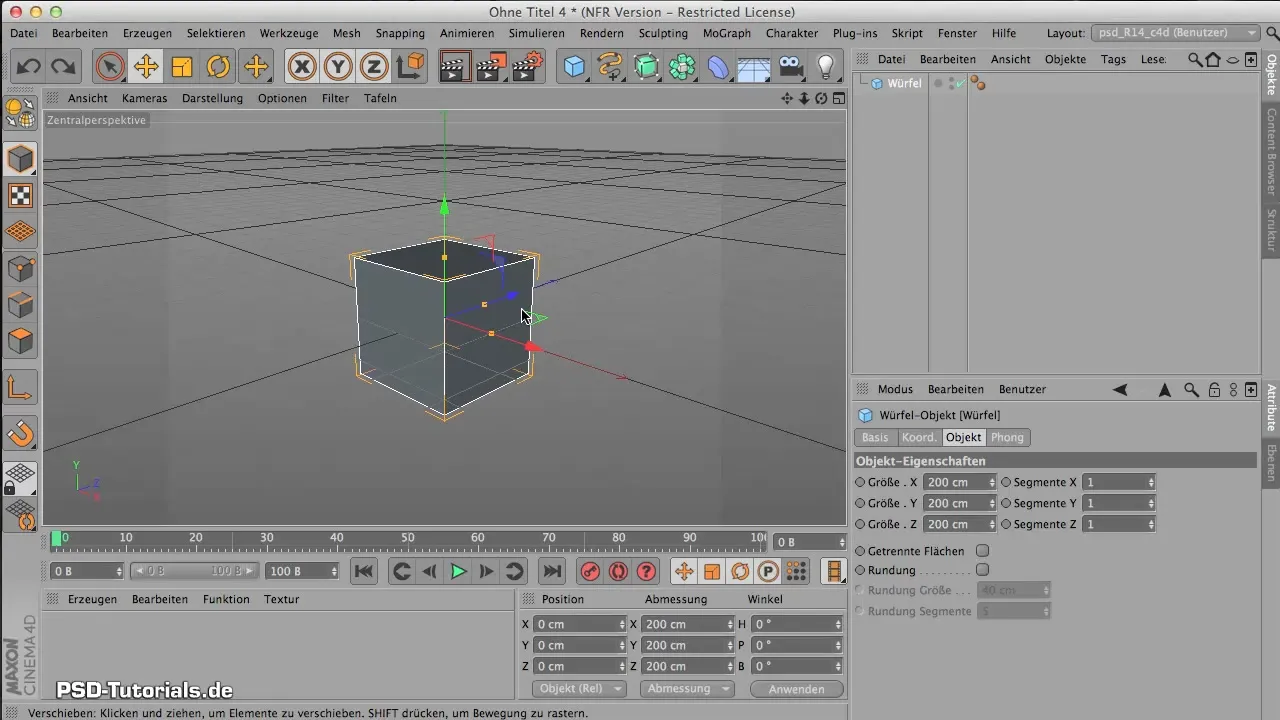
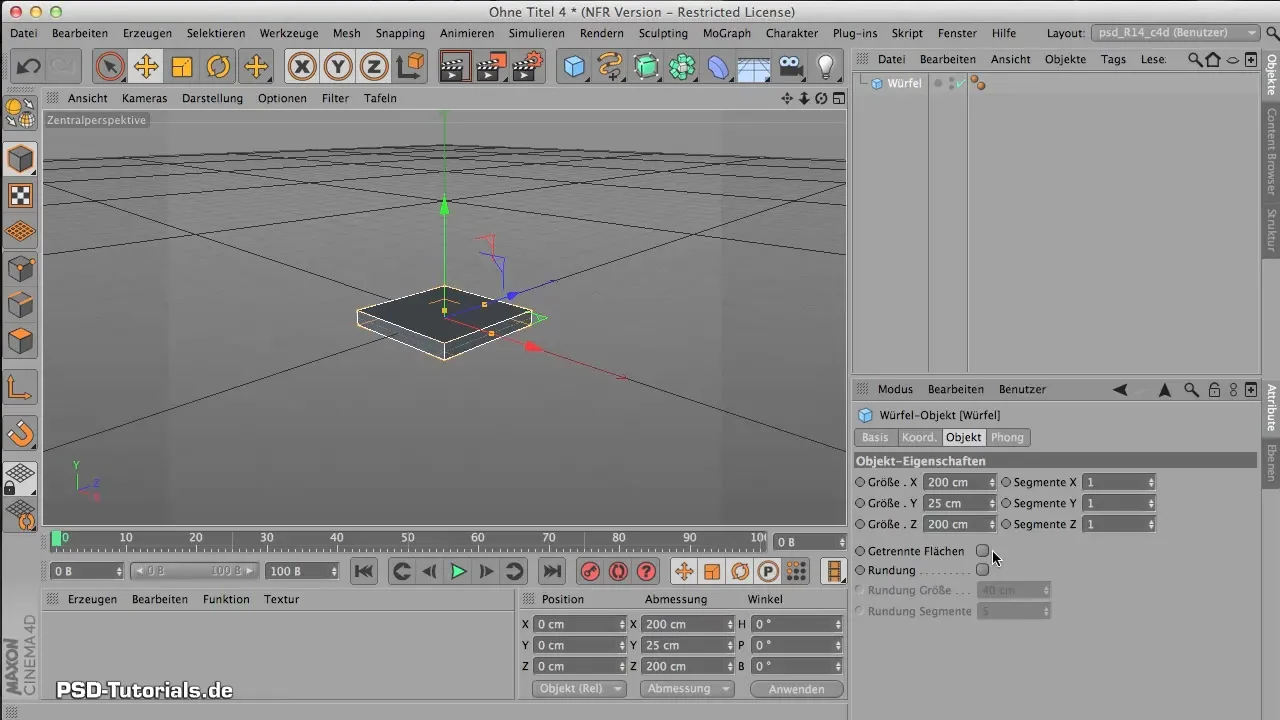
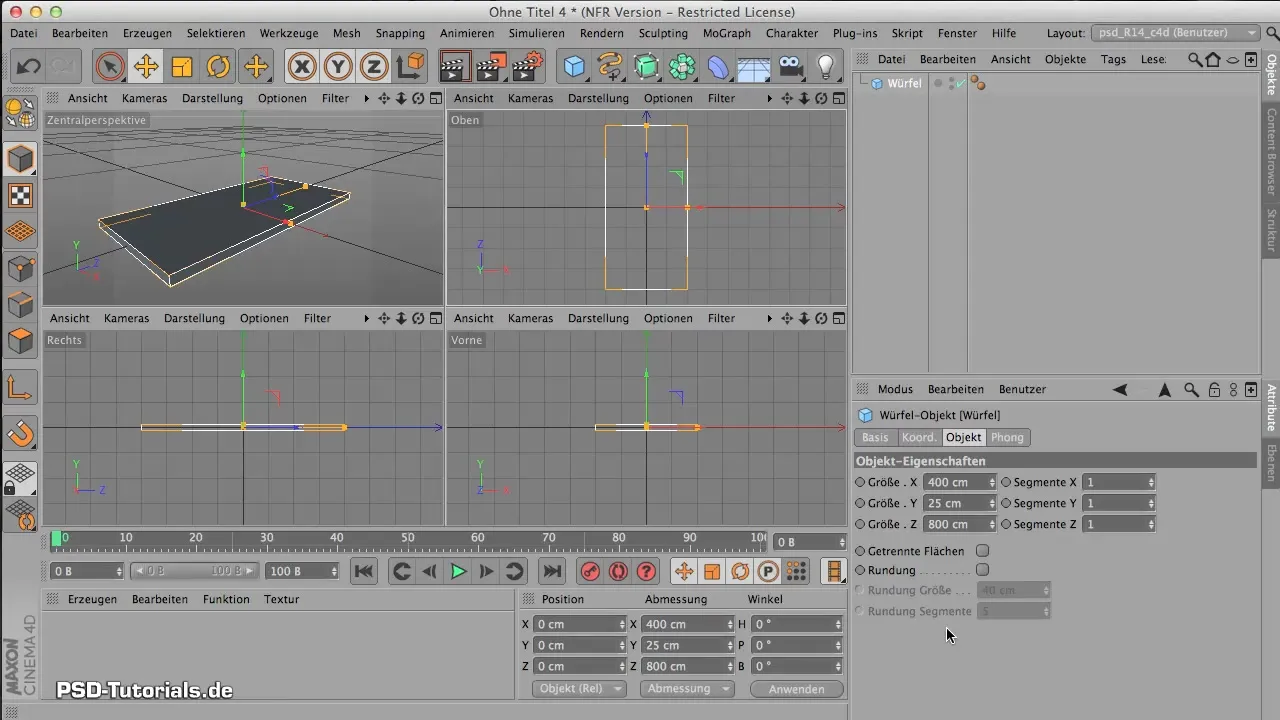
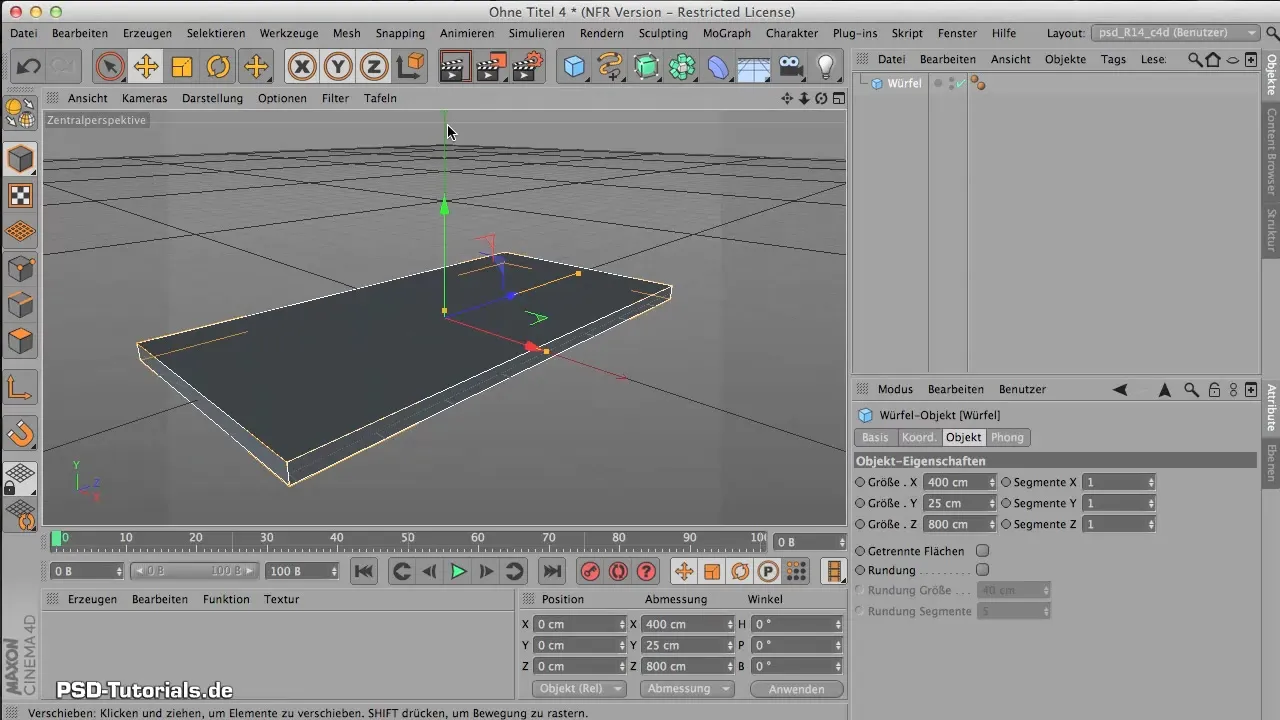
First, we will create our basic object, which represents a simple cube. The cube will be scaled to dimensions of 200 cm by 25 cm and 400 cm by 800 cm to achieve a specific basic shape.
Once you have created your cube in the desired shape, you will divide it into different segments. To do this, segment it into 5 segments in the length direction and 4 segments in the width direction. Use the corresponding selection tools in your software for this.
Of course, you can also use your own values and experiments – what’s important is to get a feel for the proportions and dimensions. Feel free to experiment a bit and find out what works best for your project.
Now it’s time to cut holes into the surface. First, convert your cube into a polygon object by using the relevant button in your tool. This is an important step before we can work with the bridge tool.
In the next step, use the "Live Selection" to select the surfaces where you want to insert the holes. Make sure to select only visible elements to maintain clarity.
Then, you can delete the selected surfaces to make space for your holes. It’s helpful to periodically check whether you have selected the right surfaces to avoid unwanted holes.
To close any openings, navigate to the edge editing mode. Here, you can generate new surfaces using the "Create Mesh" tool to close the holes.
Now there is an additional method to create holes more elegantly. You can first view the object from a specific perspective and then select the individual elements you want to remove.
If you have successfully cut the holes, you can continue with the design. Here comes the principle of "iCandy" into play: you add small details that give your model more depth and interest.
To create a recess, you will need additional polygons. These are added along the central axis and then extruded inward to create a new structure within the holes.
Use the knife tool to make a cut through the geometry of your model. Make sure to adjust your settings according to the desired depth.
Once the cuts are in place, you can proceed by moving the new surface inward using "Extrude." This will give you the recessed area that adds complexity to your object.
Now you can observe the results of your work. The recesses should be well processed and leave a clear visual impression that makes your model appear more vivid.
By combining these steps, you have transformed a simple cube into a unique and more interesting object. Always remember to add small details when modeling, as they can make a significant difference in the perception of your design.
Summary – Creative Workshop: Preparing a Cube Basic Object
During this workshop, you have learned how to create interesting 3D models from a simple cube using targeted techniques. You discovered the importance of segmentations and the various possibilities of cutting and extruding to create both effects and details in modeling.
Frequently Asked Questions
What software do I need for this workshop?A 3D modeling software that supports polygon editing is best suited.
Can I use my own dimensions for my cube?Yes, you can adjust the dimensions according to your preferences.
What is the "bridge tool" and what is it used for?The bridge tool is used to precisely connect holes or edges.
How can I further detail my models?By adding more surfaces, extruding, and using various textures.
Do I need to be perfect in the software to participate?No, just experiment. With each step, you will become more confident in the application.


