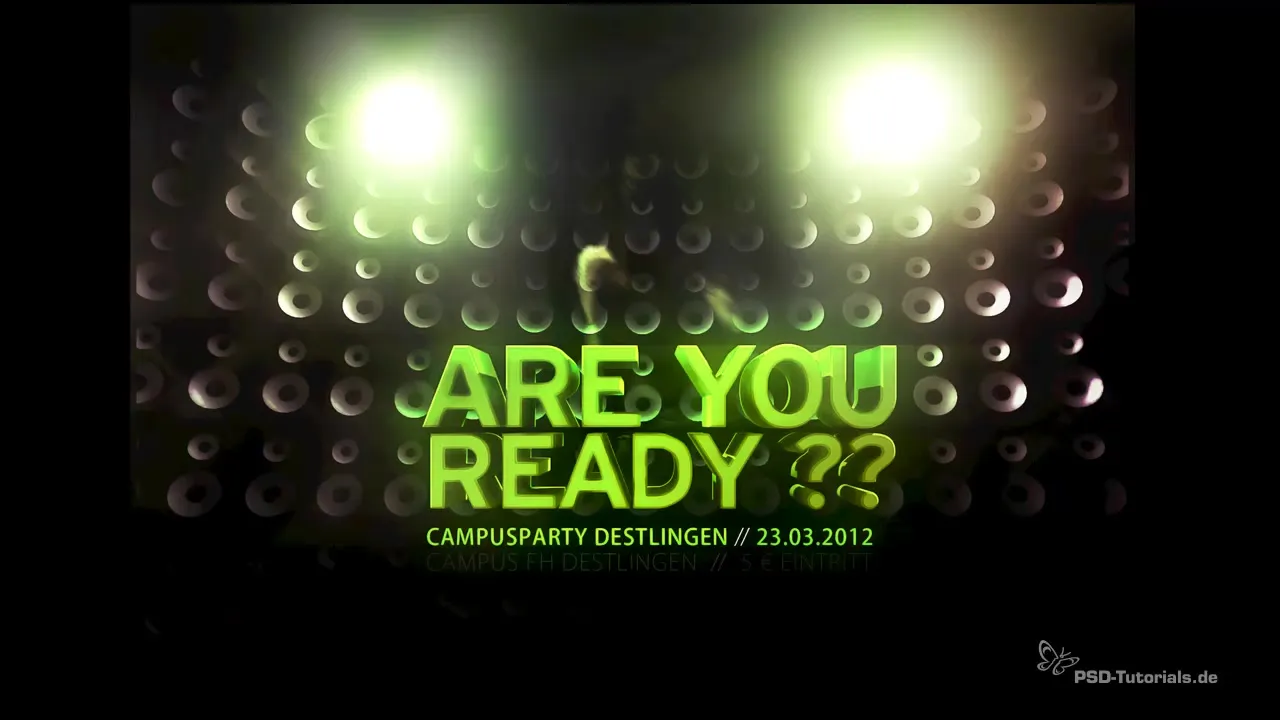
Do you want to learn how to create engaging flyers? In this video tutorial, you will receive a fundamental introduction to the creation of a flyer using Cinema 4D and Photoshop. Here you will find out what to expect and how to achieve the best results. Together, we will dive into an exciting combination of two powerful programs and show you how to effectively combine them.
Main Insights
- The combination of Cinema 4D and Photoshop is extremely effective for creating graphics.
- The training focuses on creating a flyer, from three-dimensionality to final editing.
- Special techniques like HDRIs and multipass rendering will be integrated into the training.
Step-by-Step Guide
To create the desired flyer, we will go through various steps. The goal is to fully reconstruct the flyer as seen in the video.
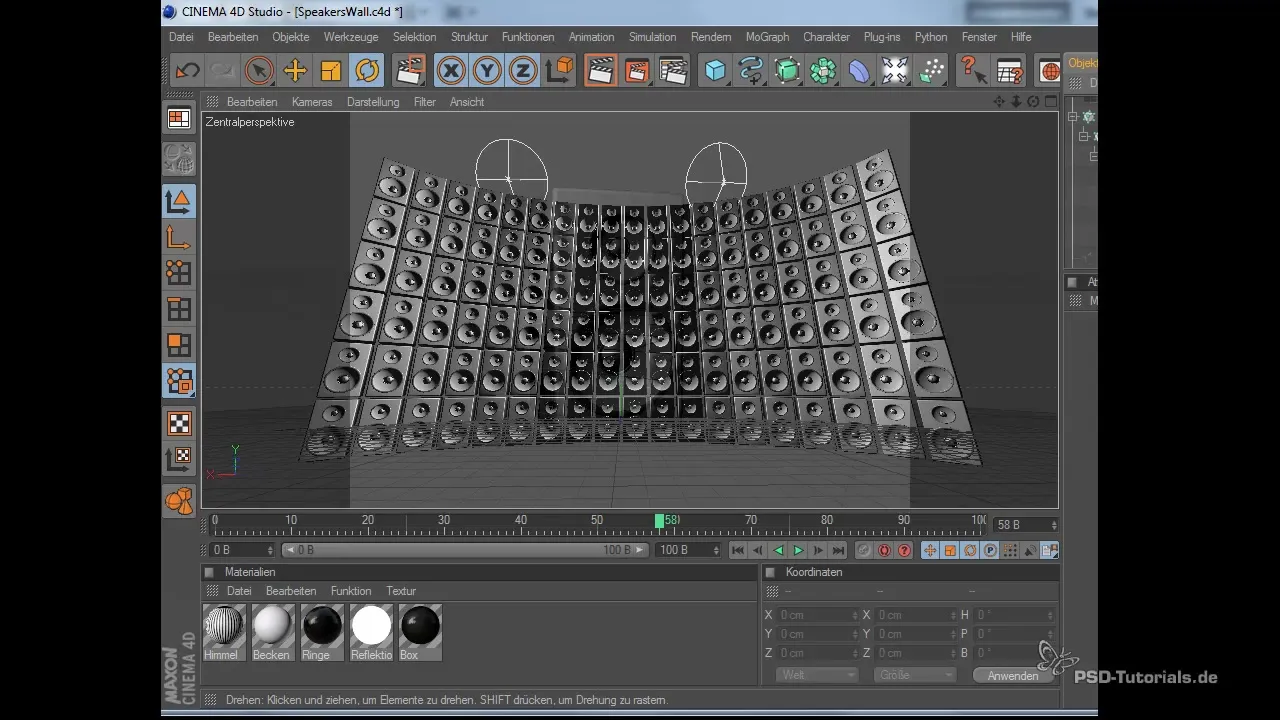
First, we will look at how the collaboration between Cinema 4D and Photoshop works. Cinema 4D offers excellent features for 3D modeling, while Photoshop allows for editing and finalizing the graphics. In the first step, we start with modeling in Cinema 4D. There, we will create our speakers wall in the background, starting with a simple speaker.

Now that we have our speaker, we will begin to build the speaker wall. Our focus is to keep the structures simple while still making them appealing. We will make optimal use of the software's capabilities to create a solid foundation.
In the next step, we will use an HDRI (High Dynamic Range Image) to create impressive lighting. HDRIs give you the opportunity to simulate complex lighting conditions and realistic shadows. I will show you how to create and save your own HDRIs so that you can use them in future projects.

After creating our HDRIs, we will move on to the rendering settings in Cinema 4D. Here, it is important to select the right settings for multipass rendering to get different image elements rendered separately. This allows you to edit each component of the image separately in Photoshop later.
Once the rendering settings are optimized, the generated image needs to be further edited in Photoshop. In this step, it is about inserting the created speaker wall as a background object and creating the final flyer from it. The entire editing will be accompanied by some design elements and color correction.
Another important aspect that I will cover in this training is adding realistic elements like giant spotlights. I will show you how the lighting effects from Photoshop are optimally showcased and how to design the text using Photoshop's 3D feature.
In conclusion, I will cover some design tips that will help you create this demanding flyer. The entire workflow between Cinema 4D and Photoshop is designed to not only bring you the techniques but also to inspire your creative thinking. I hope you can take away some important aspects and adapt them for your own projects.
Summary - Effective Creation of a Flyer with Cinema 4D and Photoshop
In this tutorial, you learned how to create a flyer from scratch with Cinema 4D and optimize it with Photoshop's editing functions. The combination of these two programs opens up incredibly many possibilities for creating engaging graphics. Remember that the potential in your design often unfolds through the correct application of the tools.
Frequently Asked Questions
How long does the entire workflow training take?The entire training lasts 178 seconds.
What is HDRI?HDRI stands for High Dynamic Range Image and is used to create realistic lighting effects.
Can I use the techniques for other projects as well?Yes, the techniques covered in this tutorial are universally applicable and can be used in many projects.


