Rendering is a central part of 3D design and offers you the opportunity to create appealing pixels from polygons. In this tutorial, you will learn how to render your project as a multi-pass image in Cinema 4D to achieve maximum flexibility in post-processing. Whether you want to further process your design projects in Photoshop or optimize for video production – here is a step-by-step guide for you to effectively accomplish this task.
Key Insights
- Enabling ambient occlusion improves the natural representation of your models.
- Using multi-pass rendering gives you more freedom in post-processing.
- The right format and dimensions are crucial for your print project, for example, in the DIN A5 format.
Step-by-Step Guide
Step 1: Enable Ambient Occlusion
To enhance the realistic shadow effect in your render, enable ambient occlusion. This feature ensures that areas where objects or polygons touch are shaded more naturally. Go to the render settings and find the option "Ambient Occlusion" under the "Effects" tab. Activate this and keep the default settings, which already provide satisfactory results.
Step 2: Select the Render Area
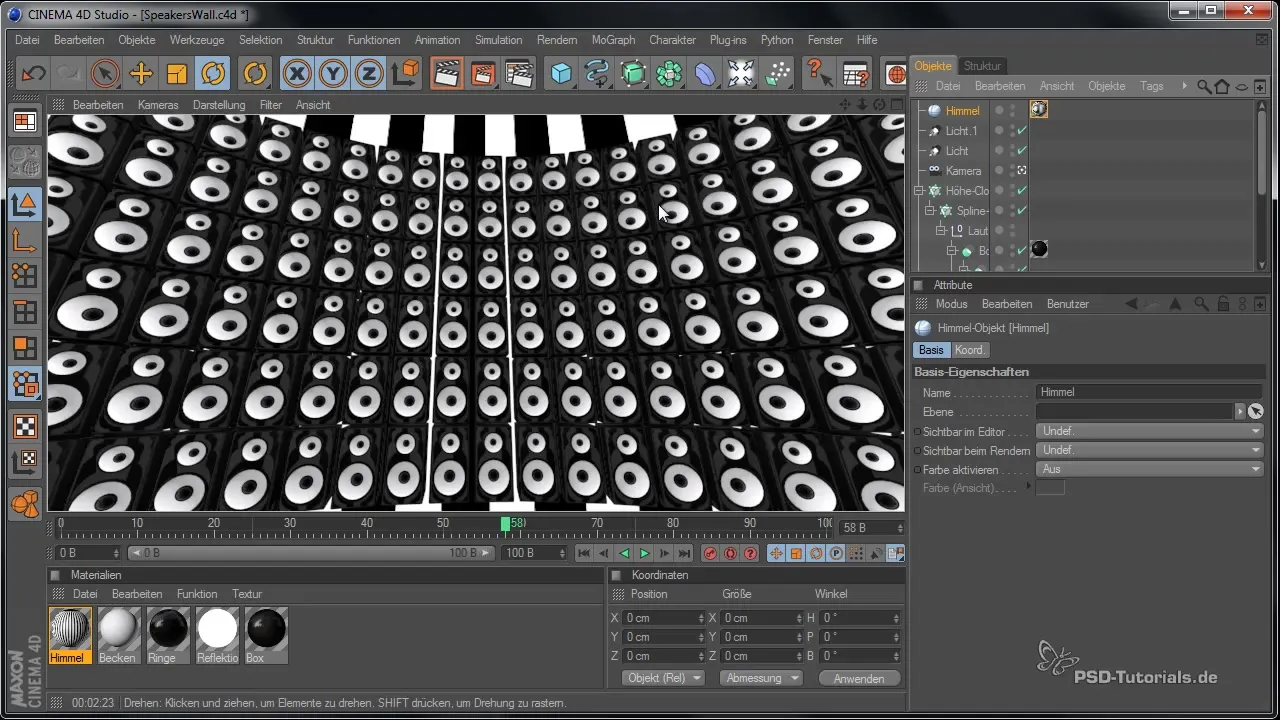
To speed up the rendering process, select a smaller area of your project. This makes it quicker instead of rendering the entire scene. Position the camera so that the selected area is highlighted. Ensure that the objects are clearly visible and recognizable, and the aesthetics of the "Speakers Wall" are prominent.
Step 3: Set the Image Size for Print
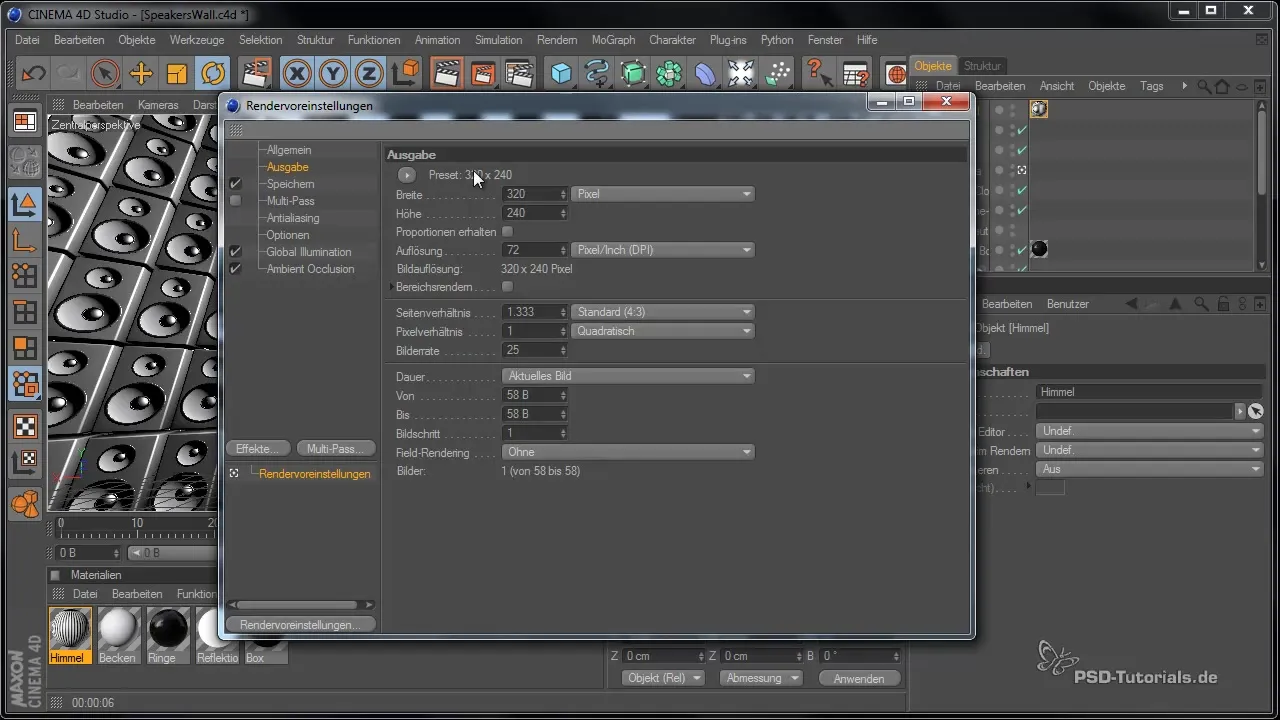
The final image should have the correct dimensions for printing. DIN A5 is a common size, and you should aim for a width of at least 2500 pixels. Set the width to 3000 pixels and the height to 2000 pixels, so your image is optimally prepared for print output. Check the aspect ratio in Photoshop to ensure everything is set correctly.
Step 4: Activate Multi-Pass Rendering
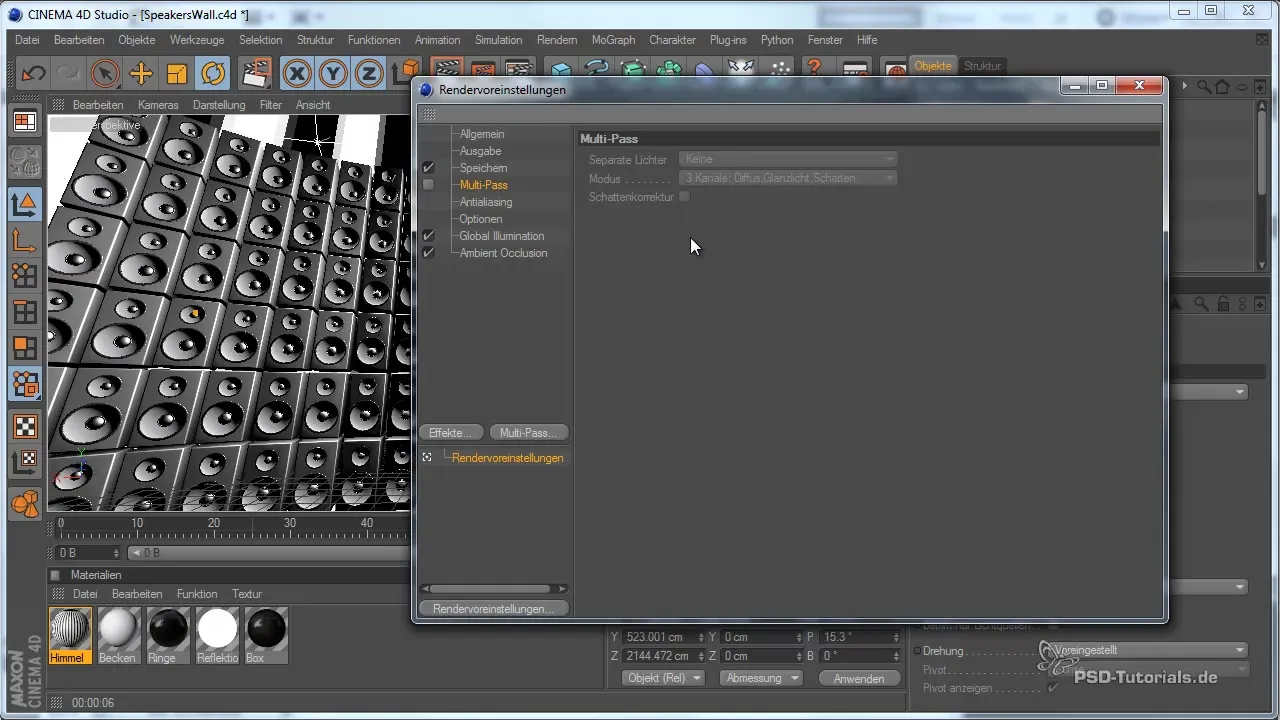
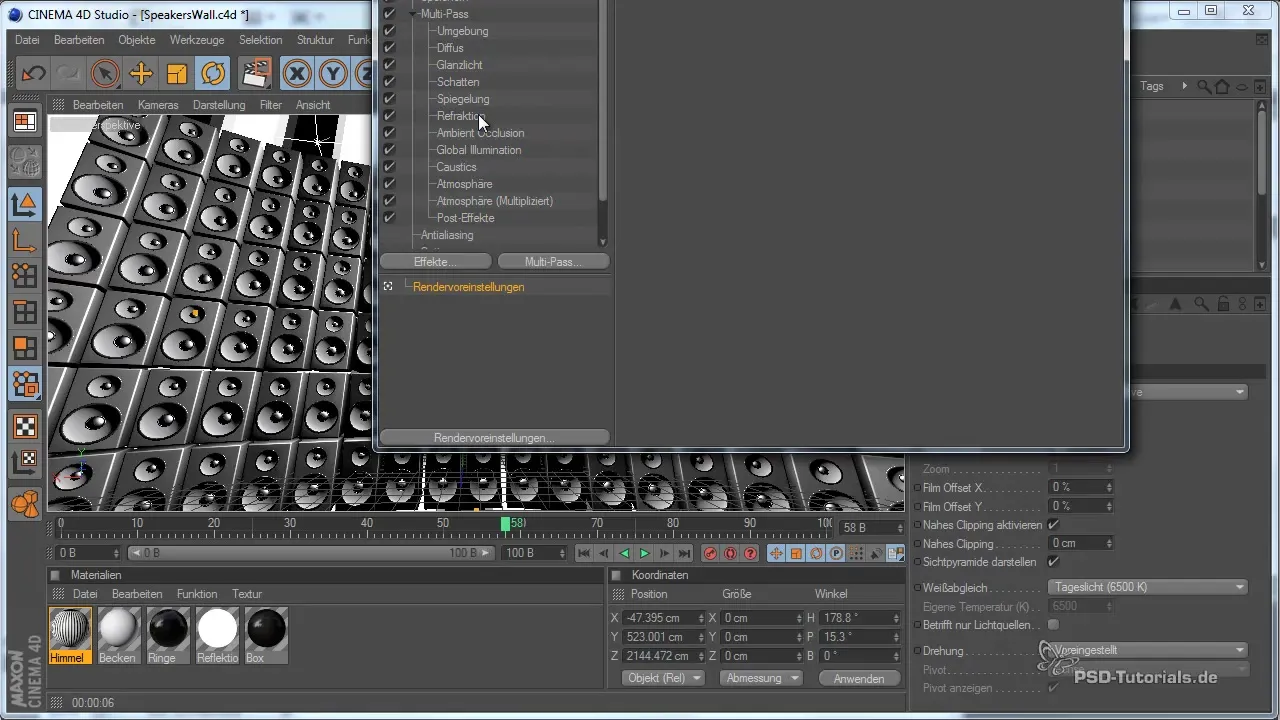
To allow for later adjustments in Photoshop, you should enable multi-pass rendering. This allows you to edit different light levels and effects individually later. Go to the render settings and activate the option for multi-pass rendering. Make sure to save all necessary light channels separately, which gives you flexibility in editing in Photoshop.
Step 5: Select the Renderable Channels
Now select the specific channels for multi-pass rendering. These can include colors, shadows, and reflections. You can keep the default options, but many options are available. Ensure that you at least activate the alpha channel to facilitate the isolation of objects later on.
Step 6: Render the Image
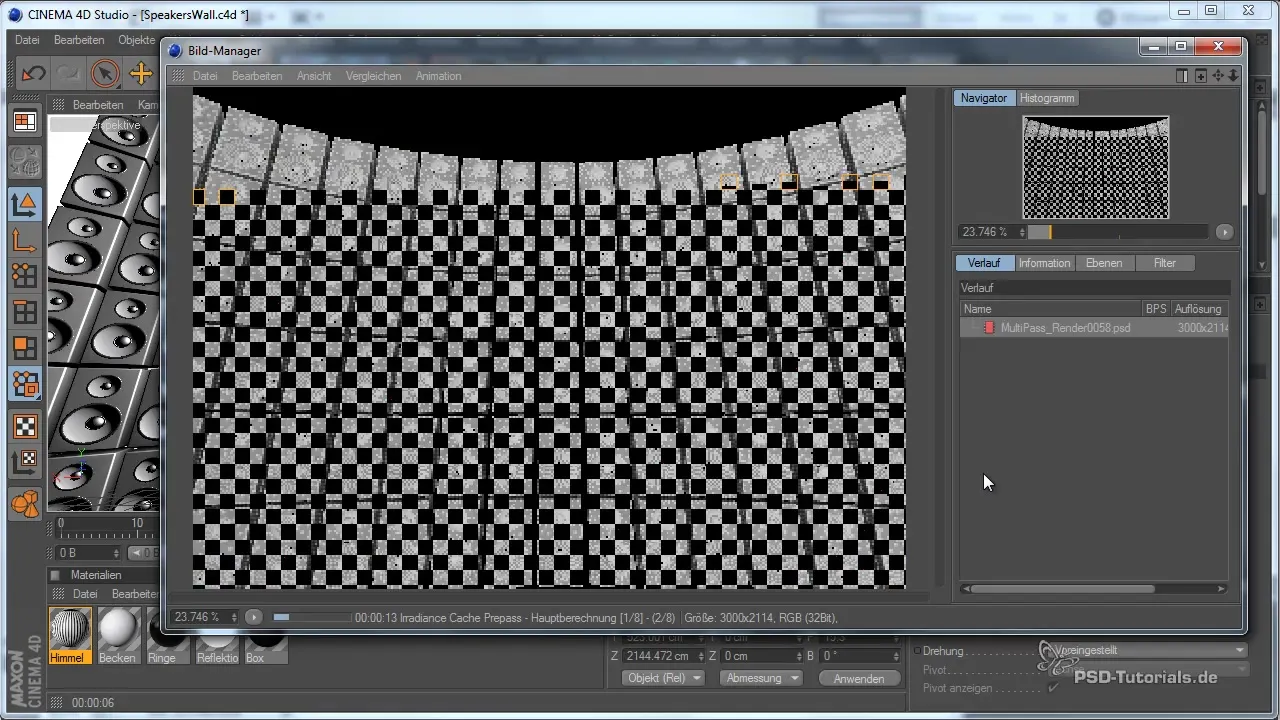
Once you have made all the settings, it is time to render the image. Click on the middle icon in the image manager and start the render process. Be prepared for the process to take some time depending on complexity and resolution. Use this time to take care of other tasks or take a break.
Step 7: Review and Adjust the Image Frame
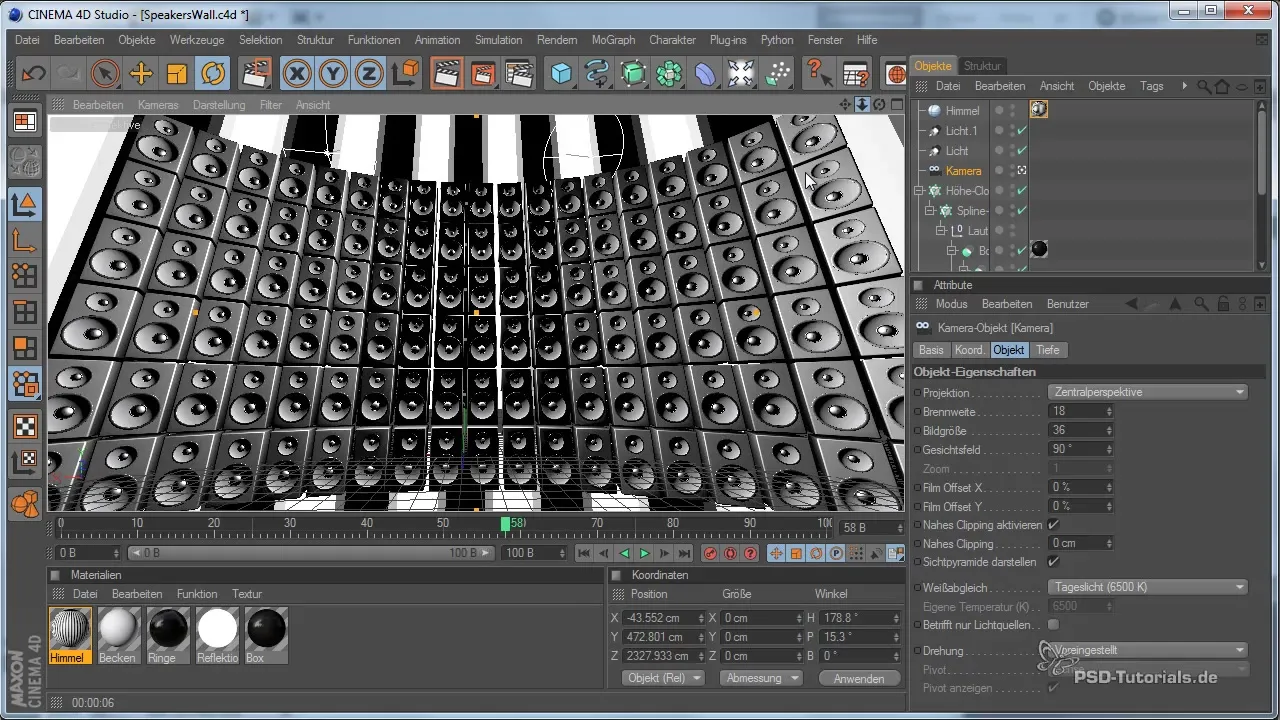
After the initial render, you can check whether the image frame meets your expectations. If you find that parts of the design are missing or not perfectly placed, abort the render process and adjust the camera position. Zoom out further to get a better overview of the entire "Speakers Wall" before rendering again.
Step 8: Finalization and Editing in Photoshop
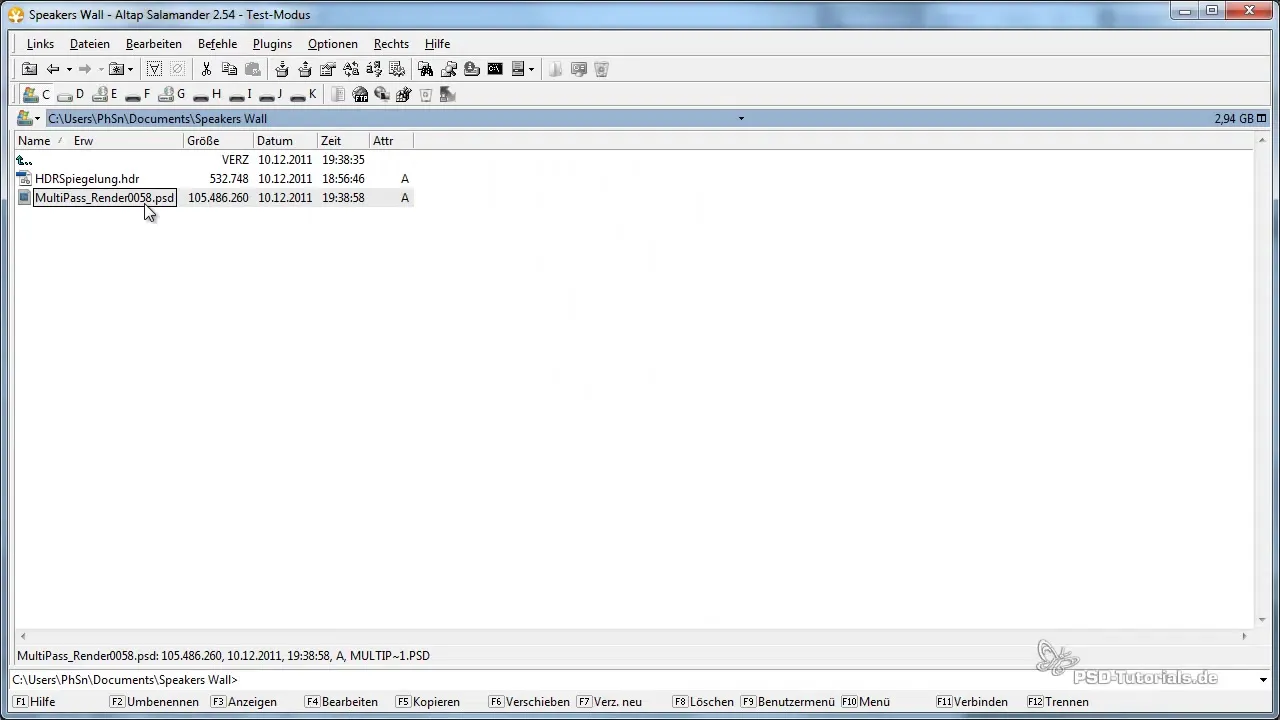
Once the final image is rendered, open it in Photoshop. Here you have complete control over the different layers created during multi-pass rendering. You can now adjust the various light and shadow effects individually and make your final design decisions. The flexibility this process offers is crucial for the quality of your final product.
Summary – Rendering a Multi-Pass Image in Cinema 4D for Optimal Editing Options
Rendering a project with multi-pass options in Cinema 4D opens up enormous design possibilities in Photoshop. With the right settings, enabling important effects like ambient occlusion, and selecting relevant channels, you are optimally prepared to enhance and elevate your designs to the next level.
Frequently Asked Questions
How does ambient occlusion improve my render?Ambient occlusion creates realistic shadows and enhances the natural representation of objects that touch.
Why is multi-pass rendering important?It gives you the ability to edit different effects individually and work flexibly with light and shadow conditions in Photoshop.
What format is best for printing?For DIN A5, a width of at least 2500 pixels should be used, with 3000 pixels recommended.
Can I also use other file formats?Yes, for animations the RPF format could be useful to save additional information like depth pass in one file.
How long does it take to render a complex image?The rendering time can vary depending on complexity and chosen resolution; in this case, it took about 24 minutes.
