The final touch during the design of a flyer or another design can be crucial for the overall impression. Here I show you how to finish your flyer in Photoshop with a structured approach. This includes adjusting colors, highlights, and developing your own design language. Let’s dive into this exciting finale.
Key Takeaways
- Use the 100% view in Photoshop to avoid artifacts and see the final result clearly.
- Adding color variations creates more vibrant designs.
- A Dodge-and-Burn technique can help bring out highlights and shadows effectively.
- The use of effects like high pass filter and grain filter gives your design the final touch.
Step-by-Step Guide
To create an appealing flyer, simply follow these steps:
1. Check Accuracy of View Size
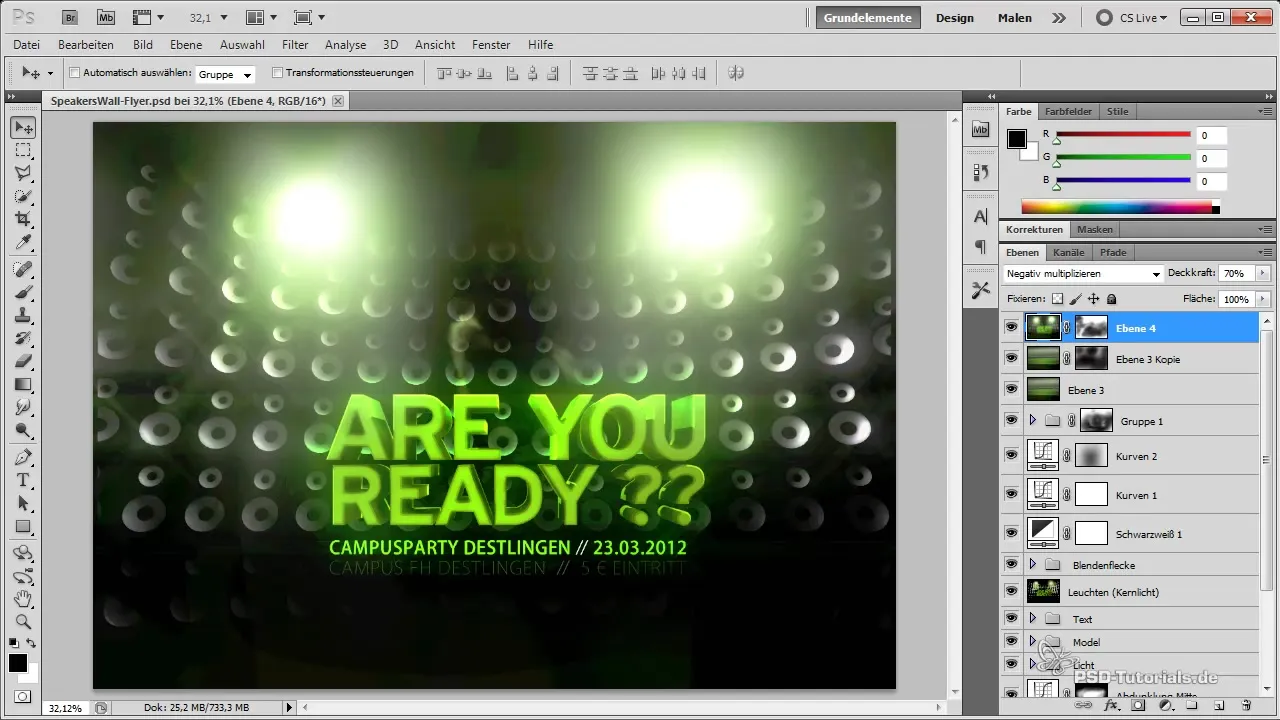
Start by checking the flyer in 100% view. This allows you to see the image details clearly without artifacts distorting the image. Press Ctrl + Alt + 0 to set the view to 100% and check your design for unwanted gradients or distortions.
2. Highlight Highlights
To intensify the areas you want to highlight in your model, go to the properties of the graphic layer and slightly increase the sheen of these areas. The goal is to make the details visible, yet mysterious. This creates an interesting visual element.
3. Add Color Variations
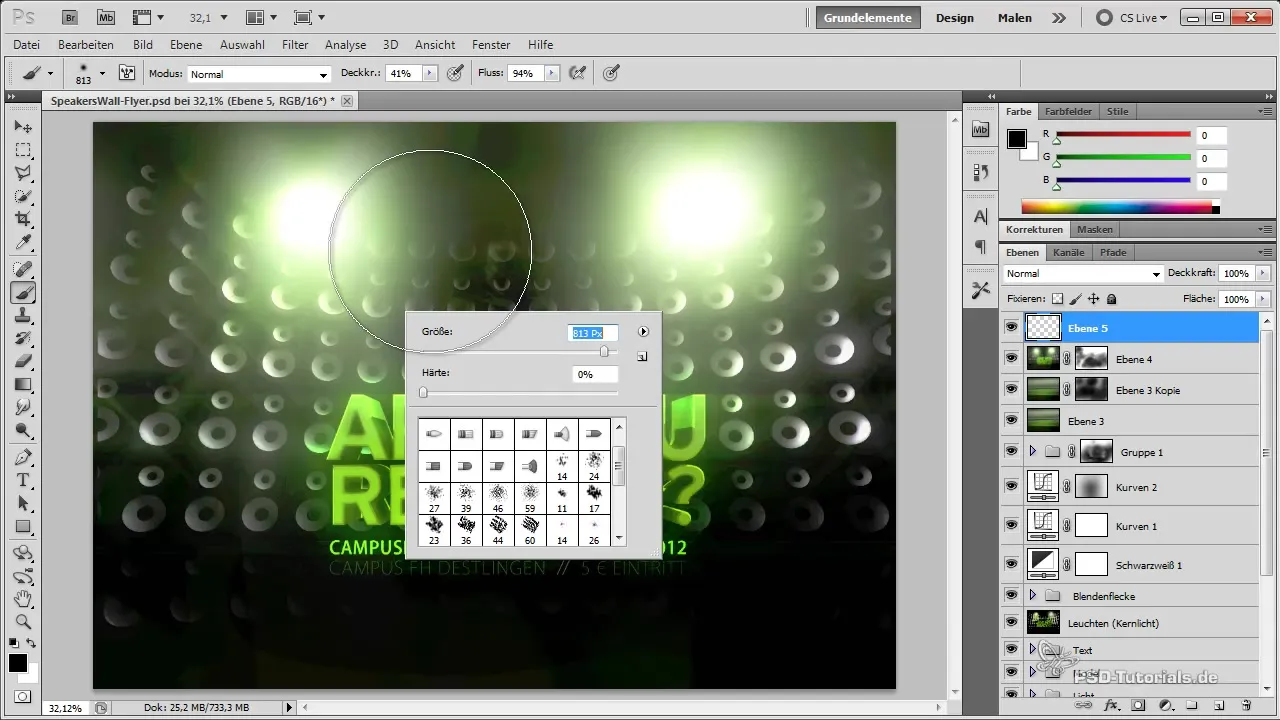
Add a new layer and use a large, soft brush. Choose vibrant colors and set the layer to "Color" mode. Gently paint over various areas of the flyer to achieve more color variations and enhance visual appeal.
4. Adjust Gradation Curves
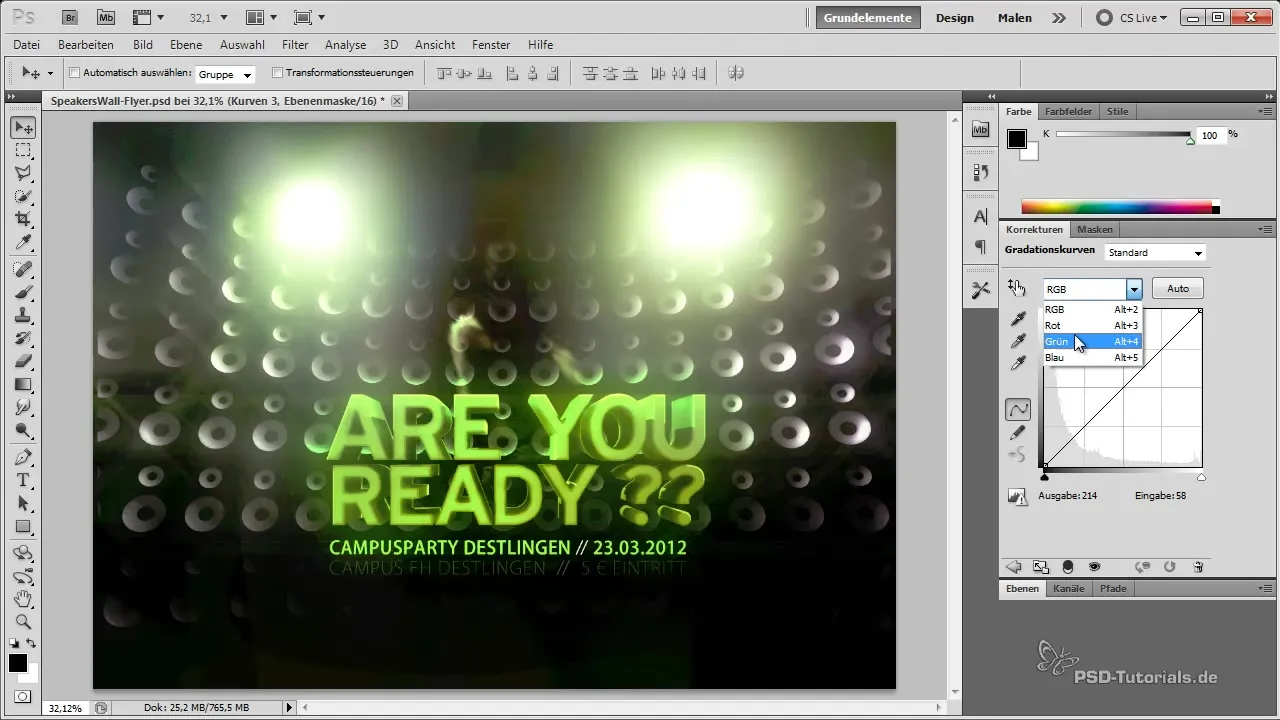
Go to the gradation curves and experiment with the color channels. Try to emphasize the reddish tone in the highlights while reducing the green tone in the shadows. These fine adjustments can significantly elevate your design and add more depth to it.
5. Incorporate Your Personal Style
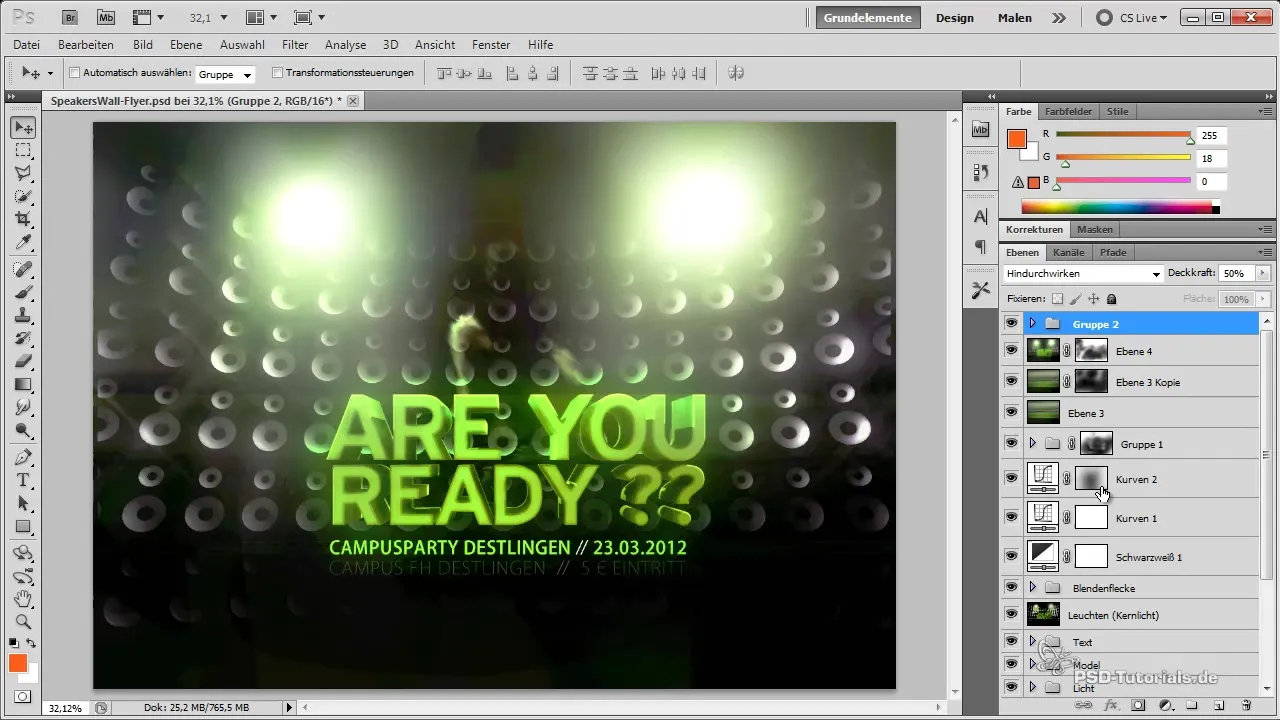
The design of your flyer showcases your personal style. It is the moment to fully express your creative expression. This can be done through font selection, text arrangement, and the way you combine the visual elements.
6. Apply Filters
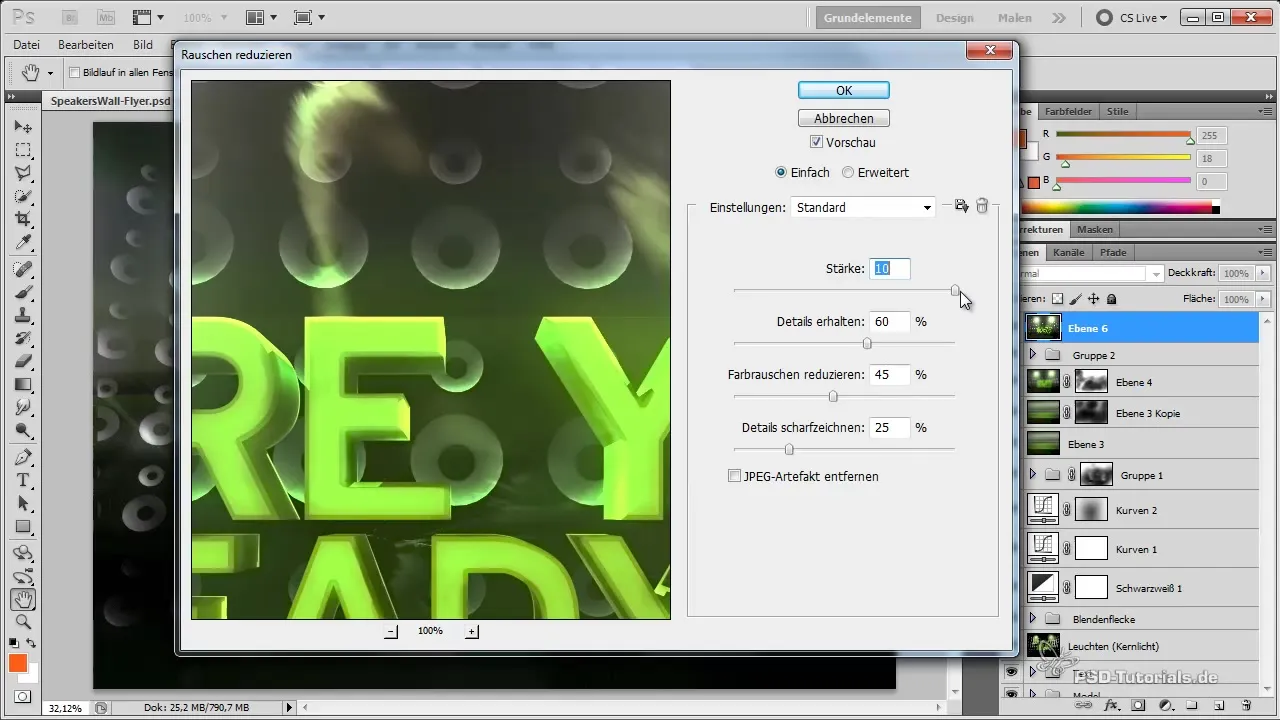
To create an organic connection between the elements, you can use the noise filter technique. Reduce noise to make the edges appear softer. You can then use the high pass filter to create sharper edges that are essential for the overall impression.
7. Use the Dodge and Burn Technique
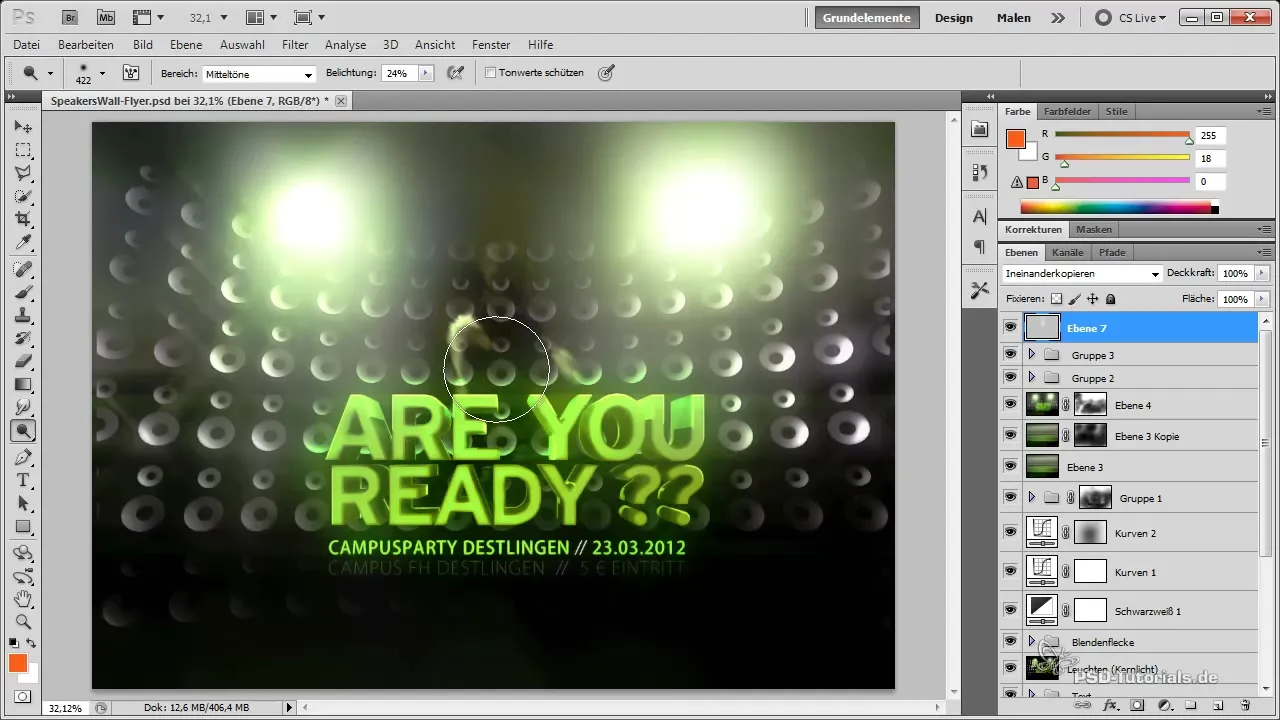
Create a new Dodge-and-Burn layer to brighten or darken specific areas of your flyer. This technique helps you set the visual accents that can be crucial for the overall composition.
8. Adjust Edges and Brightness
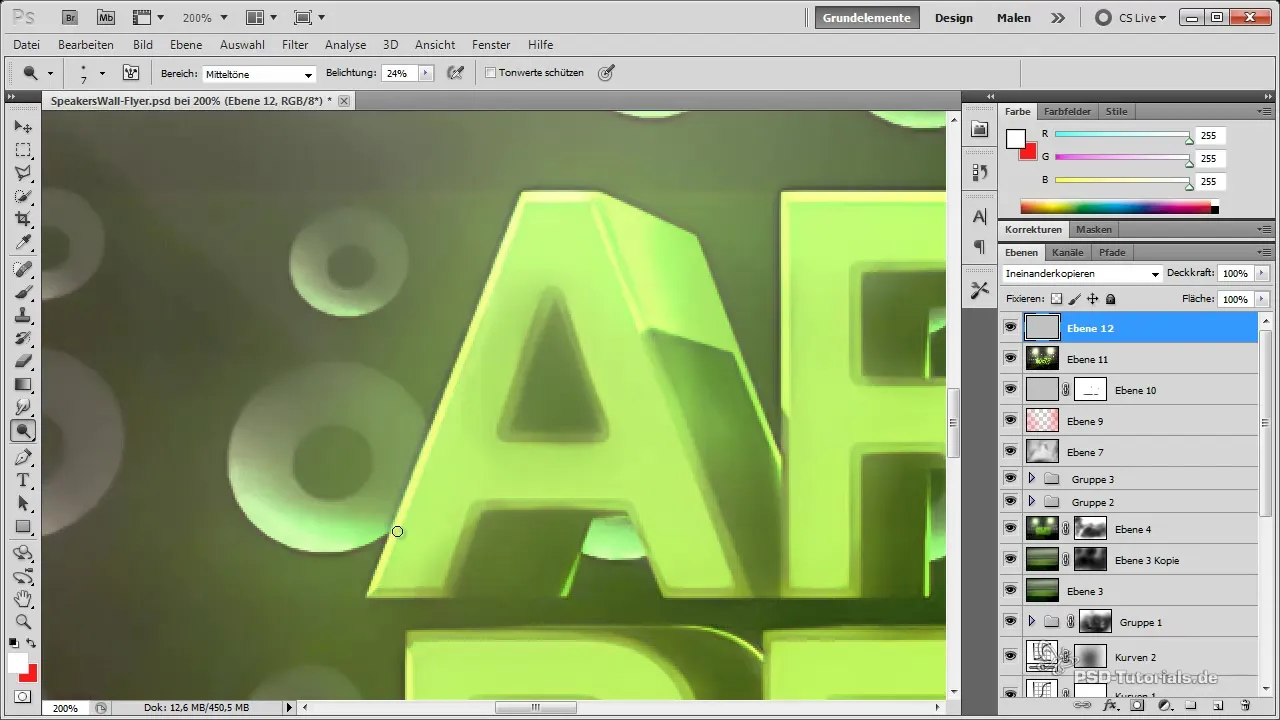
Use the Burn tool to add sharp, bright effects to the edges of your design elements. This helps direct attention to important details and can give your design more life.
9. Final Touches and Adjustments
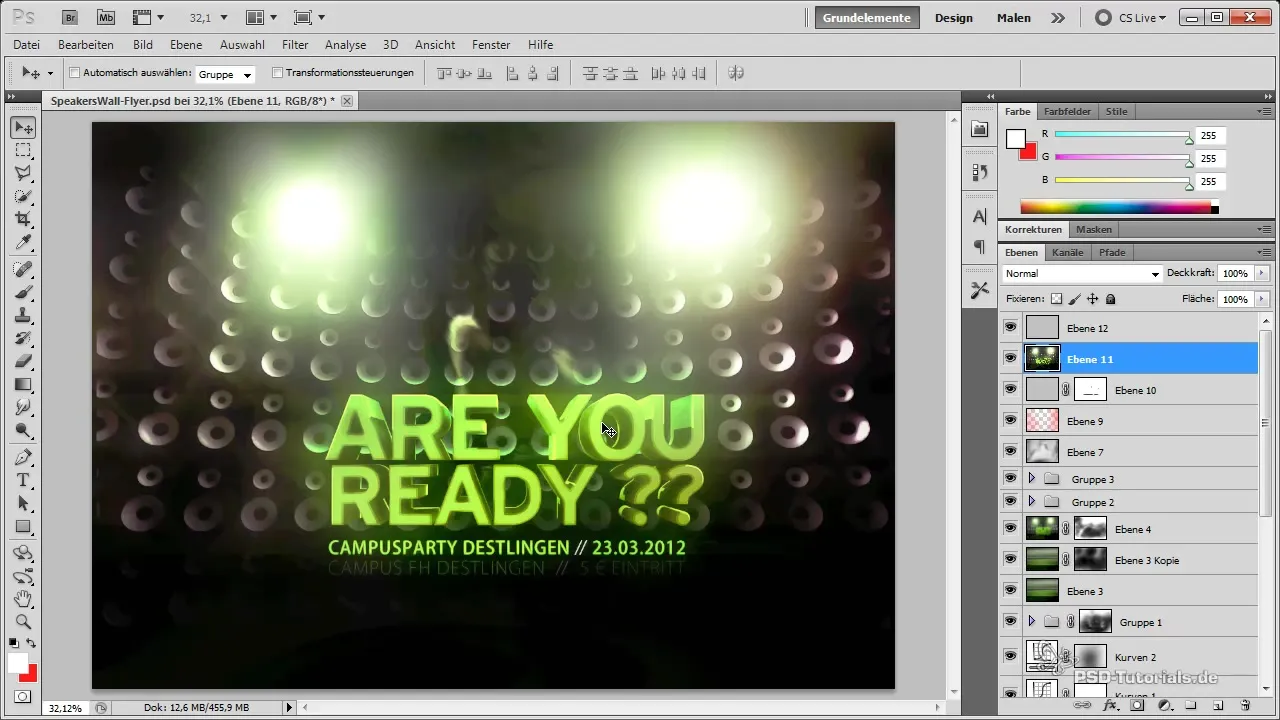
Give your flyer the final touch by bringing all elements together and ensuring that proportions and colors work harmoniously. Review the overall image and make any last-minute adjustments as needed.
Summary - How to Design an Engaging Flyer with Photoshop
Throughout this guide, you have learned various techniques for designing a flyer. You have seen how important color variations, corrections, and highlighting details are. With these tools, you are equipped to create an impressive design that appears both personal and professional.
Frequently Asked Questions
How can I ensure that my flyer looks good in print?Use the 100% view in Photoshop and check the colors and content for possible artifacts.
What colors should I use?Experiment with different colors that fit your theme, and make sure to choose a harmonious color palette.
How important are the details in the design?Details are essential as they round out the overall image and give the design more depth and professionalism.
Can I use my designs digitally as well?Yes, many of the techniques described here are suitable for both digital and printed designs.

