If you want to create impressive 3D models, materials and camera settings are essential to make the final image shine. In this tutorial, you will focus on designing a speaker wall that comes to life through the right materials and an optimal camera perspective. Let's dive straight into this world of creativity and go through the steps that will help you achieve impressive visual results.
Key Insights
To bring your speaker wall to life, pay attention to the selection and adjustment of materials as well as the correct camera position. These elements are crucial to highlighting details and optimizing the overall impression.
Step-by-step Guide
To establish the materials and camera for your speaker wall, here are the individual steps:
Design the Speaker Material
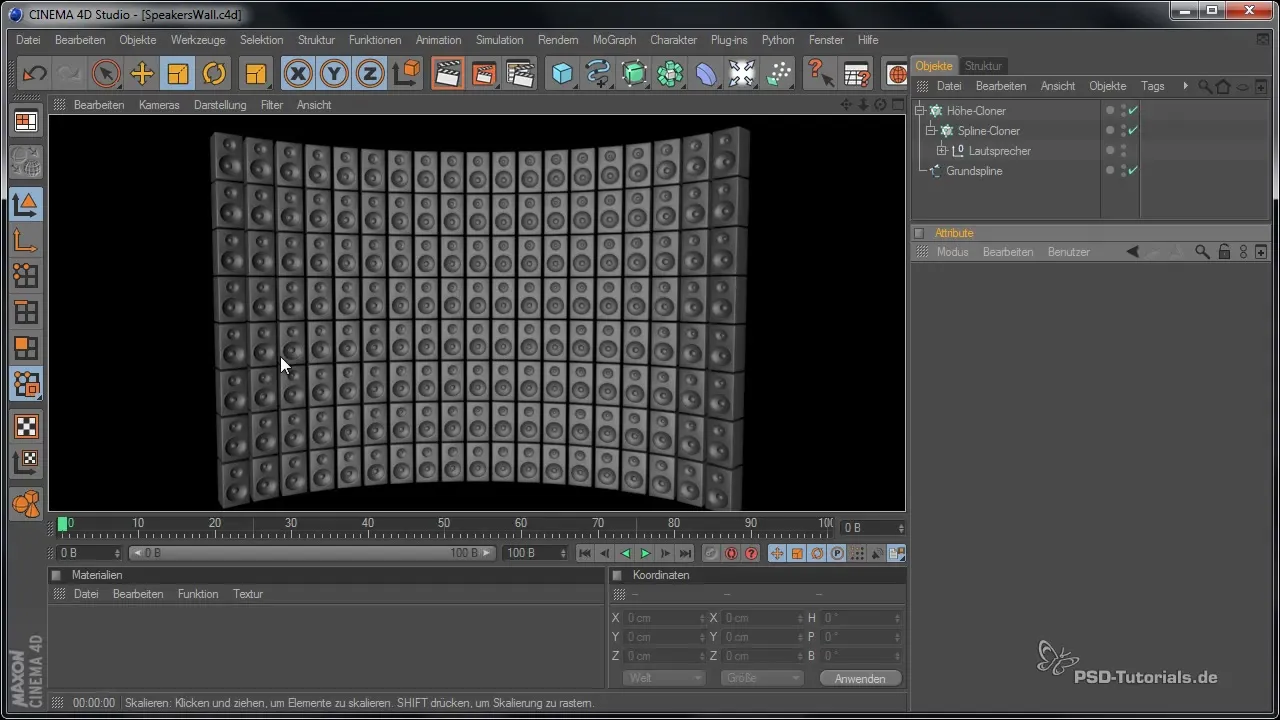
Start by deactivating the cloner and focusing on a single speaker to simplify the material design. You can adjust the materials for the speaker directly on the model.
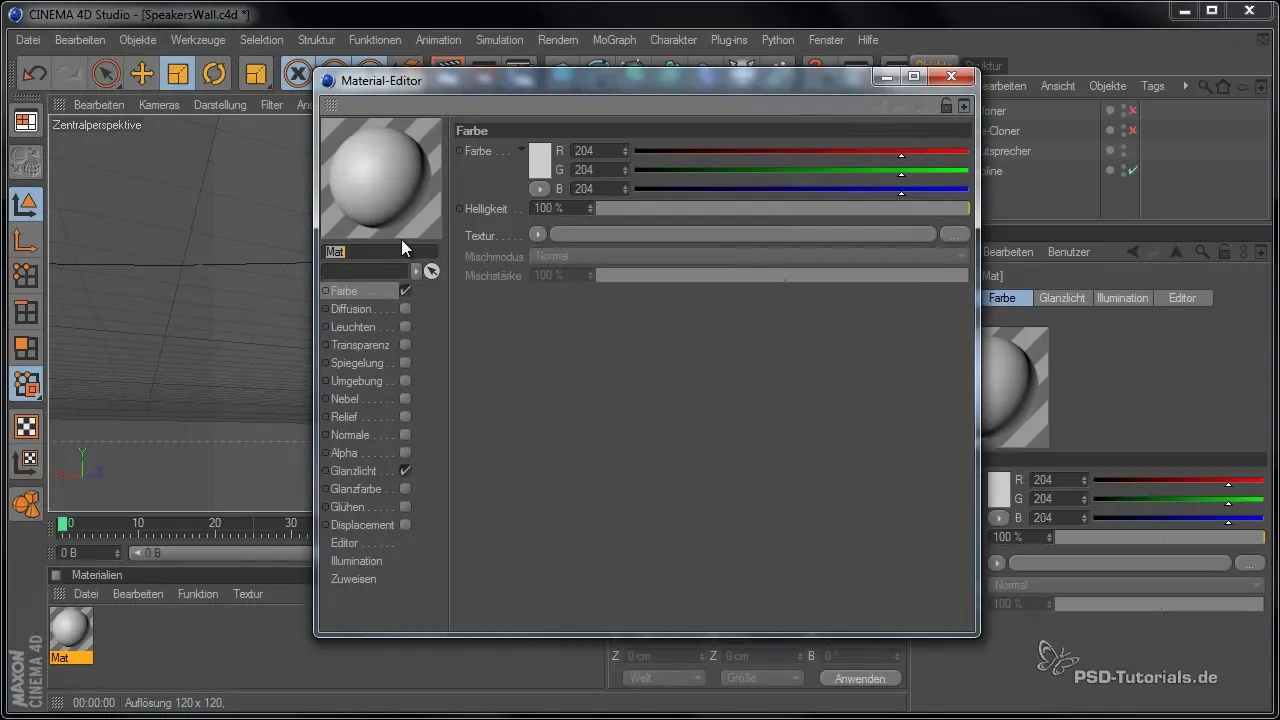
Make sure to define the material of the speaker itself. Double-click on the material box in the materials window to open it. Name the material appropriately, for example, "Box," and choose a color. Black is ideal, but use a dark gray so that the material does not appear too sensitive to lighting conditions.
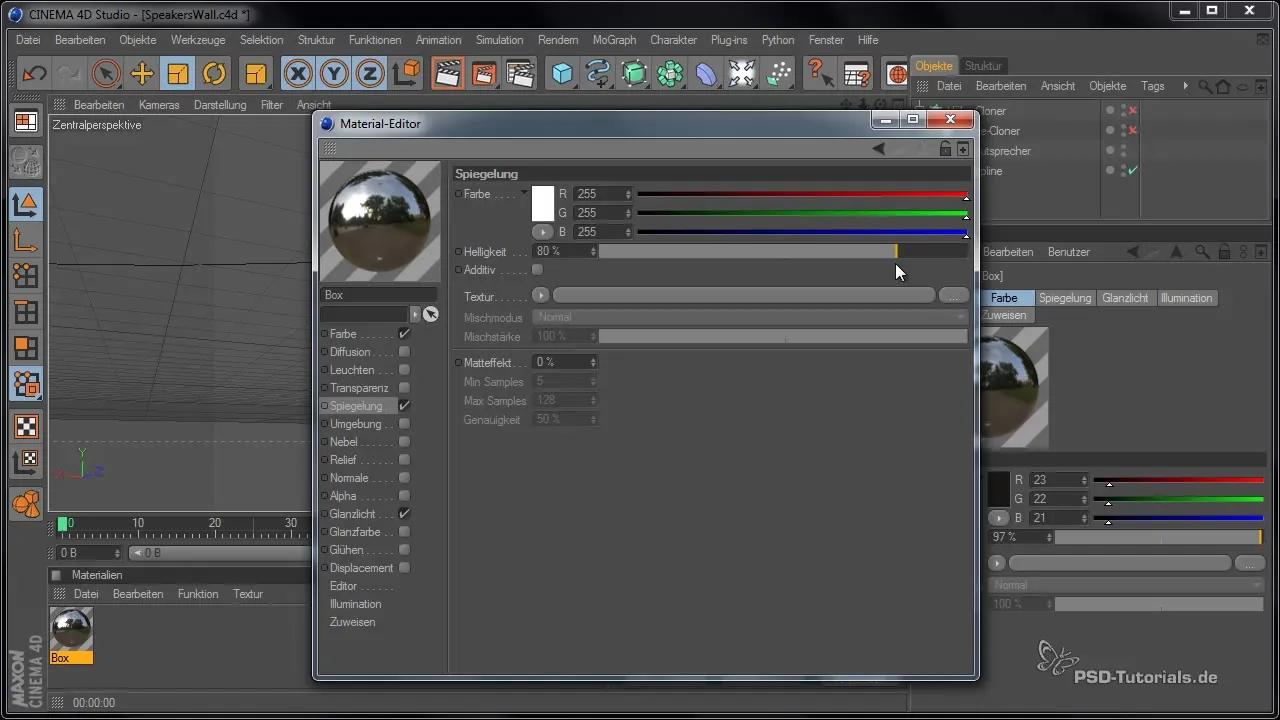
For the height of the highlights, choose values around 250, as this is suitable for metallic surfaces. Activate a reflection in the material, which further enhances your speaker. Be careful to keep the brightness of the reflection low to achieve realistic reflections.
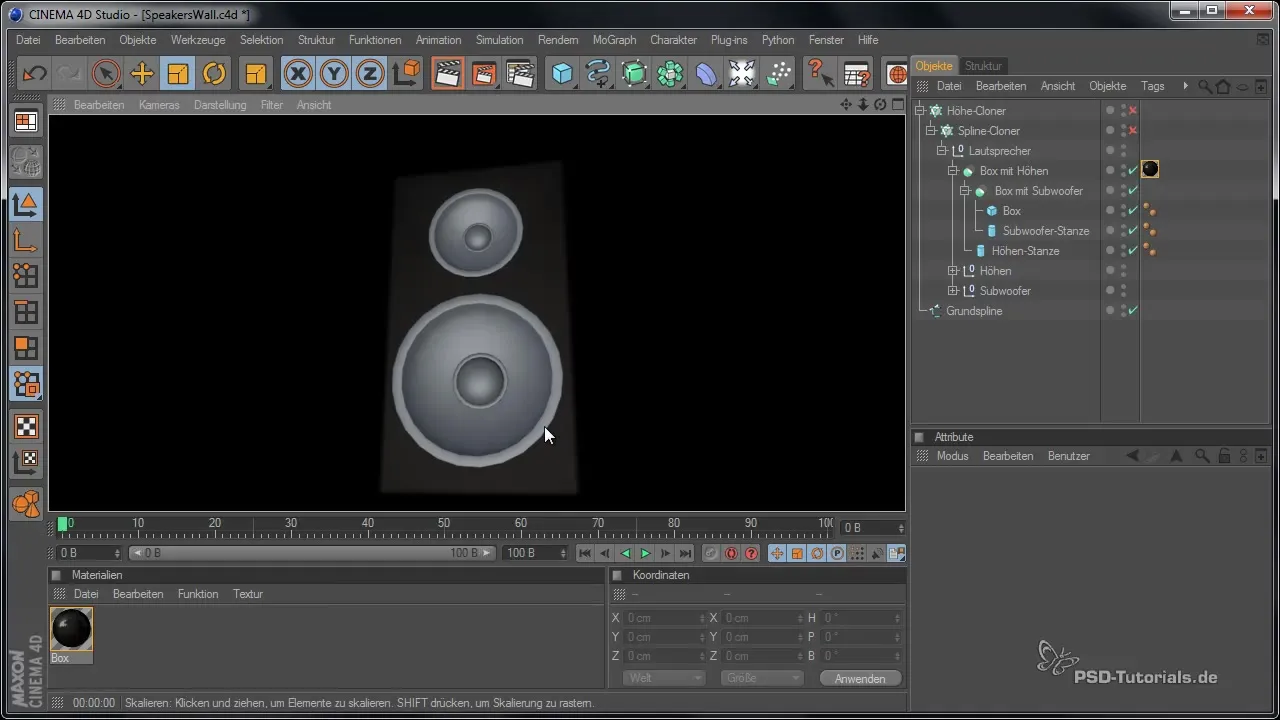
Drag the material onto the speaker box or click directly on the object. To get a preview, try rendering the model initially. Make sure you have no objects that can affect the reflections, as this will influence the desired appearance.
Design the Surrounding Rings
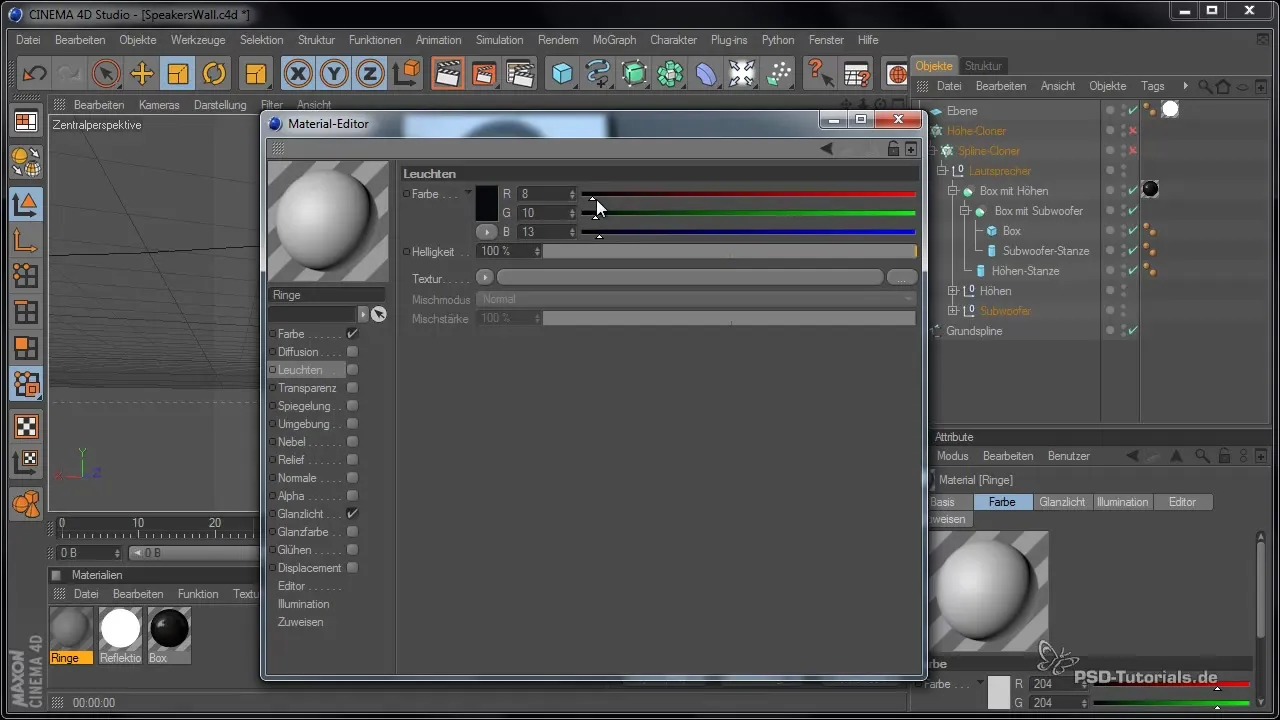
The rings around the speaker should be designed in a similar but less shiny material. Create a new material named "Rings" and set the base color to a dark black.
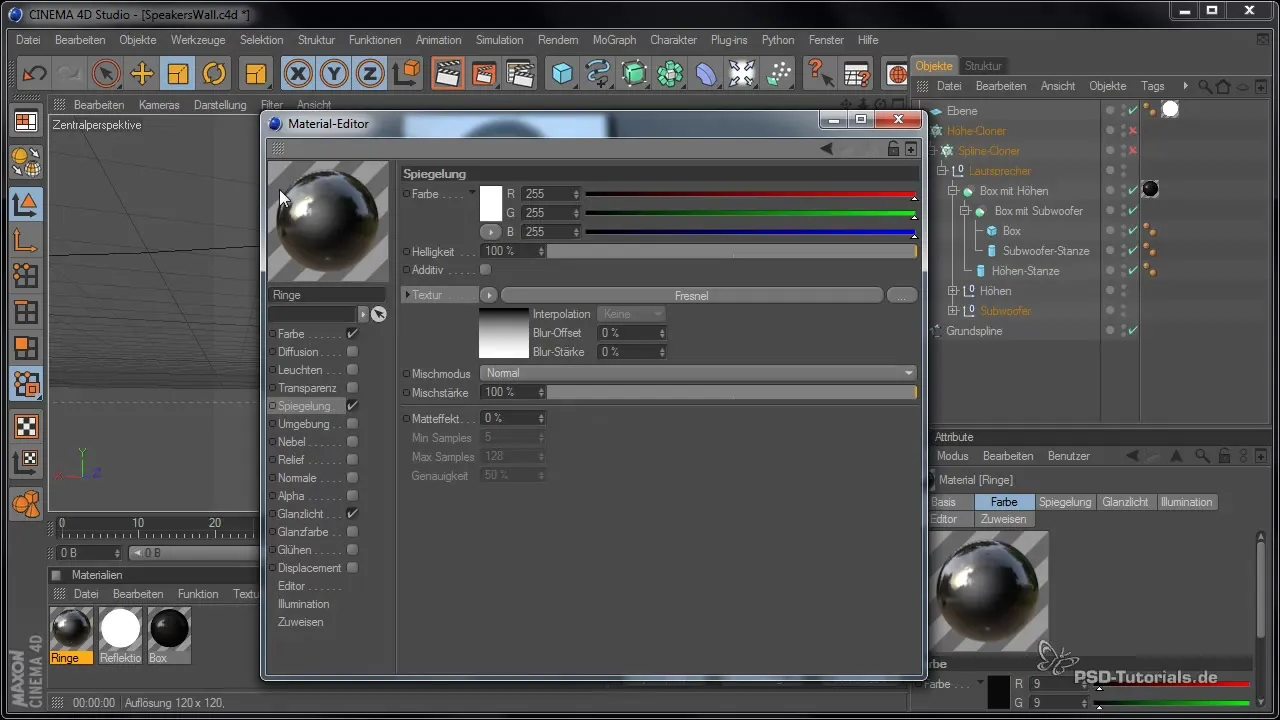
You can also add a reflection; here, you can add textures that allow for so-called Fresnel reflections. This will result in different light reflections depending on the viewing angle, making your rings look even more vibrant. You can vary the strength of the reflection as desired.
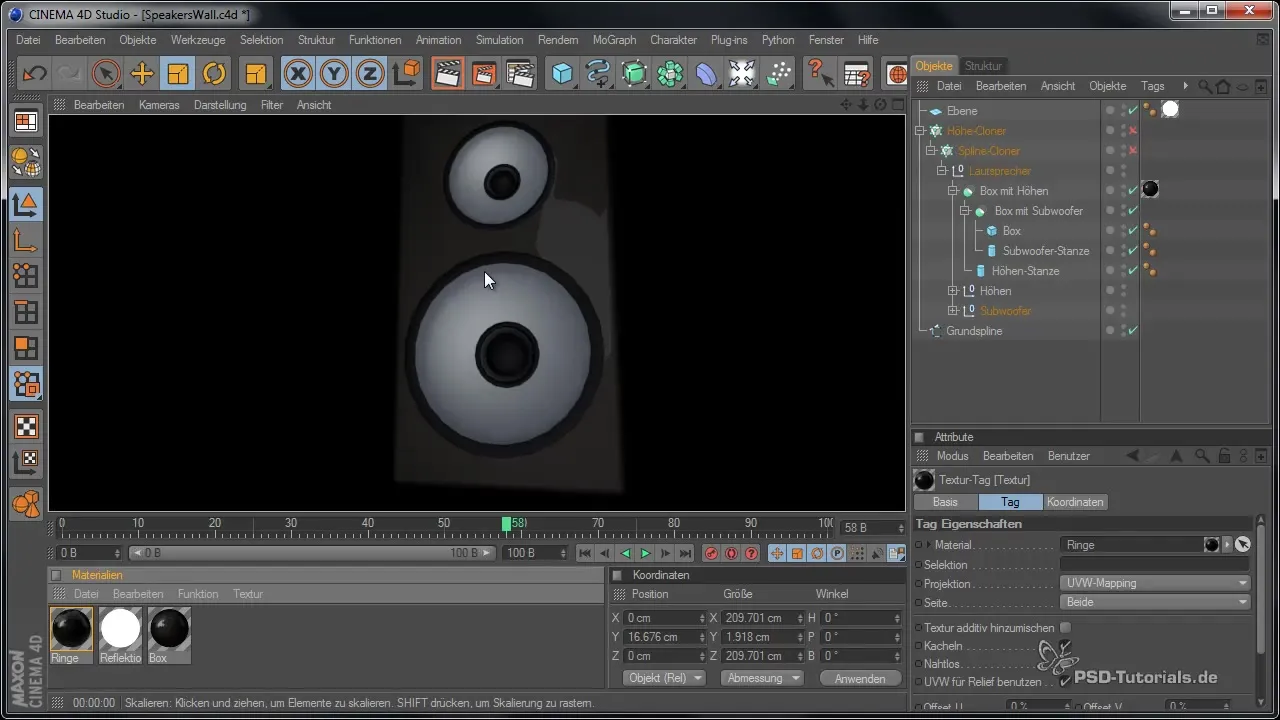
After establishing these two materials (for the speaker and the rings), use the same material for the knob in the middle as for the rings to ensure a uniform design.
Create the Basin Material
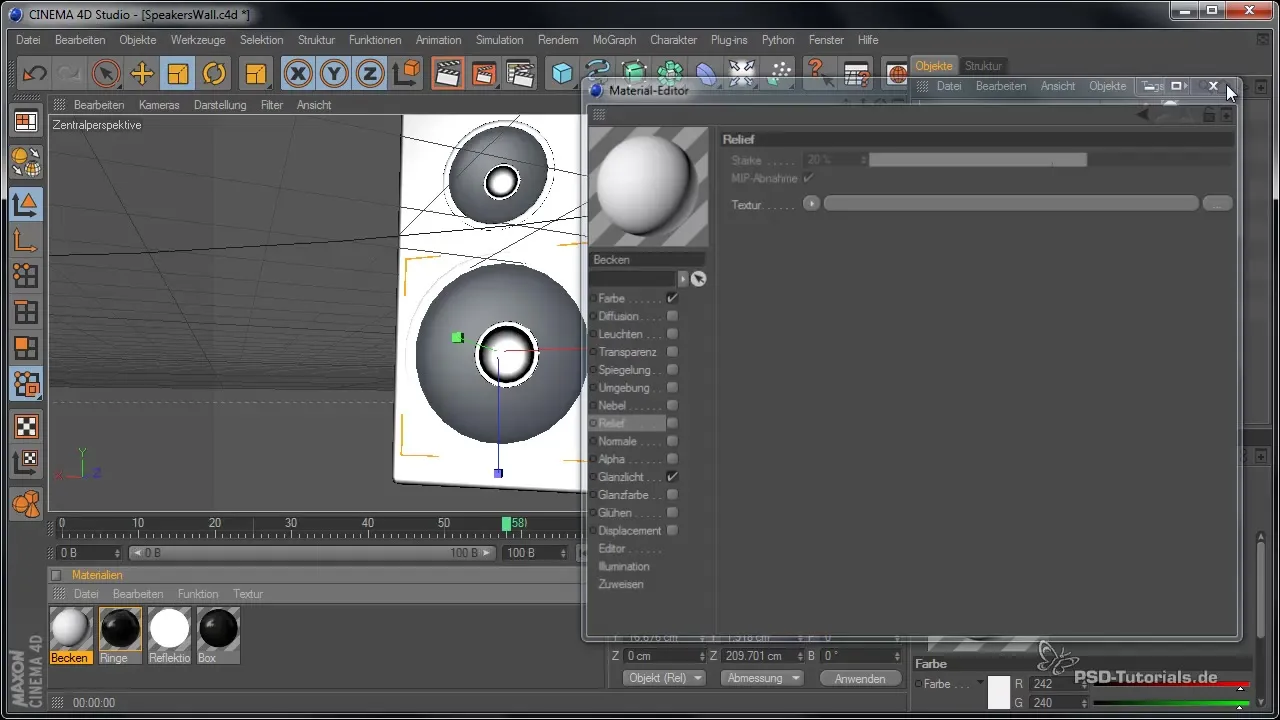
Now let's design the material for the sloping basin in the middle. Simply name the material "Basin" and make sure it is bright enough to stand out in your scene.
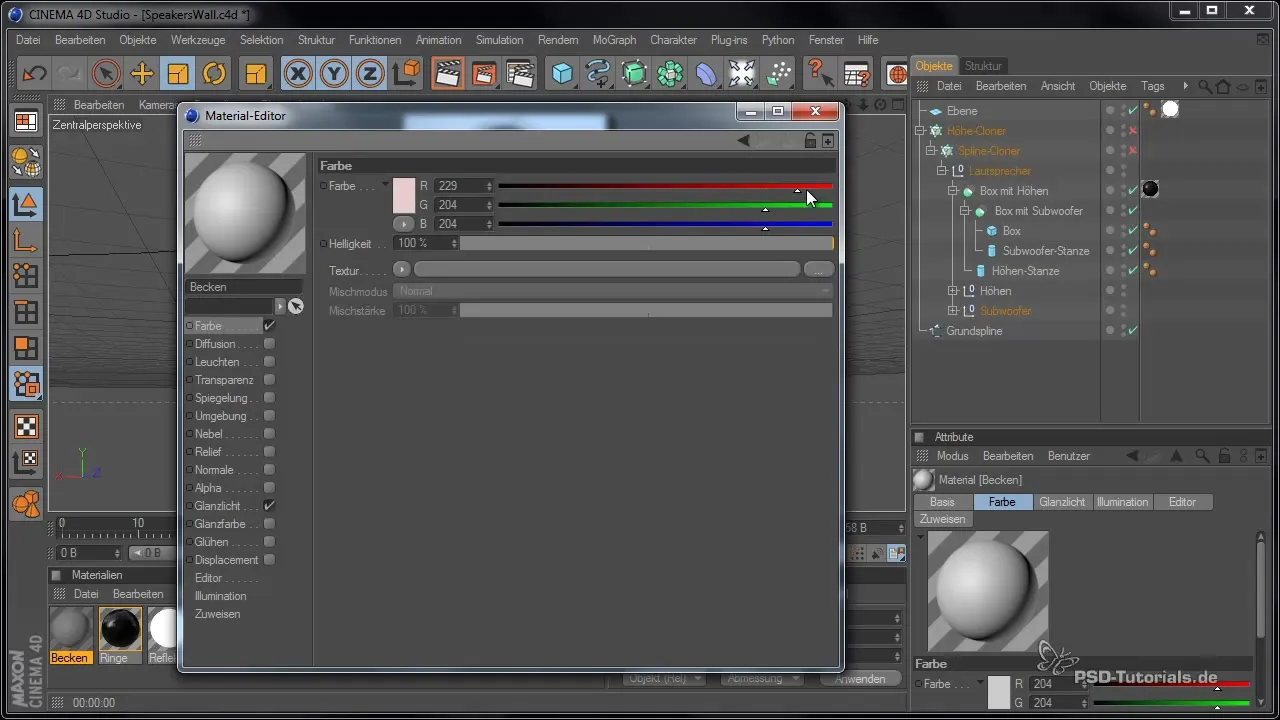
Fine-tune by adjusting the width and height of the highlights and setting them to the desired shine level. For this part, a bump channel may be unnecessary in most cases, as viewers will look at it from a certain distance.
Camera Position and Settings
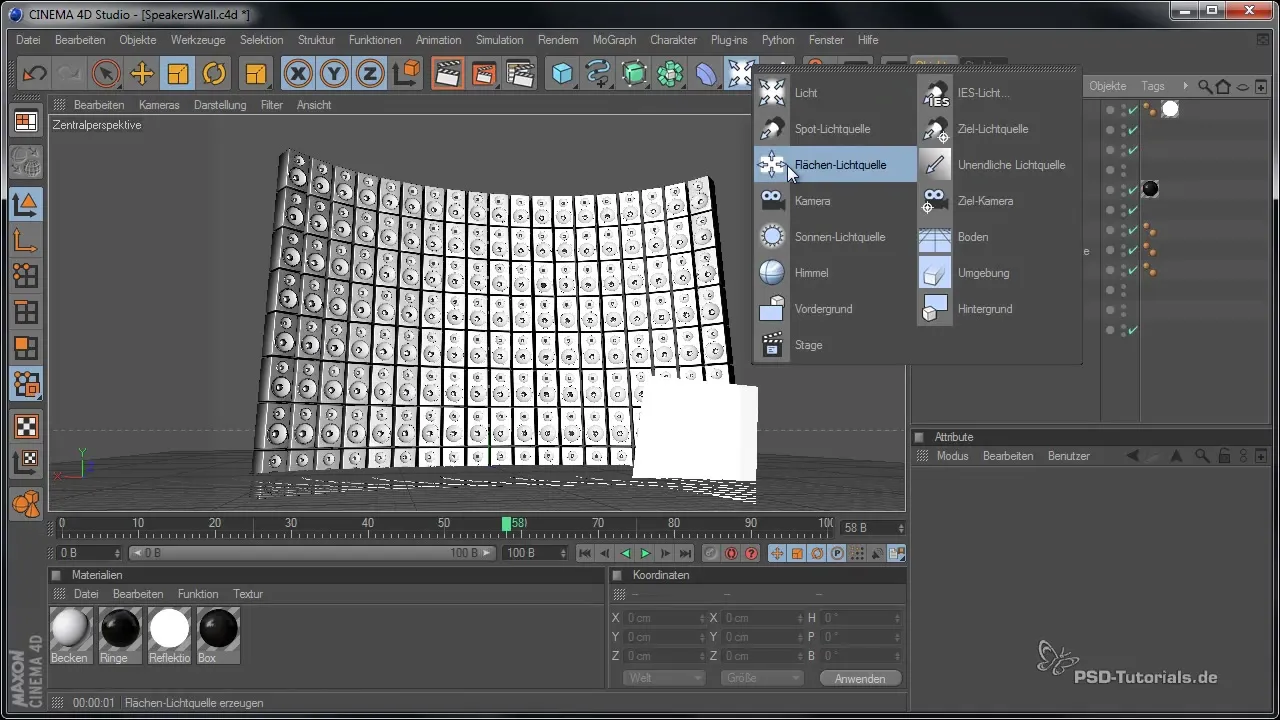
To add more pomp to your scene, add a camera. Position the camera where you currently are. When you look focused into the scene, the camera position will be set accordingly.
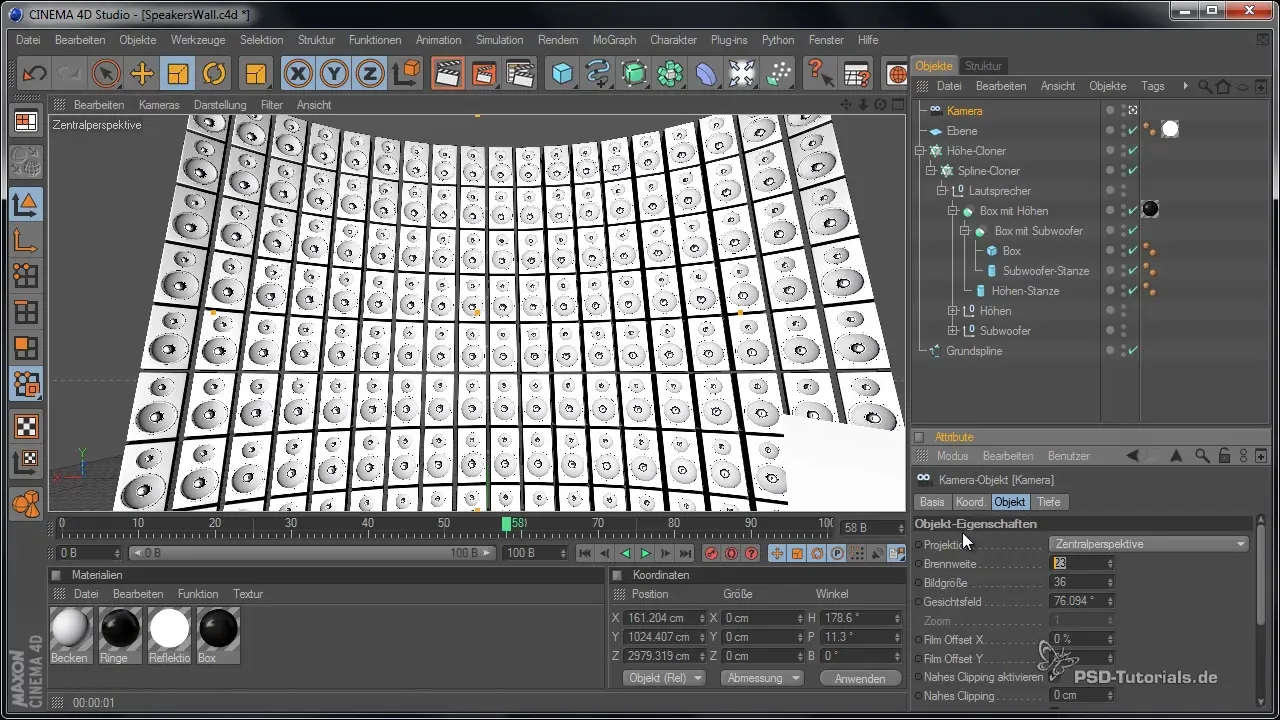
Adjust the focal length of the camera to achieve the desired effect. An extremely wide focal length, for example, 18mm, can make objects appear closer and the entire scene look more dramatic.
With these settings, you will achieve an impressive perspective. You can now adjust the final camera position to get the best rendering results. Make sure everything is aligned as you like, as this will greatly influence the final image representation.
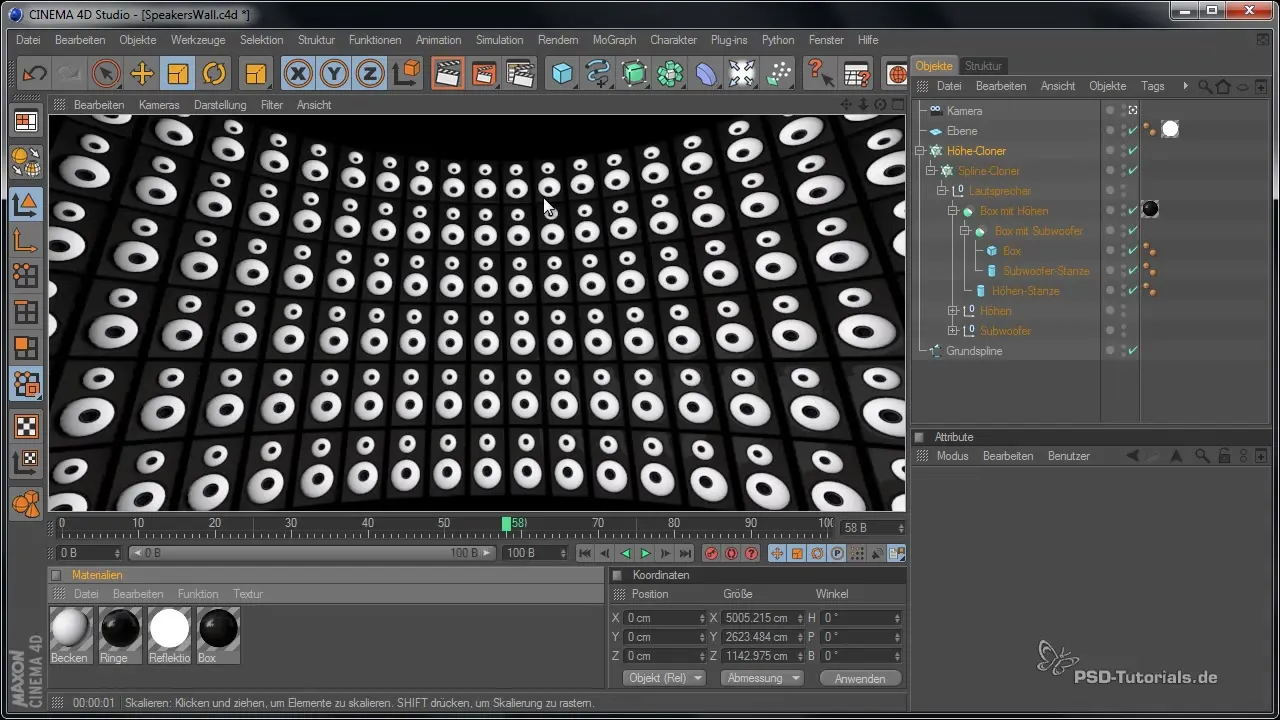
Now you can perform the rendering and marvel at how vibrant your speaker wall has become thanks to the choice of materials and camera control.
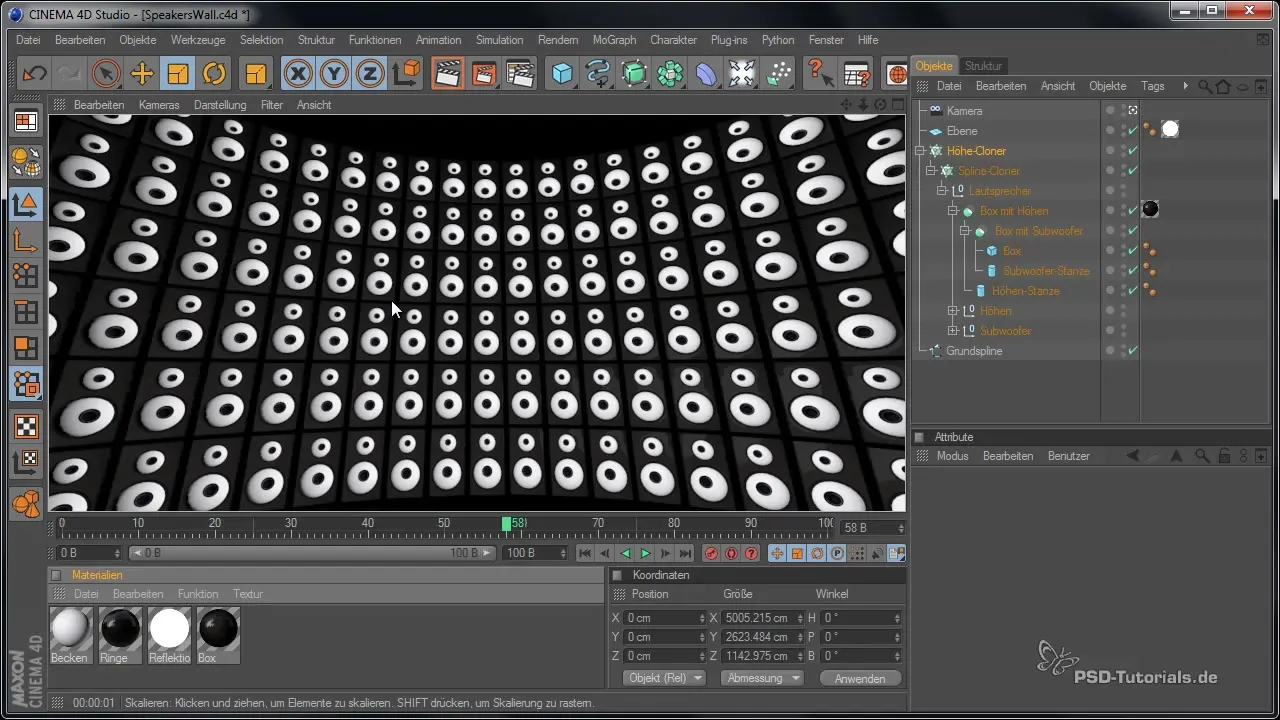
Summary - Designing Materials and Camera for Your Speaker Wall
The application of carefully selected materials and the strategic use of the camera significantly enhance the visual appeal of your speaker wall. With the following step-by-step guide, you have the fundamentals to effectively combine these elements and create engaging scenes.
Frequently Asked Questions
How can I efficiently adjust the materials?Use the rendering preview feature to see the adjustments immediately.
Do I need special textures for the rings?Fresnel reflections are a good choice for effectively representing natural lighting conditions.
What camera setup is recommended?A wide-angle camera setup creates dramatic effects and highlights details.
Can I change the materials later?Yes, you can adjust all material parameters at any time to optimize the final result.
Does the light source affect the material representation?Yes, lighting conditions must be taken into account for the perfect view of the material.


