Ready to unleash your creativity? In this guide, I will show you how to apply the basic techniques of triangulation to create exciting and complex surfaces in your 3D model. We will focus on how to efficiently triangulate rectangular polygons to achieve fascinating effects without risking the problem areas typically associated with NURBS objects.
Key Insights Proper application of triangulation can make your 3D project appear significantly more vivid. By selectively choosing and subdividing the polygons, you can create different height levels and interesting structures. Additionally, there are important aspects to consider in order to avoid unwanted triangles.
Step-by-Step Guide to Triangulation
Selection and Subdivision of Polygons
To create a solid foundation for your triangulation, start by selecting the desired polygons. Use the visibility settings to ensure that you are only editing the surfaces and not the underside.
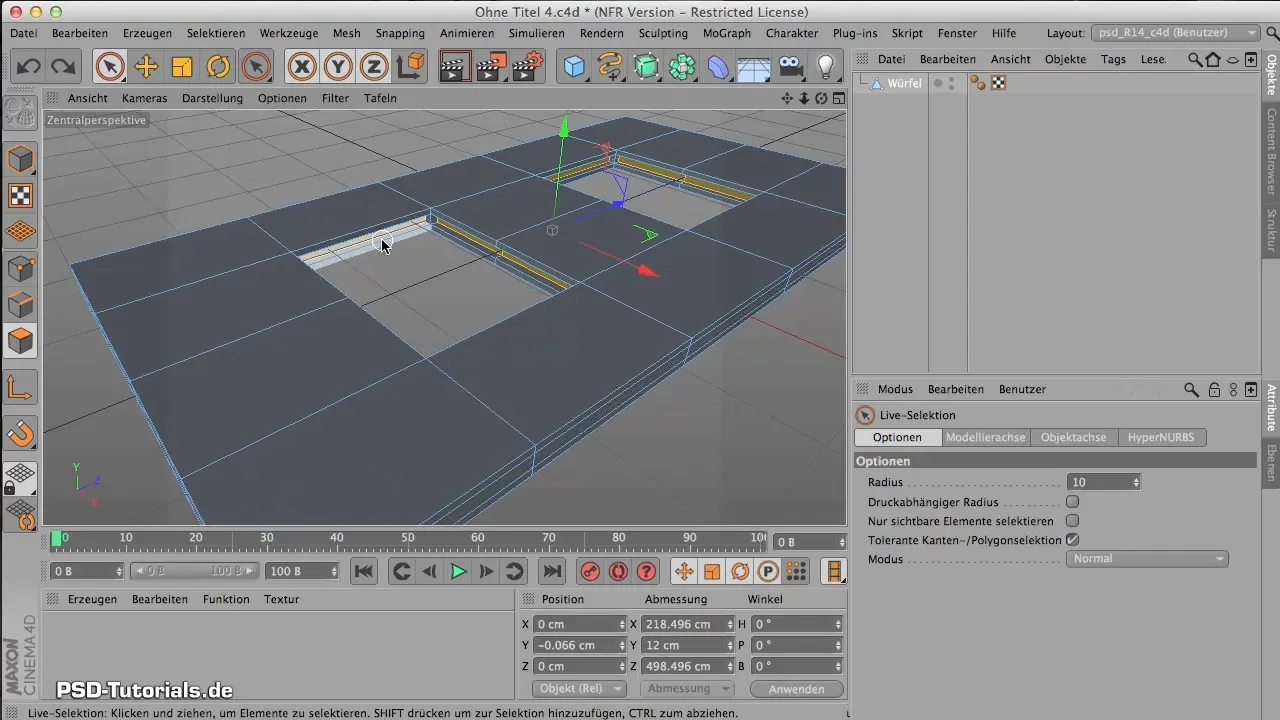
Once you have selected the correct surfaces, it is time to start subdividing. This step is crucial to differentiate the texture and height of the objects. Select "Subdivide" from the menu to subdivide the polygons. Be sure to check the number of subdivisions beforehand. Too many subdivisions can unnecessarily complicate your model.
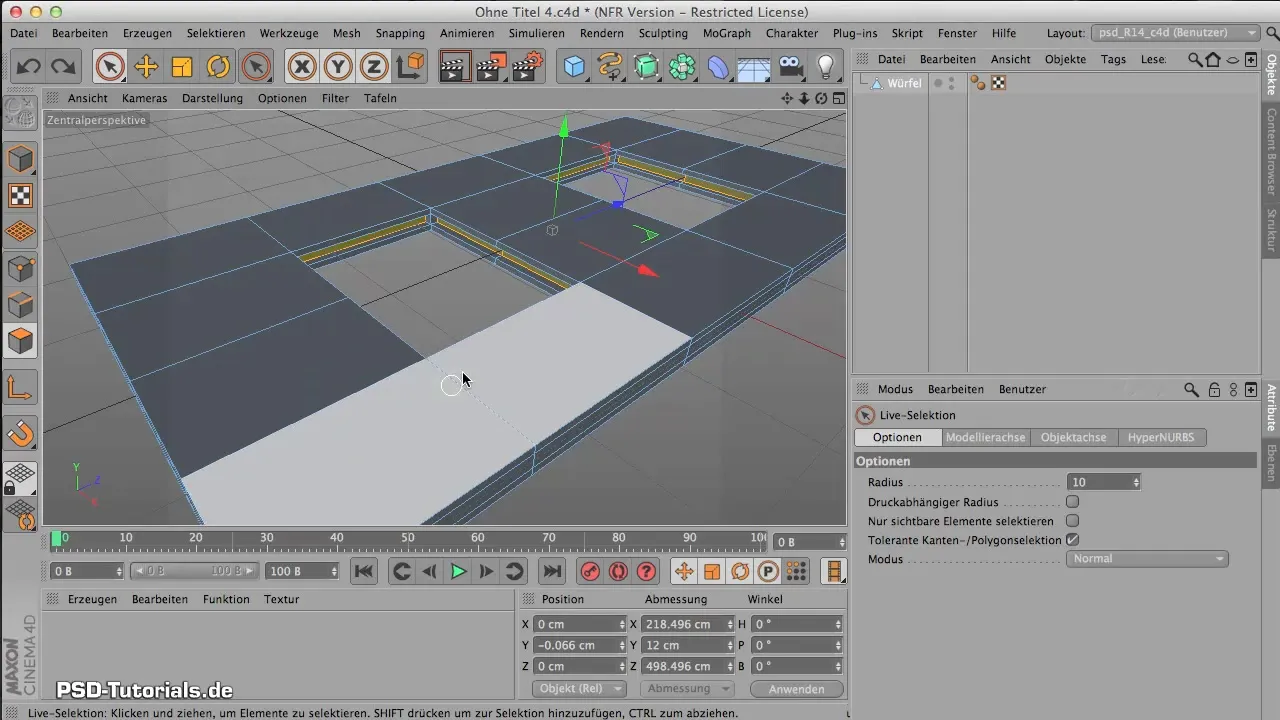
Introducing Height Variations
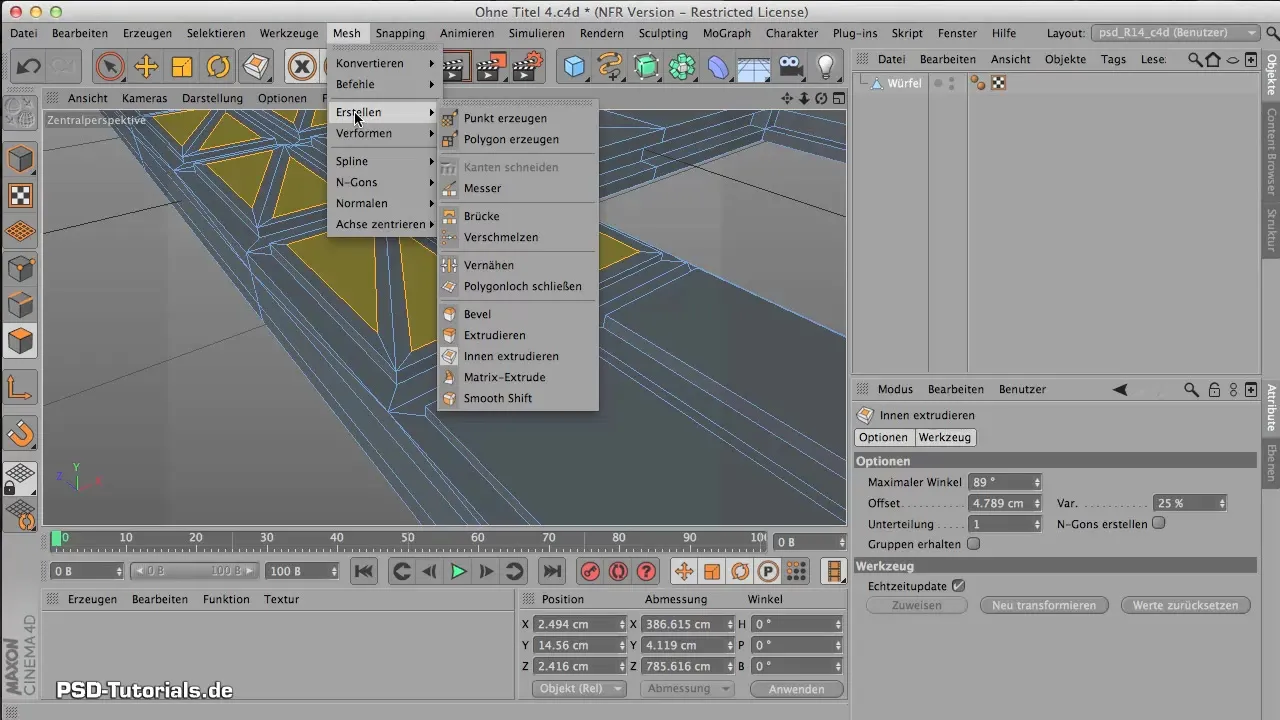
Now you should bring different height levels into your design. Use the "Extrude Inward" command to pull some of the polygons inward. This will create angular and edgy surfaces that offer more depth and interest than flat surfaces. Experiment with the variance in the settings to create unique contours. A low variation rate can ensure that some areas change less than others, giving the whole object more life.
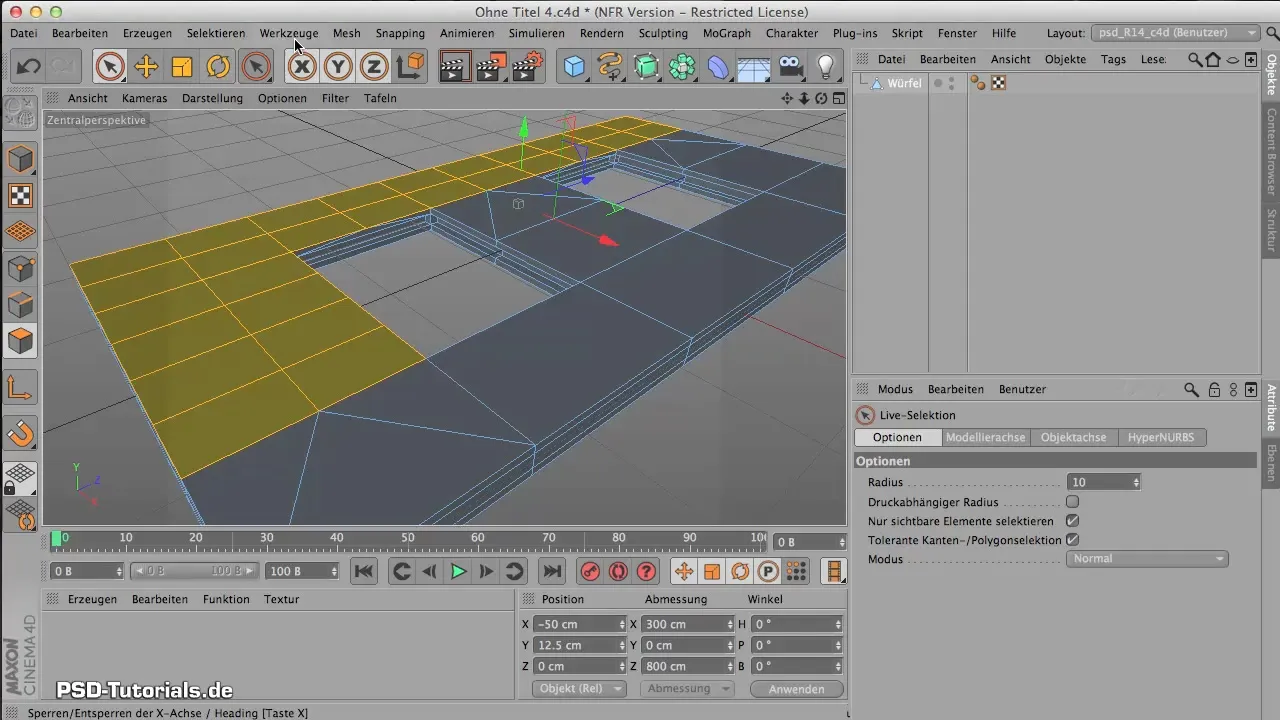
Triangulating the Selected Polygons
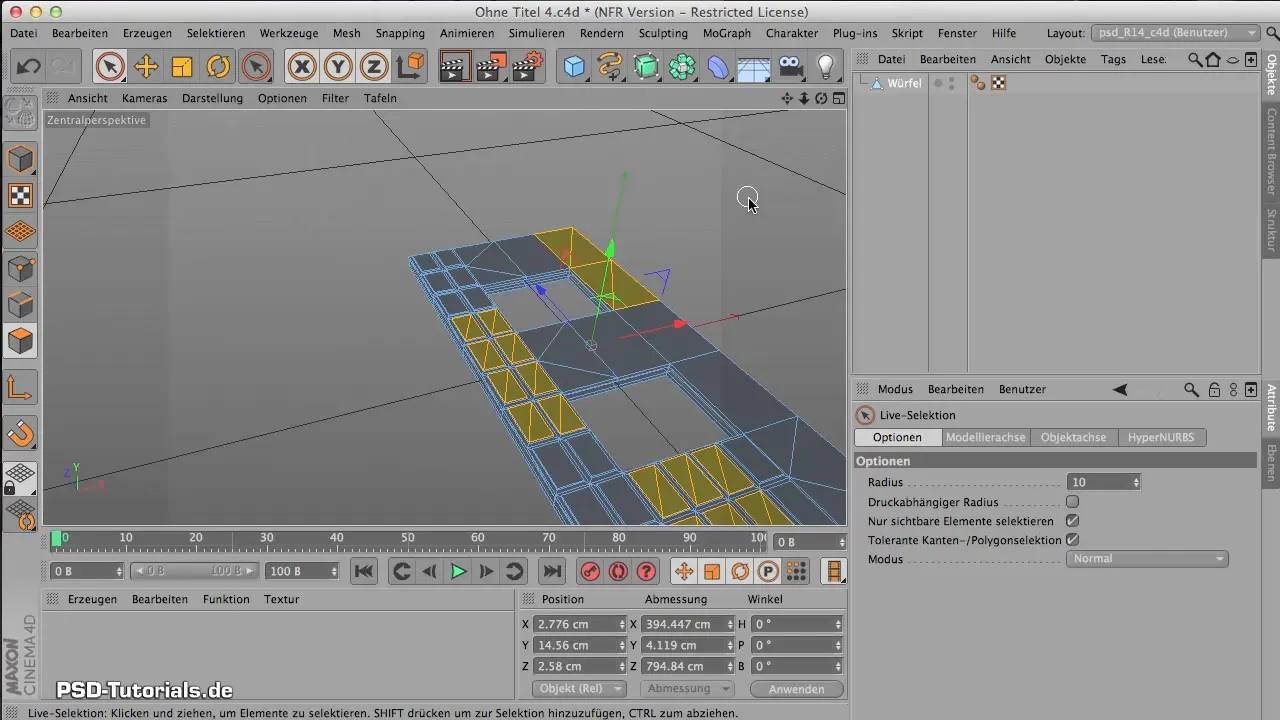
After you have created your basic structure with height subdivisions, it's time to convert the polygons into triangles. For this, select the "Triangulate" tool from the menu. Be sure to click on only the surfaces you want to outline, considering which parts you actually want to triangulate to prevent undesirable effects at the edges.
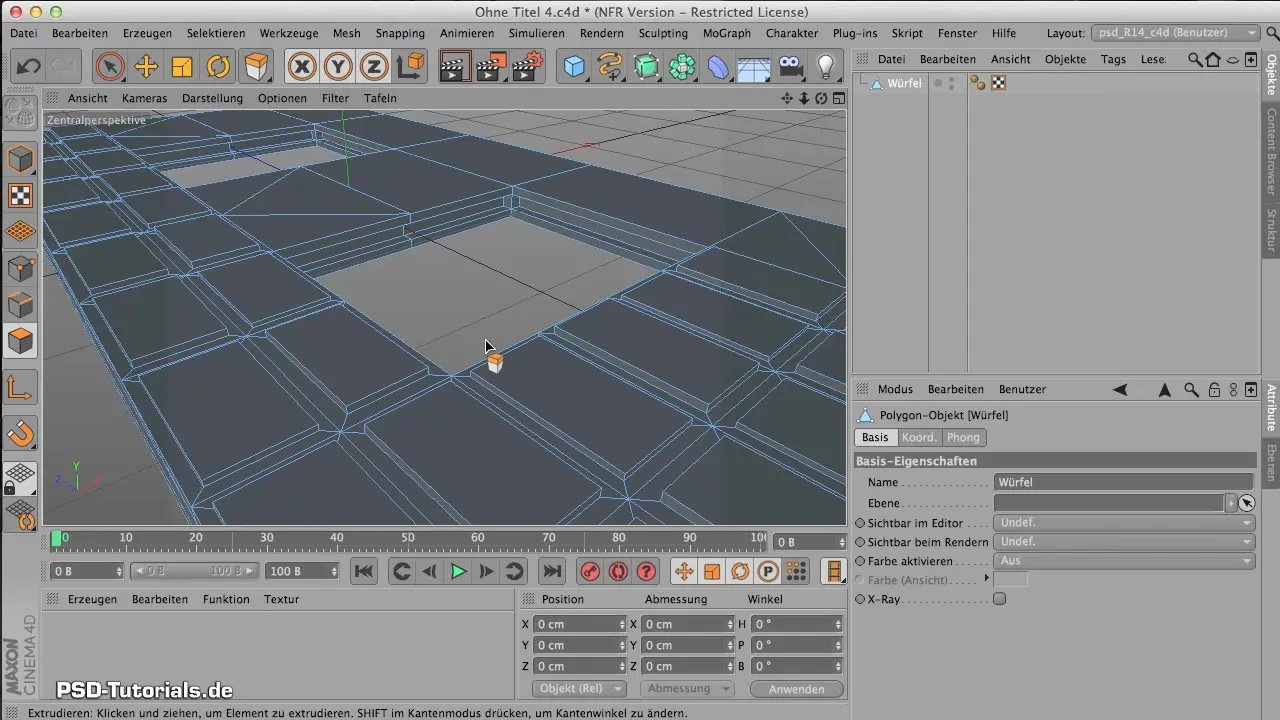
The command divides your selected surfaces into triangles. These polygonal shapes can enrich the structure of your object in unexpected ways by creating interesting light and shadow effects.
Fine-Tuning through Extrusion
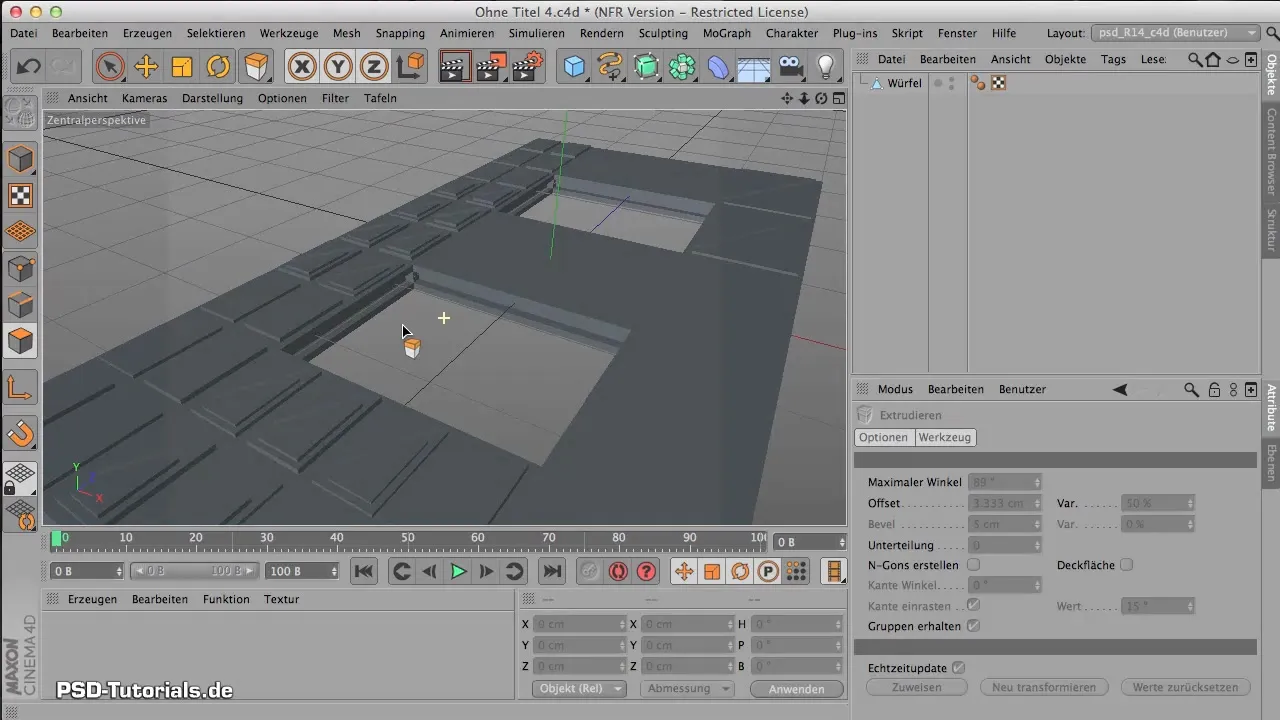
To further differentiate the shapes, go back and use the "Extrude" command again to gently pull the top crystal peaks upward. You can adjust the offset value as needed to reach the desired height. Be sure to maintain some variance to achieve a natural, organic appearance.
Final Check and Review
After completing the triangulation and extrusions, I recommend stepping back and viewing the entire object in perspective mode. You should now be able to see an exciting and diverse structure that makes the overall design appealing. These final adjustments are important as they strengthen the dynamic elements of the design and clearly showcase the desired effects.
Summary – Guide to Effective Triangulation of Polygons
In this guide, you have learned how to efficiently apply triangulation to enrich your 3D models. From selecting polygons to subdivision and final extrusion – with these steps, you can successfully turn your design ideas into reality.
Frequently Asked Questions
How can I adjust the subdivision of the polygons?You can adjust the subdivision by selecting the number of desired subdivisions in the subdivision menu before clicking the command.
Why should I allow triangles in my model?Triangles can create interesting light and shadow effects and give the model a dynamic quality that would not be possible with uniform polygons.
How do I deal with unwanted triangles?If triangles occur in areas where they are not desired, you can reselect the relevant polygons and apply the "Untriangulate" command or correct them manually.


