Creating a realistic speaker model in Cinema 4D can be a challenging but also a very rewarding task. In this tutorial, you will learn how to go step by step from a simple cube to a detailed speaker. You will use various basic objects in Cinema 4D to shape the desired forms. Let's get started with the first step!
Main Insights
- Use reference images to better visualize the design of your speaker.
- Start with simple basic objects and gradually expand them.
- Use the combination of lofts and splines to create complex shapes.
Step-by-Step Guide
Research and Inspiration
Before you start modeling, it's advisable to seek inspiration. Look for images of speakers on Google. These will help you understand the various design approaches and give you a better idea of what your speaker might look like. Pay attention to details like the construction and shape of speakers that appeal to you.

Create Basic Object
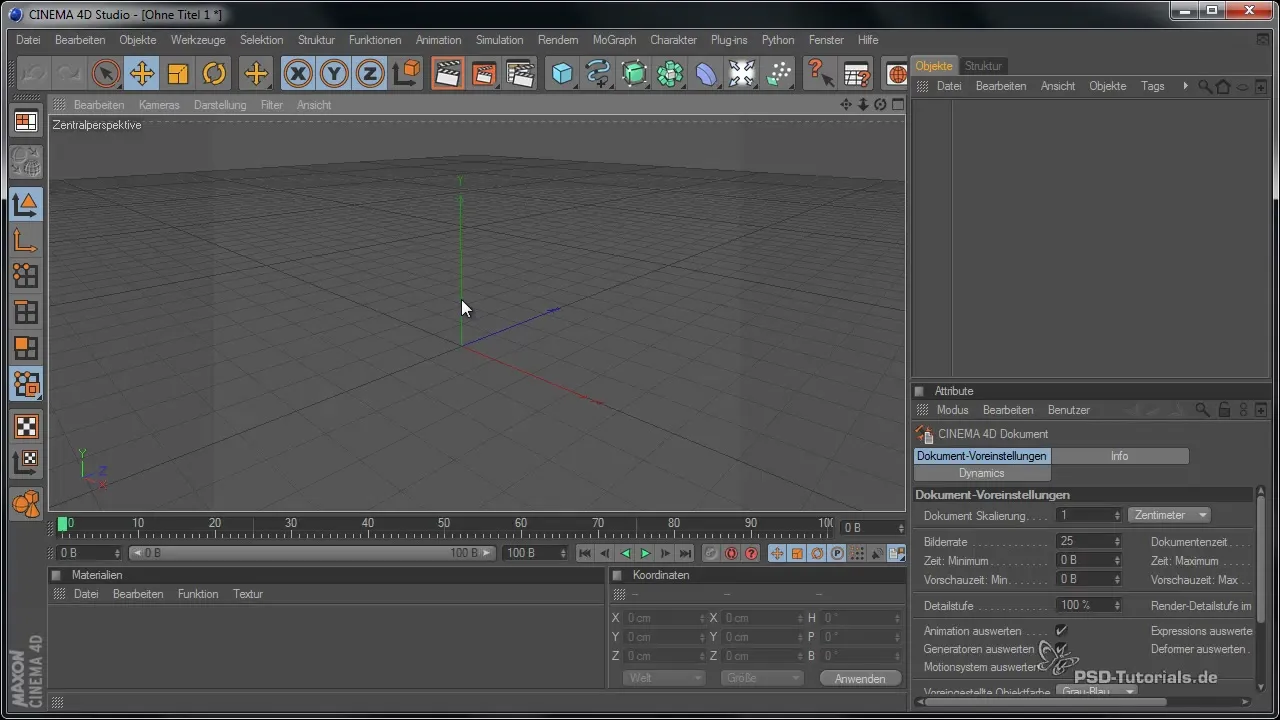
Start your project in Cinema 4D. First, select a cube as the base for your speaker. You can place the cube directly in the space and adjust the size to your liking with the orange handle points. Make sure the proportions are correct to achieve a realistic result.
Round Edges
To give the speaker a more appealing design, you should round the edges of the cube. Go to the properties of the body and adjust the rounding. A smooth edge makes the model appear softer and more attractive.

Modeling the Rings
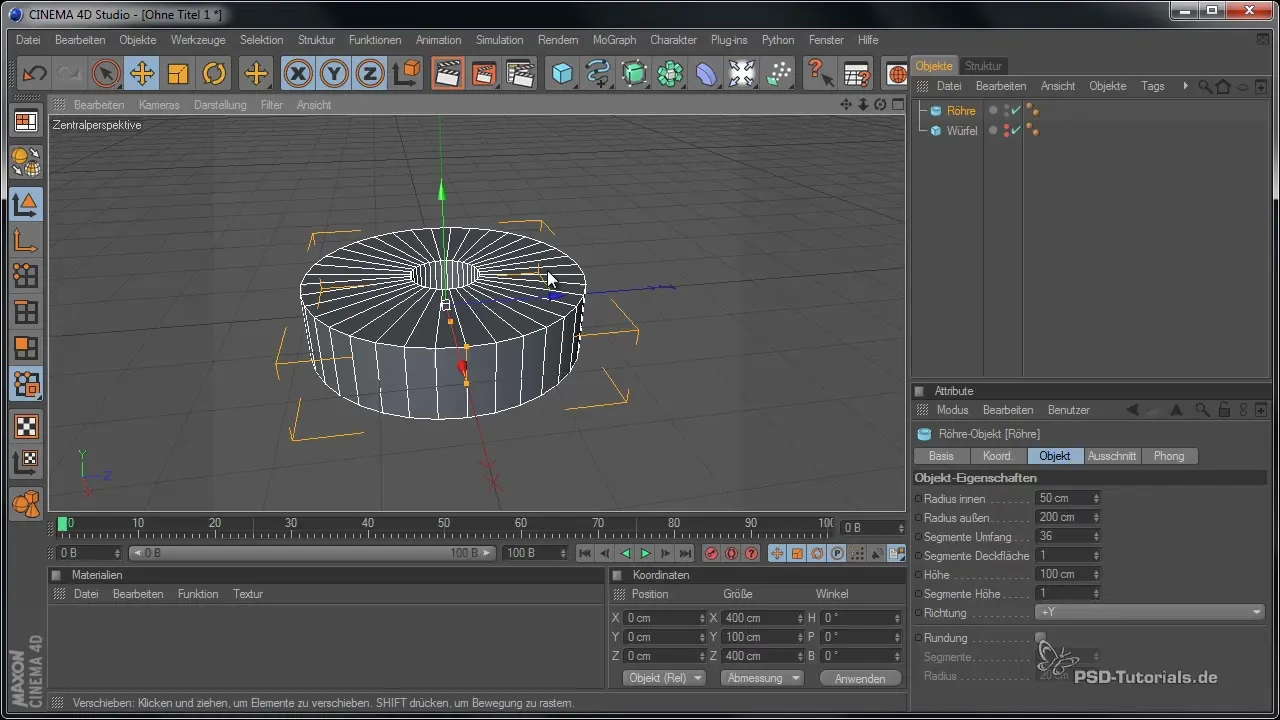
For the outer rings of your speaker, select a tube as the basic object. This approach is more effective than a simple ring, as the tube already has a smooth surface. Scale the tube so it fits your speaker design. Make sure to choose the gradations so they don't interfere with visibility later on.
Design the Interior
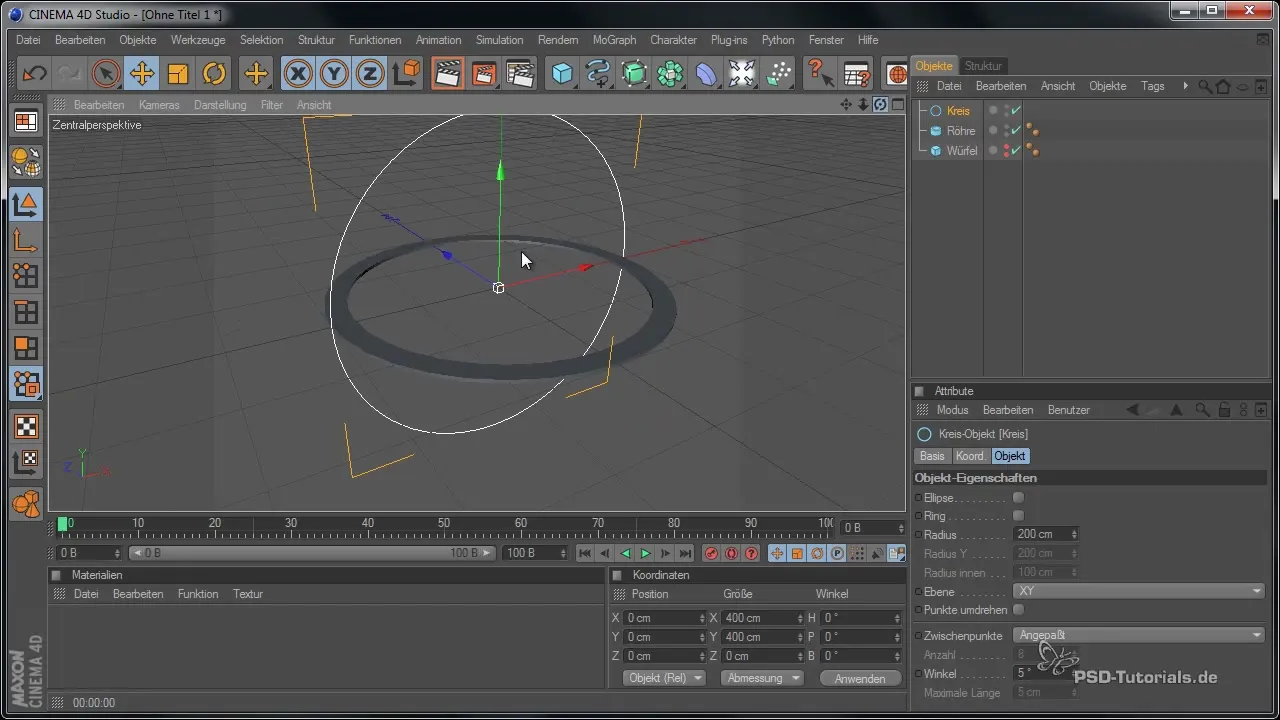
The next element you need to create is the interior of the speaker. For this, you will use a loft nurb. Add a circle spline and adjust the size so that it fits perfectly within the rings. Overlapping the splines ensures that they connect well later on.
Duplicate the Splines
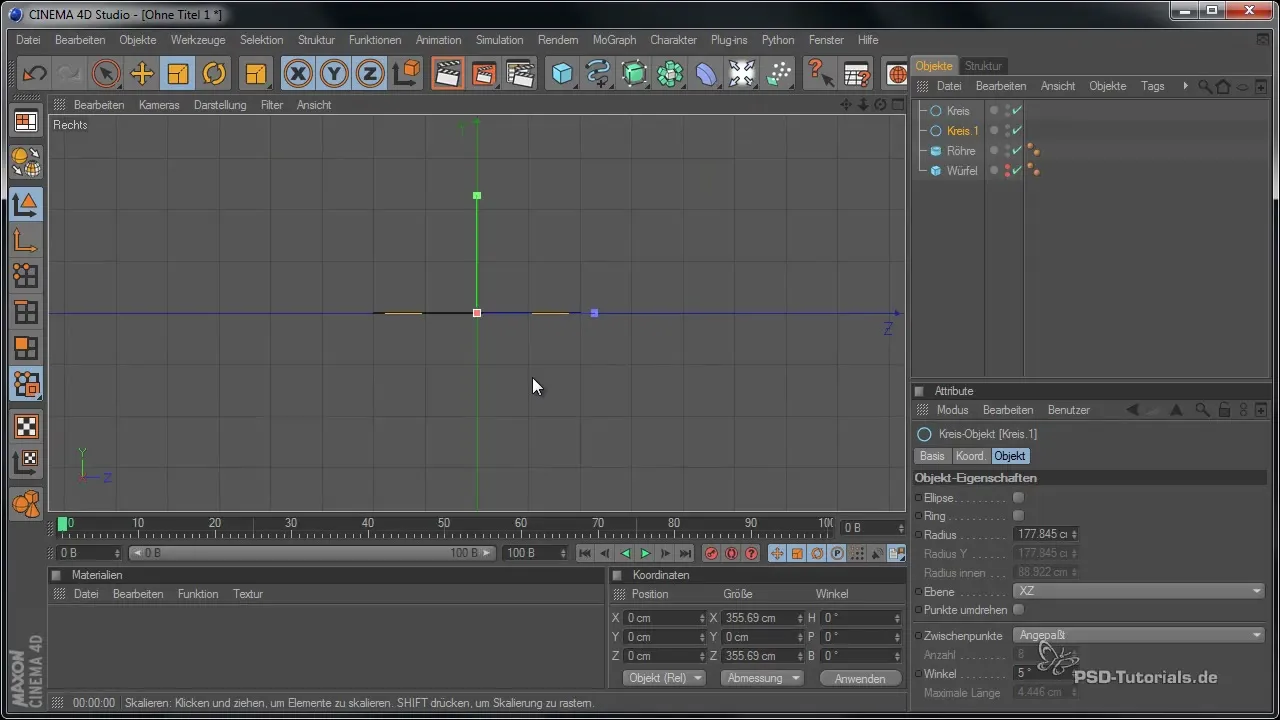
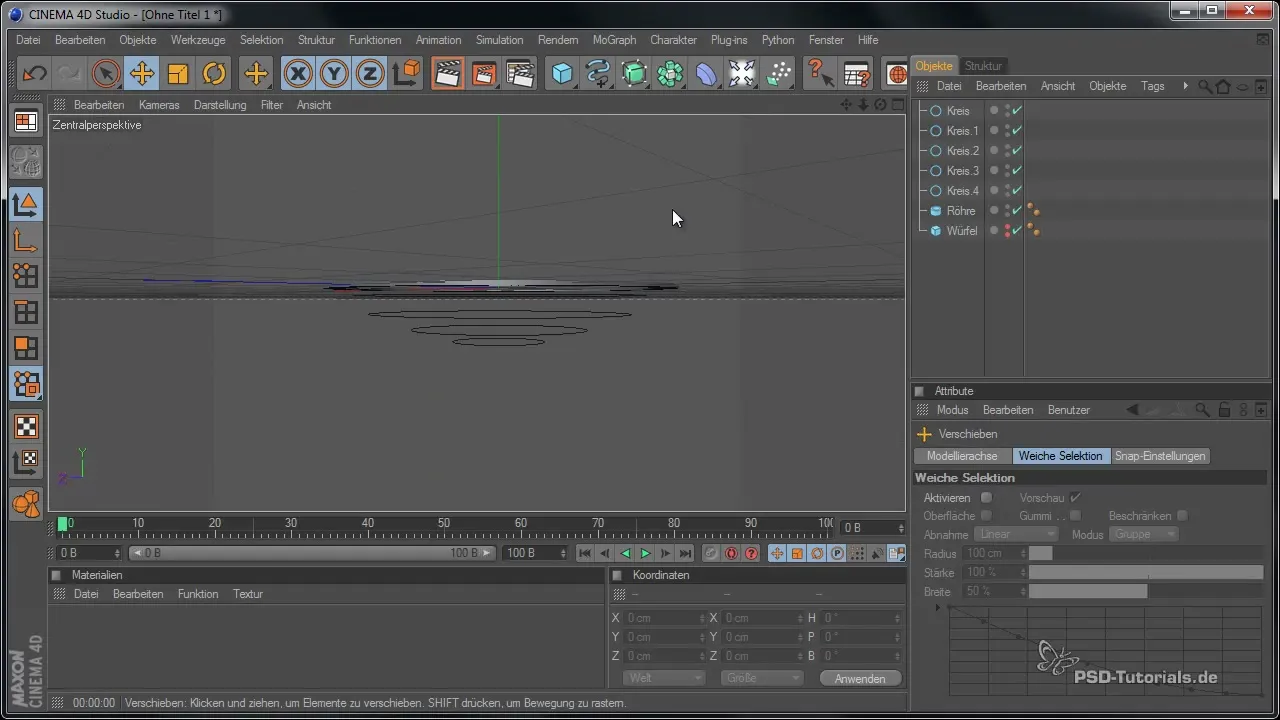
To further develop the interior, duplicate the circle spline. Move it along the Z-axis to create a three-dimensional shape. Here, it is advisable to use shortcuts in Cinema 4D to work more efficiently.
Adjust the Splines
Now you can start shaping the splines to get closer to the desired shape of your speaker. Change the positions of the points and experiment with the shape until you are satisfied with the result. Don't forget to regularly check how the model looks overall.
Configure LoftNurbs
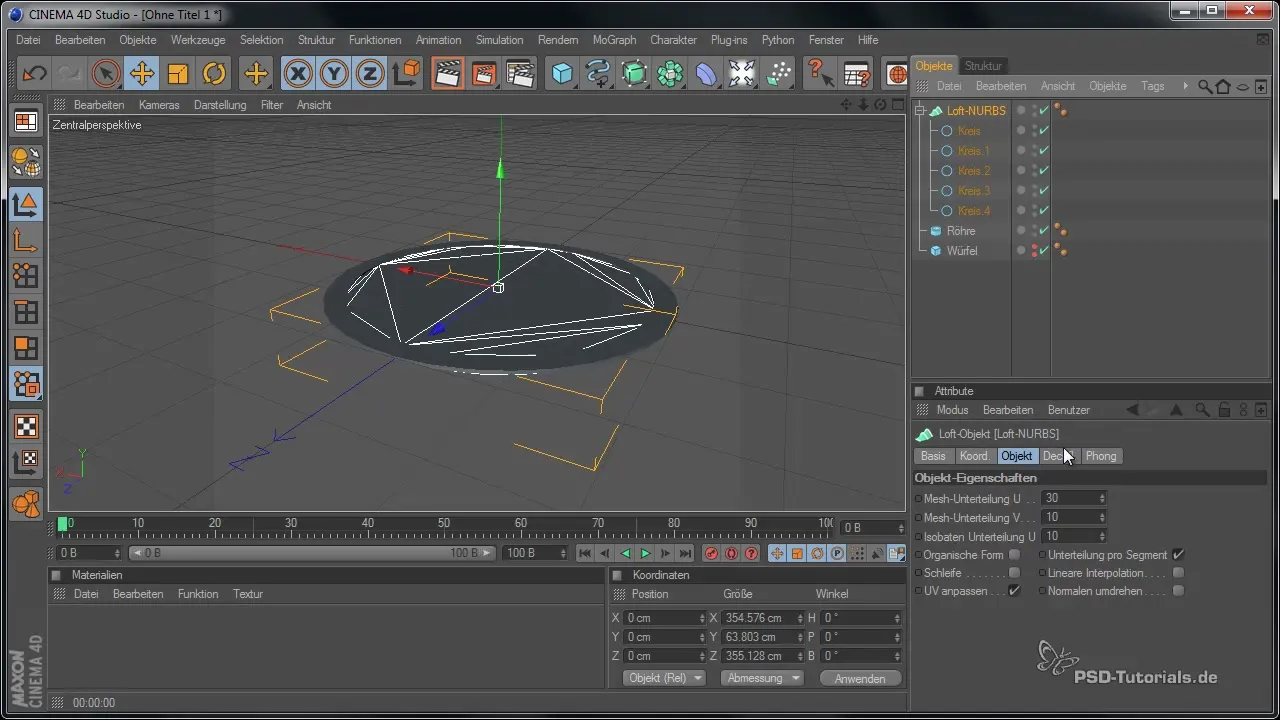
To transform the splines into a flowing form, add them to the LoftNurbs. Make sure the order of the objects is correct so that the shape is generated accordingly. Check the settings in the Attribute Manager, especially the surface settings, to ensure that no fake surfaces are created.
Make Fine Adjustments
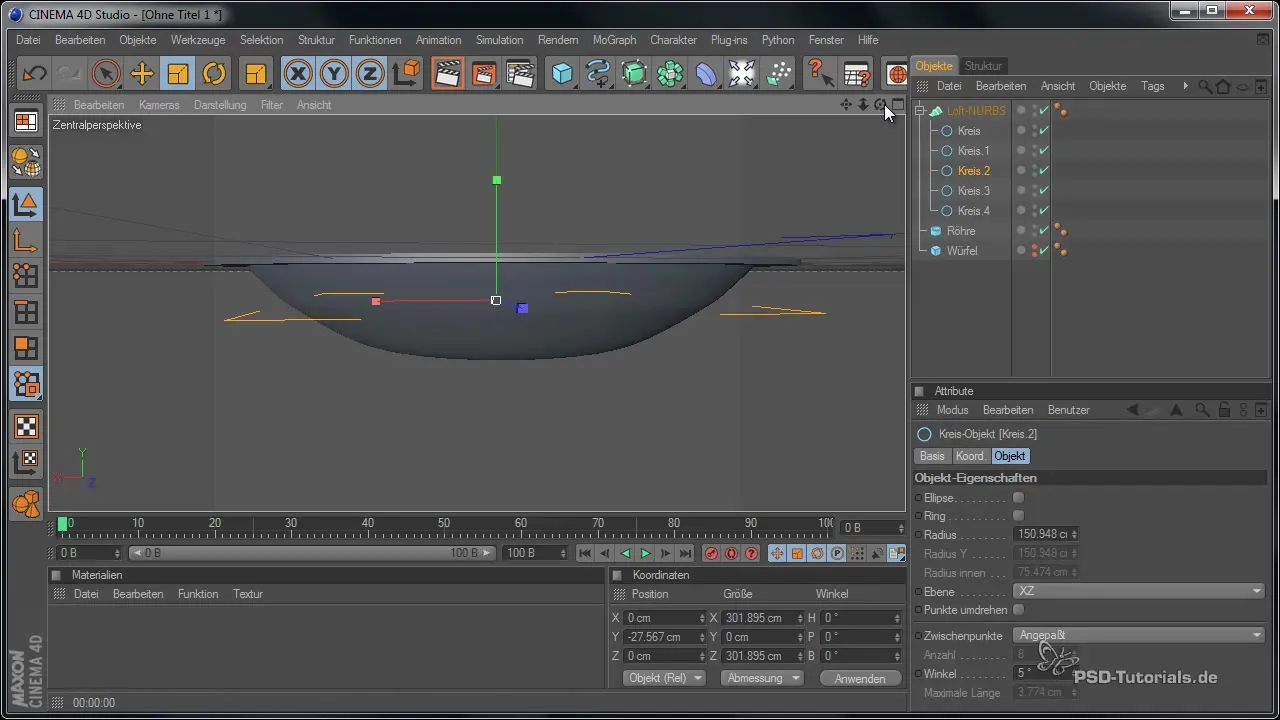
Now it's time to refine the curves and contours further. Experiment with the size and gradient of the splines to find the perfect shape for your speaker design. Take advantage of the ability to duplicate and adjust objects in space to further enhance the design.
Complete the Modeling
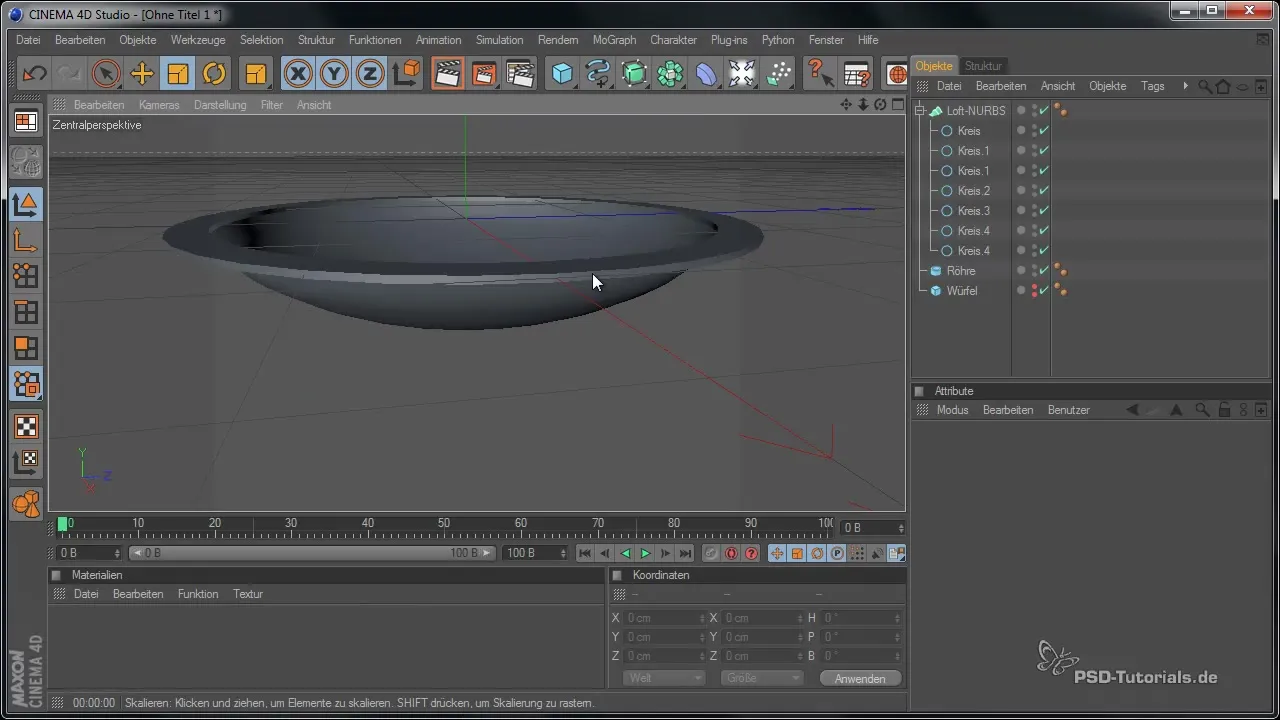
Once you are satisfied with the shape, use various options in Cinema 4D to optimize the model and prepare it for rendering. Check all settings to ensure that your speaker not only looks good but is also calculated efficiently.
Summary – Speaker Modeling in Cinema 4D
In this guide, you learned how to model a speaker in Cinema 4D, from searching for inspiration to creating basic objects to fine-tuning the model details. With this knowledge, you are now able to create your own speaker models according to your vision.
Frequently Asked Questions
How do I start modeling in Cinema 4D?Start by selecting a suitable base object and use references for visualization.
Why are reference images important?They help you understand the design and proportions better.
How do I adjust the edges of my model?Use the rounding function in the properties of the base object.
What objects should I use for a speaker?A cube for the box and tubes or loft nurbs for the rings and interior are ideal.
Can I adjust the splines after I create them?Yes, you can change the points of the splines at any time to achieve the desired shape.


