In this guide, you will learn how to create an impressive element for your space. By using instances and a central dome, your space will not only become more vibrant but also more interesting in structure.
Key Insights
- By creating instances, you can reduce the number of polygons in your project.
- A rounded shape, such as a dome, can significantly enhance the appearance of a room.
- The use of basic geometric shapes helps to effectively develop complex structures.
Step-by-Step Guide
Start by selecting your already edited cube object. It may be sensible to put this object into another container. This keeps your design flexible and avoids a monotonous appearance. Such an approach not only saves time but also resources.
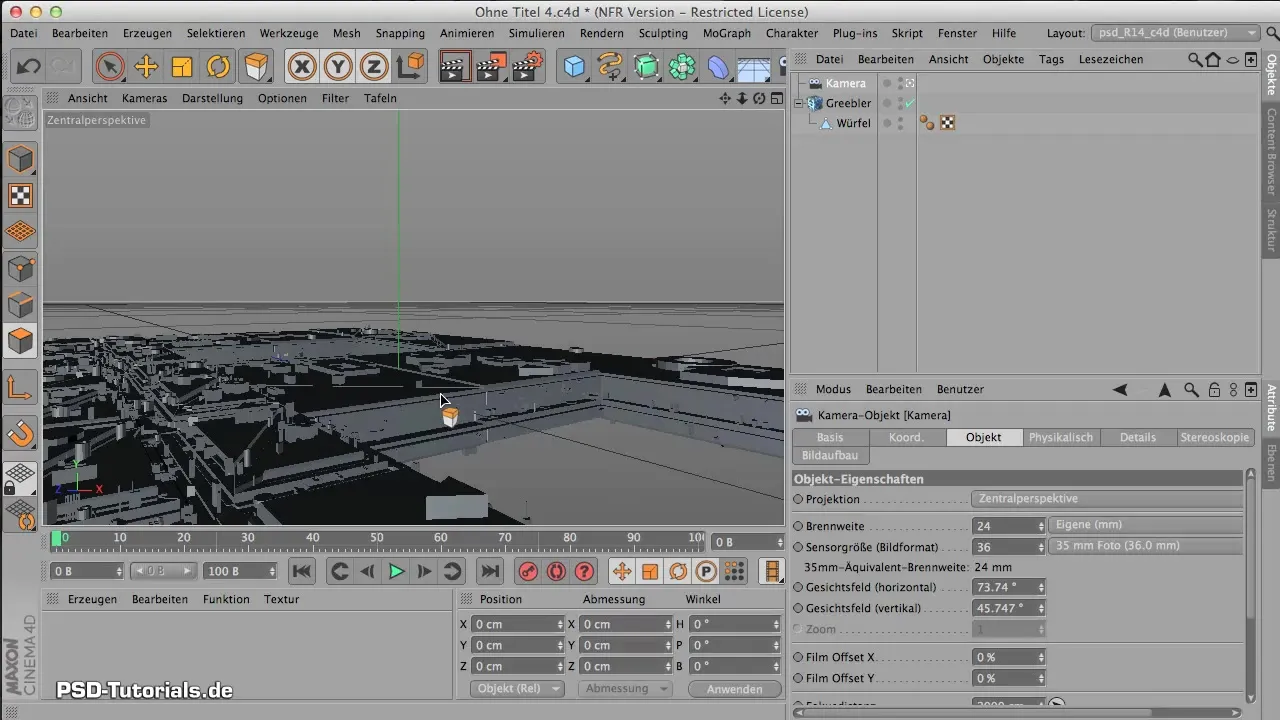
To create the instance of the object, go to the modeling objects and select the option for instances. Make sure you activate edge instances to manage the polygons efficiently.
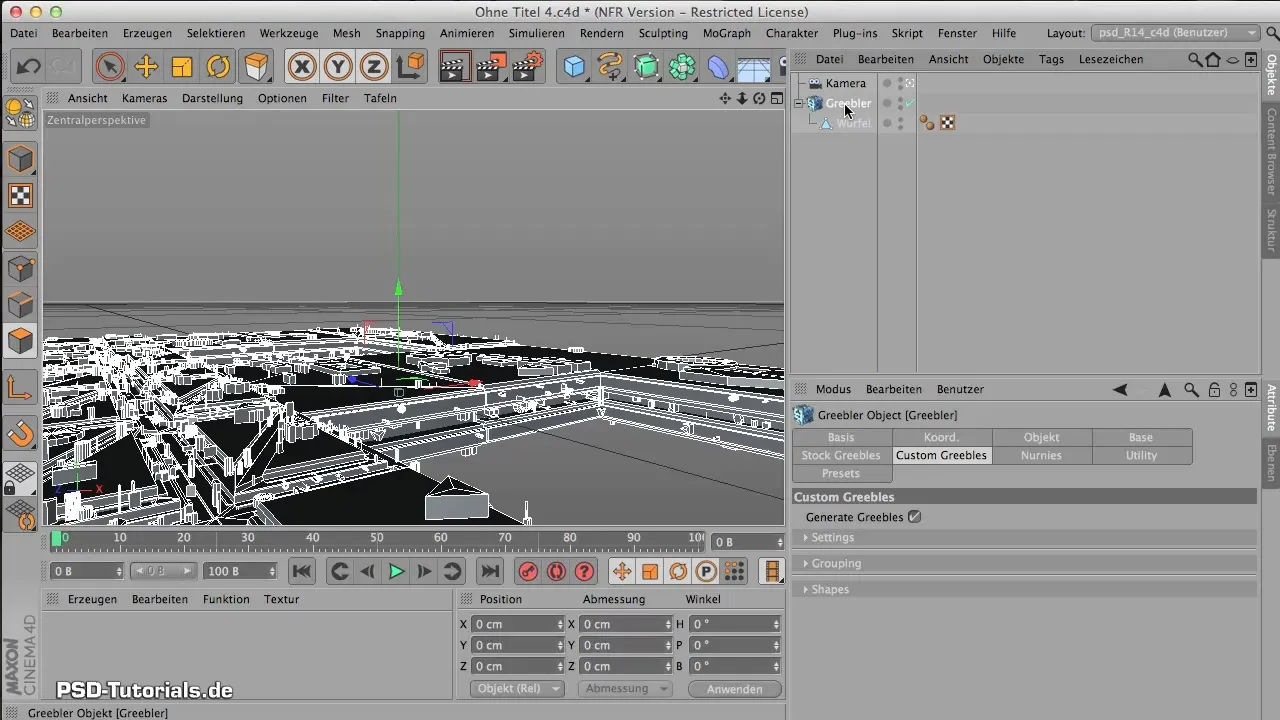
You will find that the current polygon count remains around 7120 even when you create an instance. This stability is important to fully exploit the capabilities of your program.
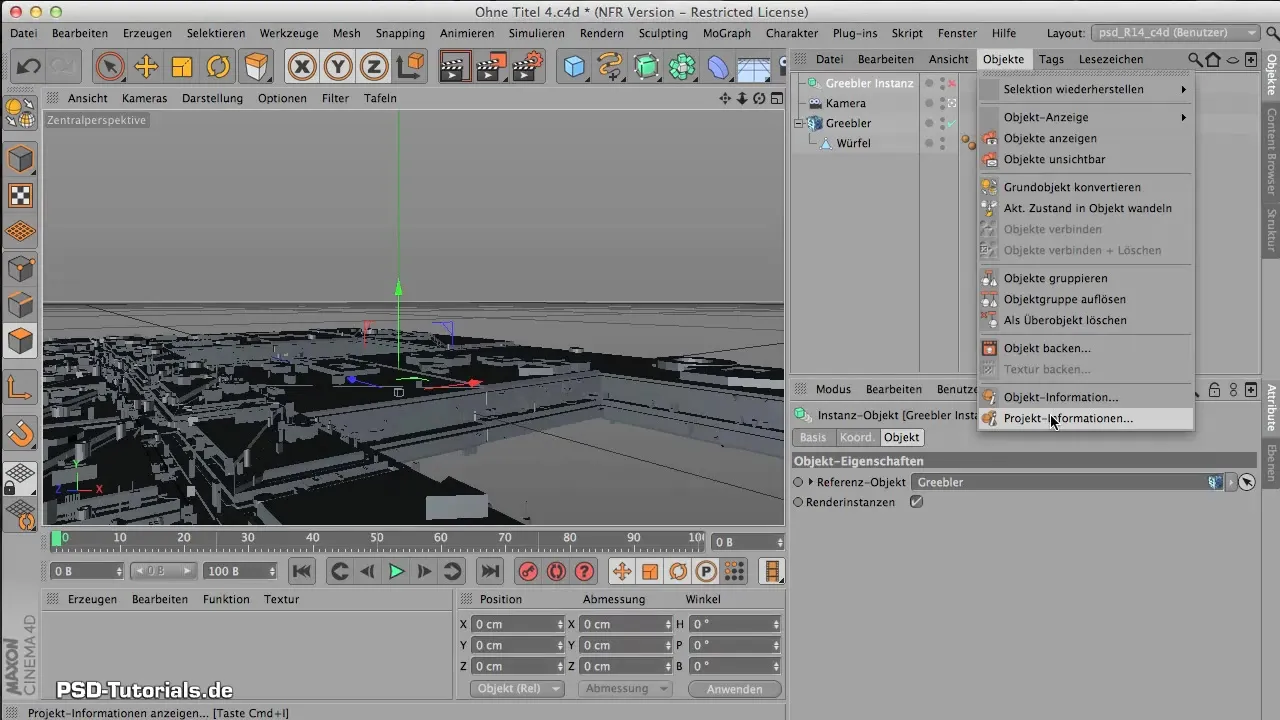
Now it’s time to work with your instance. Rotate it carefully, ensuring that you only rotate at the edges to achieve precise 90 degrees. Hold down the Shift key for this.
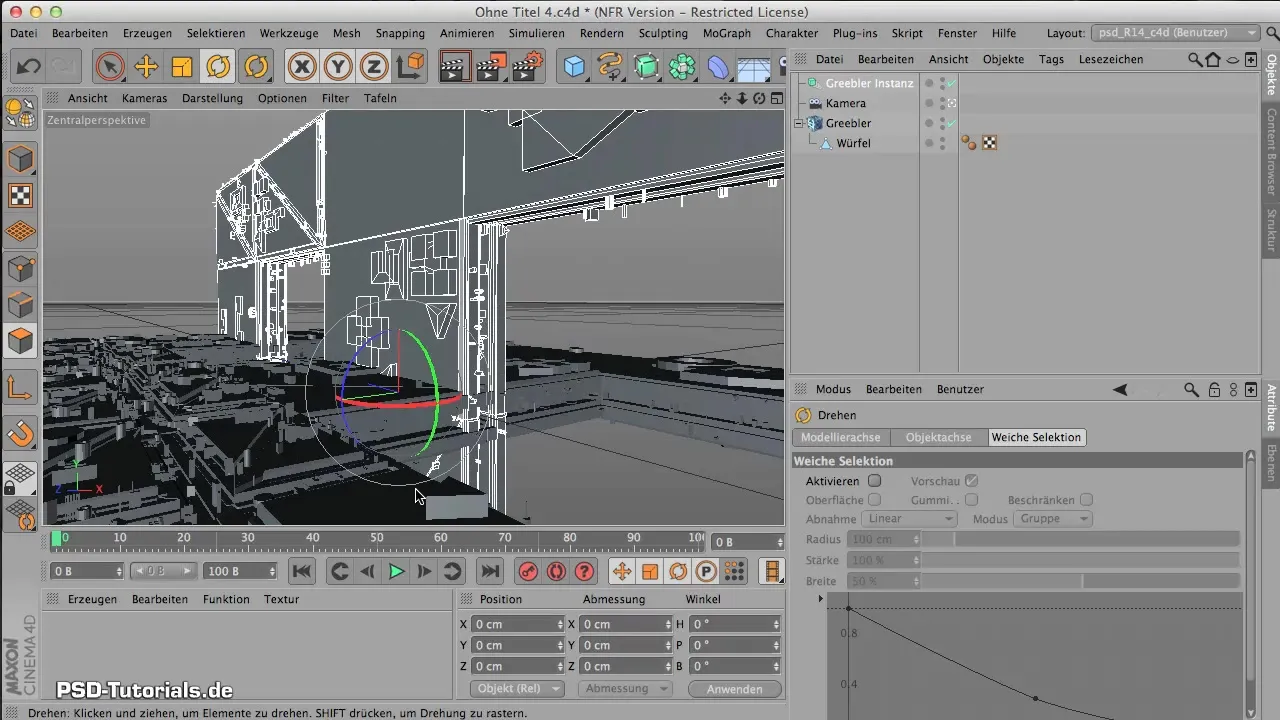
To ensure that your camera view remains stable, select the protection tag for the camera. This allows you to keep it in a fixed position while you continue to work flexibly with the other objects.
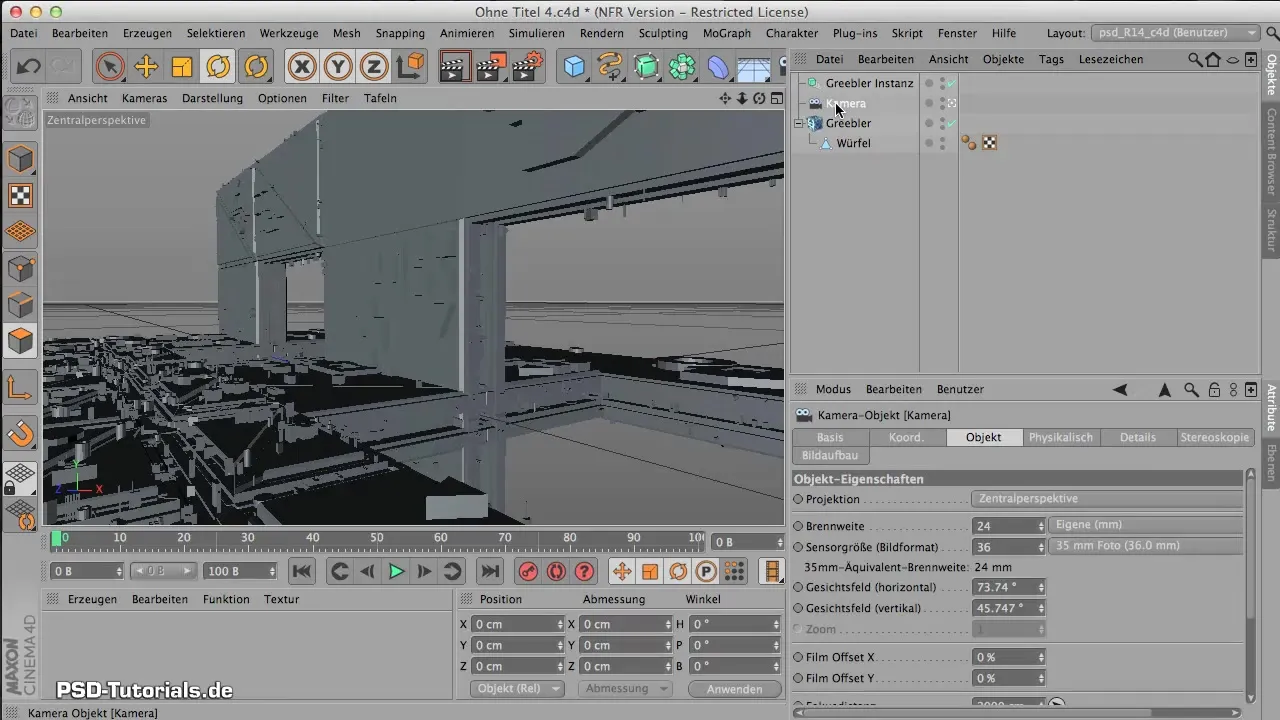
Place the instance at the desired location in the room. Thoughtful placement can significantly enhance the visual balance of your design. Check the perspective while positioning it to ensure it is harmoniously integrated into the space.
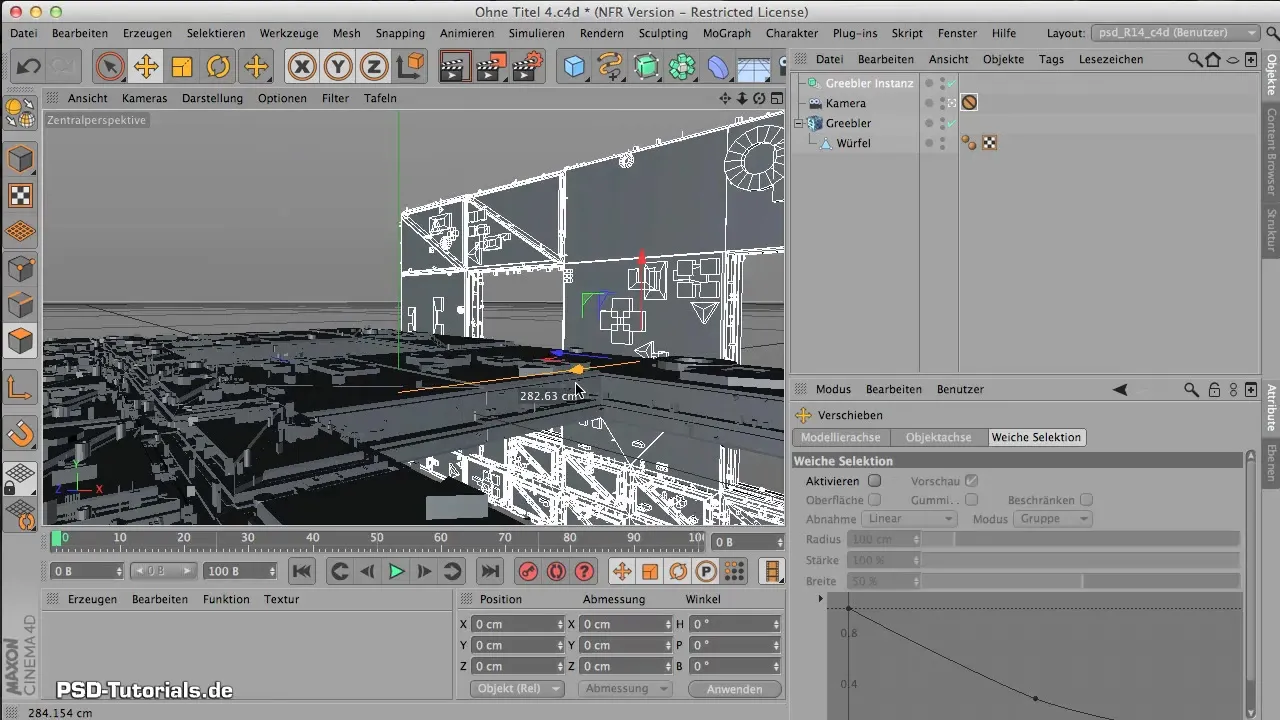
Now, copy the container instance to create a second element. Move this element downwards to create additional dynamic aspects. Make sure it forms an interesting shape and doesn’t just leave a boring space behind.
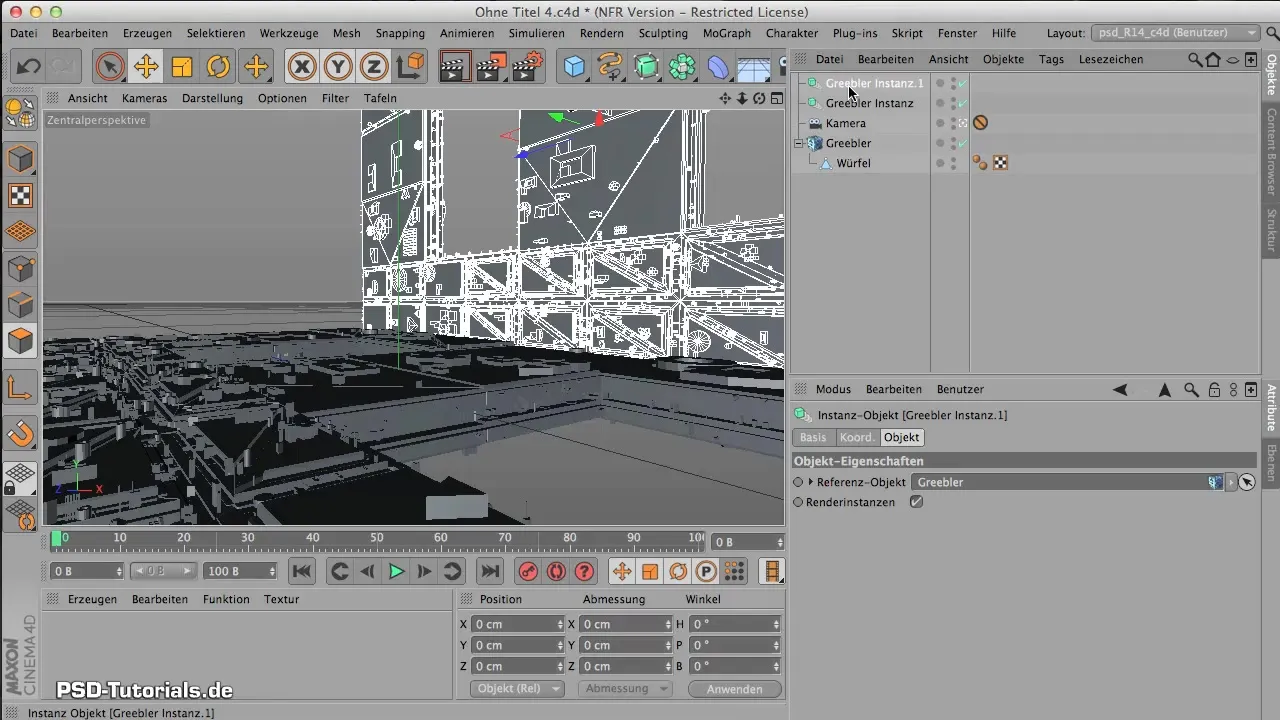
For a realistic room design, you need a ceiling structure. The best way is to use the already created geometry by placing another instance on top. This ensures harmony in the design.
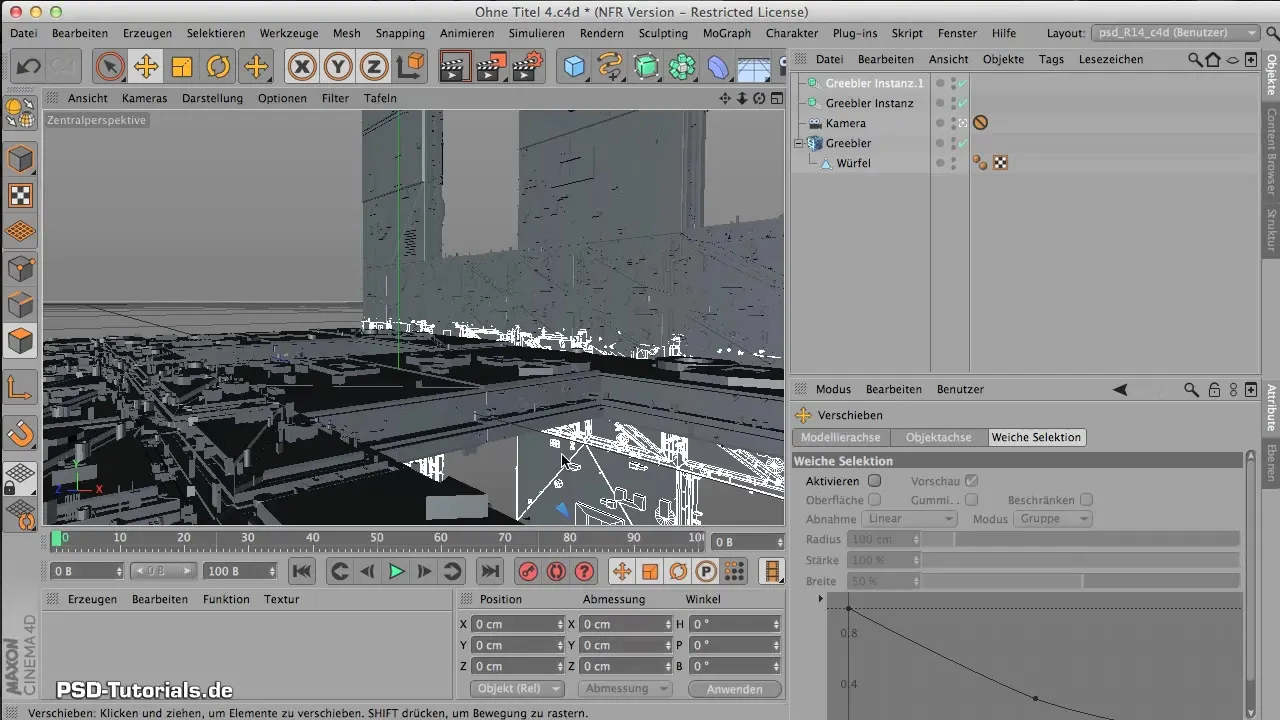
To place the ceiling construction accurately, you can rotate it by 180 degrees and adjust accordingly. This will give you the desired shape for your building or space.
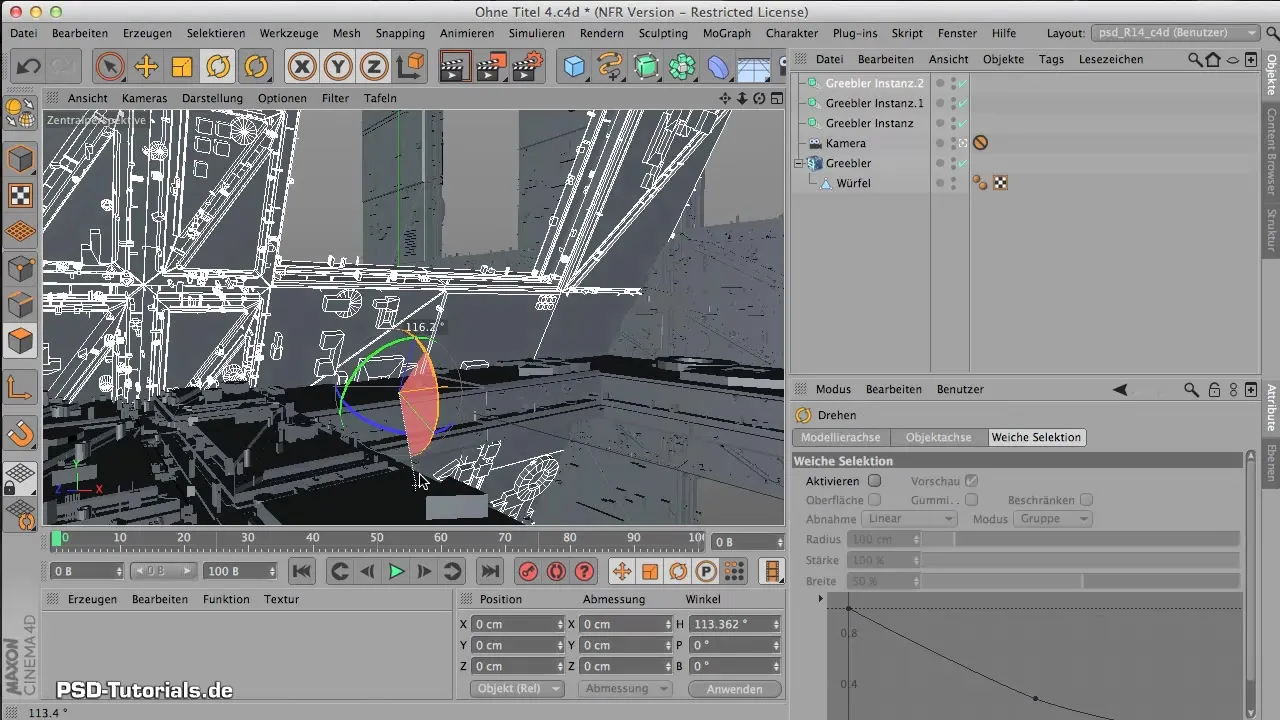
With this foundation for your space, it is now time to set stylistic accents. A dome as a central element is not only an eye-catcher but also adds an organic shape that contrasts well with the previous angular elements.
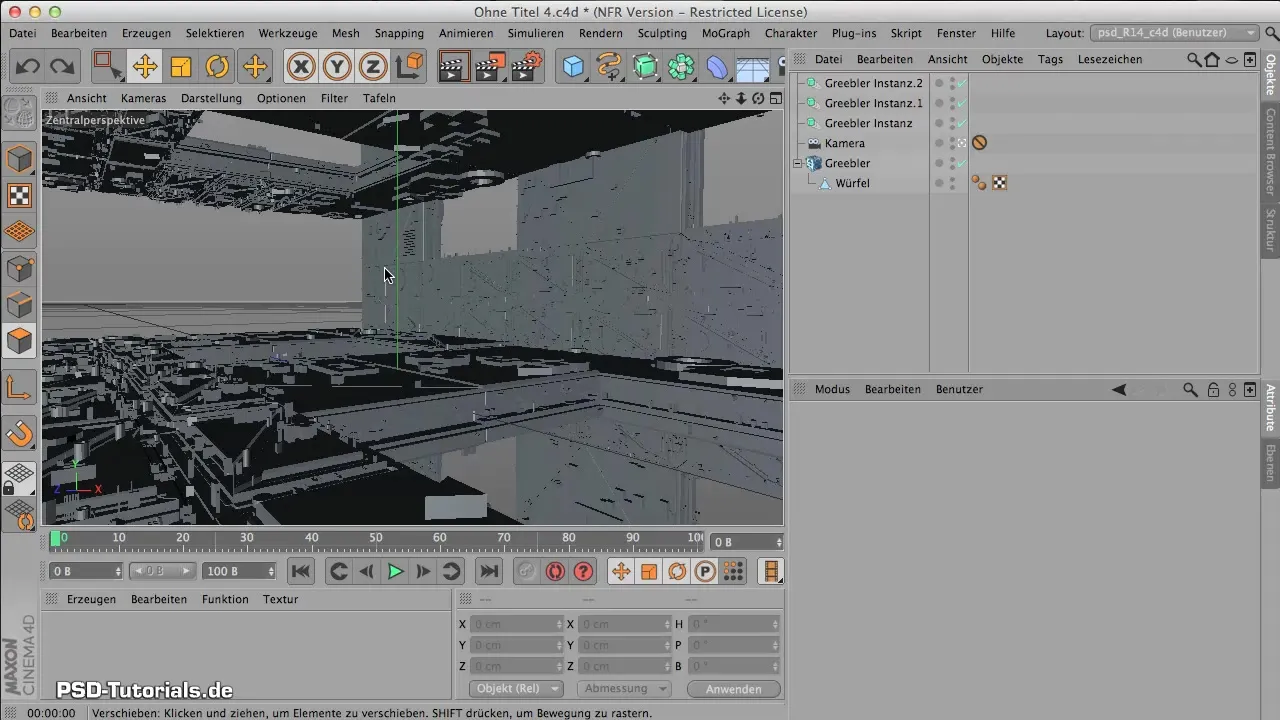
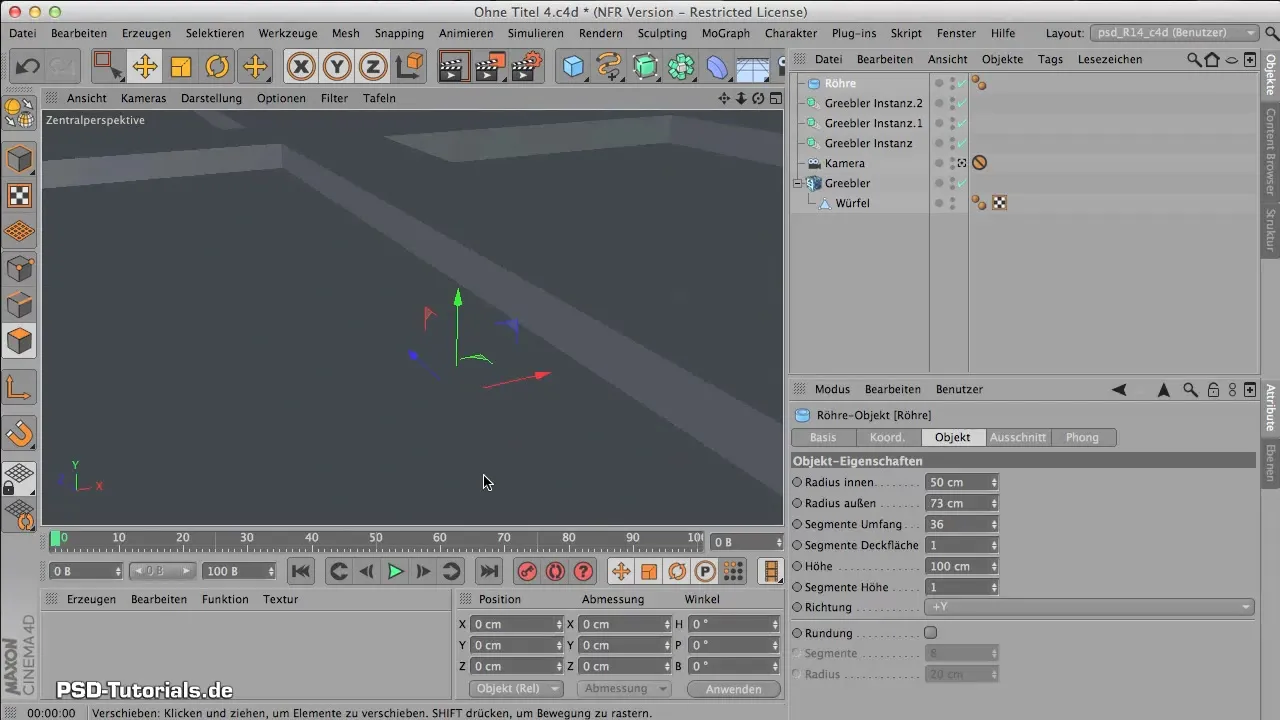
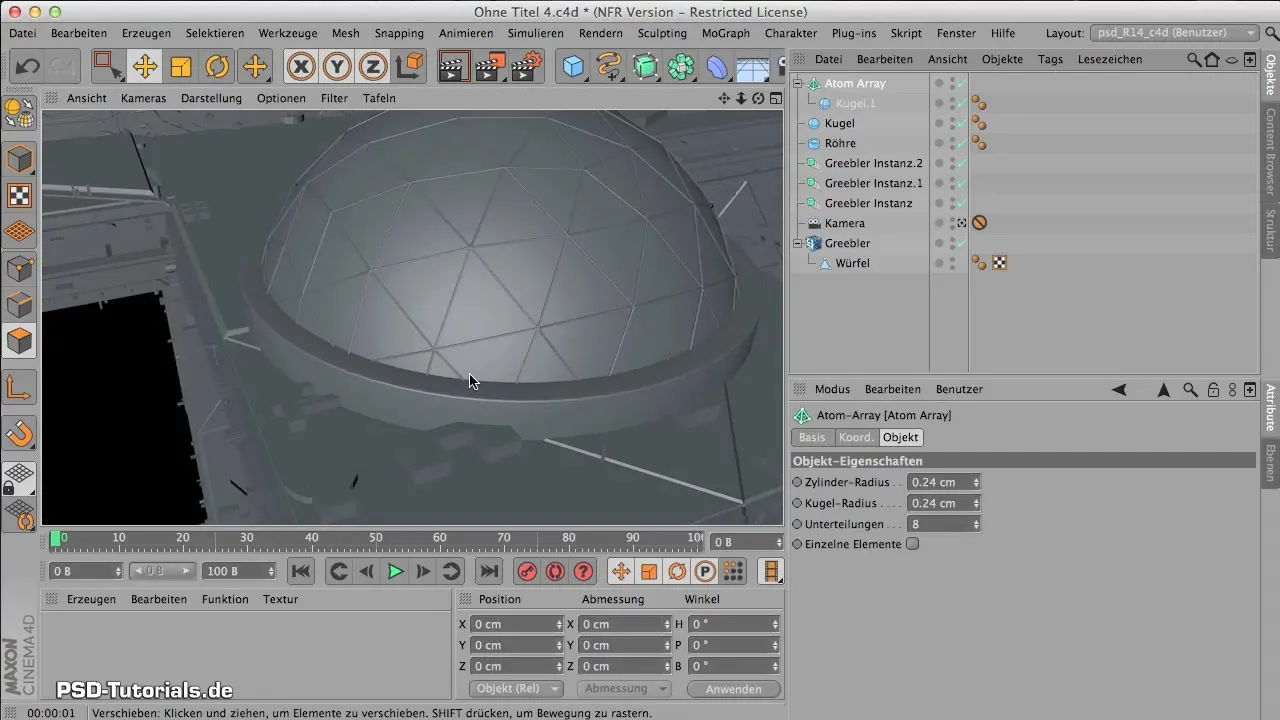
To create the dome, use a cylinder model. Adjust the dimensions to fit the overall harmony of the room so that it doesn’t look too bulky. Reduce the size and adjust the wall thickness for an appealing design.
You can round the edges of the dome and increase the number of segments to achieve a smooth surface. These subtleties are crucial for effectively utilizing light reflections later on.
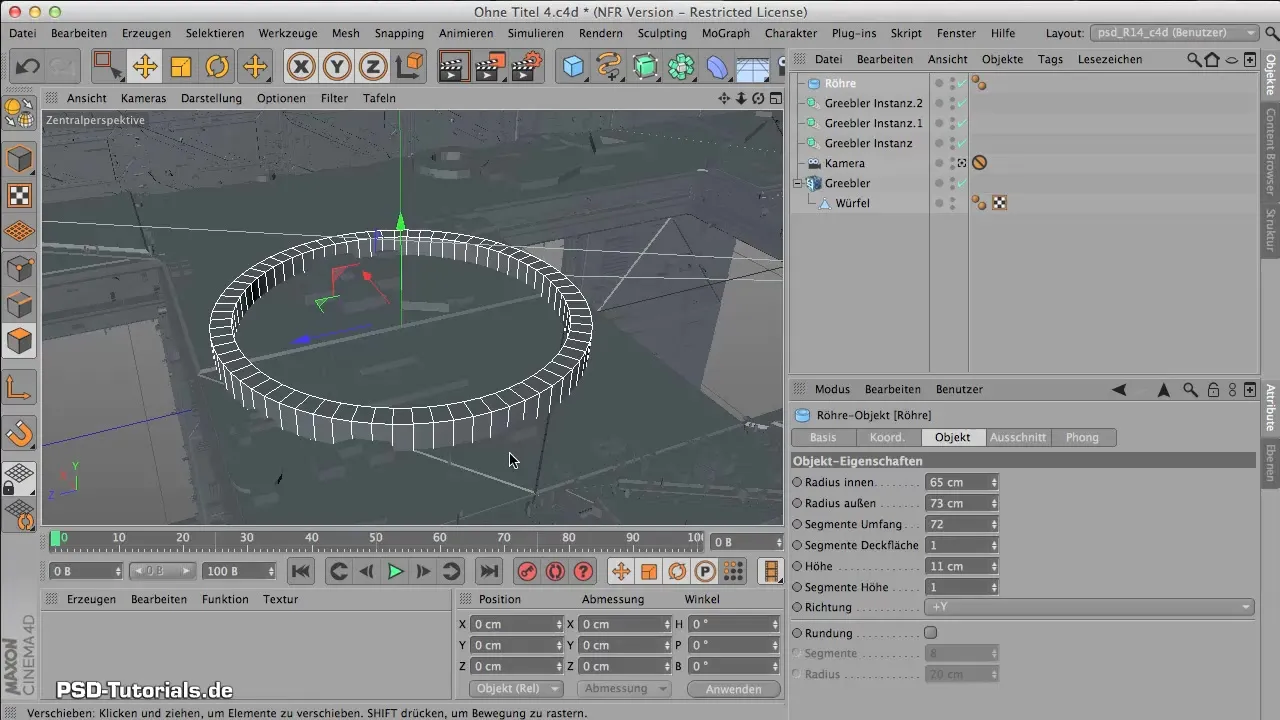
Once you are done with the dome, review the entire structure. Ensure that the dome is well coordinated and does not cover or interfere with the lower structure or the visual design.
Summary – Creative Workshop: Arranging the Elements
In this tutorial, you learned how to create a dynamic space through the use of instances and the clever placement of shapes. A combination of angular and round shapes creates visual tension and can significantly enhance your design.
Frequently Asked Questions
What are edge instances and why are they important?Edge instances help reduce polygon count and save resources by managing geometry more efficiently.
How can I lock my camera?You can use a protection tag for your camera that prevents movement while you edit other elements in the room.
Why is the dome important for my design?The dome provides an organic shape and serves as a central focal point, enhancing and enlivening the design of the room.
Can I change the size of the dome later?Yes, in your modeling program, you can make size adjustments at any time to ensure the dome fits well into the overall picture.


