Creating an appealing flyer for your next event is crucial for gaining attention. In this guide, you will learn how to work professionally and purposefully with renderings and multi-pass data in Photoshop to prepare your flyer optimally. These steps will take you from basic image resizing to applying guides to ensure your design is print-ready.
Key Insights
- Use multi-pass data effectively in Photoshop.
- Pay attention to the correct dimensions for printing, including bleed.
- Use guides to structure your layout accurately.
- Benefit from layer masks for editing renderings.
Step-by-Step Guide
To explain the steps for creating your flyer, we’ve divided this detailed guide into different sections.
First, you will work in Photoshop after finishing the 3D models. Start the program and open your already saved flyer named “Speaker smallall.” By editing in Photoshop, you will refine the rendering further and make it visually more appealing.
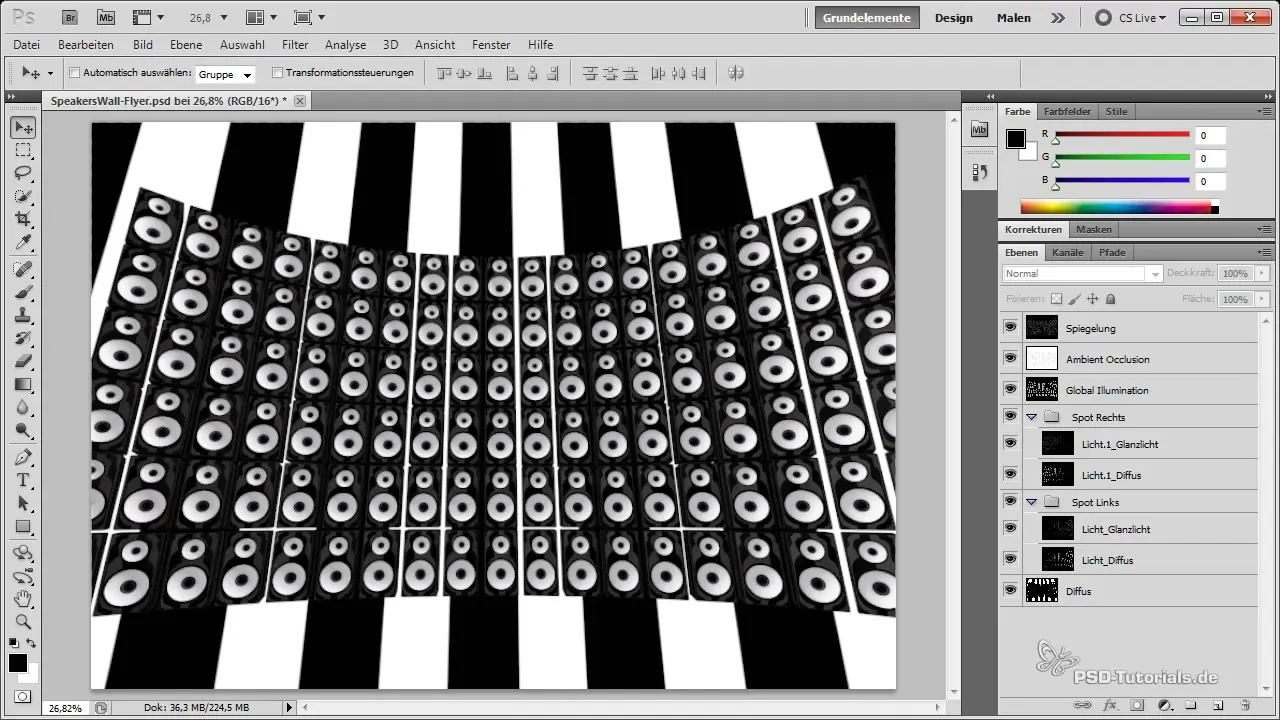
An important step now is to set the image to the correct A5 printing dimensions. This is crucial to ensure your design looks good both in print and digital formats. You should adjust the size to be 2480 pixels wide and 1748 pixels high at 300 dpi. You can find this setting in the canvas of Photoshop.
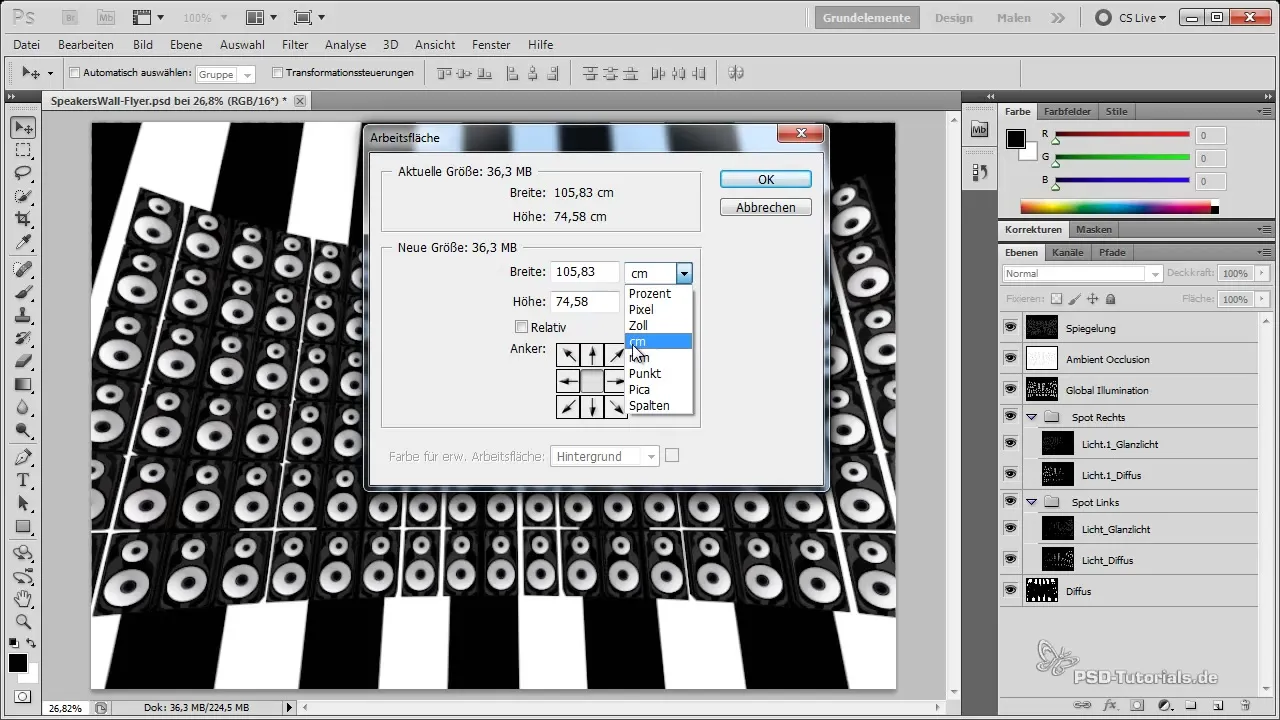
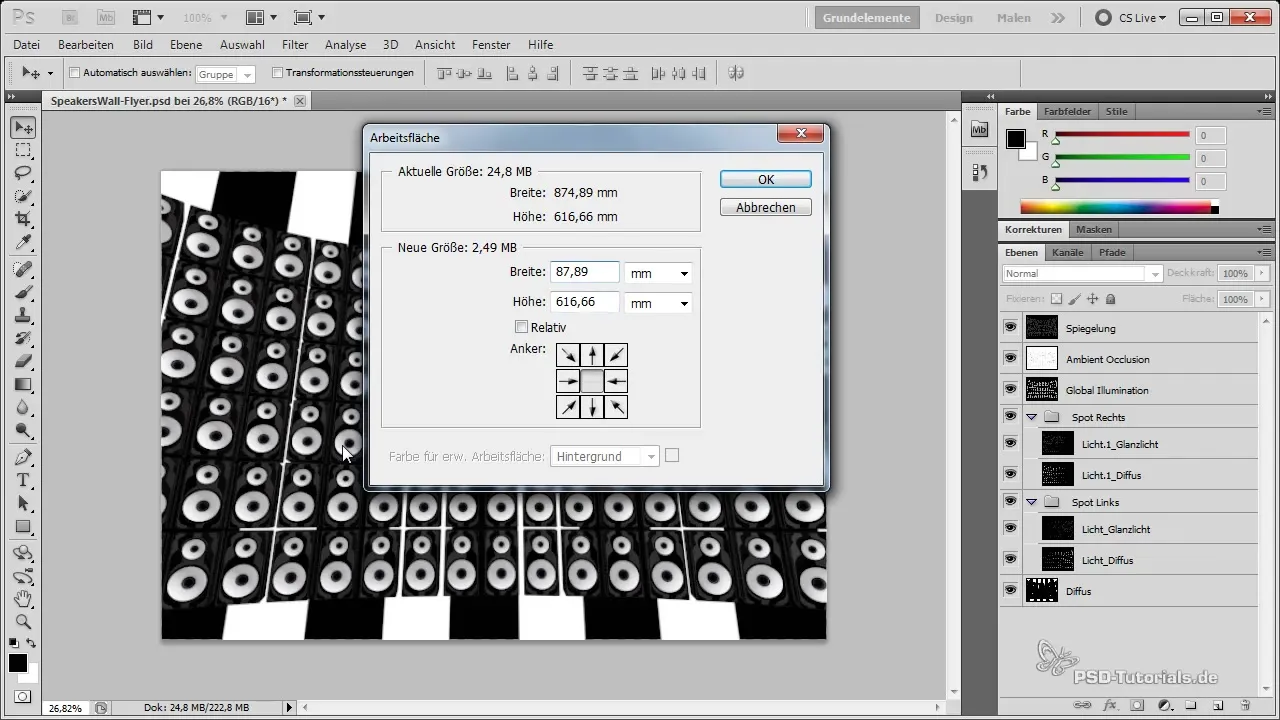
It’s good if you not only adjust the dimensions to the print size but also plan some extra space for the bleed. Normally, the print shop requires a bleed of about 3 mm. When adjusting the canvas in Photoshop, you need to consider this added measurement, so you adjust the width to 2480 plus 6 mm (3 mm on each side) and the height to 1748 plus 6 mm.
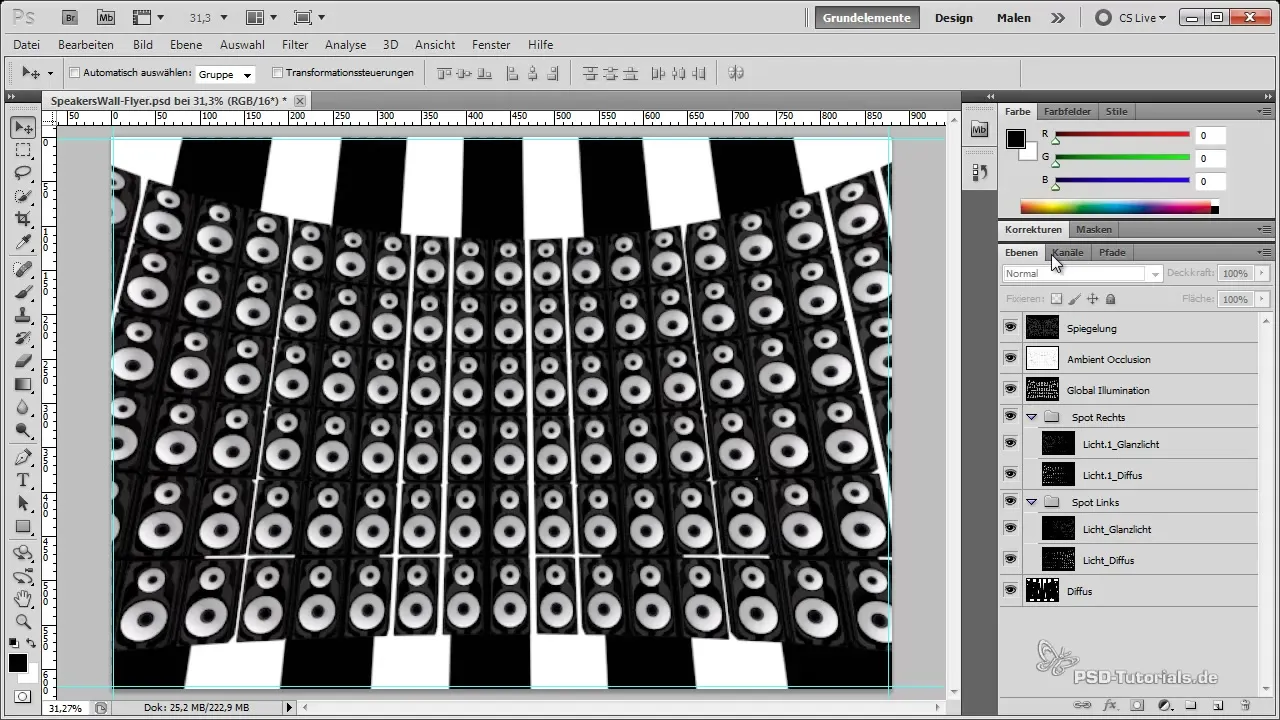
To ensure you don’t place anything important too close to the edge while designing, you can insert guides. Press Ctrl + R to toggle the rulers. Set the units to millimeters and drag down a guide at 3 mm from the top edge. Repeat this for the other sides to set visual boundaries for your text and other important elements of your design.

The background of your flyer should be appealing and fitting to the theme. Therefore, it is advisable to remove the retro ray effect from the rendering and instead choose a solid black background. To create this background, make sure to use the alpha channel provided by Cinema 4D during rendering. Hold down the Ctrl key and click on it to activate the selection of the alpha channel.
To cut out the speakers you just rendered, group the layers by selecting the bottom and top layer while holding Shift and create the group. After adding a layer mask, your speakers are now separated from the background and already look much more promising.
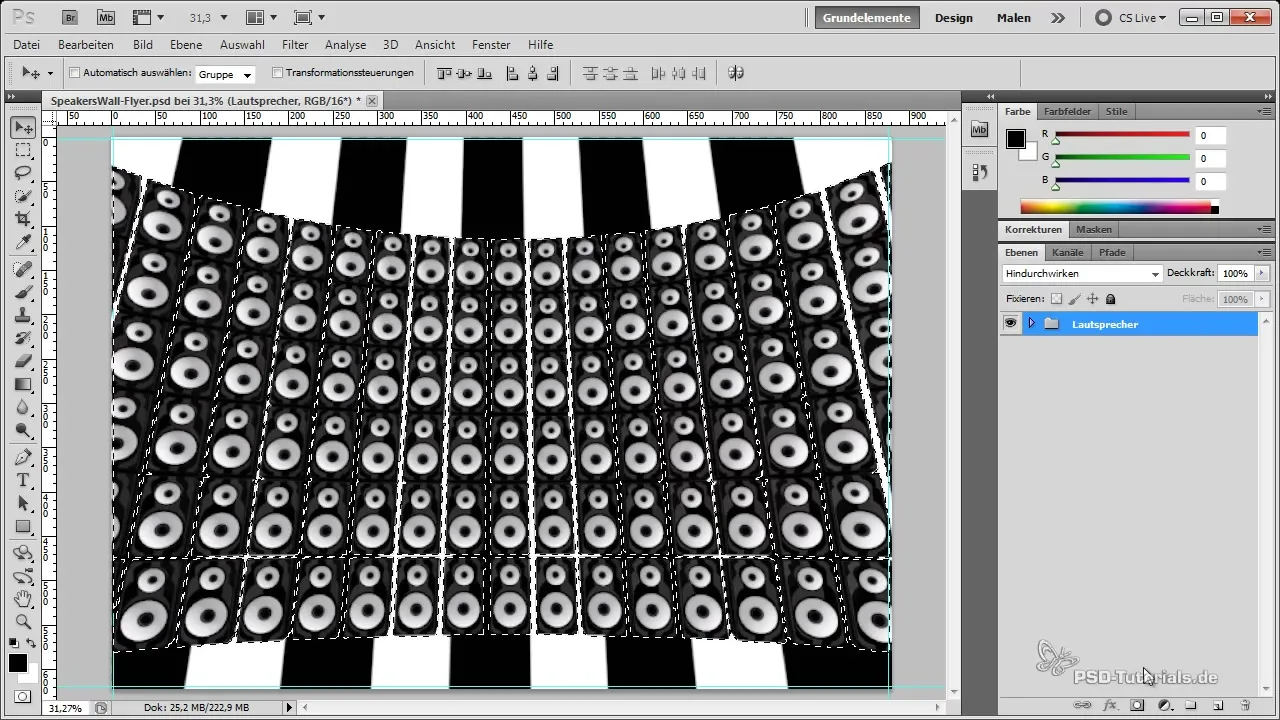
Now is the moment when you give your flyer the final touch. If you are satisfied with the appearance of the speakers, you can further optimize the lighting conditions. Adding highlights is helpful to increase the light accents and thus add more tension to your design. You can simply duplicate the highlight object to increase the intensity and enhance the effect.
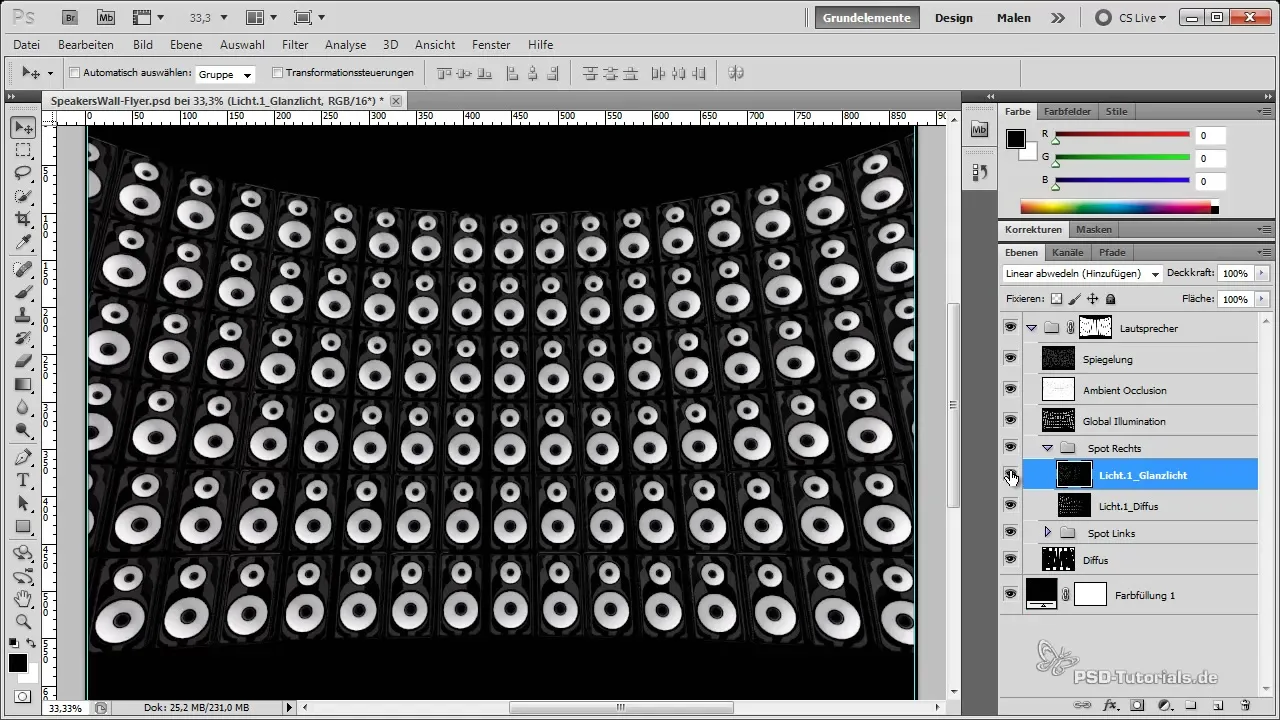
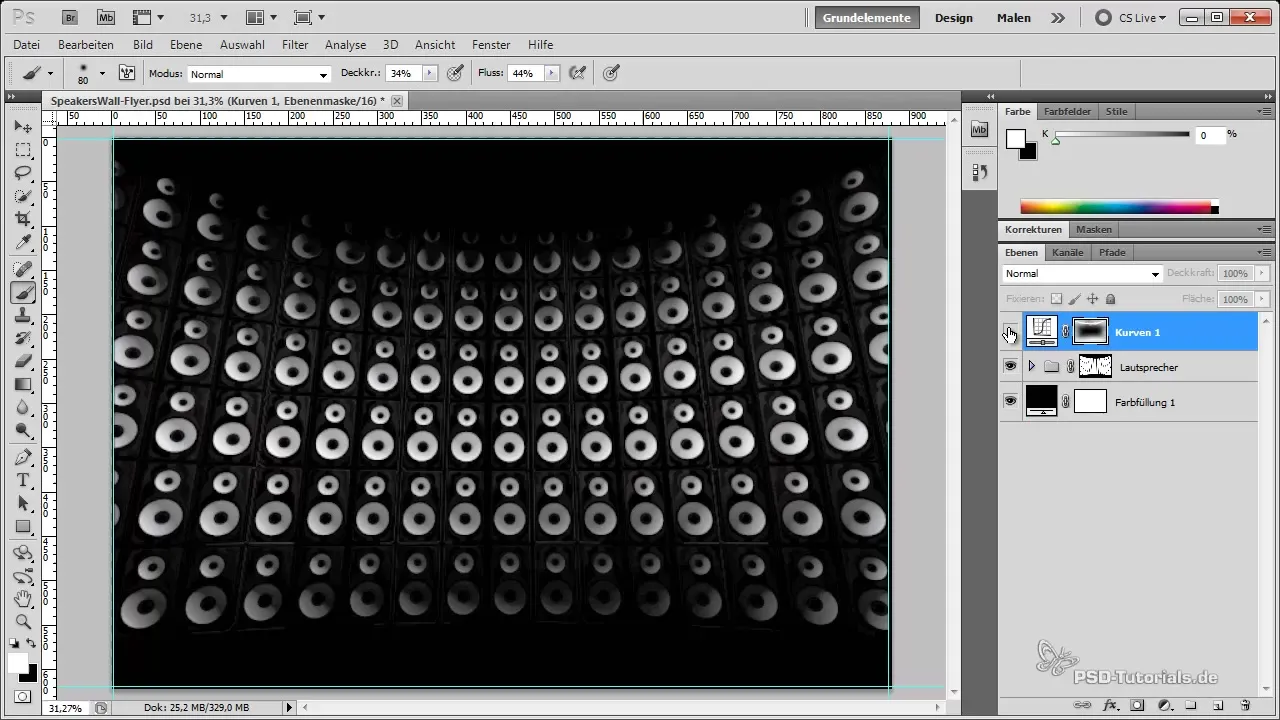
When it comes to editing the brightness produced by global illumination, take advantage of layer masks. You can darken certain areas to create a softer transition in the design. Reduce the light intensity in specific places and improve the transitions by working with a graphics tablet or brush tool.
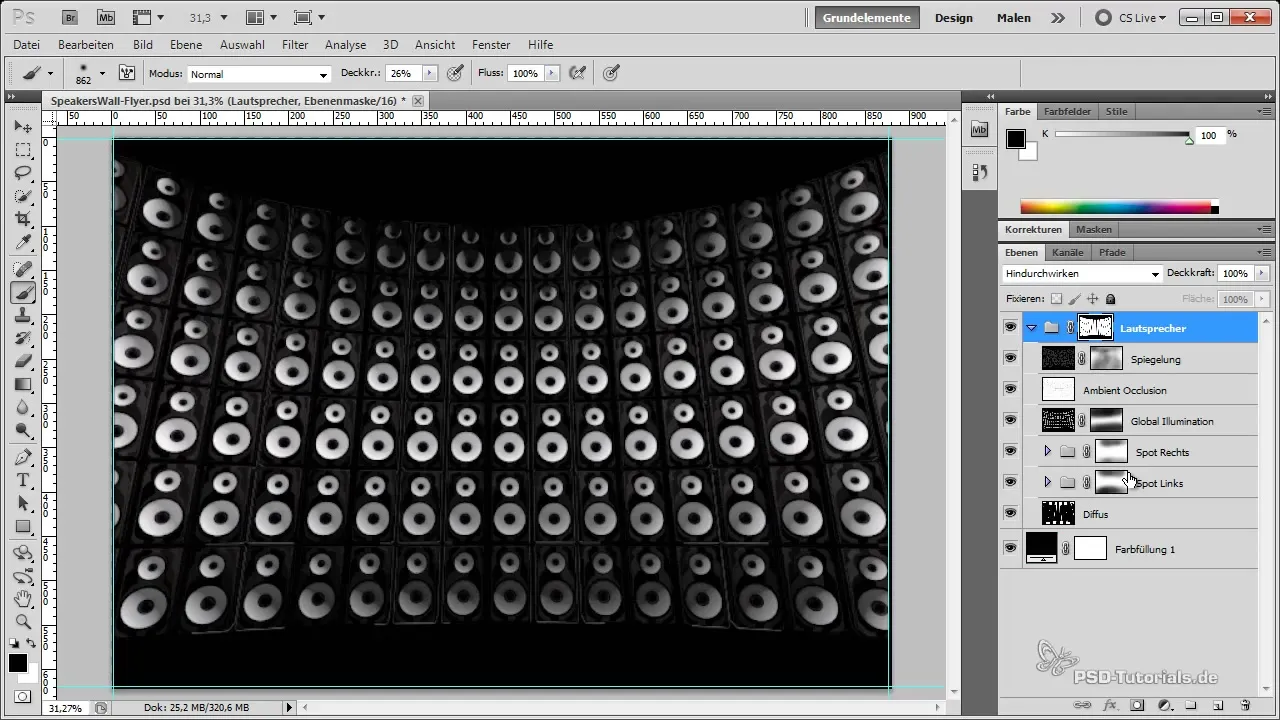
Additionally, you should use curves to adjust brightness in certain areas. This means lowering the curve layer in the highlights and midtones, and inverting the layer mask to paint with a white brush over the areas where you want to apply the effect. This will give the edges a subtle darkening.
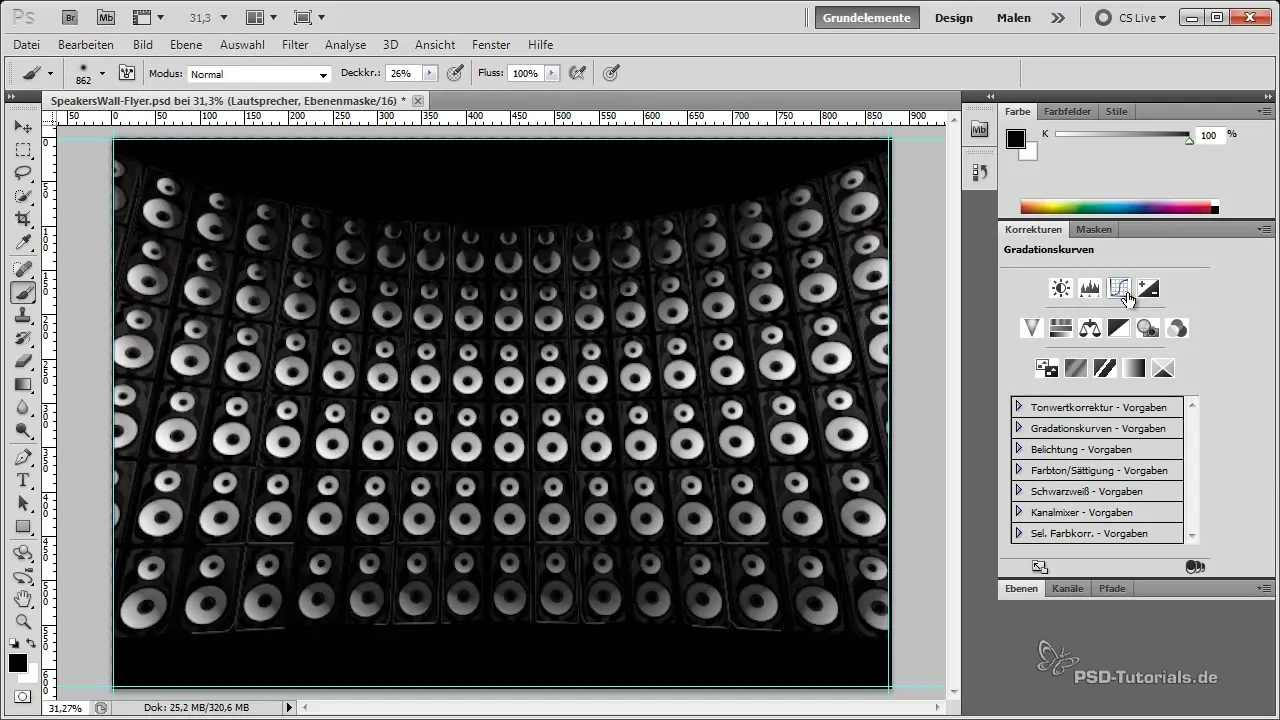
Once you have finished designing the edges and conceptual changes on your flyer, review the overall picture. Ensure that the speakers stand out well and other design aspects appear harmonious. This way, your flyer will not only be appealing but also be executed professionally.
Summary - Flyer Preparation and Rendering in Photoshop
With the steps described in this guide, you have now learned how to import renderings, edit them, and design your flyer to be print-ready. From proper resizing to setting guides to using layer masks, this guide provides you with a solid overview. Use your creativity and experiment with the various possibilities to refine your designs.
Frequently Asked Questions
How do I properly adjust the image size?You can adjust the image size in the canvas under "Image" and enter the corresponding pixel dimensions for A5 at 300 dpi.
What do I do with the alpha channel?The alpha channel helps you cut out selected areas. Hold down the Ctrl key and click on it to activate the selection.
How do I add guides?Press Ctrl + R to enable the rulers and drag guides to the desired dimensions.
How can I position my speakers?After you have cut them out, position and scale the speakers as you wish within the design.
How do I improve the lighting in my design?You can enhance highlights and use layer masks to lower the exposure, especially at the edges, and create more dynamics.


