A successful post-processing is the key to impressive graphics. By rendering your scene in Cinema 4D multipass, you can optimally edit individual elements in Photoshop. This is especially true for shadows, which you can output as separate layers. When you master the workflow, your creative work becomes more efficient and versatile.
Key findings
- Multipass rendering allows tonal and background elements to be output as separate layers.
- The right render settings are crucial for the quality of the post-processing.
- Saving in the correct file and color depth ensures editing possibilities in Photoshop.
Step-by-step guide
Start by reviewing the scene materials for rendering. You can ensure that everything is optimally set and that you get different layers for light, shadow, reflection, and transparency. For instance, if you know that you want to work with shadows later in Photoshop, it's a good idea to render them separately.
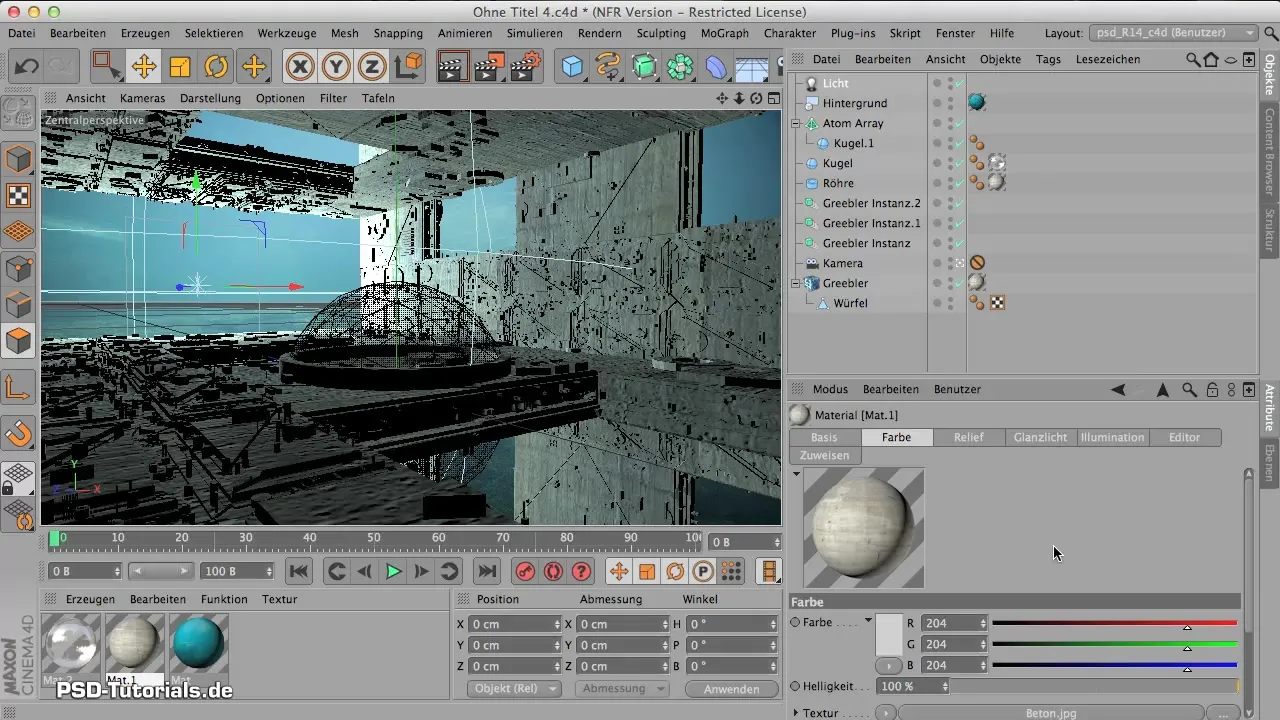
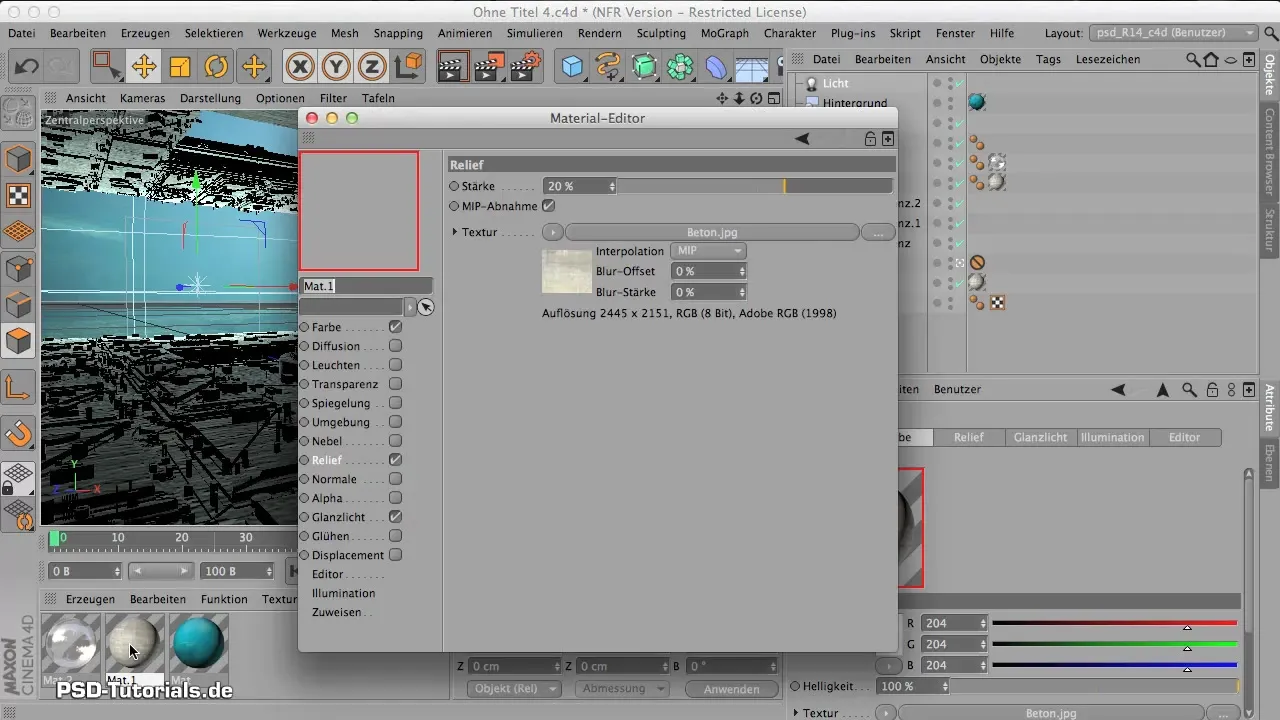
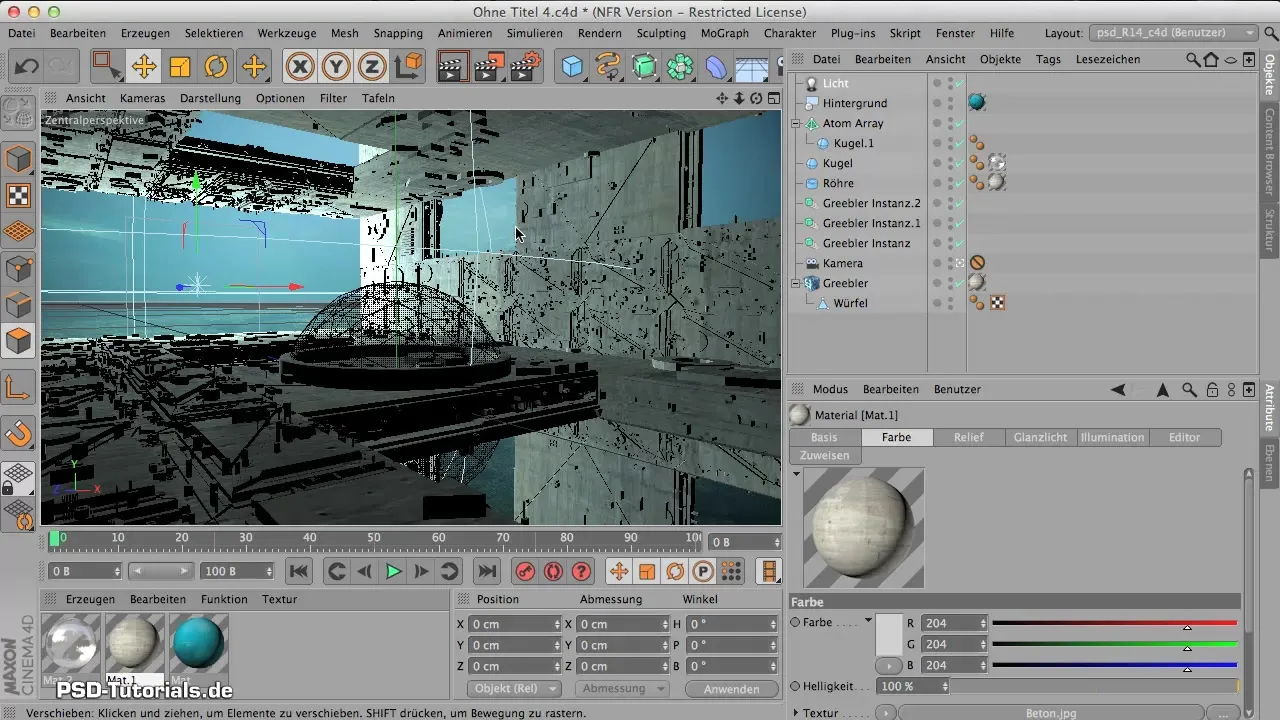
Now take a look at the material properties. You might want to adjust the displacement channel of your material to achieve a smoother result. If the material has too many irregularities, make sure the settings for the displacement channel are at a value of no more than 5%. This will give you a harmonious appearance.
The next step is to adjust the render settings. Determine the size of the output. The background material, for example, has a resolution of 2500 x 1406 pixels. You can transfer these dimensions into the render settings to ensure consistent quality.
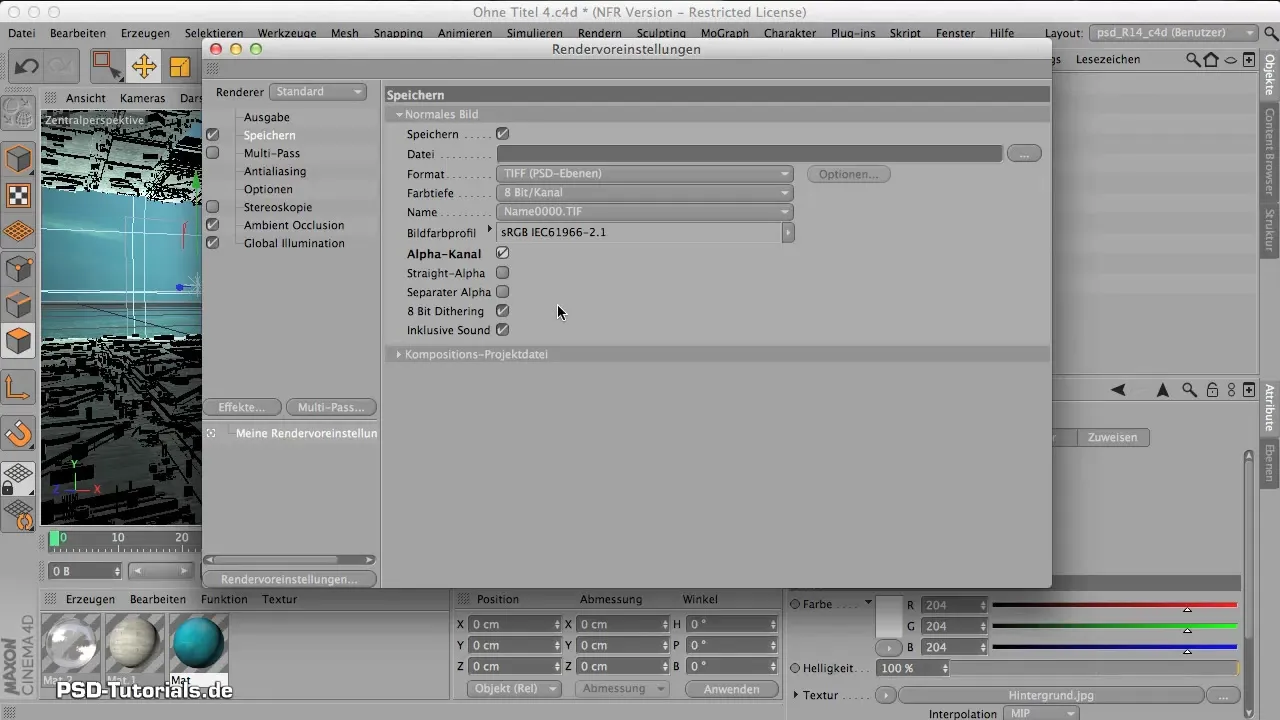
Next, make sure that the option for an alpha channel is enabled. This is important when working with a transparent background. Simply click on the corresponding option to ensure that your later image is editable in Photoshop.
Now select the multipass rendering mode. In this view, ensure that the shadow is output in a separate channel. Click on the options button for multipass and activate the desired channels, including the shadow. Remember to uncheck all other unnecessary effects to shorten the render time.
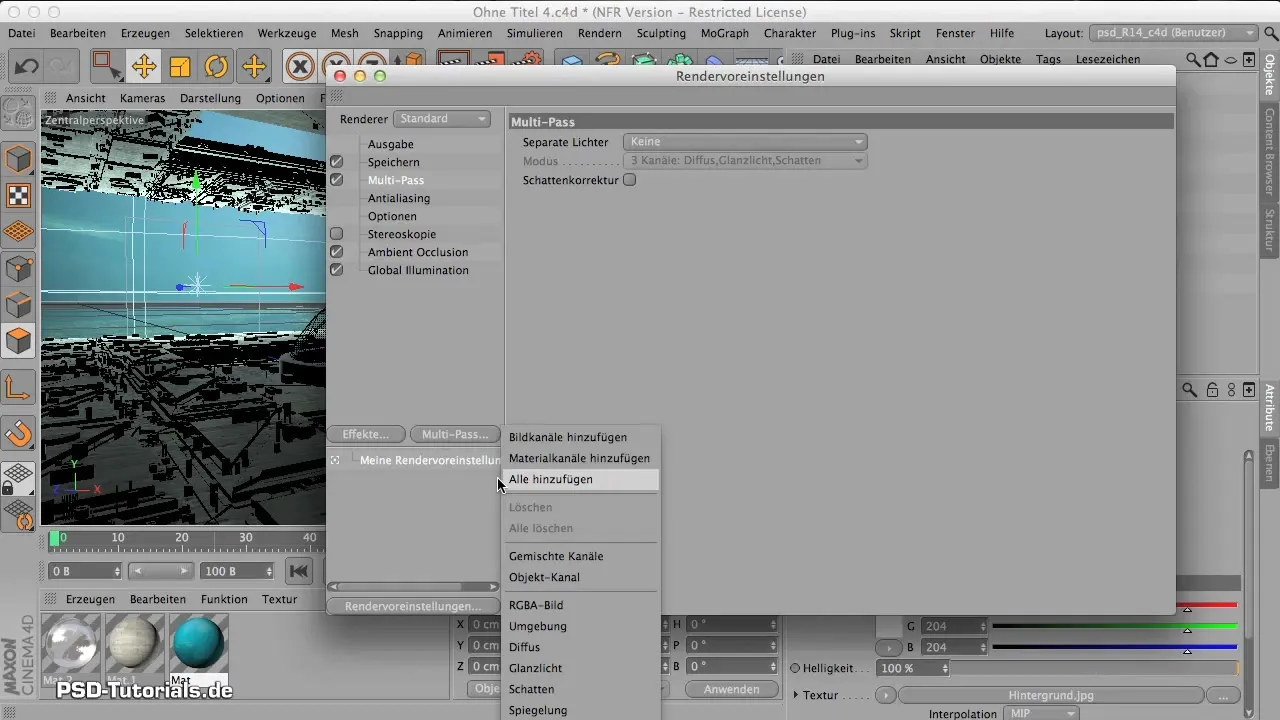
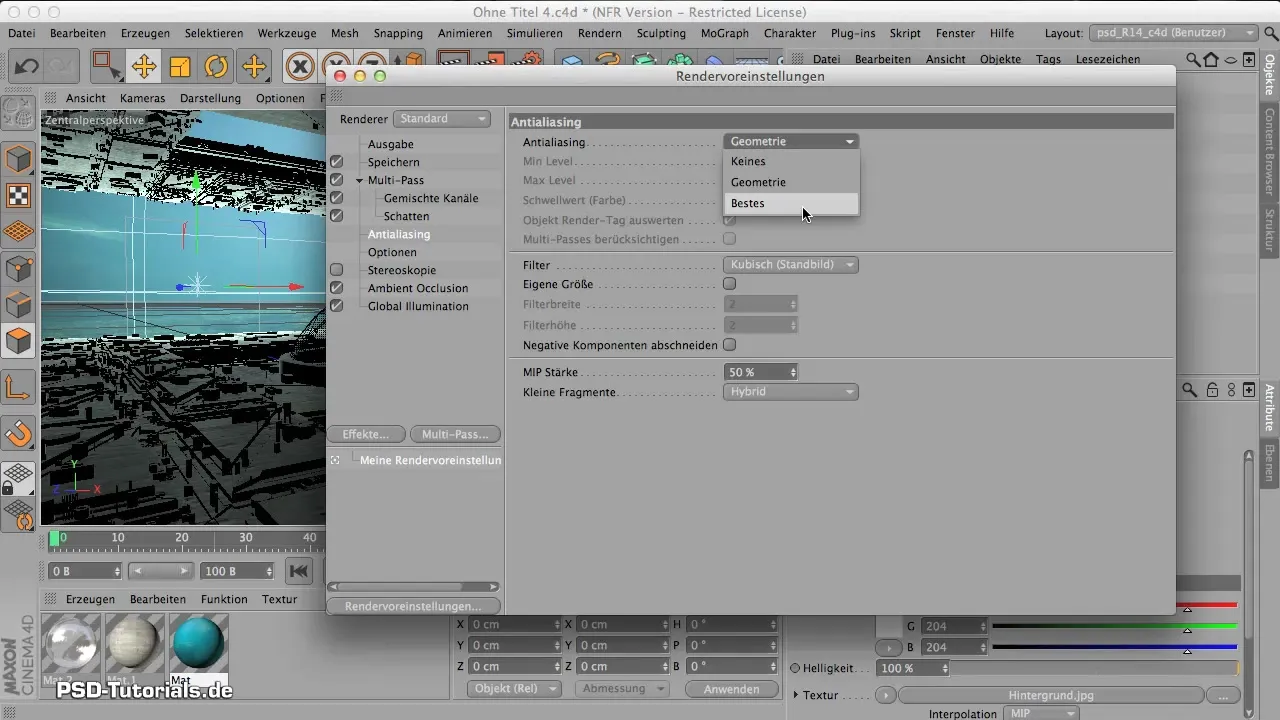
Another important aspect is antialiasing. Make sure to choose "best" quality to showcase the finely detailed geometry and materials. This is especially recommended when using materials with a displacement channel, even though it takes a bit longer.
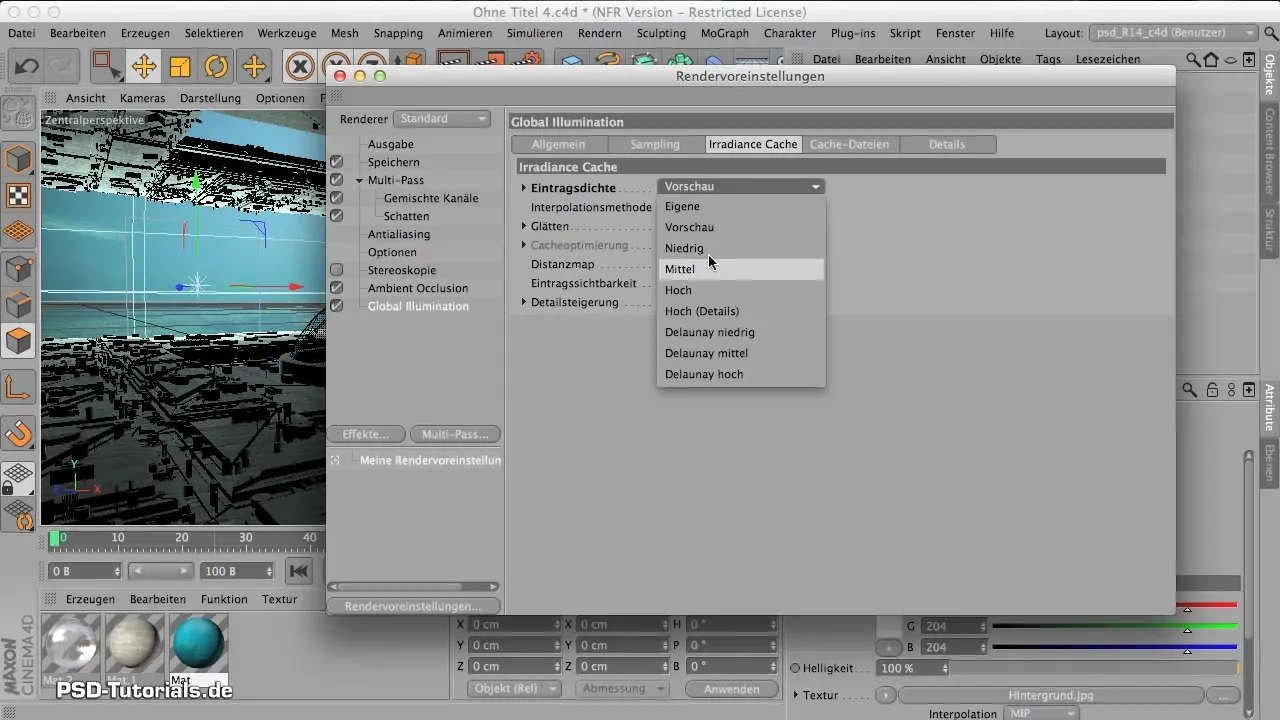
Check the options for global illumination. In the final render settings, you should not render at the lowest quality; this may impair the quality of the shadows. Make sure to choose medium or better settings to achieve clean shadows.
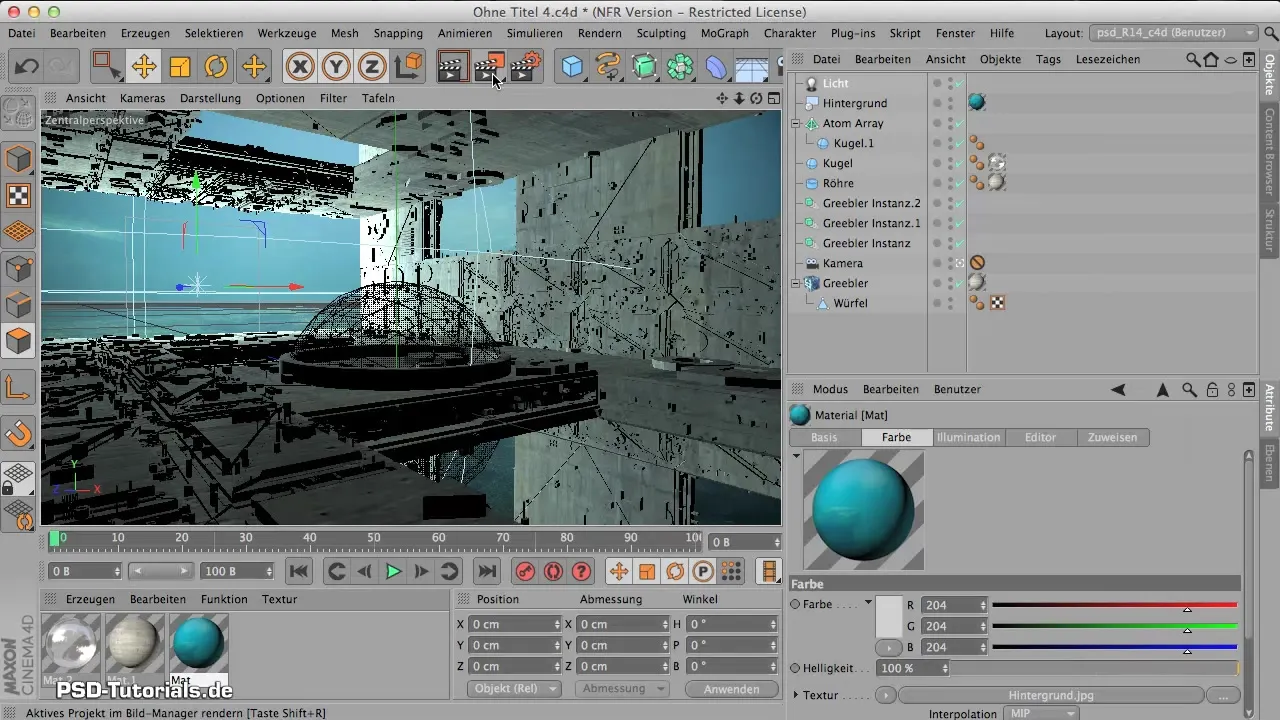
You are now ready to start the rendering. Use the button in the image manager to initiate the rendering process. This may take a few minutes, depending on the complexity of the scene.
After the rendering time, you will see the result. With a rendering process of about 8 minutes and 34 seconds, you have achieved a quality that is impressive.
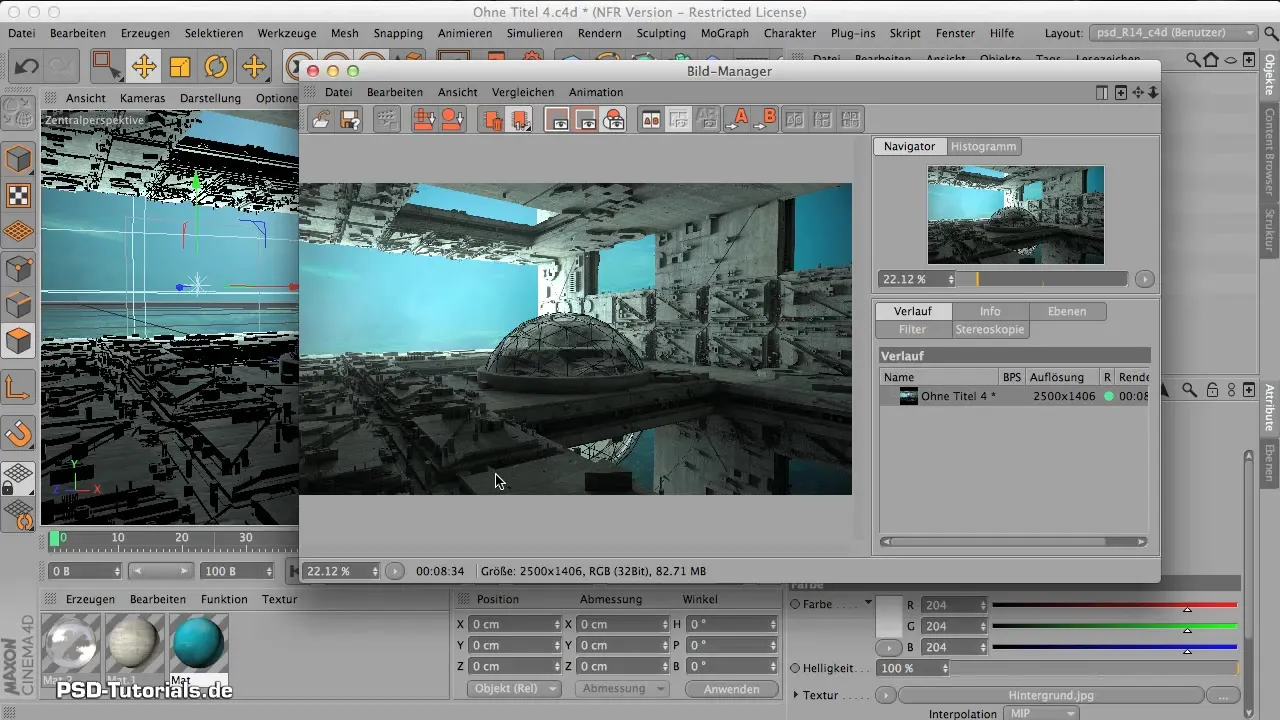
Save the result by selecting the "Save file as" option in the image manager. It is recommended to use the TIF format, as it allows you to work with layers. Set the color depth to 16 bits to avoid color errors.
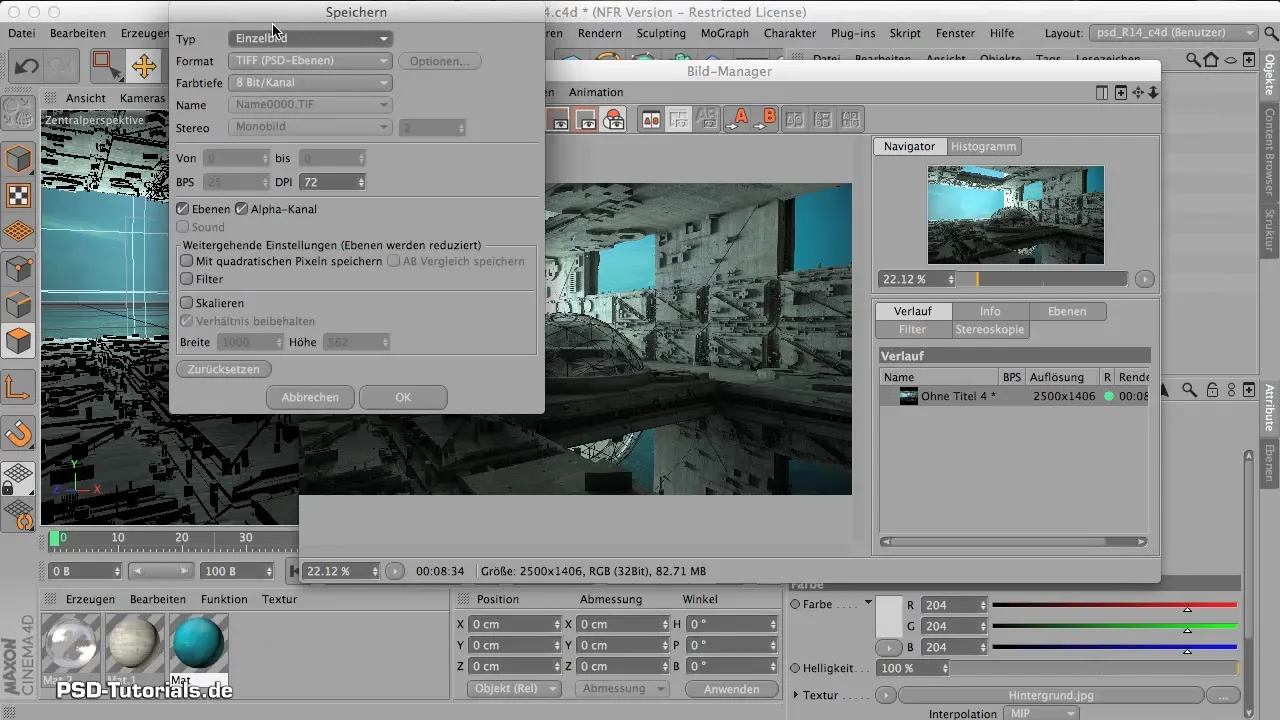
A very important point: Make sure the "Layers" option is activated when you save the file; otherwise, the image will be saved without layers, and you will lose the editing options for your shadows.
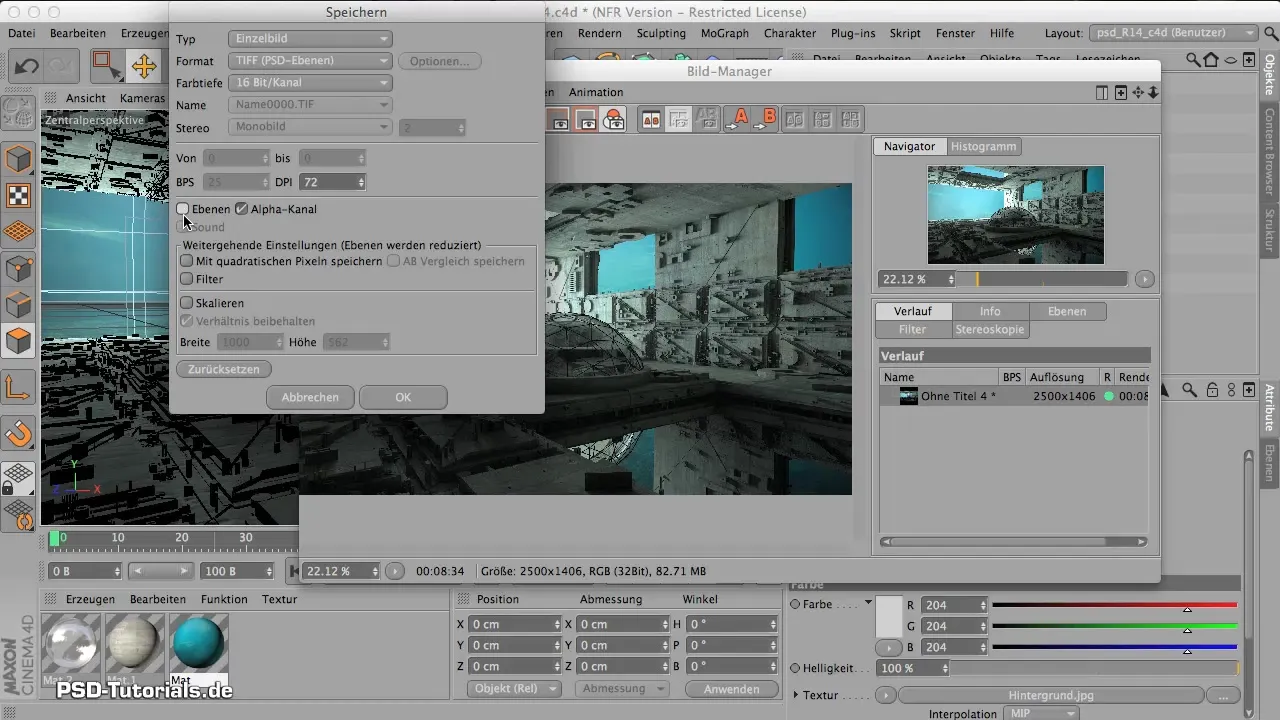
Once the file is saved, you can open the project in Photoshop and start the post-processing there.
Summary – Multipass Rendering for Photoshop: Your Step-by-Step Guide
Learning multipass rendering in Cinema 4D is essential for any type of digital post-processing. You should adjust the render settings, save the correct files, and activate all necessary channels to get the most out of your work in Photoshop.
Frequently Asked Questions
What is multipass rendering?Multipass rendering allows for separate output of image elements such as light and shadow in Cinema 4D.
How do I adjust the render settings?You adjust the render settings in the render option by selecting size, alpha channel, and multipass options.
Why is the alpha channel important?An alpha channel allows you to save transparent areas of your image, making editing in Photoshop easier.
How do I save the result correctly?Make sure to activate the layers option when saving and set the color depth to 16 bits.
Can I also save in other formats?Yes, you can also save in PSD format, but TIF has the advantage of supporting multiple layers.


