Creating appealing 3D models requires not only technical expertise but also a creative approach to materials. In today's workshop, you will be shown the steps to create and adjust materials for your projects. It doesn't matter whether you are a beginner or an advanced user – it is important that you bring your own creative touch. We will analyze the different materials and make the necessary adjustments to achieve the best possible result.
Key Insights
- The background is crucial for the visual impact of the model and should be chosen carefully.
- The materials should be adjusted according to their properties to achieve a realistic appearance, especially for specific textures like concrete and glass.
- Transparent materials also require high reflection to appear realistic.
Step-by-Step Guide
Step 1: Preparing the Material View
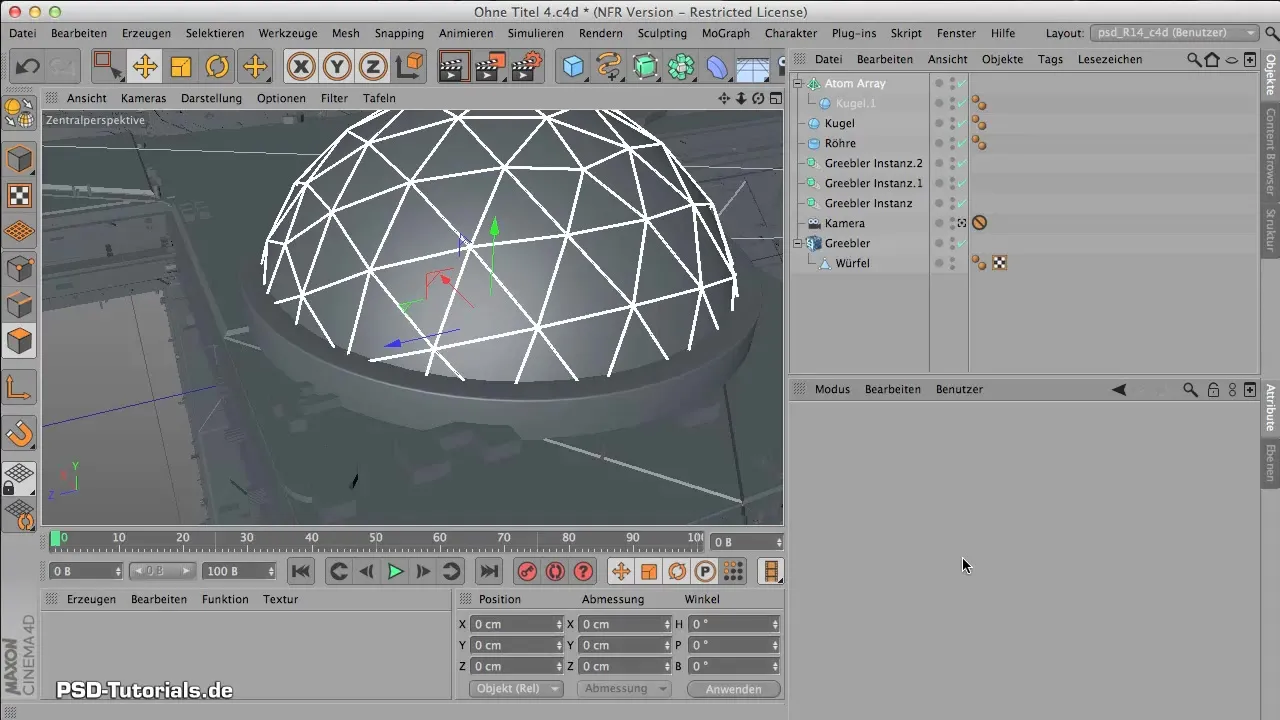
To start creating materials, you first need to switch to the material view. Double-click in the material manager for this.
Step 2: Setting the Background Material
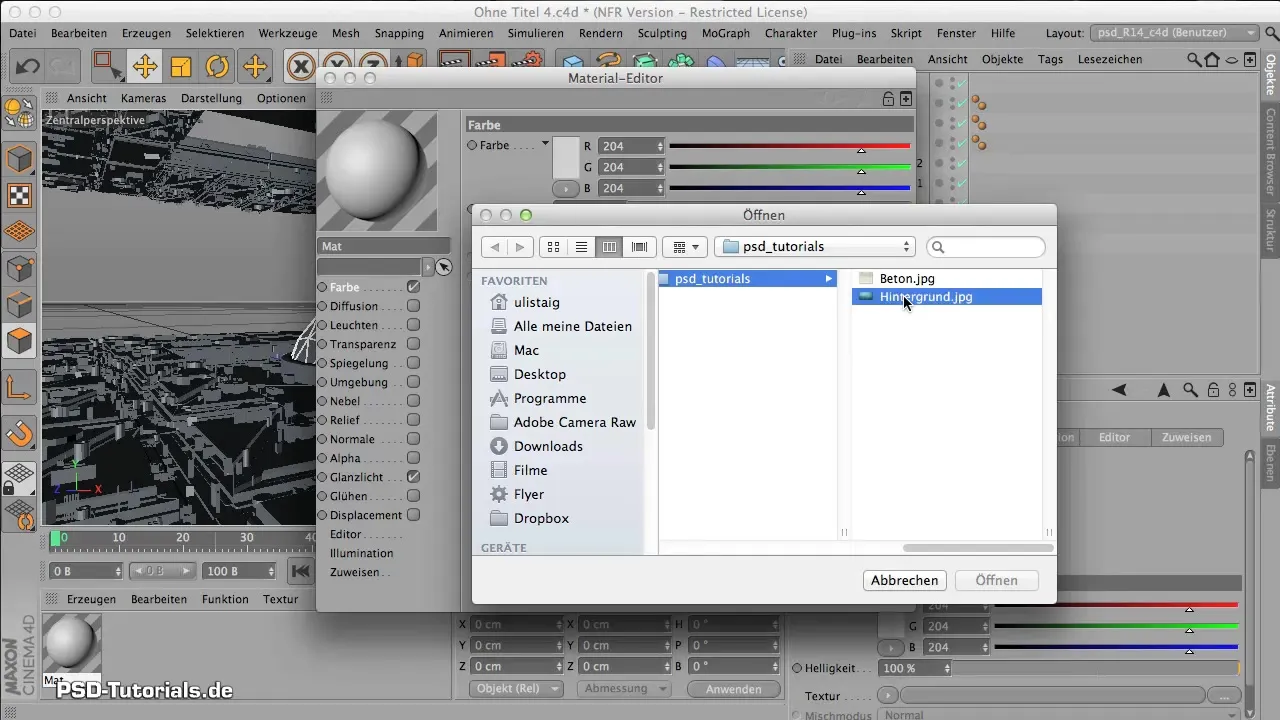
Start by selecting the background. Double-click the material again and load your desired background image. Make sure this image is transferred to the color channel. Cinema 4D will ask you if it should create a search path – click “Yes.” Then choose a simple textured image that is visually not too obtrusive.
Step 3: Background Setting
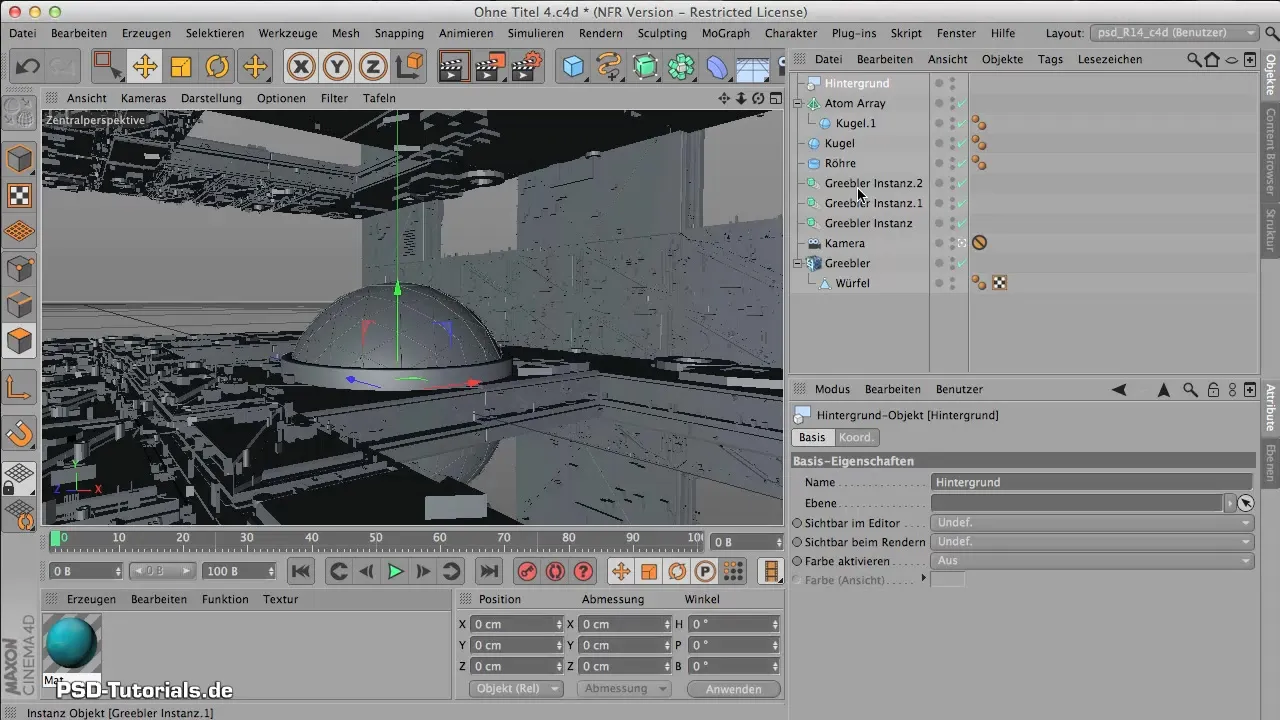
Select a so-called background object that is invisible when no material is applied to it. Position it so that it always remains in the background, regardless of the camera position.
Step 4: Creating Concrete Texture
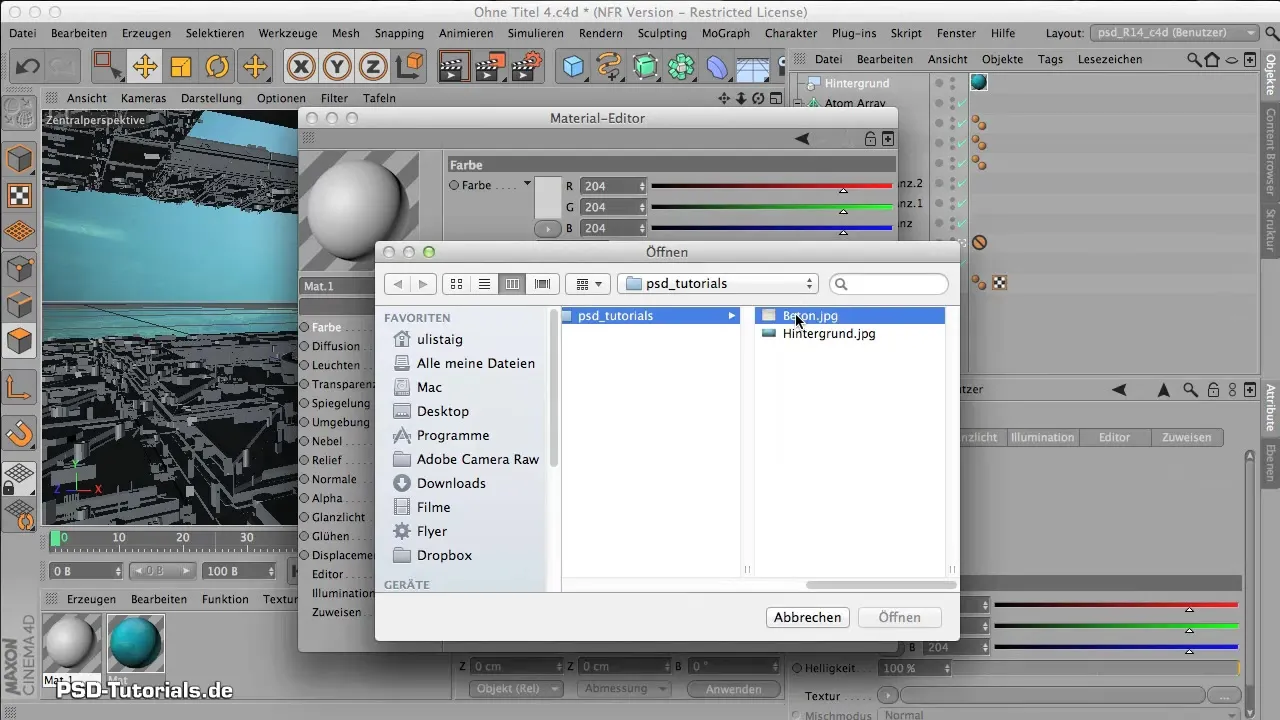
Now you come to the concrete material. Double-click again to create a new material. Load the “Concrete” file into the color channel and adjust the specular settings. First, you should make the specular narrower and reduce the size – concrete reflects slightly.
Step 5: Adjusting the Bump Map
Copy the image you loaded into the color channel and paste it into the bump map to give more texture. Experiment with the settings for the texture here. Test values between 20% and 2000% to see which result you like best.
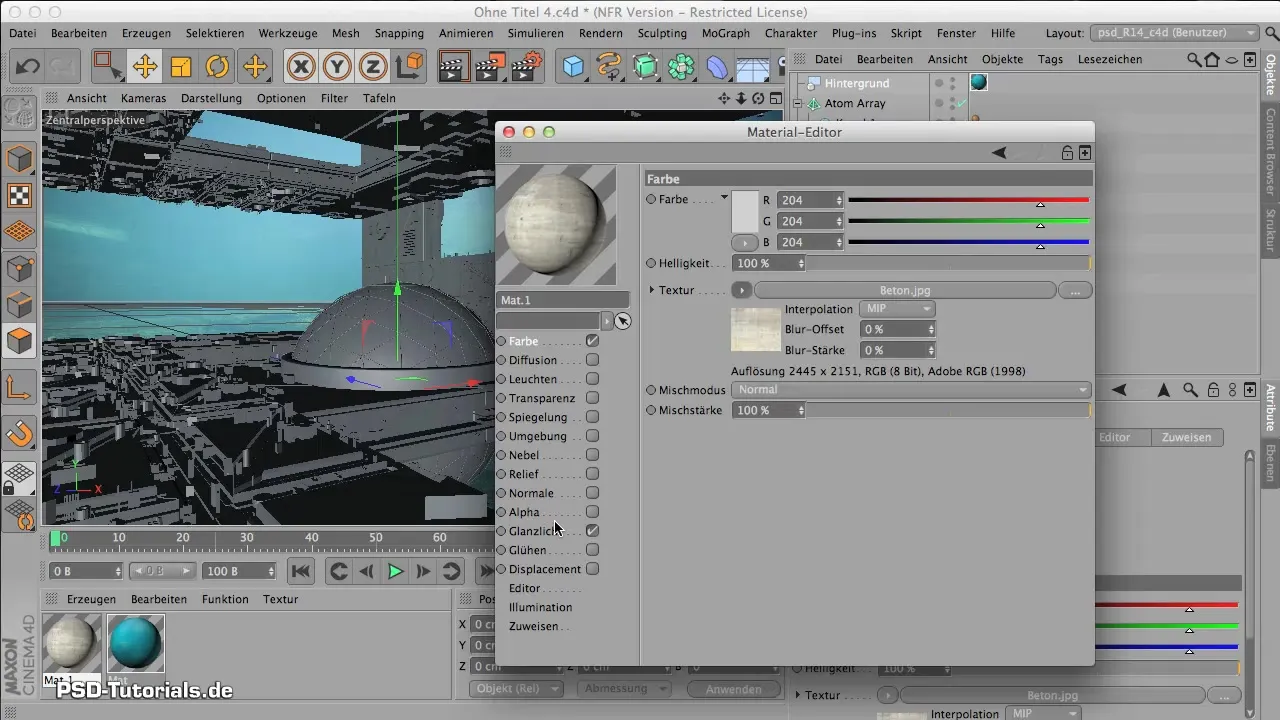
Step 6: Assigning the Material
Assign the concrete material to all parts of your model that are supposed to reflect the material. This is crucial because render instances automatically inherit everything the parent object does.
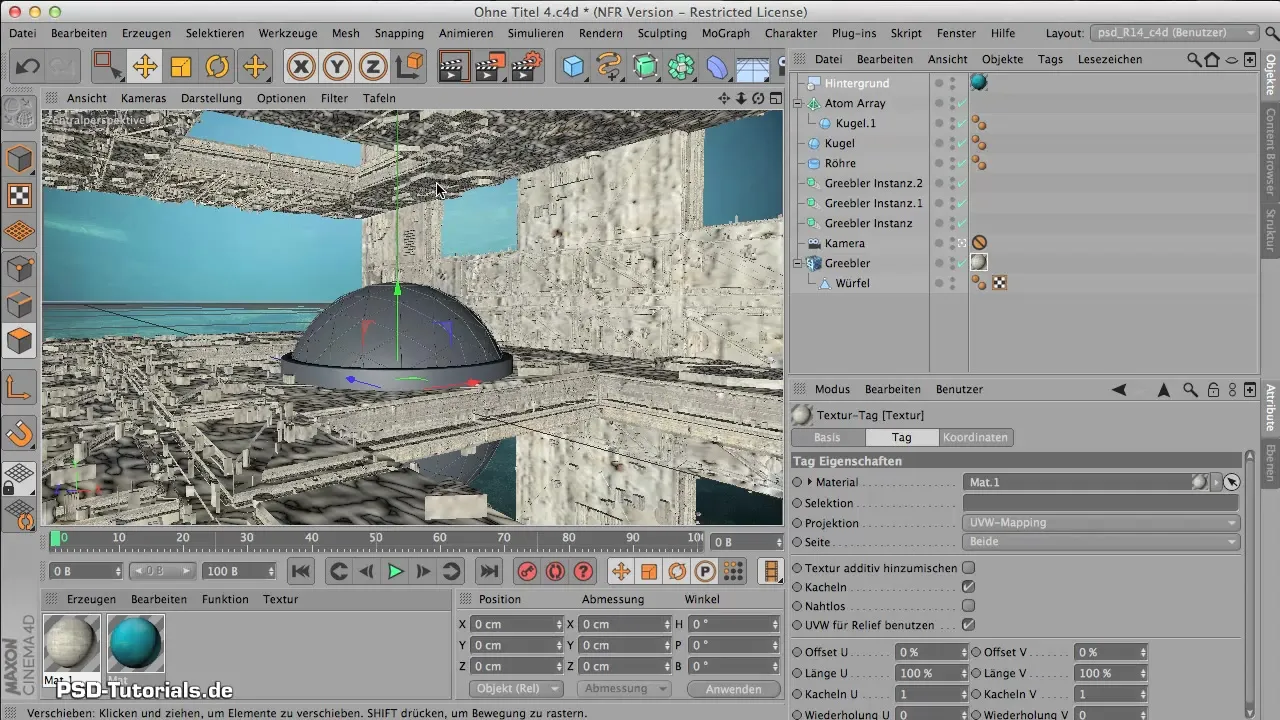
Step 7: Adjusting Mapping
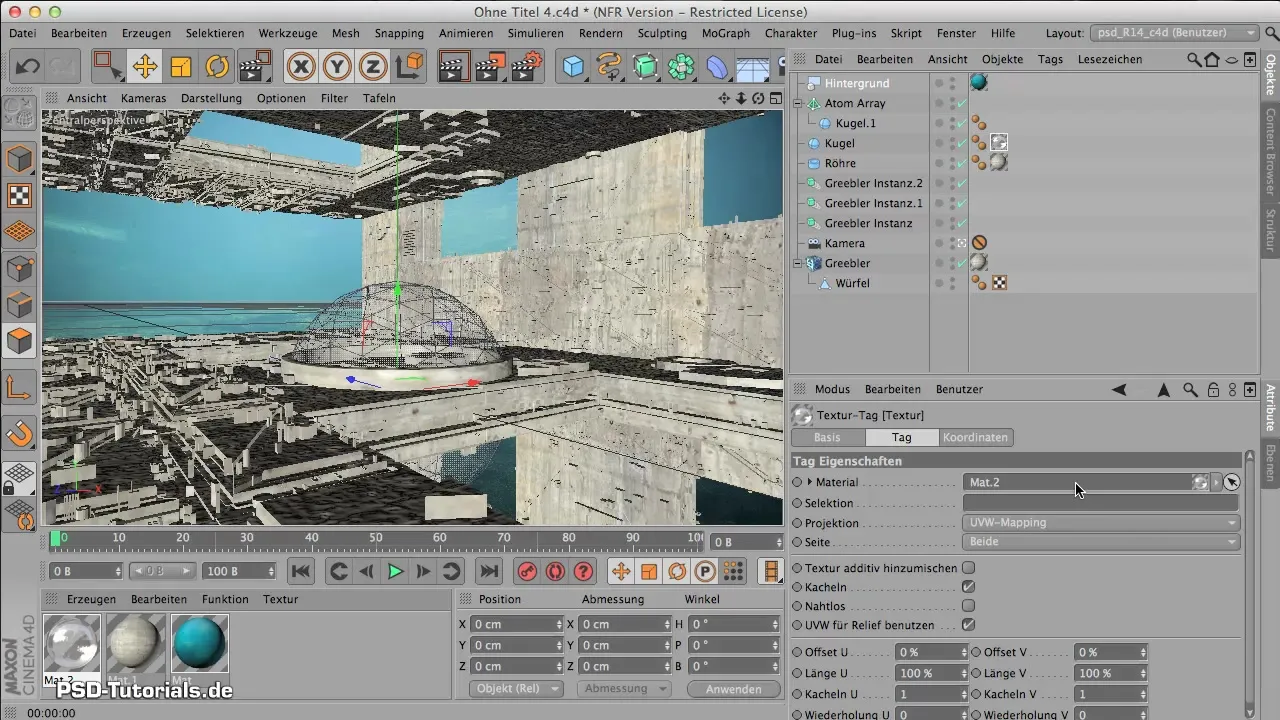
Now go to the mapping settings and change the mapping type from UVW to cubic mapping for the walls. This will ensure that the textures are applied more evenly and realistically.
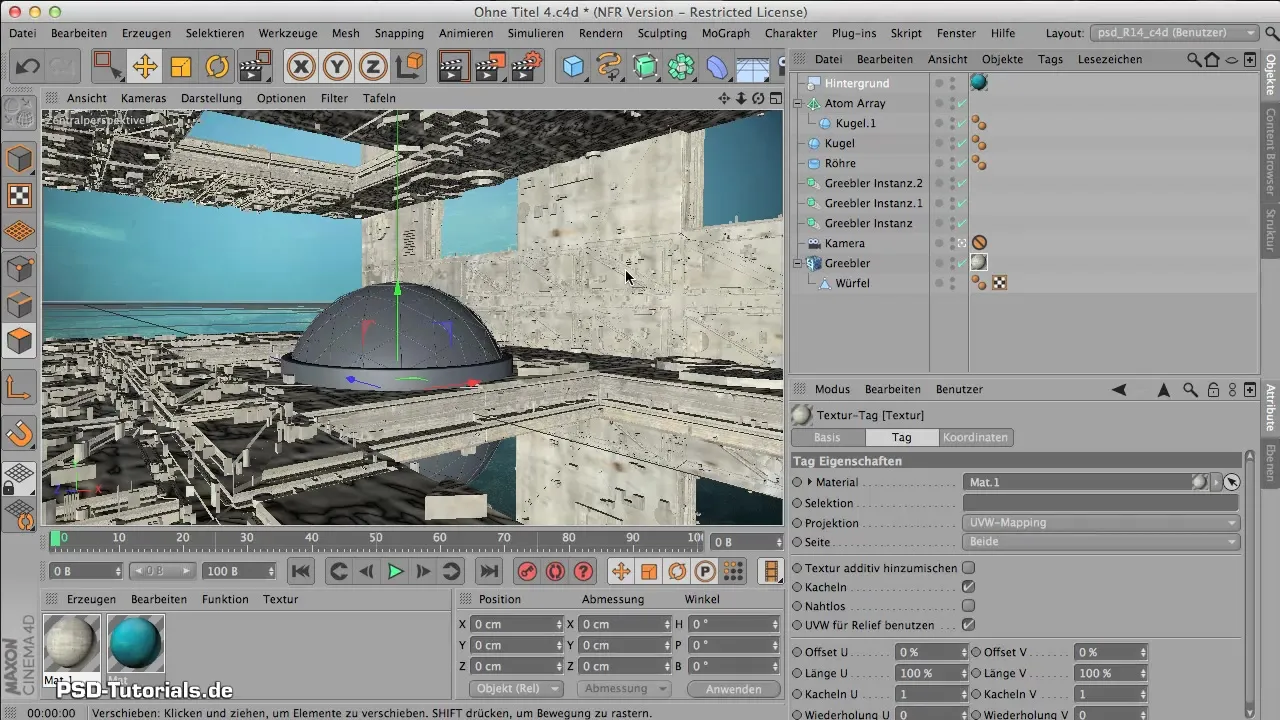
Step 8: Cylinder Mapping for Other Objects
For cylindrical objects, choose cylinder mapping. This will enclose the material and make it look better.
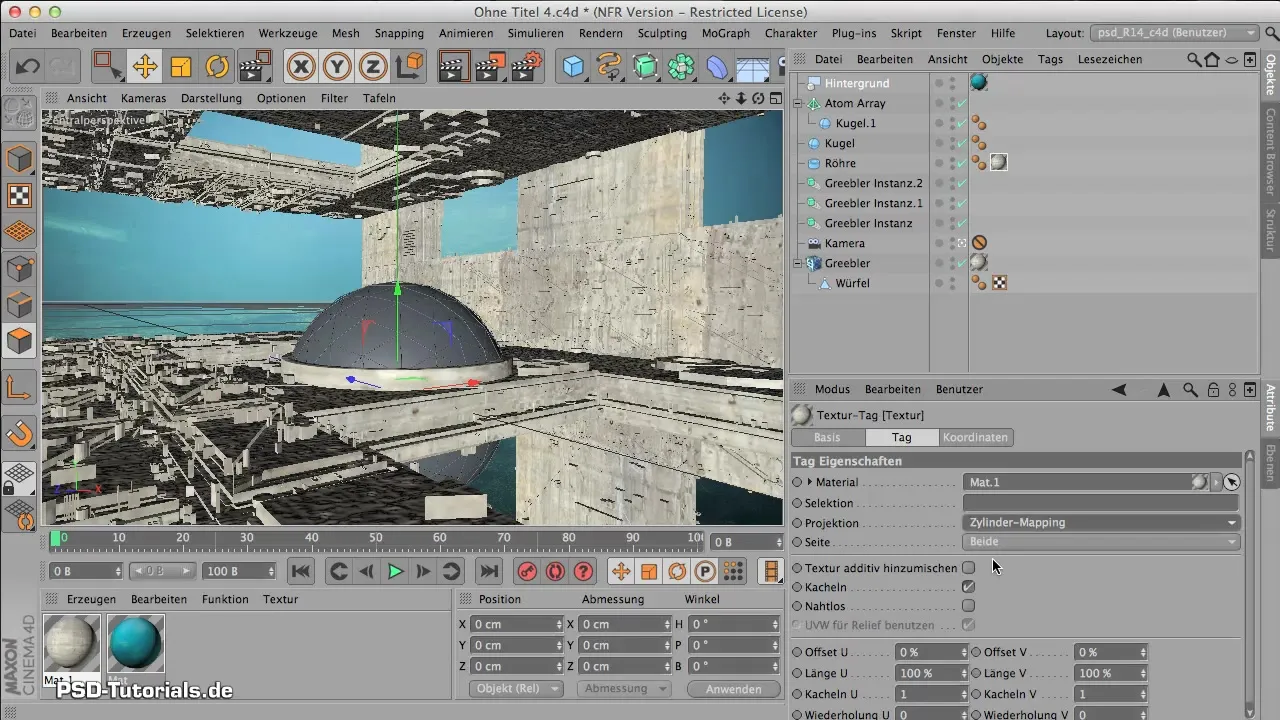
Step 9: Creating a Glass Sphere
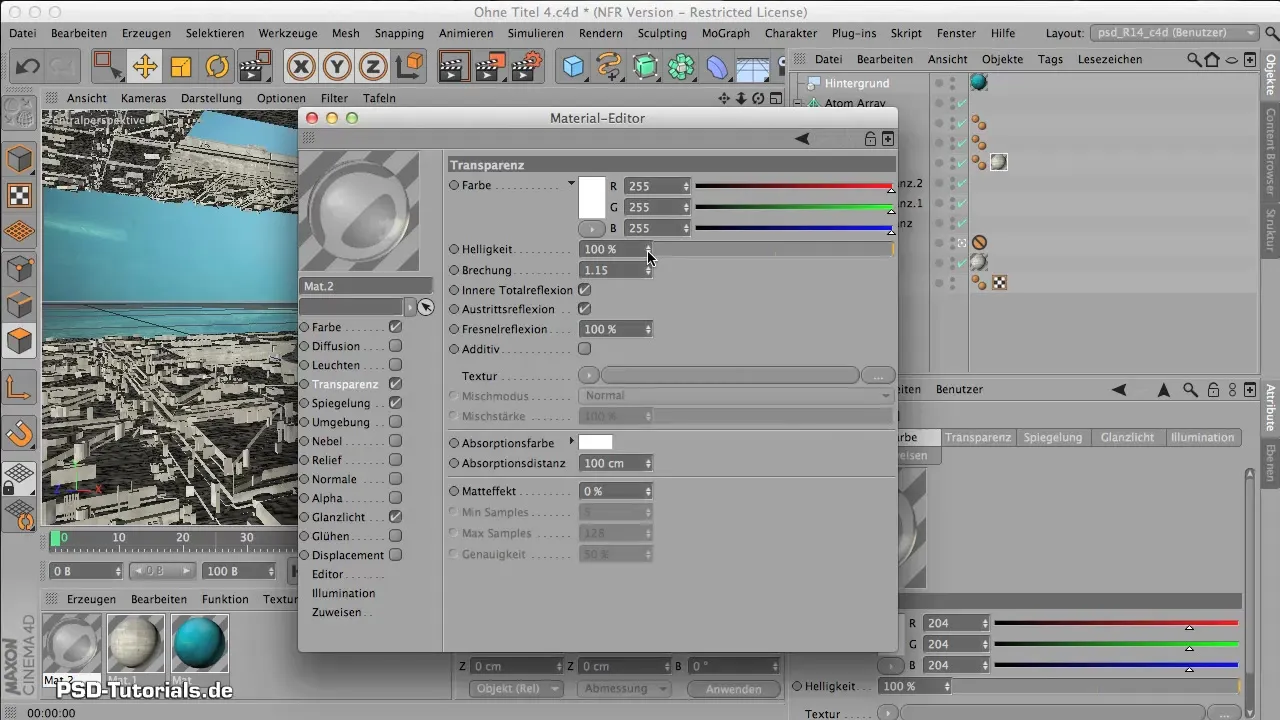
The last material you create is for the glass sphere. In Cinema 4D, you can do this easily by increasing the transparency and setting the refraction index to 1.15. Be sure to set a reflection here as well. Lower the transparency to 97% so that the reflection stands out well.
Step 10: Finally, Check All Material Adjustments
After creating all materials, you can perform a test render. This helps you evaluate the quality of the textures and materials and make fine adjustments if necessary.
Summary - Creative Workshop: Creating Materials
In this workshop, you learned the basic steps to create and adjust materials in your 3D project. The importance of a well-thought-out background, as well as specific adjustments for different types of materials, are crucial for a realistic result.
Frequently Asked Questions
How do I load an image as a material in Cinema 4D?You can load an image through the color channel in the material manager. Just double-click on the material and select the image.
How do I find the right settings for concrete materials?Test various specular settings and bump values to simulate the perfect rough surface.
What should I do if the reflection doesn’t look right?Make sure to set the transparency of the materials correctly and adjust the refraction index if necessary.
How can I switch mapping methods?You can change the mapping method in the material manager under the mapping type settings and try out different options.


