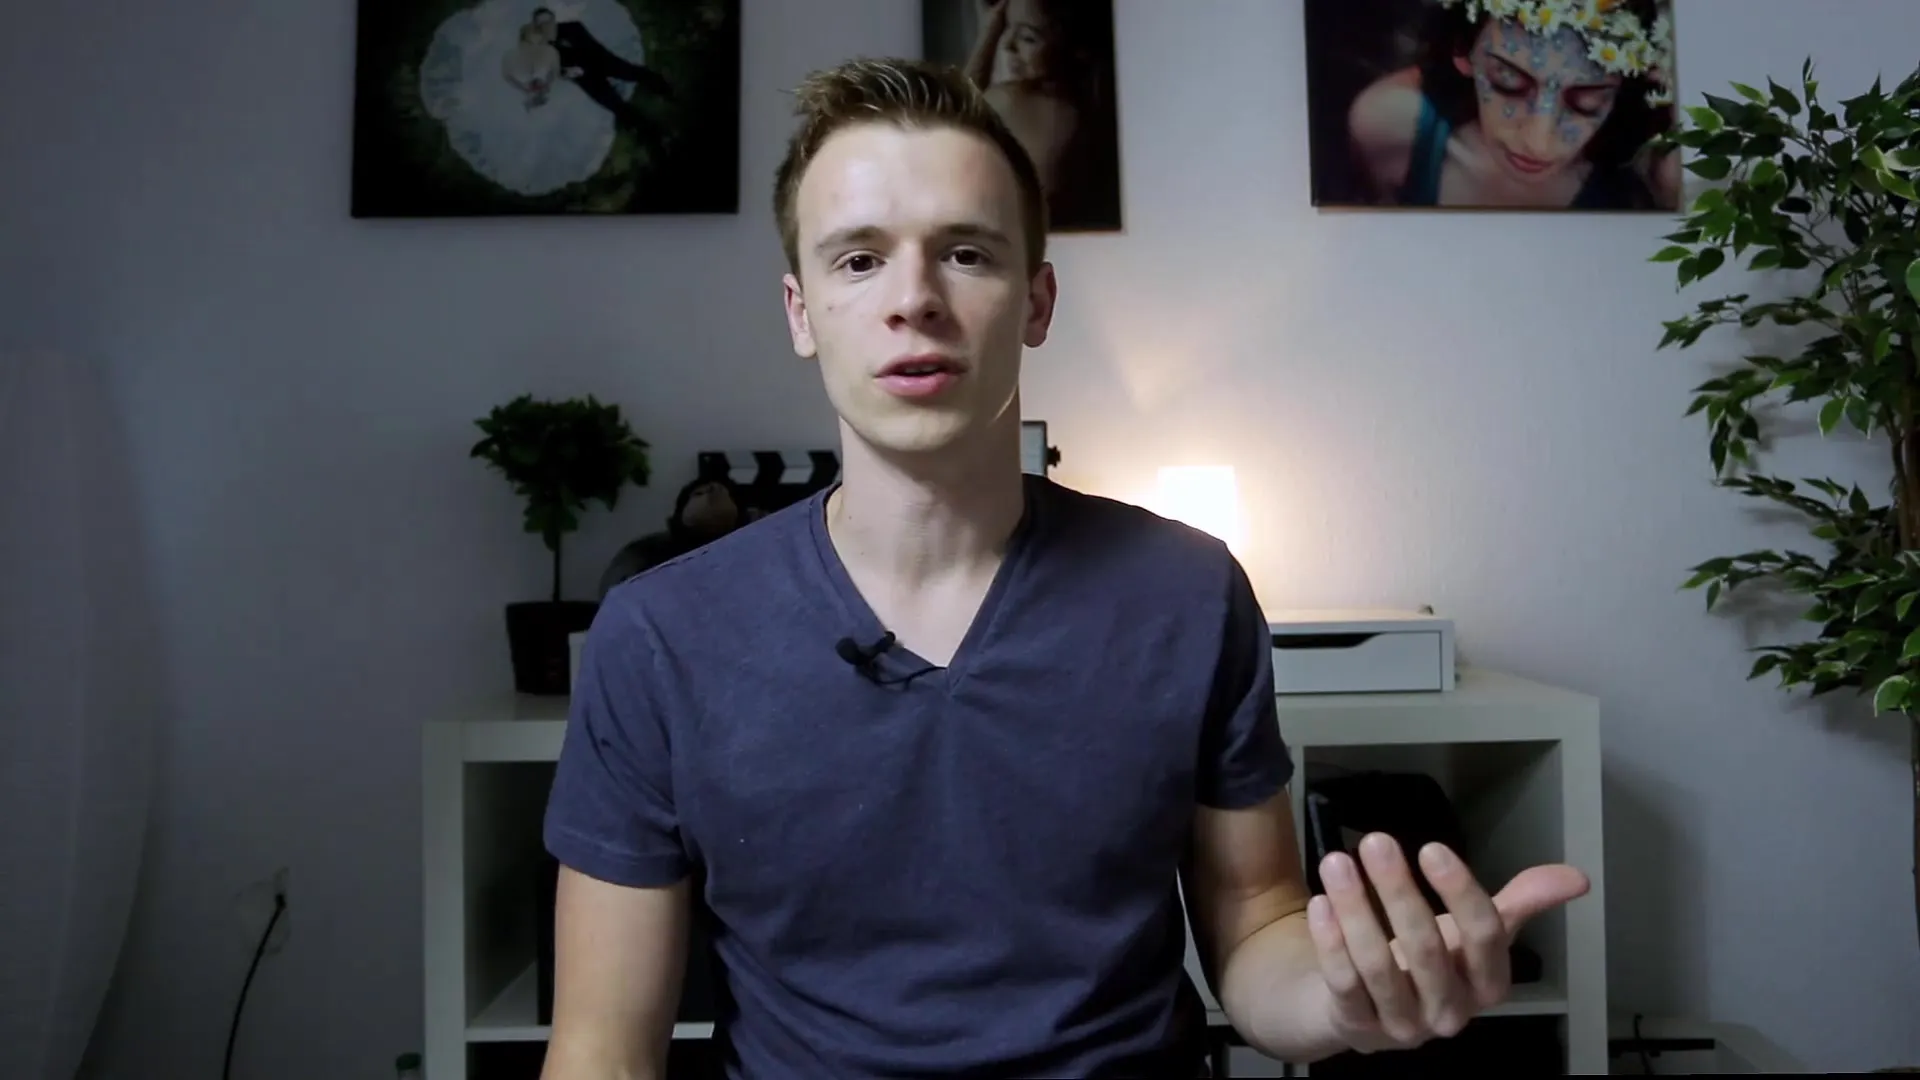
Light is the heart of videography. Without the right light, even the best setup won't come into its own. In this tutorial, we'll take a deep dive into the three-point light setup - a tried and tested technique often used in the film industry. Here I'll show you not only how to do it right, but also why this lighting setup is so effective in making your video look professional.
Key findings
- The main light illuminates the scenery and the subject.
- The fill light ensures that shadows are filled in harmoniously without outshining them.
- The background light sets the subject apart from the background and creates depth.
- Colored light sources in the background can significantly improve the atmosphere of your video.
Step-by-step guide
Step 1: Position the main light
The heart of your lighting setup is the main light (key light). Its task is to illuminate your subject properly. Position the key light slightly offset, usually from the side, to make structures visible on the face. Make sure that it is not directly frontal so that it creates a natural lighting effect.
Use a light source that is bright enough, but not so strong that it can cause Blender. A soft light is often the best choice to bring out the facial features to advantage.
Step 2: Add fill light
To reduce the dark shadows created by the main light, bring a fill light into play. This light should be weaker than the main light and positioned at an angle of around 90 degrees to the first light source.

The purpose of the fill light is to soften shadows without removing the strong contrast of the main light. It is important that you make sure that the brightness of the fill light does not become too dominant and destroy the natural light distribution.
Step 3: Adding the background light
The third light in this setup is the backlight. It should ensure that your subject stands out from the background. A clear edge of light along the contours of your subject gives the image more depth and three-dimensionality.
Place the backlight behind you so that it shines at an angle to you and the camera. The light should not be directly visible, but only appear as an outline in the picture. This creates a nice separation between you and the background.
Step 4: Test and adjust the effect
Now that all three light sources are set up, test the effect of the lights by switching the main light and the fill light on and off one after the other. Pay attention to how the lighting conditions change and how the picture looks.
Here you can adjust the intensity of the fill light to find the right balance between light and shadow. Experiment with the positions of the lights to achieve the best possible effect.
Step 5: Additional light sources for atmosphere
If you wish, you can add a fourth light source to create a cozy atmosphere. Colored lights positioned in the background are suitable here and add a warm, inviting tone.
Such lights bring a pleasant mood to your video material and can enhance the emotional content of the scene. Keep in mind that the color temperature and intensity of these light sources play a role in this.
Summary - Lighting setup for your videos: The art of three-point lighting
With these simple steps, you have learned the basics for an effective three-point light setup in your videography. The main light provides the right illumination, the fill light brings balance and the background light creates depth. Use the tips and experiment with different lights to give your video the professional look you want.
Frequently asked questions
How many light sources do I need for the three-point light setup?You need at least three light sources: Main light, fill light and background light.
Can I leave out the fill light?Technically this is possible, but it can make the shadows appear too harsh. The fill light provides a more harmonious illumination.
What can the background light achieve?the background light makes the subject stand out from the background and creates more depth in the picture.
Can I also use colored light?Yes, colored lights can create a pleasant atmosphere and add charm to your video.
How important is the positioning of the lights?The positioning is crucial for the overall lighting setup. Experiment with different positions to achieve the best effect.


