Do you want to use your phone for video production without having to invest in expensive equipment? With the AdobeRushapp, you can create impressive videoseasilyand effectively. In this guide, you will learn how to maximize the capabilities of Adobe Rush to elevate your smartphone videos to the next level.
Key Insights
- Adobe Rush allows you to film and edit videos directly on your smartphone.
- By manually adjusting exposure, ISO, and white balance, you can significantly improve image quality.
- The program offers a user-friendly interface, ideal for beginners and advanced users.
- You can record your videos in high quality, with the rear camera often providing better options.
Step-by-Step Guide
1. Setting up your environment
Start by setting up your recording situation optimally. Make sure you are filming in a well-lit room. Natural light is often best. Ensure that your smartphone is securely mounted on a tripod. This will help you avoid shaky footage.
2. Selecting camera settings
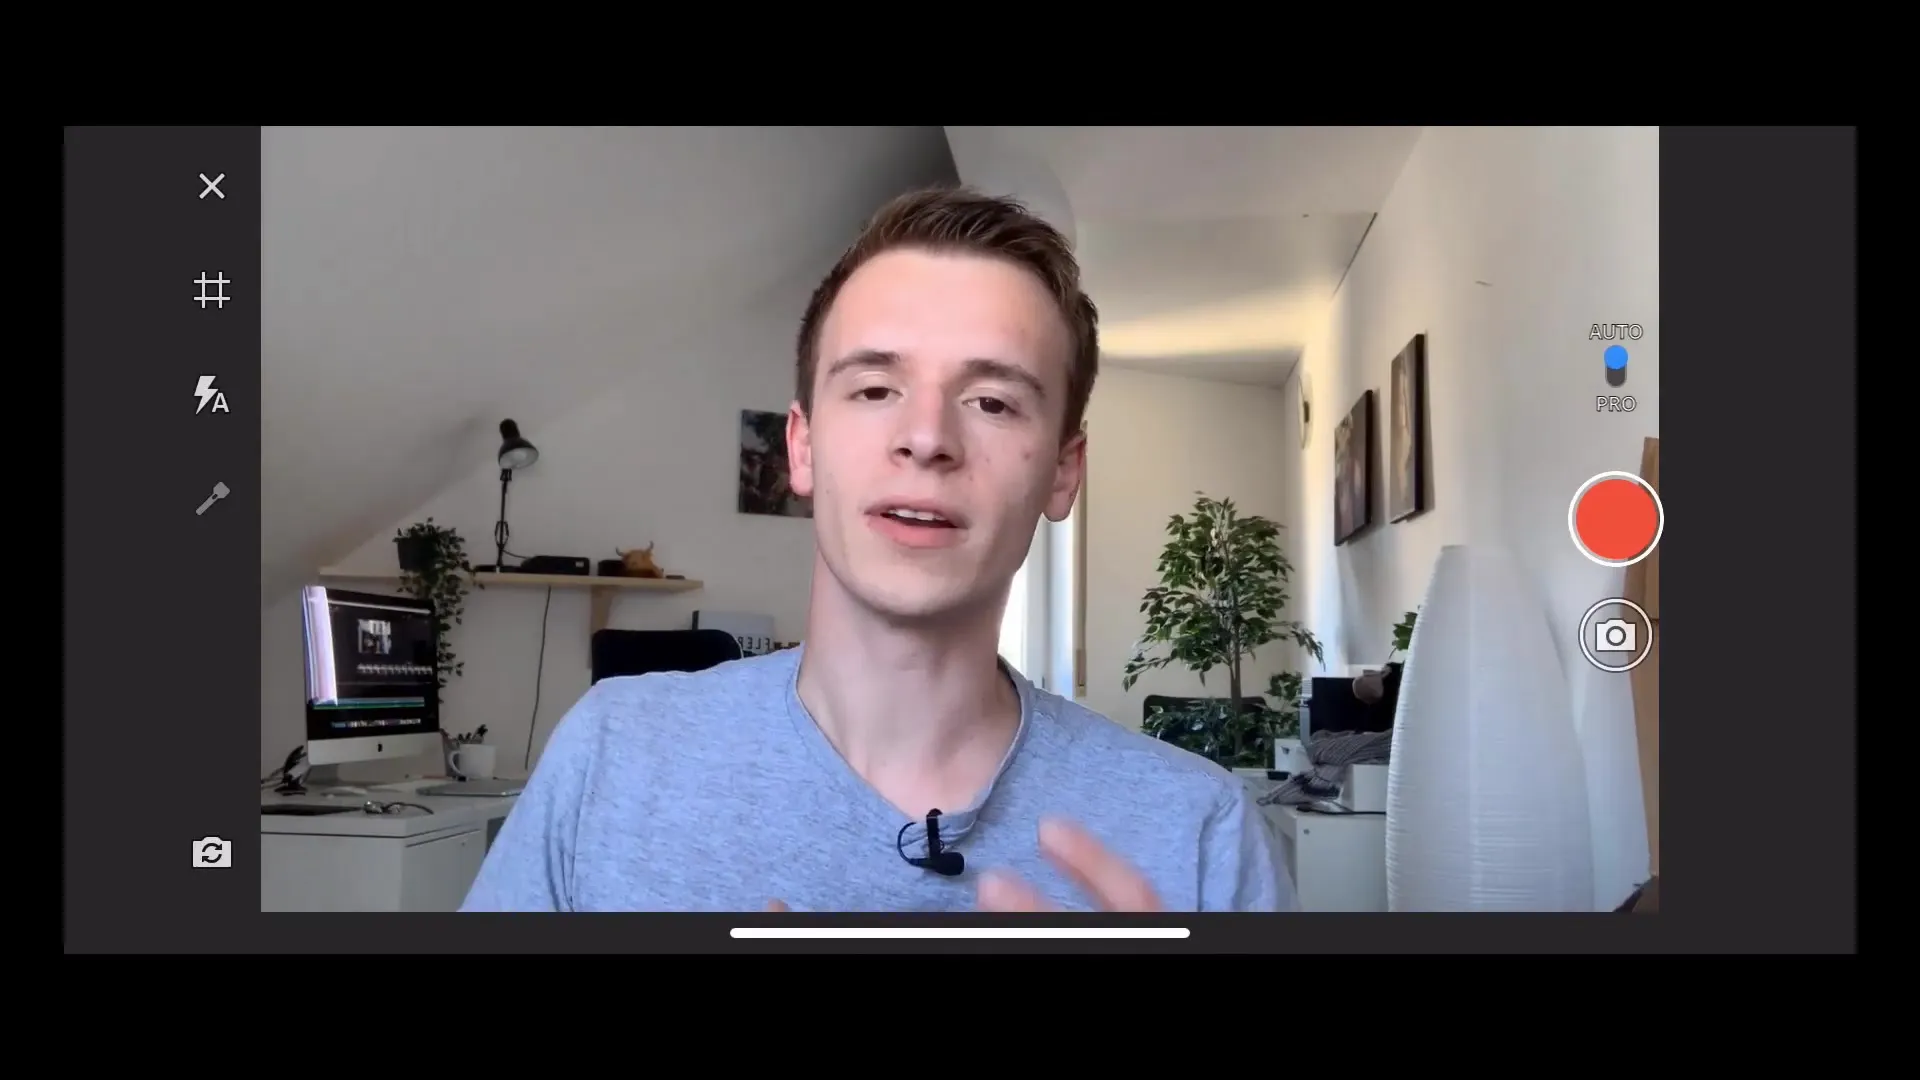
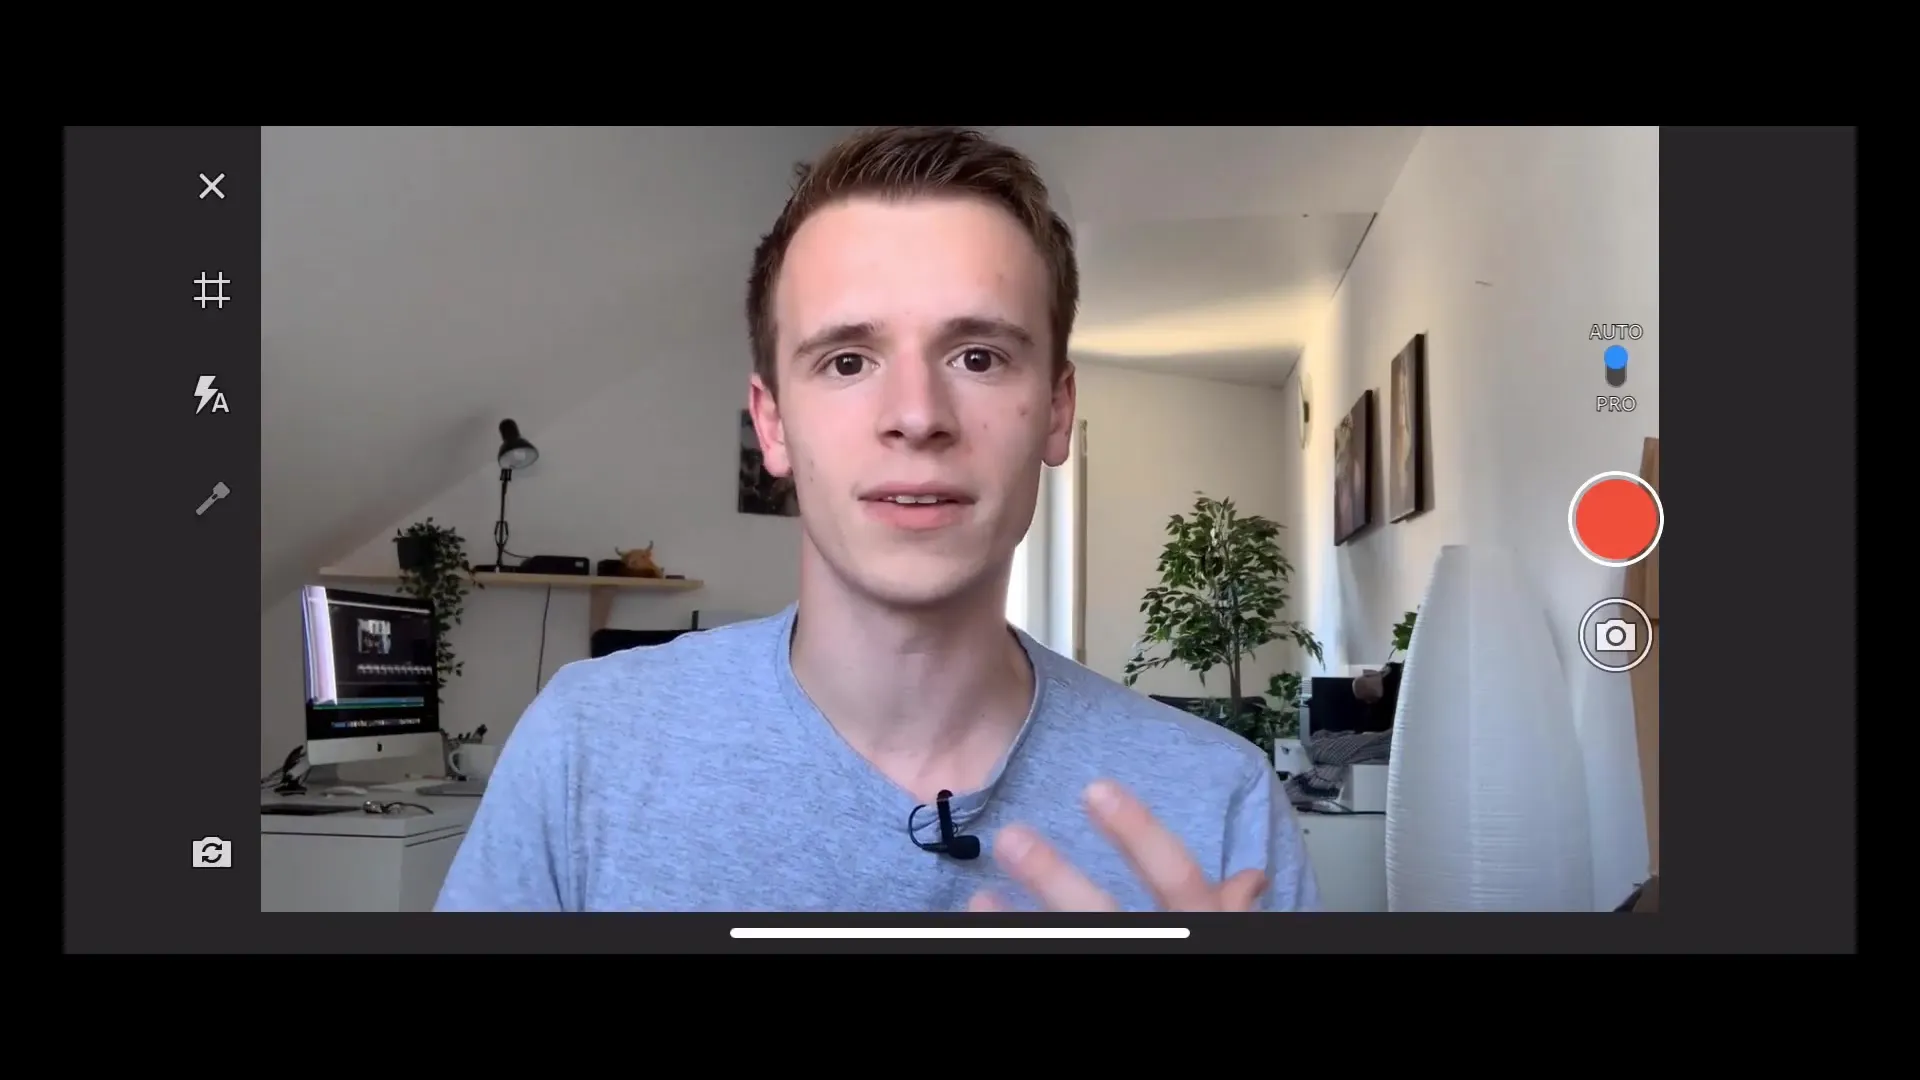
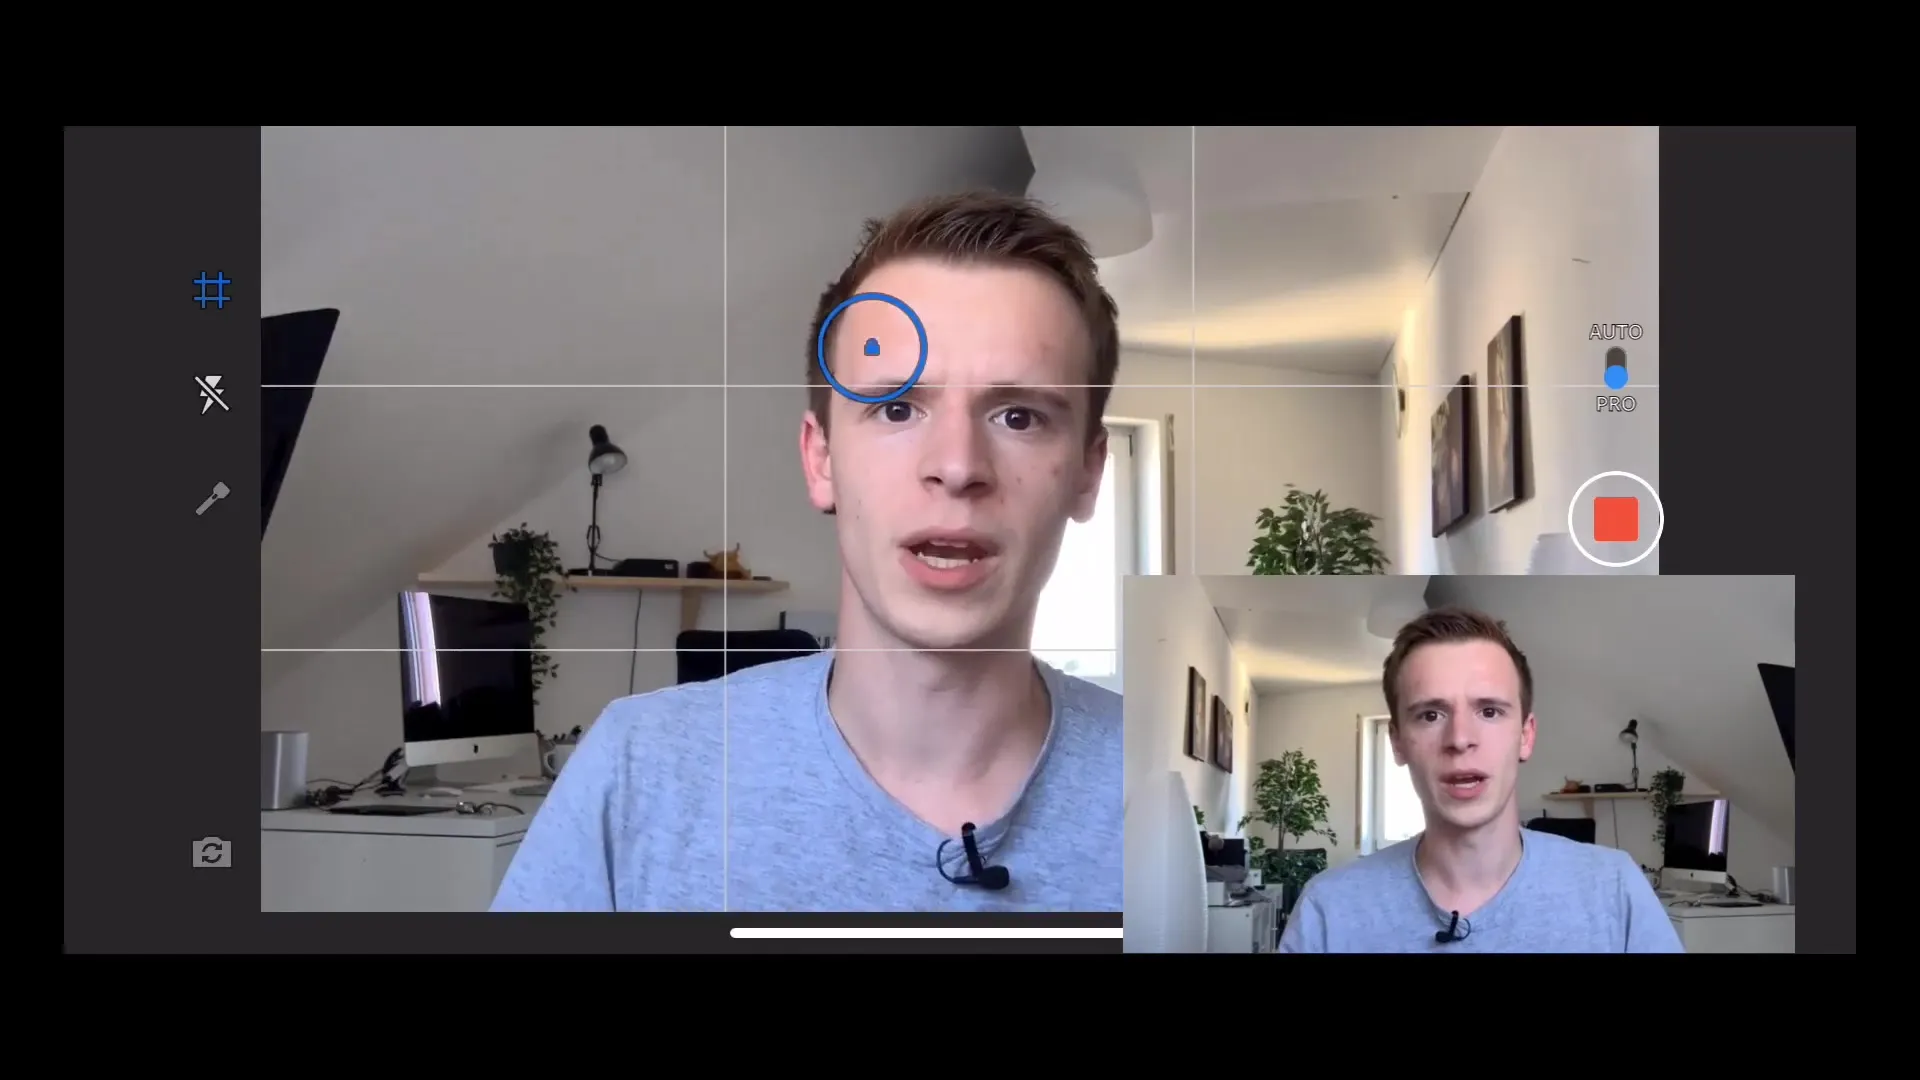
Open Adobe Rush and select the camera function. Set the focus on your subject. Simply tap your screen where you want to adjust focus and exposure. This ensures that your image has the right sharpness.
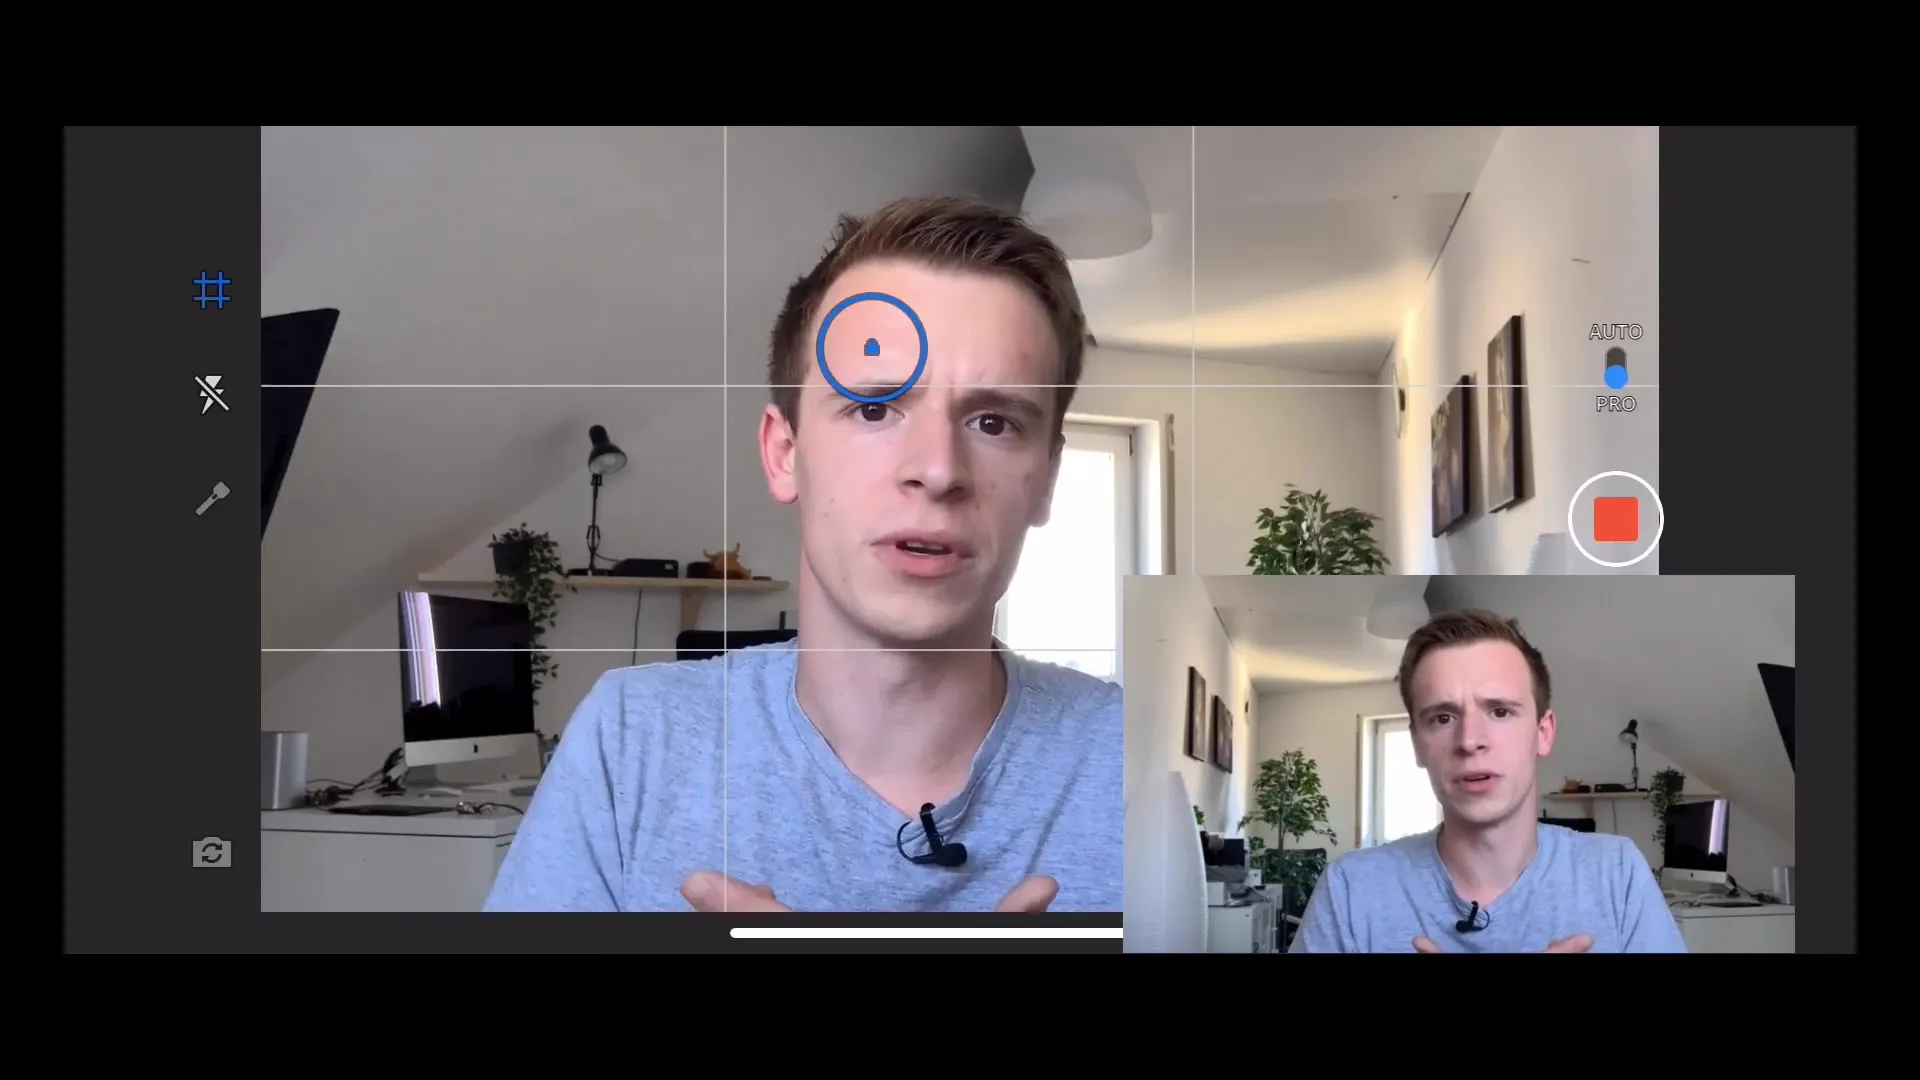
3. Activating grid lines
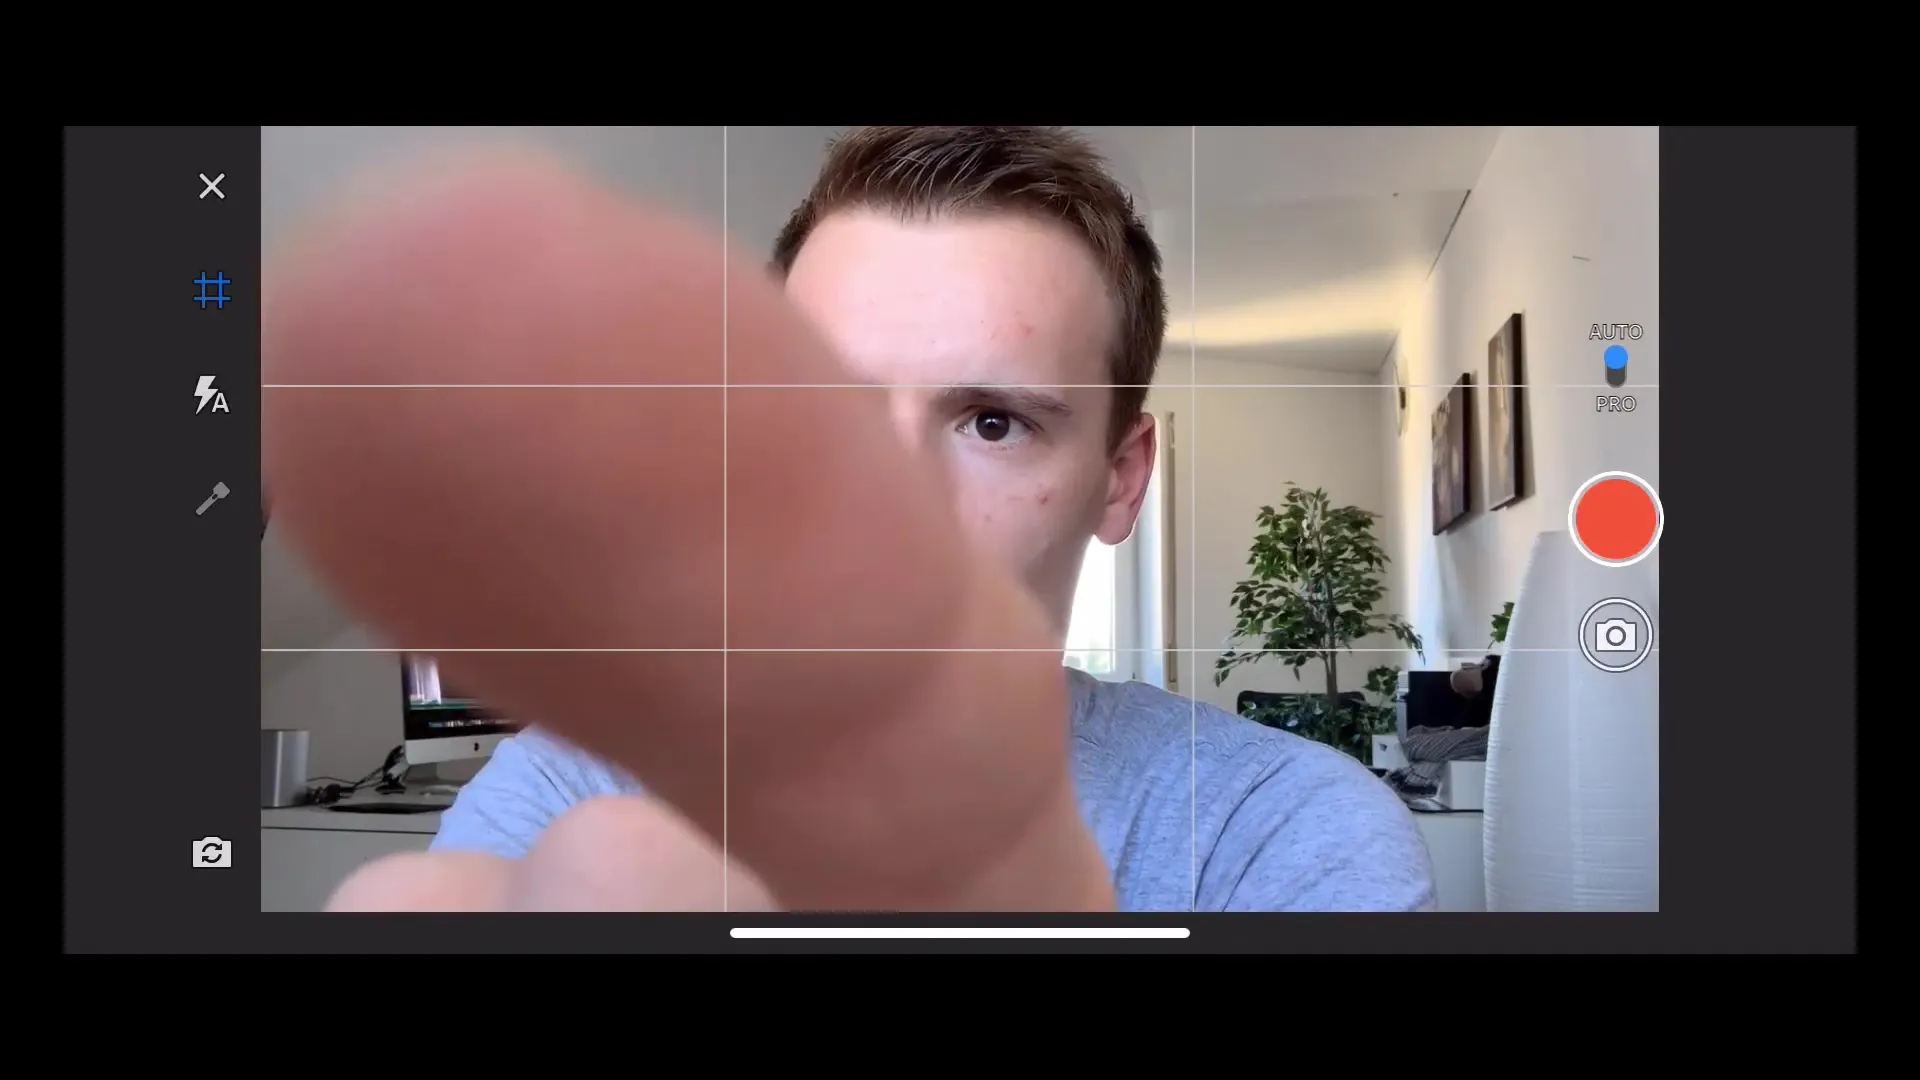
To improve image composition, enable grid lines. This helps you create a harmonious image by positioning key elements according to the rule of thirds.
4. Making manual exposure adjustments
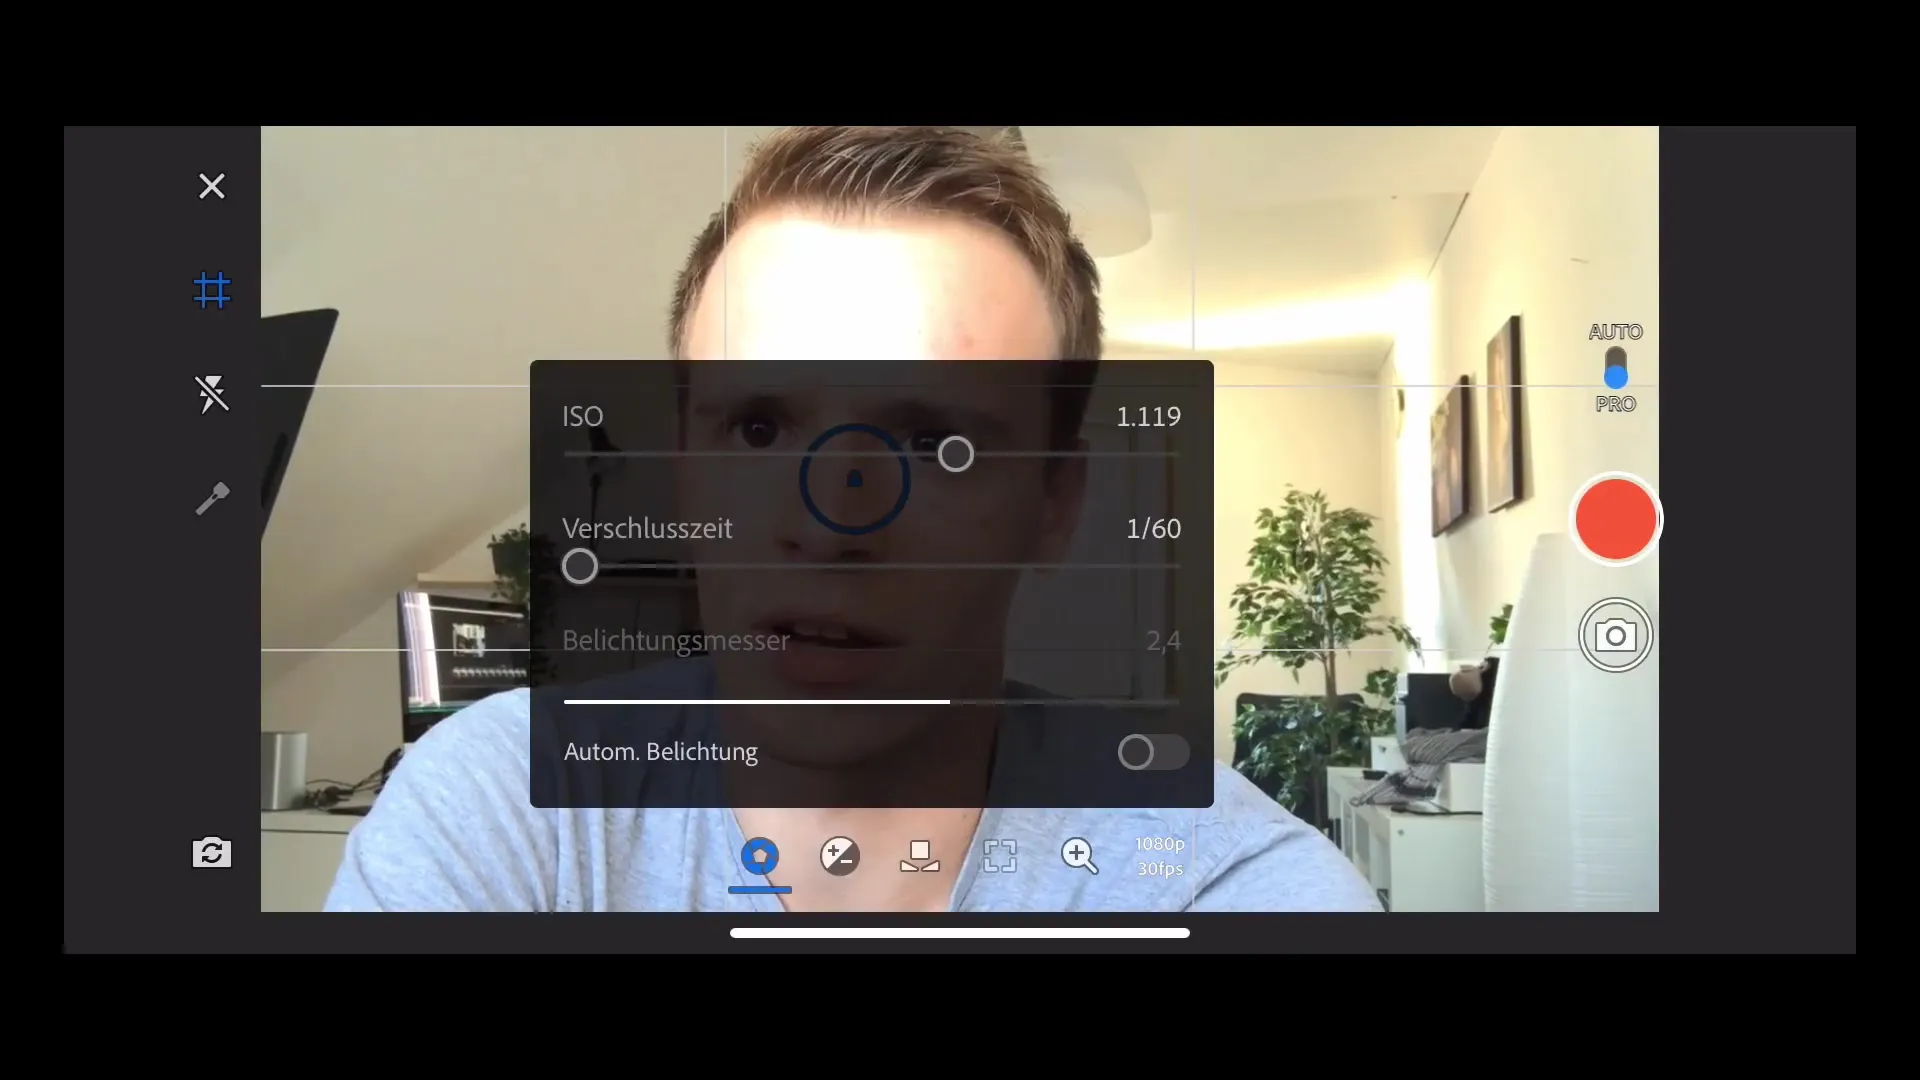
Go to the exposure settings in Adobe Rush. You can now turn off the automatic exposure to make manual adjustments. The ISO value affects the brightness of the image – the higher the value, the brighter the image. Be careful not to go too extreme to avoid image noise.
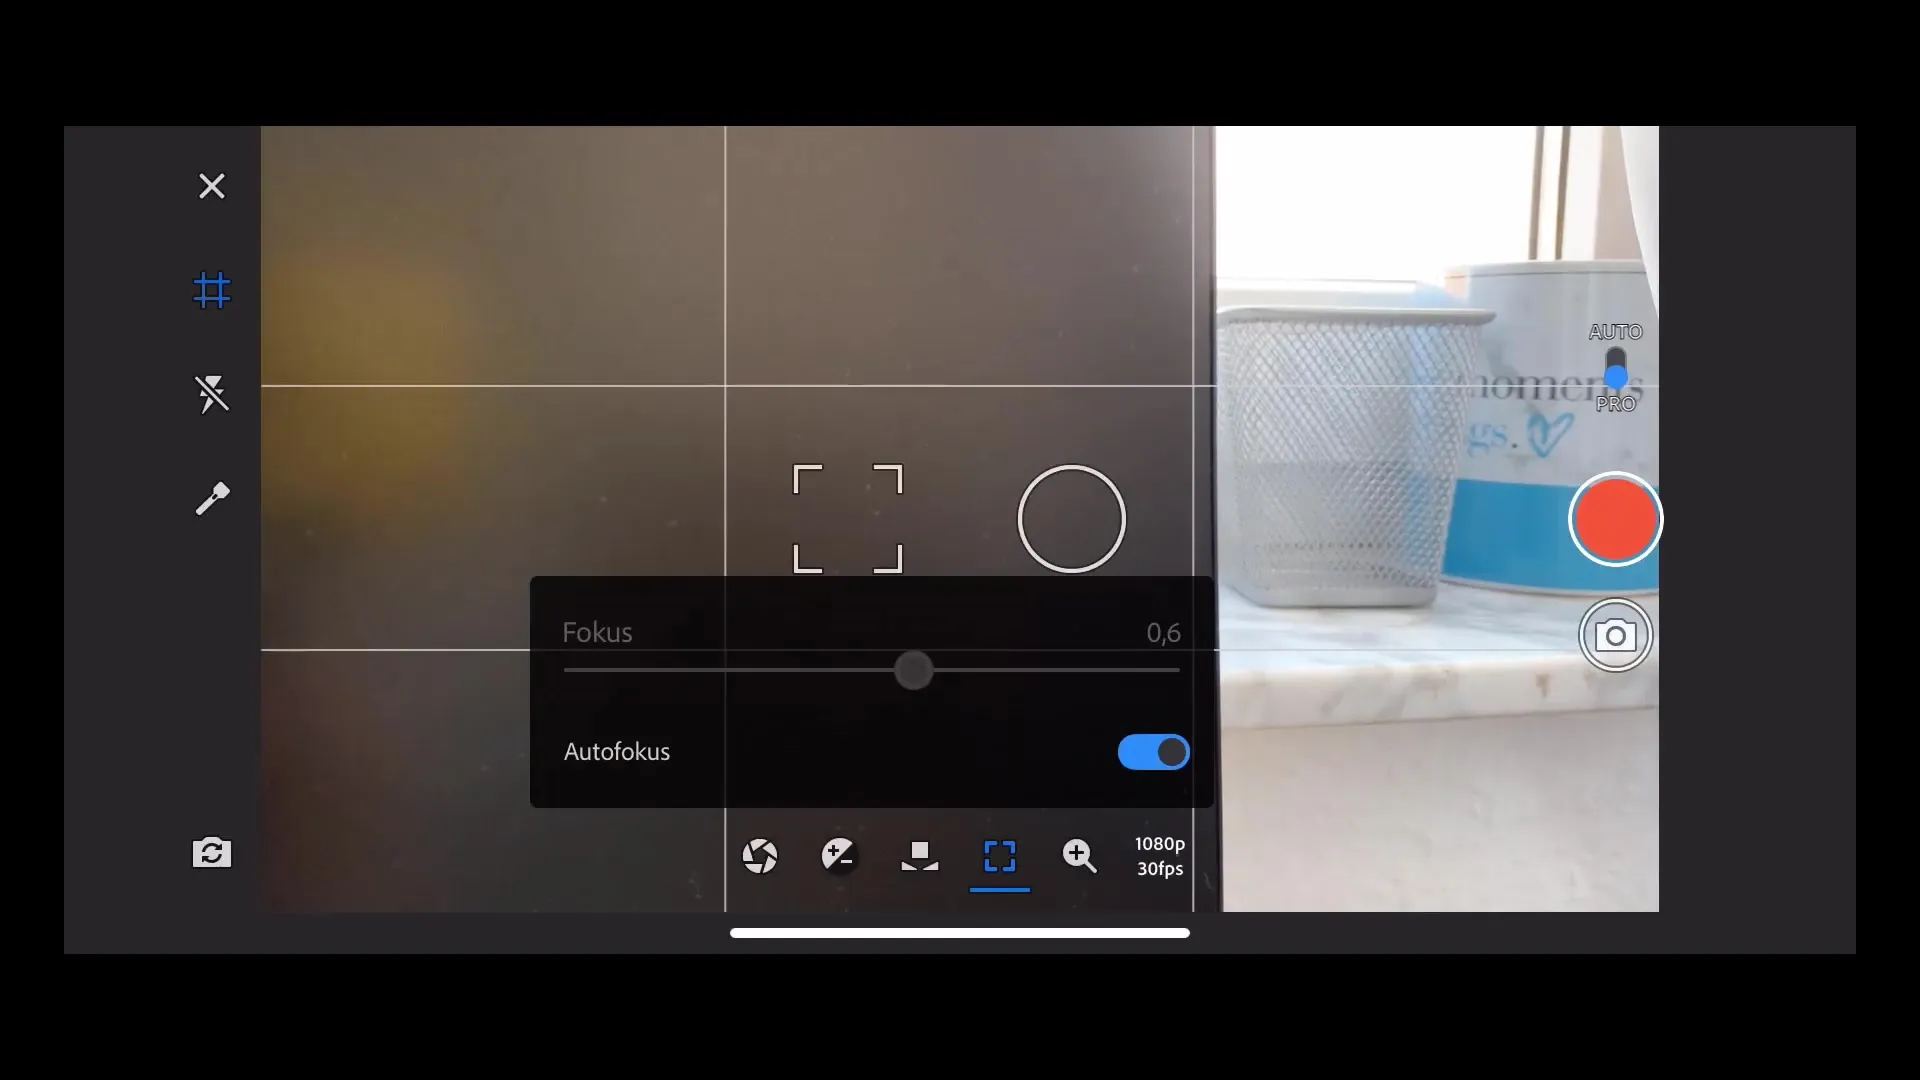
5. Adjusting focus
To manually adjust the focus, tap on the focus slider. This allows you to concentrate sharpness on a specific part of the image. Simply tap the subject that you want to have in focus.
6. Setting white balance
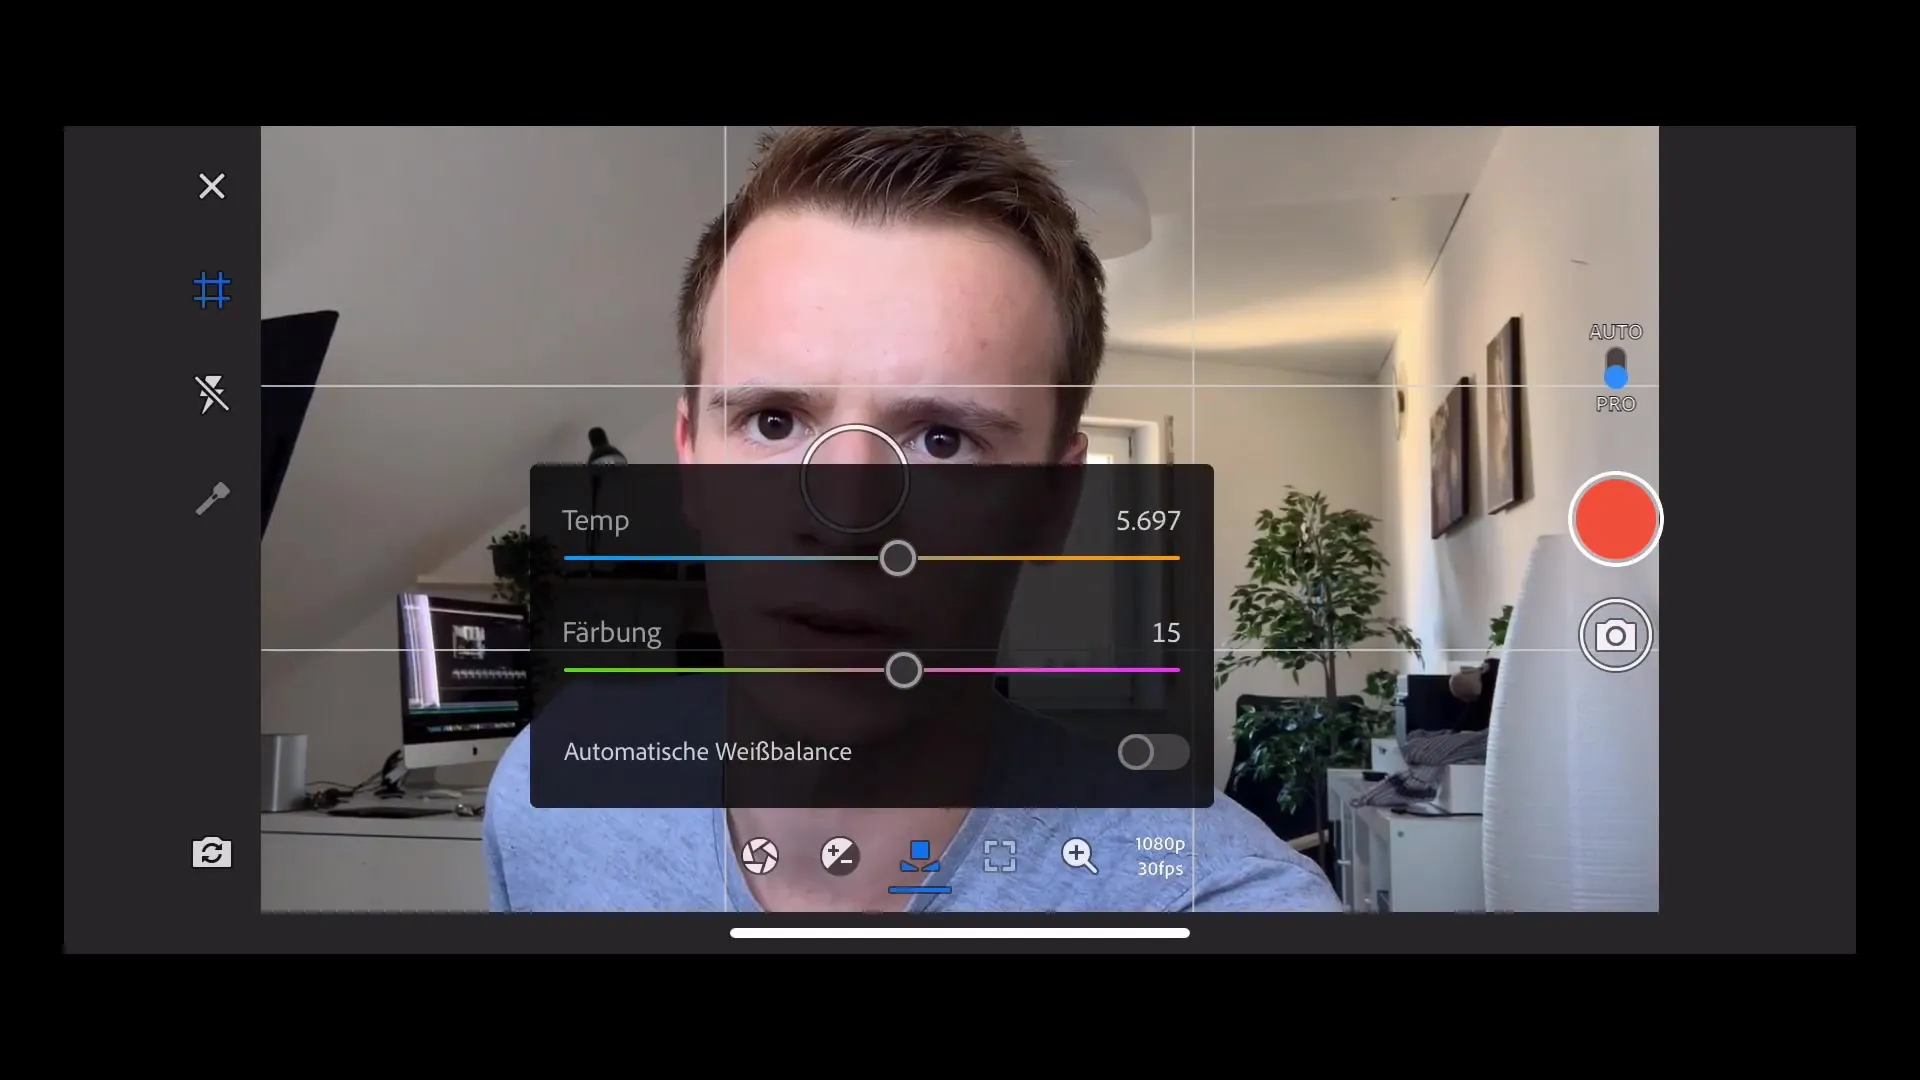
Setting the white balance is important for accurate color representation. You can either use the automatic function or adjust it manually. In daylight, a value around 5500 Kelvin is recommended for a natural look.
7. Recording video
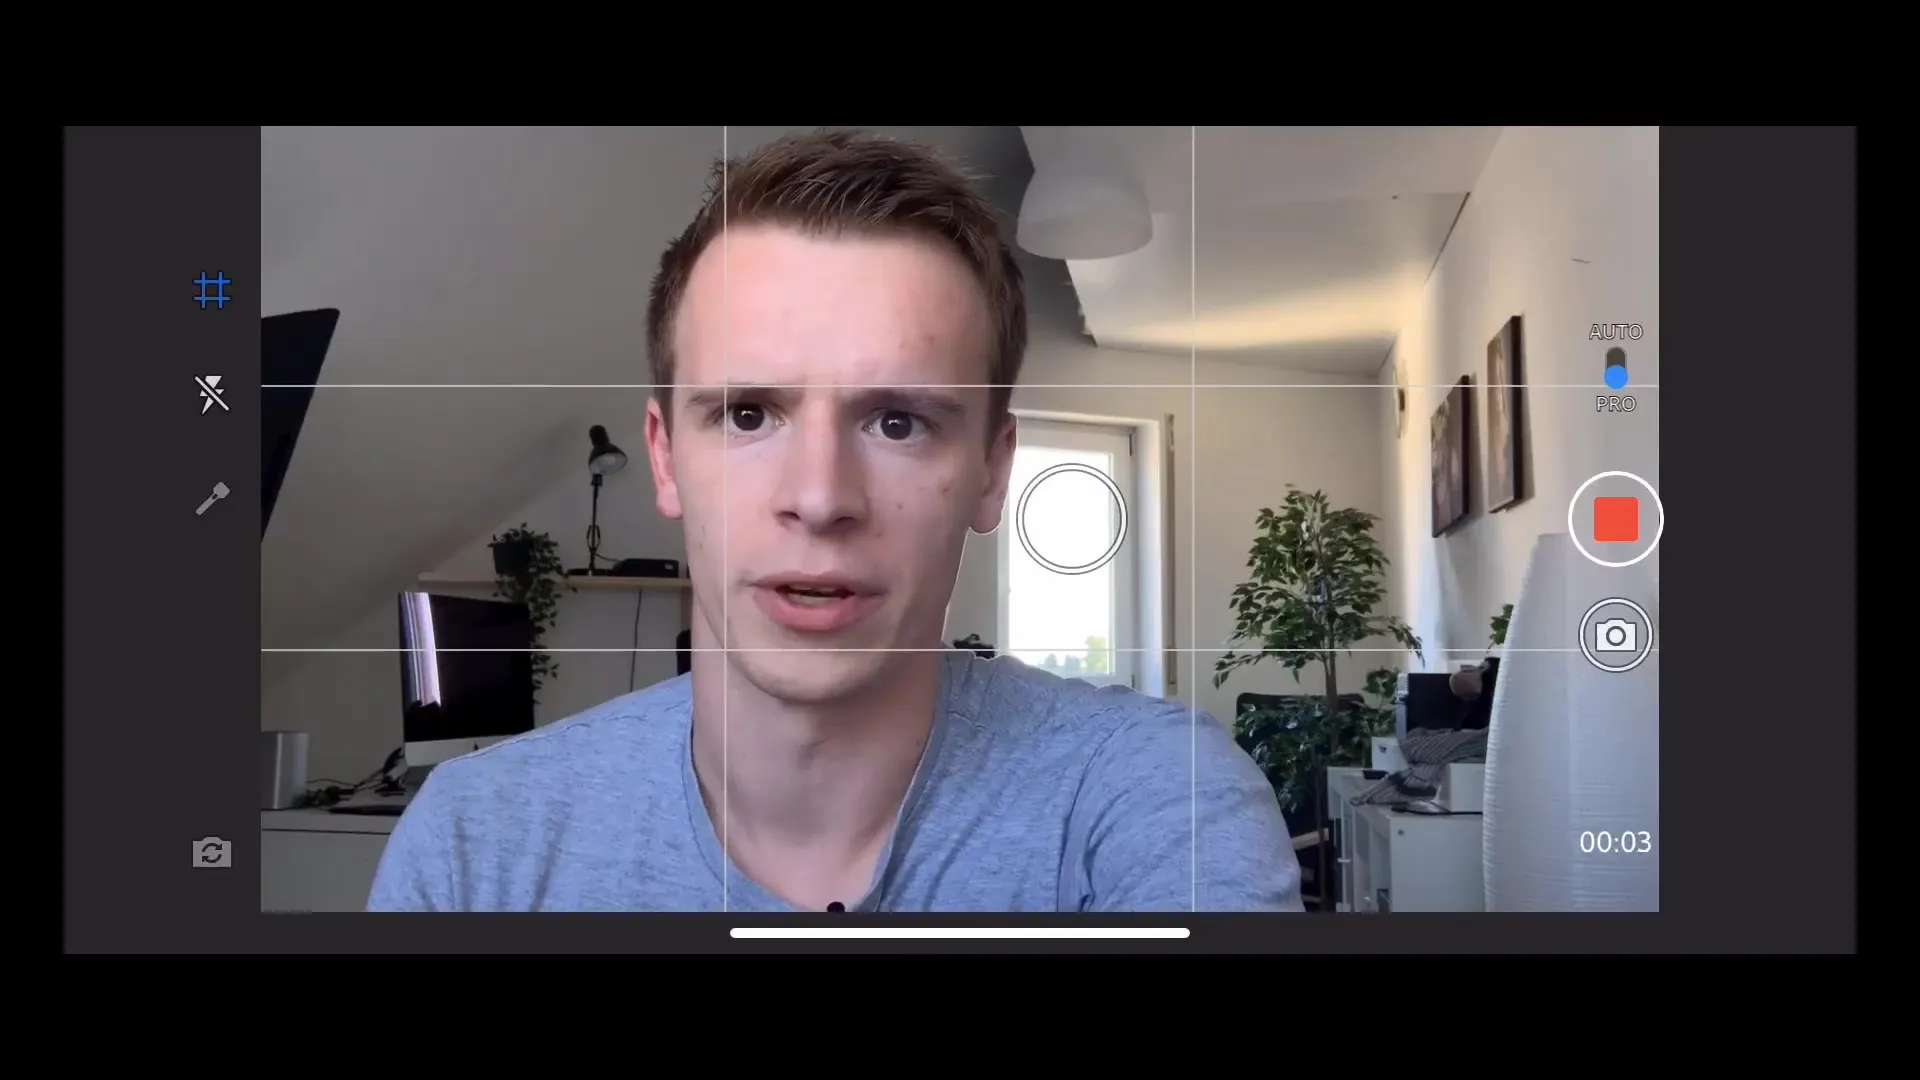
When you're satisfied with the settings, press the red record button to start filming. Make sure that the exposure and focus remain active while you record your video.
8. Directly editing recordings
The best thing about Adobe Rush is that you can edit your recorded videos directly in the app. Use the integrated editing timeline to make important cuts, add music, or perform color corrections.
9. Finalizing and exporting
Once you are satisfied with the editing, save your project. You can export it in high quality and then share it on your production channels.
Summary – Professional Videography with Adobe Rush
This guide has provided you with the necessary knowledge to create professionalvideos with Adobe Rush. By following the steps outlined here, you can significantly enhance the quality of your smartphone videos without breaking the bank.
FAQ
What is Adobe Rush?Adobe Rush is a user-friendly video editing app that allows you to film and edit videos on your smartphone.
Can I film in 4K with Adobe Rush?Filming in 4K is usually only possible with the rear camera.
How can I adjust the exposure?You can either set the exposure manually or use the automatic exposure to find the ideal values.
Is Adobe Rush free?Adobe Rush offers a free version that allows basic functions, but there are also paid versions with advanced options.
Can I add music to my videos in Adobe Rush?Yes, you can add music or sound effects directly from the app to your videos.
