The sound quality of a video is crucial for the viewer experience. It is often overlooked how important the right microphone level is. An improper setting can lead to the sound being unpleasantly distorted or even unusable. By ensuring that the level is optimally set during recording, you lay the foundation for high-quality post-production.
Key Insights
- Do not rely on the automatic level adjustment of your devices.
- Manual leveling ensures consistent sound quality.
- Recording formats like WAV or WavPack at 48 kHz and 24-bit provide optimal leeway for post-production.
- Ensure that the maximum volume during level transfer is targeted between -12 to -6 dB.
Step-by-Step Guide to Microphone Leveling
To set the microphone level optimally, follow the instructions below. Each of these steps is essential for a high-quality recording.
Step 1: Avoid Automatic Leveling
When you plug in your microphone, you may encounter automatic leveling offered by many devices. This feature raises the level when you speak softly and lowers it when you speak loudly. While this may seem convenient at first, it can lead to unwanted peaks and distortions. It is advisable to reject this setting and adjust the levels manually to achieve consistently good results.

Step 2: Choose Recording Format
Before you start recording, you should determine the appropriate format. It's best to choose the WAV or WavPack format. These formats are the standard that most programs can work with without issues. There are two important settings you should make: the sample rate (Hz) and the bit depth. For most applications, a sample rate of 48 kHz and a bit depth of 24 bits is recommended. This configuration gives you more leeway for editing if unwanted background noise or other problems arise.
Step 3: Monitor the Level Display
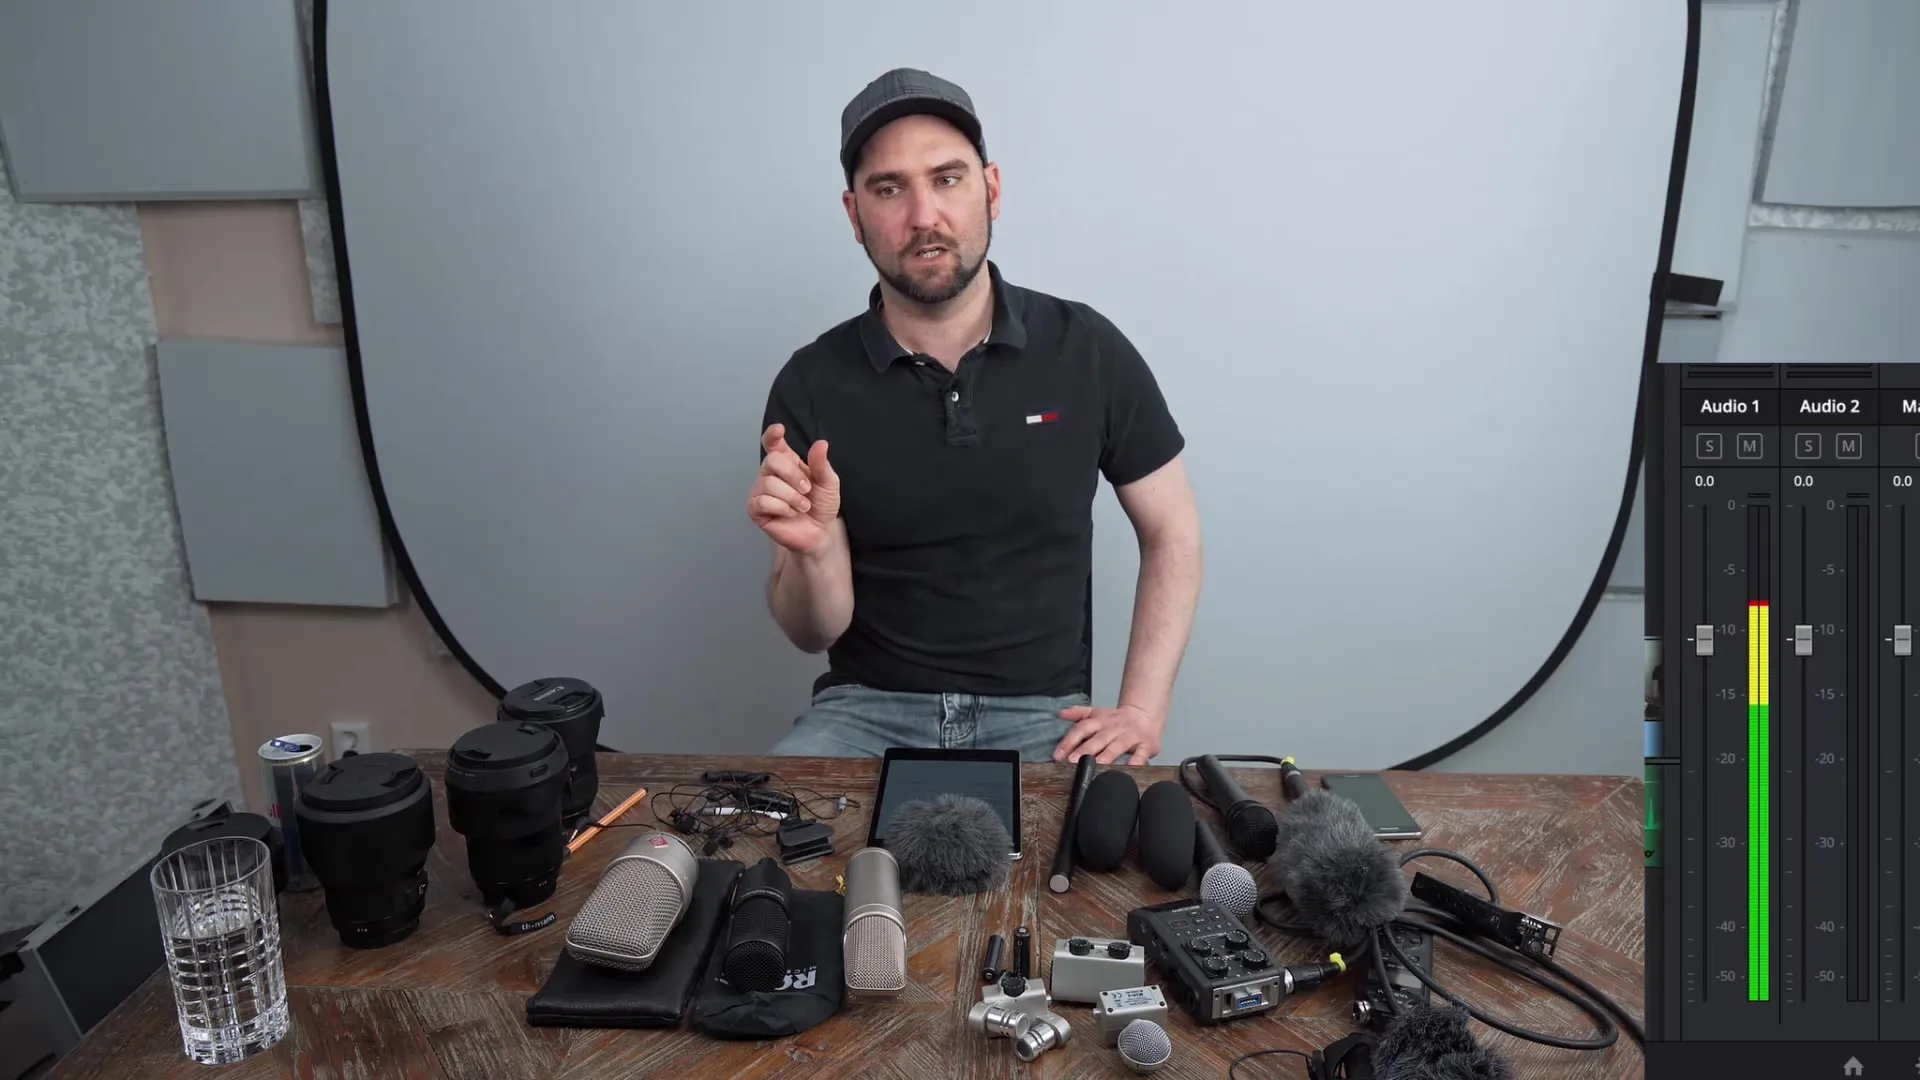
When adjusting your microphone level manually, it is helpful to have someone behind the camera assist with this task. While you can see the level display on your recording device, not all background noise is visible in it – often your microphone is simply "too loud." By listening during the rehearsal environment, you can ensure that any disruptive background noise is noticed.
Step 4: Set Volume
To set the level correctly, you should perform a sound check. Speak loudly and clearly into the microphone, just as you would during the recording. Make sure that the loudest peak on your recording device is between -12 dB and -6 dB. If this value is exceeded, there is a risk of distortion, which makes your recording unusable. With the correct level, you have the option of raising potentially quiet recordings during post-production. Distorted recordings, on the other hand, cannot be salvaged.

Summary – Microphone Leveling for Perfect Audio Recordings
The correct microphone level is essential for professional audio quality in your video projects. By foregoing automatic leveling, choosing the right formats, and ensuring that the volume is set manually, you can make sure that your audio tracks are clear and balanced. Invest time in leveling, and your future productions will thank you.
Frequently Asked Questions
What is the downside of automatic leveling?Automatic leveling can lead to distortions during recording if it does not respond quickly enough.
What format should I choose when recording?WAV or WavPack at 48 kHz and 24 bits are optimal for post-production.
How loud should I speak when testing my level?Speak as loudly as you would at maximum volume to ensure the level is between -12 dB and -6 dB.
Why is listening during recording important?To identify background noise and unnoticed issues that are not visible in the level display.
Can I still rescue quiet recordings?Yes, if recorded in the correct format, quiet recordings can be boosted later.


