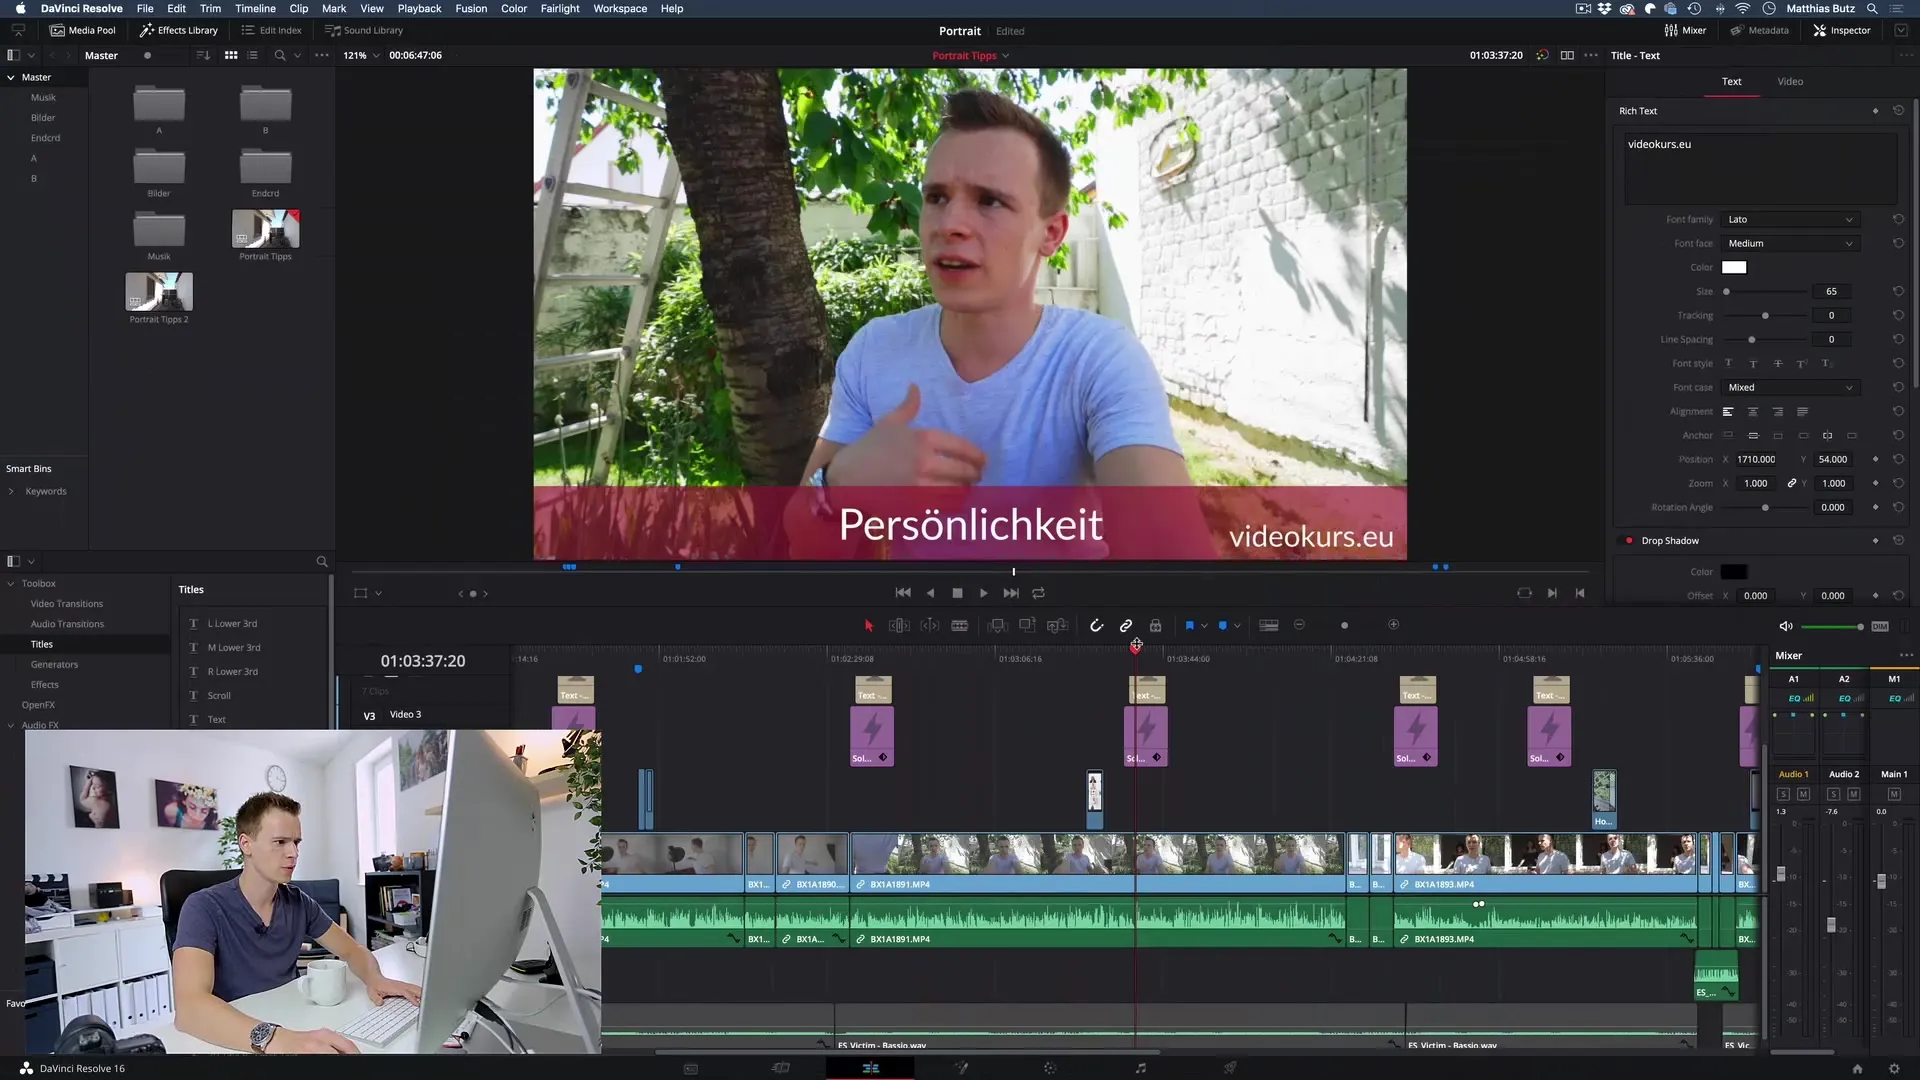
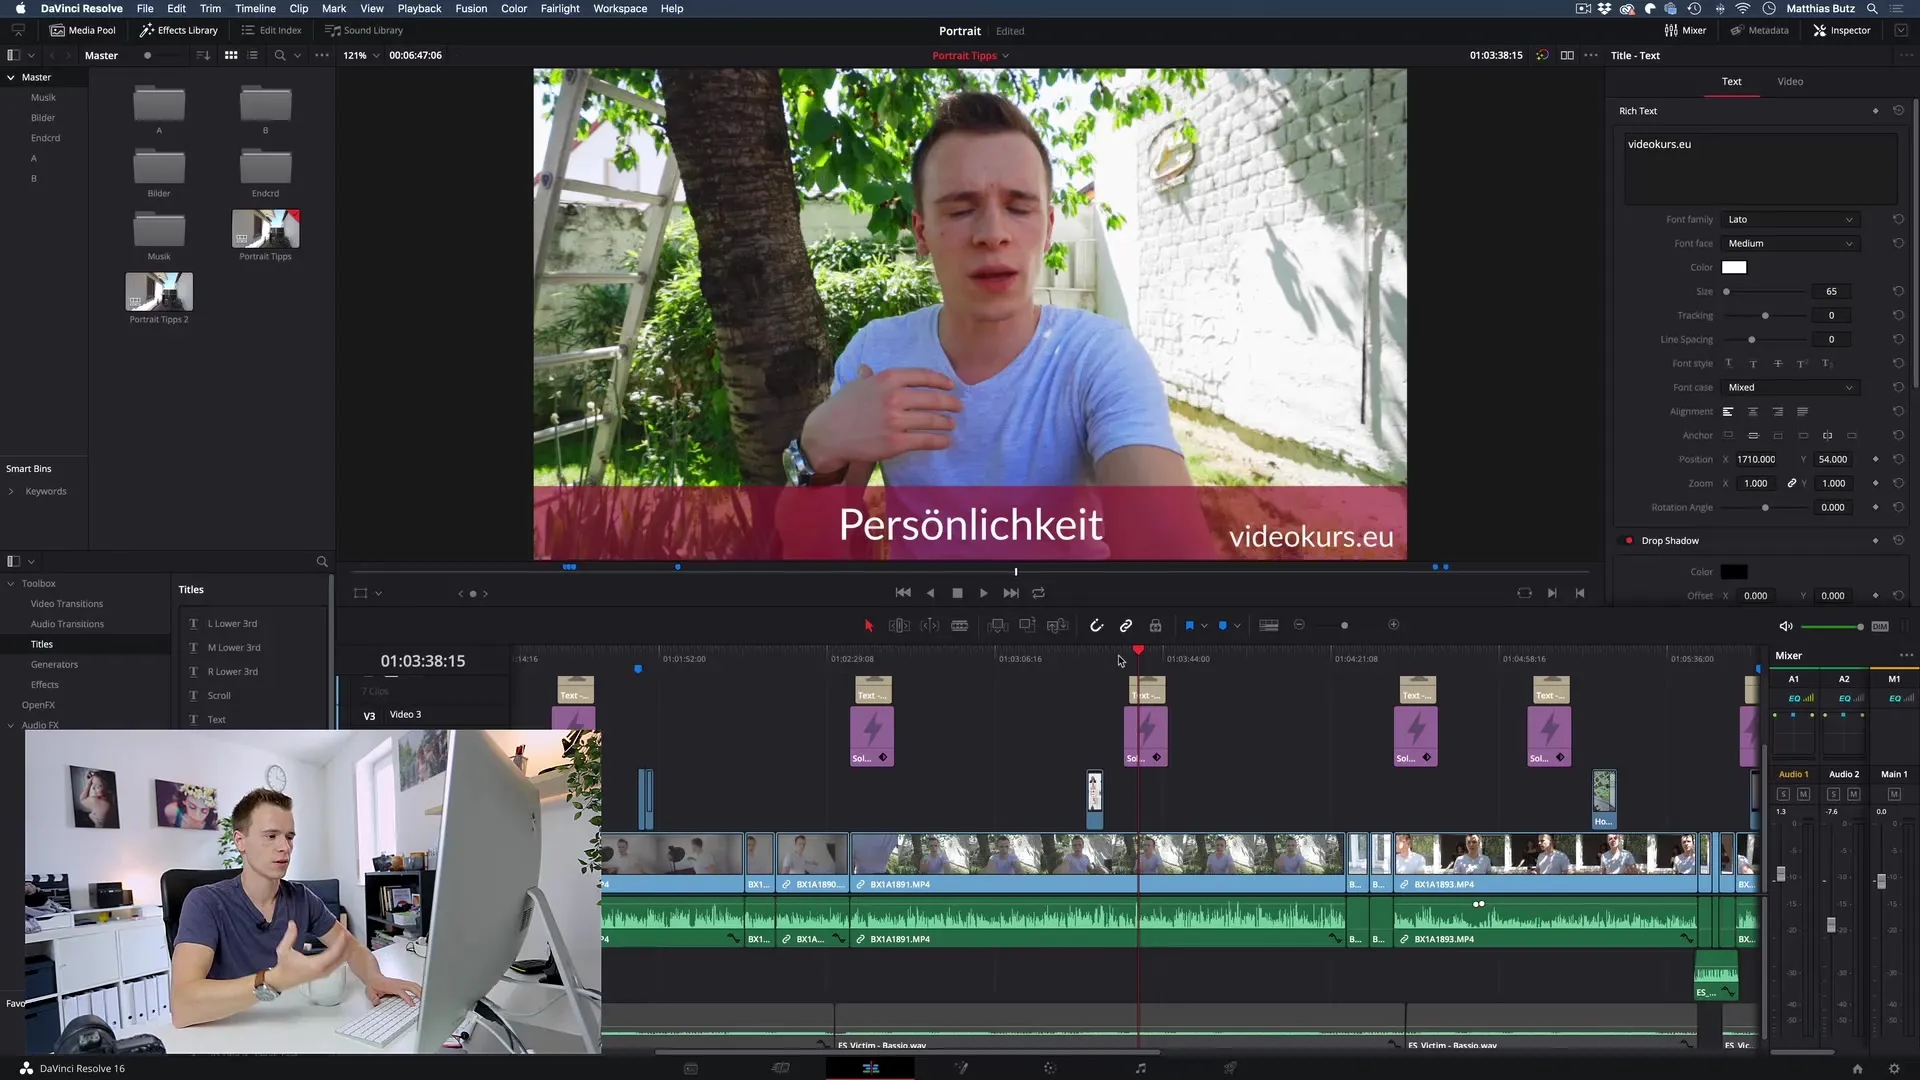
Welcome to the fascinating world of video editing! Animationsgive your videos that special wow factor and make your content come alive. In this guide, you will learn how to create impressive animations and effects using Keyframesin DaVinciResolve. Whether you want to animate text, colors, or images – I will show you how to achieve impressive results in no time.
Main Insights
- Animations in Da Vinci Resolve are created using keyframes.
- With keyframes, you can store an element's state at a specific time and change it later.
- All effects and animations are time-based changes that are realized with the help of keyframes.
Step-by-Step Guide
1. Start Your Project and Use Keyframes
Open Da Vinci Resolve and load your project. It's important that you have a clip in your timeline. Keyframes are essential for animations. They allow you to change state values like position or size over time.

2. Access Effects Settings
Select your clip and go to the effects settings. Here you will find a variety of options that you can customize according to your wishes. Keyframes are usually located next to the various settings options (e.g., for size, position).

3. Create the Animation Point
Determine the point where you want to start the animation. Set the first keyframe at the point where the animation should begin. Click on the small keyframe button next to the setting you want to animate (for example, the panel position).
4. Determine the End State
Move the playhead a little further along the timeline and change the value, e.g., resize the image to make it larger or smaller. By selecting the so-called "end value" for your animation, you save this new keyframe.
5. Check the Animation
Play the animation to see how all the keyframes are linked together. Da Vinci Resolve automatically interpolates the values between the keyframes, creating a smooth animation.
6. Work with Zoom Effects
In addition to colors and positions, you can also add zoom effects. Select the appropriate zoom option in the effects settings and follow the same process as described above.

7. Interactive Adjustments
For more detailed editing, click on the keyframes to move them or adjust their duration. This way you can precisely control and adjust the speed of your animation.
8. Animation of Colors
Switch to the "Color" tab and select the area you want to animate. Create keyframes there as well and adjust brightness or hue, for example. This will give your animation extra momentum.

9. Rendering and Exporting
Once you are satisfied with your animations, you can render and export your video. Check the animation in detail in preview mode to ensure that everything runs smoothly before sharing it.
Summary – Animations and Keyframes in Da Vinci Resolve: A Step-by-Step Guide
You have now learned the basic techniques of creating animations in Da Vinci Resolve. With keyframes, you can create simple yet effective animations that will significantly enhance your videos. Experiment with different effects and find your own style in the world of videography.
FAQ
How do I set a keyframe in Da Vinci Resolve?Click the small keyframe button next to the setting you want to animate in the effects settings.
How can I change the duration of a keyframe?Click on the keyframe in the timeline and drag it to adjust the duration of the animation.
Can I animate text as well?Yes, you can animate text by setting keyframes for the position, size, or opacity of the text.
What types of animations can I create?You can animate the position, size, color, and opacity of objects in your videos.
Are there differences between Da Vinci Resolve and other programs like Premiere Pro?Yes, the user interface and some functions differ, but the basic principle of animations with keyframes remains similar.


