Sound is an essential component of any video that requires audio. Especially reverbcan significantly diminish the quality of your recording and ruin the professional impression. If you work in an unsuitable room with a lot of reverb, the downside cannot easily be corrected even with the best programs. Here you will learn how to avoid reverb from the outset to optimize the sound of your videos.
Key Insights
- Reverb occurs through the reflection of sound waves in a room.
- The more objects present in the room, the less reverb is produced.
- Textured and soft surfaces are more effective in sound absorption than smooth ones.
- The placement of the microphone plays a crucial role.
- Absorbers with the right material thickness improve sound quality.
Step 1: Avoid Unsuitable Rooms
Similar to a bathroom, where the reverb is often unbearable, there are many rooms in your home that are disadvantageous due to their acoustic properties. Rooms with high ceilings or little furniture often create the desired reverb effect. If possible, you should avoid such areas and look for places that are better suited. A well-furnished room with various pieces of furniture is a better choice here.
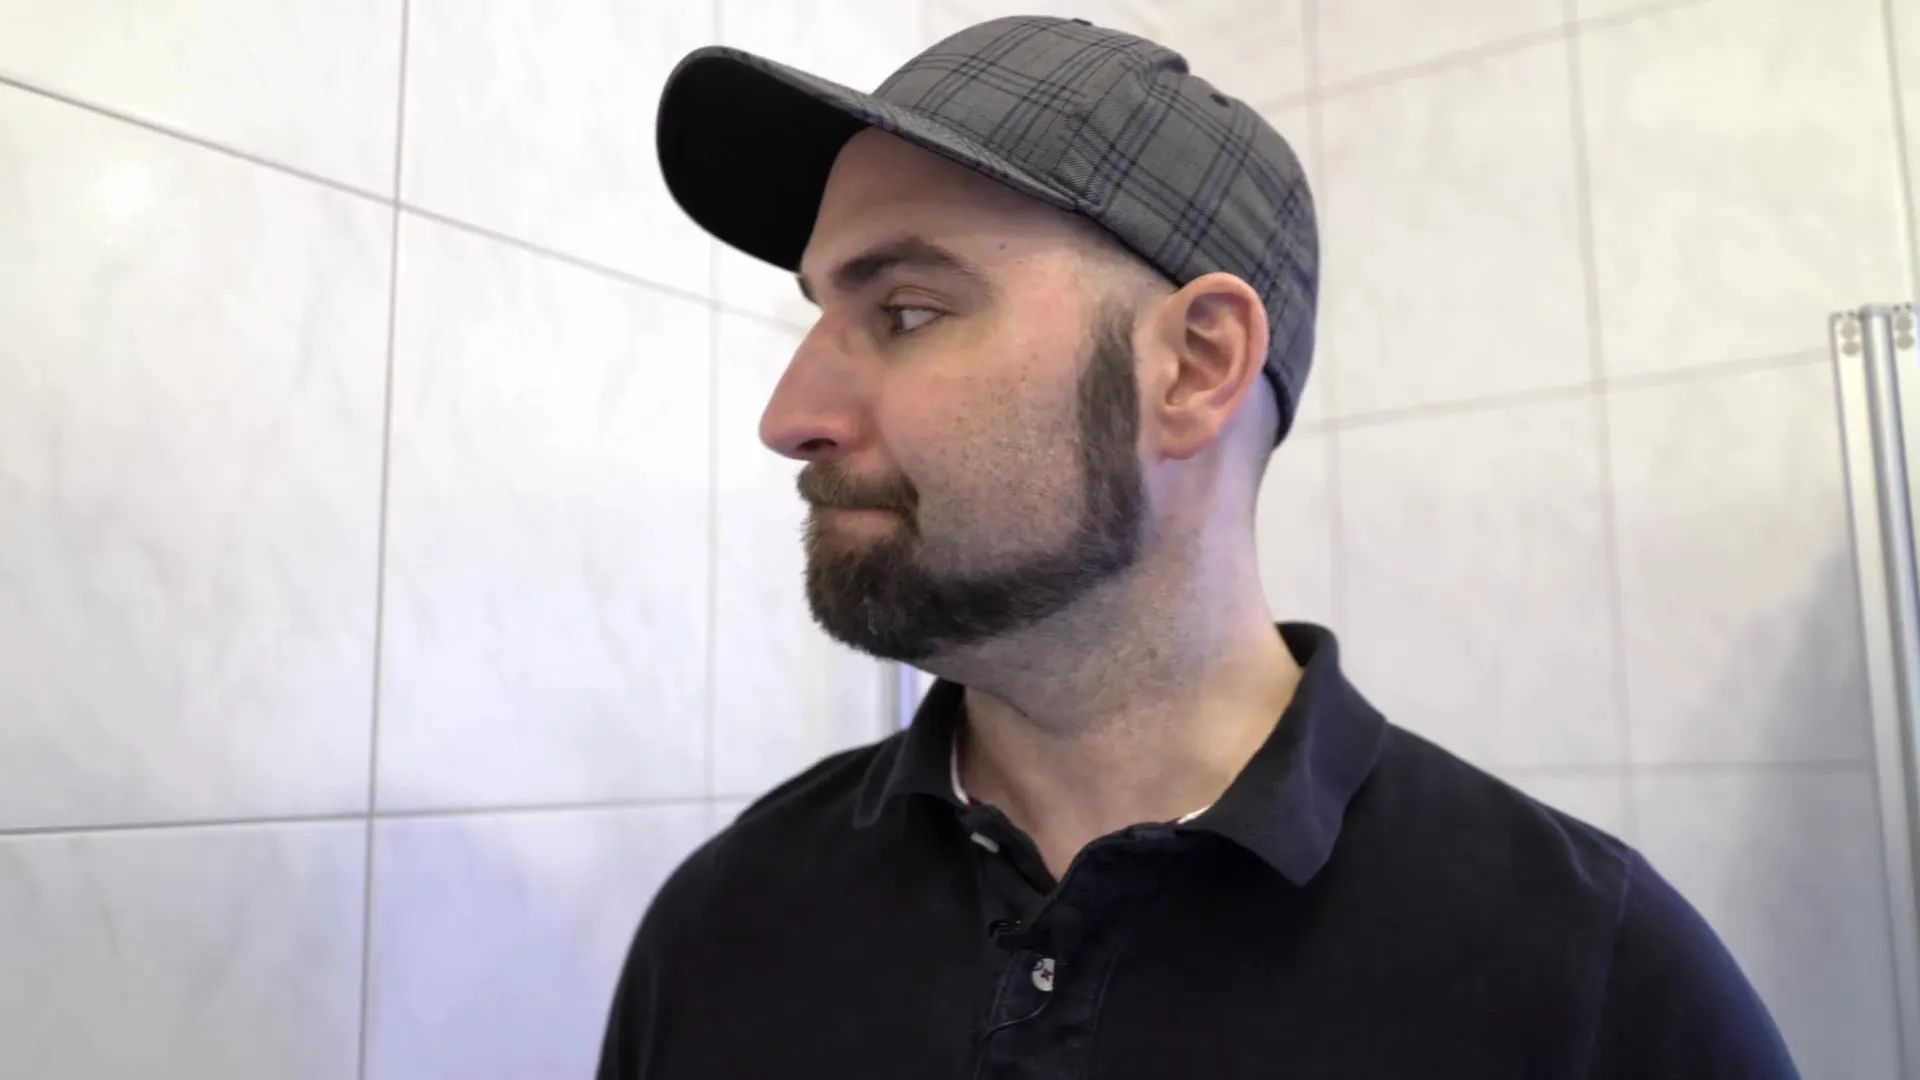
Step 2: Fill the Room
The reason reverb occurs lies in the reflection of sound off smooth walls. The more objects are in the room, the better the sound is absorbed. Make sure the room is as full as possible. Furniture, carpets, and other items that break up and diffuse the sound help with this.
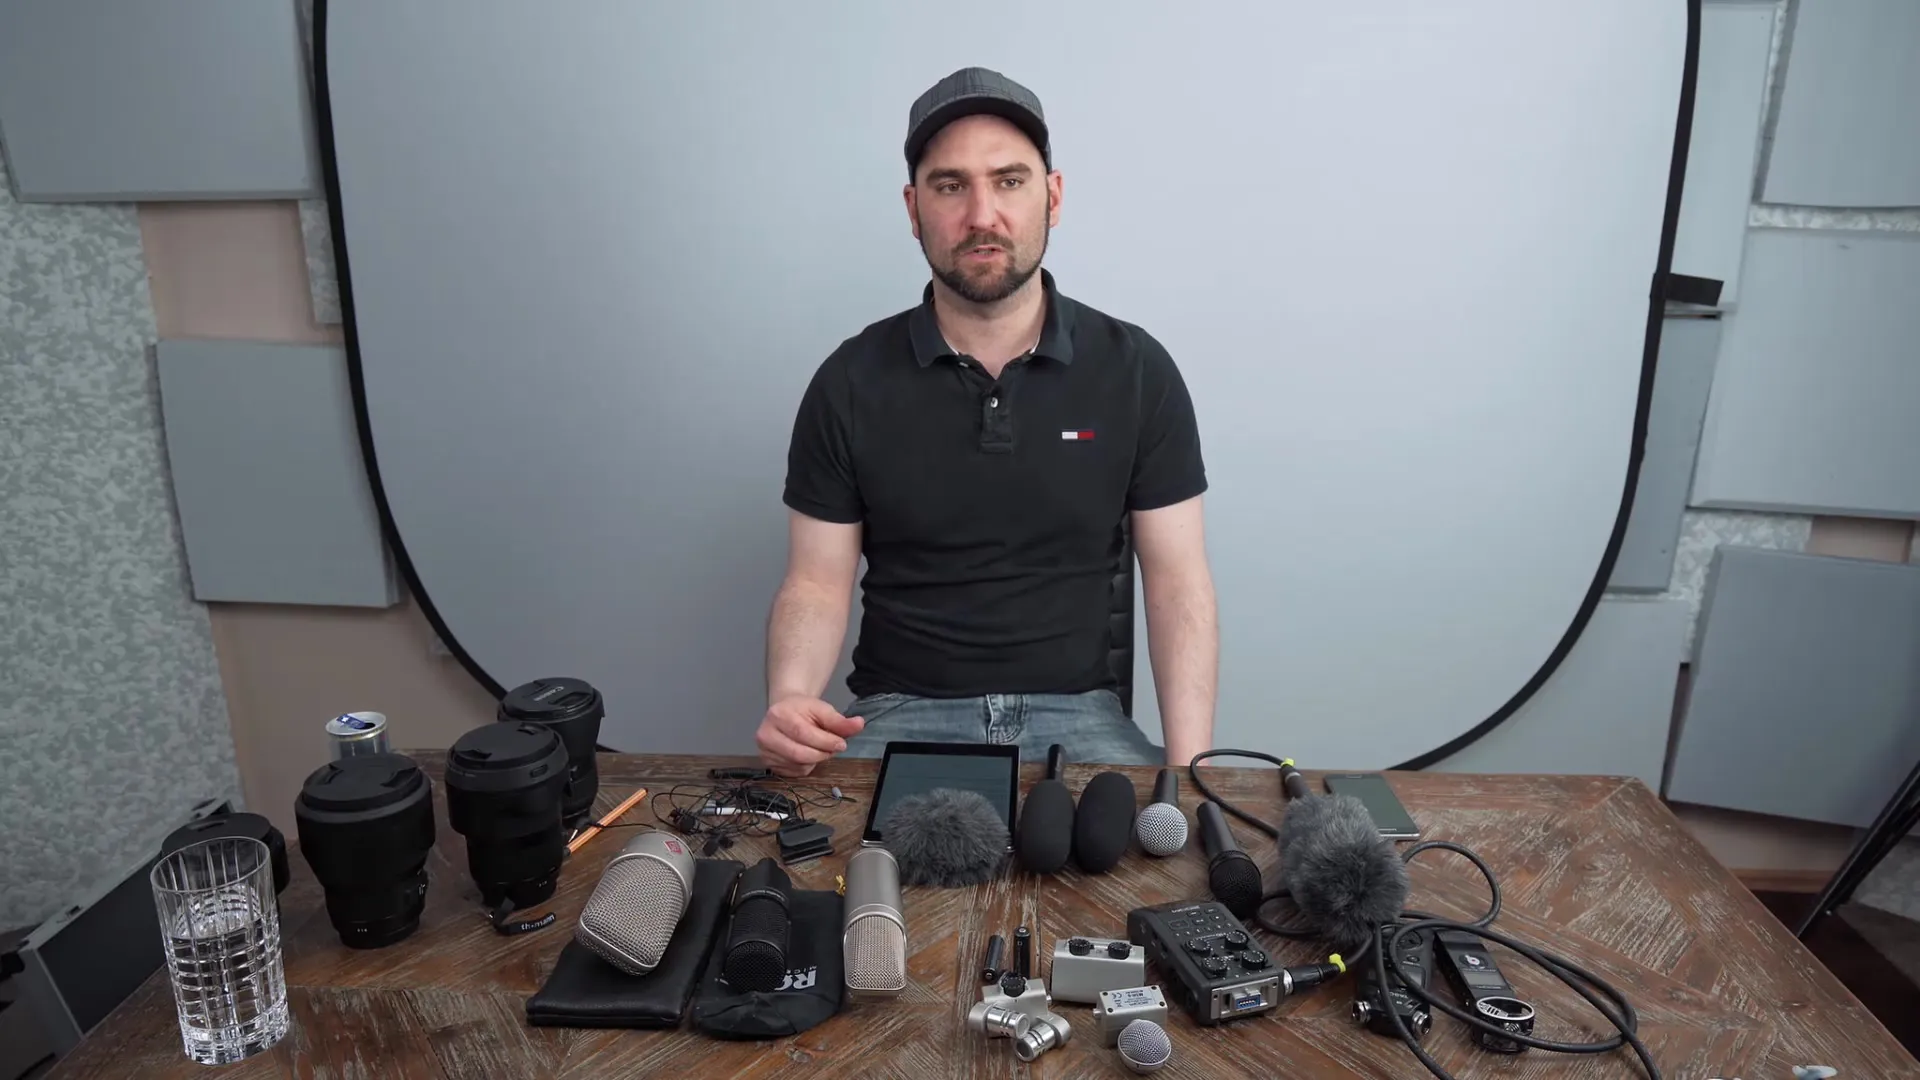
Step 3: Use Textured Surfaces
The texture of surfaces has a significant impact on sound absorption. Materials such as fabric or other soft textiles are more effective than smooth surfaces. Utilize your environment and, for example, open a wardrobe to minimize sound reflection.
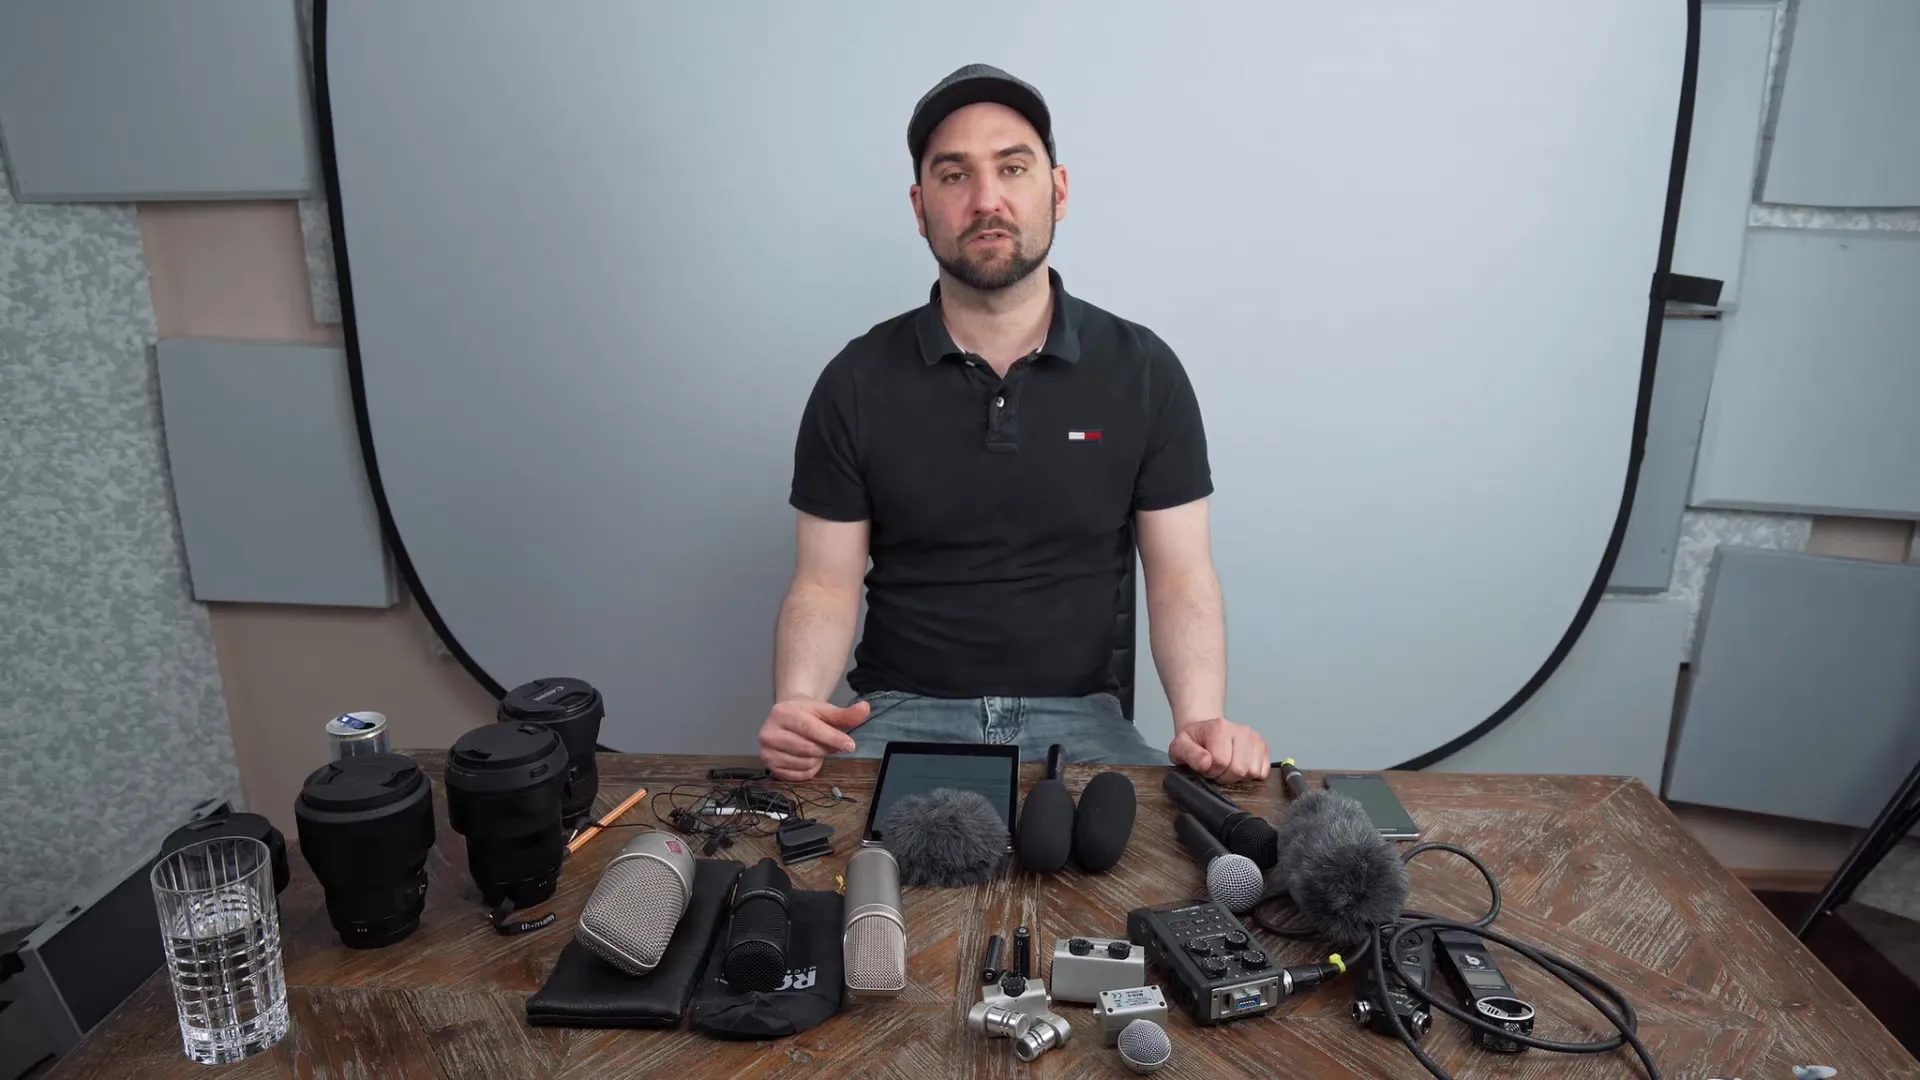
Step 4: Use Sound Absorbers
If you are ready to take a step further, you can use special sound absorbers like melamine foam. Make sure the panels have a minimum thickness of 10 cm. Especially below this thickness, the ability to absorb low-frequency sound waves is significantly impaired. A thicker absorber panel will result in better sound quality.
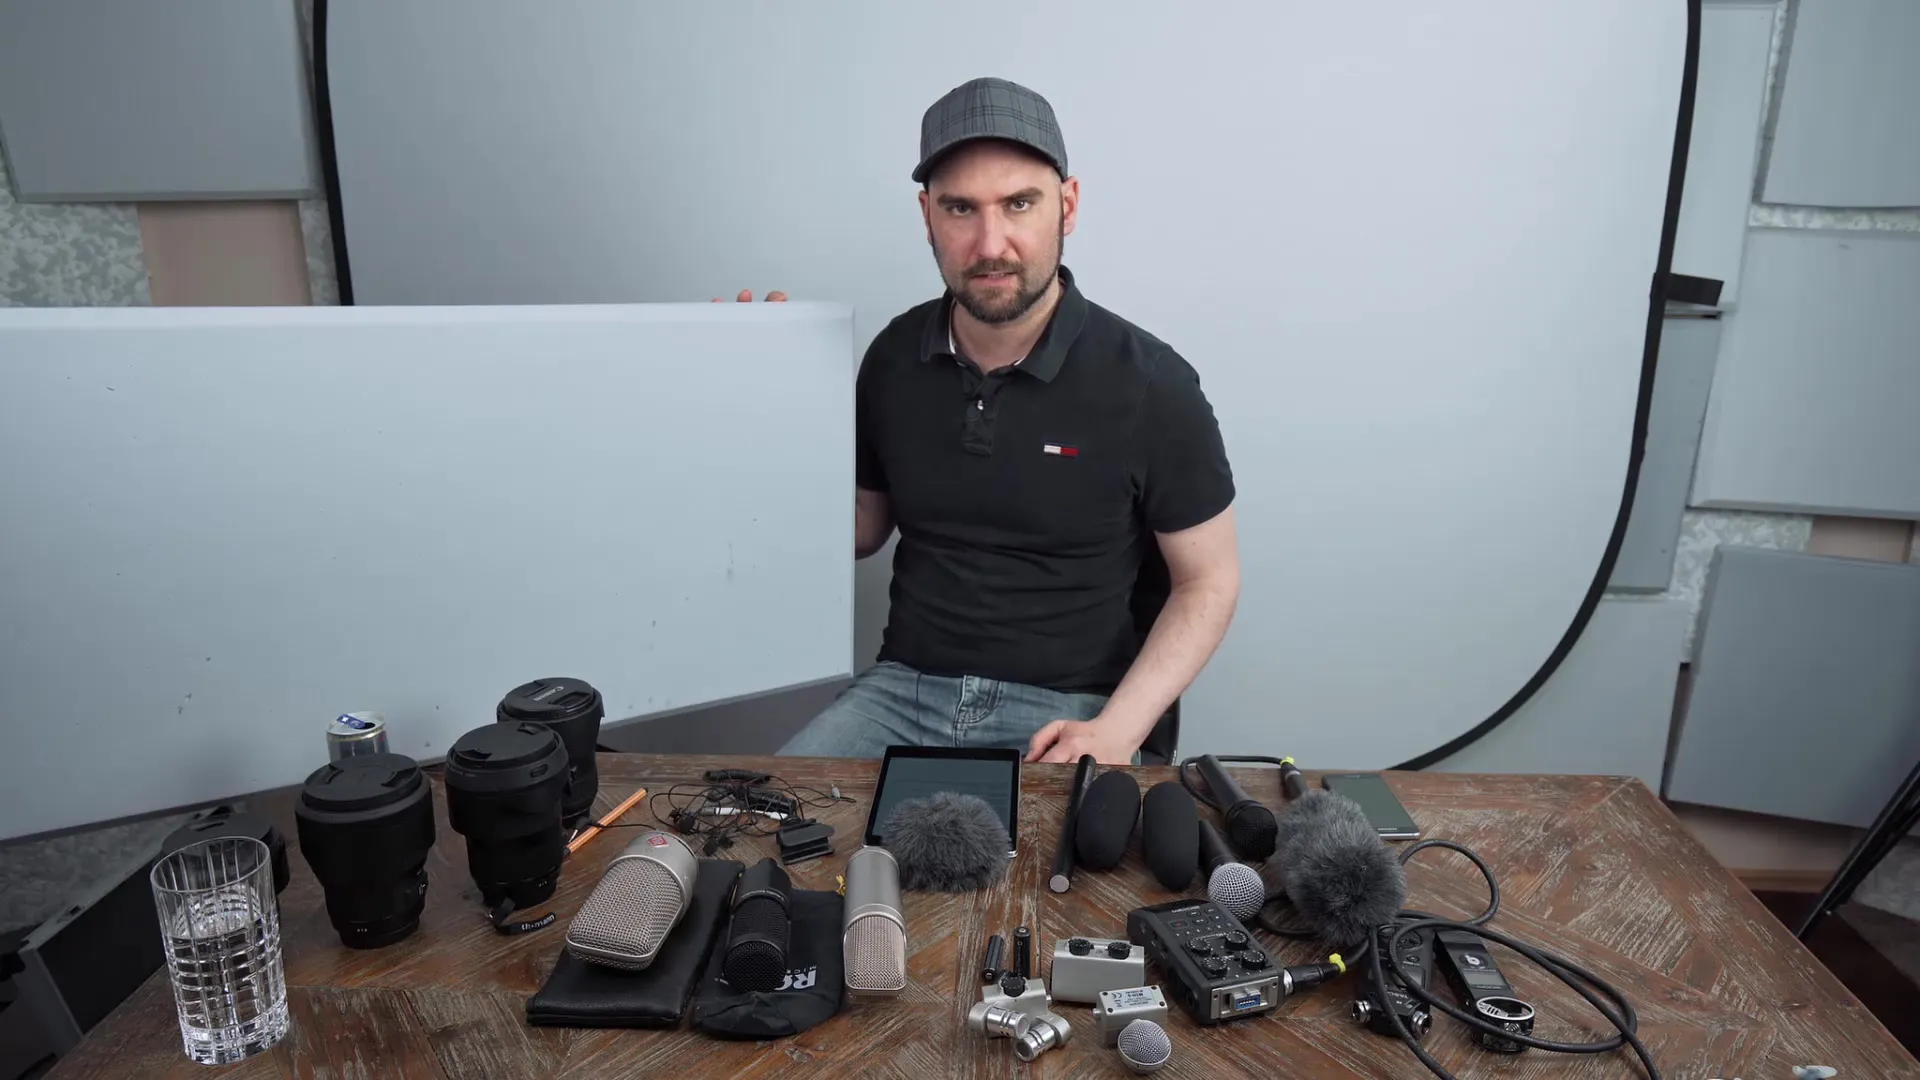
Step 5: Microphone Positioning
The correct microphone placement is crucial. Ensure that the microphone is pointing in the right direction - ideally towards an area that absorbs sound as much as possible. You should keep away from reflective surfaces like walls. A microphone pointing directly at the open wardrobe, as described earlier, significantly reduces reverb.
Step 6: Use Creative Solutions
In situations where you don't have all the ideal conditions, you can get creative. A simple way is to drape a blanket over yourself and your microphone to create your own acoustically optimized space. It might sound odd, but it delivers surprisingly good results.
Summary – Guide to Minimizing Reverb in Video Production
Reverb can degrade the audio of a video and should therefore be avoided from the outset. By choosing certain rooms and materials, optimizing your recording environment, and applying creative solutions, you can ensure that your sound quality sounds professional.
FAQ
What are the best materials for reducing reverb?Textured and soft materials like fabric are the best.
How important is microphone position?The microphone position is crucial; it should be directed towards acoustically absorbing areas.
Can I remove reverb afterwards?It is difficult to remove reverb afterwards. Therefore, it is better to avoid it.
What can I do in an empty room?Fill the room with furniture or use sound absorbers to minimize reverb.
Do I need special equipment for recording?No special equipment is needed; a simple phone or a small recorder is sufficient.


