Stable shots are the be-all and end-all in videography. If you want to create impressive, smooth images, there's no way around a stabilizer like the Glidecam. However, it's not just a simple tool – the right handling and balance are crucial to achieving professional results. In this guide, you will learn how to set up and use your Glidecam optimally.
Key insights
- Stabilization through precise balancing
- Importance of counterweights for the camera
- Techniques for smooth movements when filming
Step-by-step guide
1. Get to know the Glidecam
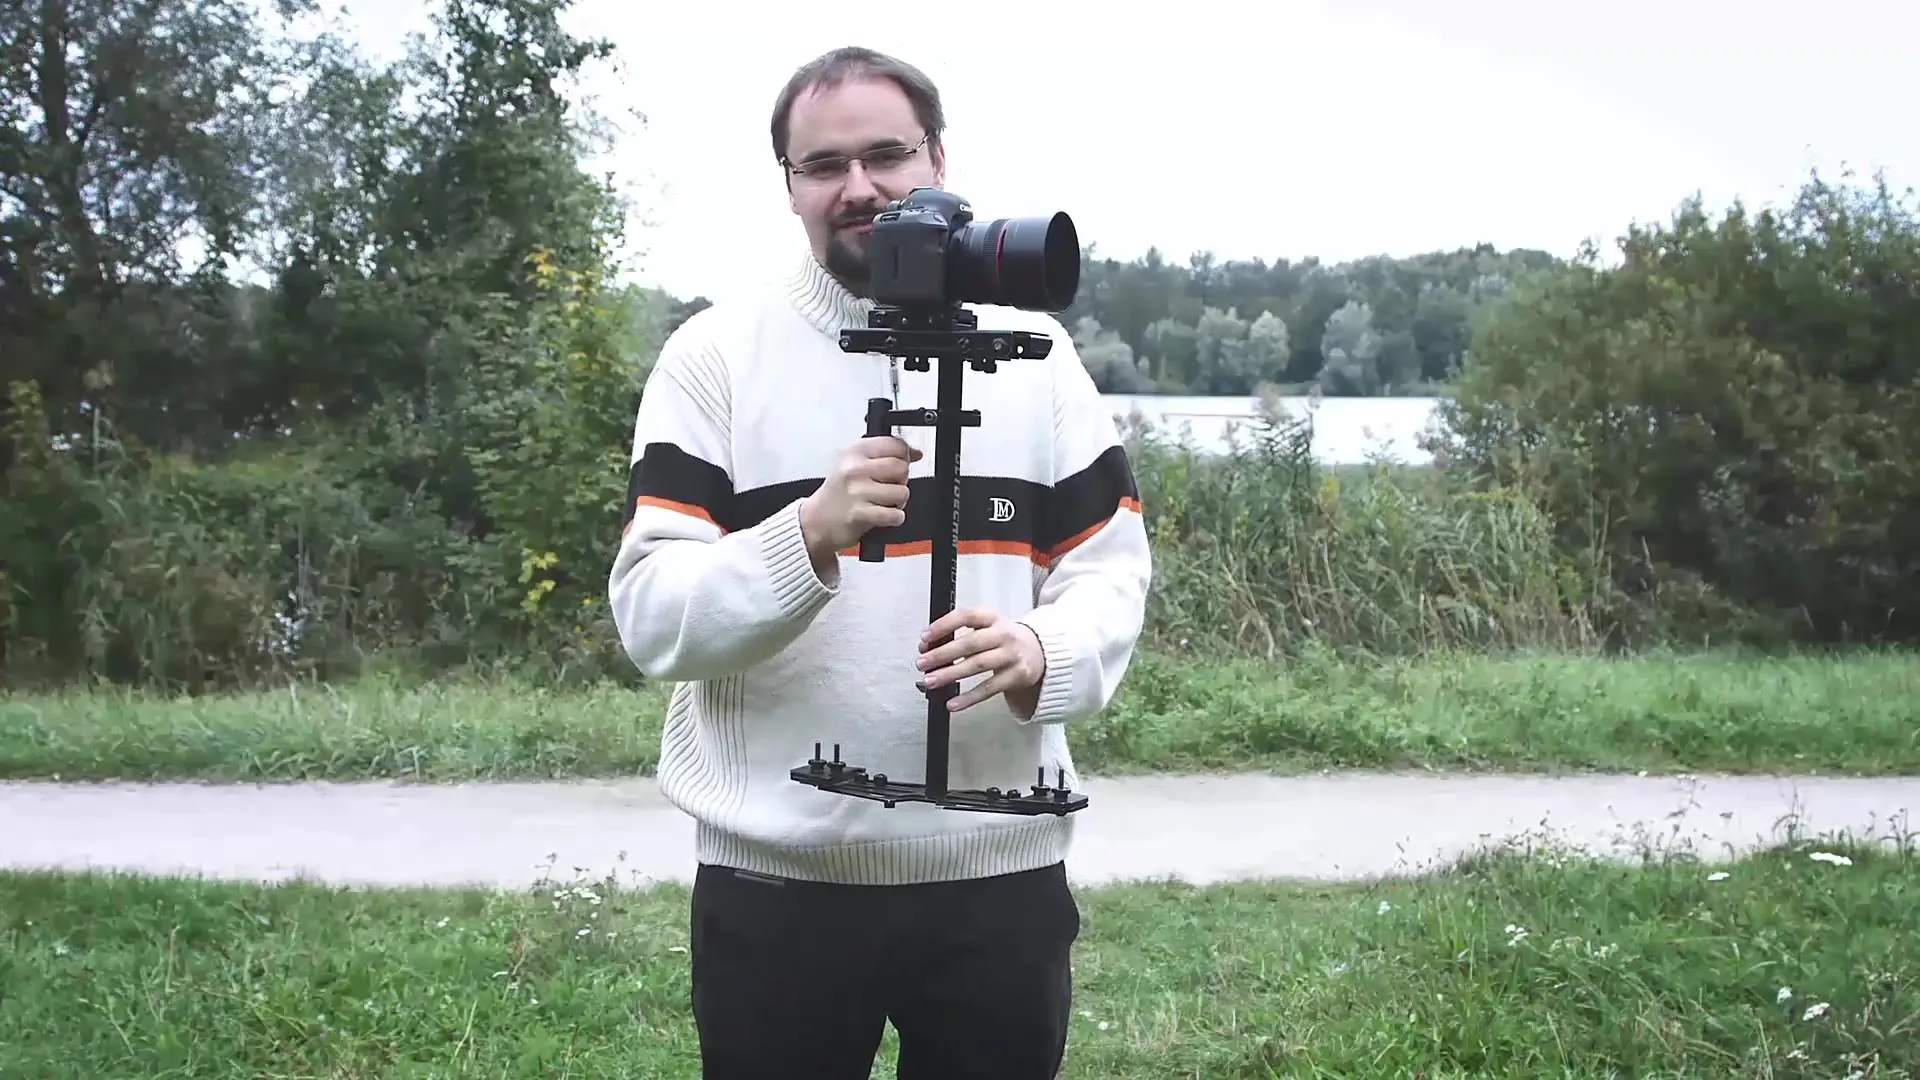
At the beginning, you should familiarize yourself with the Glidecam. The name says it all: these devices "float" and stabilize the camera in the air. The big goal is to record creative and dynamic scenes without your image being shaky. Keep your camera as steady as possible while you move. The more familiar you are with the Glidecam, the better you can take advantage of its capabilities.
2. Preparation and balancing
A key feature of the Glidecam is stabilization. The center of gravity plays a central role here. Position the camera at the center of the stabilizer and ensure that the center of gravity is directed firmly at a single point. This millimeter work requires patience, but it is the key to a stable image.

3. Adjusting forward
If you release the camera and it tips to the side, the Glidecam is not properly balanced. Make sure to move the camera forward until the balance is correct. It may take several attempts to find the exact balance, but with each adjustment, you'll get closer to your goal.
4. Adjusting lateral movement
To correct the lateral movement, you also need to work on the screws at the bottom of the Glidecam. These allow you to shift the camera left or right, depending on where the center of gravity is. This gives you the opportunity to make precise adjustments to improve weight distribution.

5. Using a light stand
A helpful tip to further increase stability is to use a light stand. Here, you can place the Glidecam directly, allowing you to obtain a secure and level still image, without having to hold the camera in your hands. This helps alleviate weight and tension from your hands and makes adjustments easier.
6. Adjusting weight
Before making fine adjustments, ensure that you are using the correct number of counterweights. Every stabilizer has a maximum load, and you need to consider whether your camera and accessories, such as microphones or filters, do not exceed this load. In this step, you can attach suitable weights to find the ideal balance.
7. Conducting a drop test
Once the counterweights are set, it's time for the drop test. Release the camera sideways and observe how quickly it returns to the starting position. Ideally, this should happen within two to three seconds. If the return is too fast, you have too much weight on the plate and should remove one or more weights.
8. Optimizing camera action
Make sure that when you are filming, you do not move like a regular walker. To achieve the best results, you should walk in a slight squat – knees slightly bent. This ensures that your movements are smoother and less abrupt. Make sure your feet make even contact with the ground to avoid sudden weight shifts.
9. Handling and control
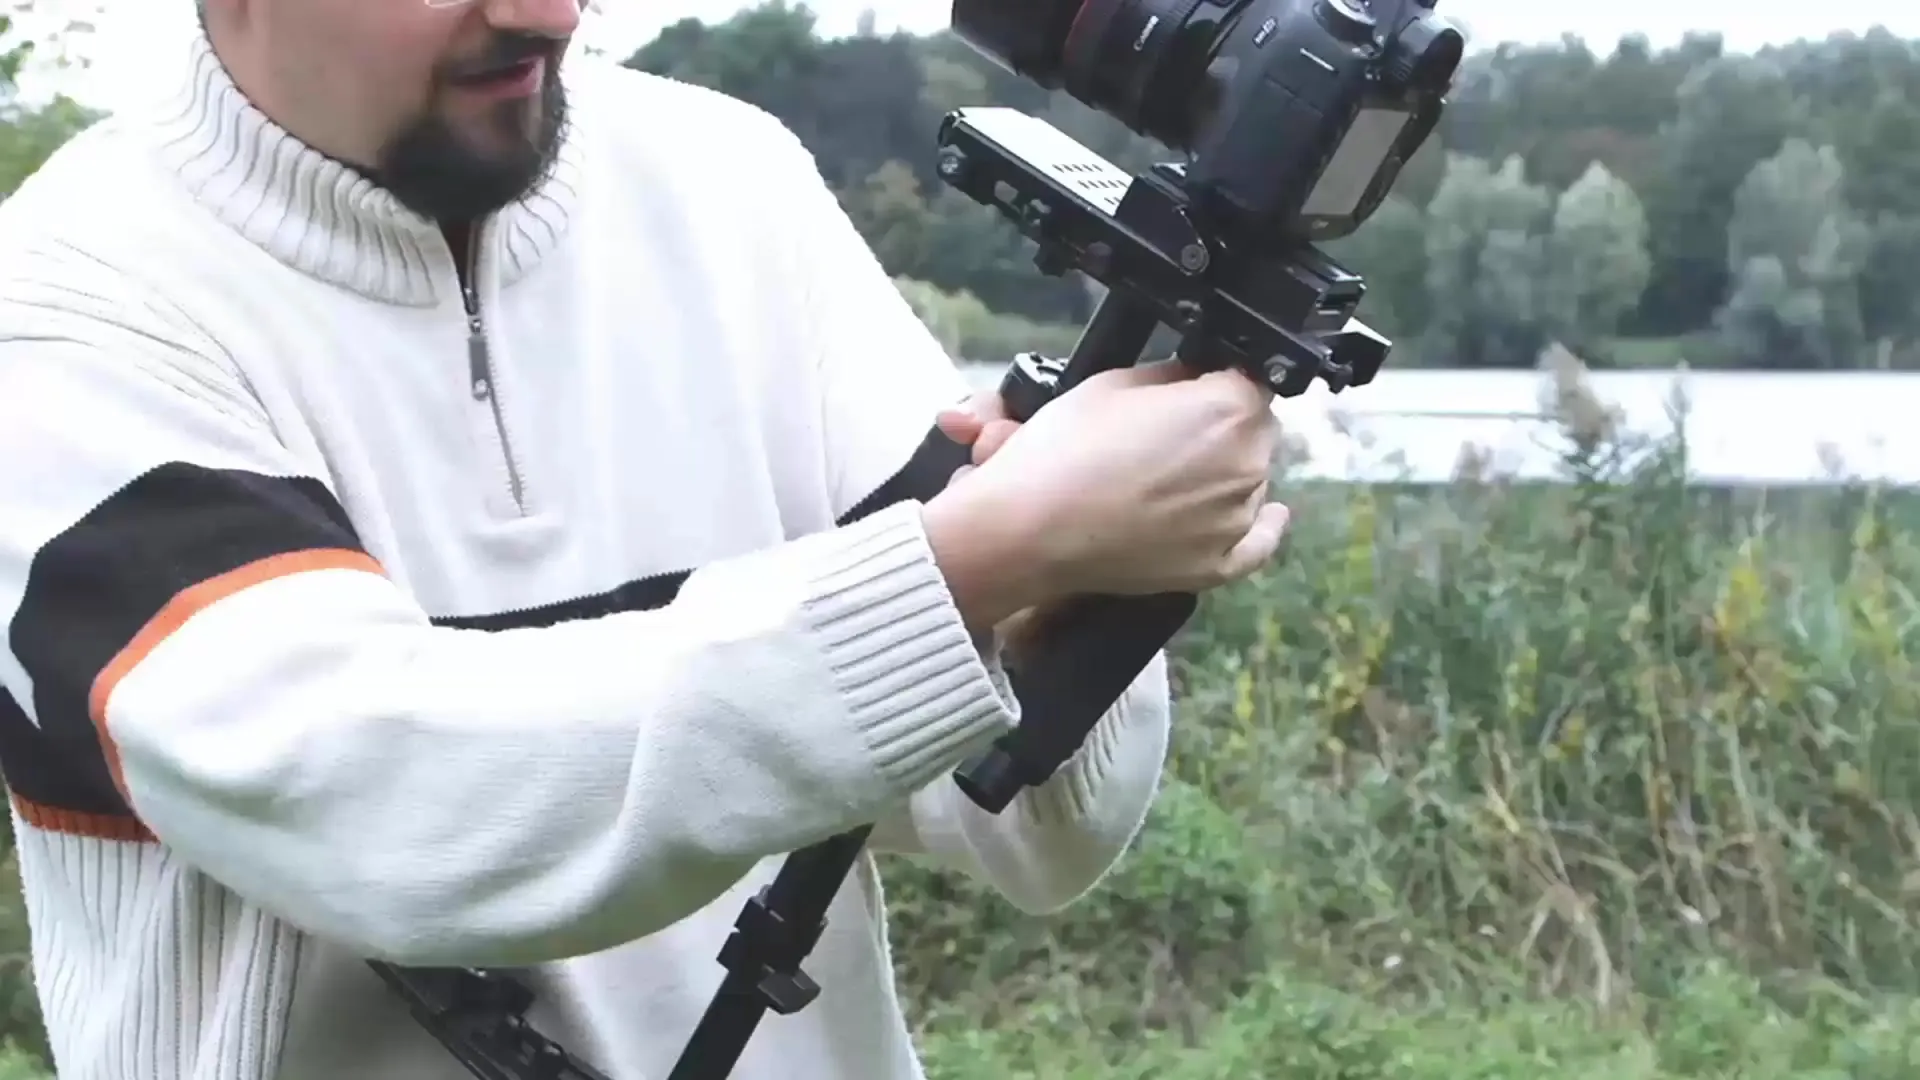
By using the correct technique when handling the Glidecam, you achieve the best results. Hold the device with one hand and stabilize it while the other hand takes control of panning and tilting. Fine finger movements and a good feel for the mounting are essential here.
10. Resetting settings
Before adjusting your camera on the Glidecam, remember to attach all necessary accessories, such as filters or microphones, beforehand. These increase the weight and can affect the center of gravity of your camera. When you are finished with the Flycam, double-check the settings before starting to film.
Summary – Using Glidecam for steady videos
Using a Glidecam can significantly enhance your video productions when you consider the right techniques for setup and handling. Experiment with the various steps to find your own style, and don’t hesitate to practice repeatedly to improve your skills.
Frequently Asked Questions
How do I properly balance the Glidecam?You balance the Glidecam by adjusting the camera so that the center of gravity is on a fixed point.
What can I do if the camera does not remain stable?Check the weight settings and adjust both the camera and the stabilizer to optimize the balance.
How should I move while filming with the Glidecam?Walk in a slight squat and ensure that only one foot touches the ground at any one time to keep the image steady.
What is the drop test and how do I perform it?The drop test checks how quickly the camera returns to the starting position after being released. It should respond within two to three seconds.
When should I attach accessories like filters?Attach all accessories before mounting the camera on the Glidecam to balance the weight correctly.


