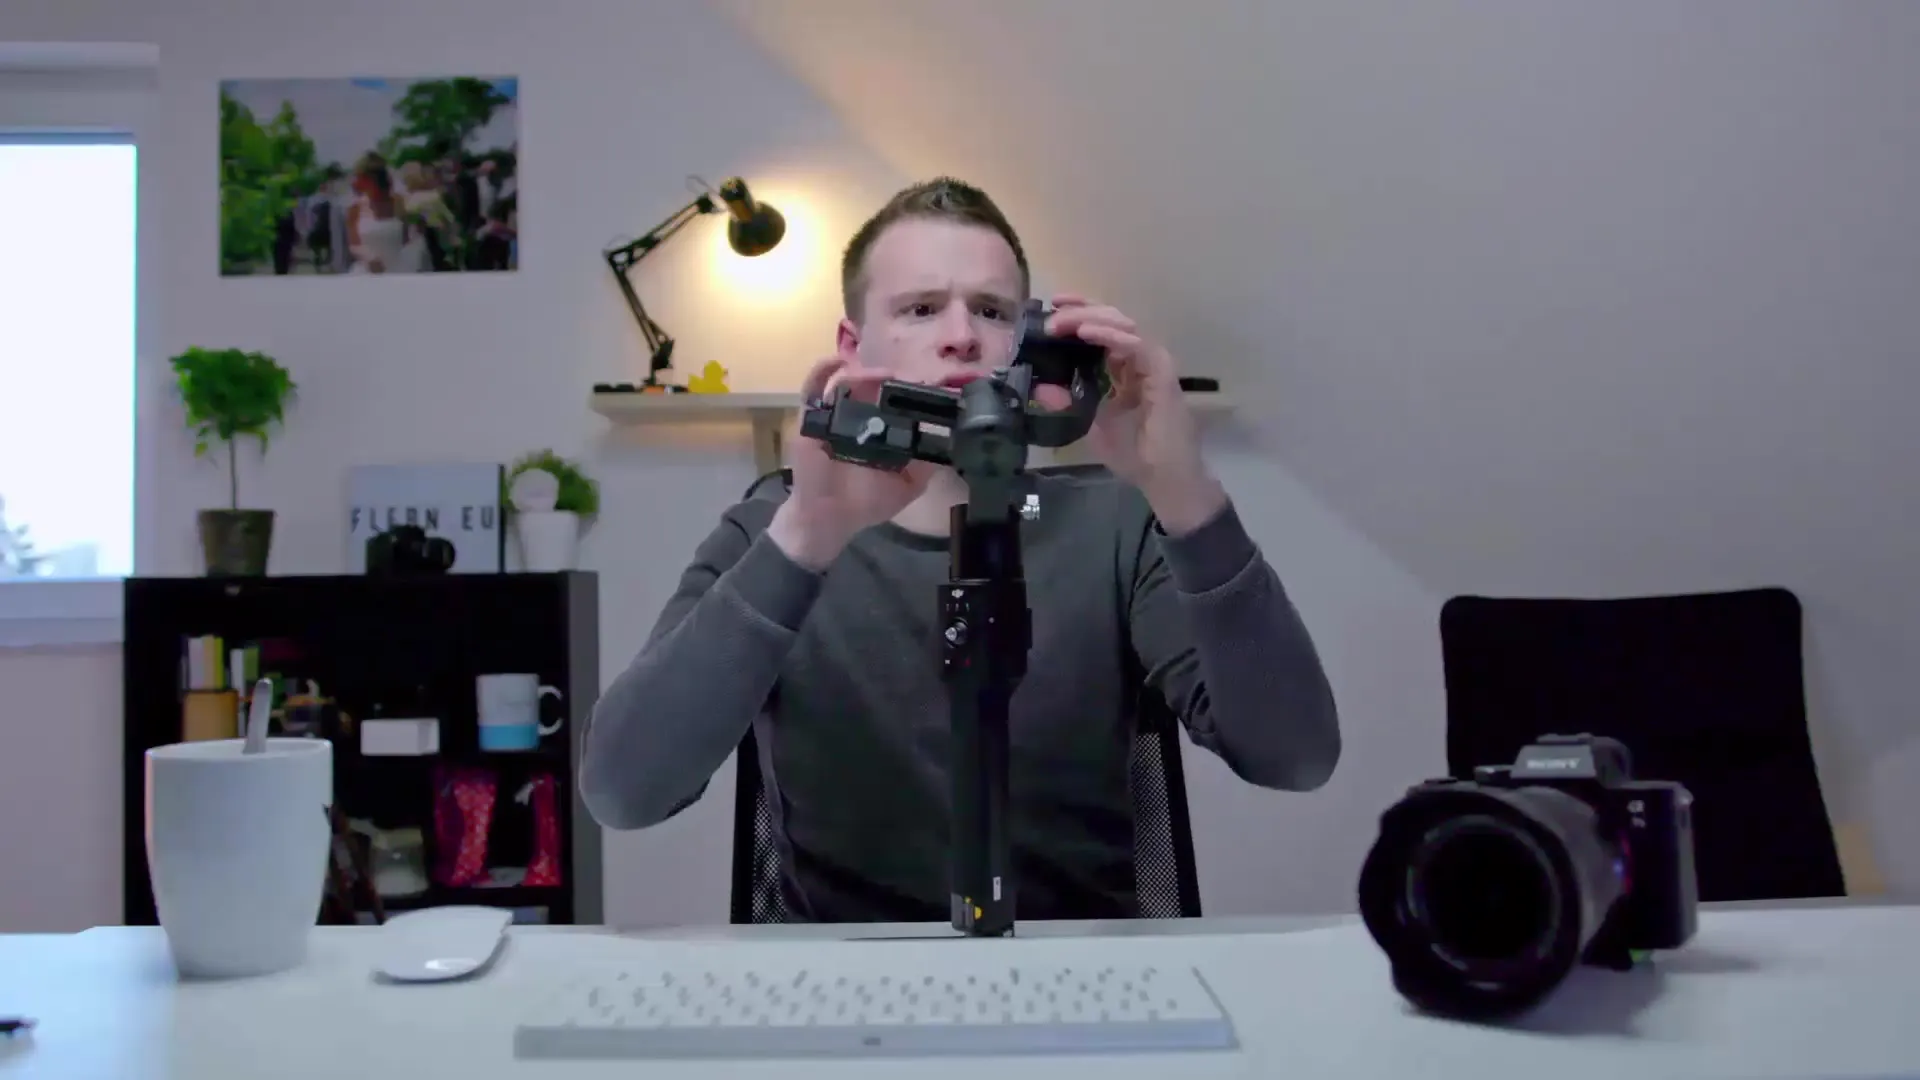
Gimbals are indispensable tools for videographers who want to achieve high-quality and stable shots. In this tutorial, you will learn everything about the DJI Ronin, from its calibration to the advantages and challenges of using it. Let's dive in and find out how you can take your videography to the next level with this gimbal!
Key Takeaways
- A gimbal can help create stable and smooth video footage.
- The DJI Ronin is easy to calibrate but requires power to operate.
- Practice is necessary to use the gimbal effectively.
- Calibration errors can cause confusion in the footage.
Step-by-Step Guide to Using the DJI Ronin
1. Unboxing the Gimbal and First Impressions
Check if all parts are included and familiarize yourself with the gimbal. Pay attention to its build and the features that can help stabilize your shots.
2. Calibrating the Gimbal
Calibrating the DJI Ronin is relatively straightforward. For good results, you should ensure that the gimbal is calibrated 100% correctly. This means that you need to place the camera in the correct position and make the necessary adjustments. After the initial calibration, which takes about 5 minutes, you should only need about 2 minutes next time.

3. Filming with the Gimbal
When you start filming, make sure to work with smooth movements. Sudden movements can compromise the stability of the camera. The gimbal compensates for smaller errors, but you should still ensure that the basic stability is maintained.
4. Power Supply
A major drawback of the DJI Ronin is that it relies on electricity. Make sure the battery is fully charged before you start filming. A dead battery can affect the functionality of the gimbal and make filming impossible.

5. Various Shooting Techniques
Experiment with the different features of the Ronin. These allow you to employ various shooting styles that enhance the stability of your footage. Take advantage of the gimbal's capabilities to create exciting and dynamic videos.

6. Adjusting Settings
If you are working with the same setup, you can adjust the calibration settings to film faster. This allows you to start immediately and save time. The individual measurements should be adjustable quickly to remain flexible in different situations.
7. Overcoming Challenges
Learn to cope with the limitations of the gimbal. Too rapid movements or sudden turns can cause the camera to point in the wrong direction. Practice helps you get a better feel for the device and maintain control.
8. Application Examples
To unleash the full potential of the Ronin, you should test it in various scenarios. From weddings to action scenes - the DJI Ronin allows you to work creatively in many areas.
Summary – Gimbal for Videography: Properly Use and Calibrate with the DJI Ronin
For high demands in videography, a gimbal like the DJI Ronin is essential. It offers the ability to create shake-free footage, but it also requires a certain level of practice and knowledge in calibration. With the right techniques and a deeper understanding of the gimbal's functions, you can significantly improve your videography.
Frequently Asked Questions
How do I properly calibrate the DJI Ronin?Calibration is simply done by placing the camera in the correct position and adjusting the settings.
What should I do if the camera shakes during use?Maintain a steady handhold and check the calibration of the gimbal.
How long does the battery of the DJI Ronin last?The battery has a long runtime, which can last several days of shooting depending on usage.
How do I achieve the best possible shots?Utilize the various functions of the Ronin and focus on slow, controlled movements.
What challenges does the DJI Ronin have?It relies on electricity and can point in the wrong direction if calibrated incorrectly.


