Video editingcan be complex, but it mainly requires three things: creativity, technique, and perseverance. Once you have your raw material, the question arises as to how you can put everything together to create an engaging video. In this tutorial, you will learn step by step how to cut the clips and optimize the result.
Key insights
- Efficient work with the import of raw material.
- Adjustment of audio levels and volume.
- Important cutting techniques such as jump cuts and transitions.
Step-by-step guide
1. Set up project and timeline
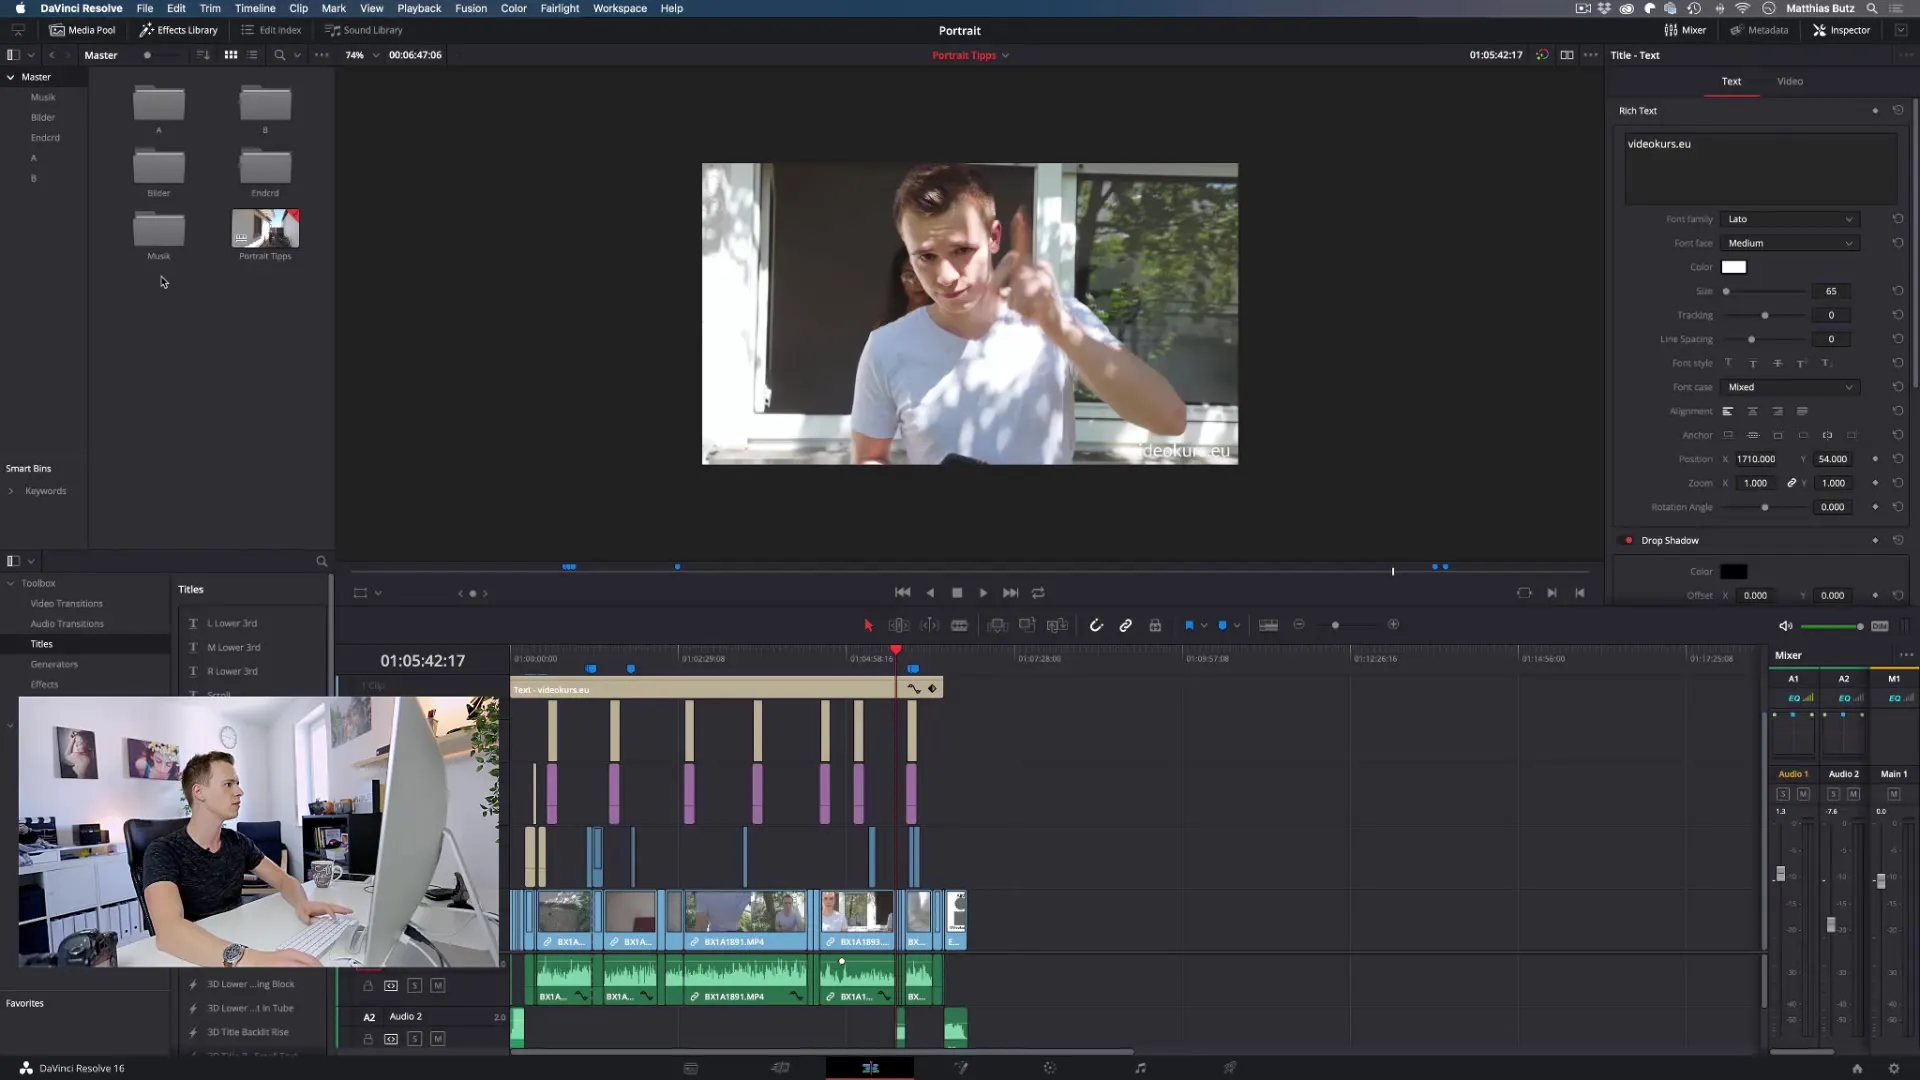
Start by creating a new project in DaVinci Resolve. Choose a blank timeline to begin editing. It is important to have a clean starting point before adding your video material.
2. Import raw material
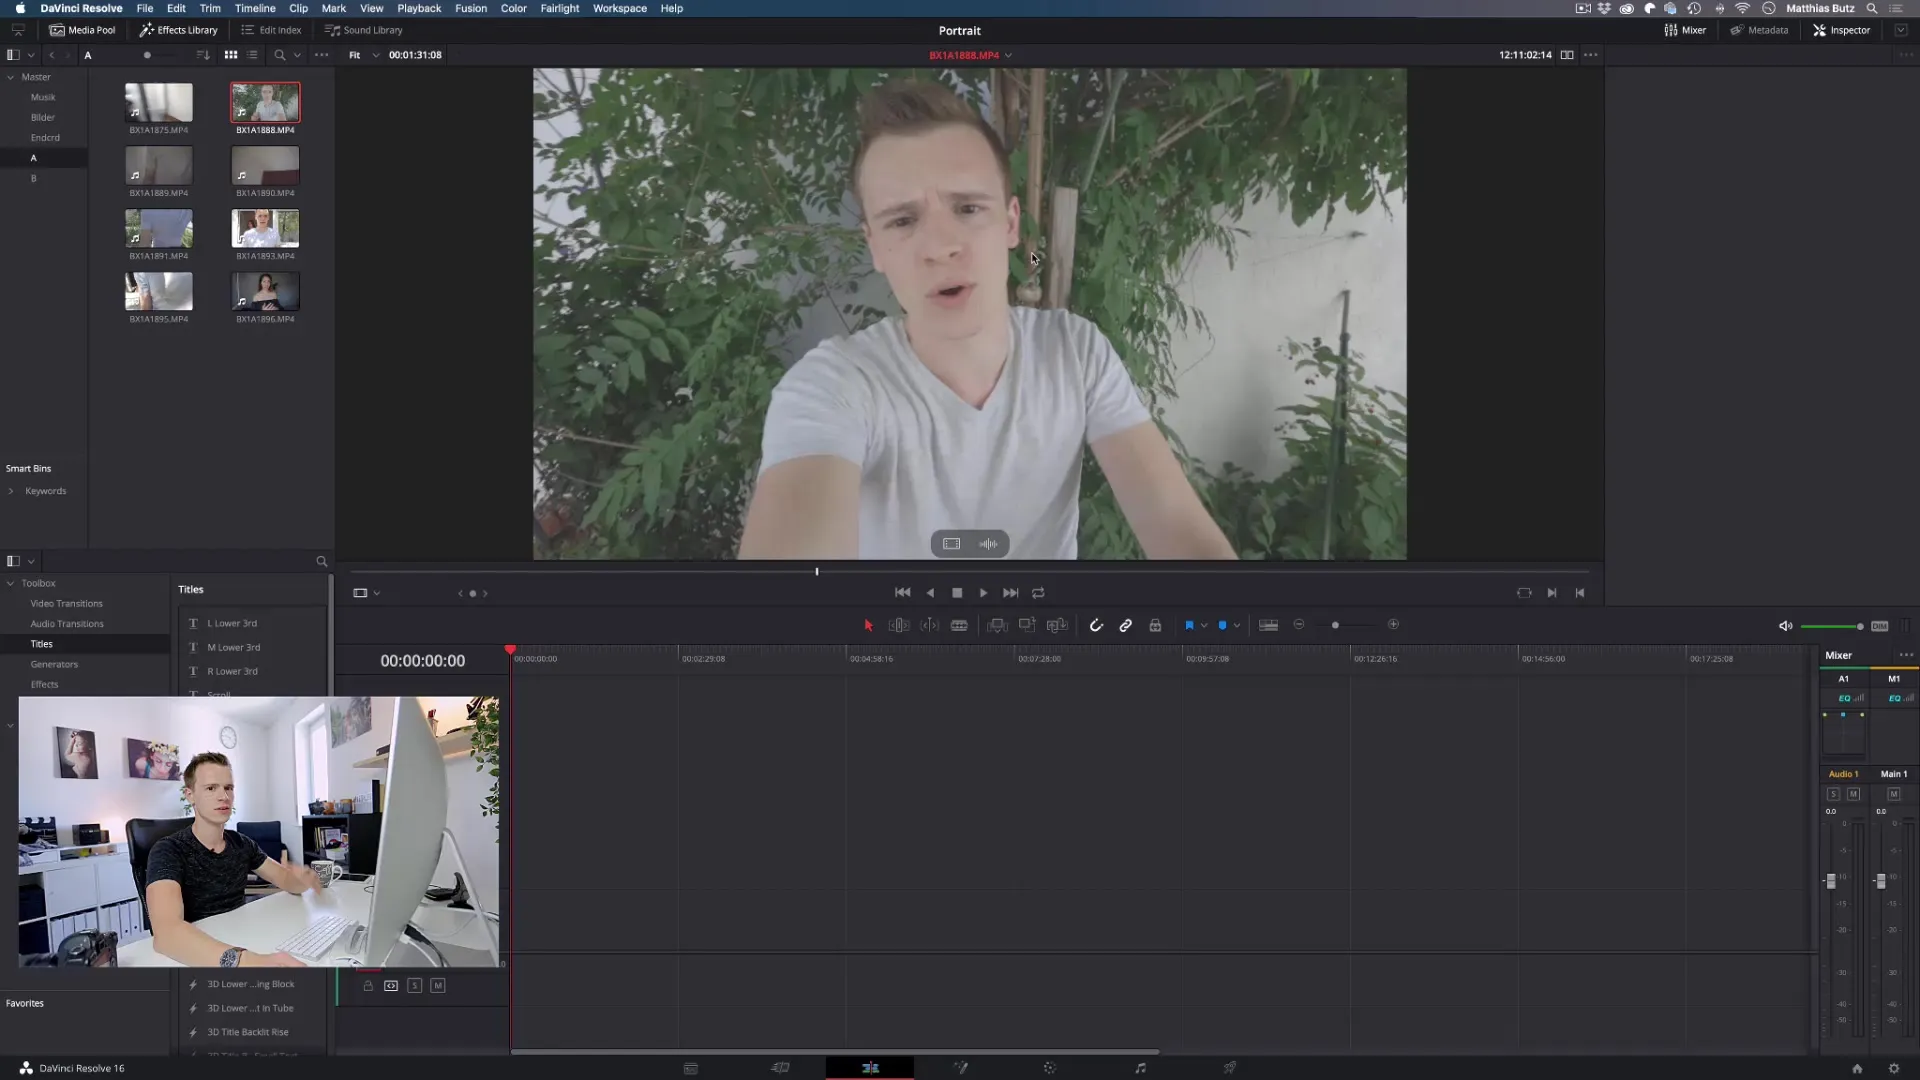
Now drag your raw material into the timeline. Ensure that all clips are well organized and visible. This will help you maintain a better overview of your project.
3. Adjust audio levels
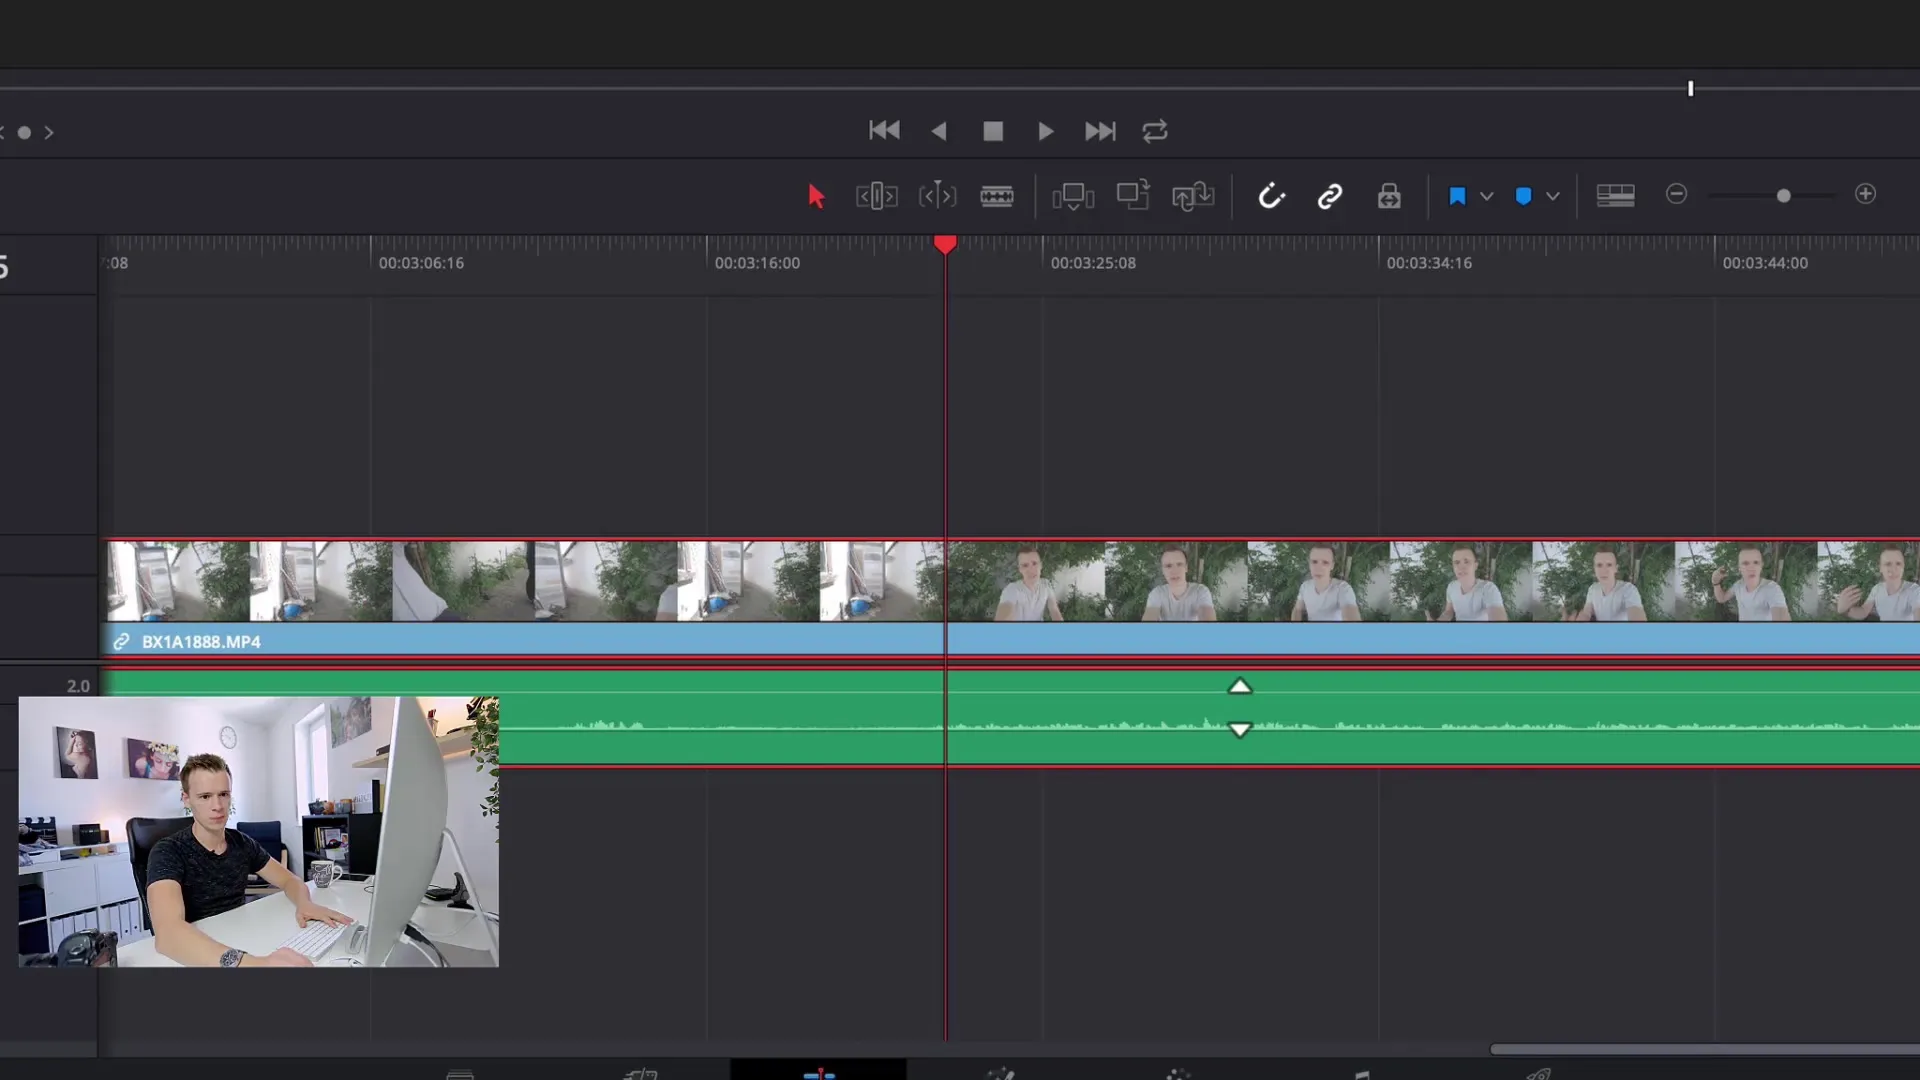
Check the audio quality of your material. Often the levels are too low, so you should adjust them. You can visualize the volume using the waveform displayed below the video. Make sure the level does not clip, as this can lead to sound loss.
4. Begin video editing
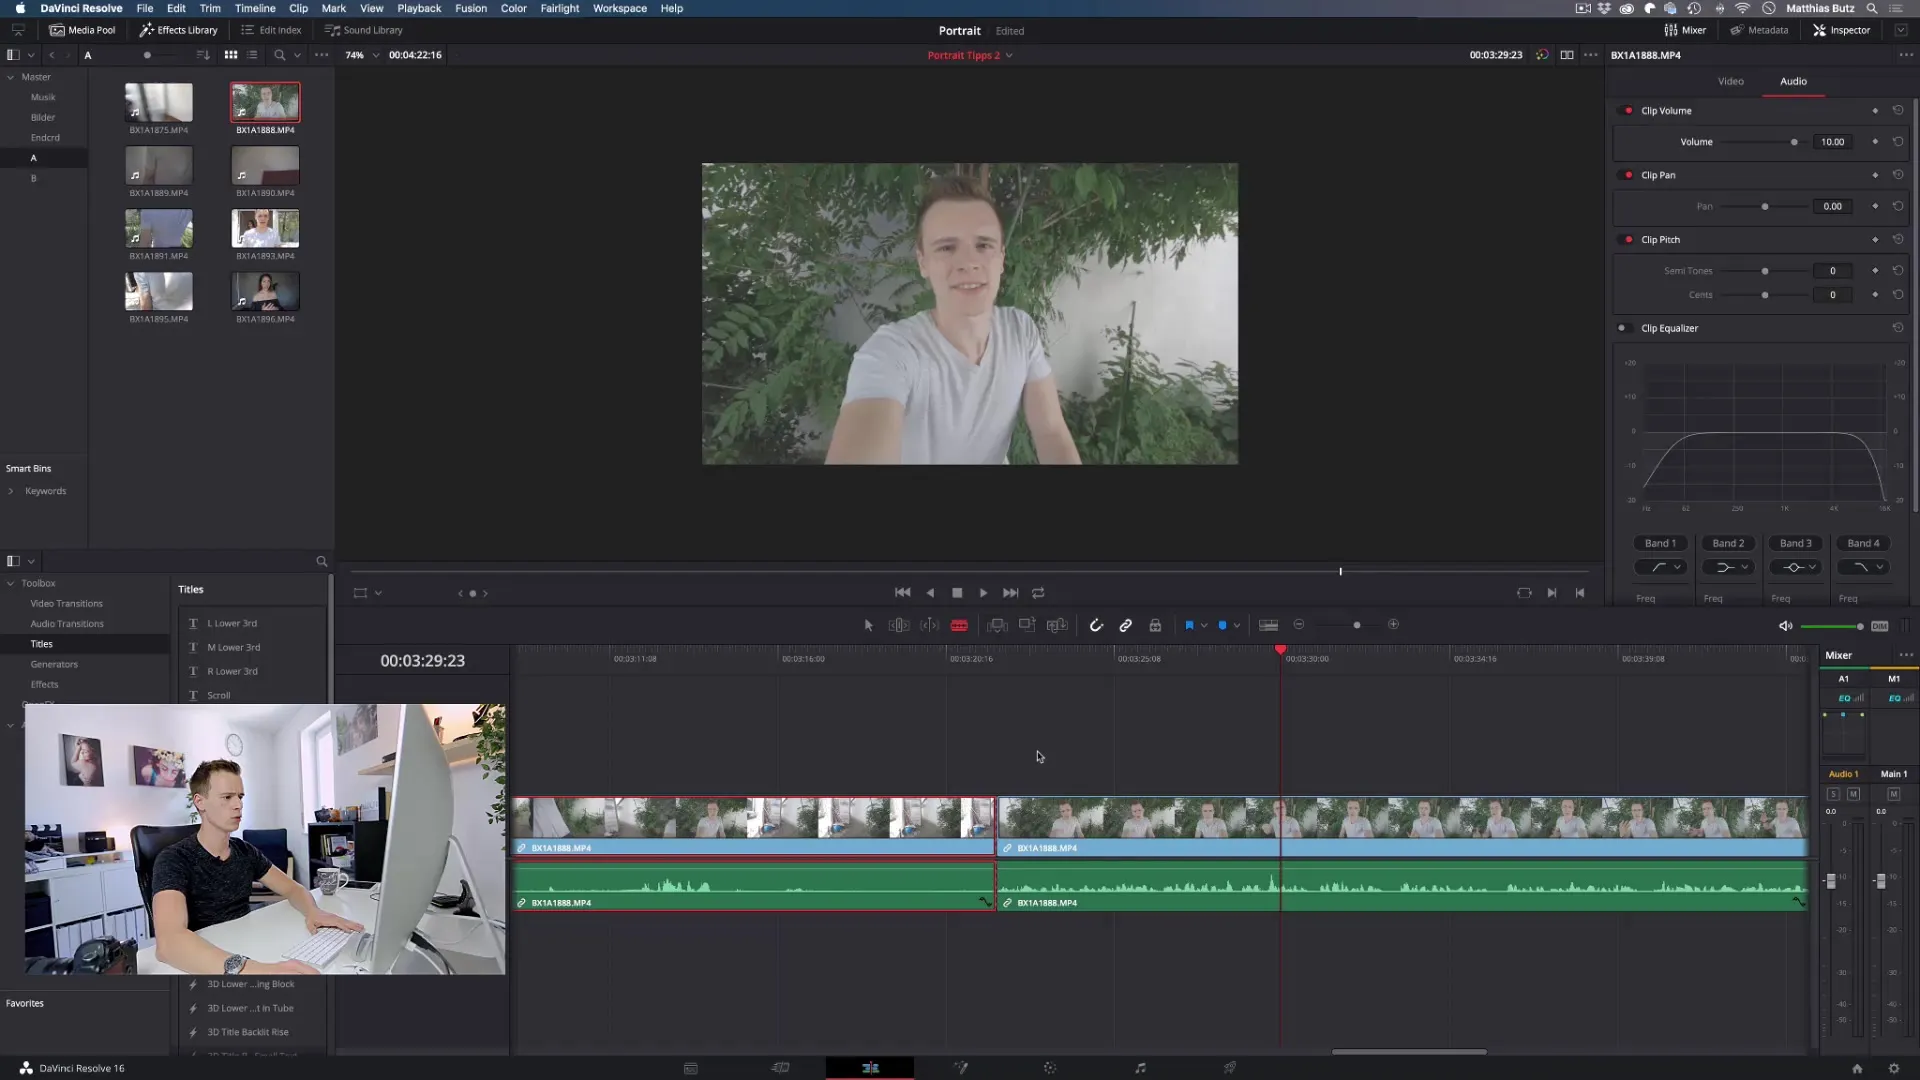
To cut a clip, use the cut tool(B) and select the blue spots that contain no content or where there are mistakes. Ensure that the cuts flow seamlessly into the later clips.
5. Create an engaging beginning
The beginning of your video should provide a clear introduction. For example, start with a dynamic camera movement or a pan. This allows the viewer to immerse themselves in the topic.
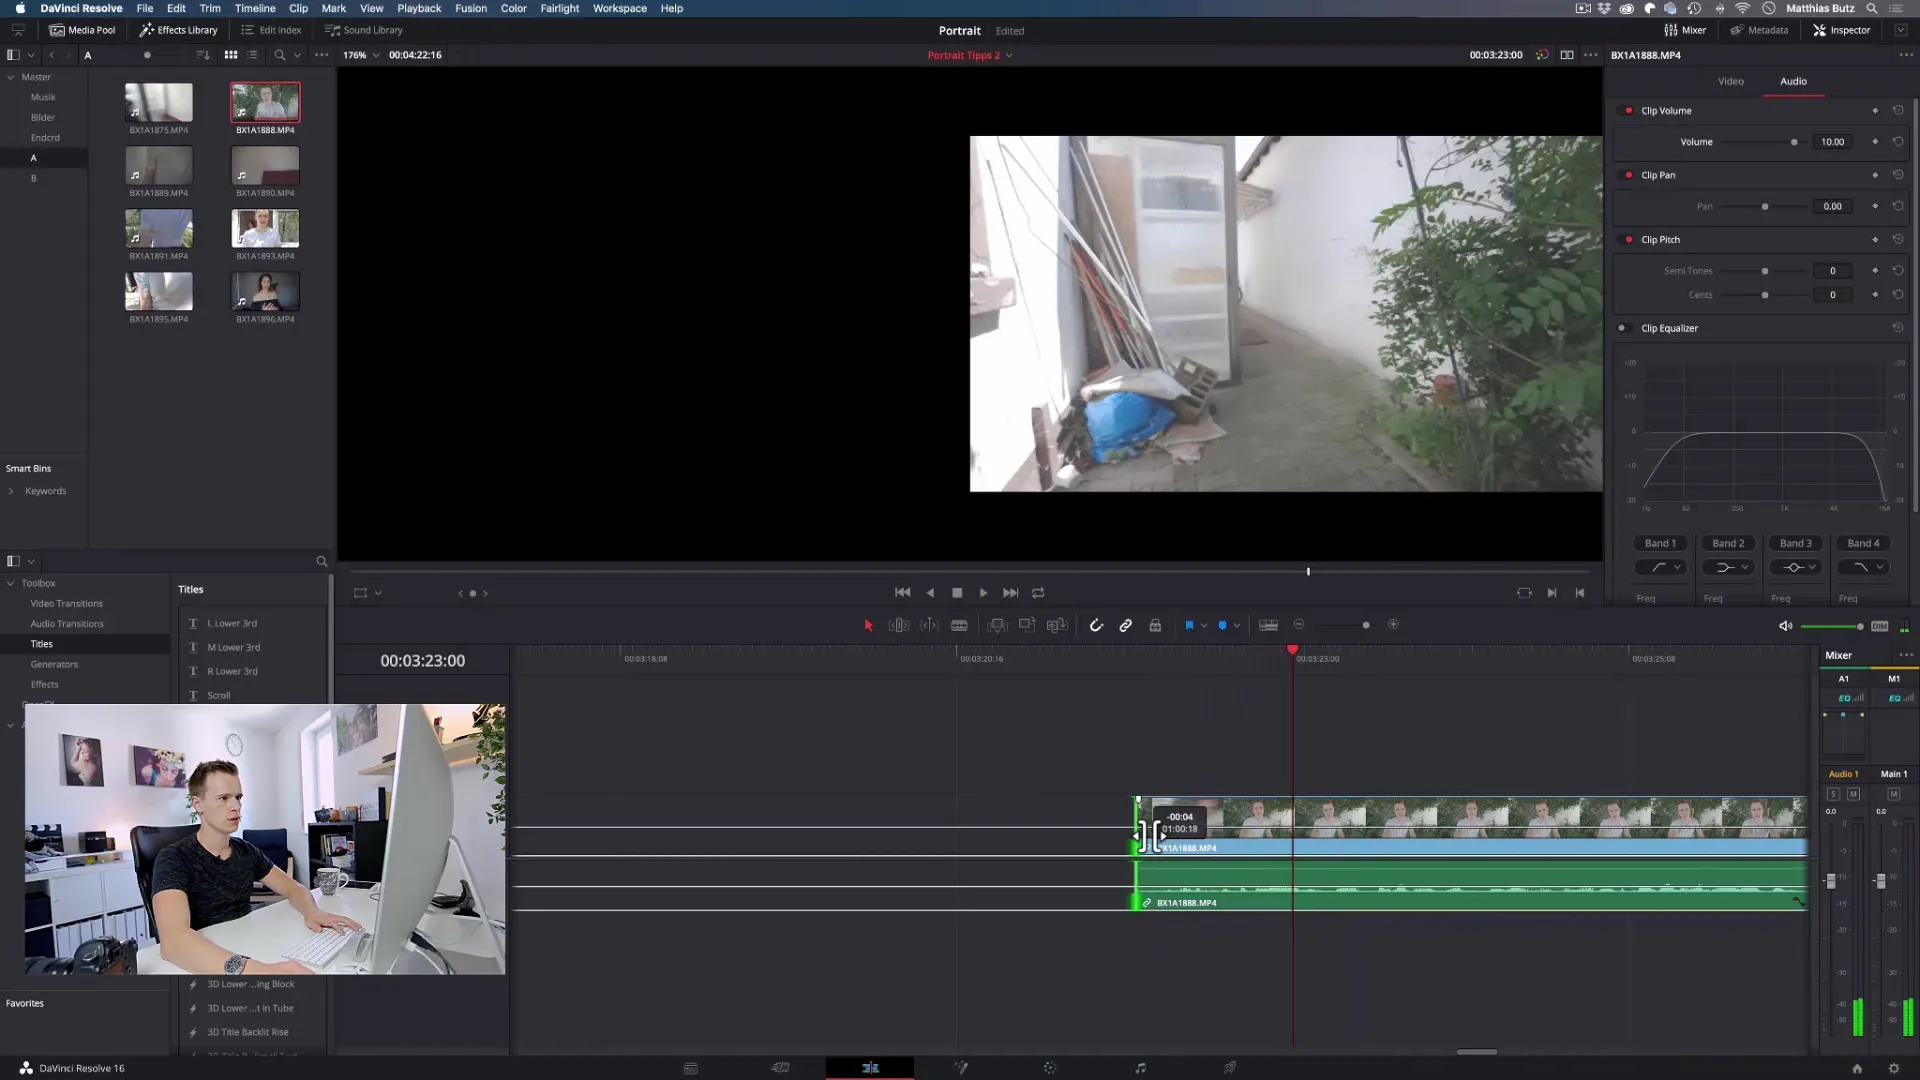
6. Use jump cuts
Sometimes mistakes or long pauses are unavoidable. In such cases, a jump cut is suitable. This can make the clip appear smoother and more dynamic, as long as the cut occurs at an appropriate point. However, ensure that the jumps are not too distracting.
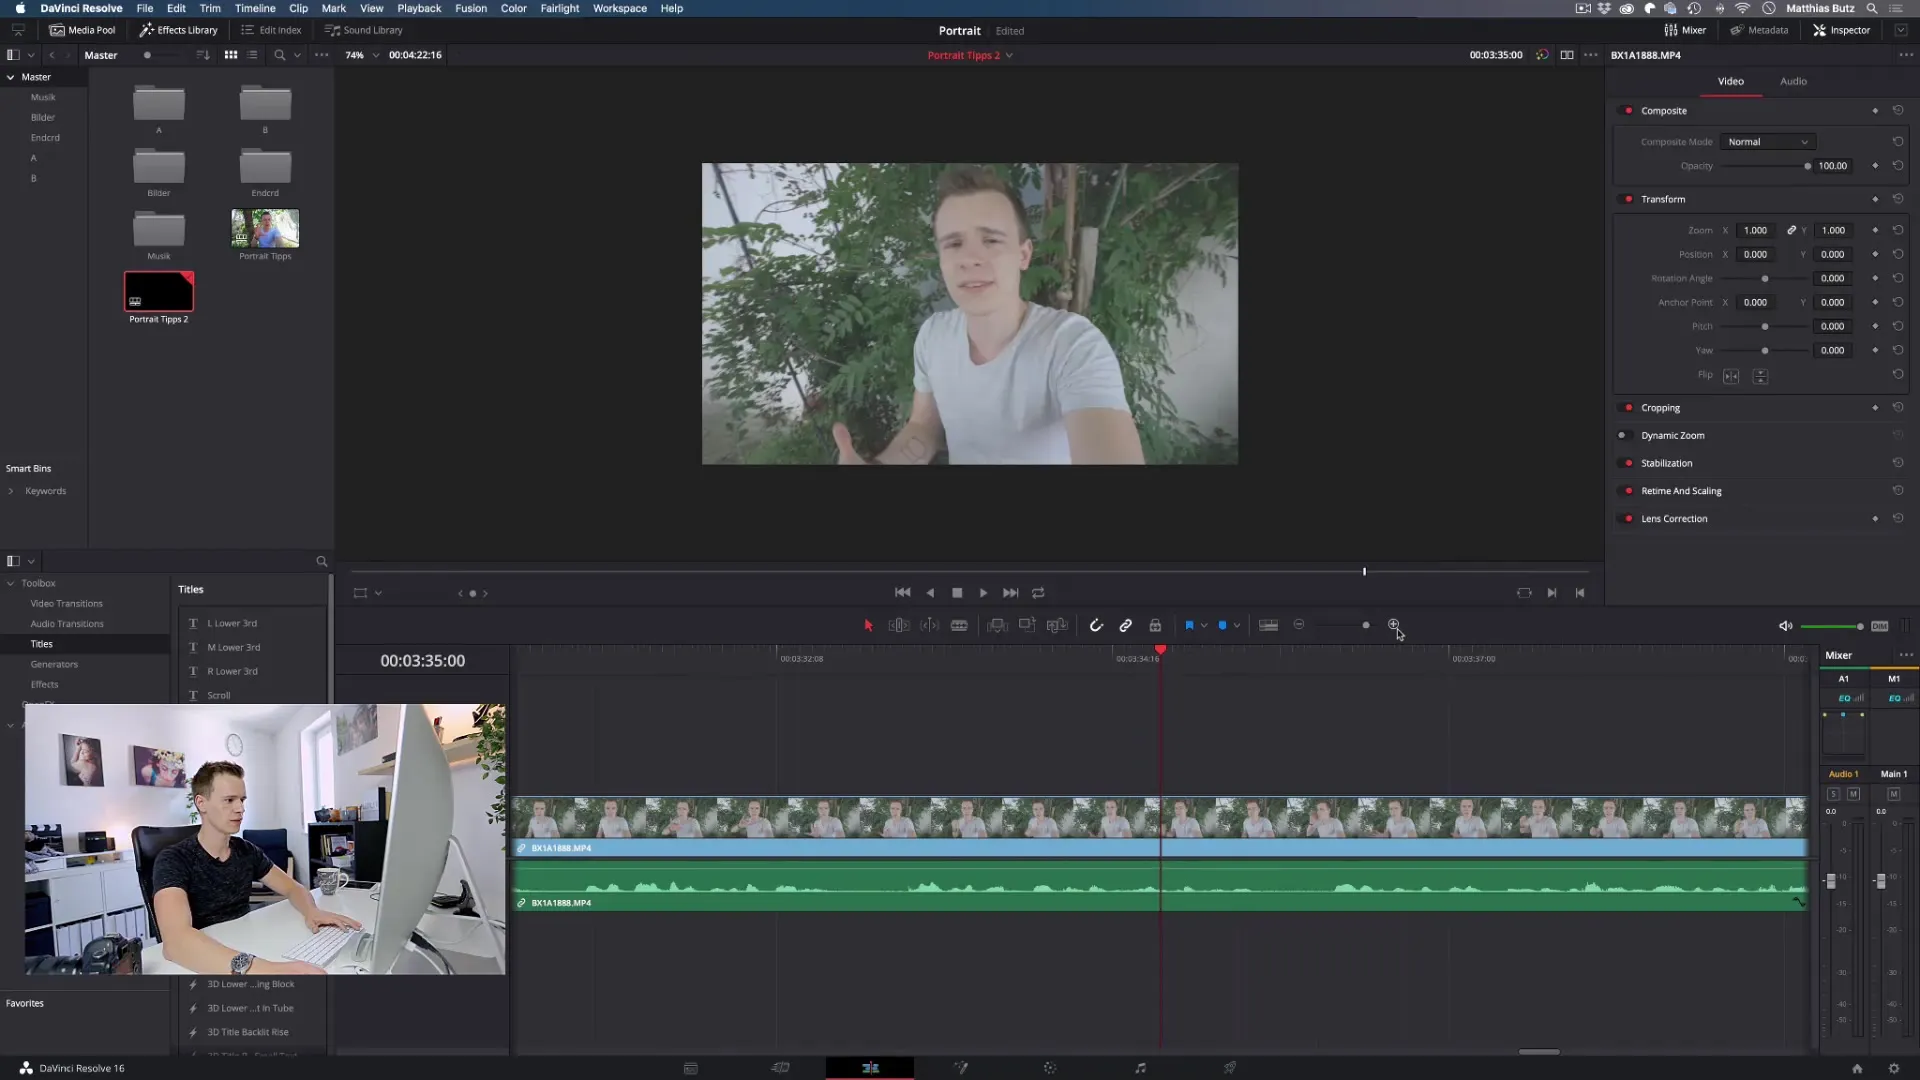
7. Check transitions
If you are using multiple clips, it is essential that the transitions are harmonious. Especially with camera pans, the focus should point in the same direction to maintain the flow of the video.
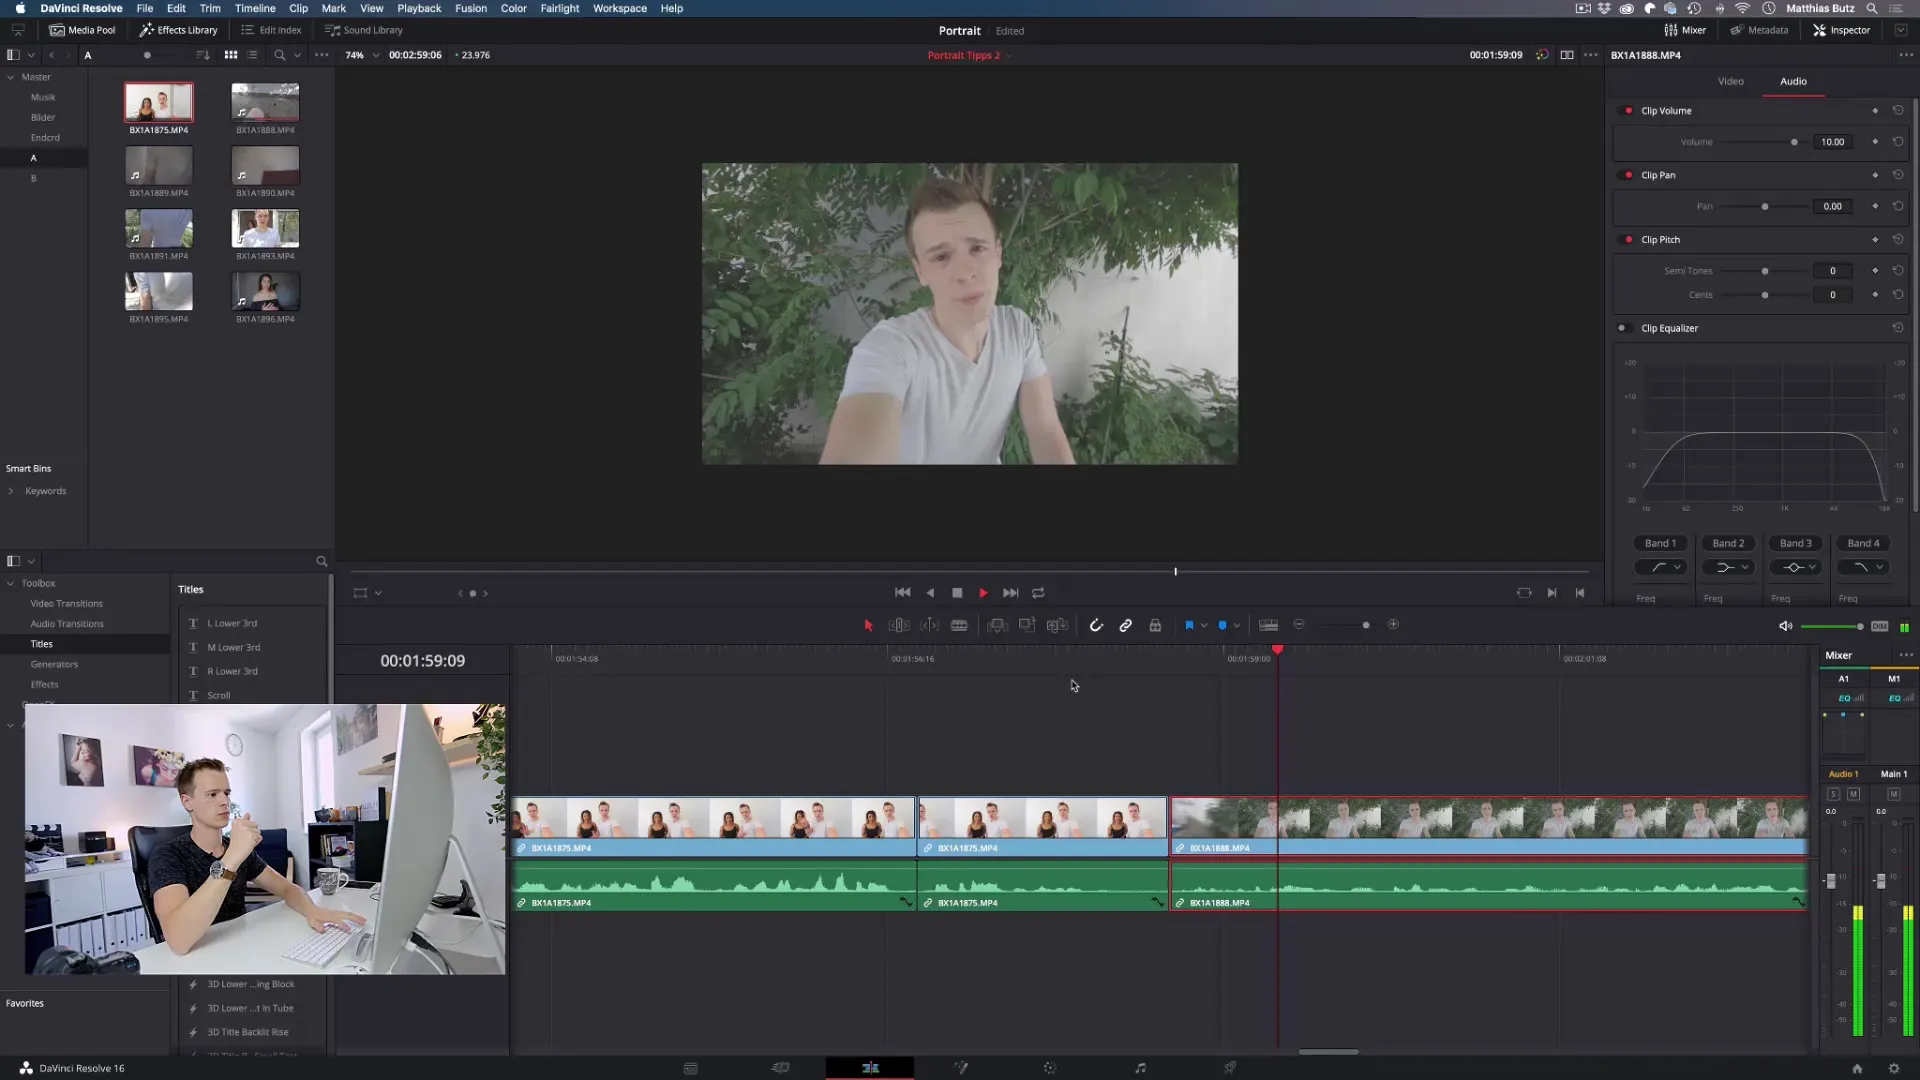
8. Refine sections
Once you have assembled all the clips, go through each section and optimize the transitions. Avoid large jumps in the image, as this can distract the viewer. Instead, the flow should be natural.
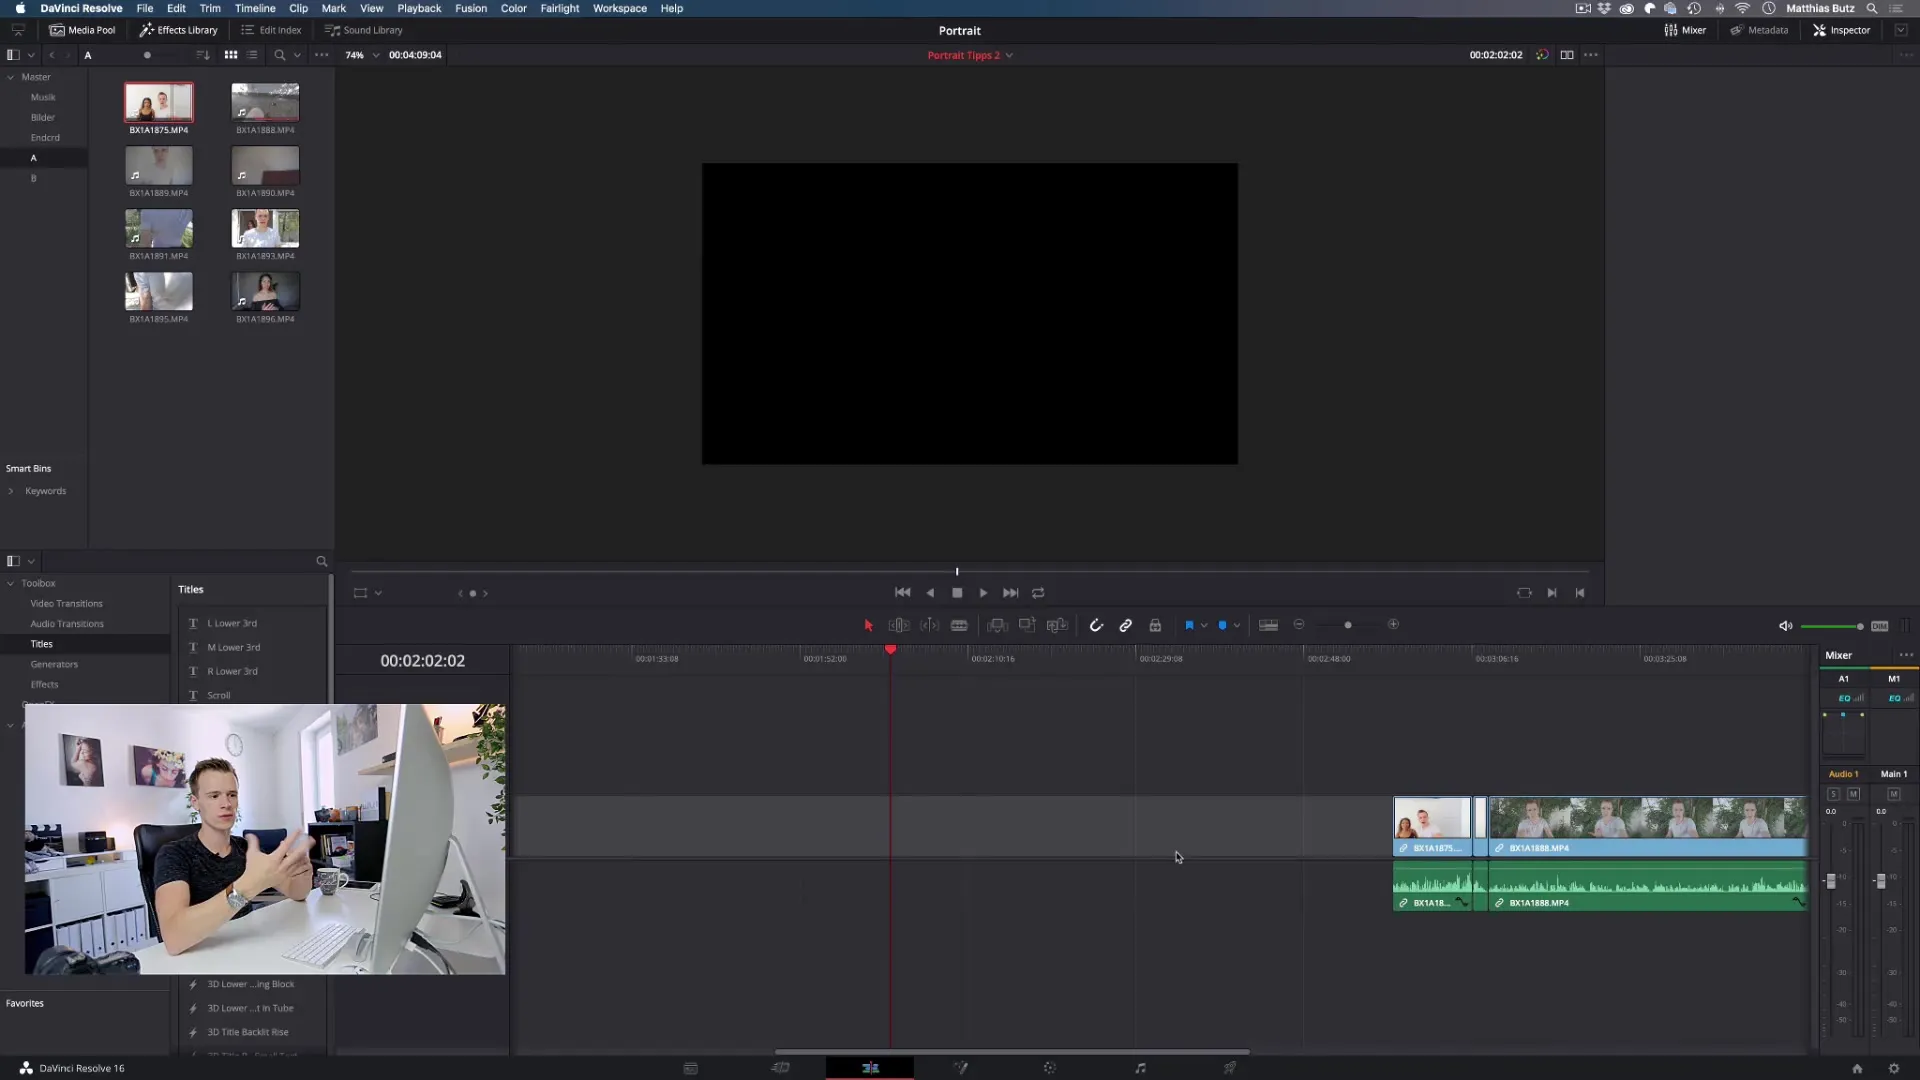
9. Export the final video
Once the editing is complete, export your video in the desired quality and in a common format. Depending on the platform where you want to publish, choose the appropriate format.
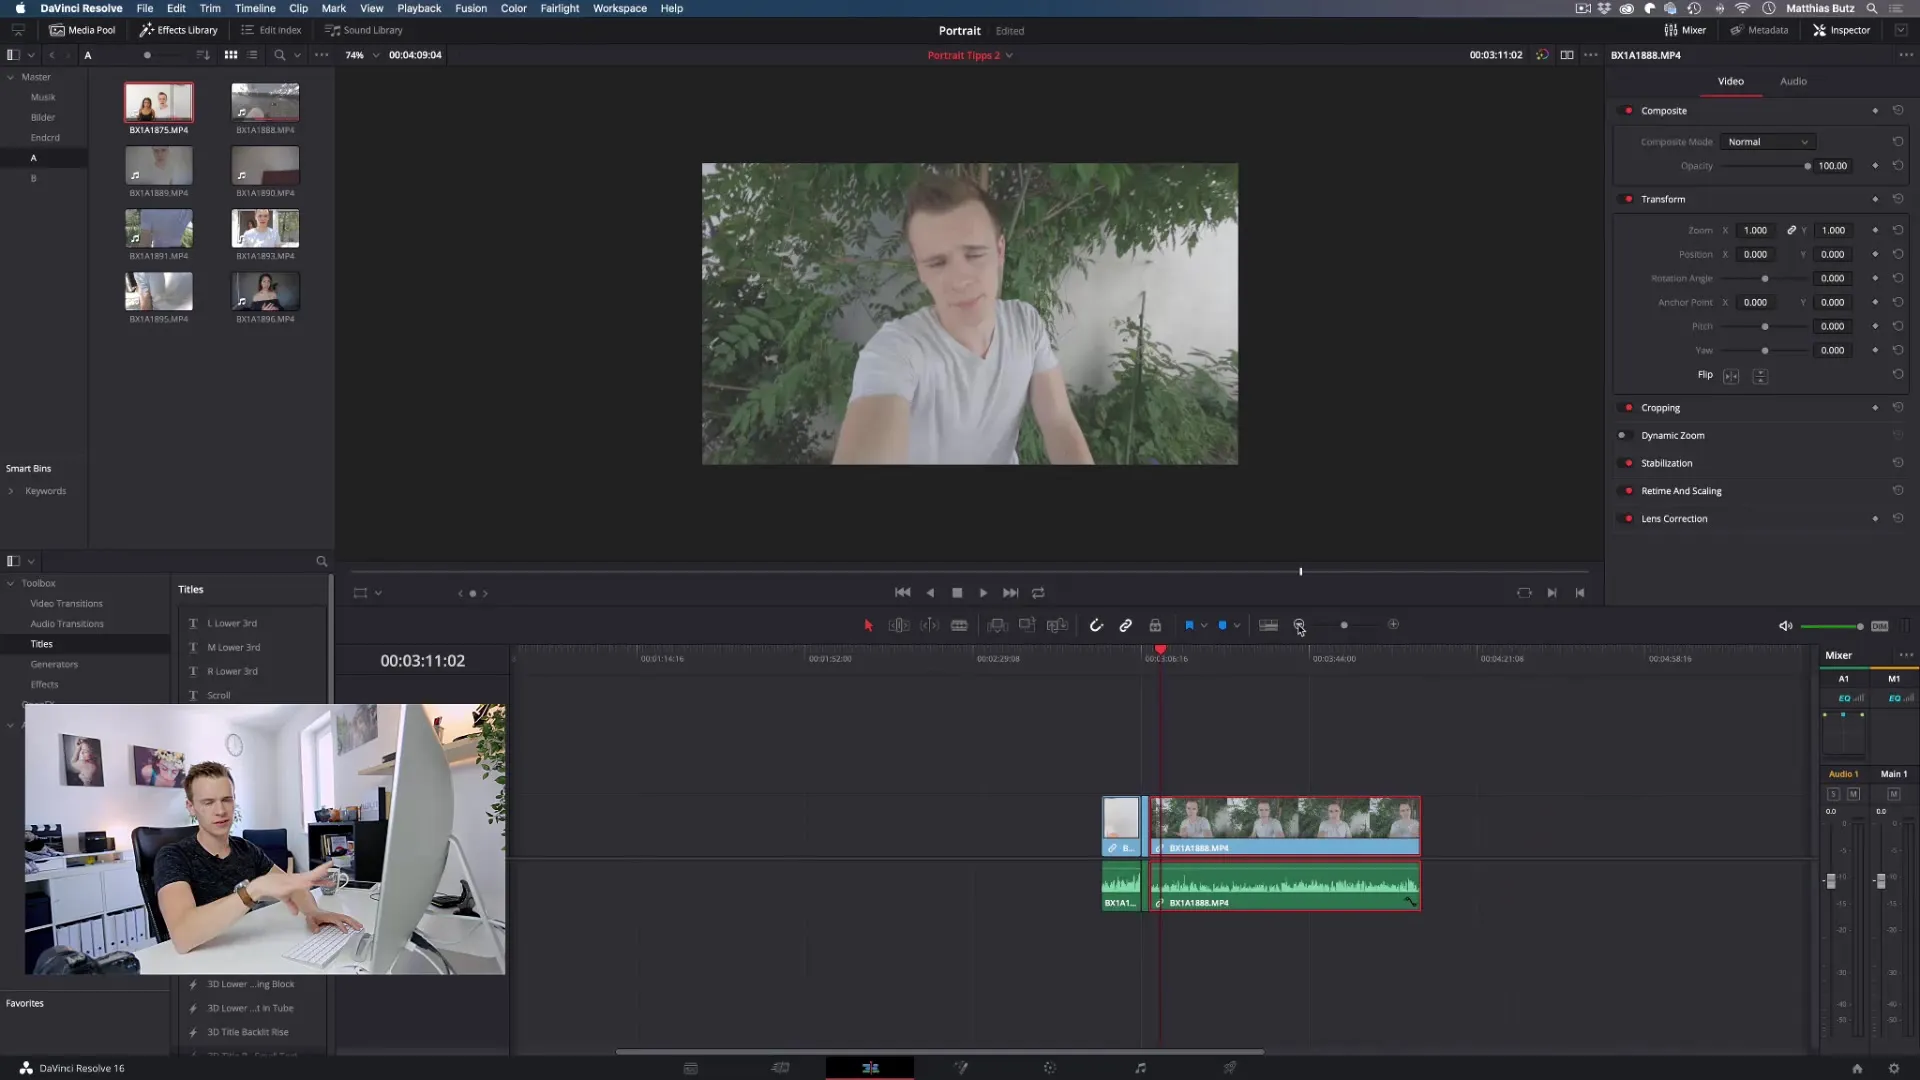
Summary – Cutting techniques for video projects: A-Roll in DaVinci Resolve
In the process of video creation, cutting is crucial for the quality of the final product. By importing in an organized manner, adjusting audio levels, and using targeted cuts, you achieve an impressive result that will captivate your viewers.
FAQ
How do I adjust audio levels in DaVinci Resolve?In DaVinci Resolve, you can adjust the volume by dragging the line in the timeline or via the inspector.
What is the difference between a normal cut and a jump cut?A normal cut connects two relevant video sequences, while a jump cut removes one or more parts of the video to shorten the runtime.
How do I export my video in DaVinci Resolve?Once you have completed the editing, simply go to "File" and select "Export" to save the video in your desired format.


