Video editing is no longer just for professionals who own expensive software and powerful computers. Your smartphonecan also deliver the desired results. With the right apps and a bit of know-how, you can cut, grade, and adjust videos, whether they were filmed with your smartphone or another camera. Let’s go through the steps you need to edit your videos directly on your smartphone.
Key Insights
- Smartphones provide powerful video editing capabilities.
- With apps like Filmic Pro and Premiere Rush, you can easily cut and grade videos.
- Safe handling of the smartphone as well as proper management of apps are crucial for success.
Step-by-Step Guide
To effectively edit your videos, follow these steps:
1. Transfer Videos to the Smartphone
The first step is to transfer your video files to your smartphone. You can do this using an adapter for your SD card, which is especially convenient if you filmed with a GoPro or a DSLR.
2. Make Basic Adjustments with Filmic Pro
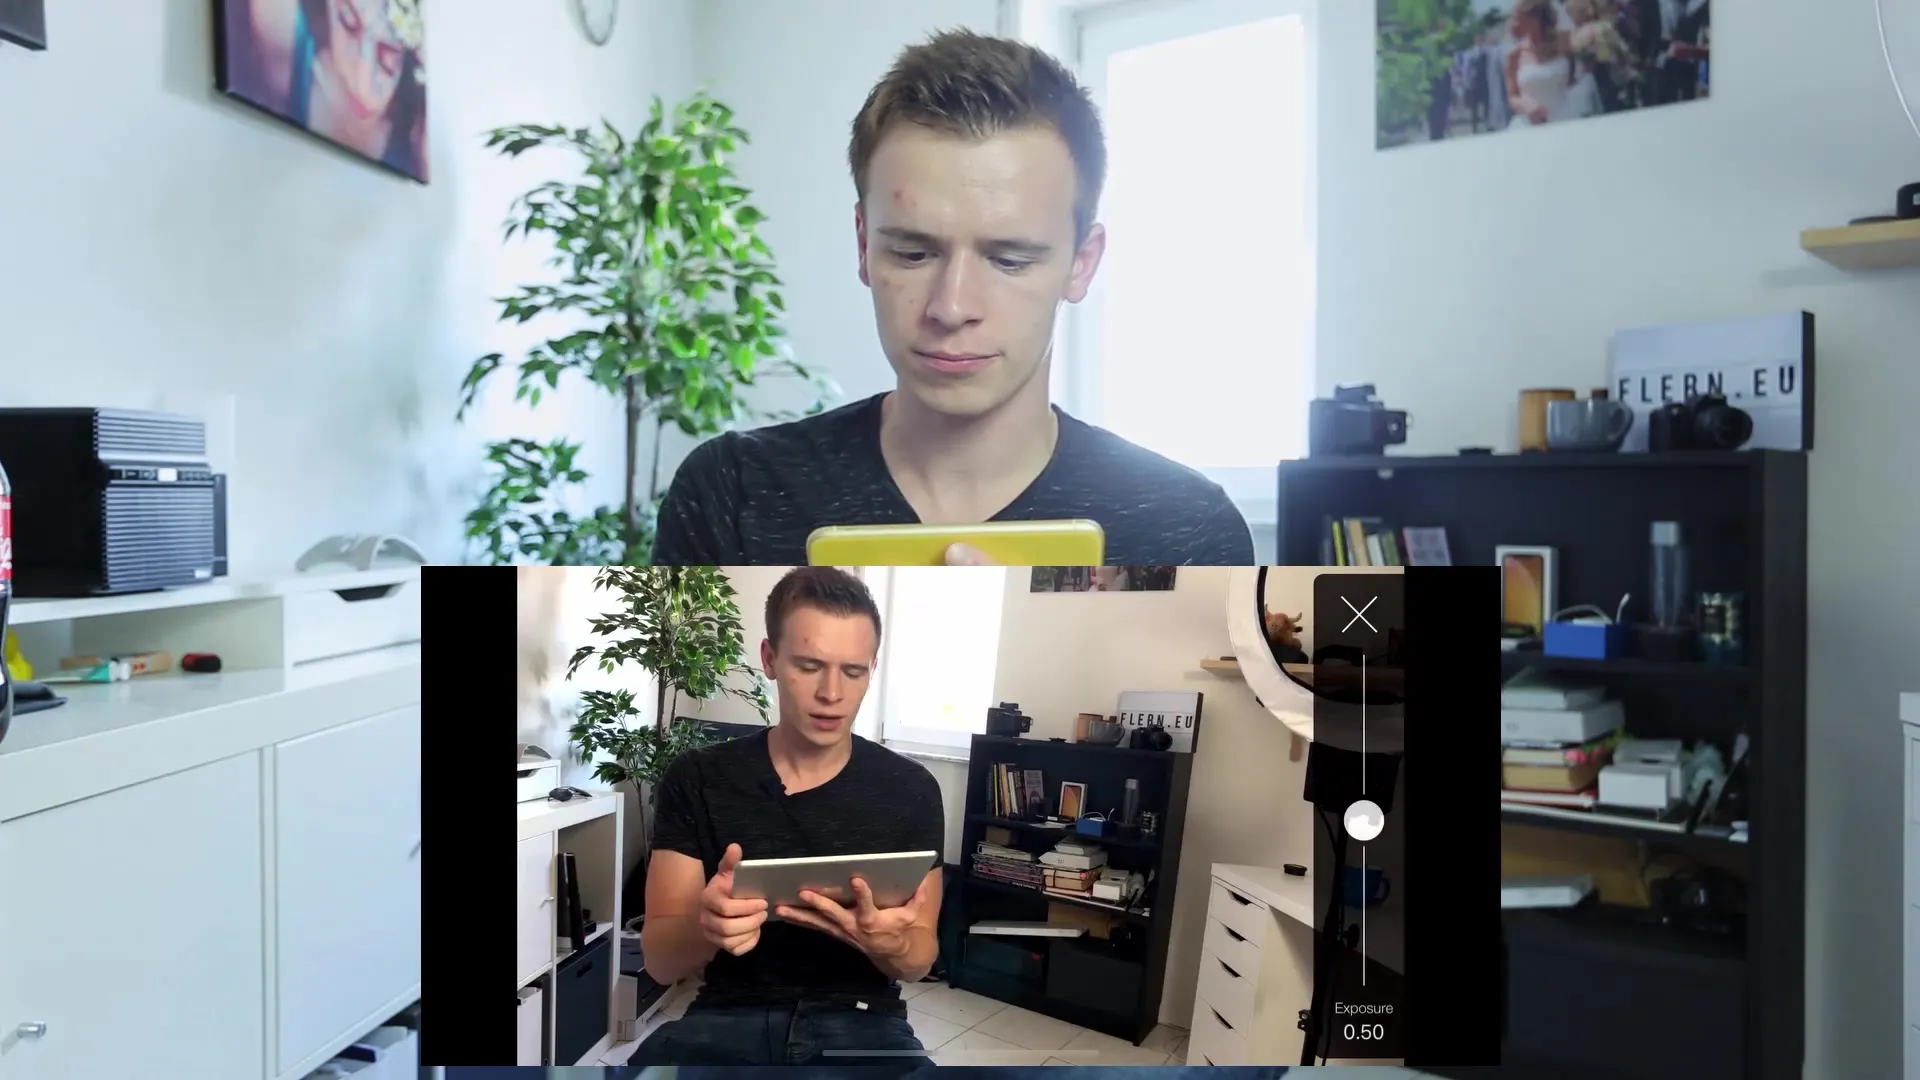
Once the video is on your smartphone, you can use the Filmic Pro app to make basic adjustments. Here, you can change the exposure, contrast, and saturation. These basic adjustments are crucial for enhancing the look of your video.
3. Export the Edited Video
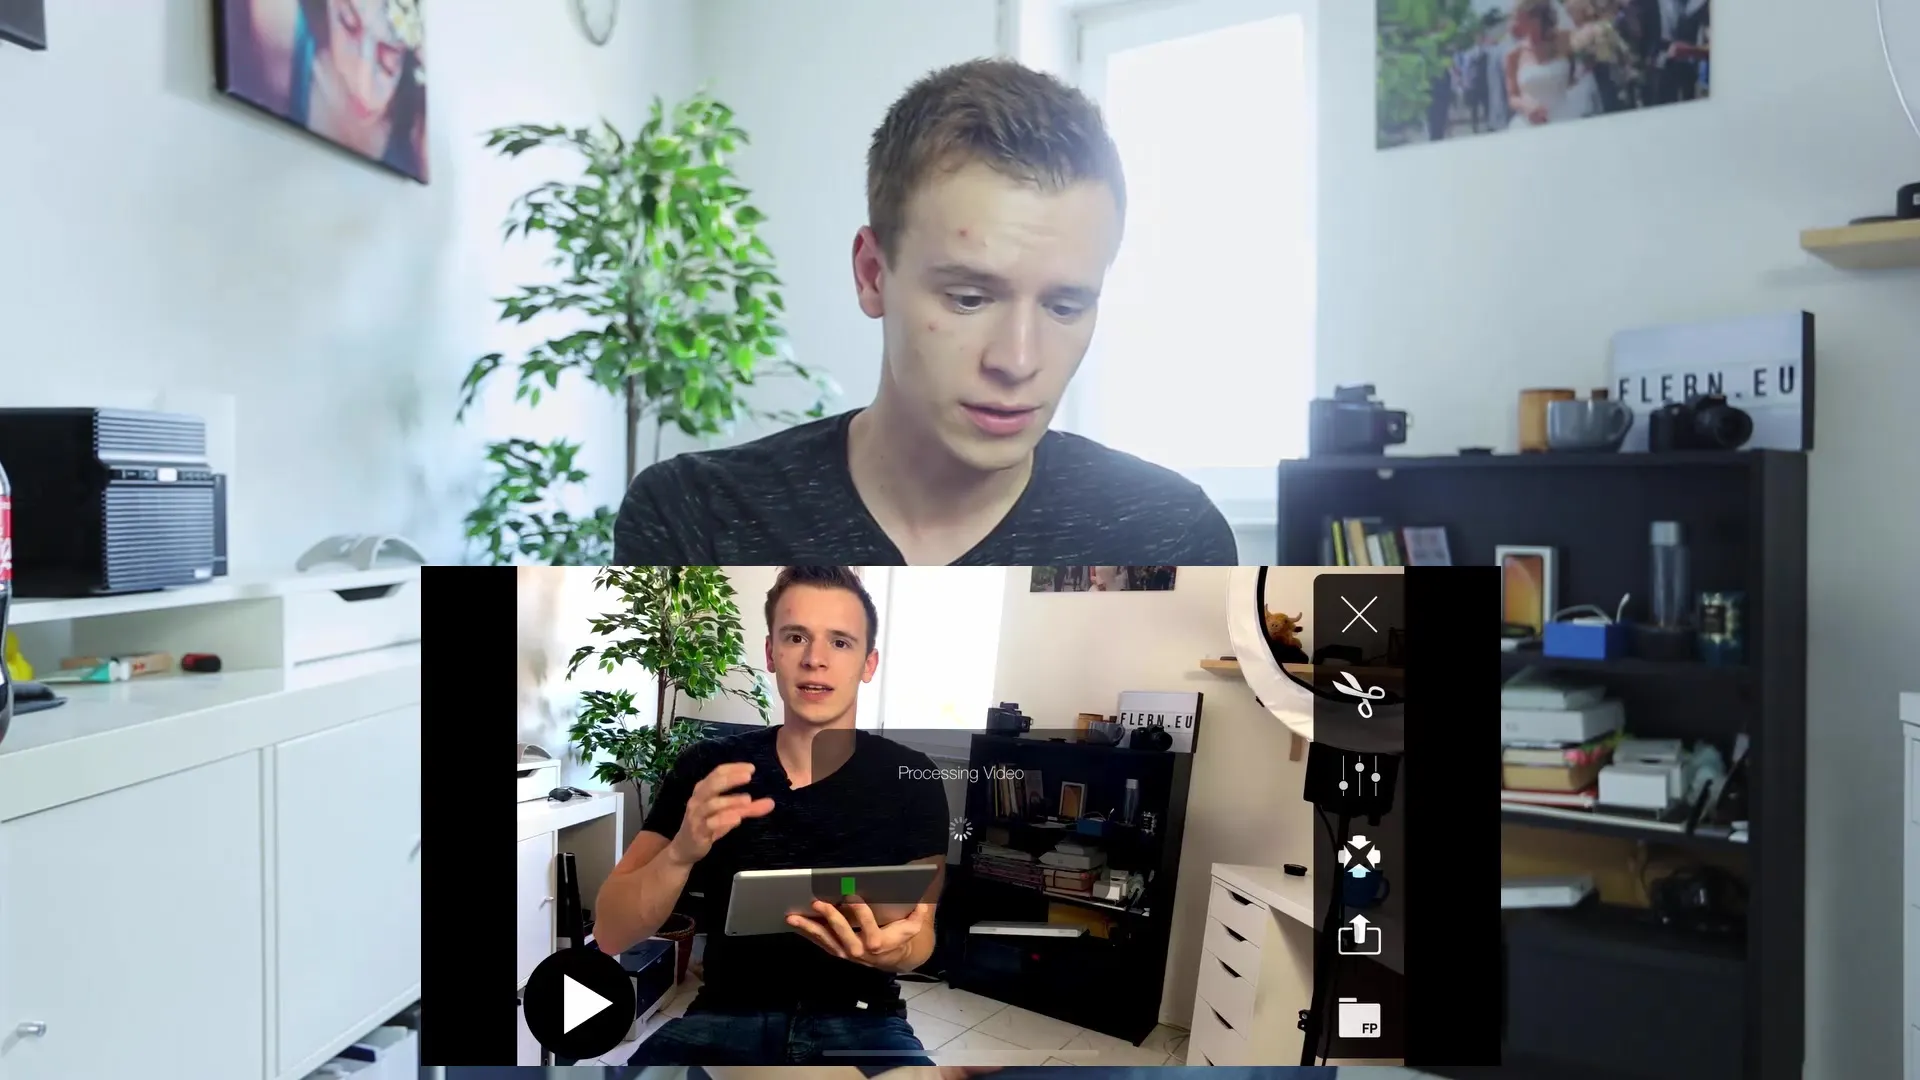
Review your changes and export the edited video to your photo library so you can upload it to another app. This is important because films edited in Filmic Pro cannot be externally edited directly.
4. Use Premiere Rush for Cutting
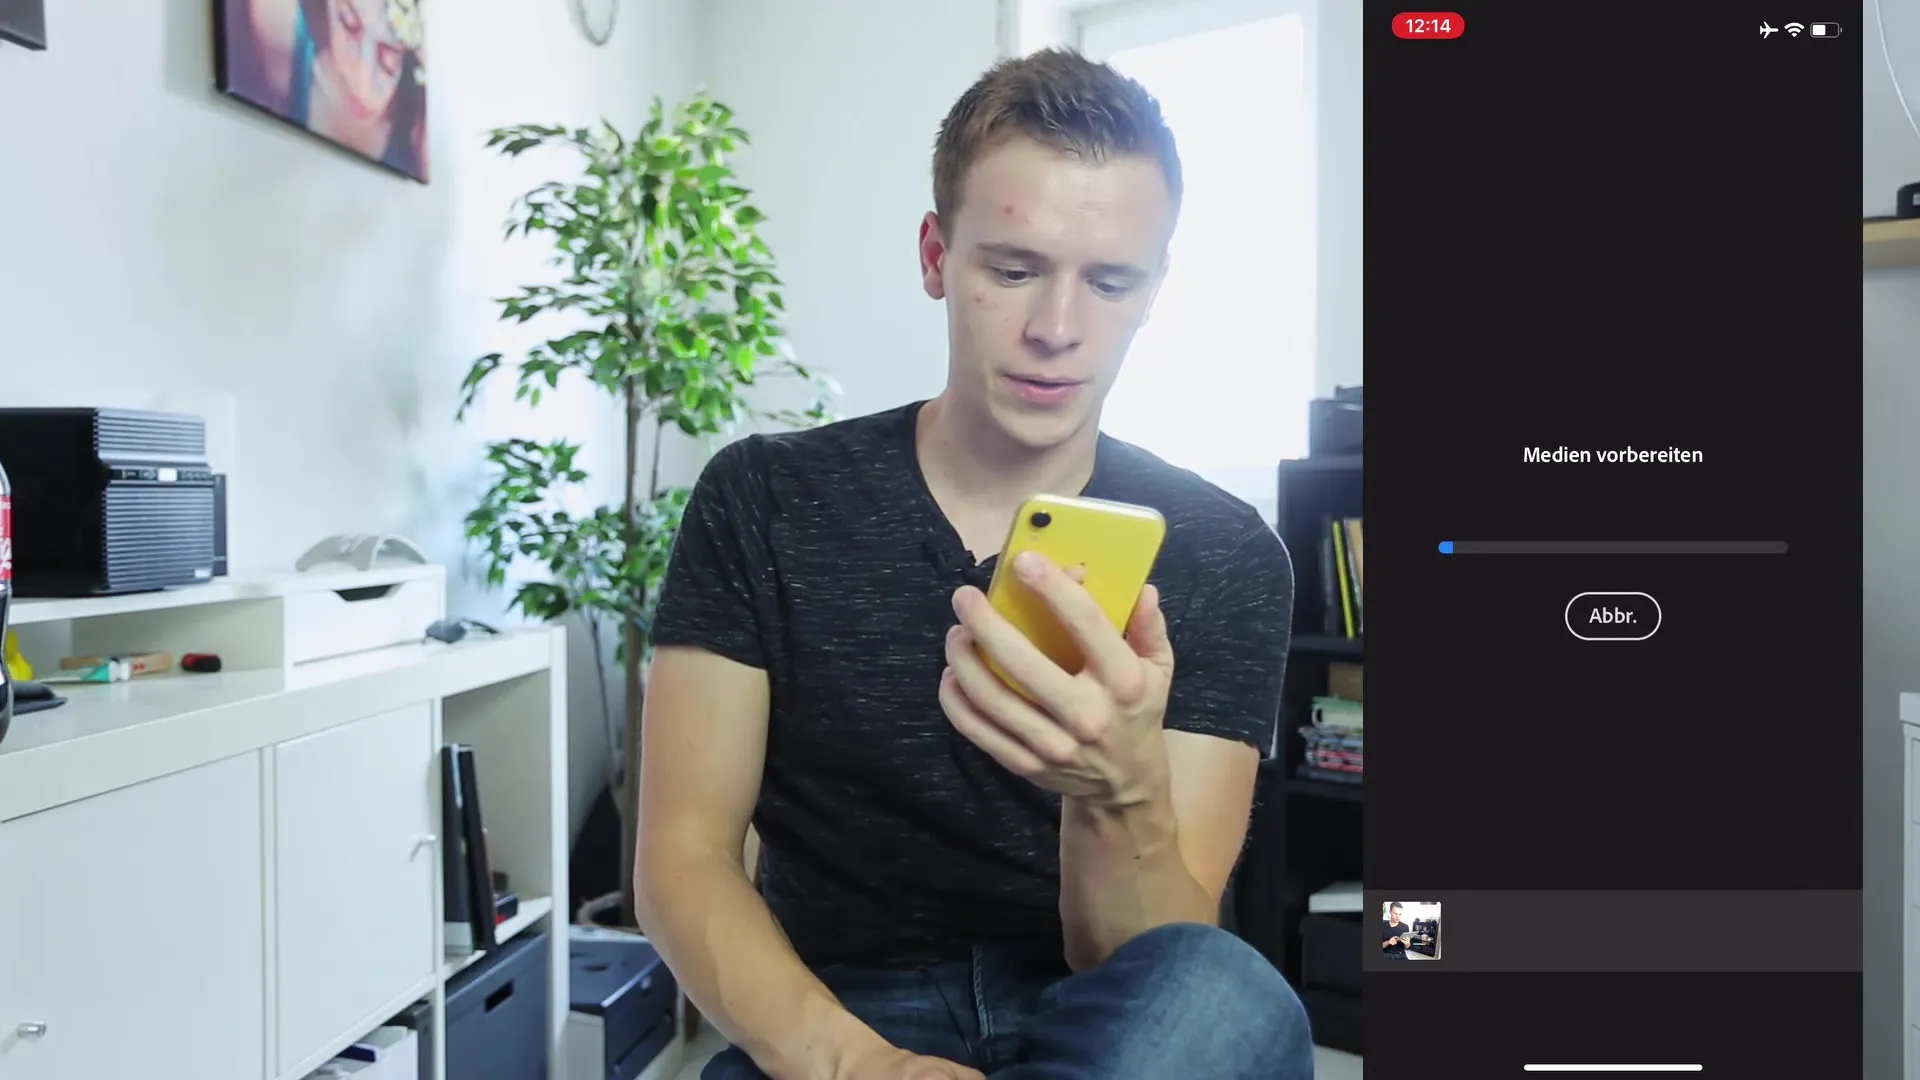
Now it’s time for Premiere Rush. This app allows you to cut the video. Start a new project and upload your edited video from your photo library. You can now use the timeline to set cuts and remove unwanted parts of your video.
5. Project Settings and Clip Cutting
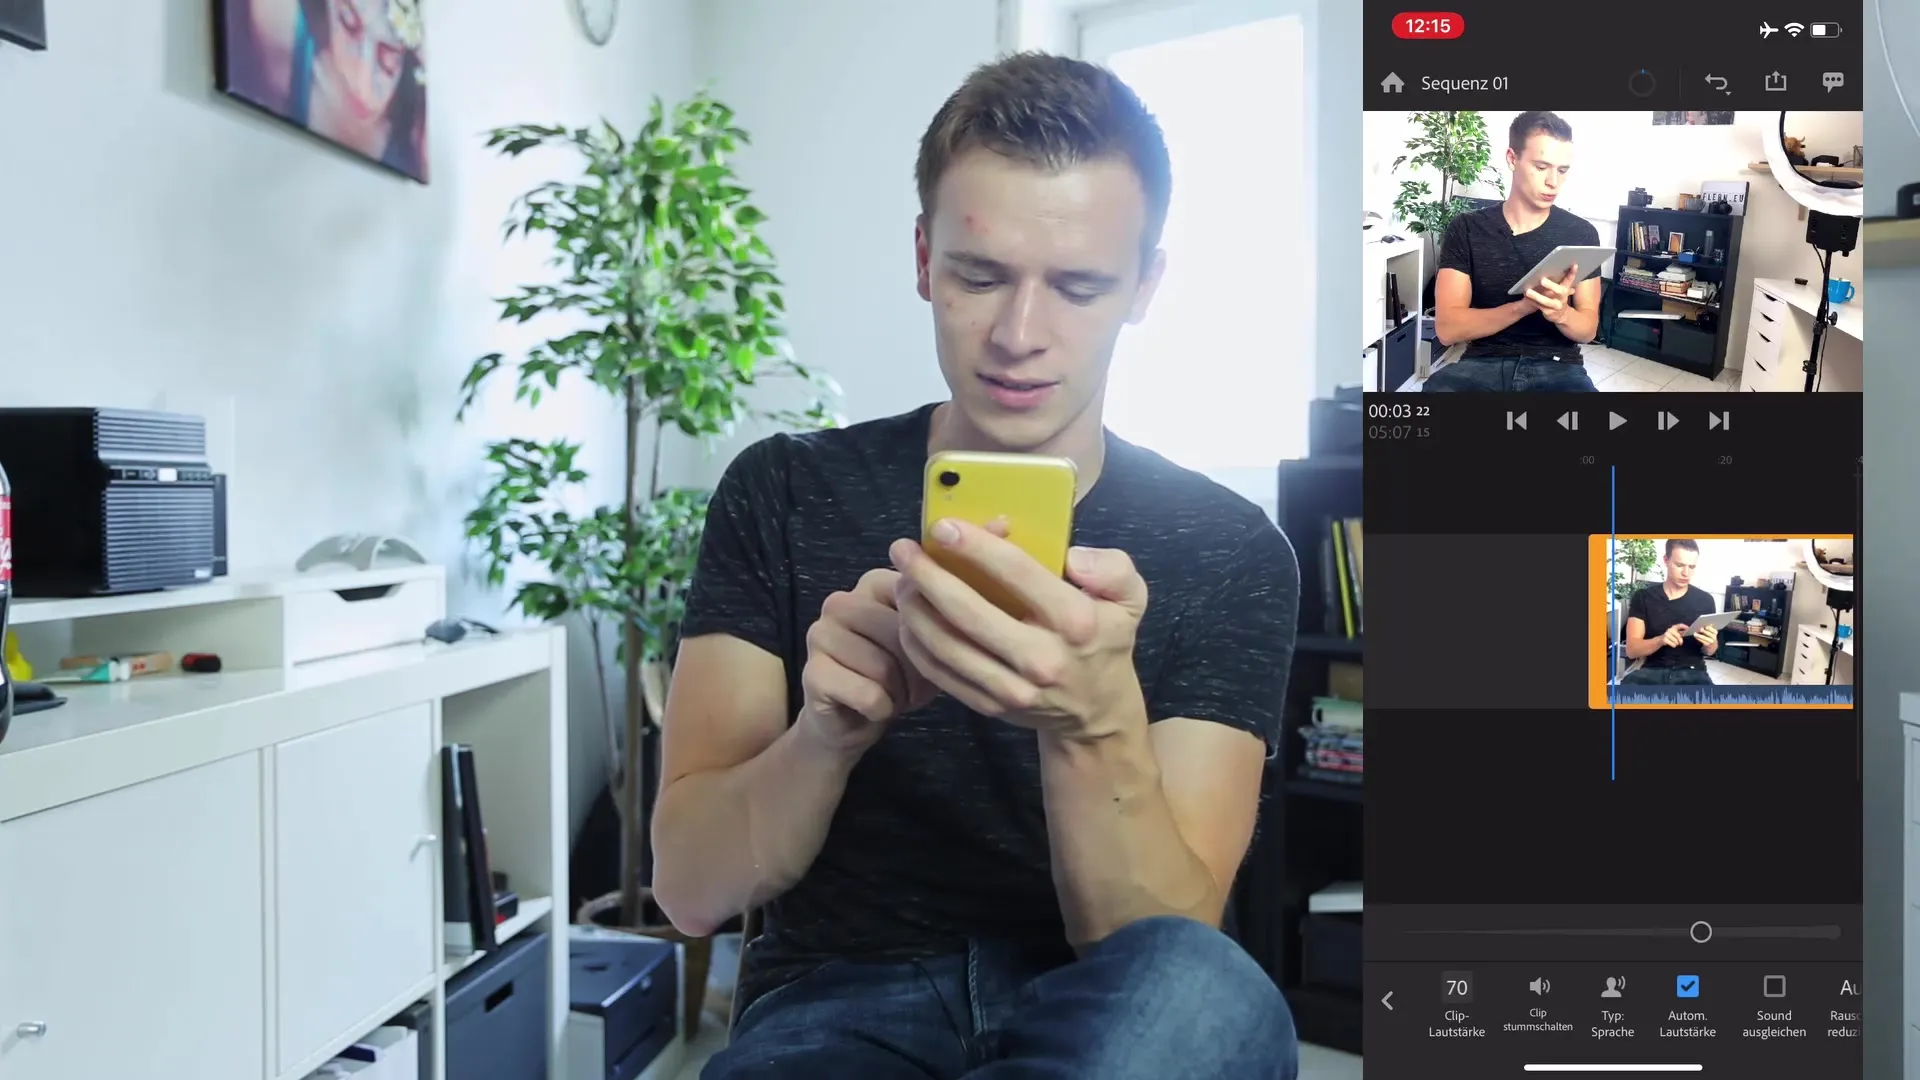
In Premiere Rush, you have a variety of features for cutting your video. Select the exact spot where you want to cut, make a cut, and remove unwanted clips. You can also adjust the volume or enable noise reduction to improve audio quality.
6. Perform Color Grading
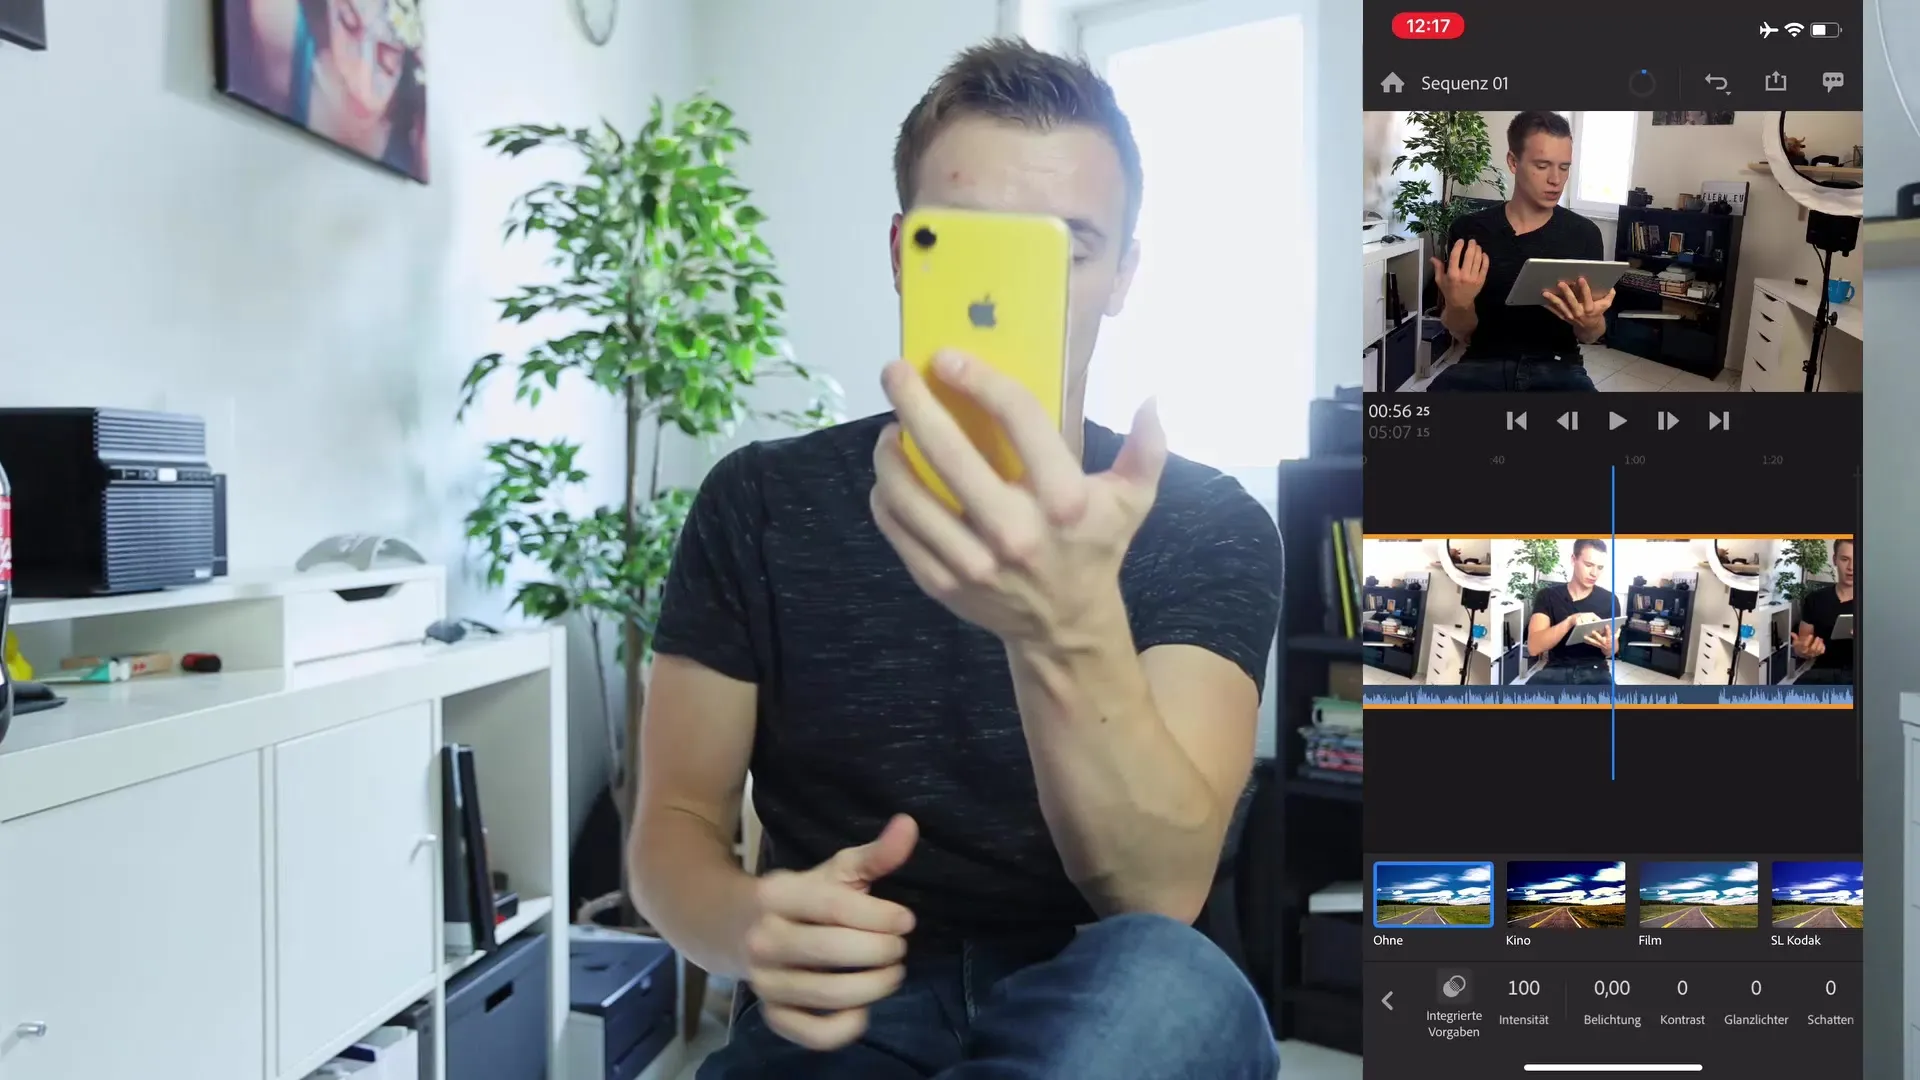
An important part of video editing is color grading. In Premiere Rush, you can choose different color presets or manually adjust the exposure, contrast, temperature, and dynamics of the image. Experiment with the settings to achieve the desired look for your video.
7. Advanced Adjustments
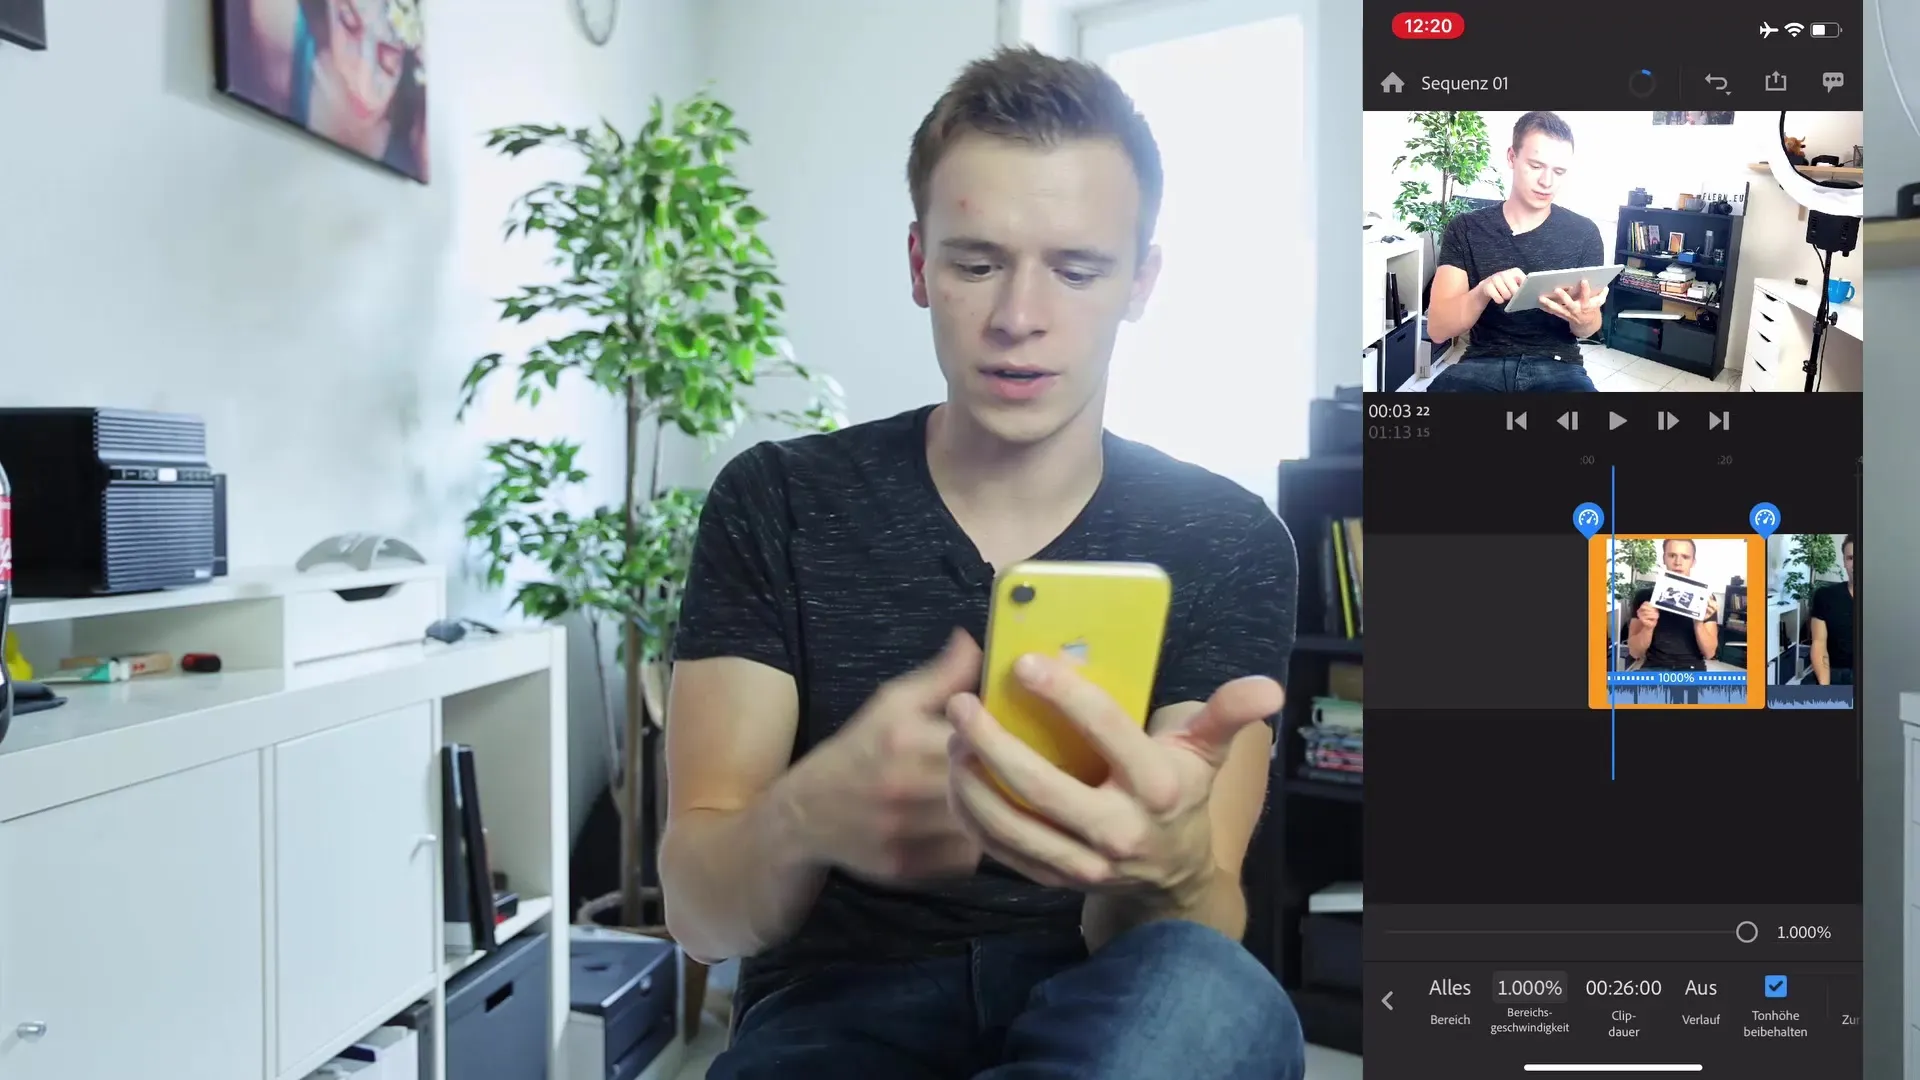
For more creative freedom, you can also work with speed effects. Timelapse and slow-motion effects can create luxurious visual experiences, but be sure to use the right clips for this.
8. Add More Special Effects
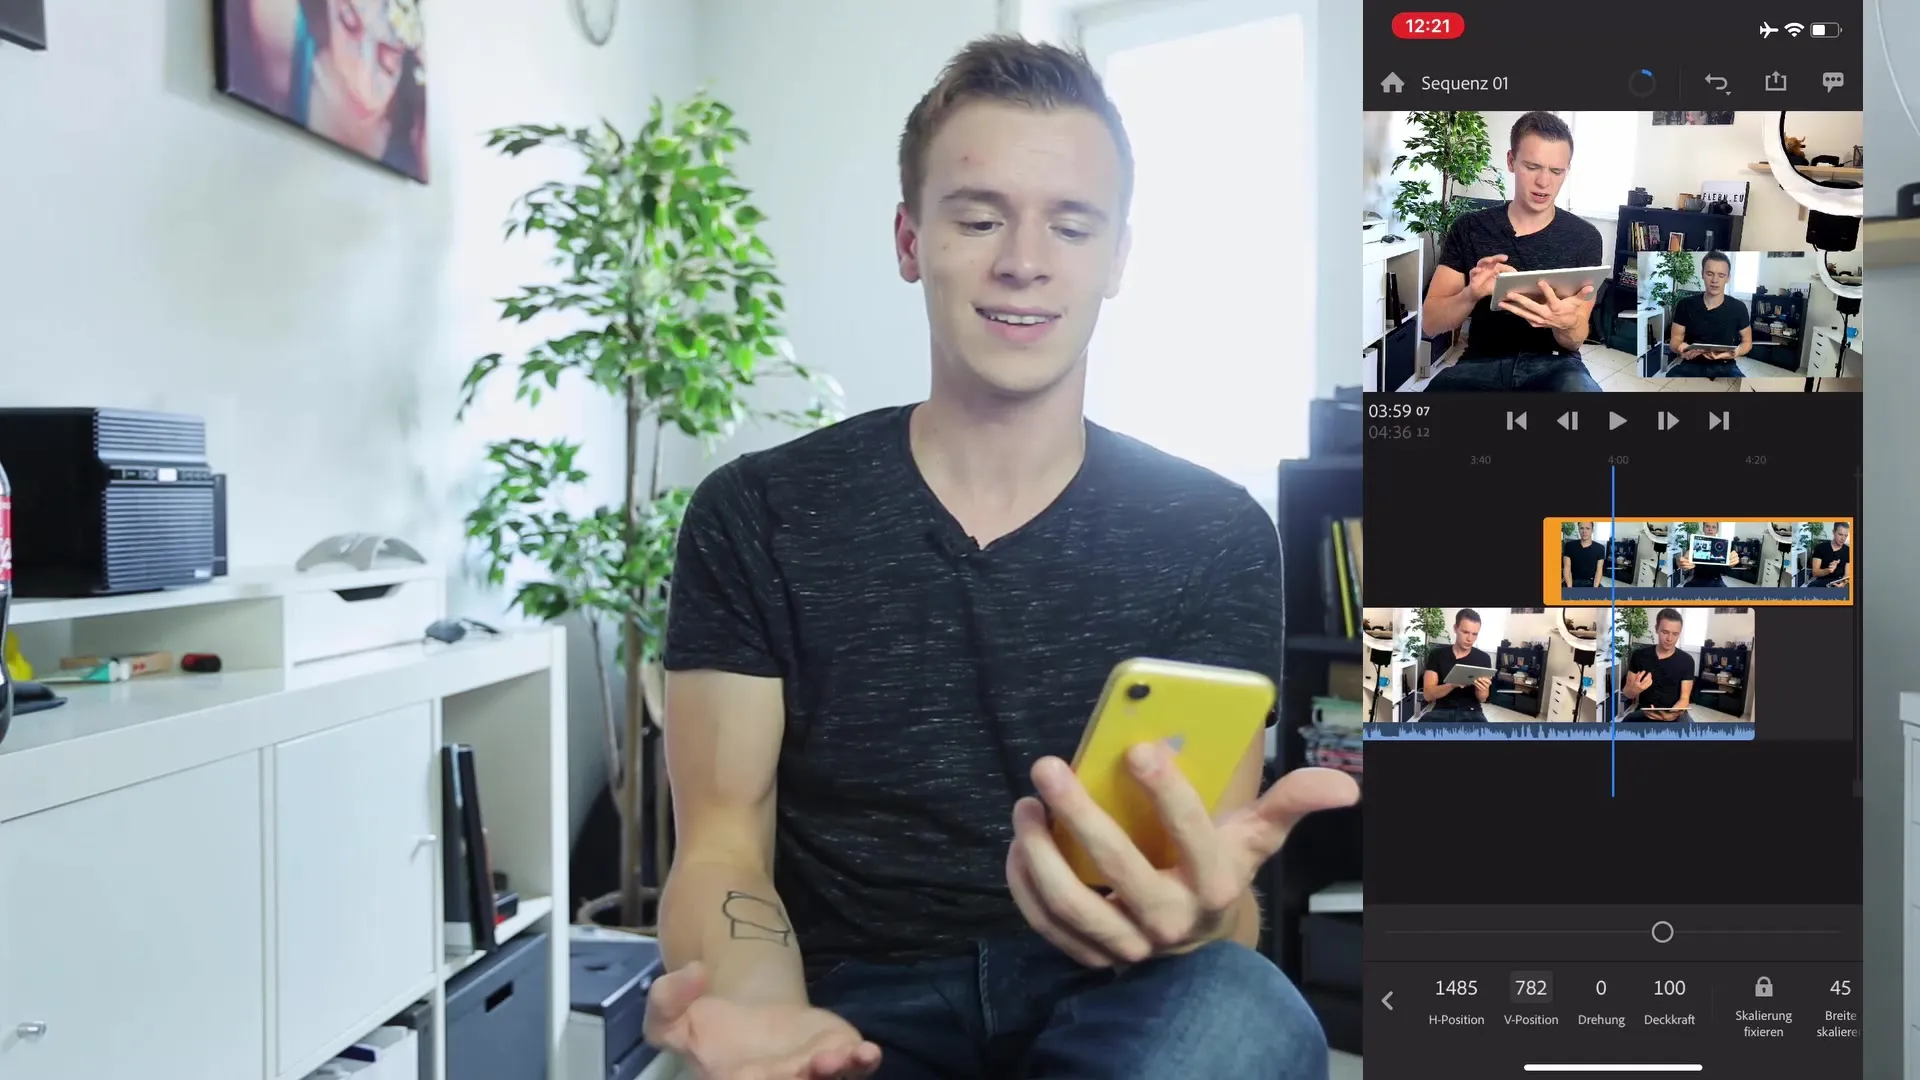
Add transitions between clips to create a smooth transition, or experiment with picture-in-picture features to make your videos even more engaging.
9. Music Selection and Final Export
Finally, you can add music to spice up your video. Be sure to use the right licenses. Once everything is to your satisfaction, go to the export button and select the desired quality settings to save your video in the best possible quality.
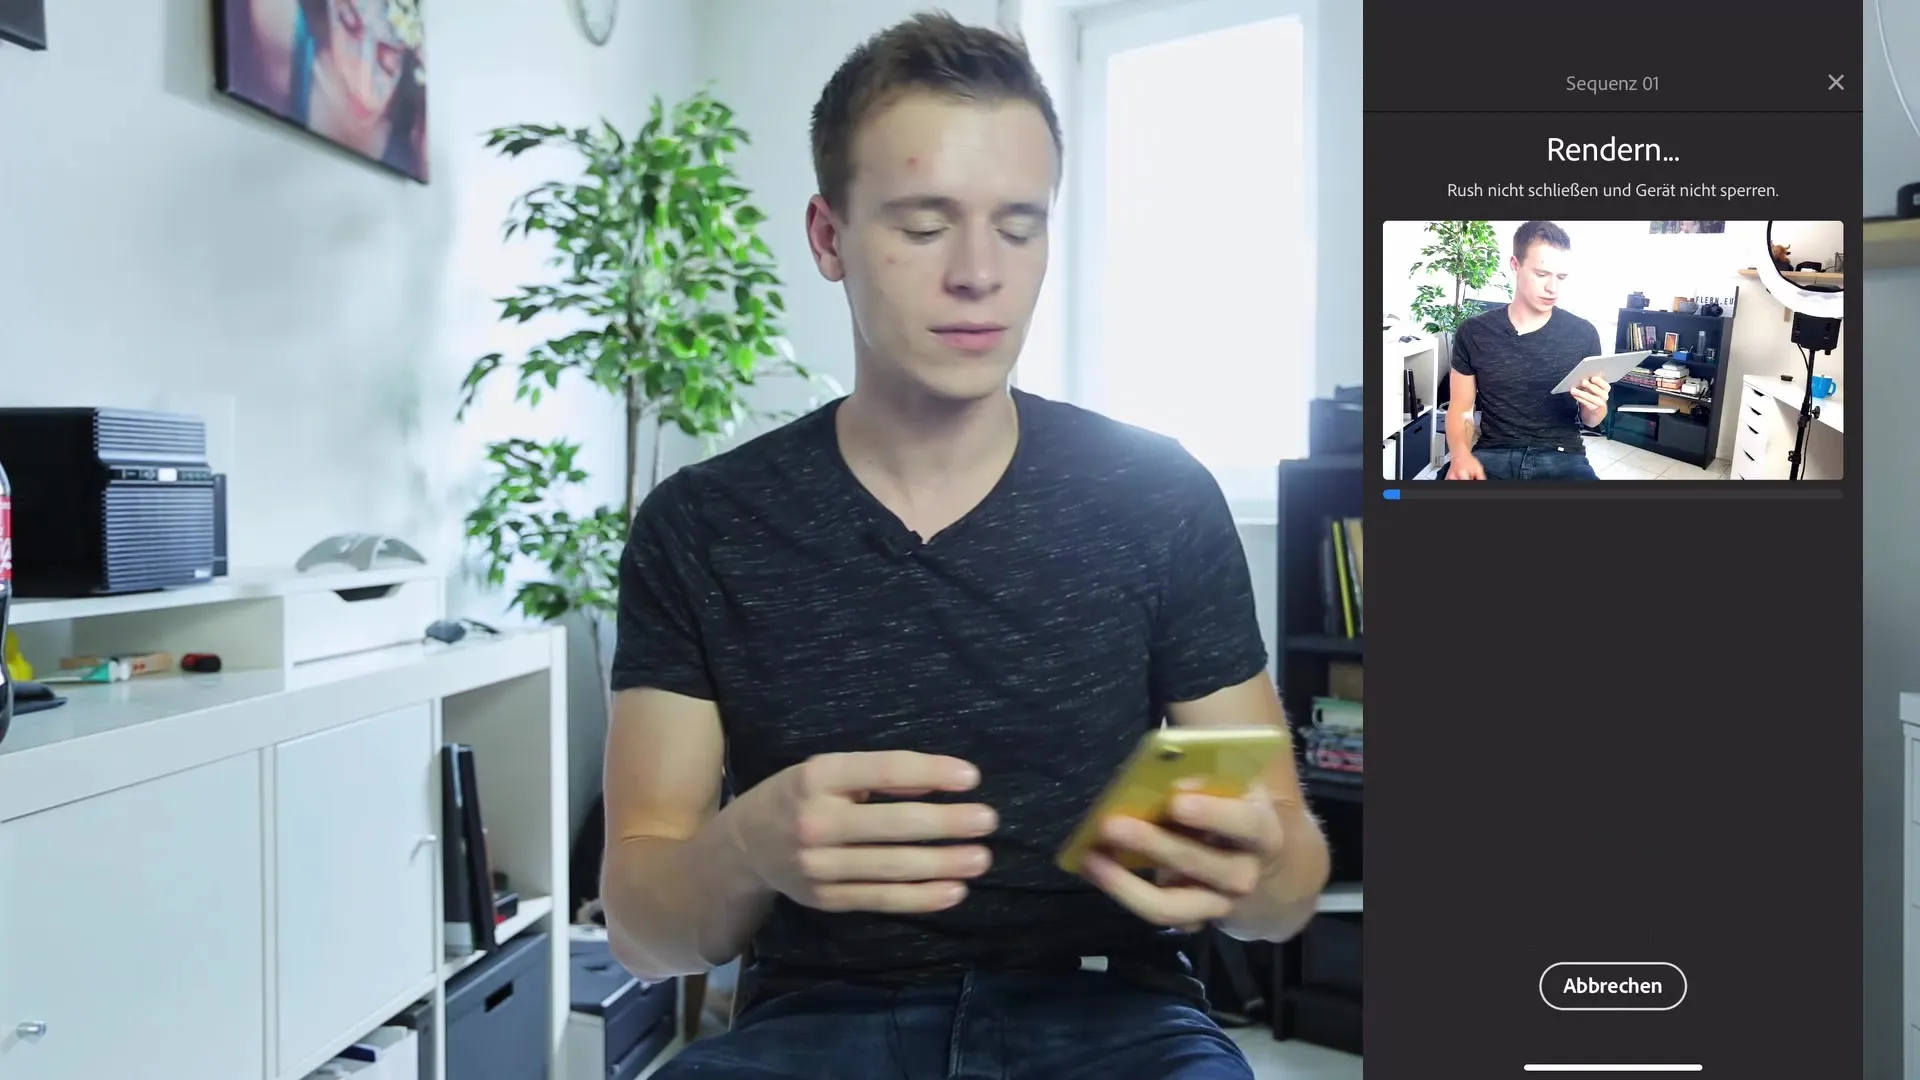
Summary – Video Editing and Color Grading with the Smartphone
You have learned the fundamentals of video editing on your smartphone. From the initial recordings to editing with Filmic Pro and final cutting in Premiere Rush – all steps are feasible without relying on a computer. Experiment with the features and see what you can achieve. Your creativity is the limiting factor, not the technology!
FAQ
How can I transfer videos from my camera to my smartphone?Use an adapter for your SD card to import the videos to your smartphone.
Which apps are best for video editing on smartphones?Filmic Pro and Premiere Rush are highly recommended apps for video editing.
Can I add music to my videos?Yes, you can add music to your videos in apps like Premiere Rush, but pay attention to licensing.
How can I perform color grading in Premiere Rush?In Premiere Rush, you can adjust color and exposure settings to achieve your desired look.
Can I also create slow-motion effects?Yes, but be sure that the clip was recorded at a high frame rate for smooth slow-motion effects.


