Color Grading is an essential technique in video production that gives your material the final polish. This goes beyond simply applying a filter. Do you want to make your videos more engaging, coherent, and professional? Then let's dive into the depths of color grading together and learn how to make your visual stories more vibrant.
Key Insights
- Color grading enhances the visual quality of your videos and makes them more harmonious.
- It differs from color correction, which aims to present the image as naturally as possible.
- A well-equipped computer is crucial for smooth editing.
- The use of scopes helps correctly adjust the contrast and saturation of your images.
- With Da Vinci Resolve, you can develop complex grading strategies using nodes.
Step-by-Step Guide
1. Preparations and Basic Techniques
Before you start grading, it's important to understand that color grading is not necessary if you are just starting out or do not want to learn the technique. However, if you aim to improve your video content, this is one of the first hurdles you need to overcome.
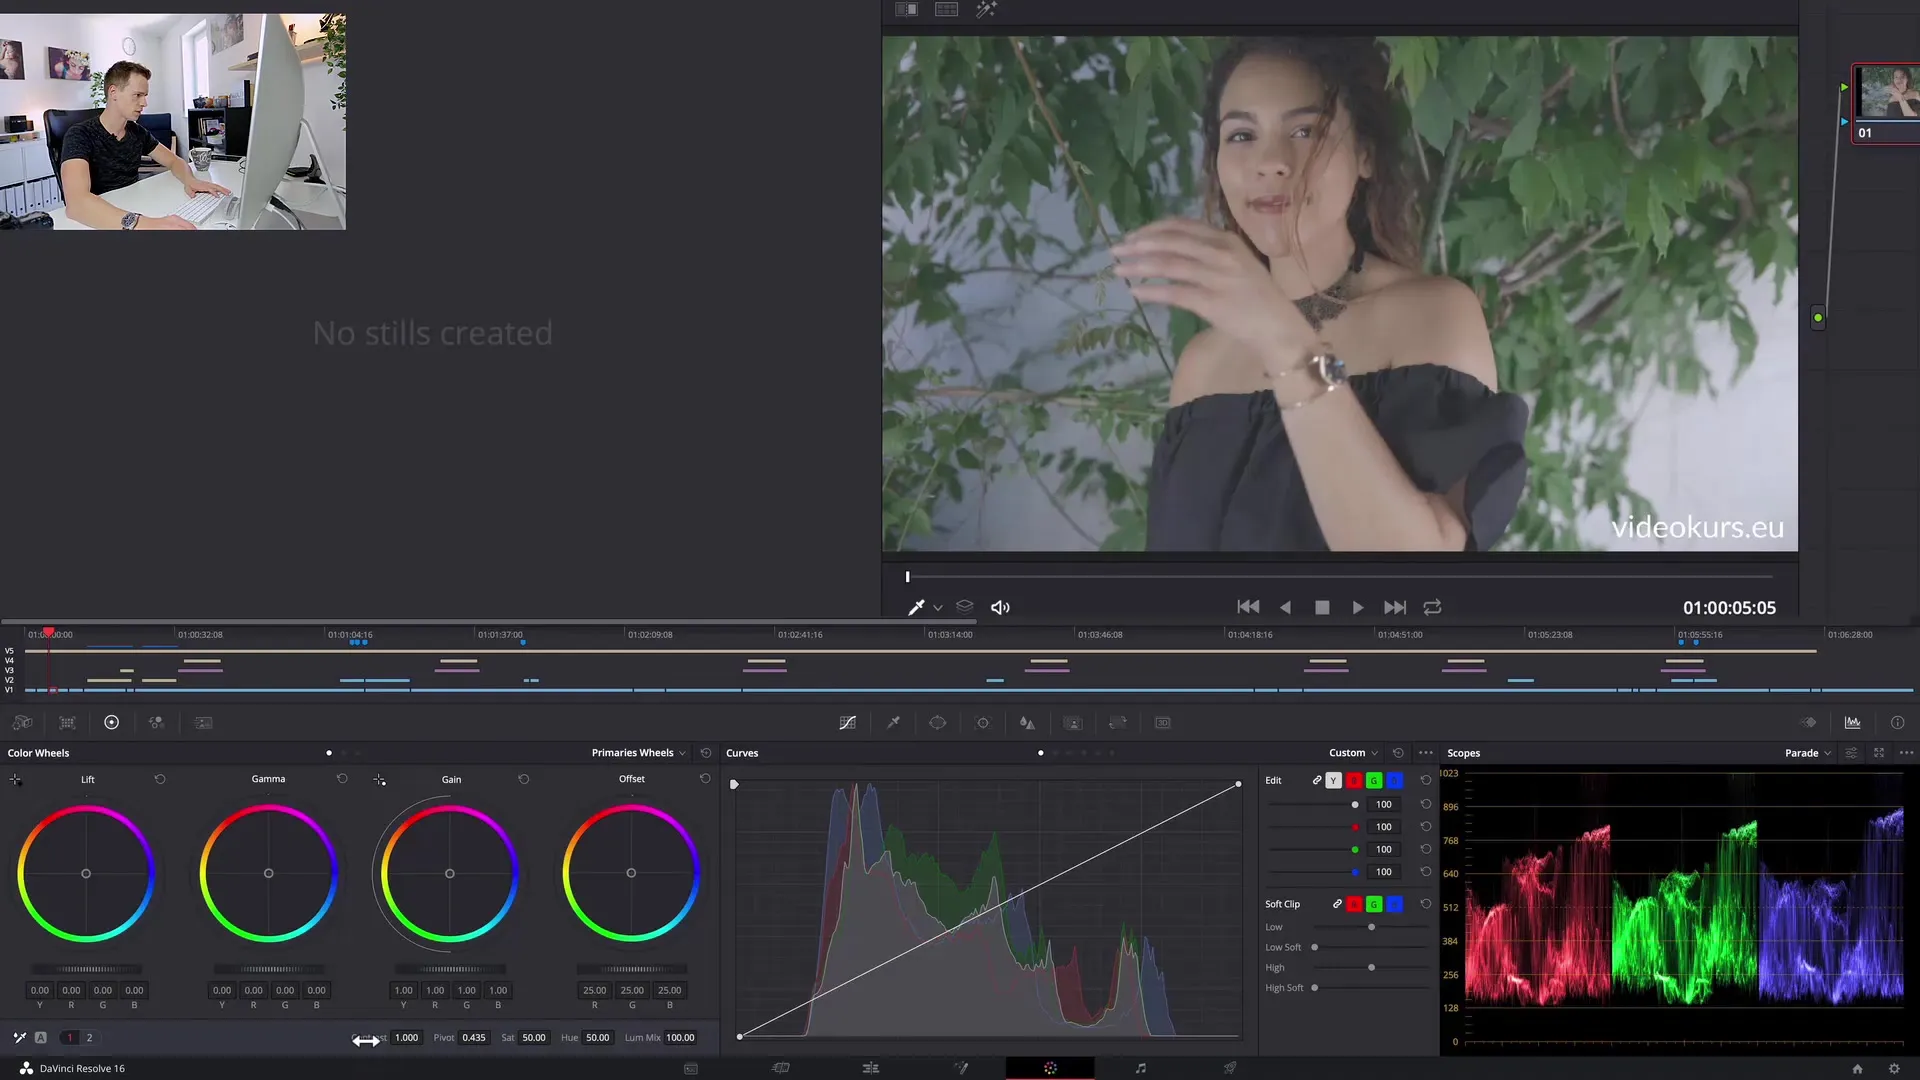
If you shot with log footage or a flat profile, this provides an ideal foundation for color grading. Your first step should be to increase the contrast. Look for the contrast slider in Da Vinci. This will help your video appear more vibrant and highlight the details in the light and dark areas.
2. Adjusting Contrast and Saturation
Contrast is the fundamental element of image editing. Move the contrast slider to the right to increase the contrast. However, you should ensure that the image still looks natural. A value between 1.2 and 1.3 is often ideal.
In addition to increasing the contrast, it is also important to adjust the saturation of your video. You can find the saturation under the saturation slider. A value of about 65 to 70 can make the image more vibrant and appealing.
3. Color Correction vs. Color Grading
It’s crucial to distinguish between color correction and color grading. While color correction aims to make the image look as natural as possible, color grading is about the creative design of the image style.
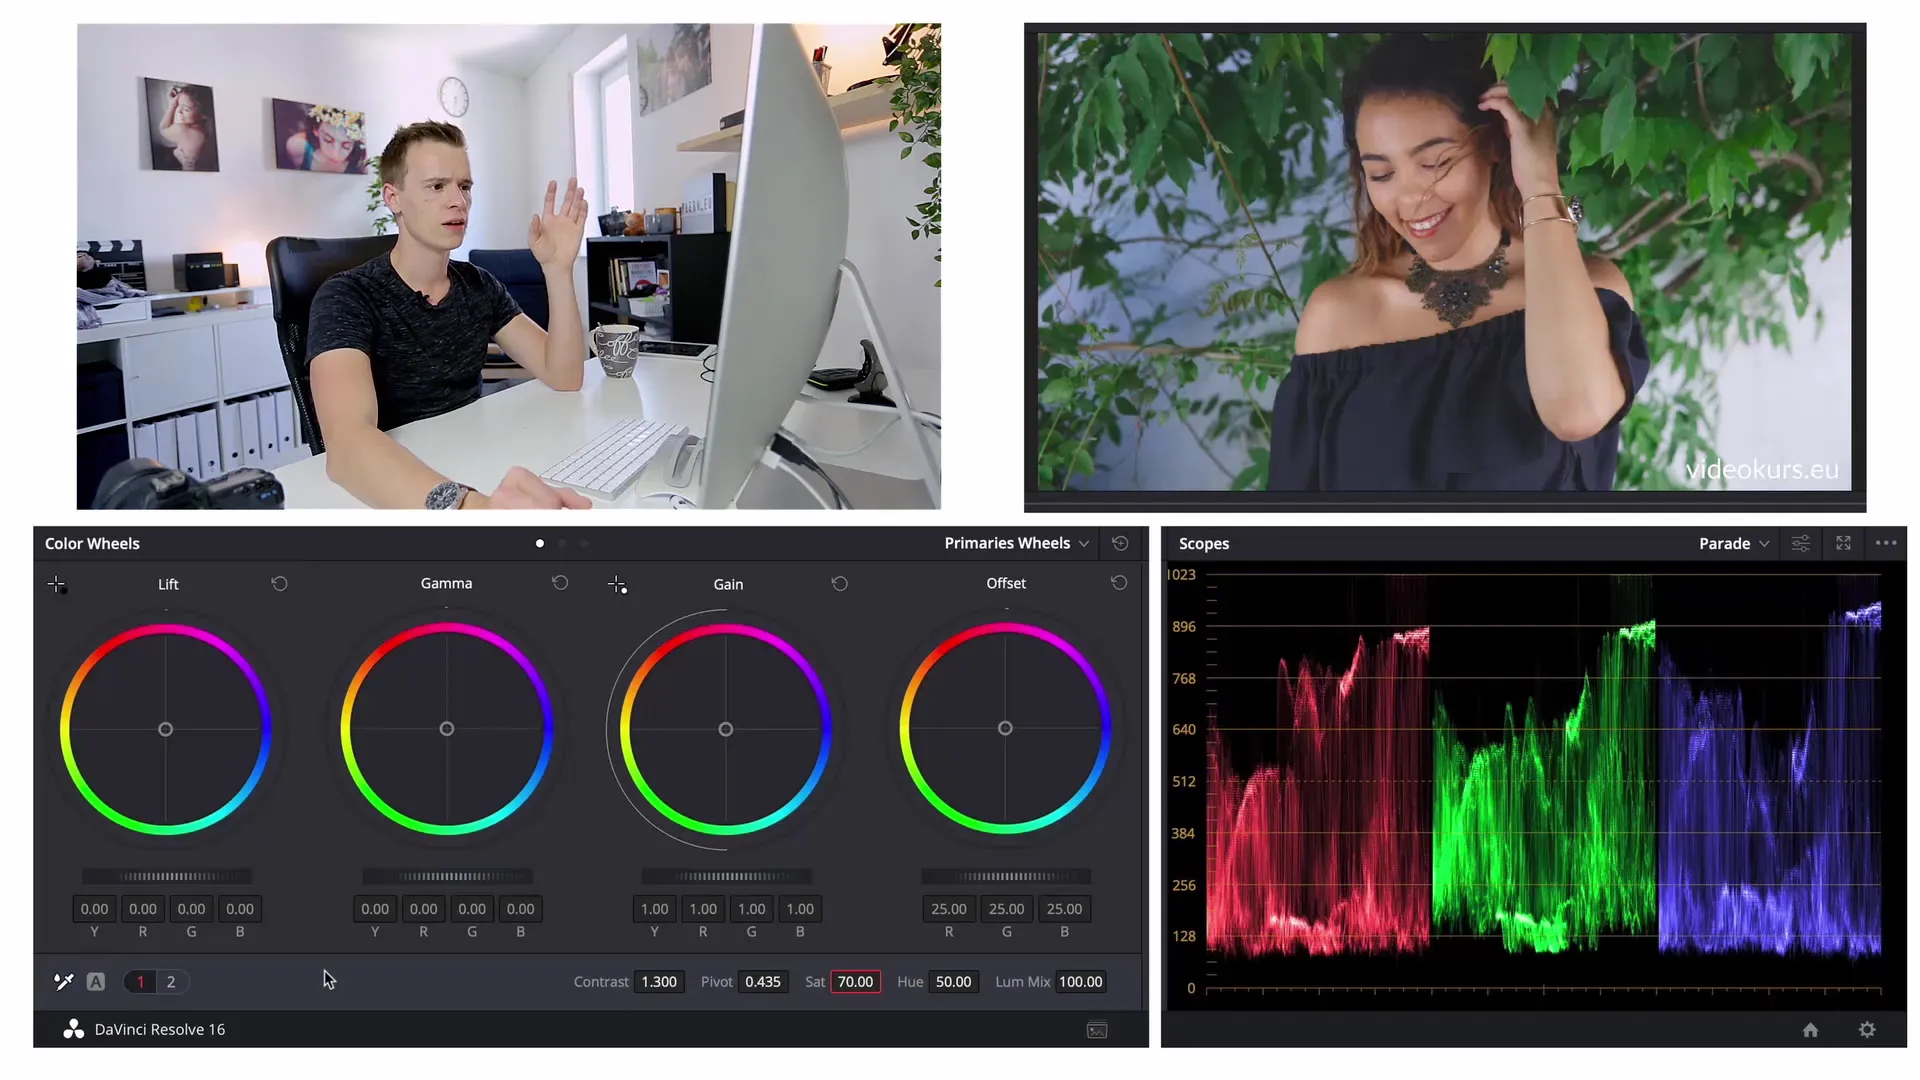
In this step, you focus on correcting the image and ensuring that the exposure is correct. If the image is too dark or too bright, you can use the curves to precisely adjust these issues.
4. Adjusting Highlights and Shadows
Once you have set the contrast and saturation, it's time to adjust the shadows and highlights as well. Raise the shadows slightly to make the image appear more vibrant. At the same time, you can darken the highlights a bit to prevent them from looking overexposed.
5. Sharpening the Image
When sharpening your videos, you can utilize the midtone details settings in Da Vinci. Set this value to around 10 to make the image appear sharper. If you are working in Adobe Premiere, use the "Unsharp Mask" filter, which essentially works in the same way.
6. Understanding Node Structure for Color Grading
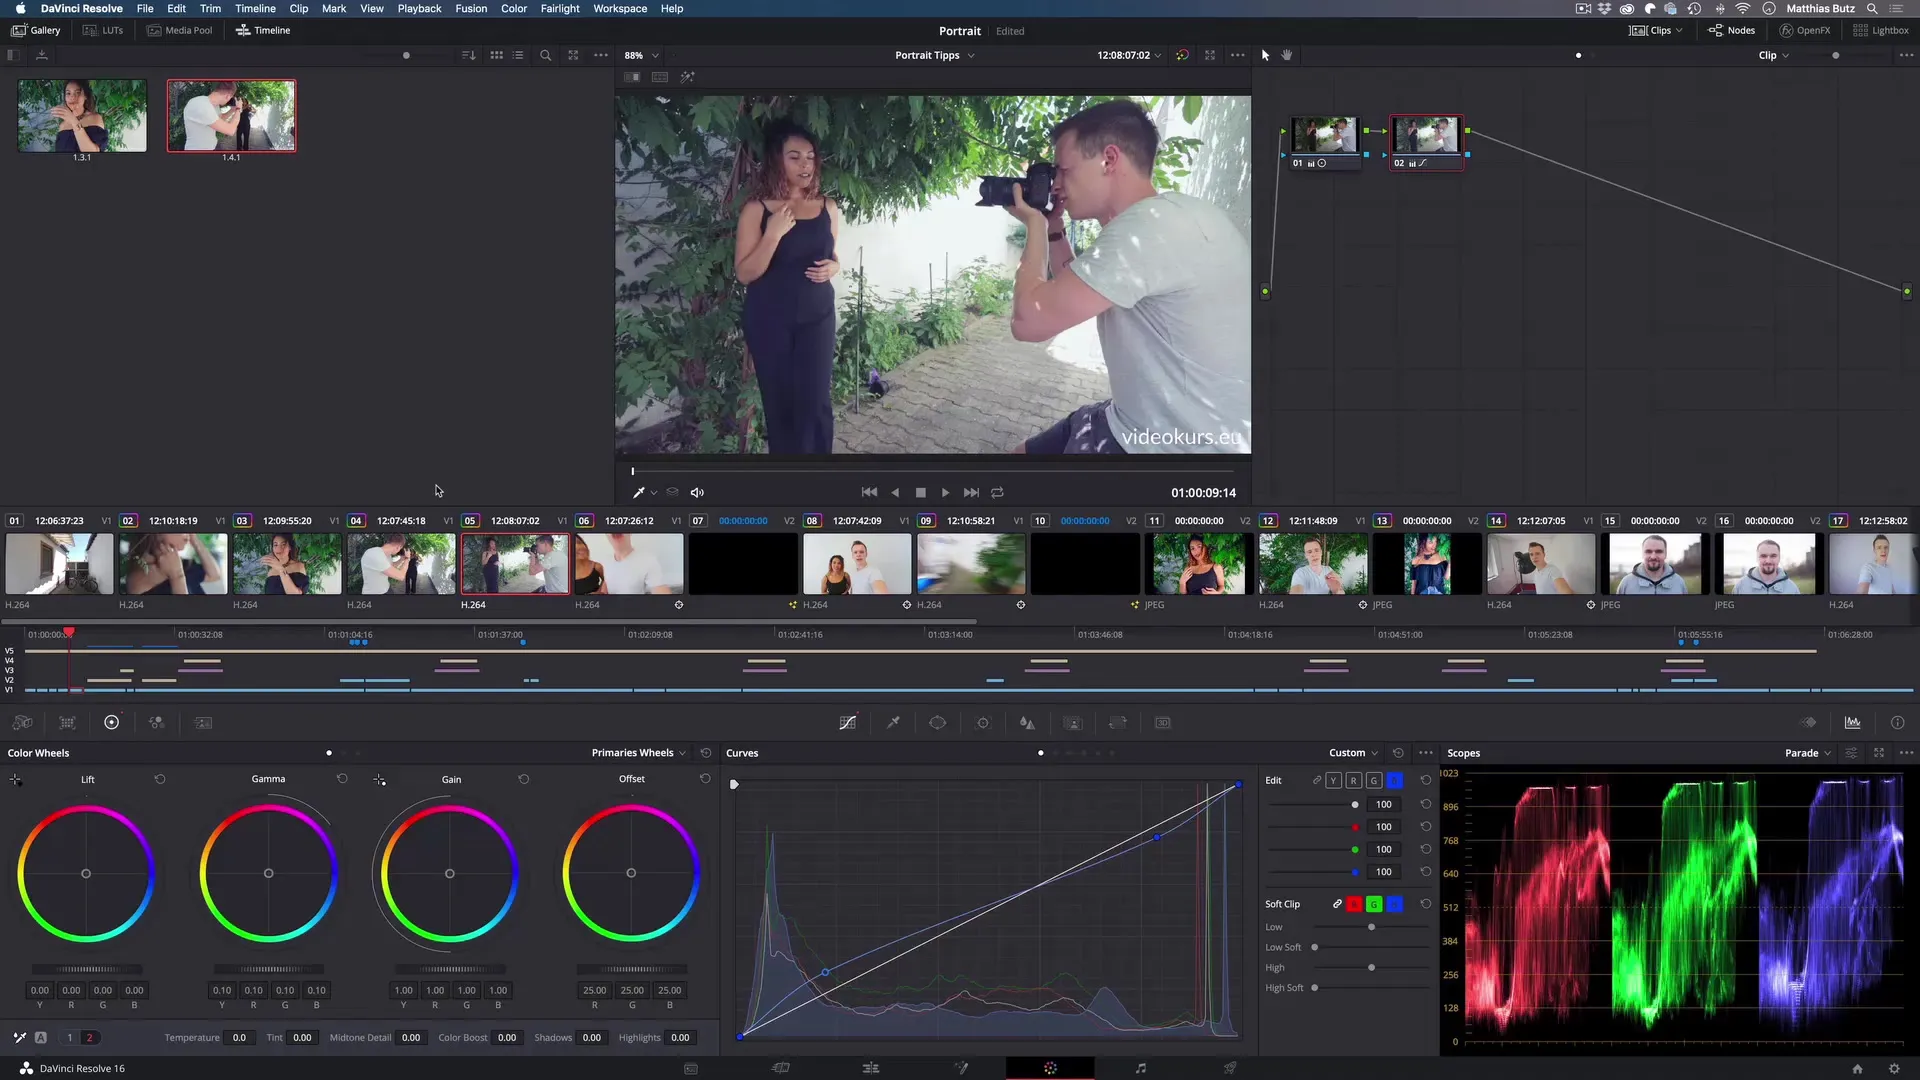
In Da Vinci Resolve, you can create multiple nodes that function like layers in Photoshop. You can use one node for color correction and another for the actual color grading.
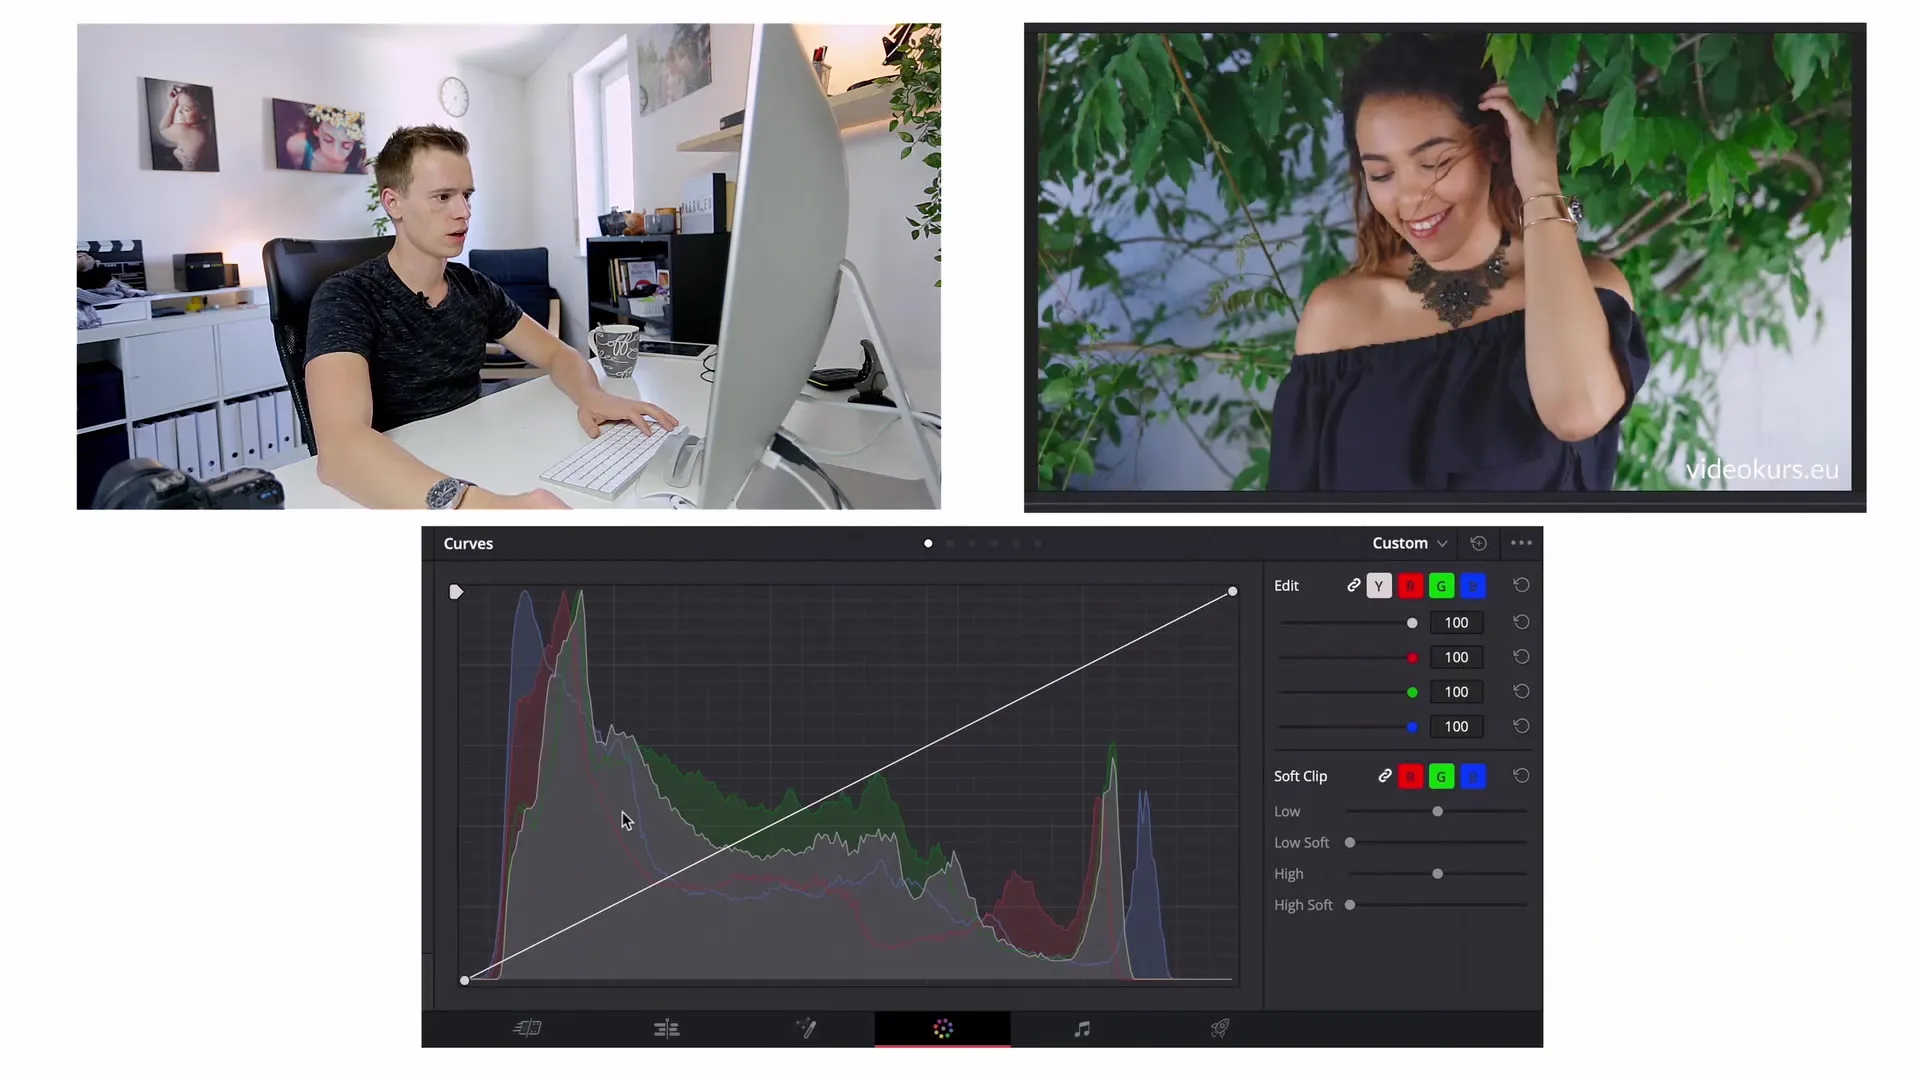
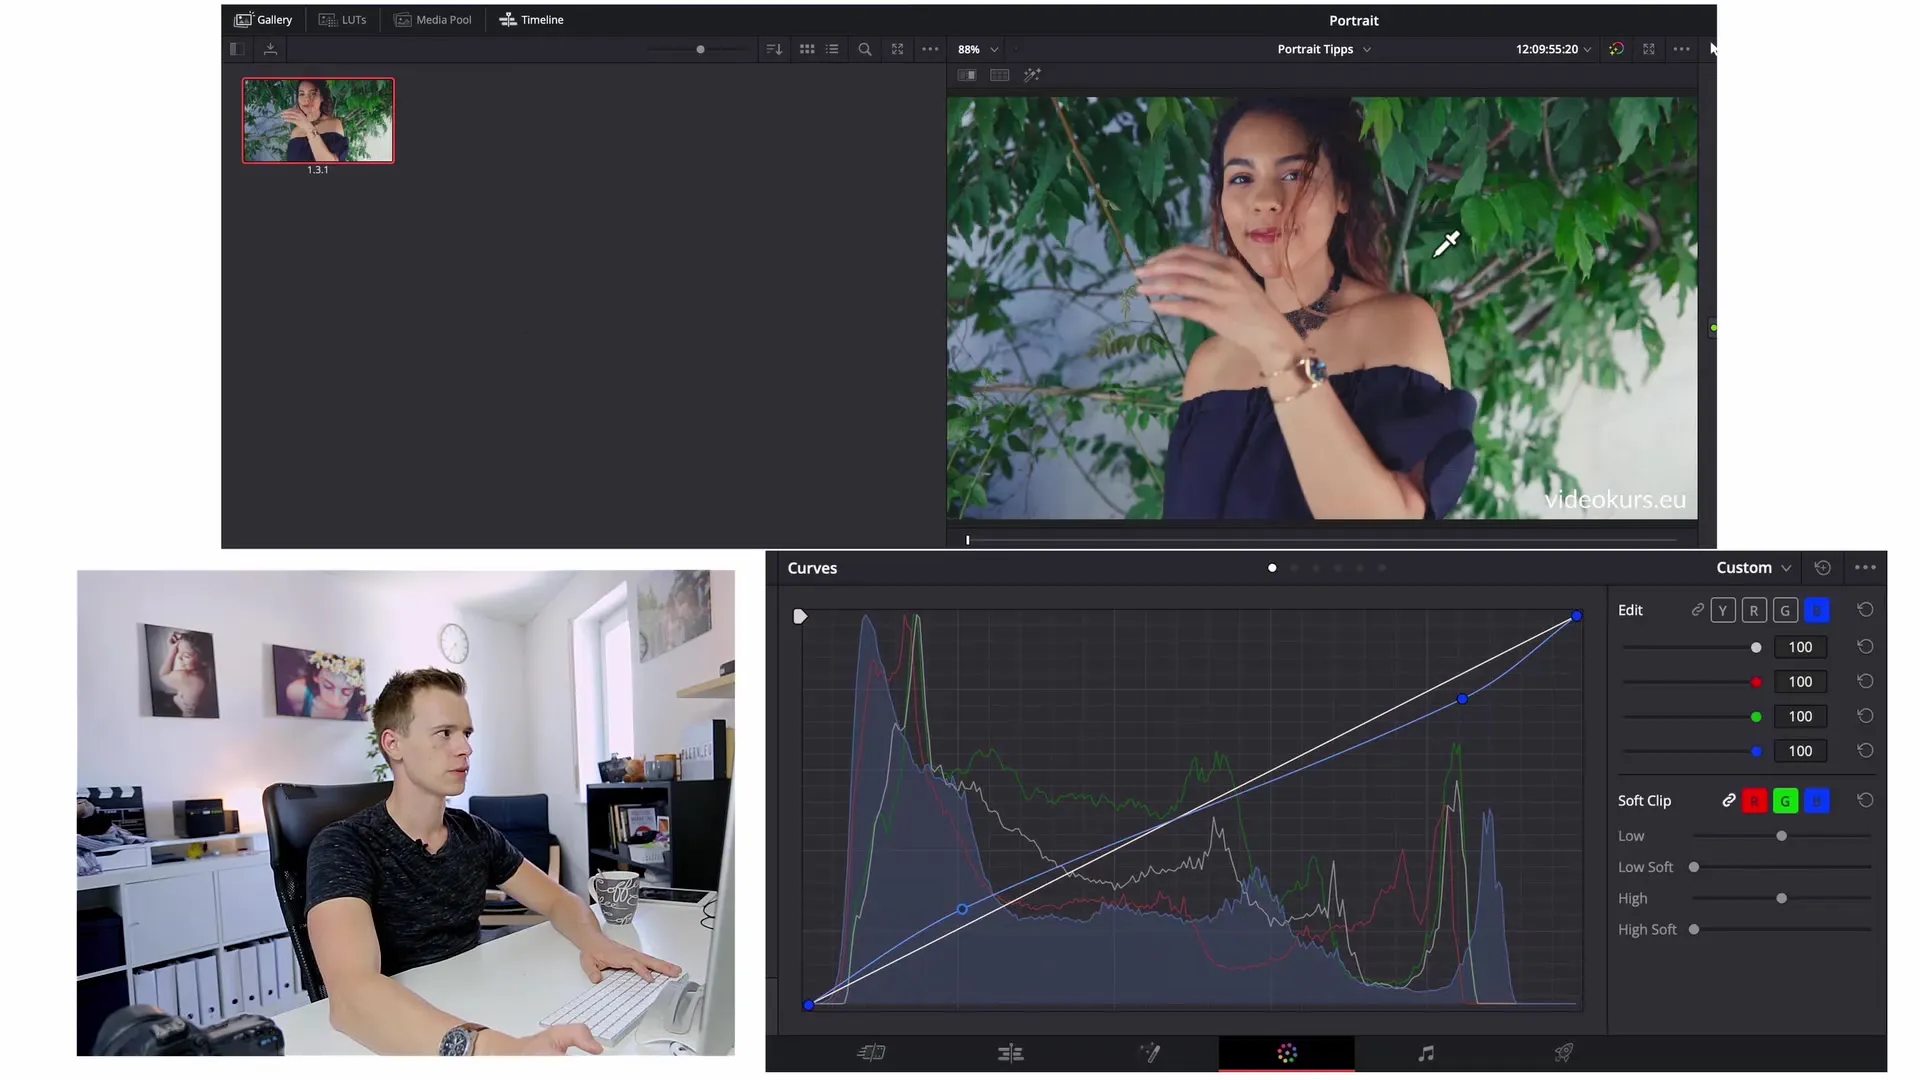
With the curves, you can set a color grading look. Go into the color channels to work specifically on blue, red, and green. If you want to create a soft magenta mood, you can adjust the shadows of the blue color channel.
7. Using Presets
To make grading more efficient, you can save your settings as a preset. Right-click on your video in the gallery and select "Grab Still." You can then apply this preset to other clips in your project to achieve a consistent look.
8. Conclusion and Adjustments
Before you finalize your look, you may need to make some adjustments, especially if the sequences come from different lighting conditions. Make sure that the color temperatures are compatible and that the videos appear uniform.
A sensible use of the sliders for gamma, lift, and gain will help you achieve the perfect exposures and ensure that all clips match harmoniously.
Summary – Basic Knowledge of Color Grading in Videography
Color grading is an essential skill for every videographer. With a few basic techniques and an understanding of how to edit contrasts, saturation, and colors, you can significantly enhance your videos.
The most important thing is to work with the right software and to have patience to achieve the best results through experimentation.
Frequently Asked Questions
How important is color grading?Color grading enhances the visual aesthetics of your videos and ensures a professional look.
How does color grading work in Da Vinci Resolve?In Da Vinci Resolve, you use nodes to apply effects to your video and edit various color channels.
What are the differences between color grading and color correction?Color correction aims to make the image look natural, while color grading introduces creative effects.
Do I need a powerful computer for color grading?Yes, a powerful computer facilitates smooth editing and working with multiple effects.
Can presets be used in Da Vinci?Yes, you can create presets to apply your grading settings to other clips.


