If you want to create a dynamic animation in Cinema 4D, the PolyFX object for the temporal distribution and animation of polygons is a powerful tool. With the ability to easily apply effectors to your polygon objects, you can achieve impressive visual effects. In this detailed guide, you will learn how to properly use the PolyFX object to elevate your creative ideas to a new level.
Key insights
The PolyFX object allows you to specifically edit polygon objects by selecting the entire geometry or individual surfaces for animation. It is crucial to understand how to efficiently use effectors and make the right settings in order to achieve the desired results.
Step-by-step guide
To work with the PolyFX object, here are the individual steps for effective implementation.
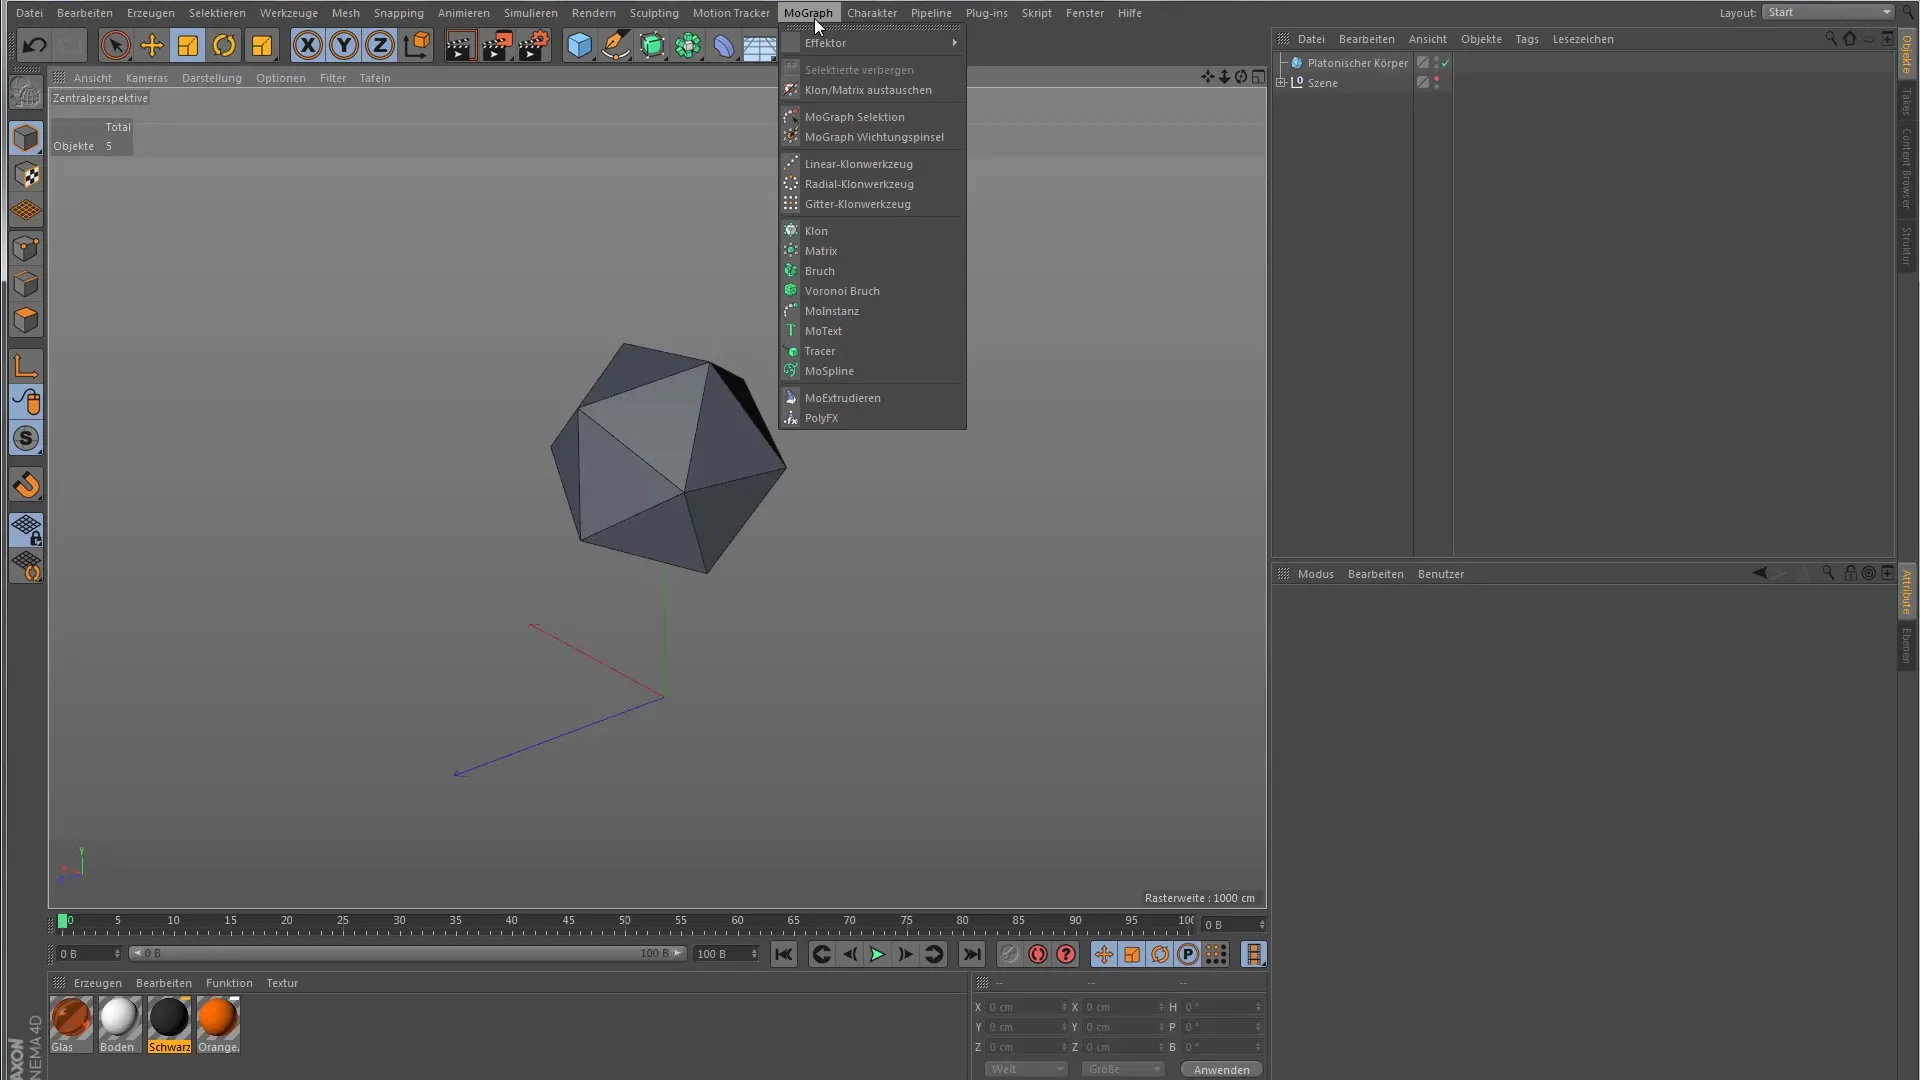
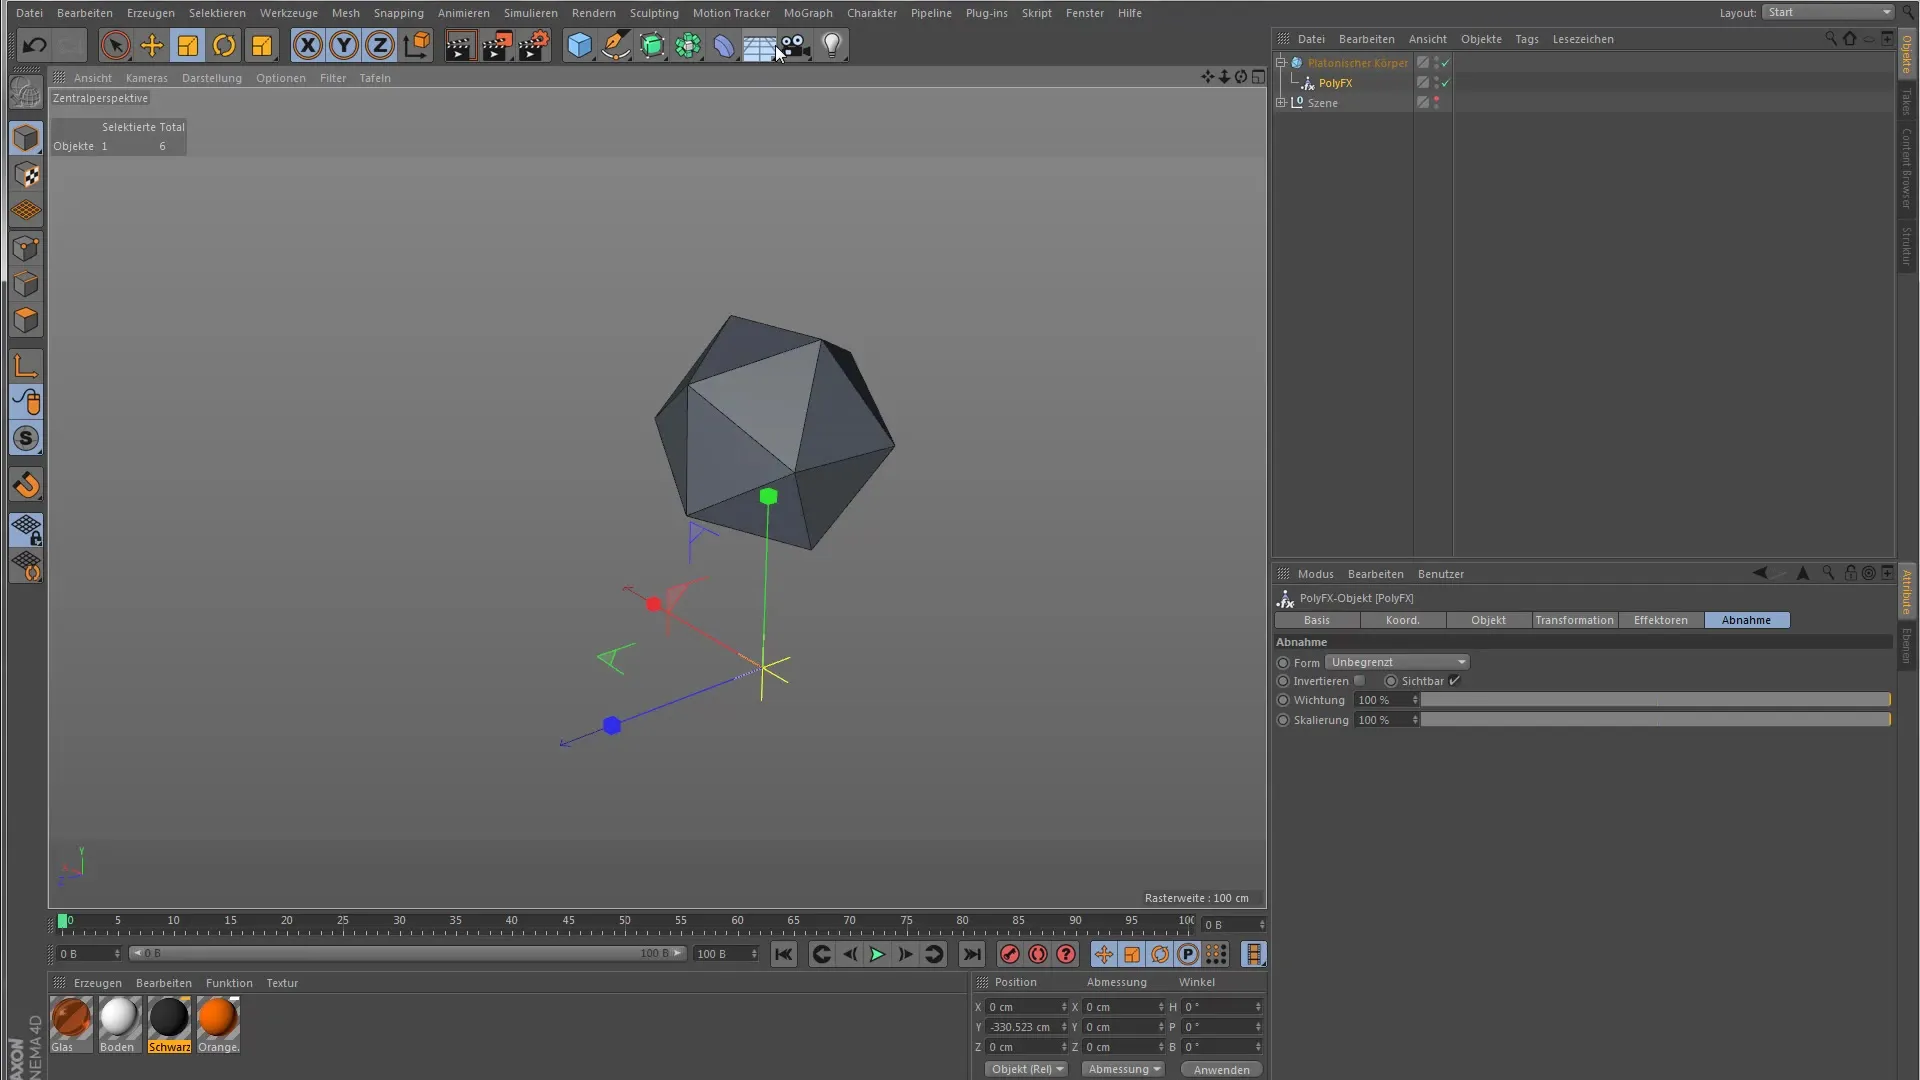
First, you need to insert the PolyFX object into your scene. To do this, select the desired polygon object and add the PolyFX deformer as a child. It will be displayed as the last deformer in the hierarchy, which you can also see in your object browser.

In the next step, you will notice that initially nothing happens when applying the PolyFX deformer. You need to select an effector and combine it with your PolyFX object. I recommend the Random Effector here, as it makes significant changes immediately and affects the individual polygons of your base shape.

The possibilities for customizing the PolyFX object are limited, primarily due to the two modes available to you. You can choose between "Full Polygons" and "Separated Polygons". These modes affect how the deformer interacts with your object. It is important to keep these two options in mind as you continue working.
To influence the polygons without an effector, you can use the transformation options in the PolyFX object. The scaling mode is especially useful because it allows you to visually and intuitively adjust the polygons. The influence of these properties is most visible in the preview.
One important thing to note is that the coordinate systems you use when working with the PolyFX deformer are not applied to the world coordinate system. Instead, they relate to the specific object or polygon you are editing. So if you change the Z-axis, the polygon moves in the direction it is pointing.
To make the differences between the modes clear, activate the Random Effector again. You can now adjust both the settings of the effector and those of the PolyFX object. This means that with "Full Polygons", you can influence the entire geometry, while with "Separated Polygons", only predefined surfaces will respond.
Now let's switch to the mode for "Separated Polygons". Initially, nothing happens here either, as you need to activate a special decay in the PolyFX object to make the separated polygons visible. Set the decay value accordingly to achieve the desired effect. This means that points of your object will only detach from a certain value, which increases control over the final product.
To clearly perceive the differences between the various modes, it is also helpful to zoom in on the object. For example, if you replace the object and make the capsule larger, the effect of the separated polygons becomes clearer. The different surfaces only detach at a certain strength of the PolyFX deformer.
Summary – Guide for Cinema 4D: PolyFX for beginners
This guide has introduced you to how the PolyFX object works in Cinema 4D. With this knowledge, you understand the basics of efficiently animating polygon objects and creatively influencing your 3D models.
Frequently asked questions
What is the PolyFX object in Cinema 4D?The PolyFX object allows for the animation and manipulation of polygon objects in various modes.
How do I select an effector?Simply place the desired effector under the PolyFX object in the object browser.
What modes are available for the PolyFX object?You can choose between "Full Polygons" and "Separated Polygons".
How can I understand the coordinate systems in PolyFX?The coordinate systems refer to the respective object and not to the world coordinate system.
Where can I find the decay setting for separated polygons?The decay setting can be found in the PolyFX object under the mode options.


