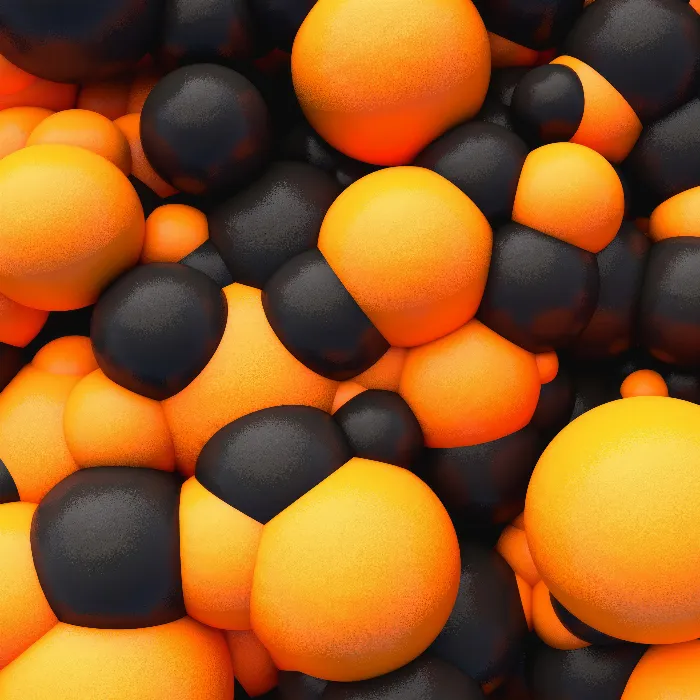
Do you want to discover the use cases of the Camera Shader in Cinema 4D? This guide will walk you through the creation and implementation of the Camera Shader to achieve impressive effects in your scene. With the Camera Shader, you can apply the image of a camera as a texture to a material and create stunning infinity effects as well as live-streamed surveillance camera images on screens in your scene.
Main findings
- The Camera Shader projects the image of a Cinema camera from the scene as a texture.
- Upload an image to the material by selecting a camera.
- Enables the creation of infinity effects and live broadcasts.
Step-by-step guide
First, open your existing scene that you want to use to demonstrate the Camera Shader. It might be helpful to use a scene with a sound effector, as this will provide interesting visual effects that can be enhanced by the Camera Shader.
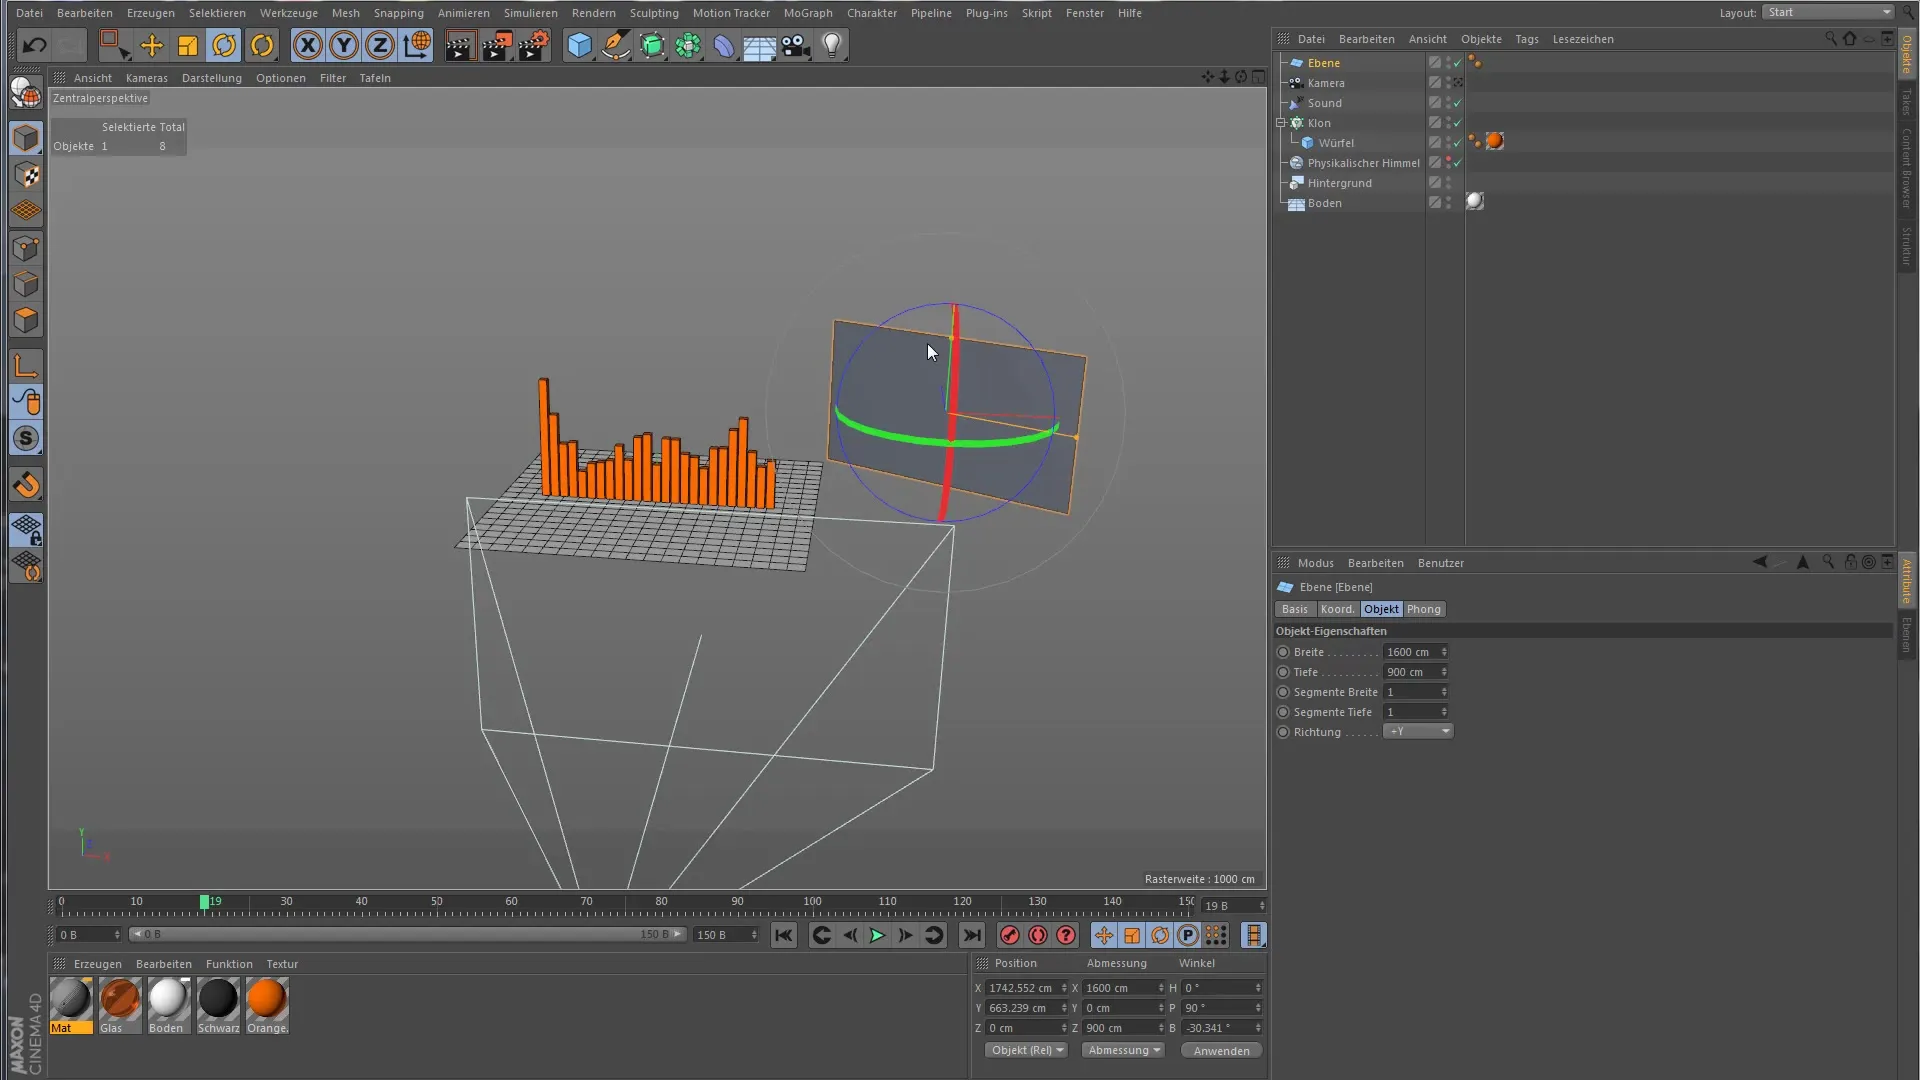
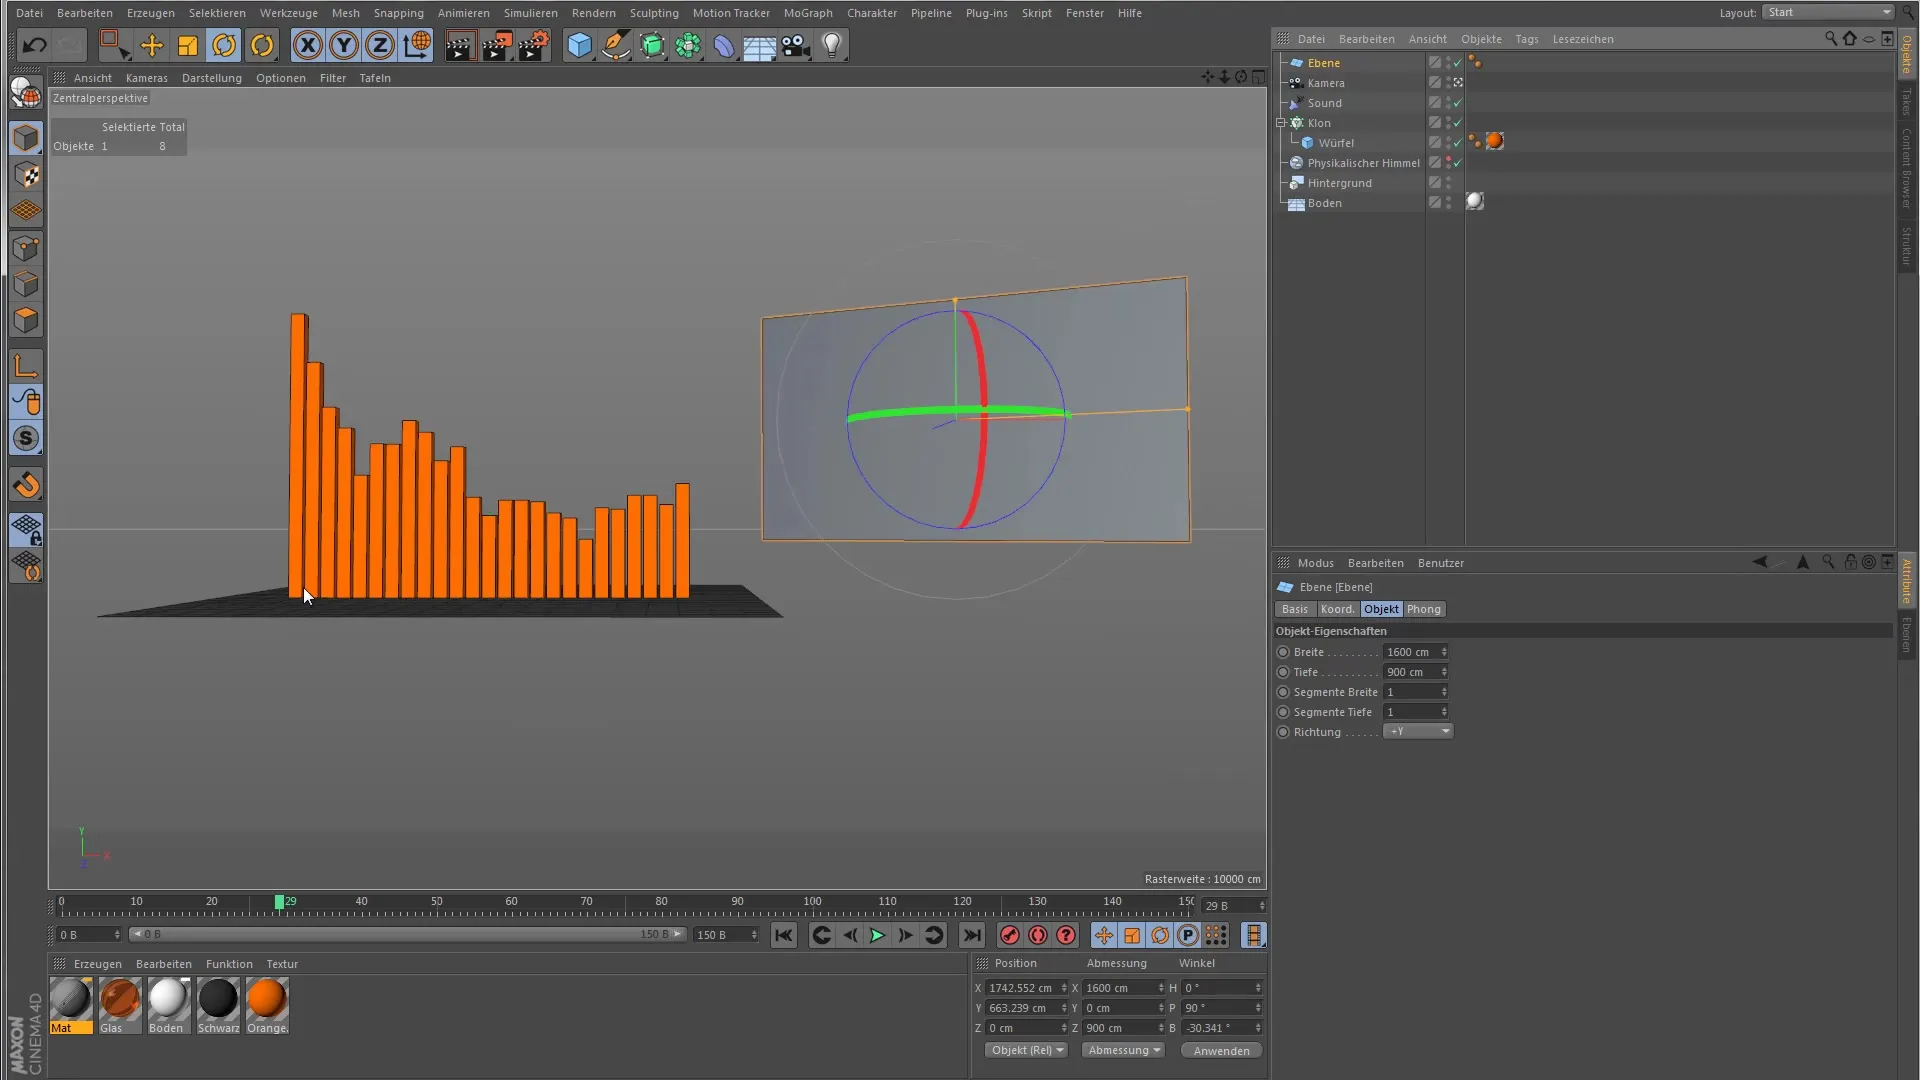
You should now add a plane to your scene that will serve as a large canvas. Place this behind your main object so that the Camera Shader can project its contents onto it. This ensures that the shader can display the image correctly.
Next, you need a camera that will monitor the action in your scene. This camera will capture the information that the Camera Shader will use. Position your camera so that it has both the sound effector and the canvas in view.
As the next step, add the Camera Shader to a material. Open the Material Manager and select the Color channel. Within the Shader section, you now need to select a camera to serve as the source for your material.
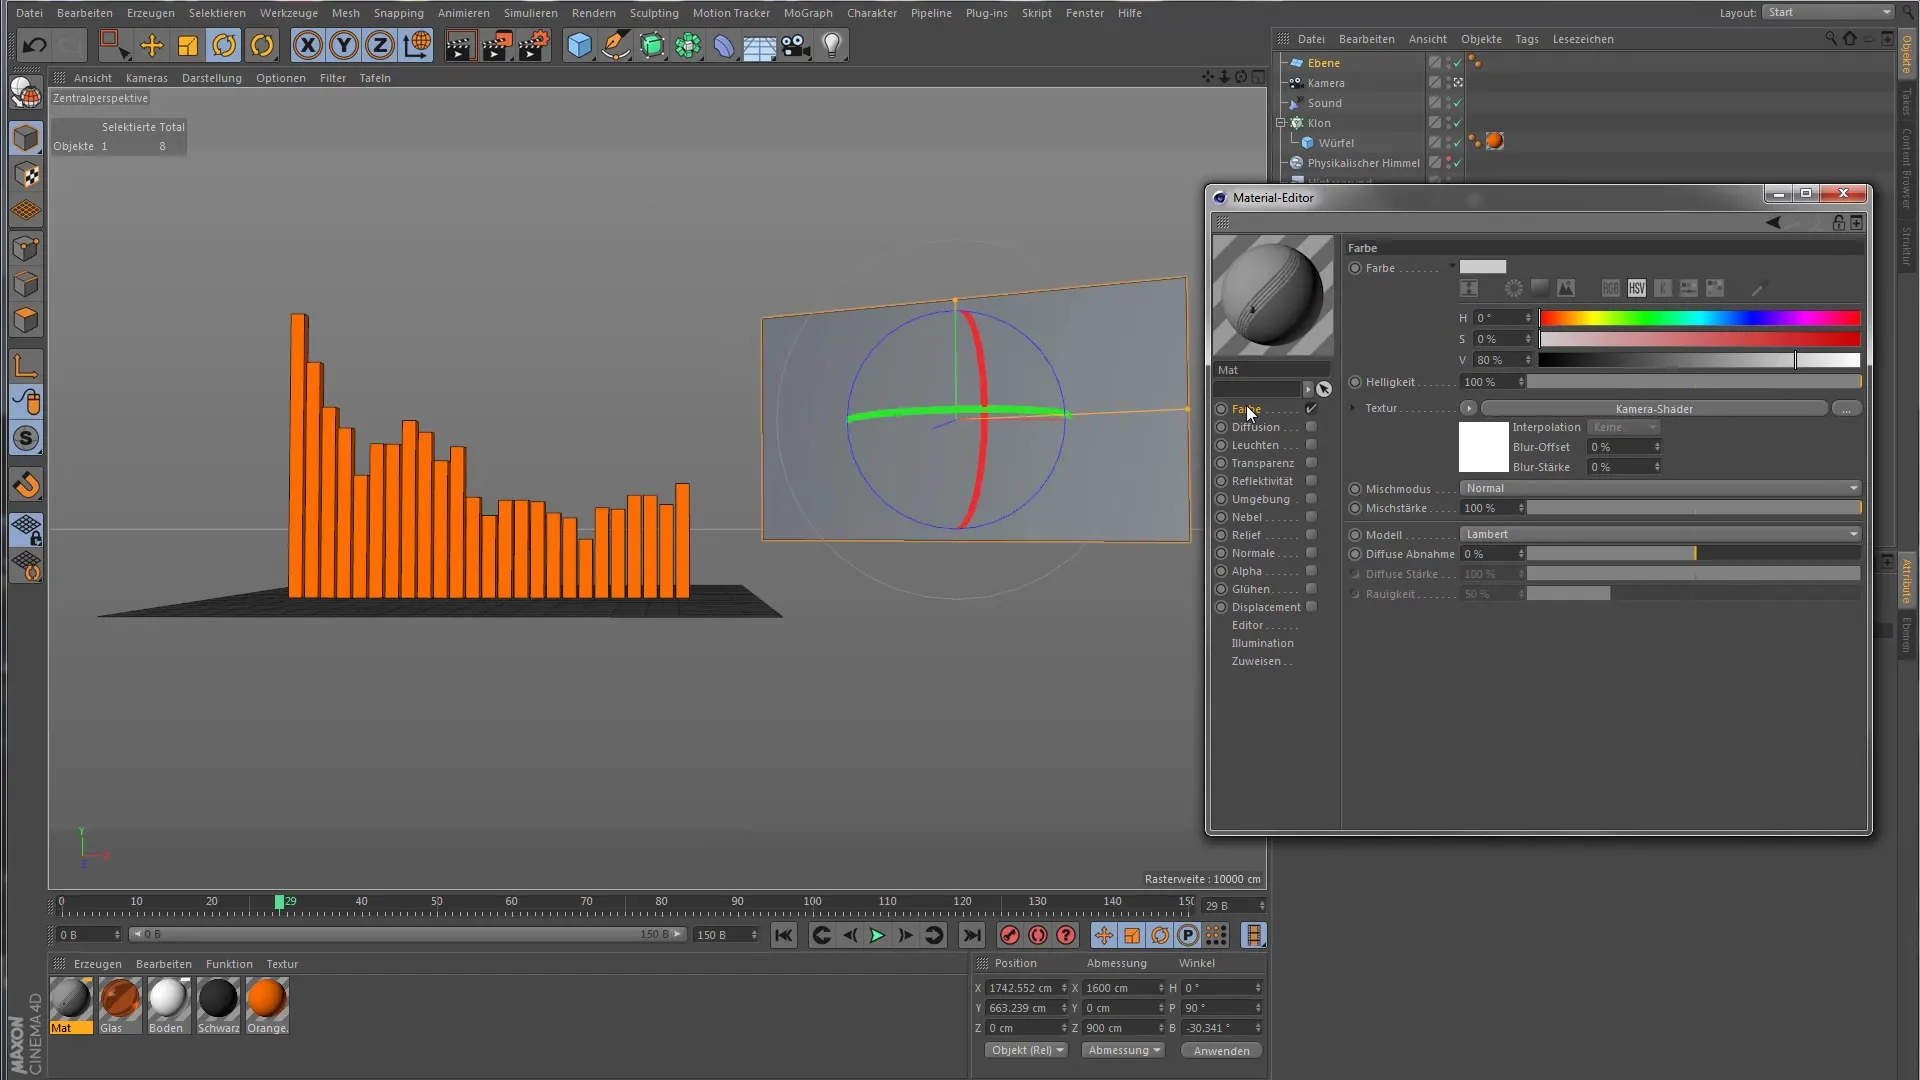
Make sure you have selected the correct camera. In our case, it is the only camera we have in the scene. Leave the other settings in the shader untouched unless you have specific requests. You can determine the size of the image and specify whether to include foreground and background.
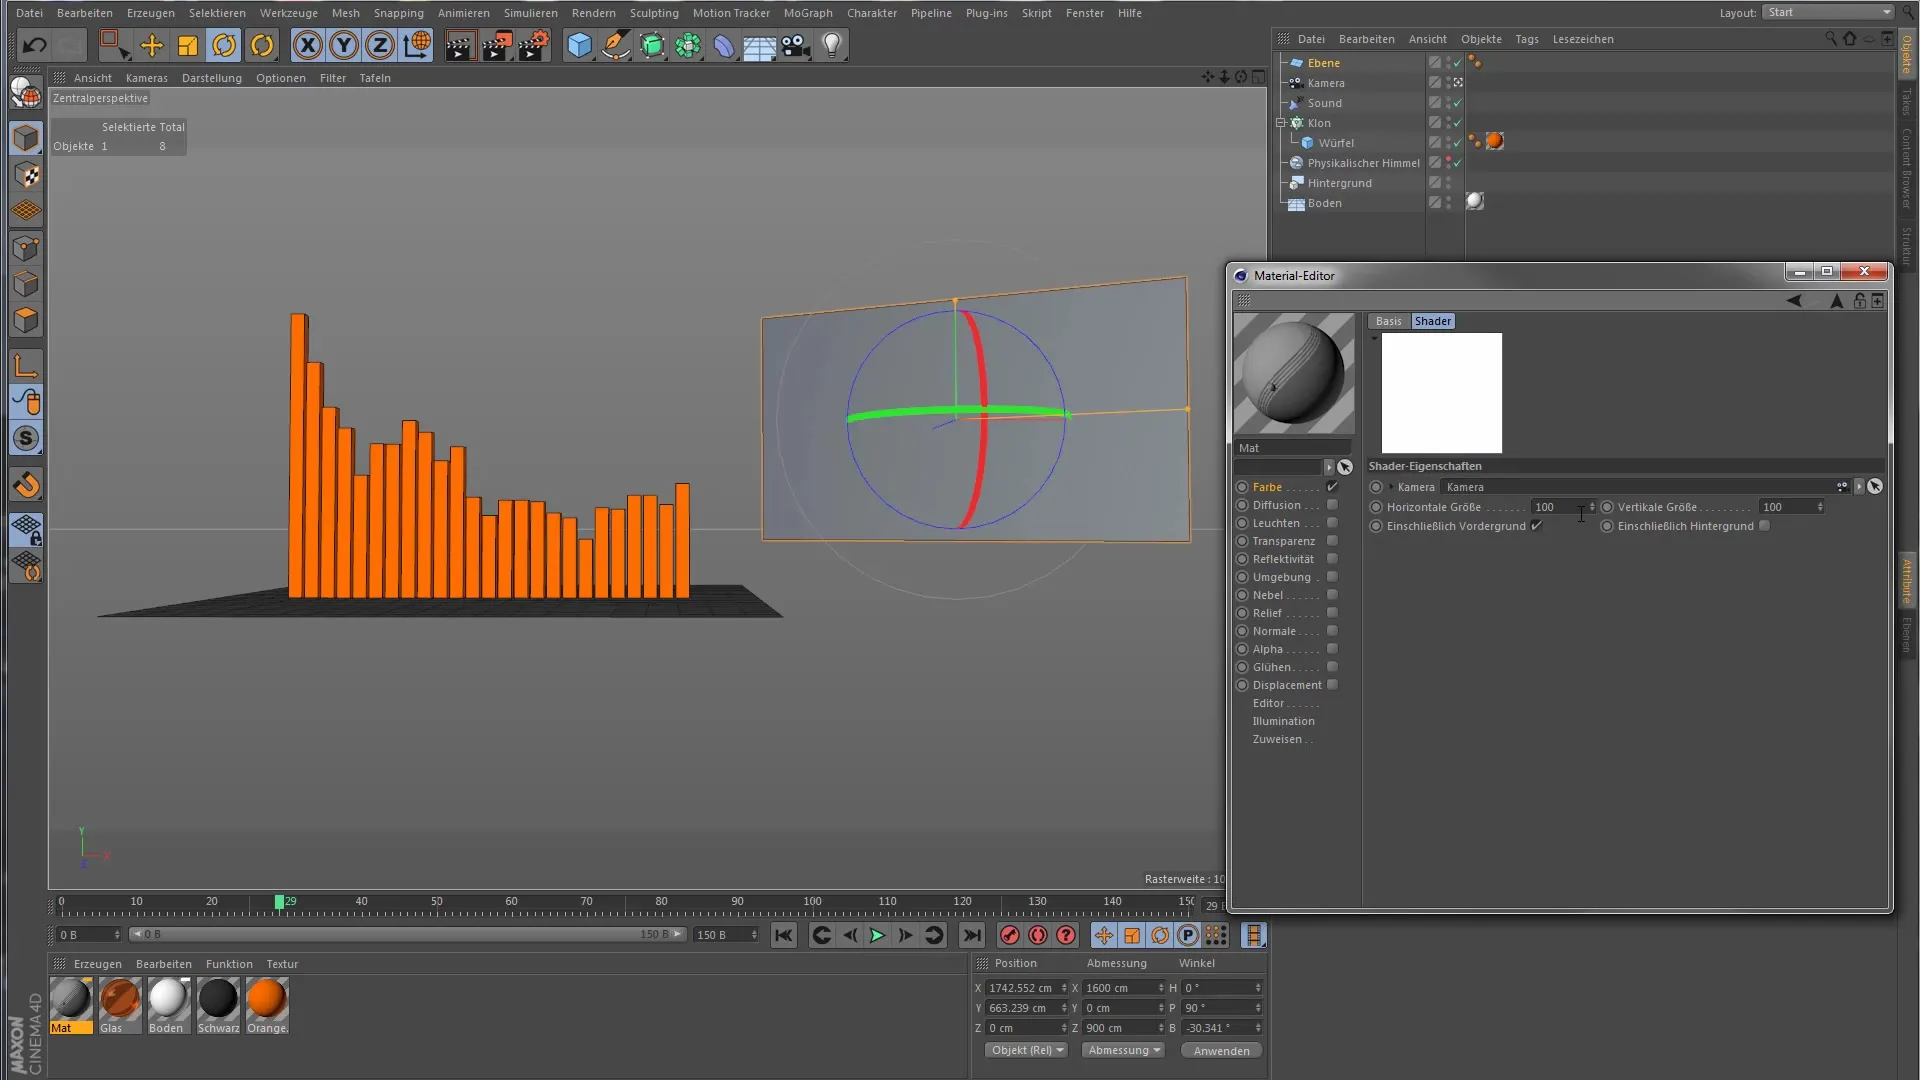
After you have made all the settings, you just need to apply the material to your chosen object. That’s it – your Camera Shader is now ready for use!
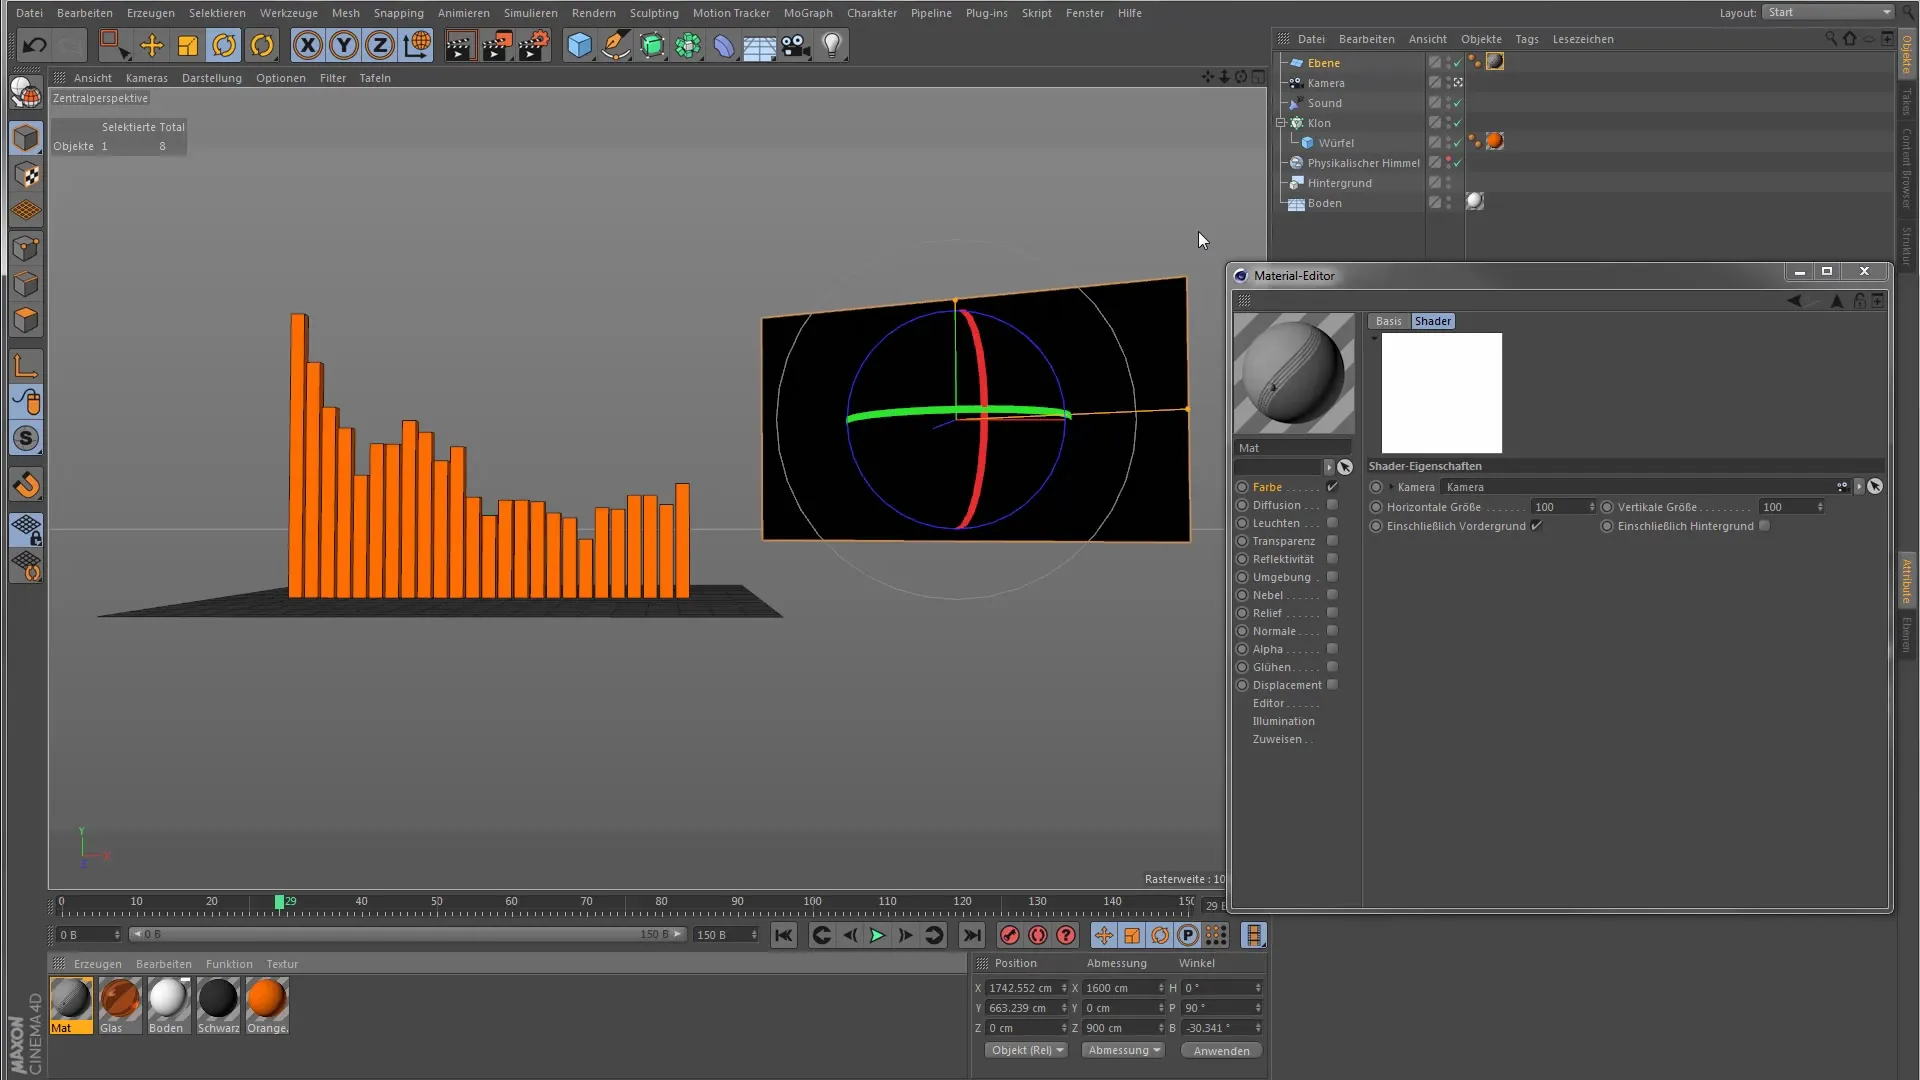
Now comes the exciting part: What happens when you render the scene? You push the interface aside and load the preview to render. While the Camera Shader is active, you can get a close-up experience of what this shader can do.
At this moment, you realize how the Camera Shader works. It captures the image that the selected camera sees and projects it as a texture on the object to which the shader has been assigned. This results in impressive effects, as the shader sees itself repeatedly, creating infinity effects that are visually captivating.
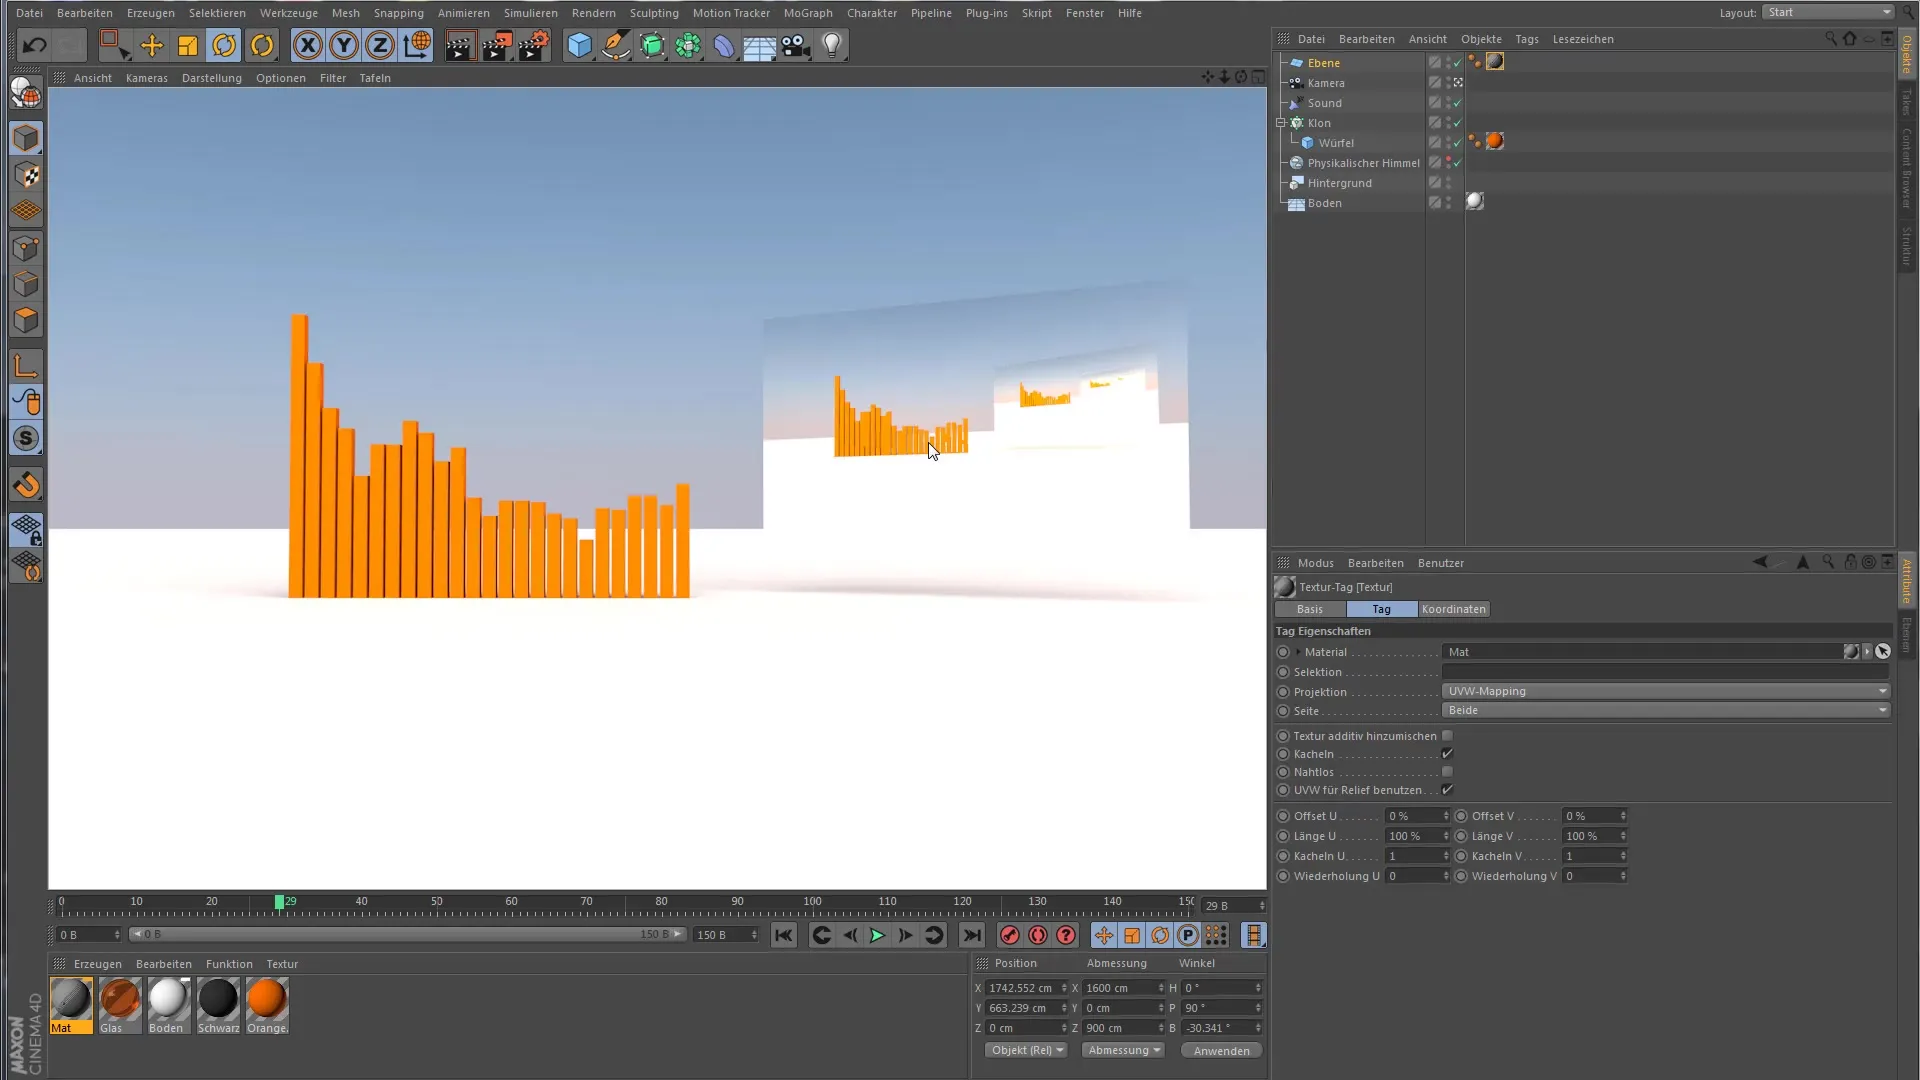
Moreover, you can map surveillance camera images directly onto monitors in your scene, without having to perform extensive post-production editing. This not only saves time but also significantly enhances the quality of your visual presentation.
Summary – Cinema 4D MoGraph for Beginners: Effective Use of the Camera Shader
In this guide, you have learned how to use the Camera Shader in Cinema 4D. You explored the steps for applying the shader, selecting the camera, and the possibilities for creating impressive visualizations through infinity effects and live broadcasts.
Frequently Asked Questions
How does the Camera Shader work in Cinema 4D?The Camera Shader projects the image of a selected camera as a texture onto a material.
Can I use multiple cameras for the shader?The shader can only work with a single camera at a time.
What types of effects can I achieve with the Camera Shader?You can create infinity effects and live broadcasts of surveillance cameras on monitors.
How do I implement the Camera Shader in my scene?Add a camera, select it in the Camera Shader, and assign the material.
Is the Camera Shader customizable?Yes, you can make various adjustments like size and foreground/background settings.
