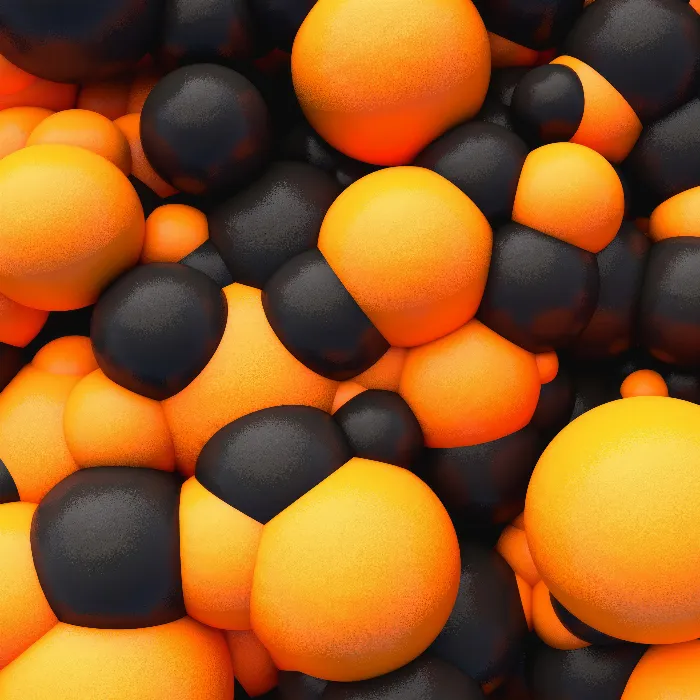
The Beat-Shader in Cinema 4D is a powerful tool that allows you to visualize rhythms and beats. With its help, you can create impressive visual effects that synchronize with music or other audio recordings. In this tutorial, I will show you how to effectively use the Beat Shader to create your own animated shader visualizations.
Key Insights
- The Beat Shader provides a simple way to generate visual rhythms from curves.
- With the settings "Beats per Minute" and "Peak Distance," you can perfectly adjust the animation technique.
- The use of the Beat Shader in combination with the Shader Effector offers you creative design possibilities.
Step-by-Step Guide
To apply the Beat Shader in Cinema 4D, follow this step-by-step guide:
First, place the Beat Shader in your project. You can find it in the MoGraph section of Cinema 4D. Click on this section and select the Beat Shader. This shader is specifically designed to visualize rhythms, making it a particularly interesting element for animated graphics.
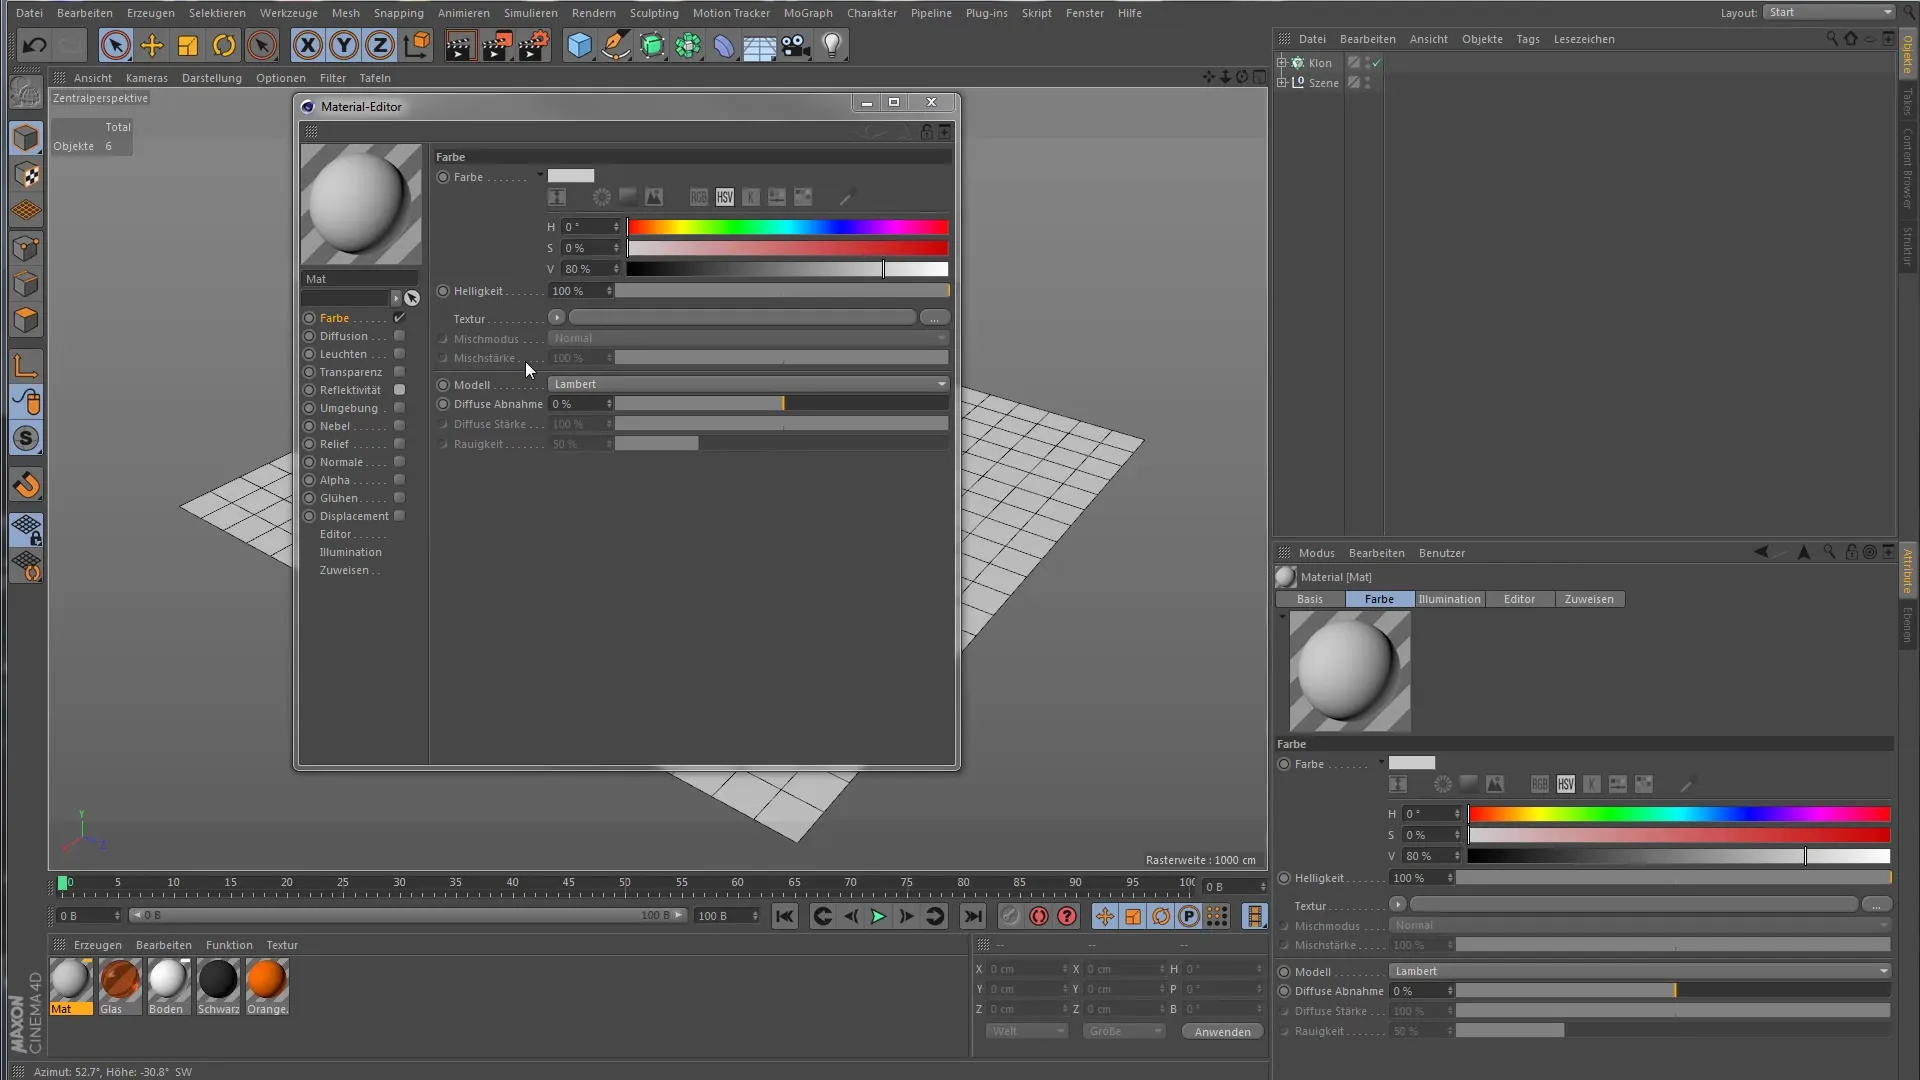
After selecting, a clear menu with a few setting options opens up. The simplicity of this shader makes it easy to understand and accessible for beginners. You have only three main parameters that can be configured.
To see how the Beat Shader works, add a simple curve. Click on the curve selection and load the preset "linear up." This curve runs from the bottom left to the top right and is an ideal basis for demonstrating how the Beat Shader functions.
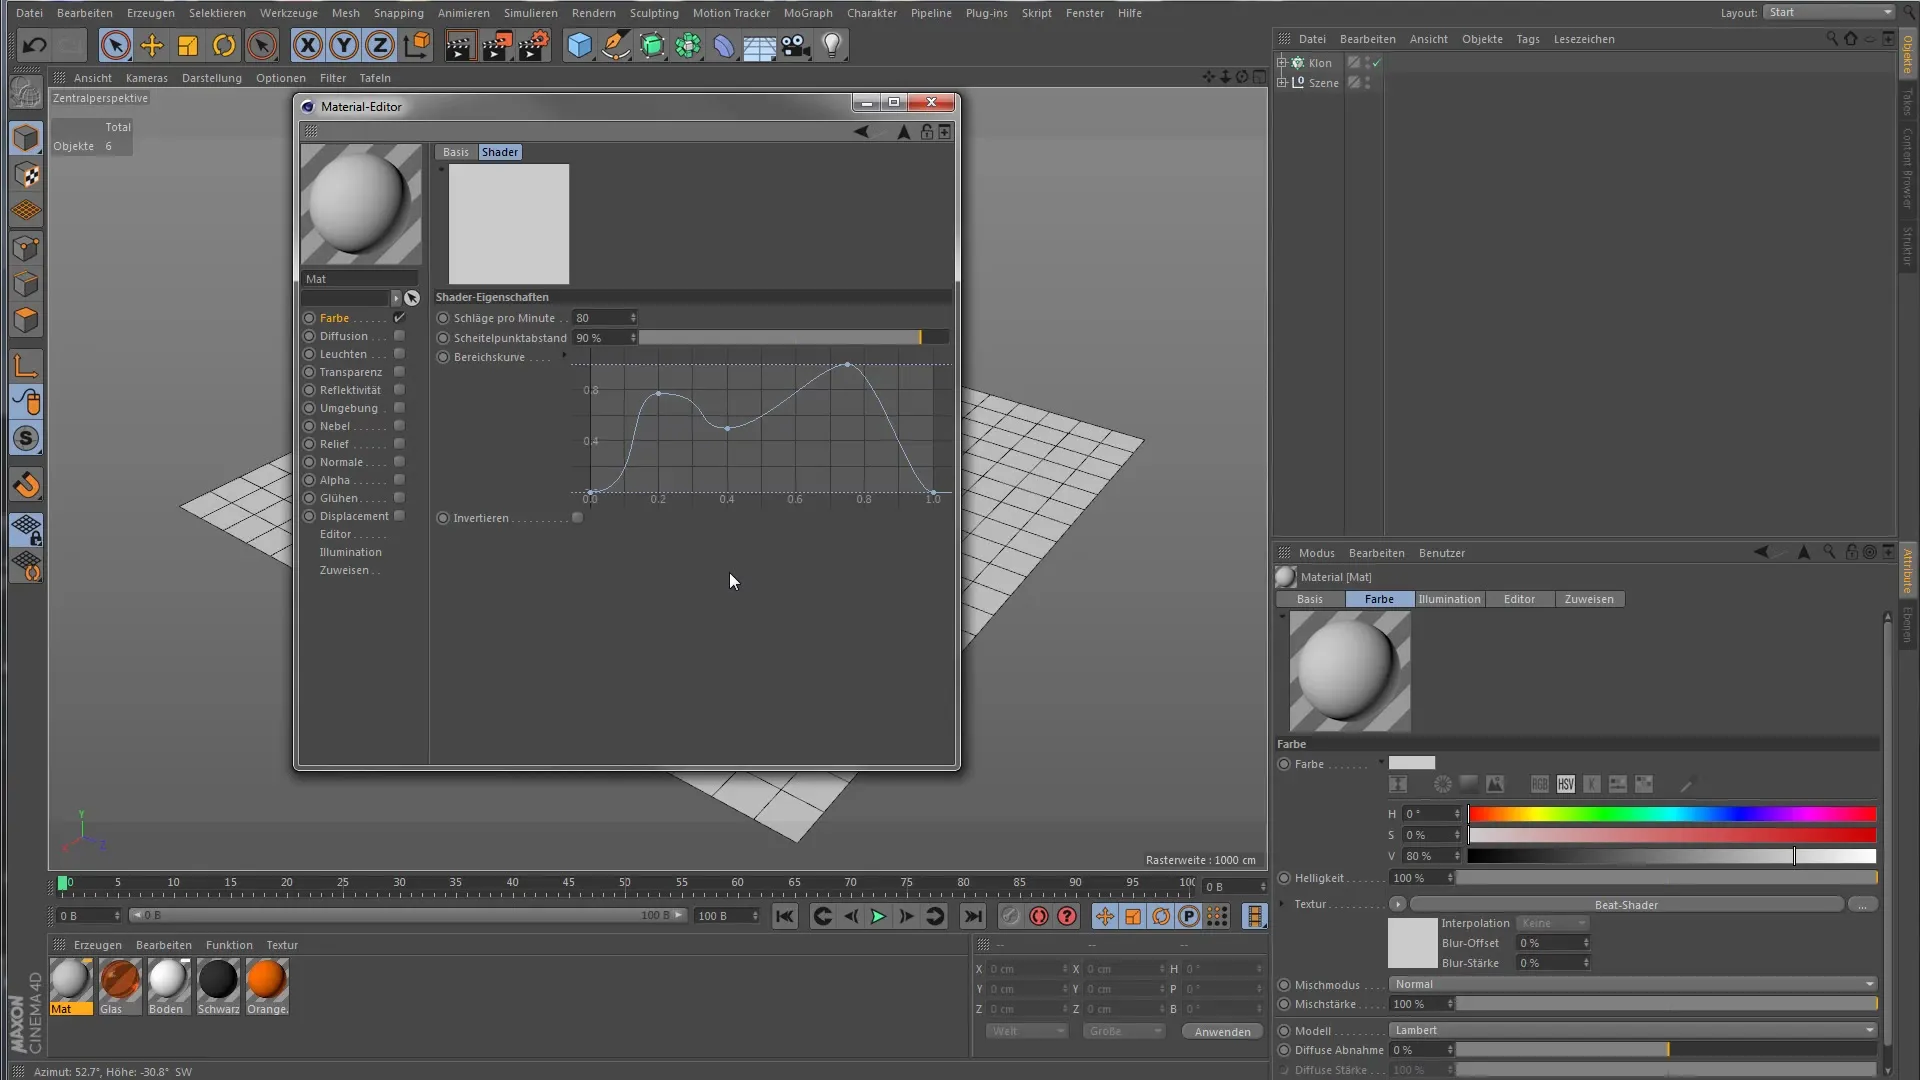
Activate the animation in the shader preview to observe the color changes from black to white. The speed at which these color changes occur is directly dependent on the curve design. You can adjust the number of beats per minute to vary the speed of the animation. Set the beats to 10 at first to see a slow animation.
If you increase the beats back to 80, the animation will run significantly faster. In doing so, the shader moves back and forth in the middle of the curve, creating an interesting dynamic visualization.
To achieve a smooth animation, it is important to avoid abrupt color changes. The Beat Shader does not jump back at the end of the curve but moves smoothly from the right side to the left side. If you feel the animation could run smoother, it is time to experiment with the settings.
Now you will see how you can implement the Beat Shader in practice. Close the dropdown menu and switch to your scene, where you have already prepared clones. Here, add the Shader Effector and assign the Beat Shader as the shader to it. Make sure that the settings are correctly applied.
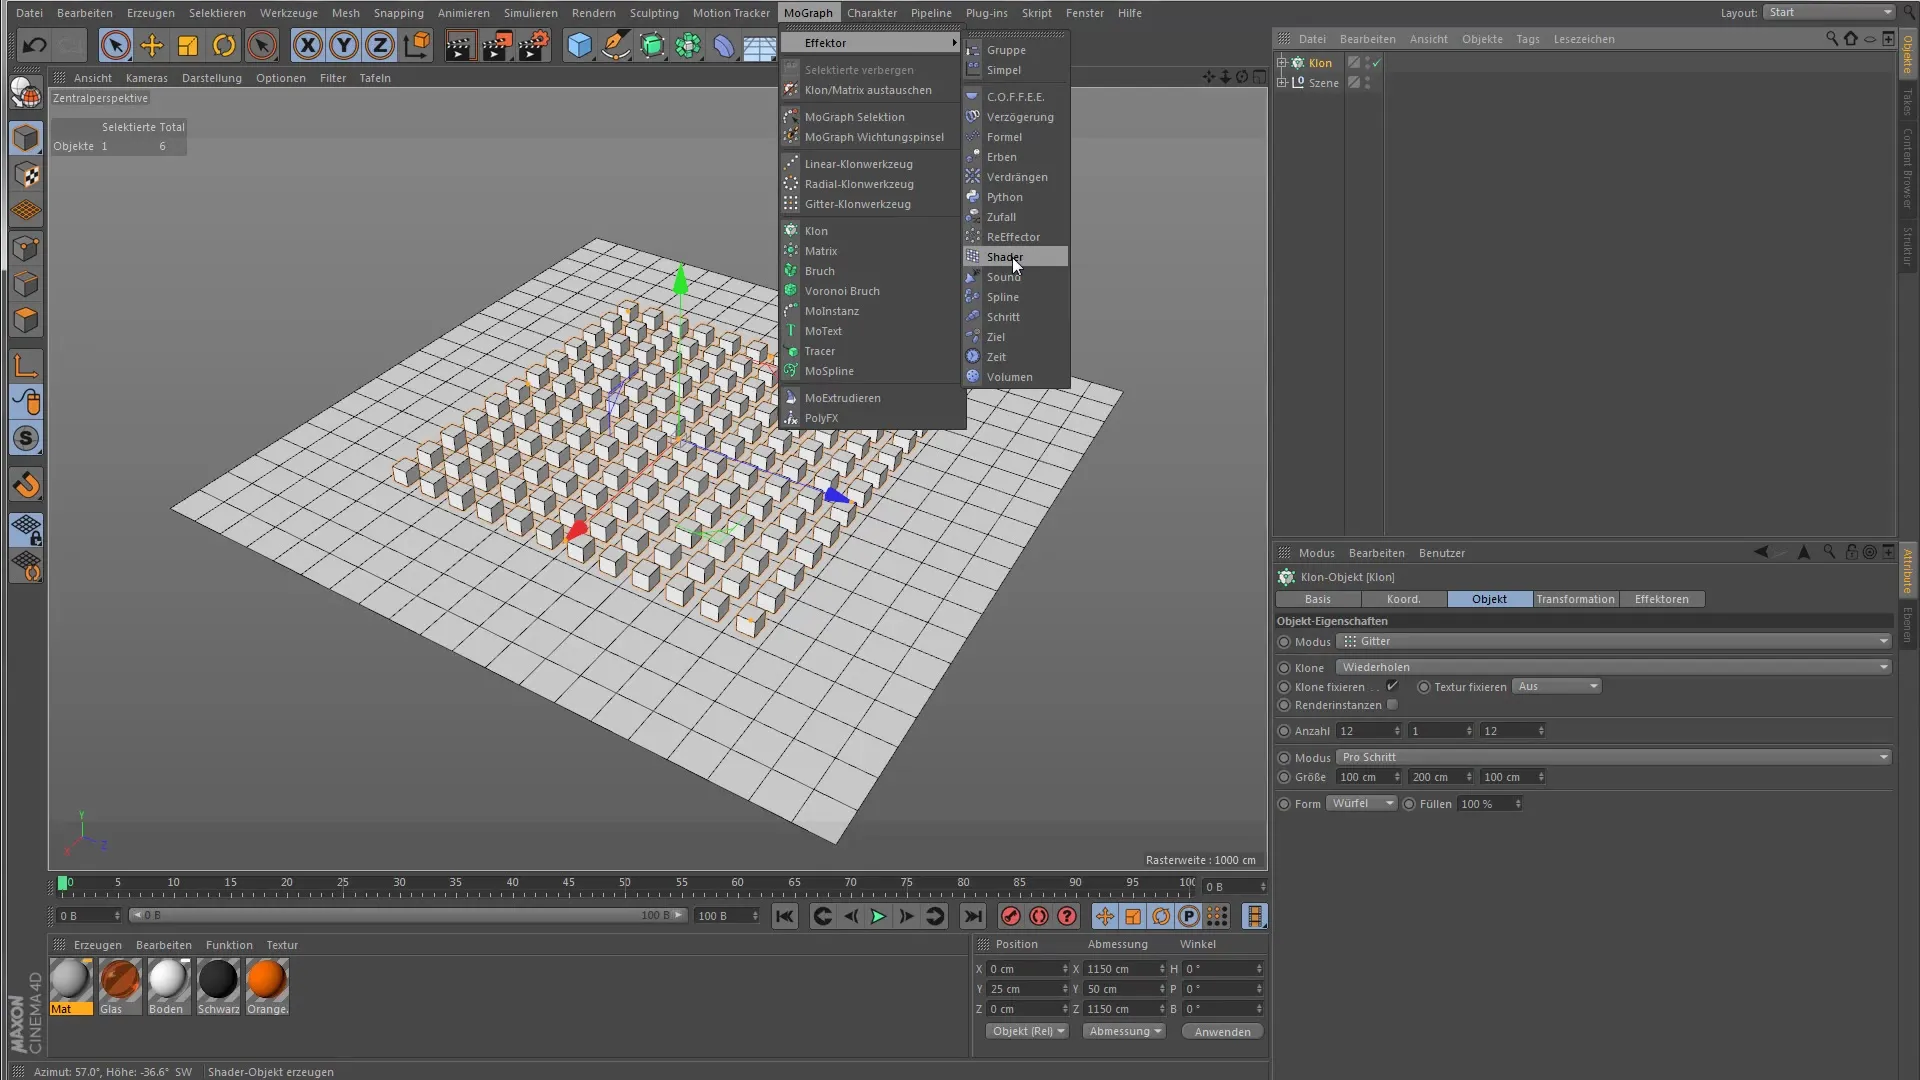
In the preview, you will see that the Shader Effector passes the colors to your clones. This provides additional visual support for your animation, even if the result may not look perfect just yet. Just let the animation run to get an initial impression.
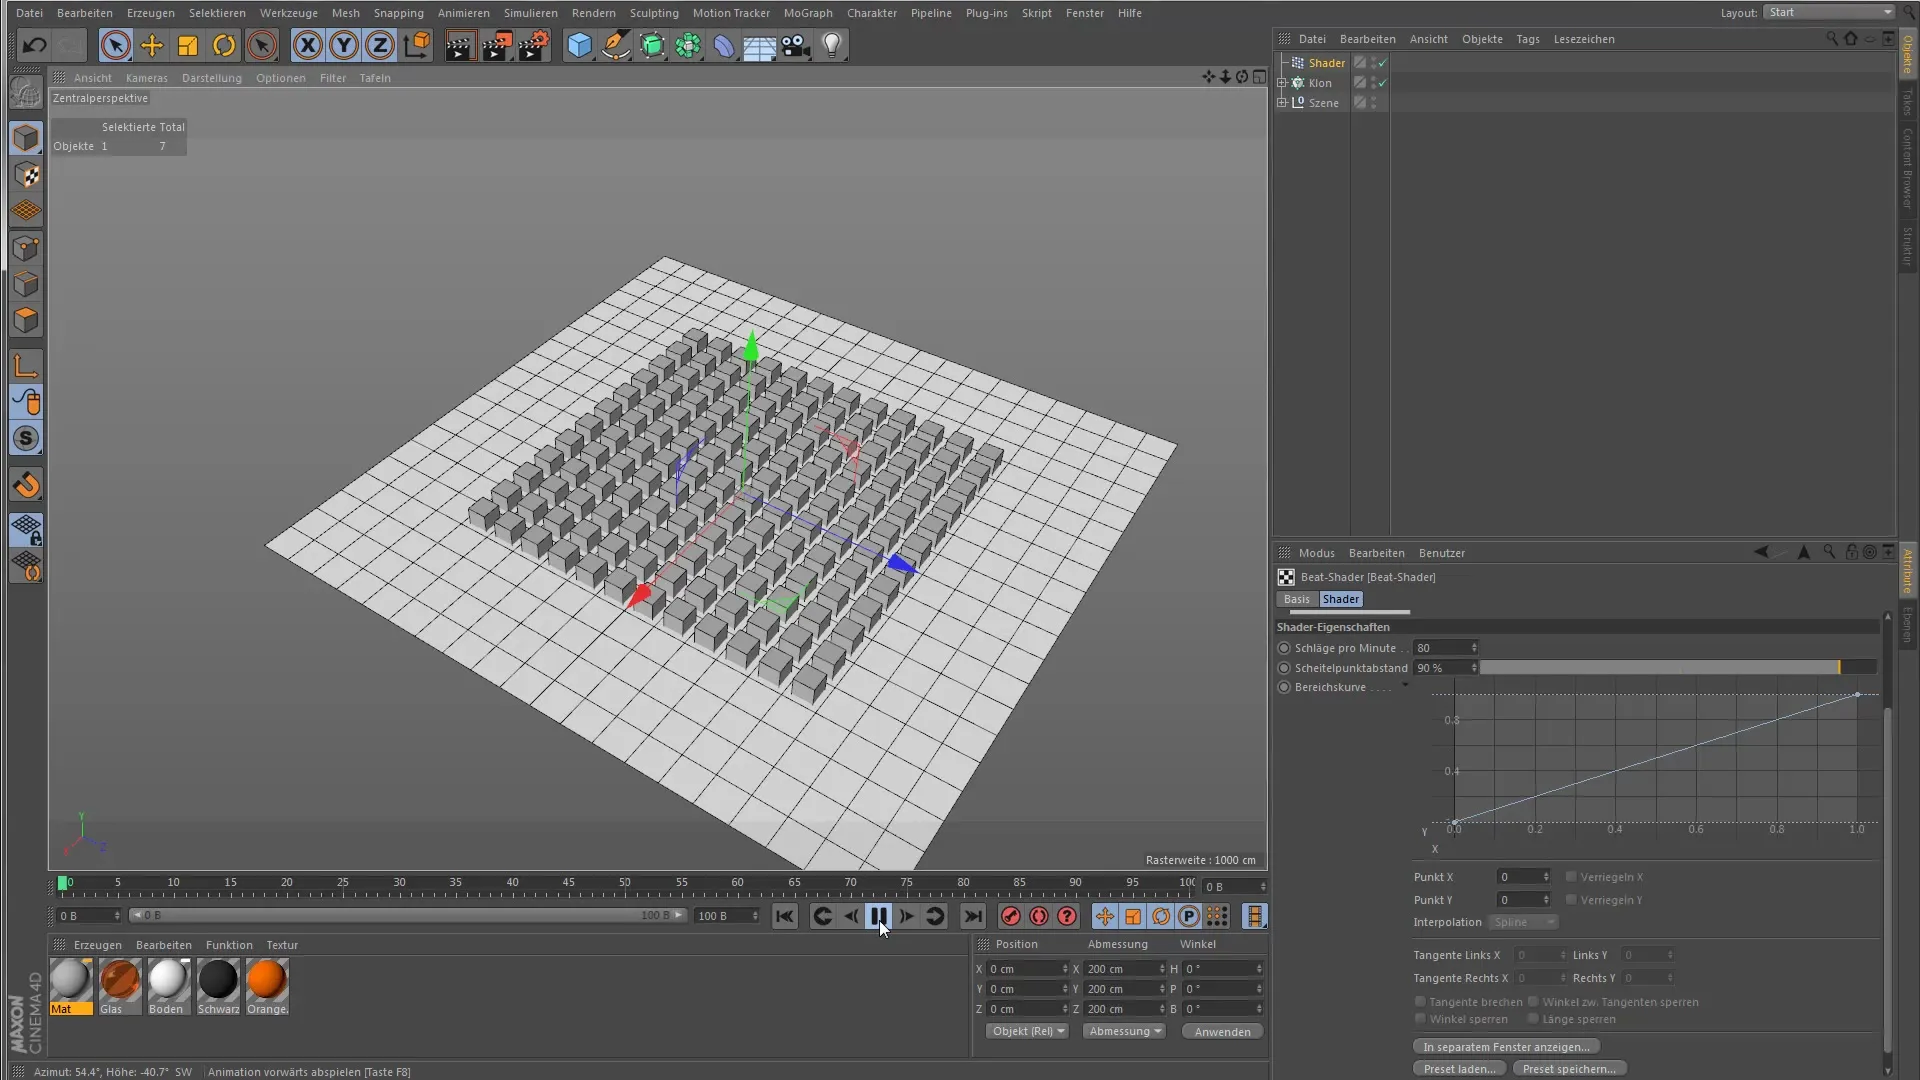
An important aspect of the animation is the "Peak Distance." With this setting, you can specify how much time should elapse between individual animation effects. Currently, the peak distance is set to 90%, which means the animation switches relatively quickly between points.
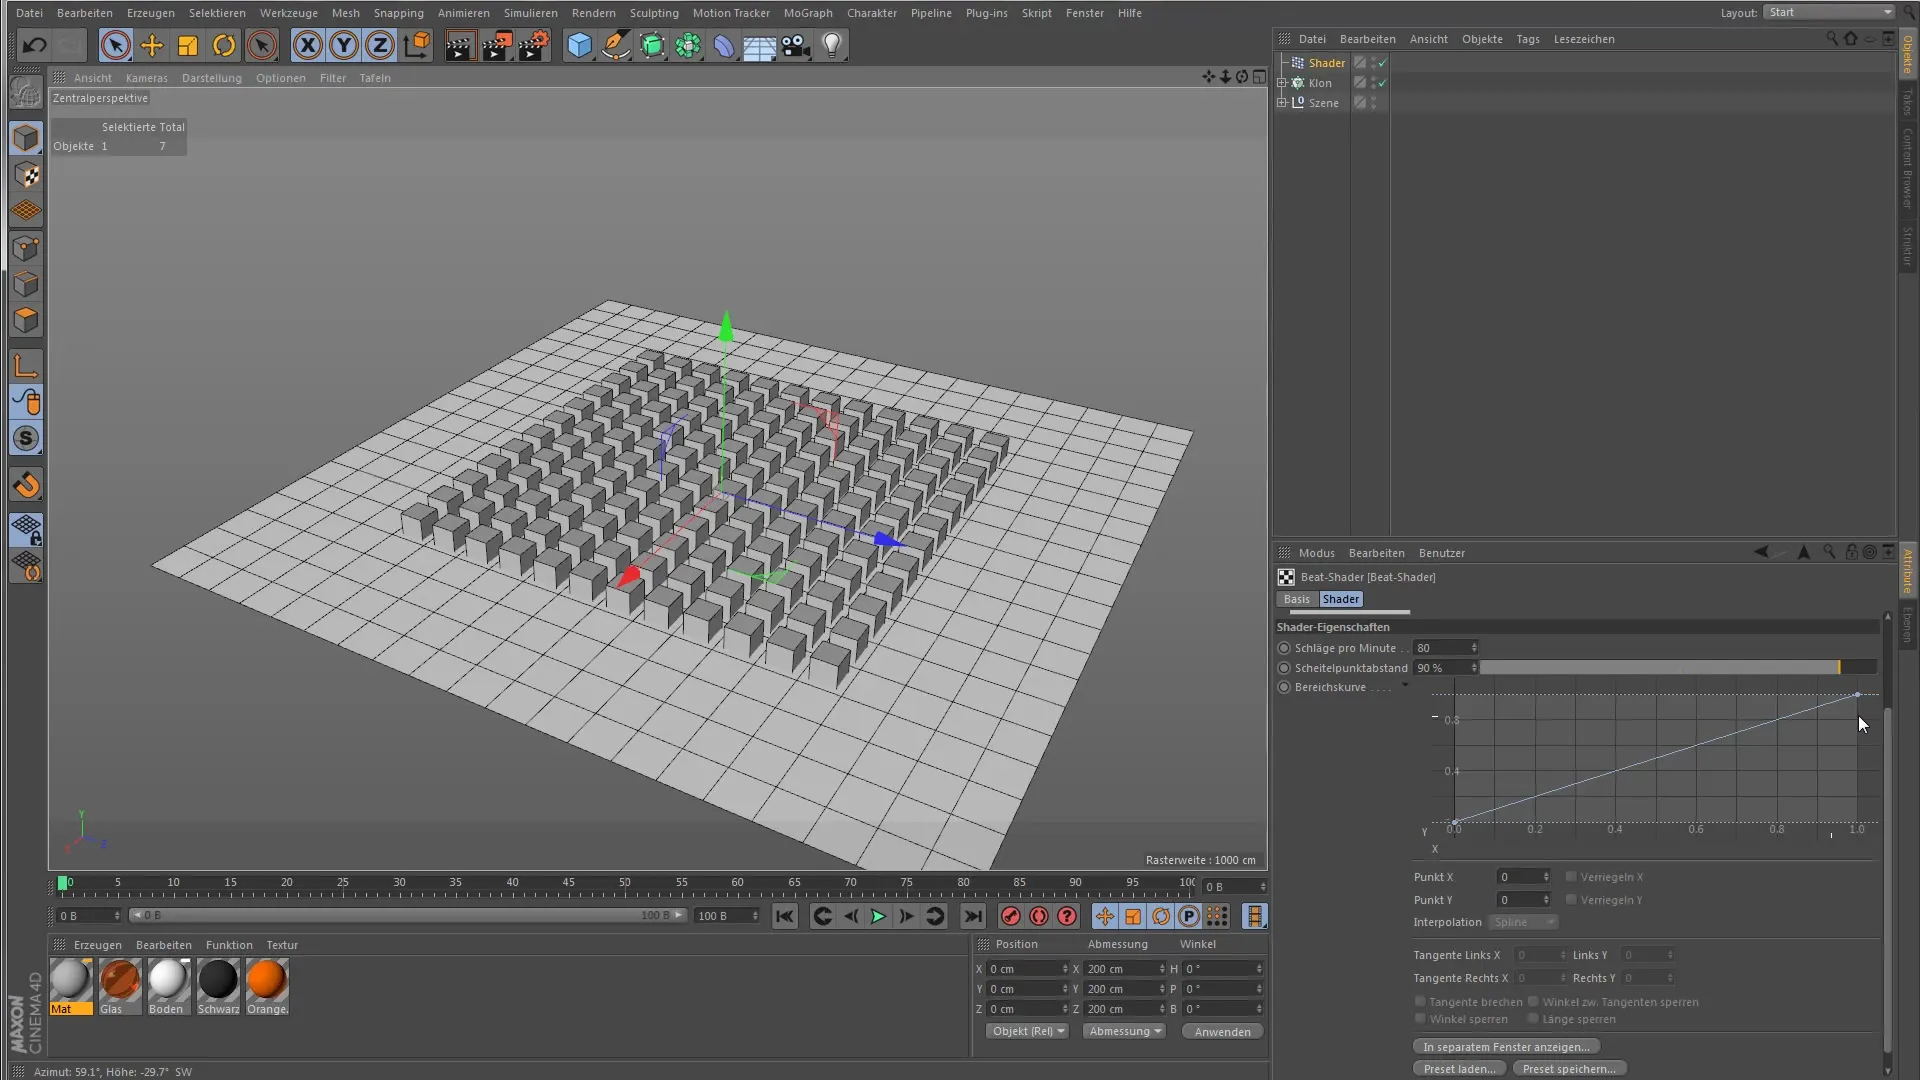
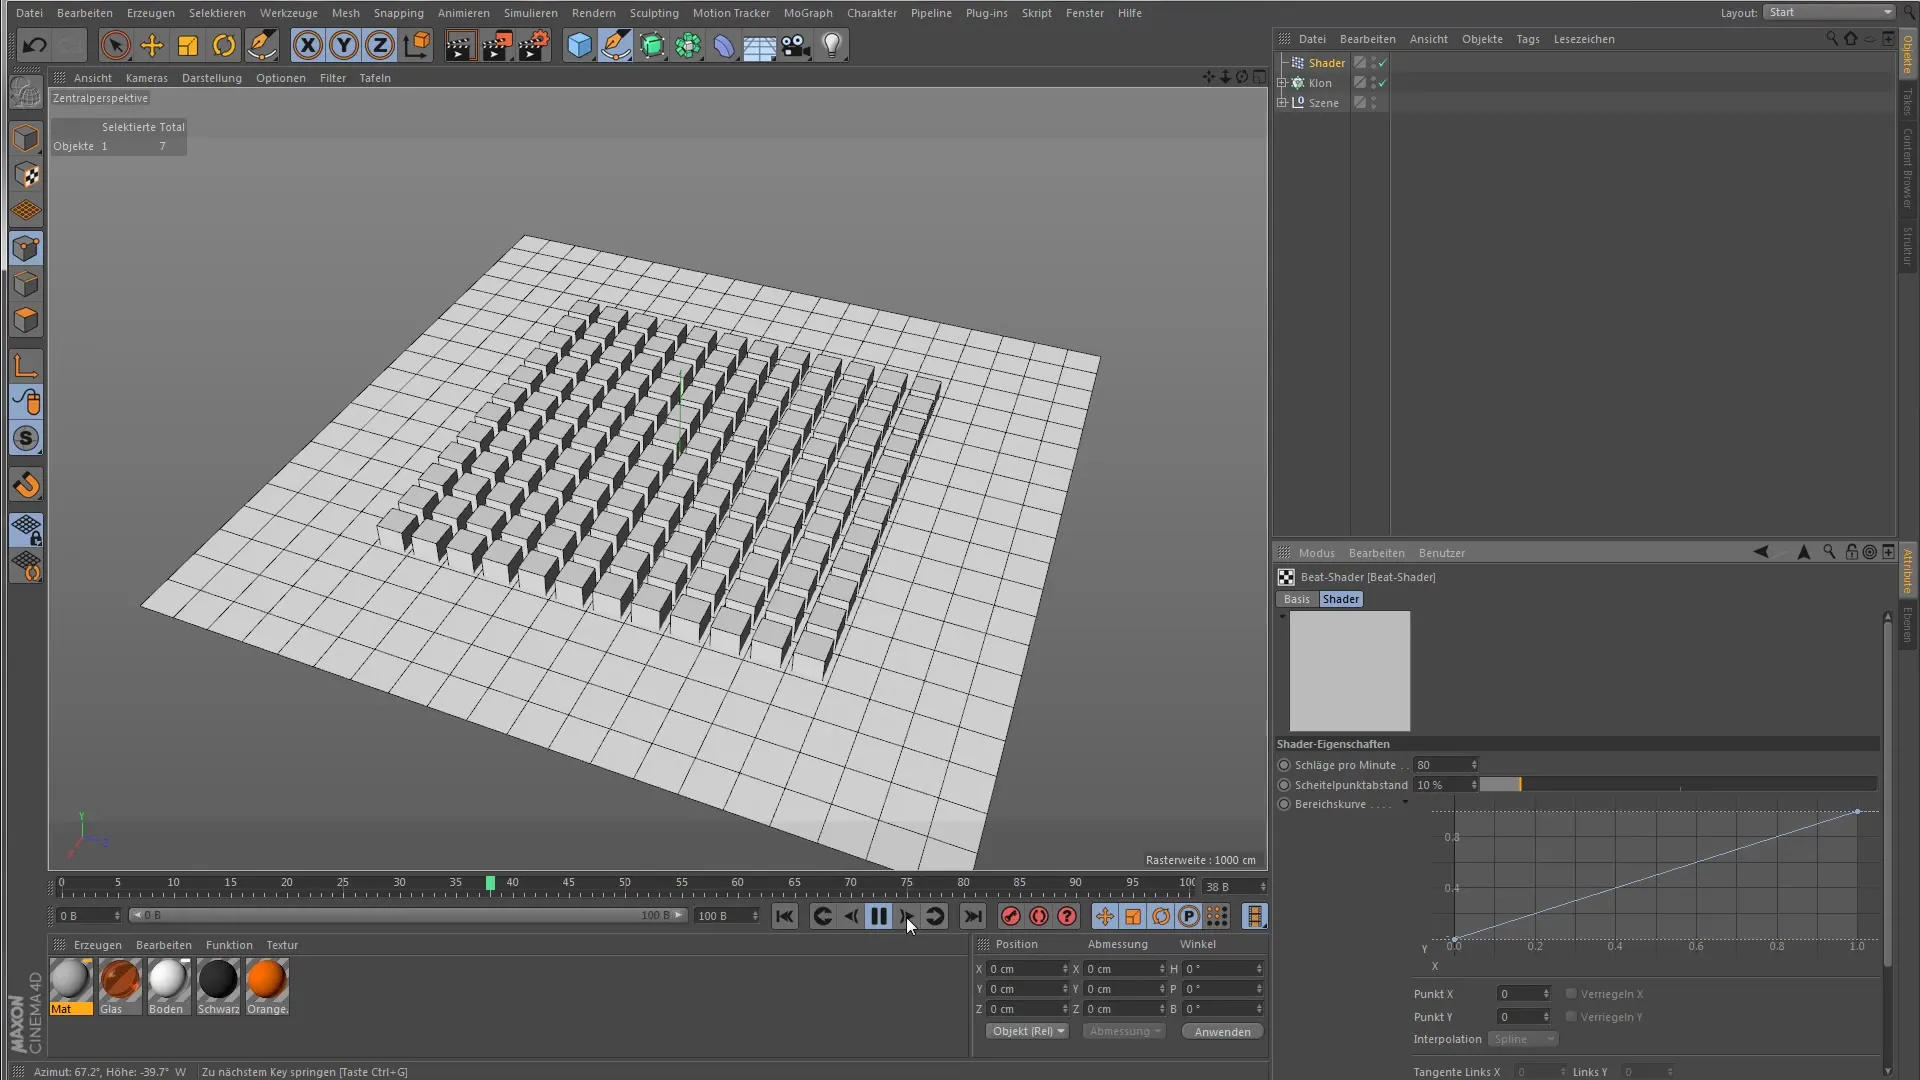
If you want to reduce the peak distance, the animation will become abrupt, while a larger distance makes the movements appear slower. Try setting the value to 10% and observe how the animation behaves.
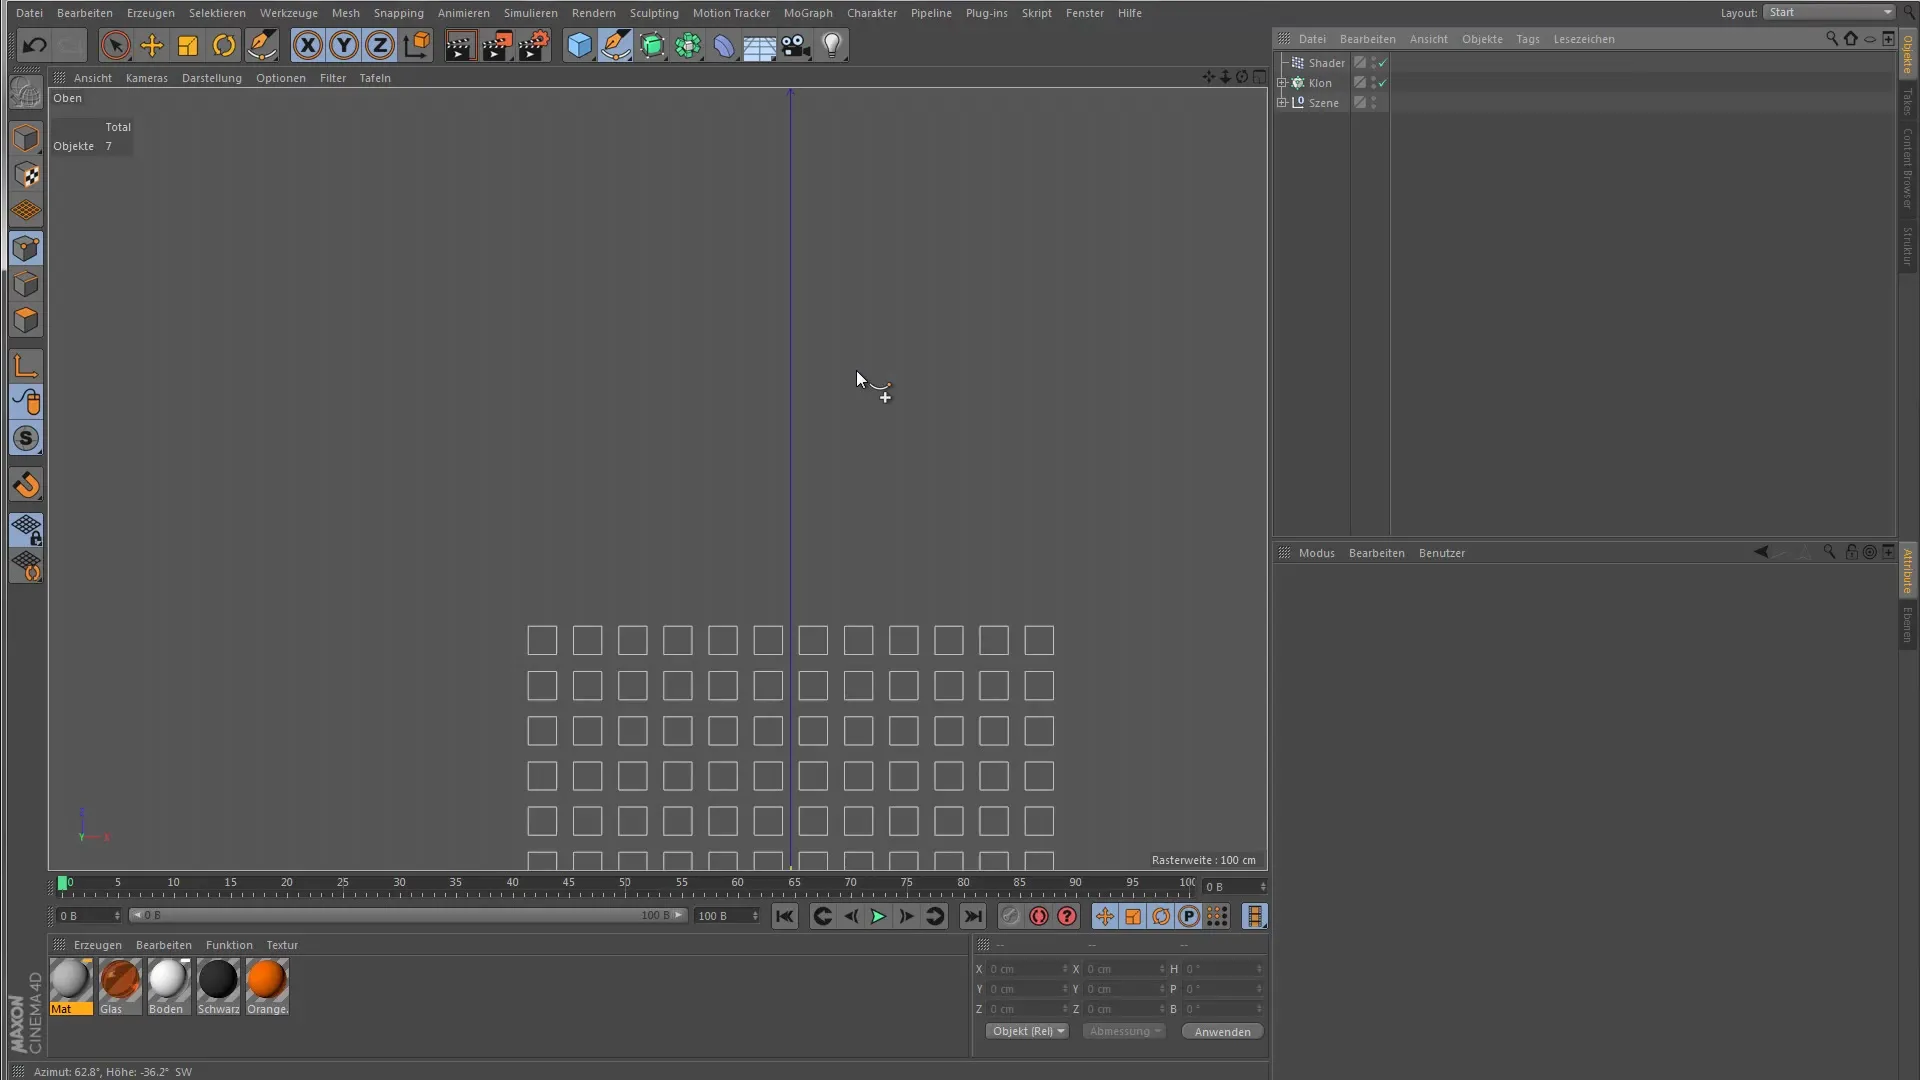
By adjusting the peak distance and beats per minute, you can precisely control the timing of your animation. Experiment with different values until the result meets your expectations. This allows for a variety of creative designs and effects.
Summary – Cinema 4D MoGraph Beat Shader for Beginners
In this tutorial, you learned how to use the Beat Shader in Cinema 4D to create impressive animations. You explored the various setting options and how to optimally combine them to achieve the desired visualization.
Frequently Asked Questions
How does the Beat Shader work in Cinema 4D?The Beat Shader visualizes rhythms by animating the color between black and white based on a curve.
What are the main parameters of the Beat Shader?The three main parameters are curve representation, beats per minute, and peak distance.
How can I adjust the speed of the animation?The speed can be adjusted through the "beats per minute" setting. Higher values lead to faster animations.
What does the peak distance do?The peak distance determines how much time passes between animation effects, thus influencing the dynamics of the movement.
What can I achieve graphically with the Beat Shader?You can simulate various animations in movement and color changes to create creative visual representations.
