Do you want to make your animations in Cinema 4D more vibrant? The Sound Effector is an excellent tool that reads the volume information of different frequencies from an audio file and uses it to control the transformations of your clones. This way, you can move clones to the rhythm of a piece of music without having to set keyframes. This guide shows you how to optimally use the Sound Effector.
Key Insights
- With the Sound Effector, you can animate clones based on audio data.
- You can fine-tune the effects of the frequencies on the clones.
- The use of filters and frequency graphs allows for more precise control over the animations.
Step-by-Step Guide
1. Add the Sound Effector
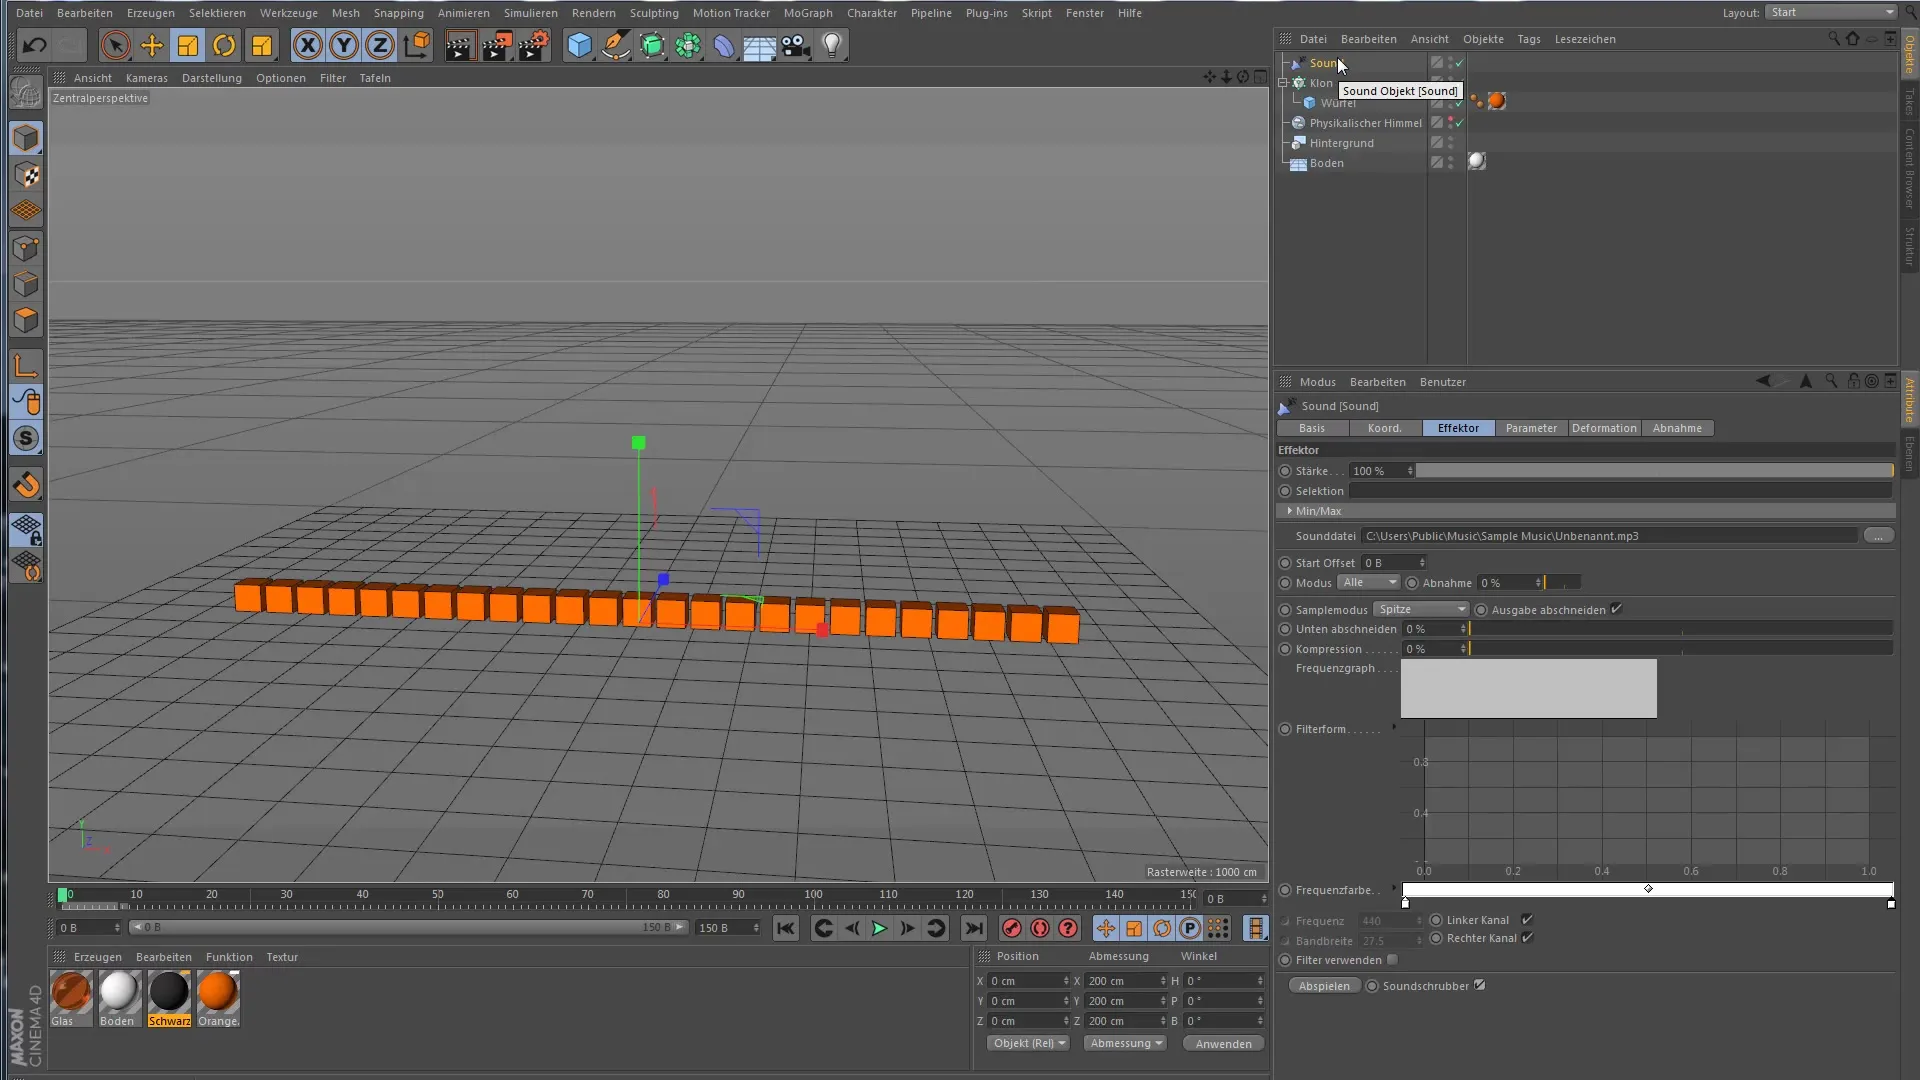
First, add the Sound Effector to your scene. You can do this by selecting the appropriate command in the menu bar. Don't forget to assign an audio file for the effector to analyze. These preparations are crucial for successfully executing the next steps.
2. Start the Animation
Start the animation to see how the clones move in time with the music. The default parameters can be kept at first, as they are already set for basic animation.
3. Make Adjustments to the Parameter Settings
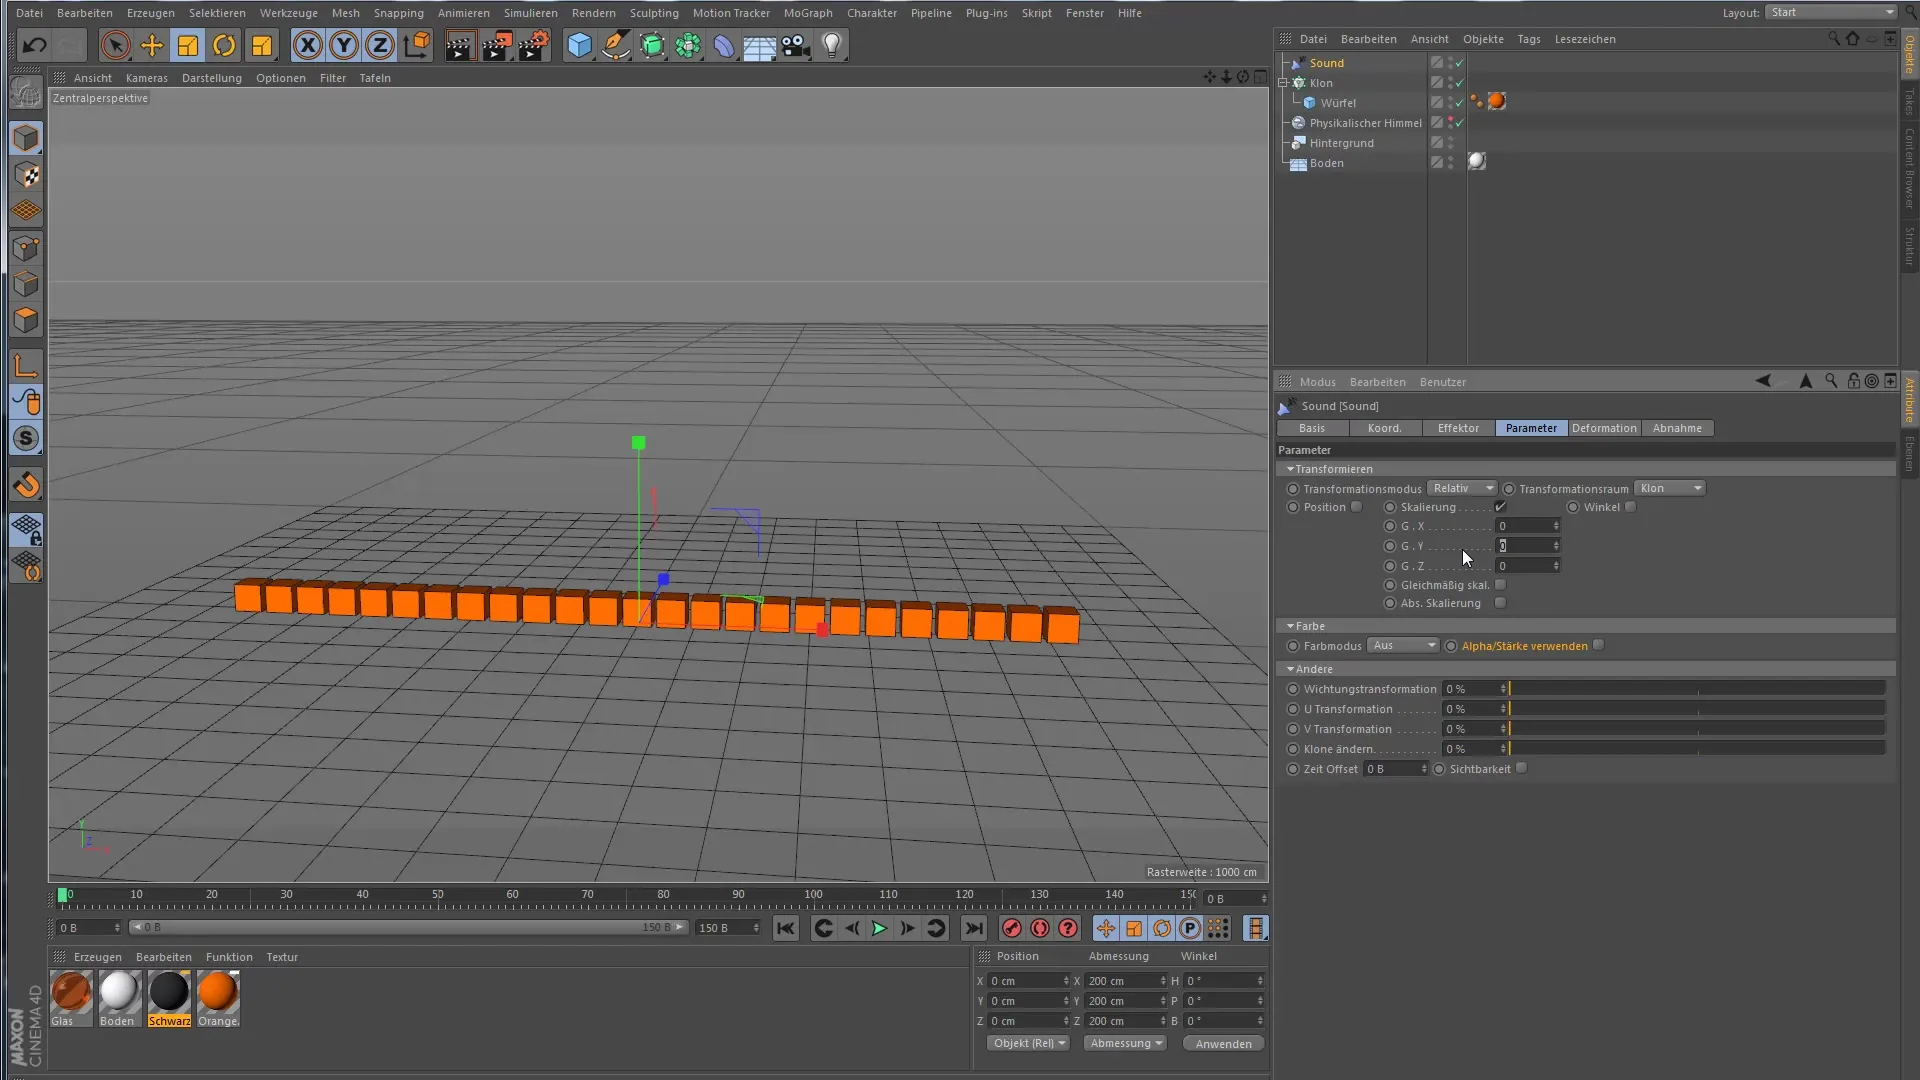
Now it's time to make adjustments in the parameter settings. The Sound Effector has various settings that influence the behavior of the clones. For example, you can adjust the scaling of the clones to enhance the visual effect. Set the scaling on the Y-axis and experiment with different values to achieve the desired effect.
4. Change Mode from "All" to "Step"
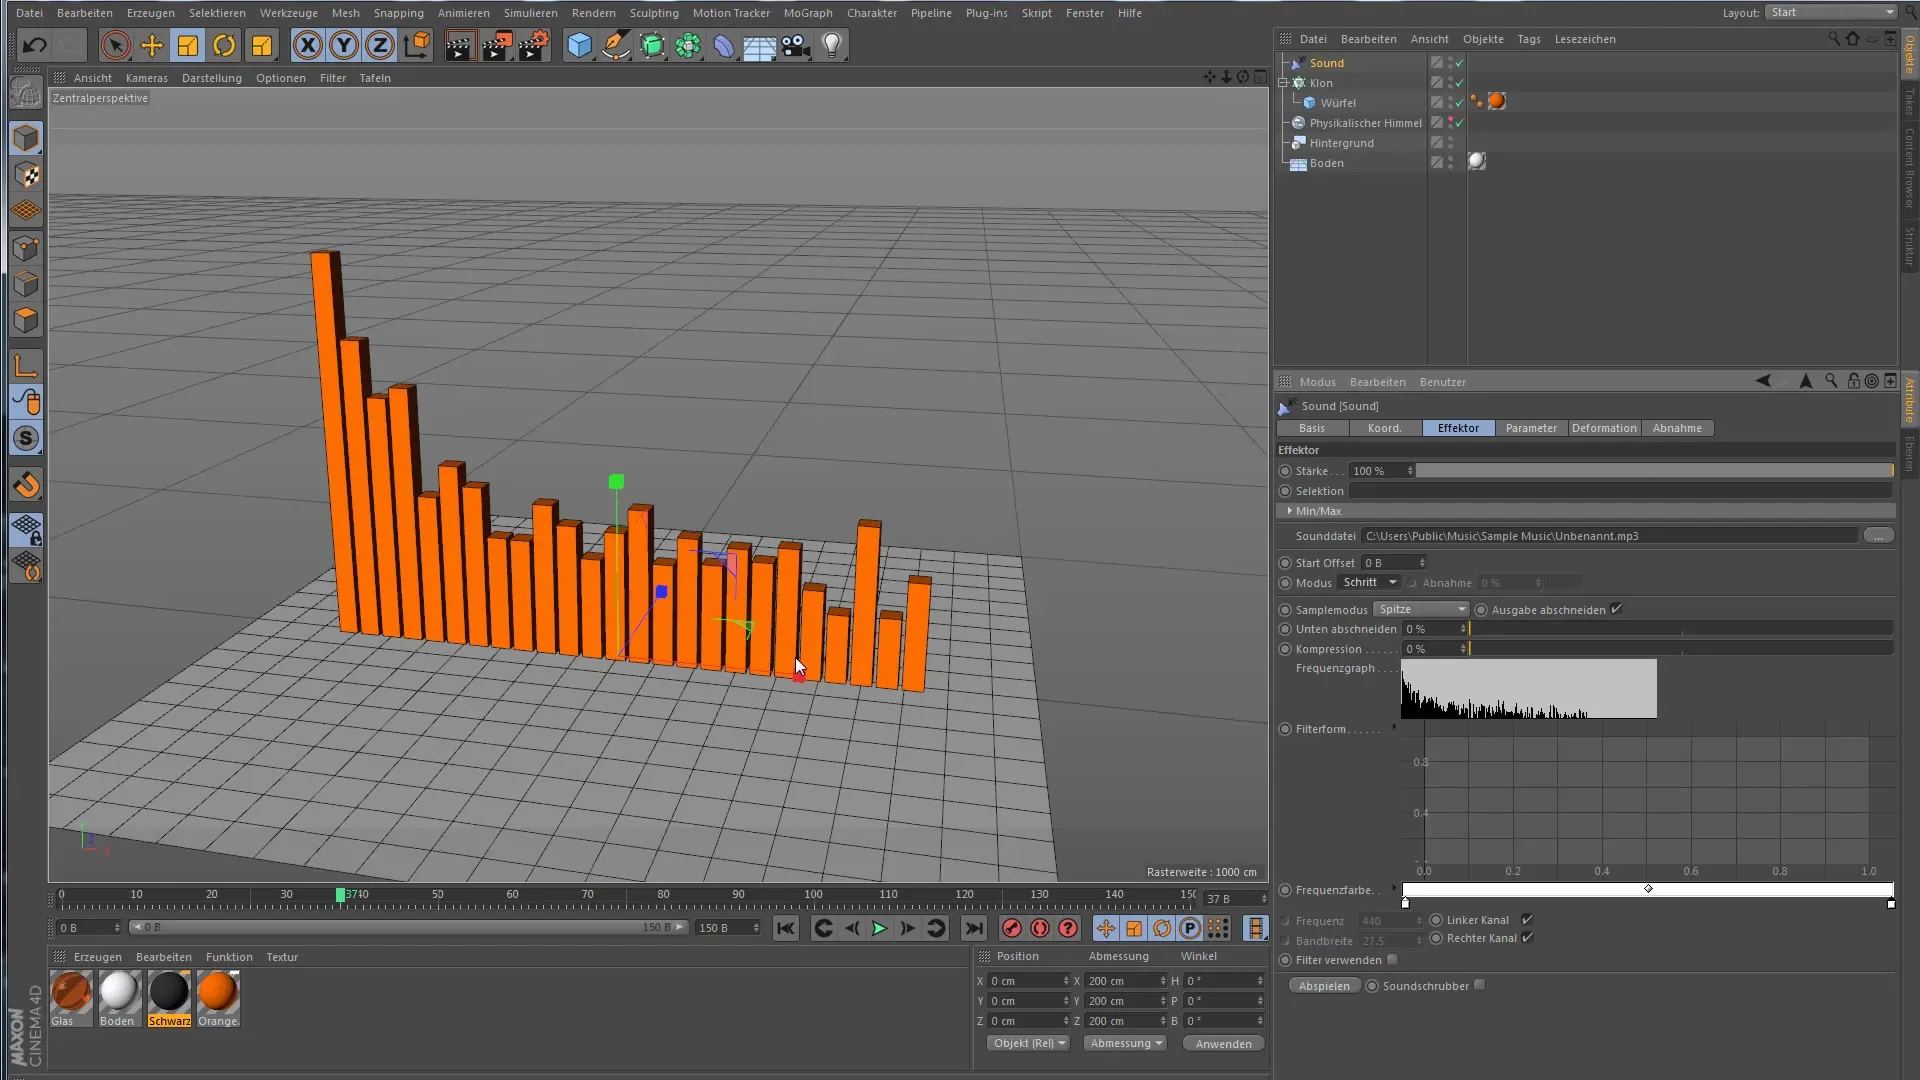
Currently, all clones are jumping in a synchronized motion. To create individual dynamics, change the mode from "All" to "Step". This will evenly distribute the frequencies across the clones, so each clone reacts differently.
5. Adjust Frequency Compression
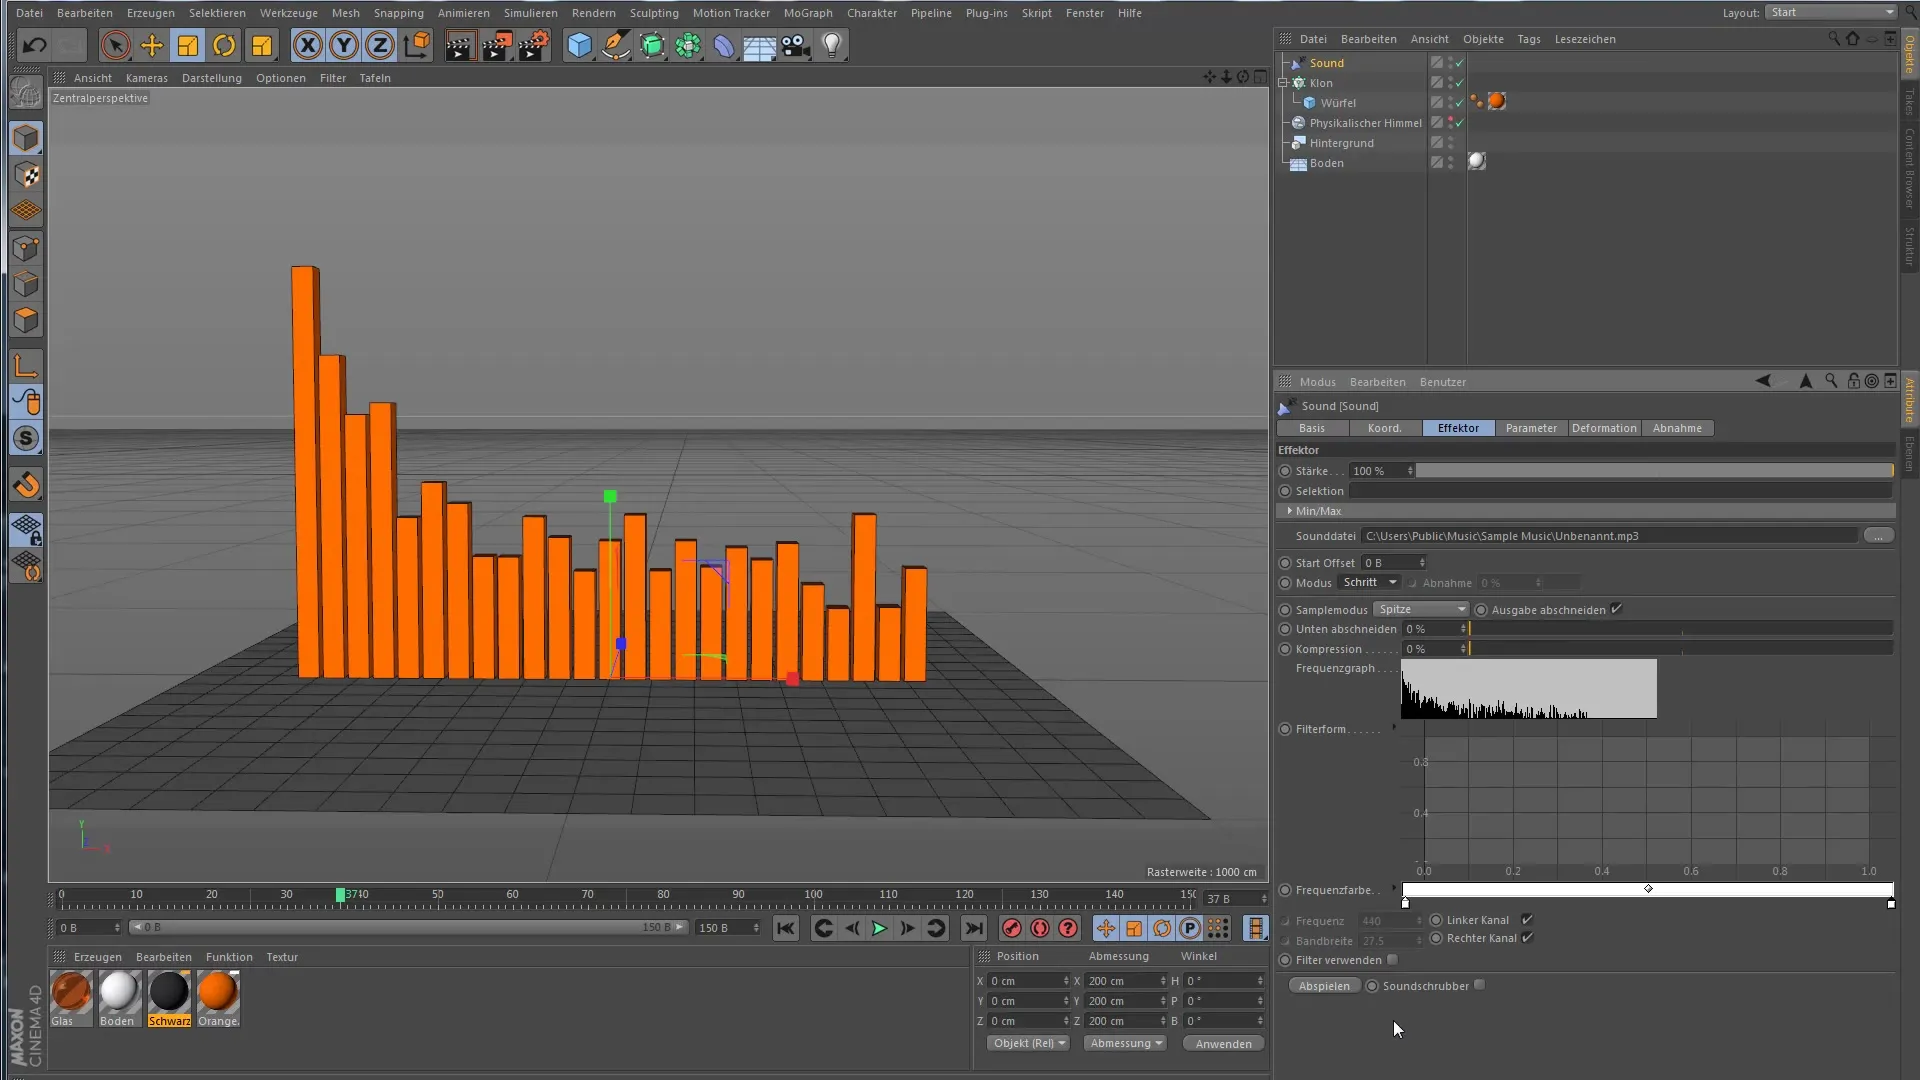
Now you can adjust the compression of the frequencies. Higher compression amplifies quieter frequencies, resulting in a more dynamic animation. Let the animation run with and without compression to notice the differences.
6. Adjust Frequencies and Filters
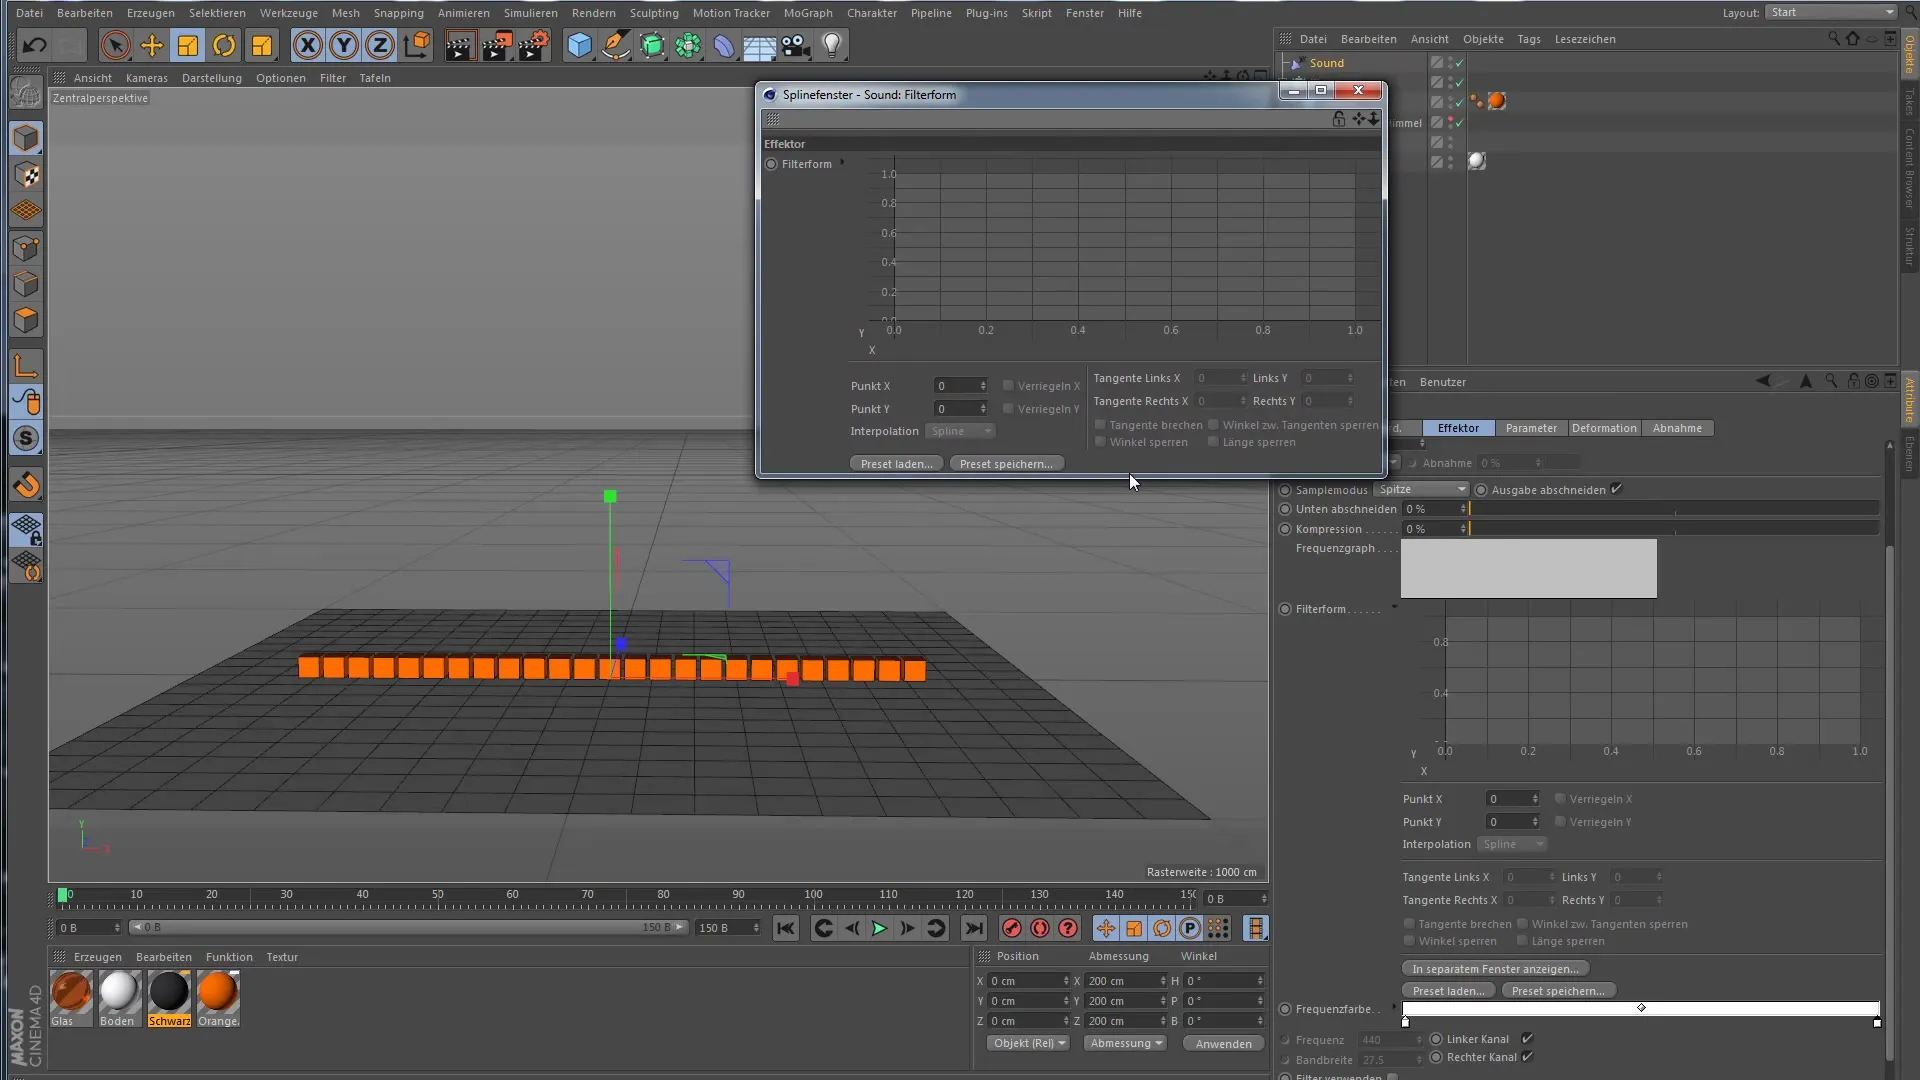
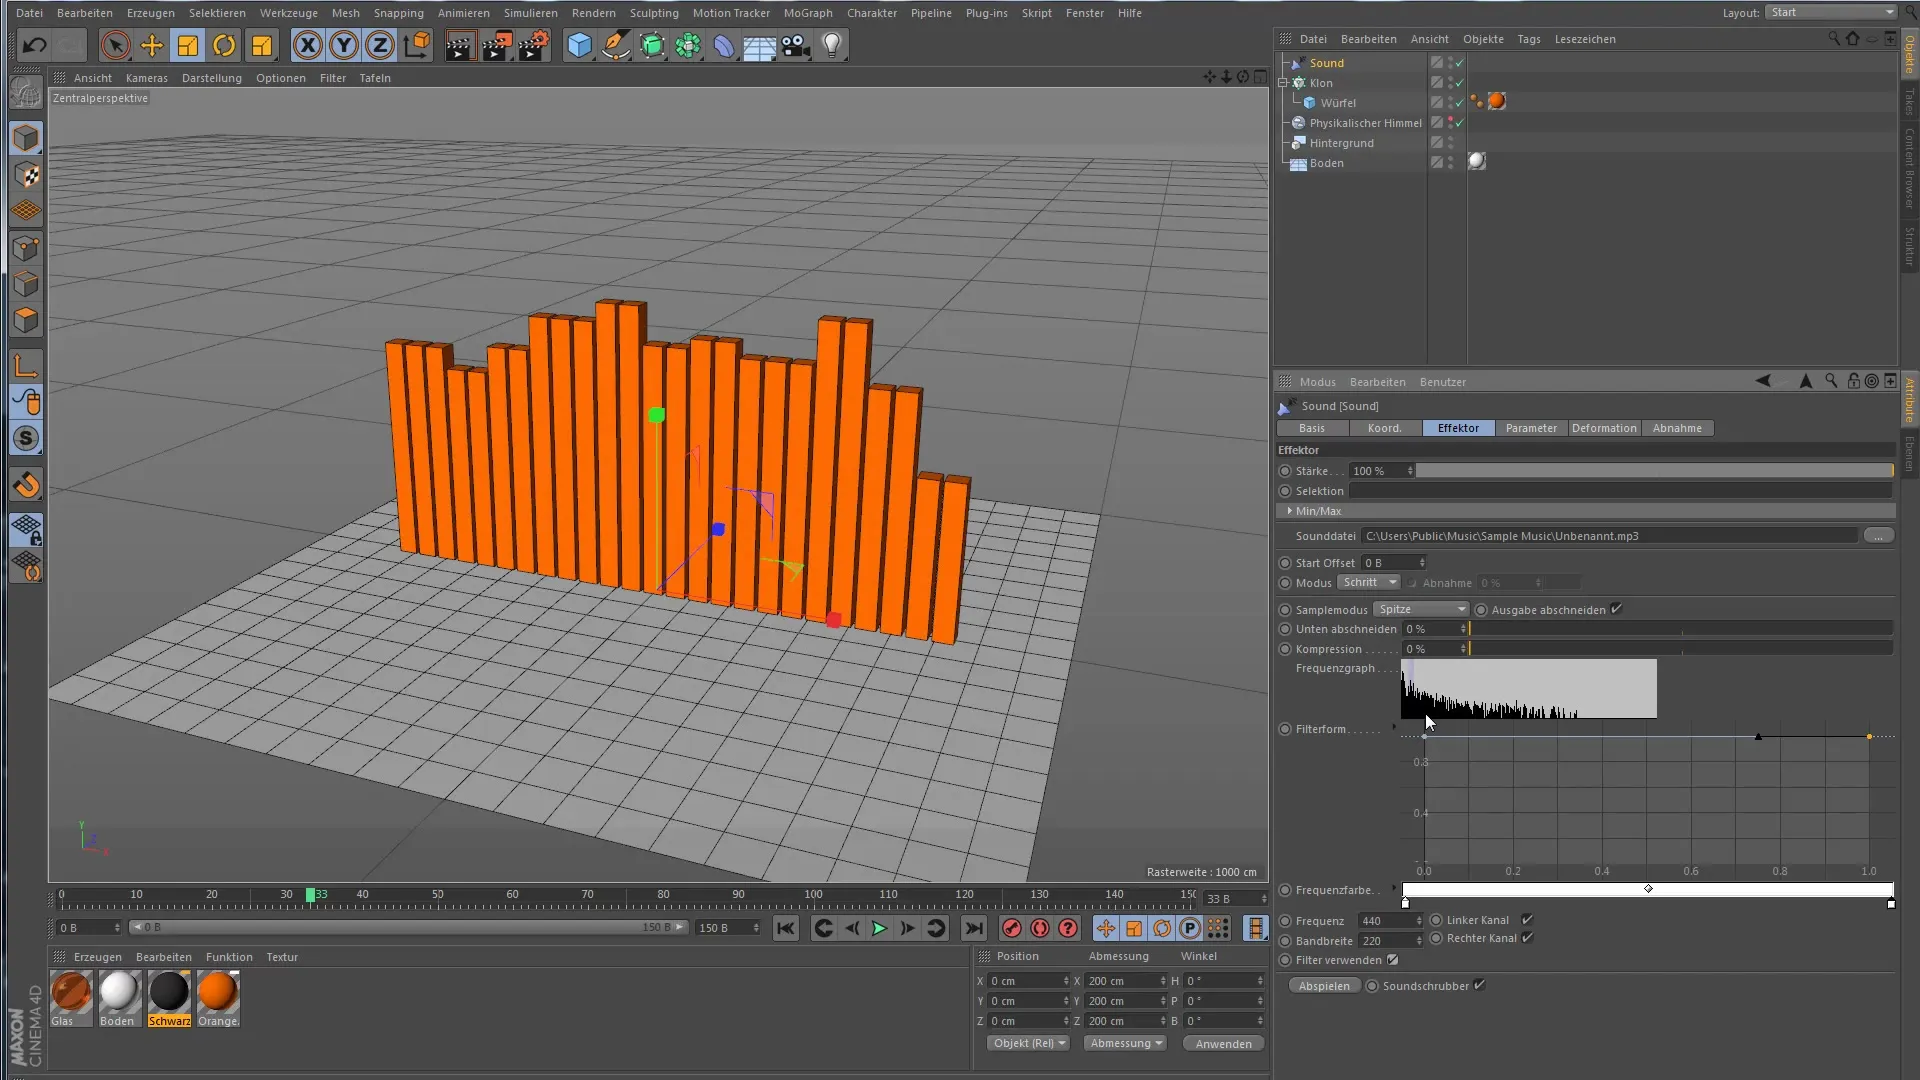
You have the option to shape the curve for frequencies in the filter area. Here you can add a graph to precisely control which frequencies influence your animation. Experiment with different presets to find the optimal setting for your music piece.
7. Activate Filter Use
To further refine the animation, activate the filter function. You can selectively choose frequencies that are relevant for your animation. Define the frequency spectrum that should influence your clones. This targeted approach brings more calm to the animation and prevents random movements.
Summary – Creating Animations with the Sound Effector in Cinema 4D
You have learned how to effectively use the Sound Effector in Cinema 4D to animate clones based on audio data. By adjusting parameters, mode settings, and frequency filters, you can create creative and impressive animations that harmonize with the music.
Frequently Asked Questions
How do I add the Sound Effector to my scene?Select the Sound Effector from the menu and assign an audio file.
How can I make the clones move individually?Change the mode in the Sound Effector from "All" to "Step".
What is the function of frequency compression?With frequency compression, you can amplify quieter sounds to create a more dynamic animation.
Can I control the frequencies that affect the clones?Yes, you can use filters and graphs to specify frequency ranges for the animation.
How do I activate the filter function?Activate the filter function in the effects area to selectively choose frequencies that are important for the animation.


