With the Spline Effector in Cinema 4D, you can arrange clones in an impressive and dynamic way. Instead of simply arranging them in a grid or a fixed formation, the Spline Effector allows for a creative distribution along a spline. The flexibility that this effector offers enables you to influence not just the position but also the orientation of your clones and even animate them.
In this tutorial, I will show you how to effectively use the Spline Effector to create fascinating animations and designs.
Key Insights
- The Spline Effector works similarly to a clone object.
- The clones can be distributed and animated along a spline.
- Settings like offset and transformation mode provide customization options.
- The Spline Effector allows additional parameters that are not available with the clone object.
Step-by-Step Guide
First, you need to ensure that you have a clone object and a spline on which you want to arrange your clones.

Start by inserting your clone object into the scene. Make sure you are working in "Object" mode. The clone object can be created by clicking and dragging it into the scene.
After creating your clone object, add a spline. You can choose from different types of splines, such as arc, Bezier, etc. In this case, you have already created an arc.
Now, you will subordinate the spline under the clone object. To do this, select the clone object and drag your spline into the "Effector Spline" field in the clone object. This will automatically line up your clones along the spline.
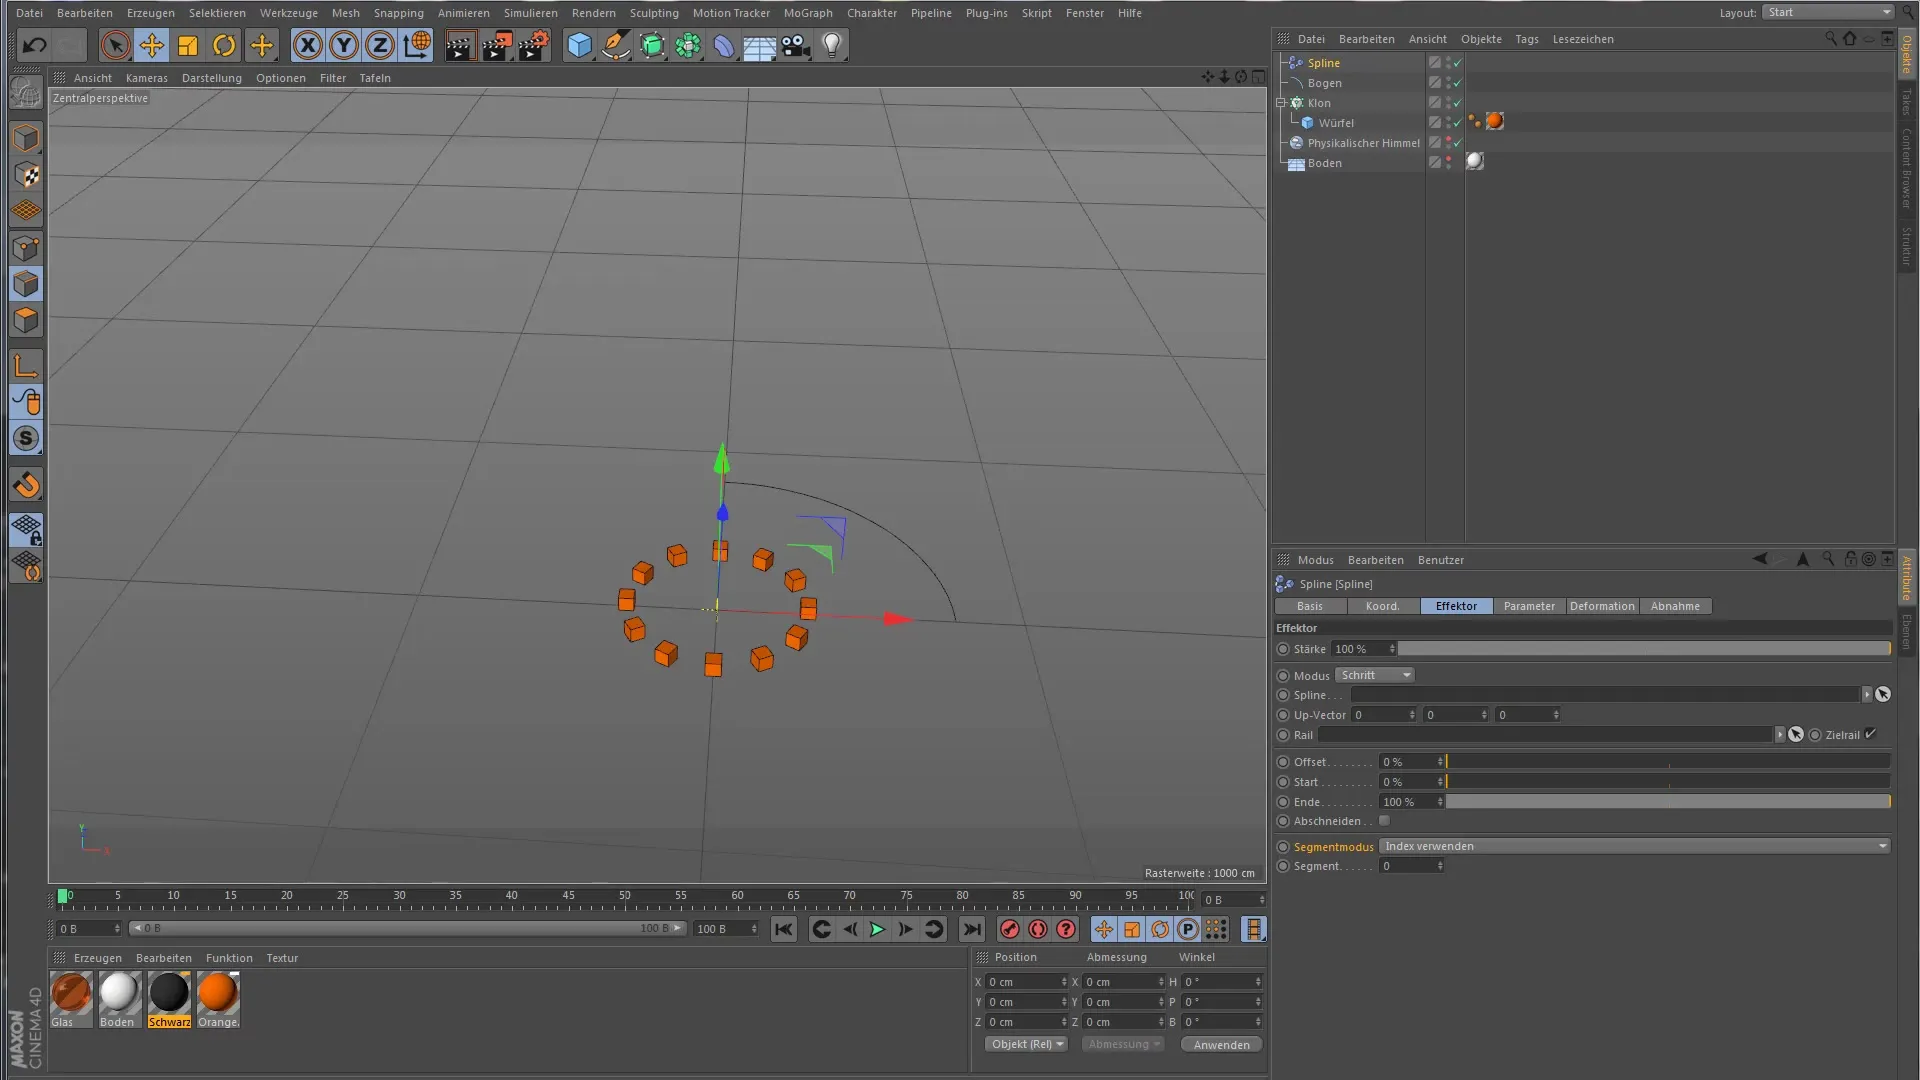
The options in the effector area essentially correspond to those of the clone object. Here you can set parameters like offset, start, and end. Depending on your preference, you can also activate the "Rails Spline" option, which allows the clones to align according to the spline.
In segment mode, you can specify how the clones should be distributed on the spline. The default mode is "Index," which means that the spline segments are numbered starting from zero. Here, you can set which segment your clones should land on.
Additionally, there are options to adjust the spacing between the clones. You can choose whether the clones have equal spacing, take up the full spacing, or distribute randomly along the spline.
To better understand the advantages of the Spline Effector, it is important to recognize the differences between the Spline Effector and the classic clone object. The Spline Effector offers additional adjustment options in the further tabs. These functions are limited or unavailable with the clone object.
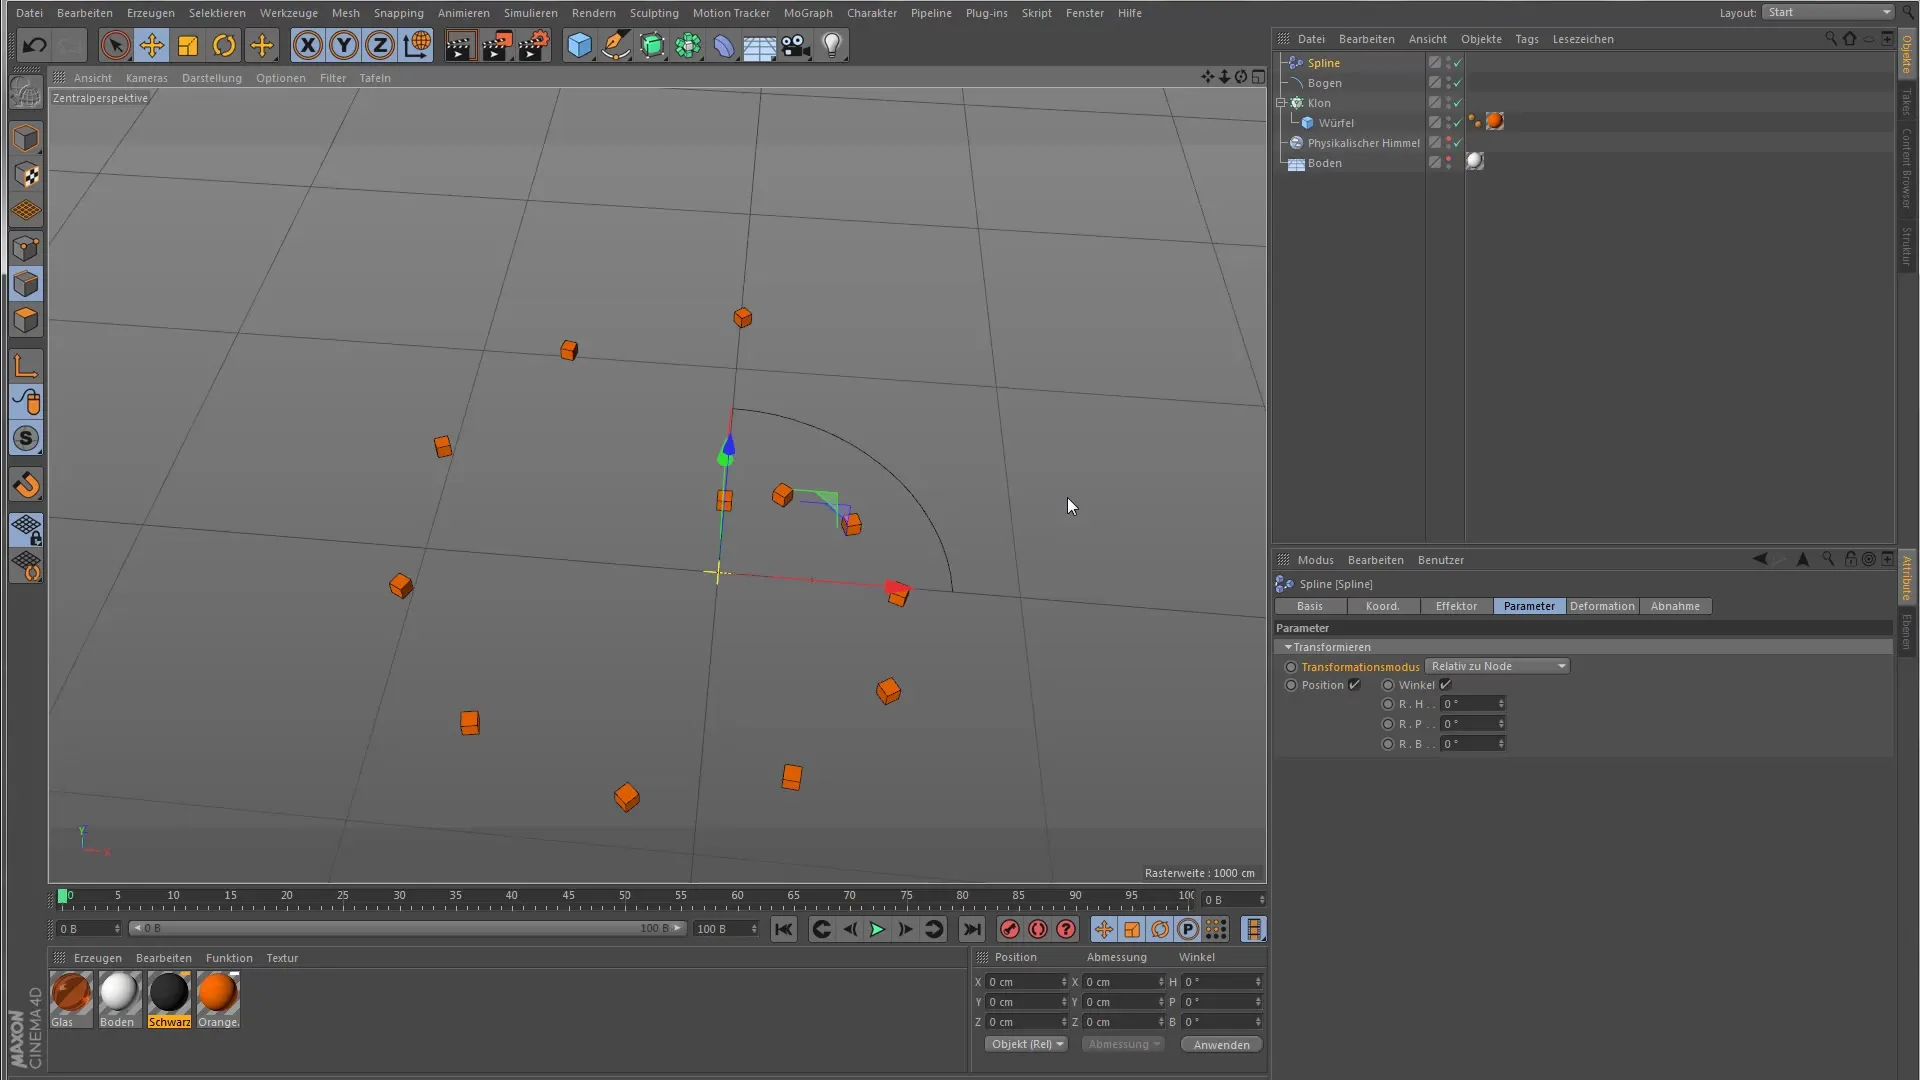
In the parameters, you can specify how your clones should be arranged on the spline. You have the option to either take only the position on the spline and remain in their original orientation or to change only their orientation.
A major advantage of the Spline Effector is the transformation mode. By default, this is set to "Absolute," but it also provides the options "Relative to Point" and "Relative to Spline." Let's take a closer look at these two options now.
First, switch to "Relative to Point." You will notice that the clones move along the spline while following the original orientation of the clone object.

To better illustrate the effect, you can increase the offset parameter. This will make it visible that the clones are moving along the spline. When you animate the offset, this movement becomes dynamic, greatly enhancing the animation.
When you change the transformation mode to "Relative to Spline," you will see an interesting change. The entire clone arrangement moves along the spline without the clone object itself "jumping" on the spline. The movement starts from the current position of the clone object.
Use these helpful functions to give your animation more dynamism and variation. Experiment with the different settings to achieve the desired results.
Summary – Guide to Using the Spline Effector in Cinema 4D
The Spline Effector also includes the possibility to create creative effects and design complex animations. By arranging clones along a spline and adjusting their properties, you can create impressive designs and processes in your projects.
Frequently Asked Questions
How do I add a Spline Effector to my clones?By dragging the spline under the clone object, the Spline Effector is activated.
What are the main differences between the Spline Effector and a clone object?The Spline Effector offers additional settings and customization options that are not available with the clone object.
Can I animate the Spline Effector?Yes, by animating the offset parameter, you can create dynamic movements.
What transformation modes are there in the Spline Effector?The modes are "Absolute," "Relative to Point," and "Relative to Spline."
What happens if I want to distribute the clones randomly along the spline?You can select the option for random distribution in segment mode to achieve an irregular arrangement of the clones.


