The Time-Effector in Cinema 4D is a great tool to bring movement and dynamics to your clones without having to deal with tedious keyframes. Instead of spending valuable time setting keyframes, you can simply apply transformations per second. This saves you time while still achieving exciting animations. This guide shows you how to set up and effectively use the Time Effector.
Main insights
- The Time Effector allows transformations in real-time without keyframes.
- You can adjust the weighting of the clones through other effectors.
- The influence of different effectors on the clones is controlled by the weighting.
Step-by-Step Guide
1. Add the Time Effector to your scene
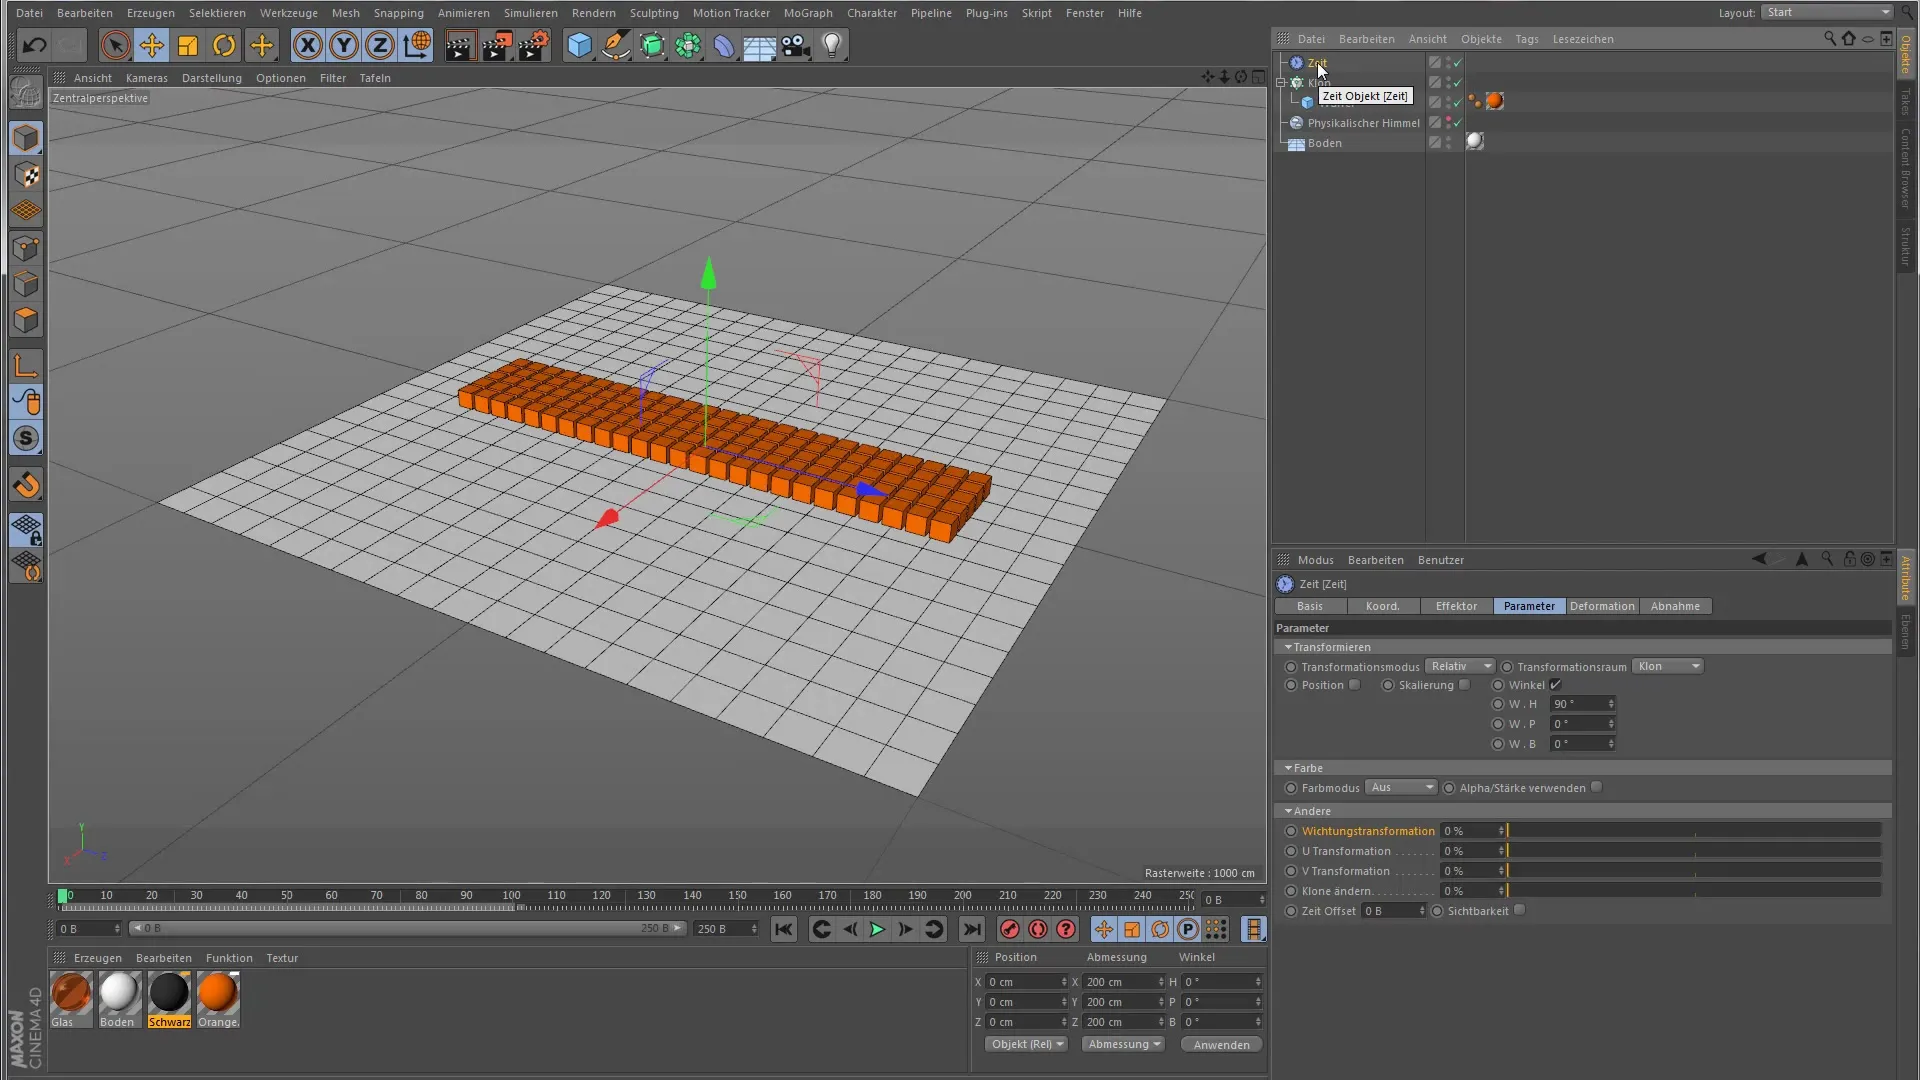
Start in Cinema 4D and insert the Time Effector into your scene. You will see that the effector has no effect on the movement yet, as the default parameters are not set.
2. Adjust default parameters
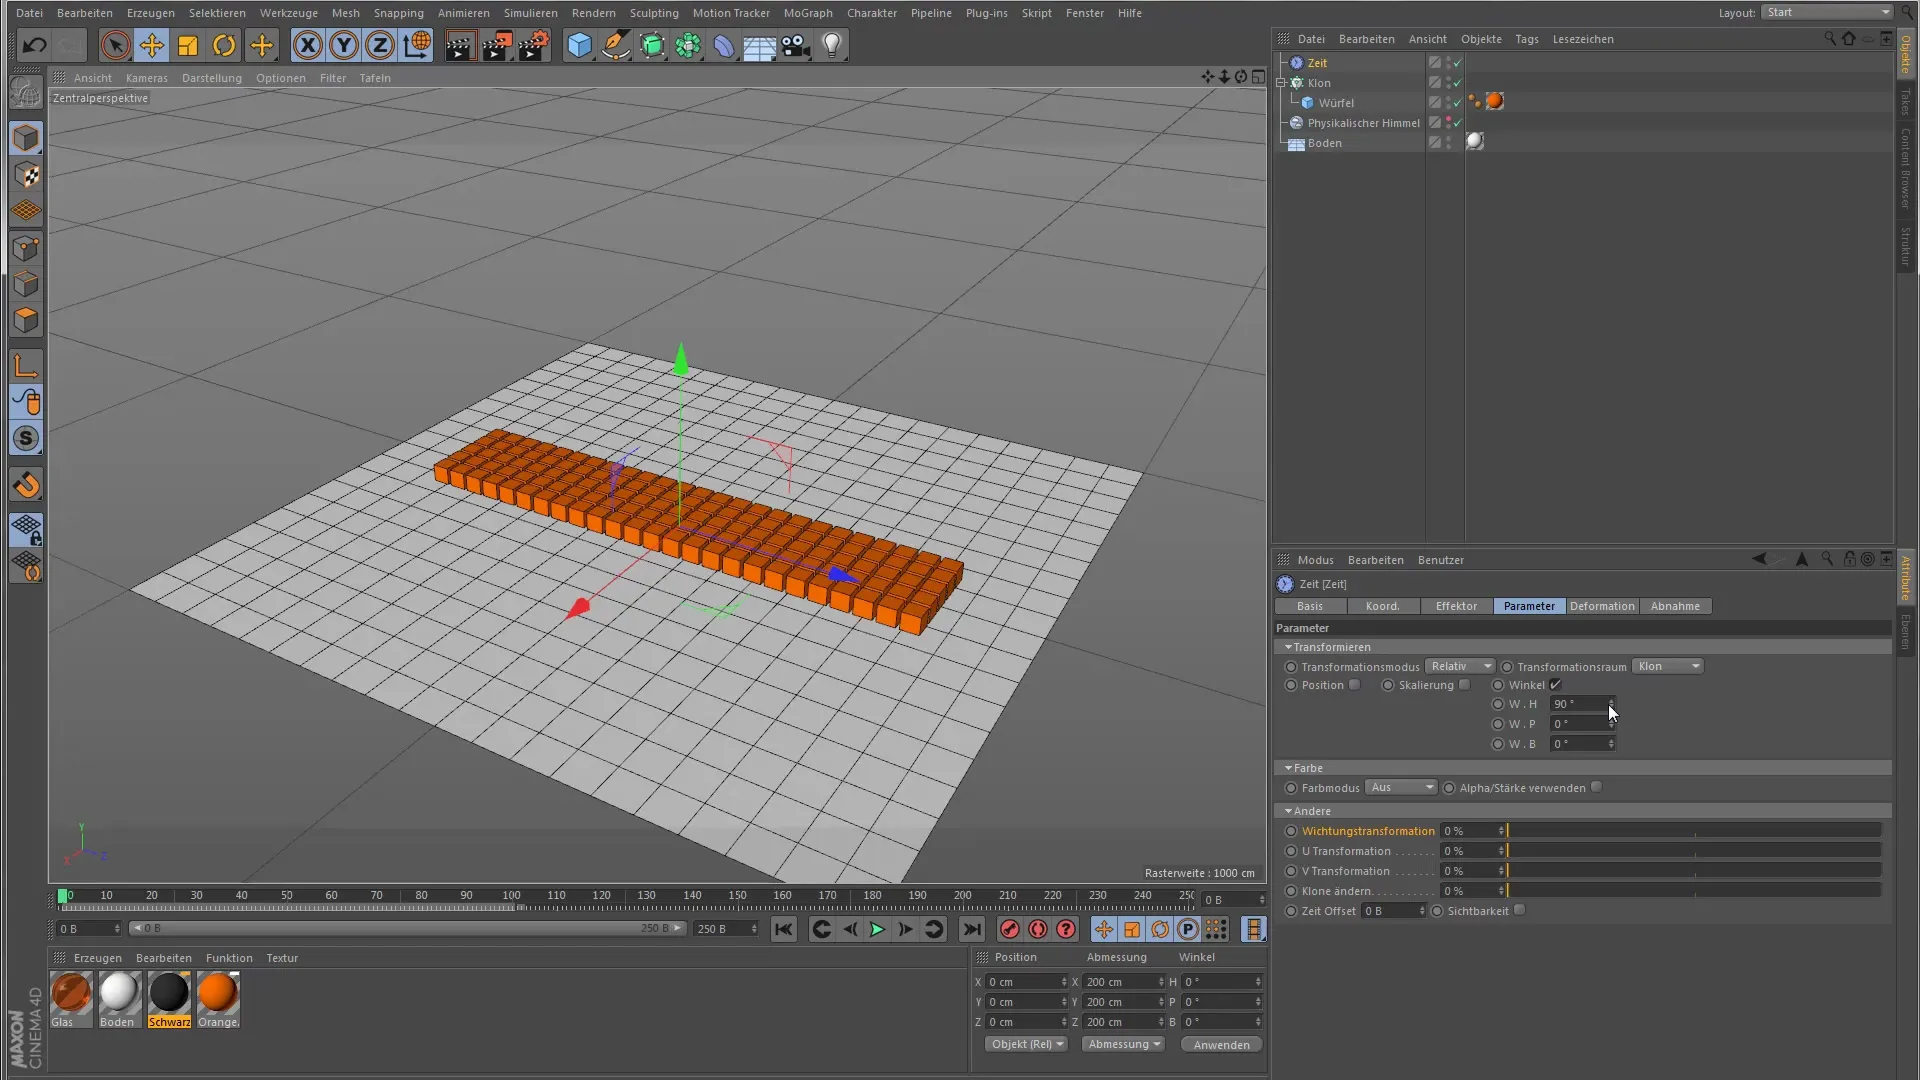
Now you should disable the preset angles in the effector. Instead, choose scaling as the transformation parameter and set the Y value back to 1. At the moment nothing visible is happening as the animation has not been played yet.
3. Play the animation to see the effects
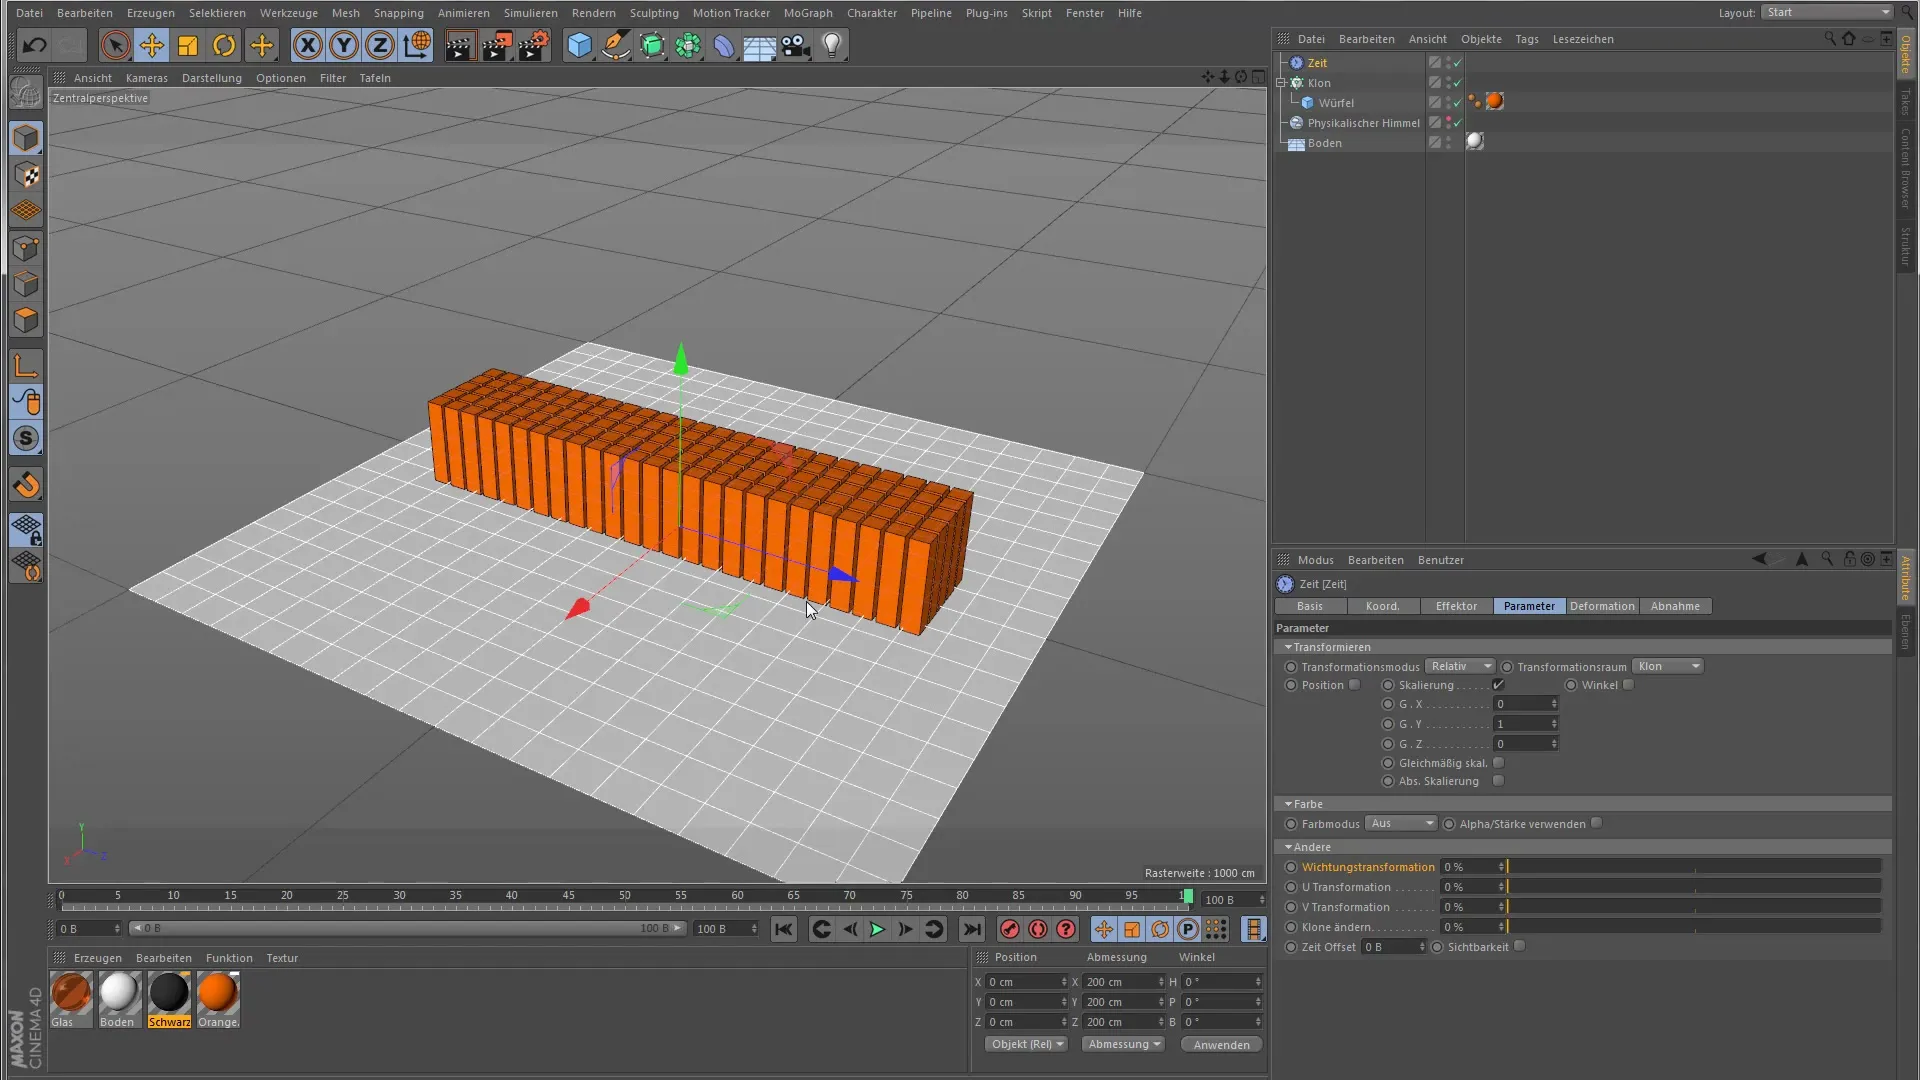
To activate the influence of the Time Effector, you need to play the animation. Set the frame rate to 25 frames per second. The Time Effector will then distribute the transformations of the clones within this time frame per second.
4. Try different transformations
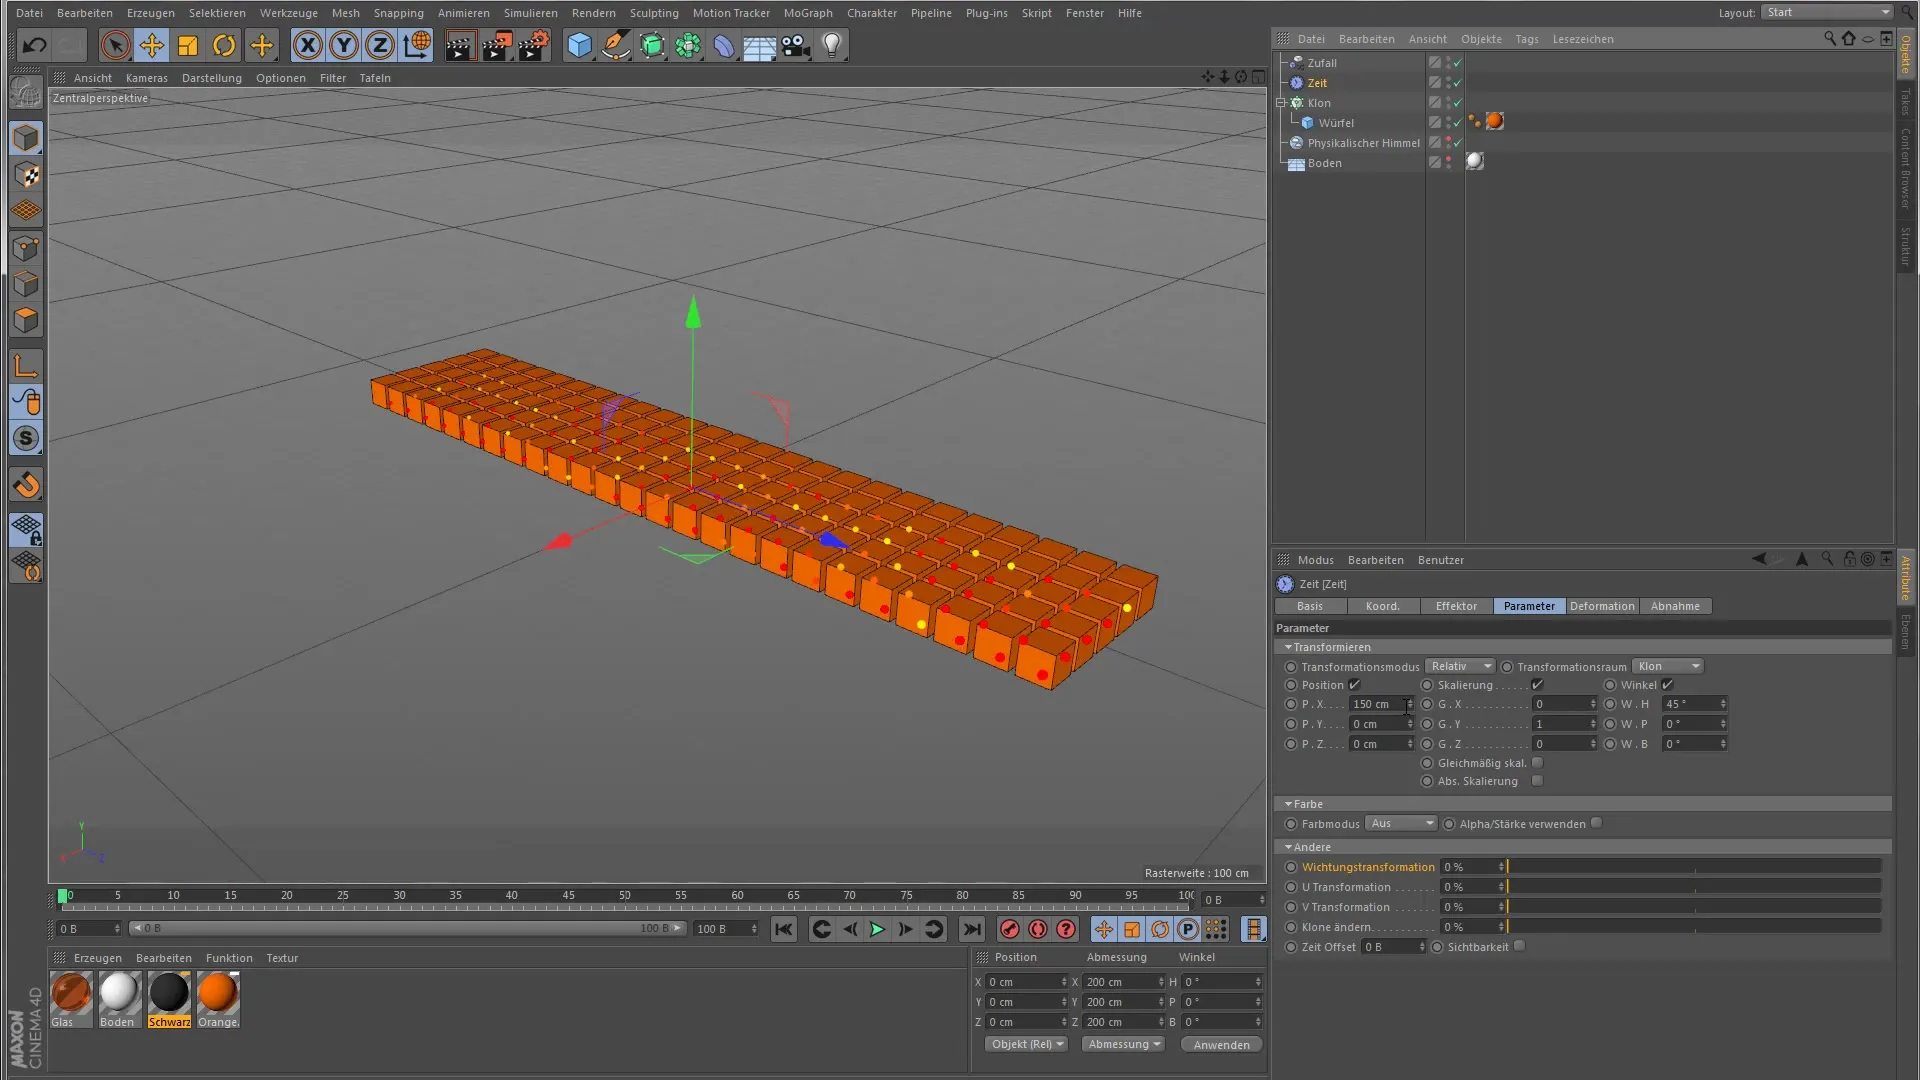
Now it gets exciting. Choose a rotation of 45 degrees and also activate the position change. Choose a shift on the X-axis and let the animation run. Experiment with the values to see how the clones move.
5. Use weighting to create variations
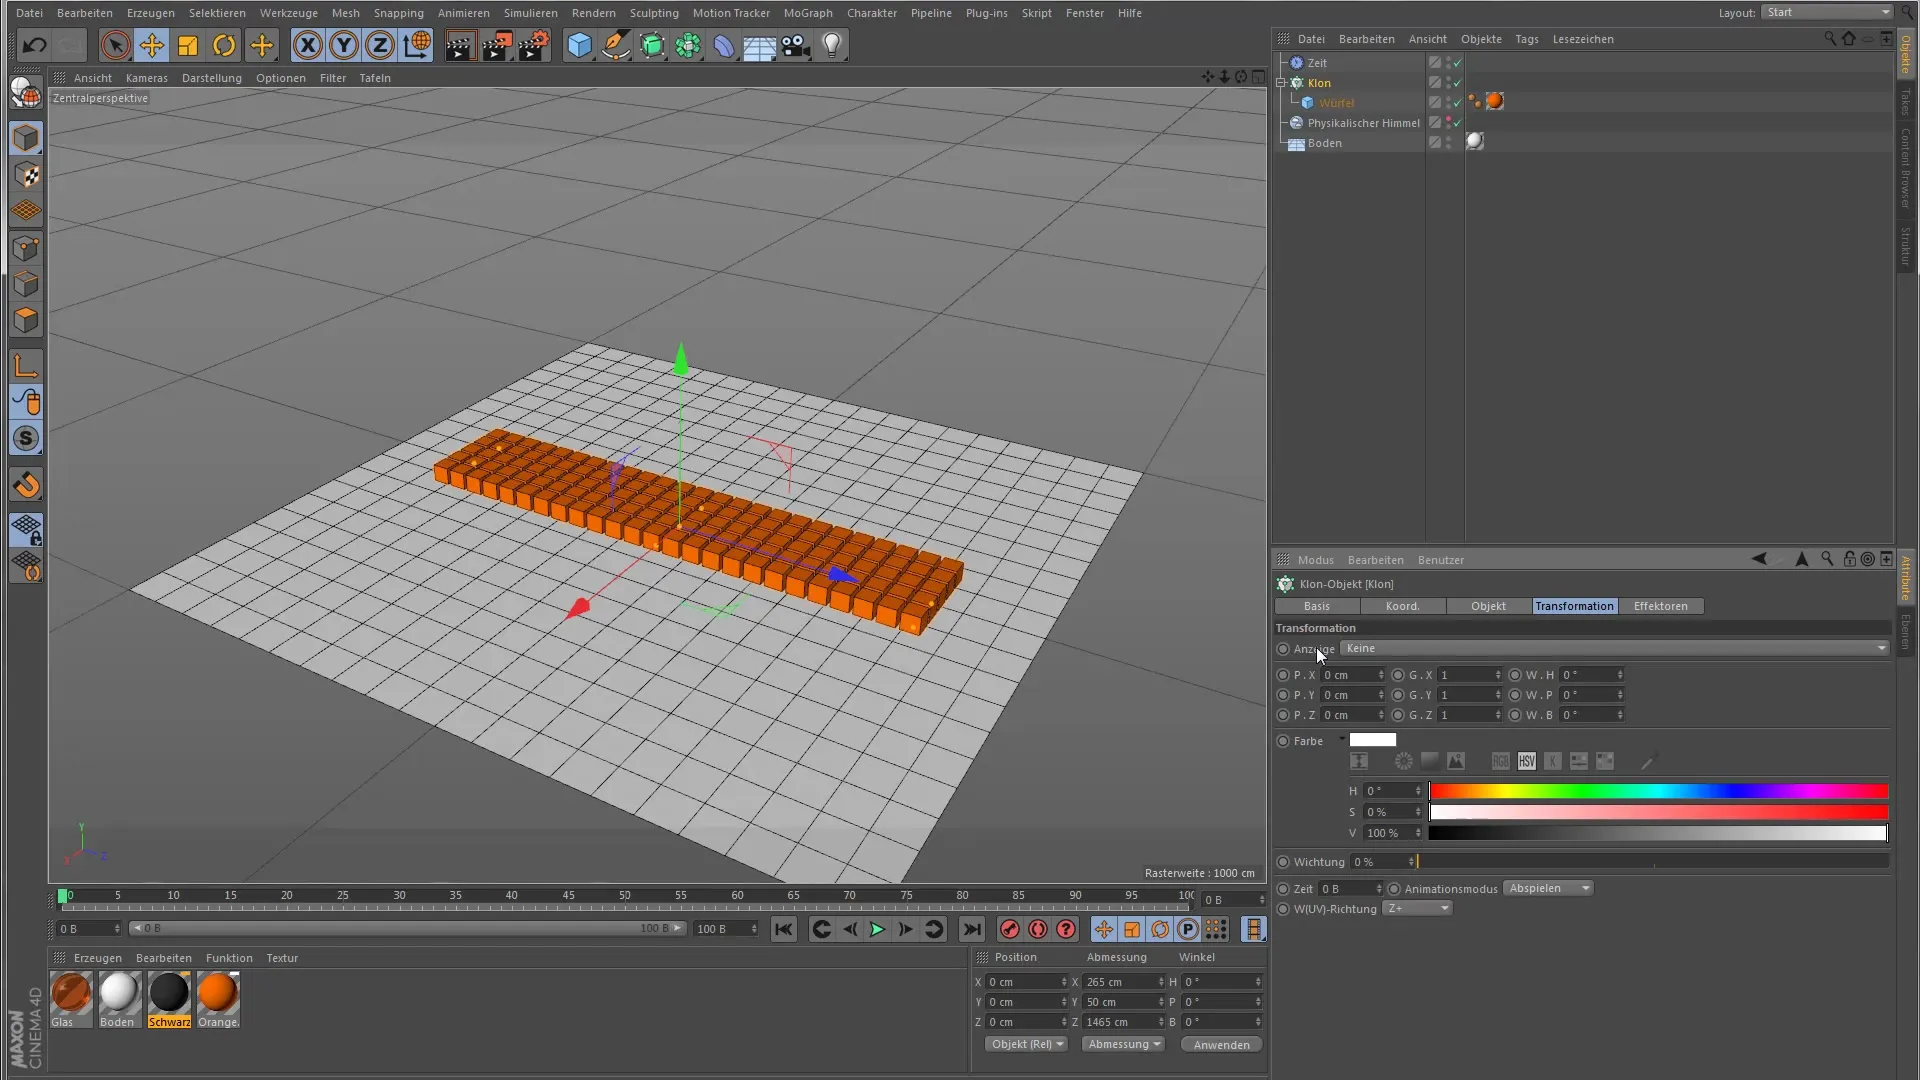
To make the animation more interesting, we use the weighting. This parameter controls how strongly an effector influences a clone. You can enable the weighting in the clone object and see how each clone is influenced differently.
6. Add a Random Effector
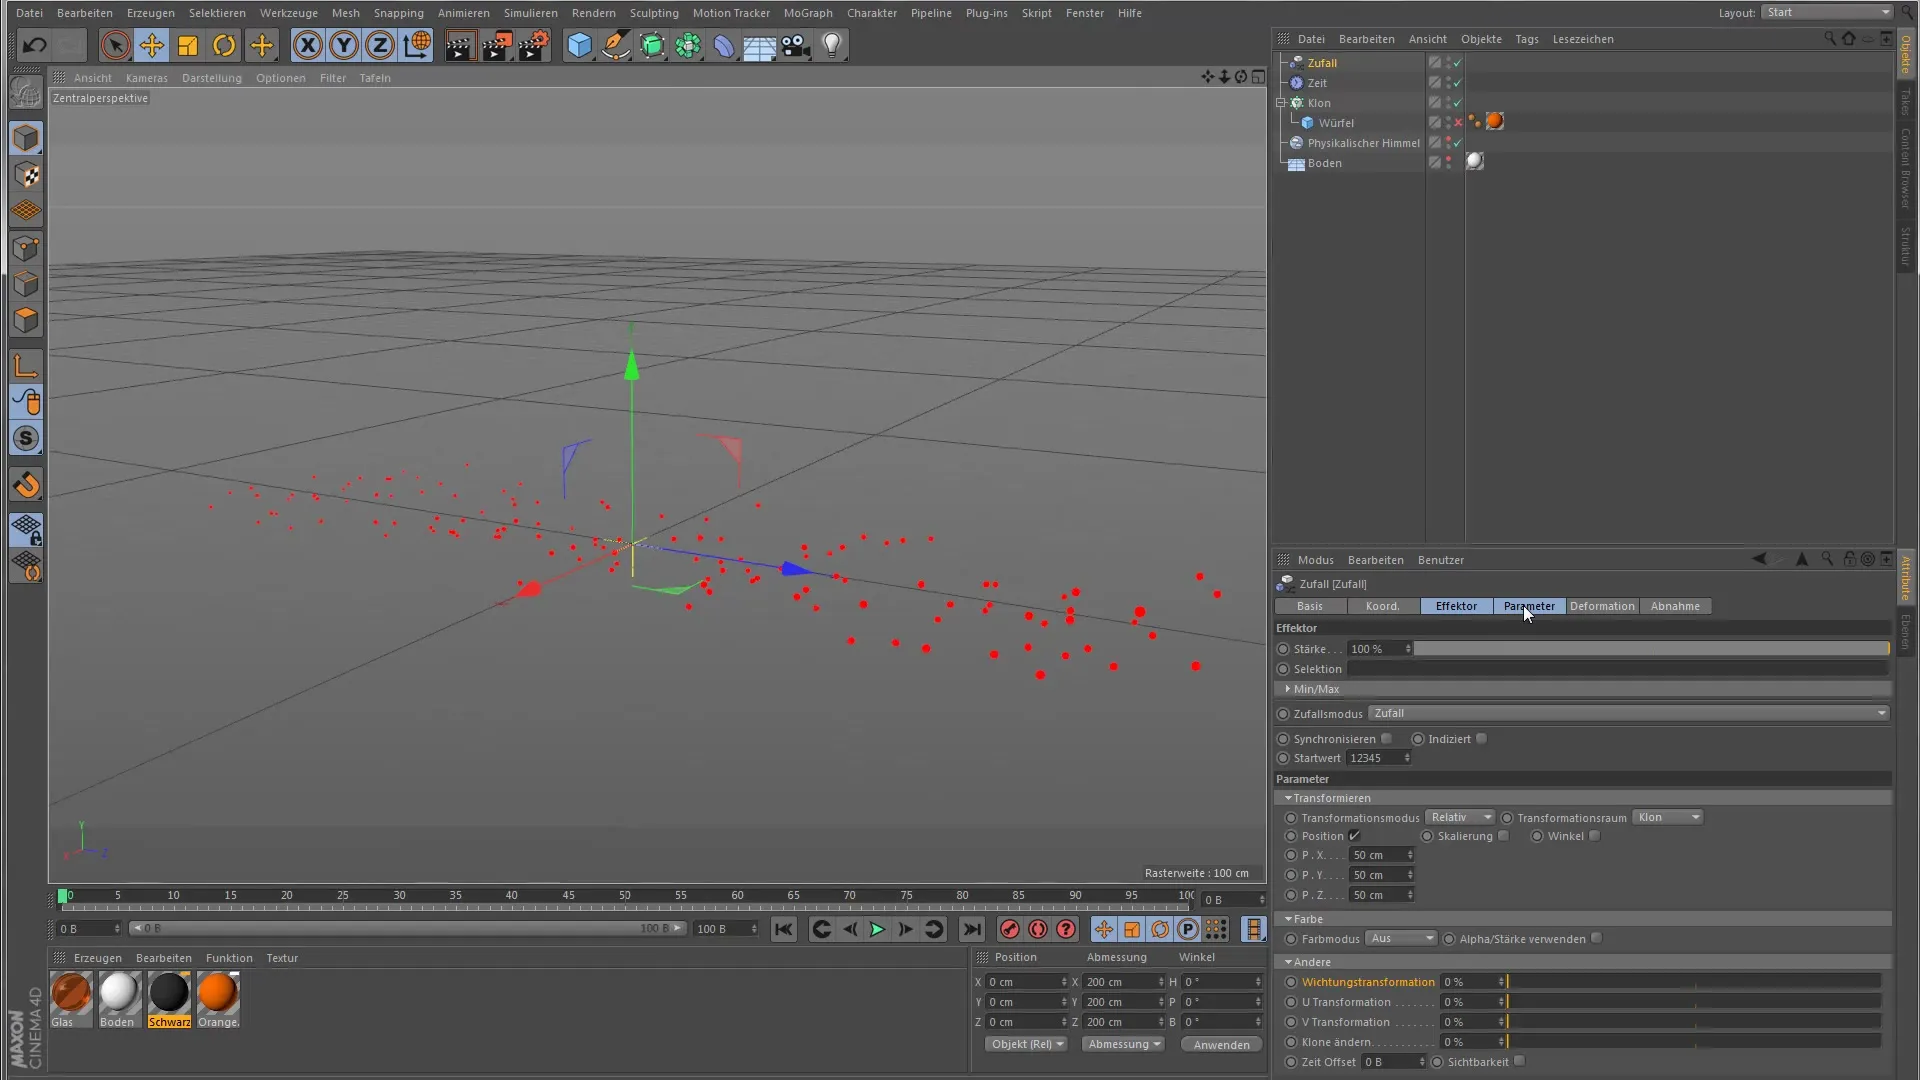
Now we come to another exciting element: the Random Effector. This effect will adjust the weighting of the clones irregularly. Activate the Random Effector and go to the “Other” section to “Weighting Transformation.” Increase the influence to change the colors of the weighting indicators.
7. Clarify the order of effects
Make sure that the Random Effector is applied first before the Time Effector takes effect. Only then can you see the differences in the scaling of the clones. Enable the scaling and position to test the effect.
8. Observe the effects
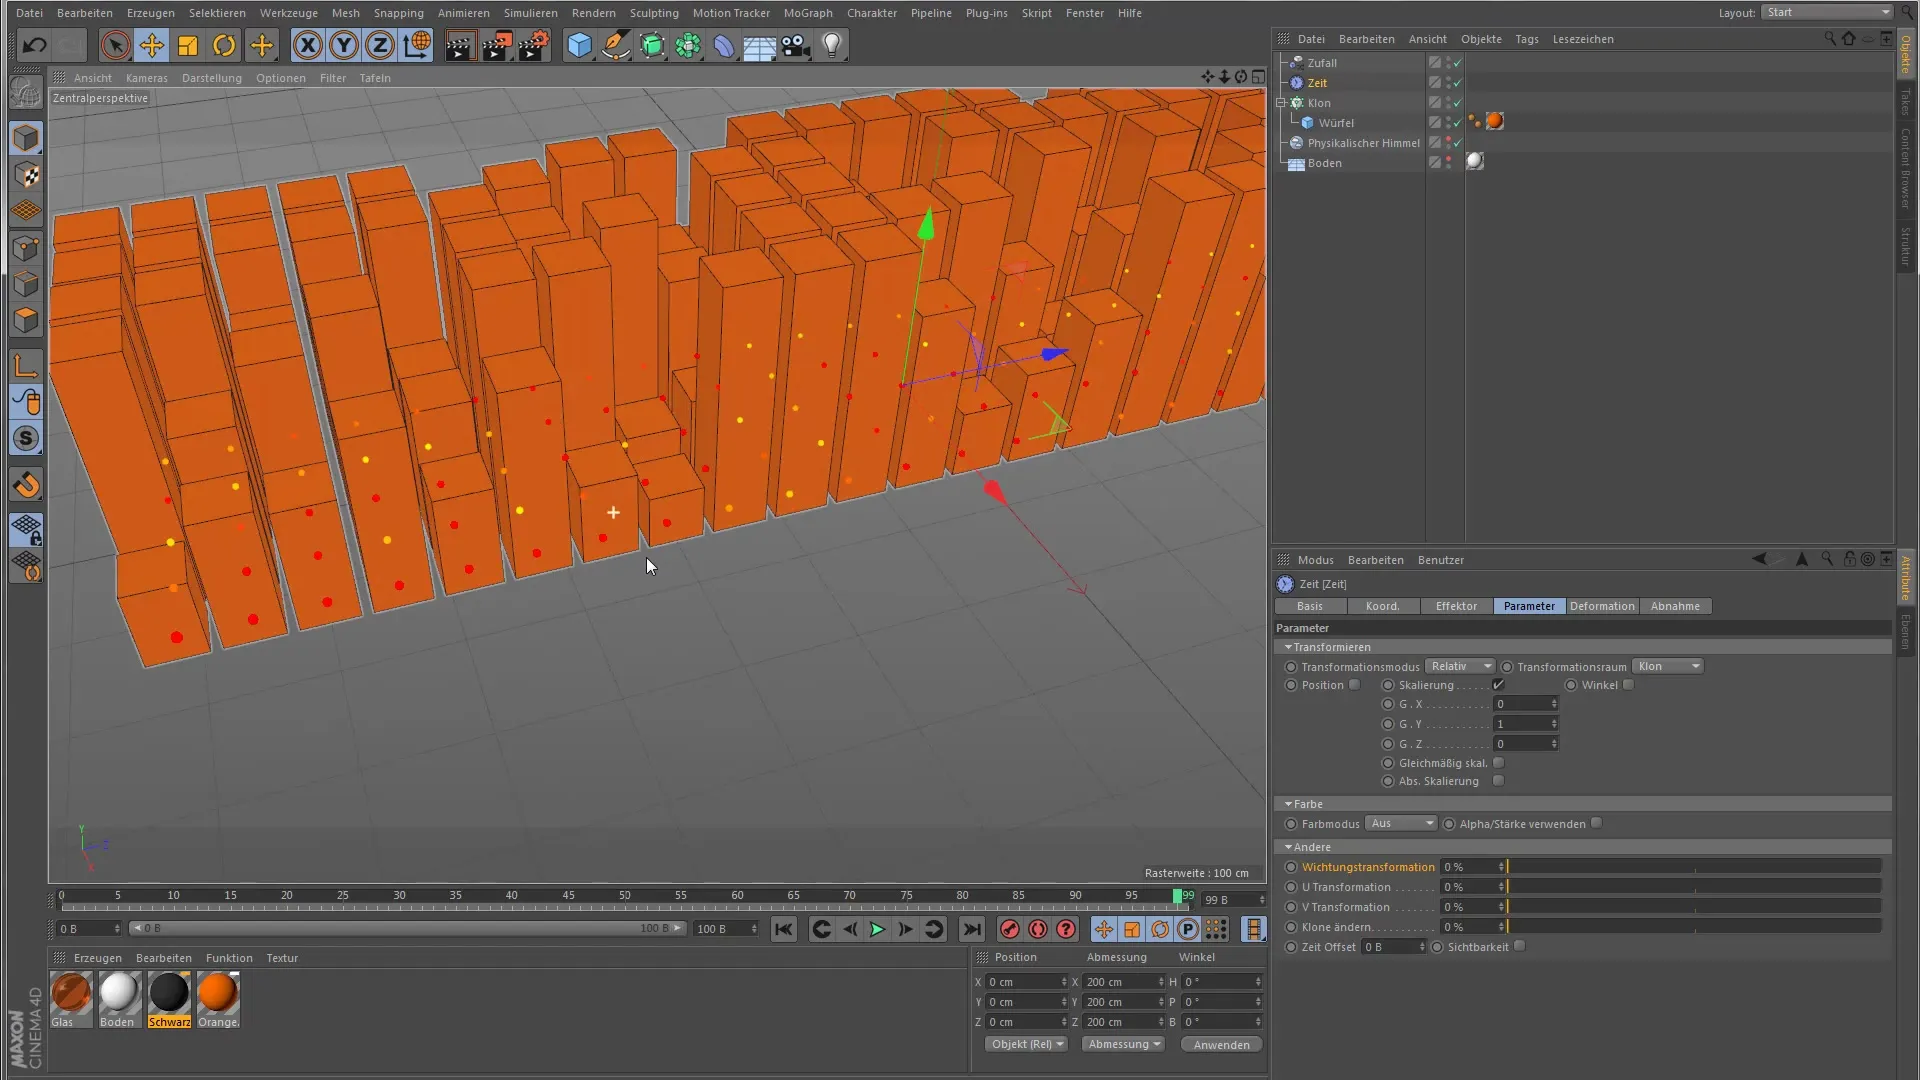
Now you can play the animation and see how the clones are scaled differently. Clones with yellow weighting points are strongly influenced, while dark red points show little movement. This way you can visually track the different effects.
Summary - Time Effector in Cinema 4D: A Practical Guide for Beginners
By using the Time Effector, you can work efficiently and creatively with clones in Cinema 4D. By combining it with weighting and random effects, you open up many possibilities for creating interesting animations without having to delve into the often time-consuming keyframe animation.
Frequently Asked Questions
What is the Time Effector in Cinema 4D?The Time Effector allows for real-time transformations of clones without having to set keyframes.
How does weighting work in relation to the Time Effector?The weighting determines how strongly an effector influences a clone, thus allowing for variations in animations.
Can I use multiple effectors at the same time?Yes, you can use multiple effectors to achieve different animation effects. Just pay attention to the order of effects.
Why don't I see any difference in the animation?Make sure that the effects are applied in the correct order and that the right parameters are activated.
