The direction of light is a crucial factor in 3D visualization. It not only influences the mood of your scene but also its three-dimensionality and plasticity. In this tutorial, you will learn how different light directions — front light, side light, and back light — are used in Cinema 4D. You will learn how to achieve a dramatic effect through targeted lighting.
Key Insights
- The main light source should never come straight from the camera to create shadows and depth.
- Side light provides a more plastic and dramatic representation.
- Back light not only creates exciting shadows but also highlights additional details.
- It is more effective to use a main light source and use other lights as fillers.
Step-by-Step Guide
To demonstrate the various light directions in Cinema 4D, we will build a small urban scene.
Step 1: Setting Up the Scene
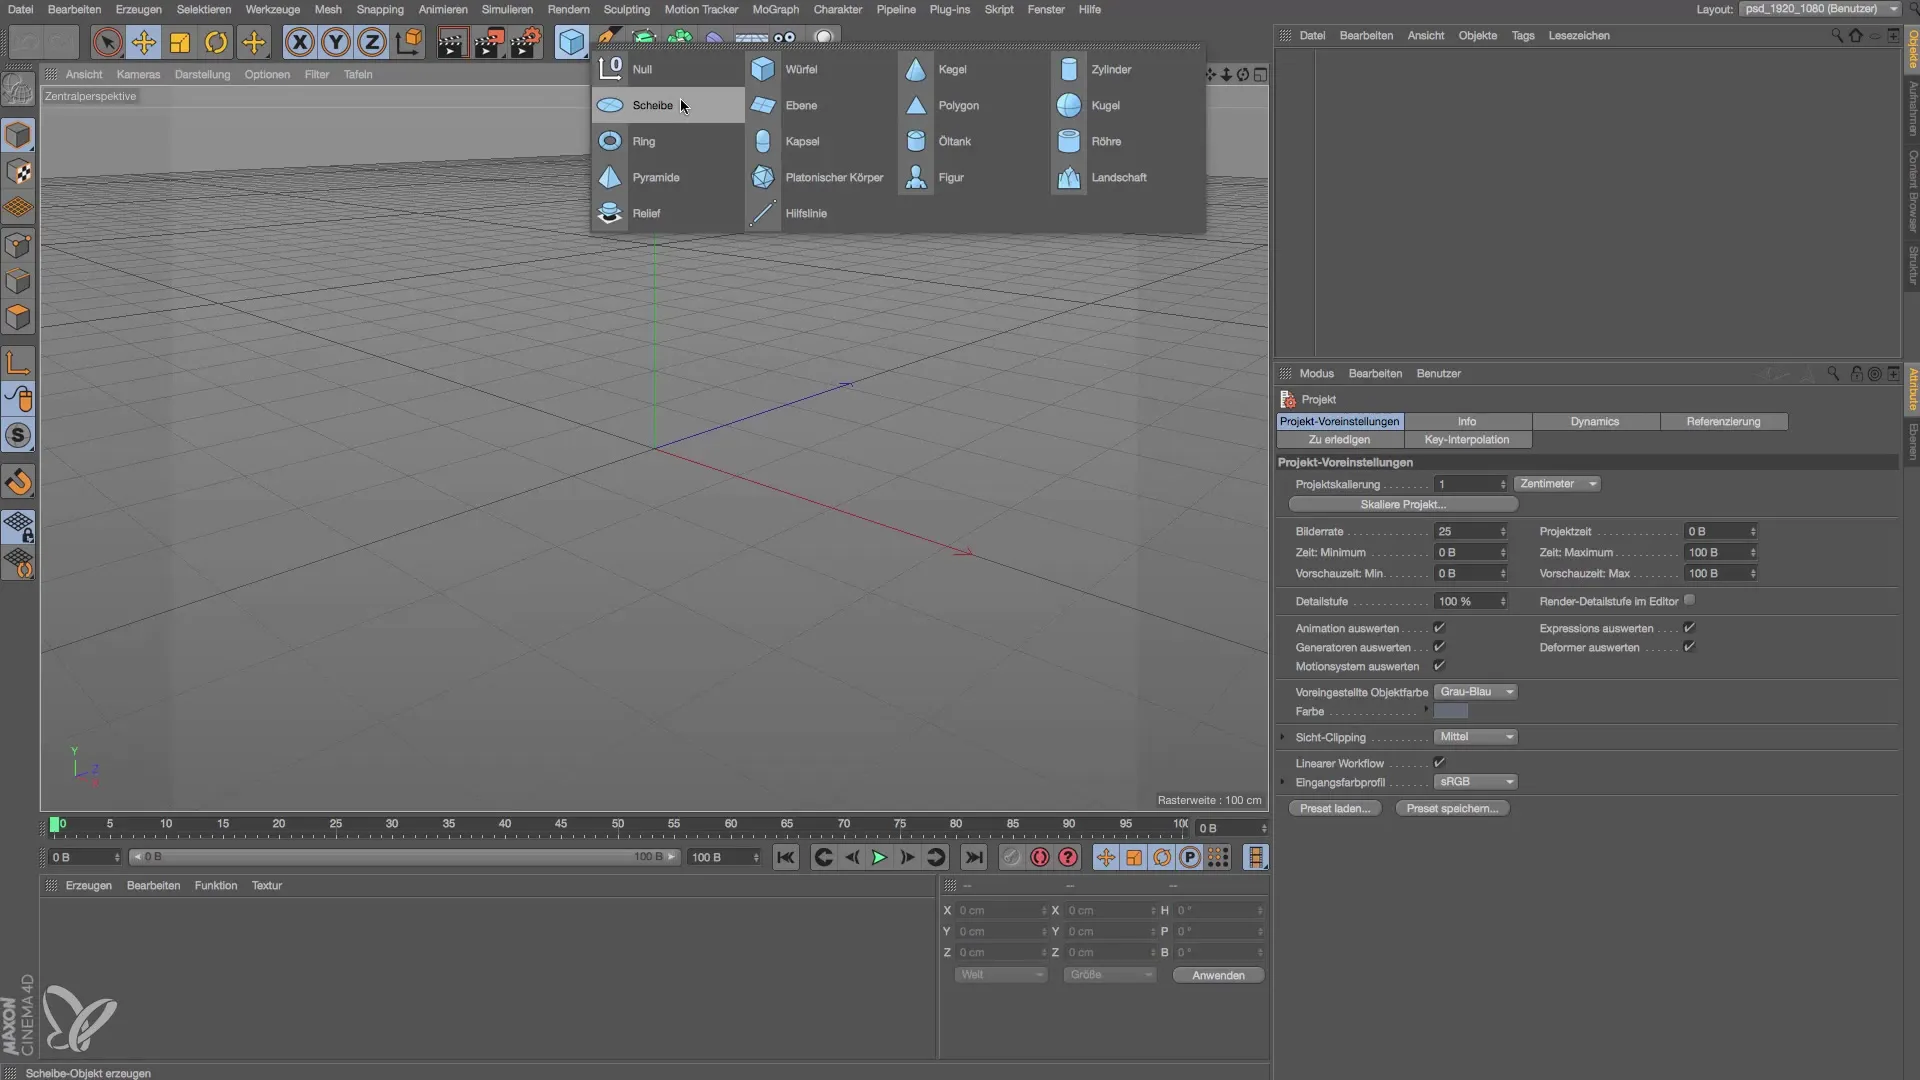
First, you need to create a simple plane. Stretch this out to form the ground of your scene. You can then model stylized buildings on top of it. For that, convert the plane into a polygon object and zoom in with the camera to make details visible.
Step 2: Modeling Buildings
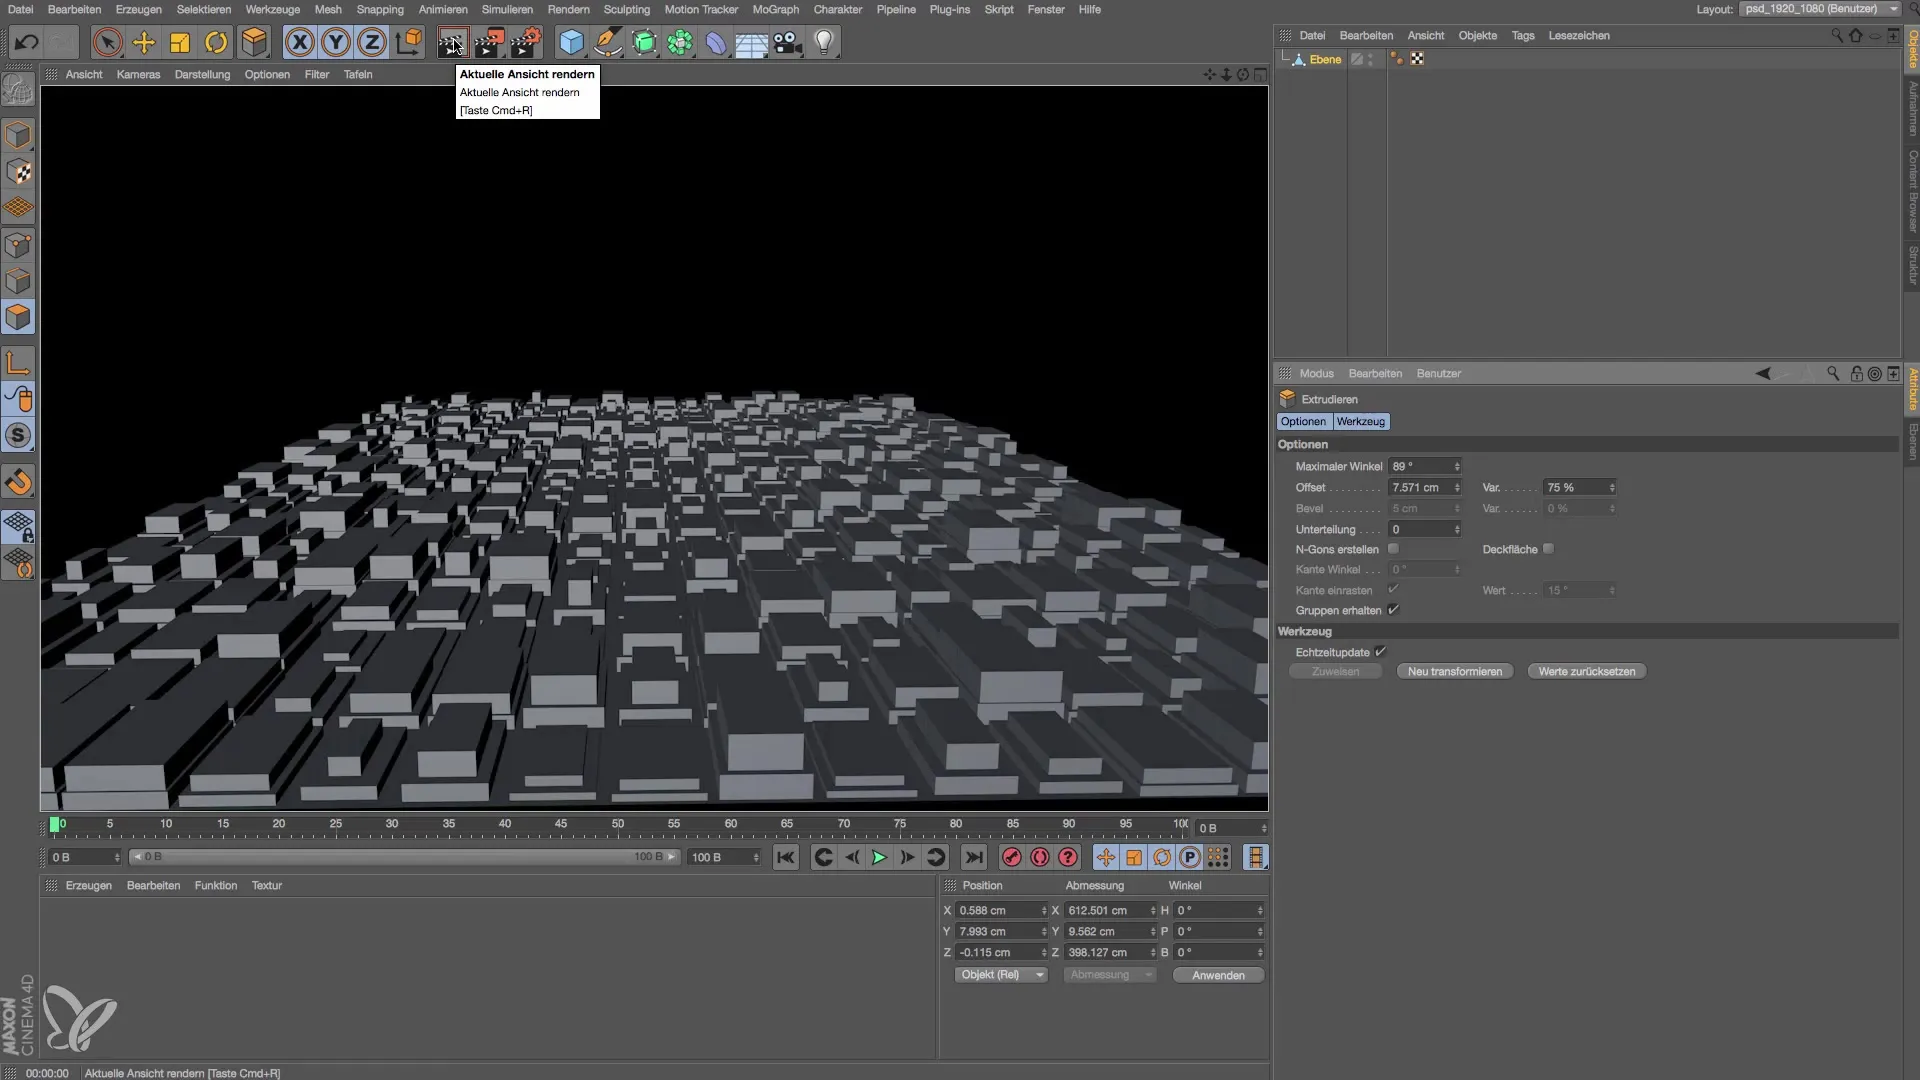
Switch to polygon mode and use the shortcut MW to create the inner extrusion of the buildings. Pull the extrusion down and ensure the variations are set to just below 100% to achieve an irregular height for your buildings. Use the shortcut MT to move the extrusion up and further shape the buildings.
Step 3: Adding a Light Source
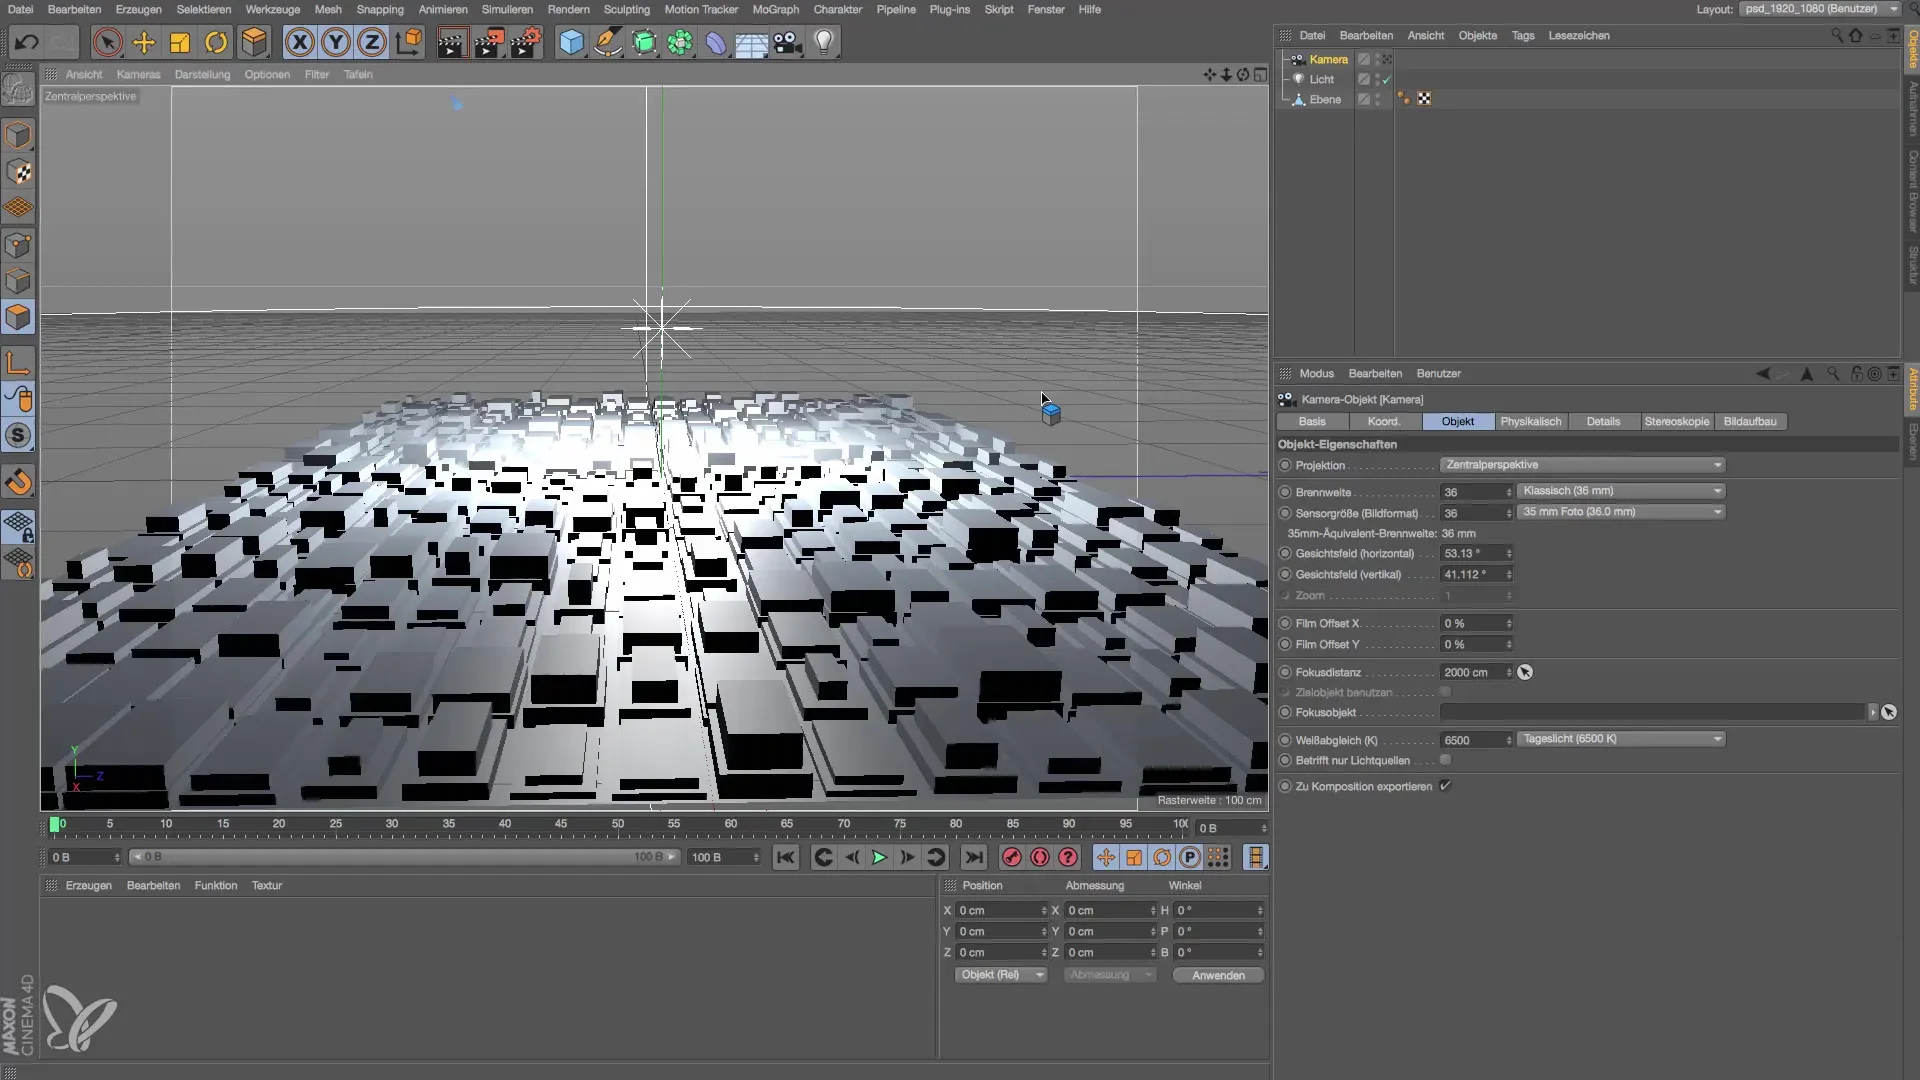
Next, add a light source. Position it somewhat higher above the scene and assign it a falloff so that the light weakens the further it is from the illuminated object. Set the falloff to inverse square for a more natural light.
Step 4: Testing Front Light
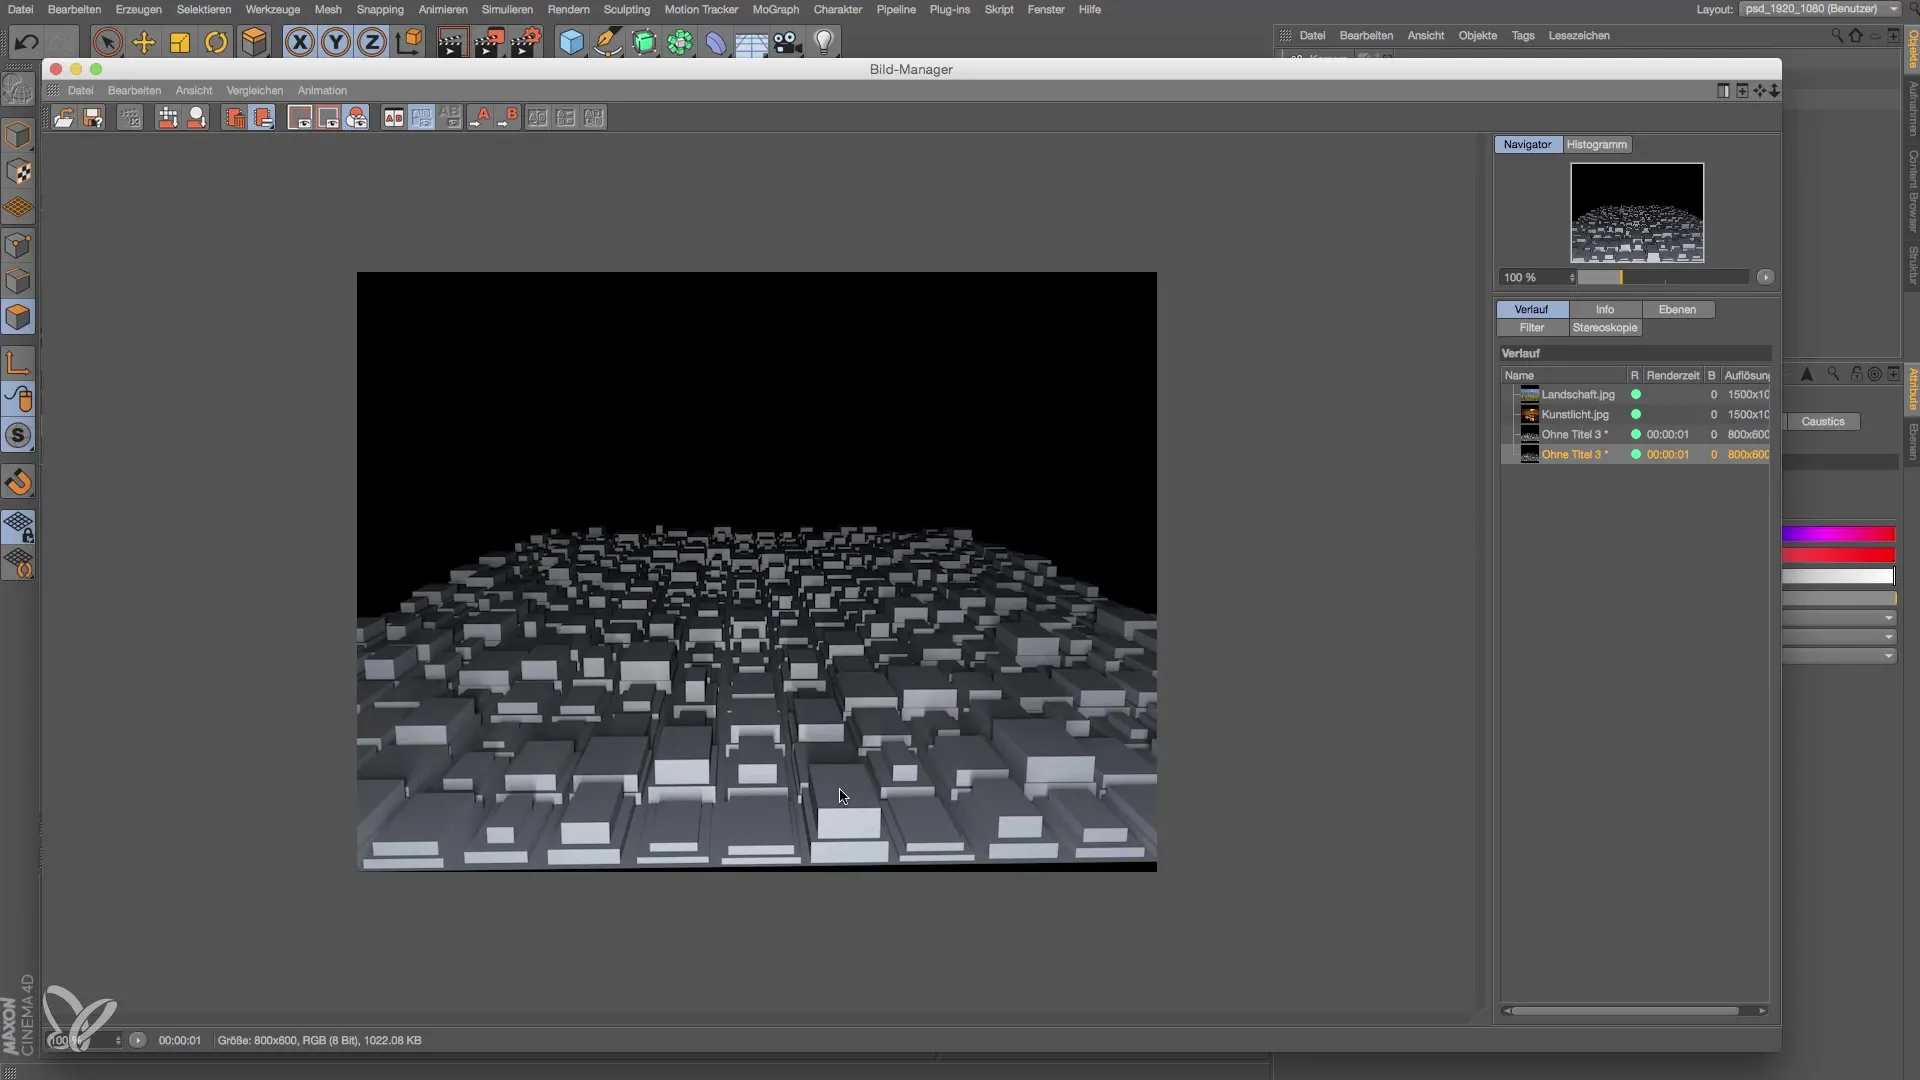
To test the effect of the light source, position it directly in front of the camera. Let the rendering run and notice that the scene looks relatively flat and unremarkable, as there are hardly any shadows. Add an area shadow to the light source to change this and make the scene more exciting.
Step 5: Adding Side Light
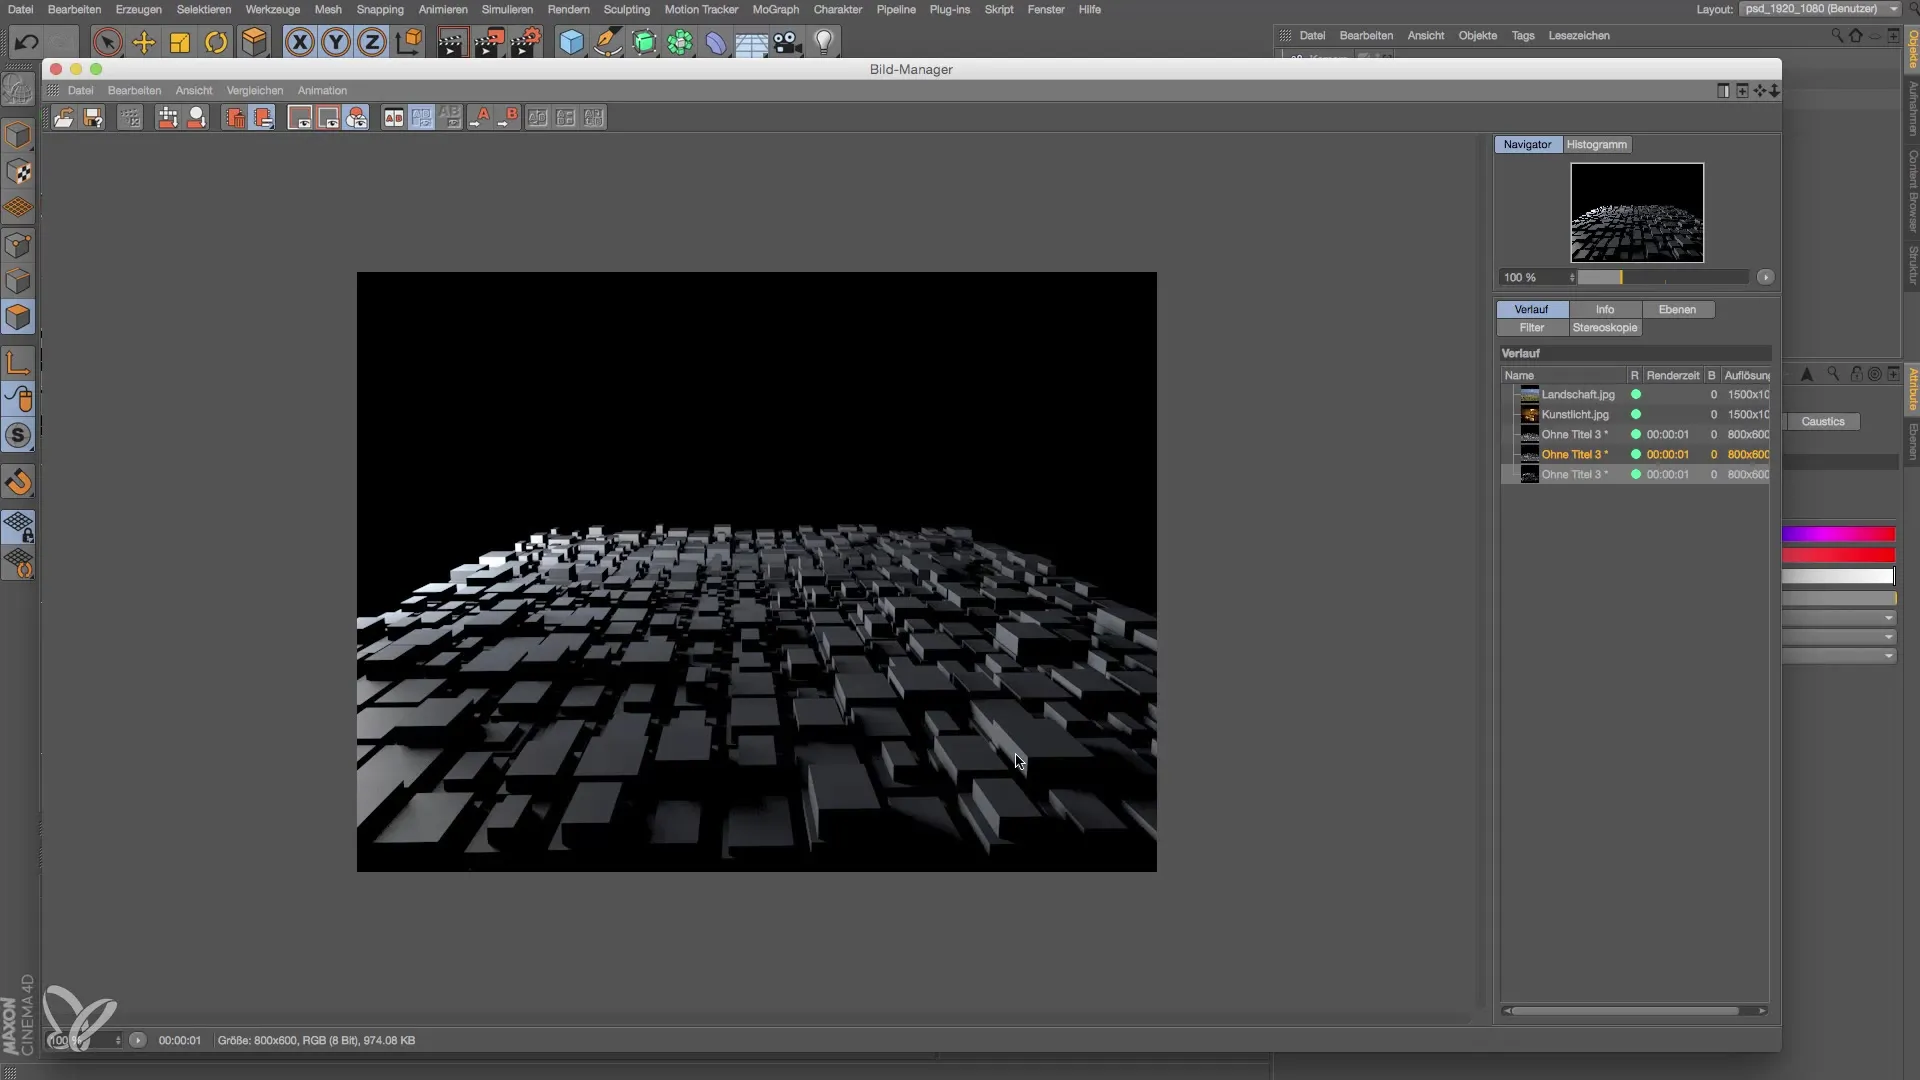
Now move the light source to the left to make it side light. Keep in mind that in many Western cultures, light is interpreted from left to right. Let the image render again and observe how the plasticity is improved by the shadows and reflections of the light source.
Step 6: Testing Back Light
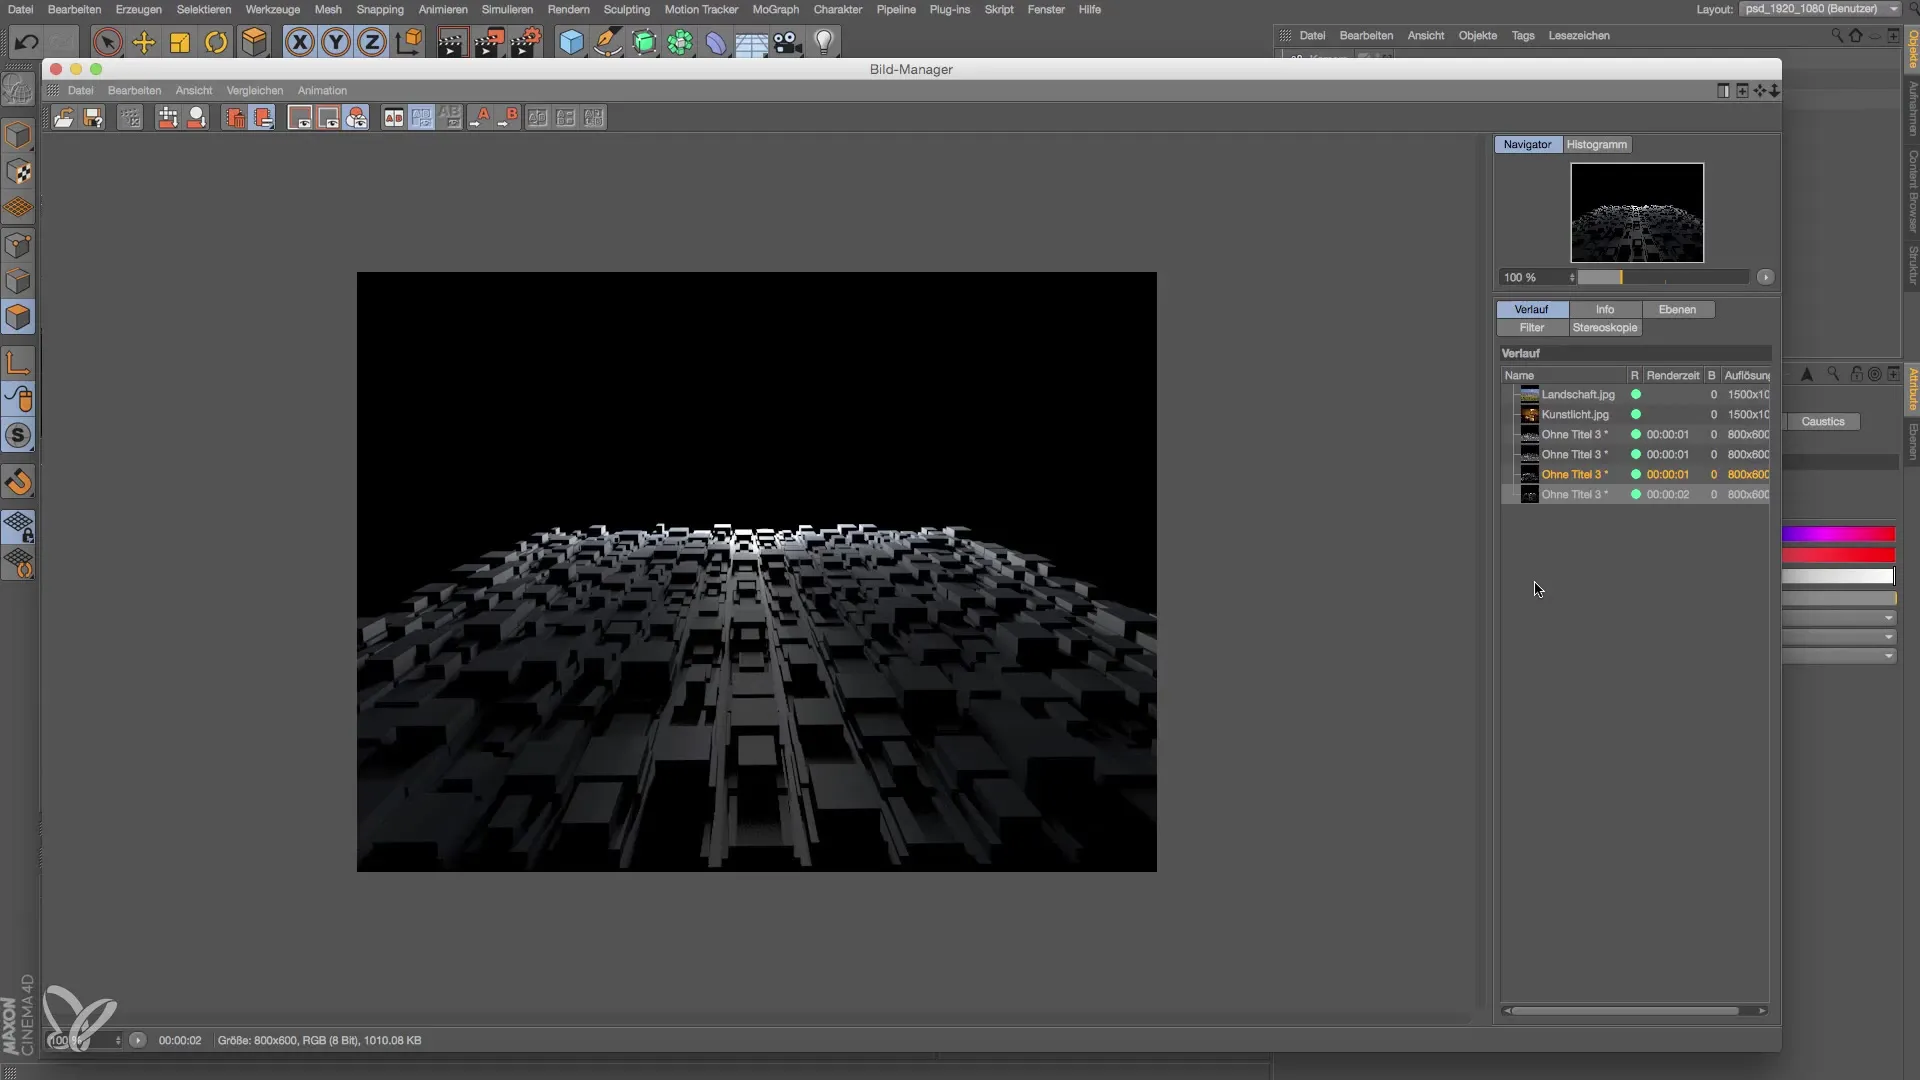
Reset the light source and position it behind the buildings as back light. Ensure that the height and distance to the scene remain the same. Let the scene render again and observe the exciting effects created by the back light. This lifts the scene and makes it more emotional.
Step 7: Adjusting Light Source Visibility
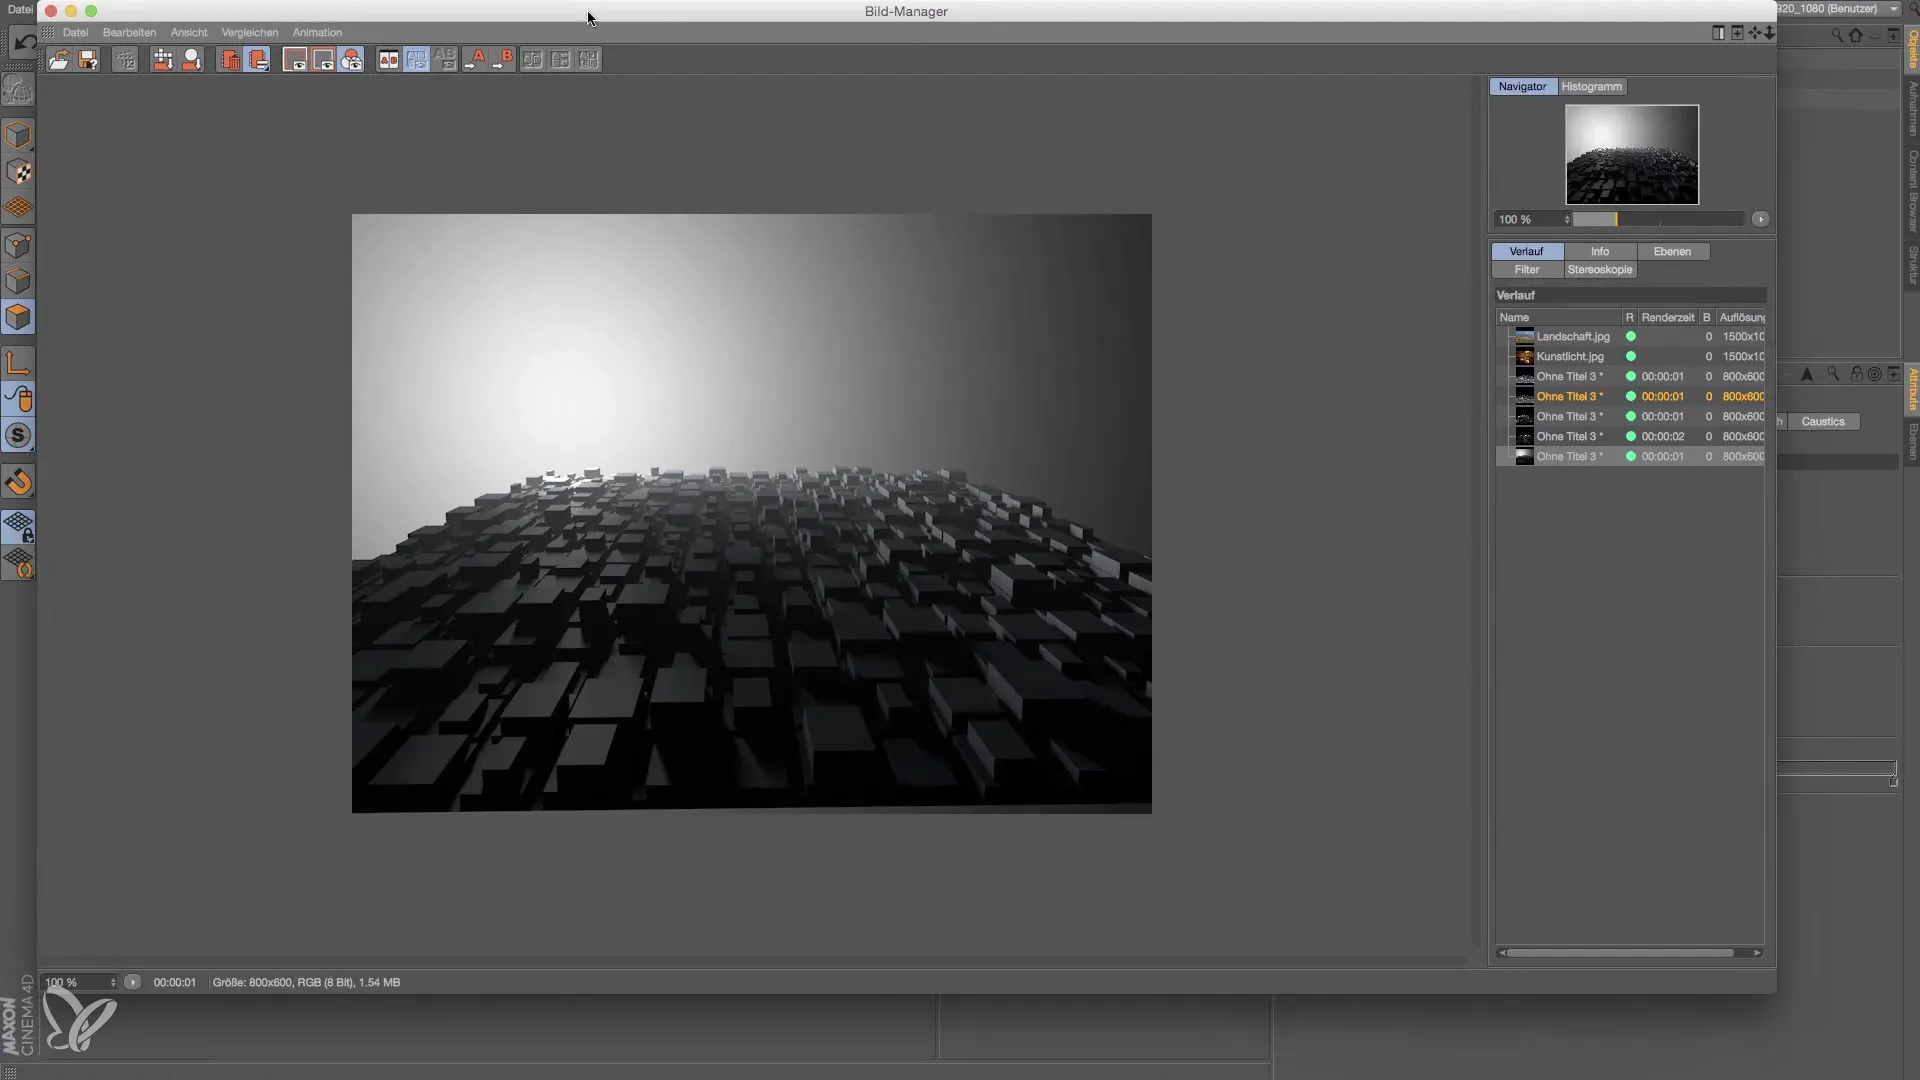
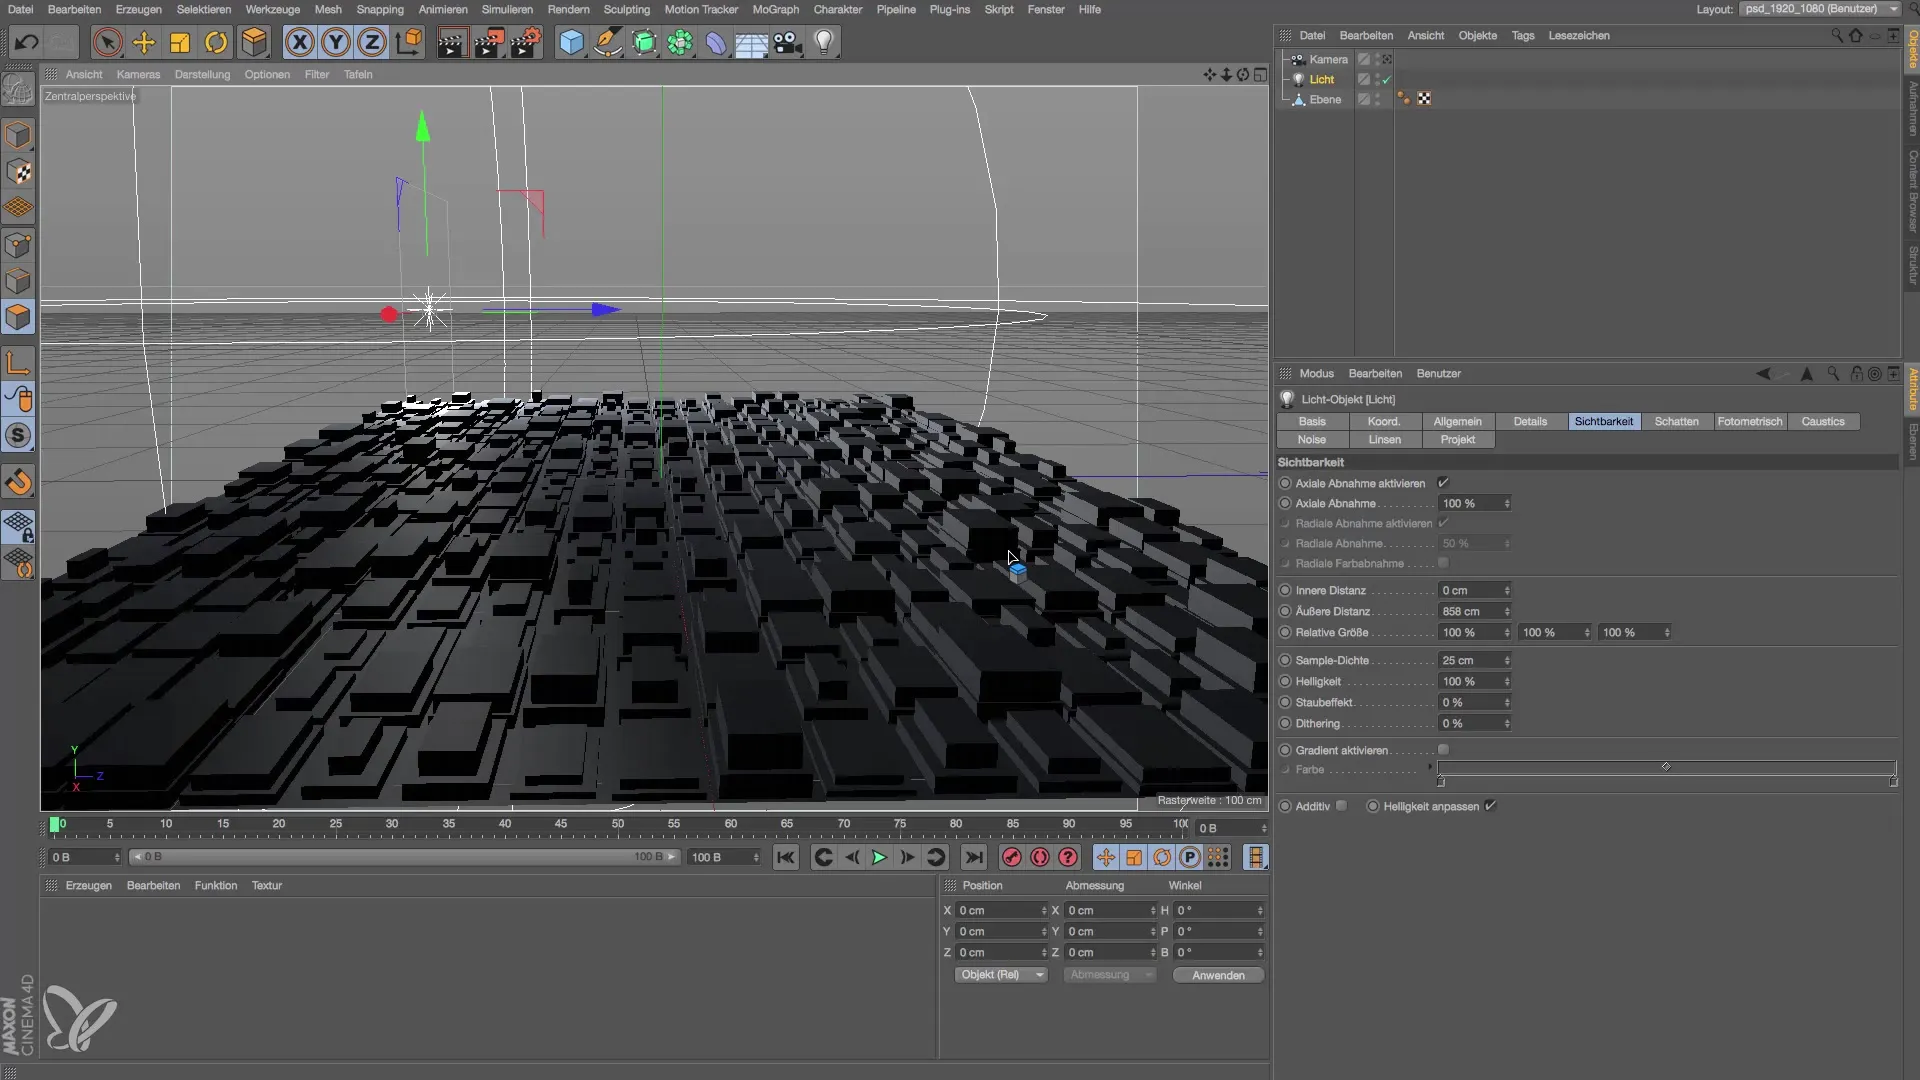
To make the light appear even more natural, adjust the visibility of the light source. Ensure that the light reaches from the light source to the camera to create a soft, atmospheric transition. Let the image render again and observe how the details in the background appear softer and more natural.
Step 8: Conclusion and Tips
A main light source is crucial in your compositions to achieve a real, natural look. Always remember that you should work with fewer light sources to achieve an organic lighting effect. This method will help you achieve spectacular and emotional results.
Summary - Lighting in Cinema 4D: The Influence of Light Direction
In this guide, you have learned how to influence the mood of your 3D scenes in Cinema 4D using different light directions. You discovered that it is more effective to work with a main light source while using additional lights for support.
Frequently Asked Questions
What are the most important light directions in Cinema 4D?Side light and back light are crucial for the modulation of light and shadow.
How do I position the light source for the best results?The light source should never be directed straight at the camera to create shadows and plasticity.
Why should I use only one main light source?A main light source creates a more natural and realistic look in your renderings.


