The correct setup of the render settings is crucial for the quality of your work, especially if you plan to do further edits in software like Photoshop. This guide explains step by step how to adjust your render settings in Cinema 4D to obtain the necessary channels for flexible post-production.
Key insights The most important points to consider are:
- Use of multipass rendering for output of separate light channels.
- Optimal settings for image size and antialiasing.
- Assignment of the correct object channels to enable error-free post-processing in Photoshop.
- Installation and control of light sources for flexible work in post-production.
Step-by-step guide
Step 1: Preparations for the renderer
First, you need to ensure that your scene is well organized and all relevant light sources are present in your project. You can consider geometries like the sphere, which you may have used for other purposes, as light sources to maintain clarity.
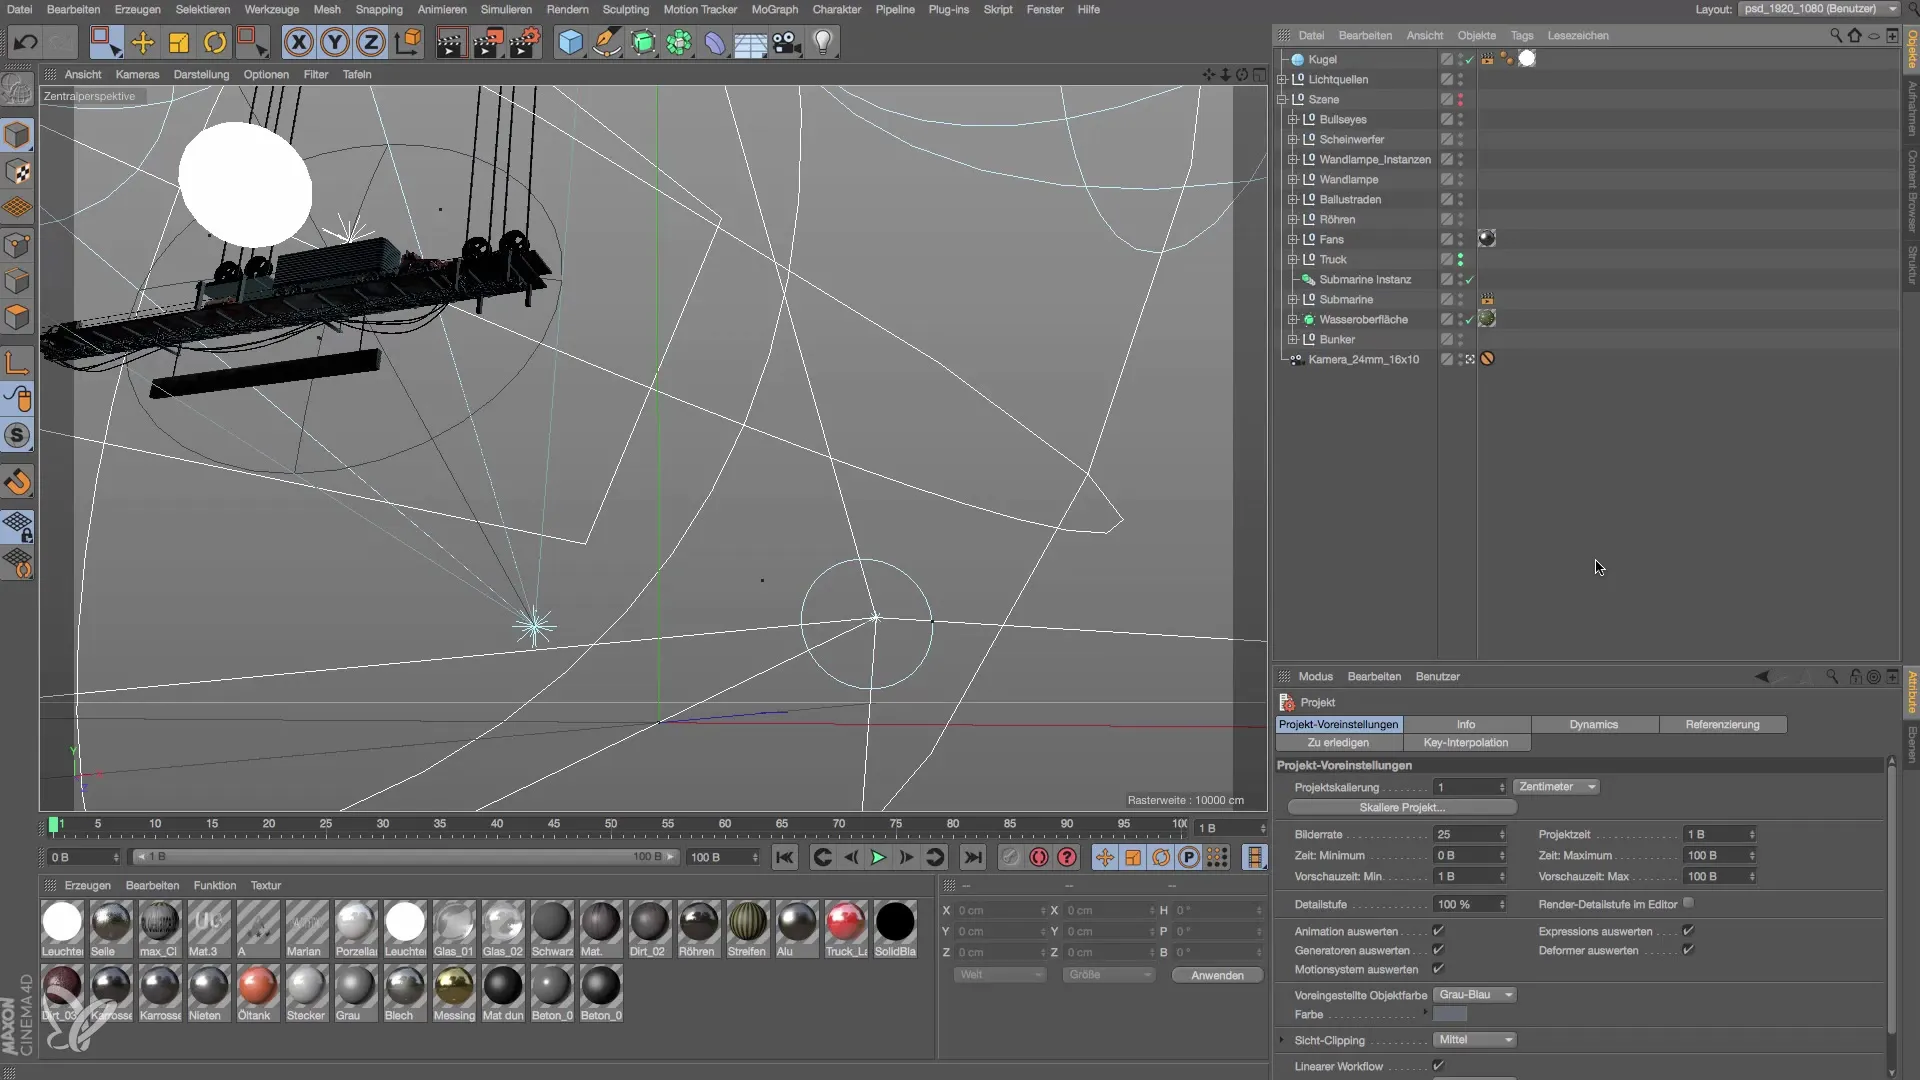
Step 2: Open render presets
Then go to the render settings to make the necessary adjustments. Make sure to create a new render option, for example, called "Finalrender," and base this on an existing preset that includes the necessary effects like "Global Illumination" (GI) and "Ambient Occlusion" (AO).
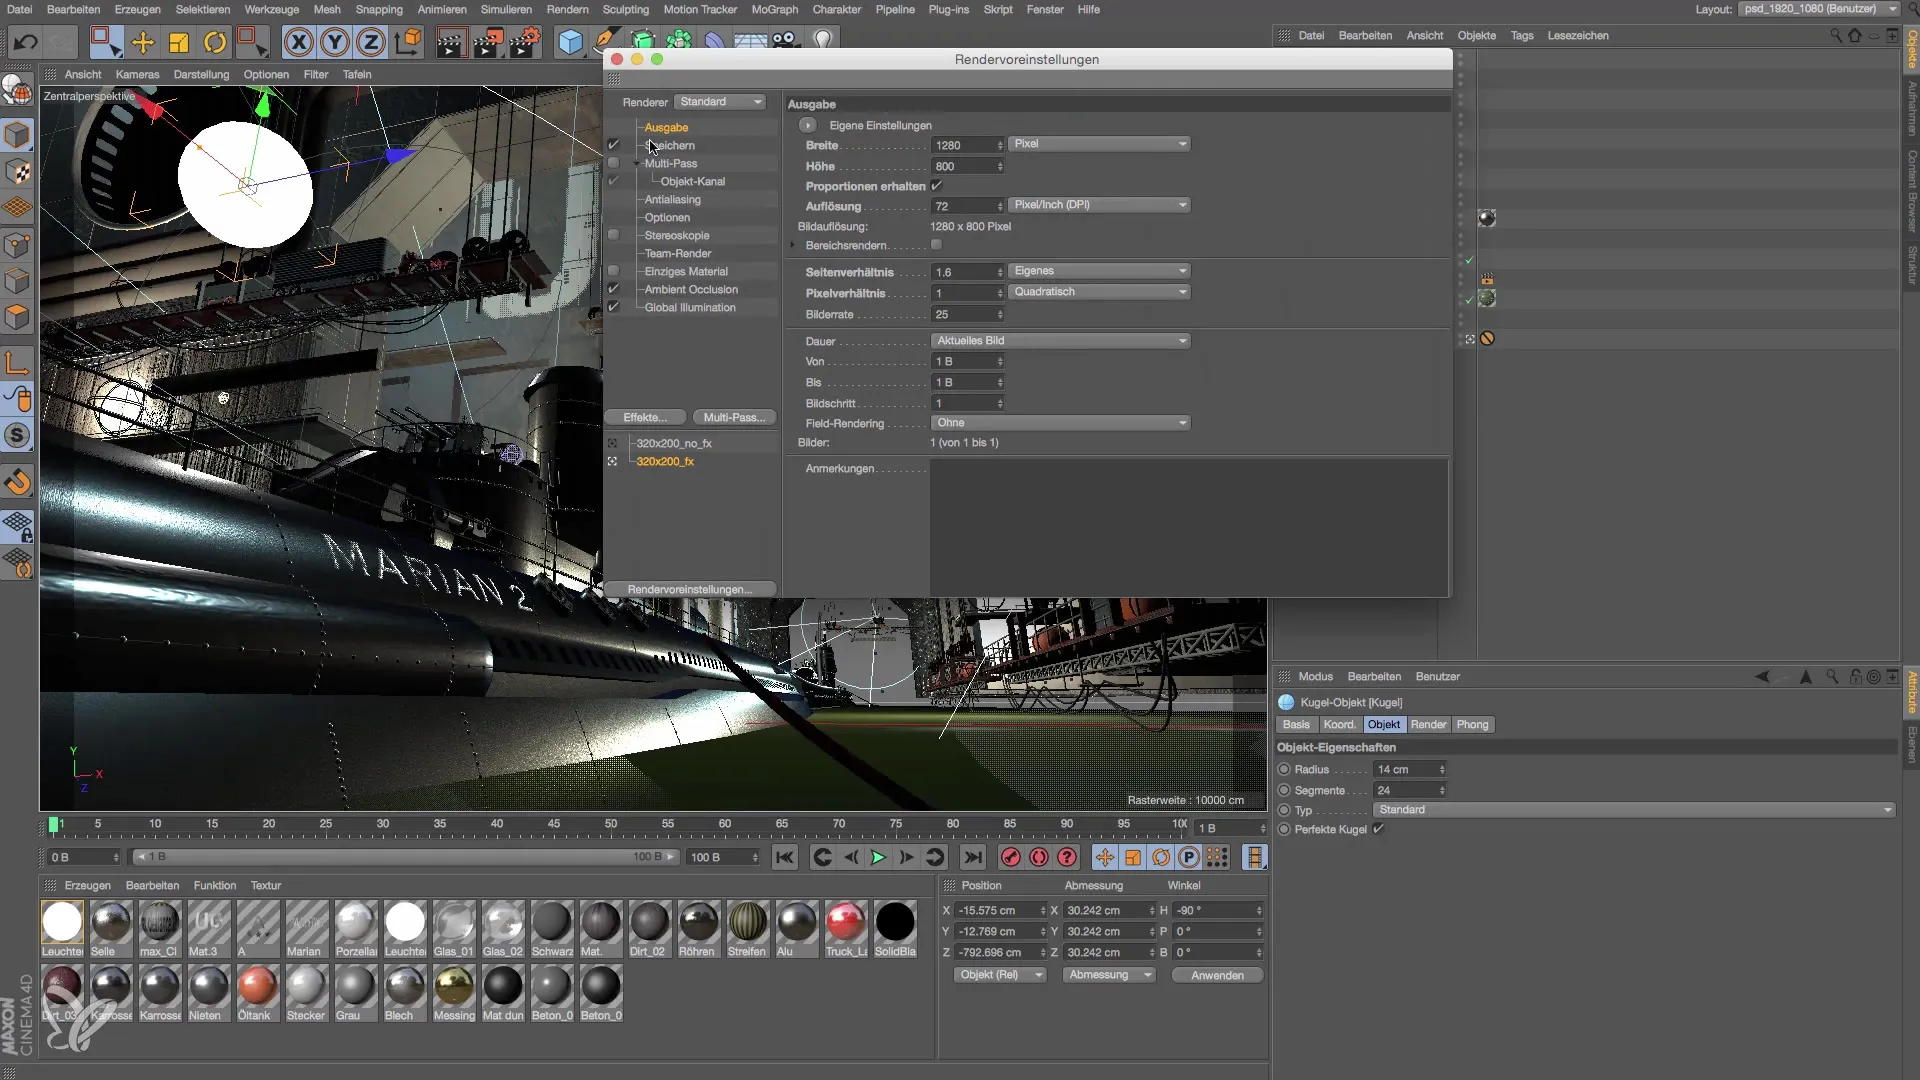
Step 3: Set image size
Now set the final image size. You can choose, for example, a width of 3000 pixels and a height of 1875 pixels. These values ensure that the aspect ratio of your scene is maintained. Make sure to also update these dimensions in the render settings.
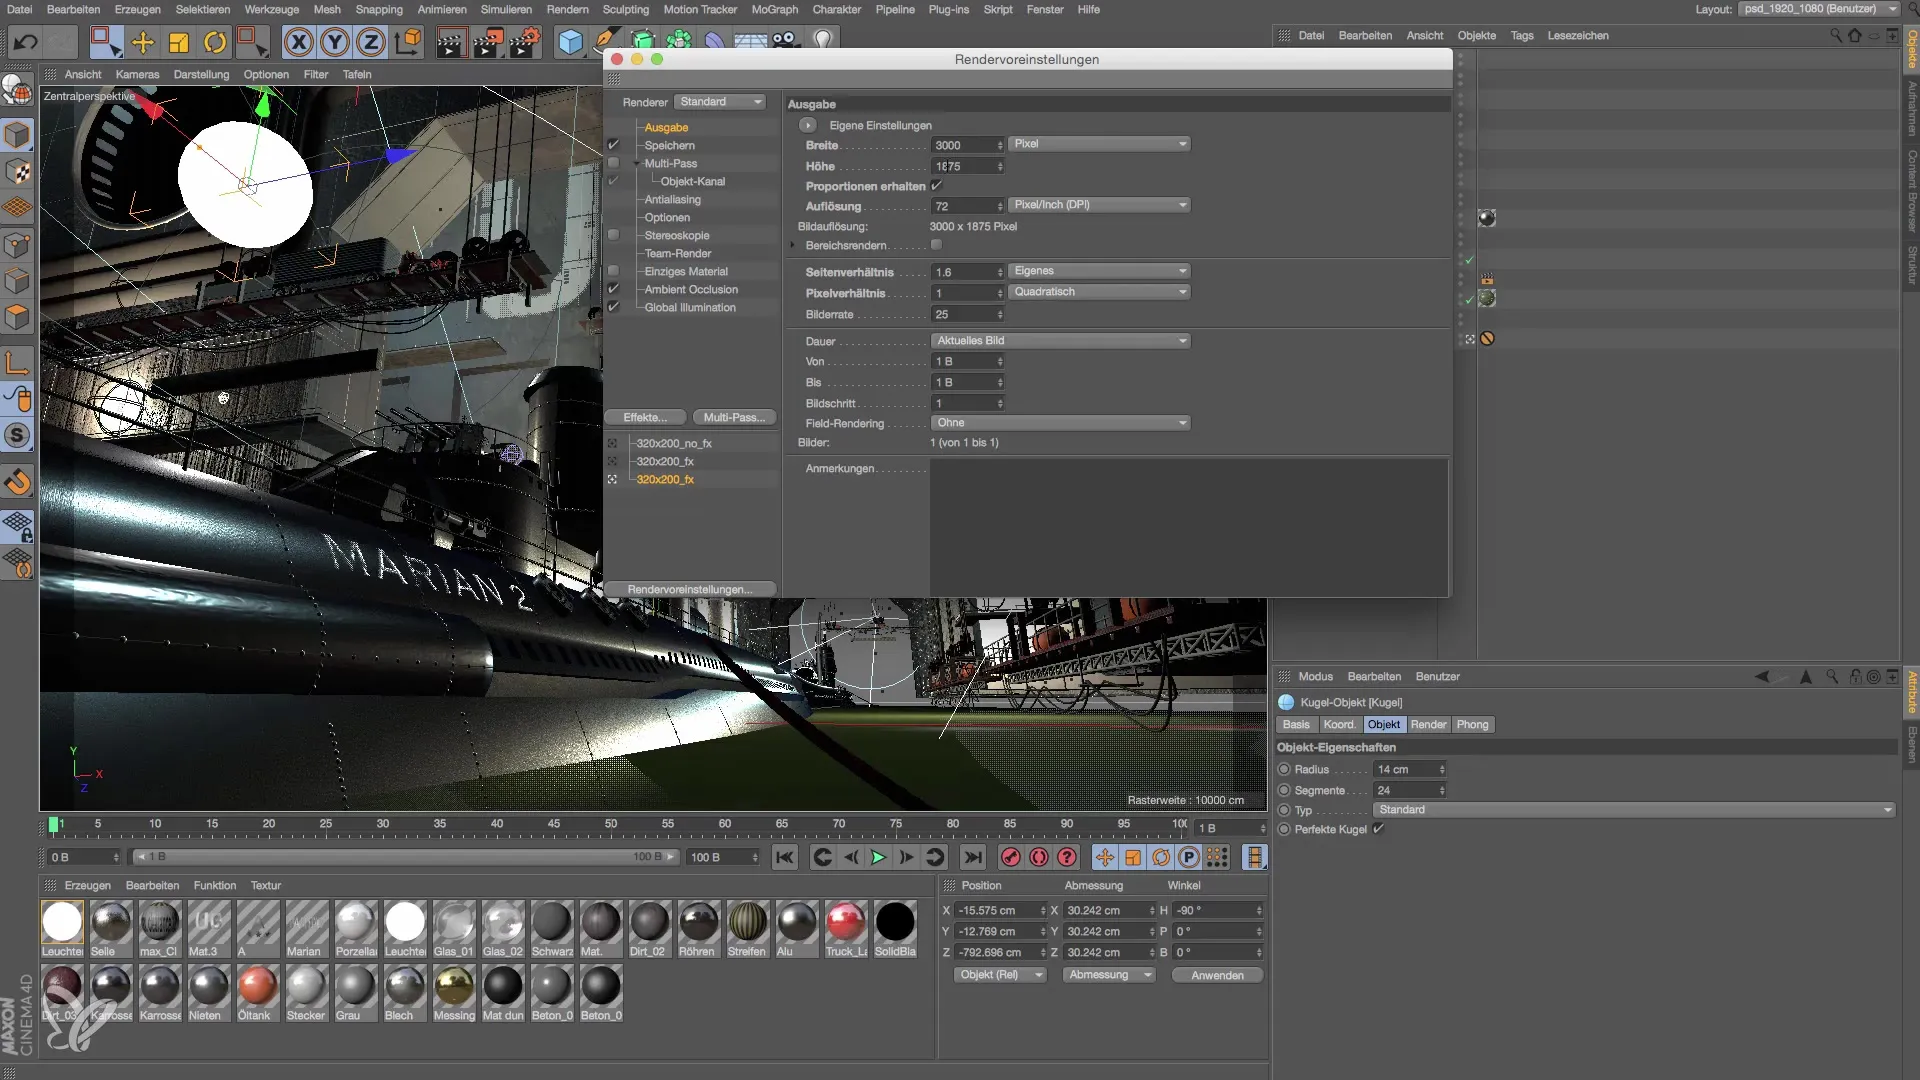
Step 4: Optimize antialiasing
Change the antialiasing settings from "Geometry" to "Best." This setting is important for correctly rendering the fine surface structures of your materials. This option ensures that your image is rendered in the best quality.
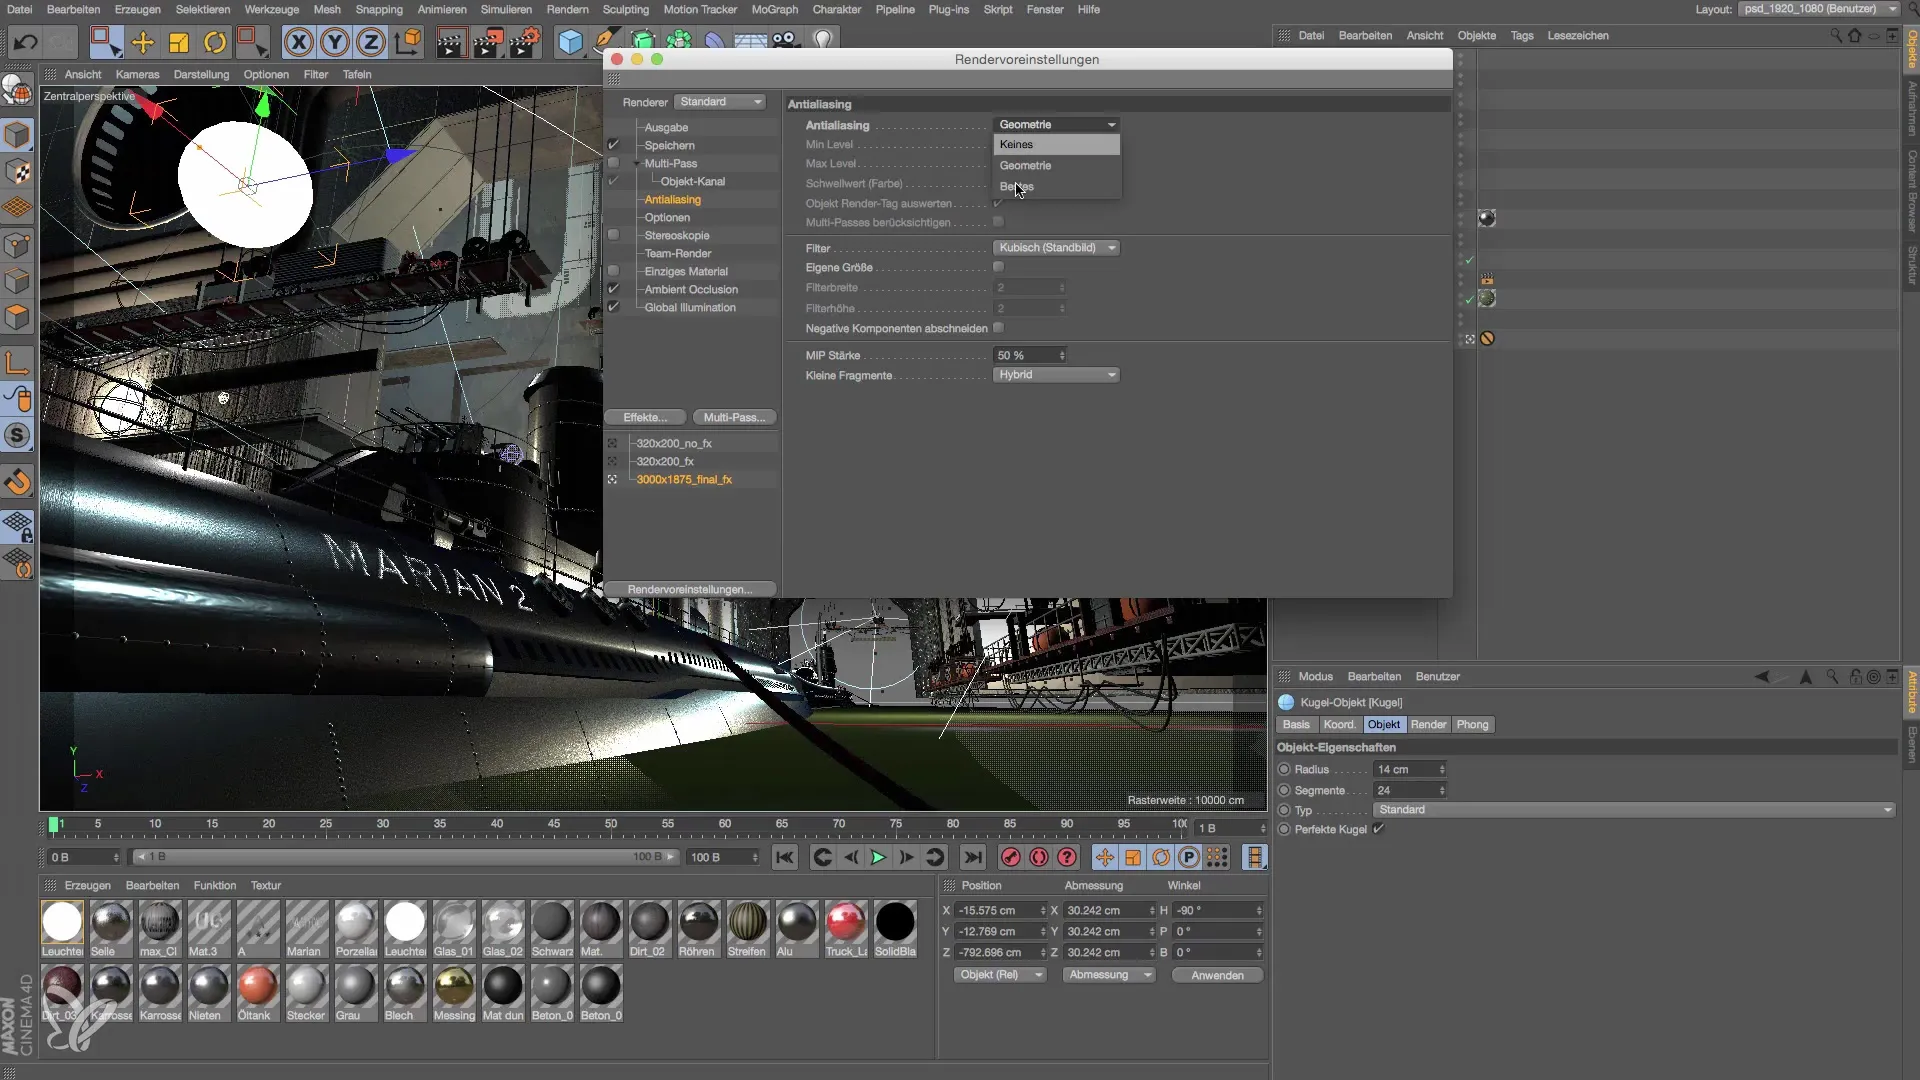
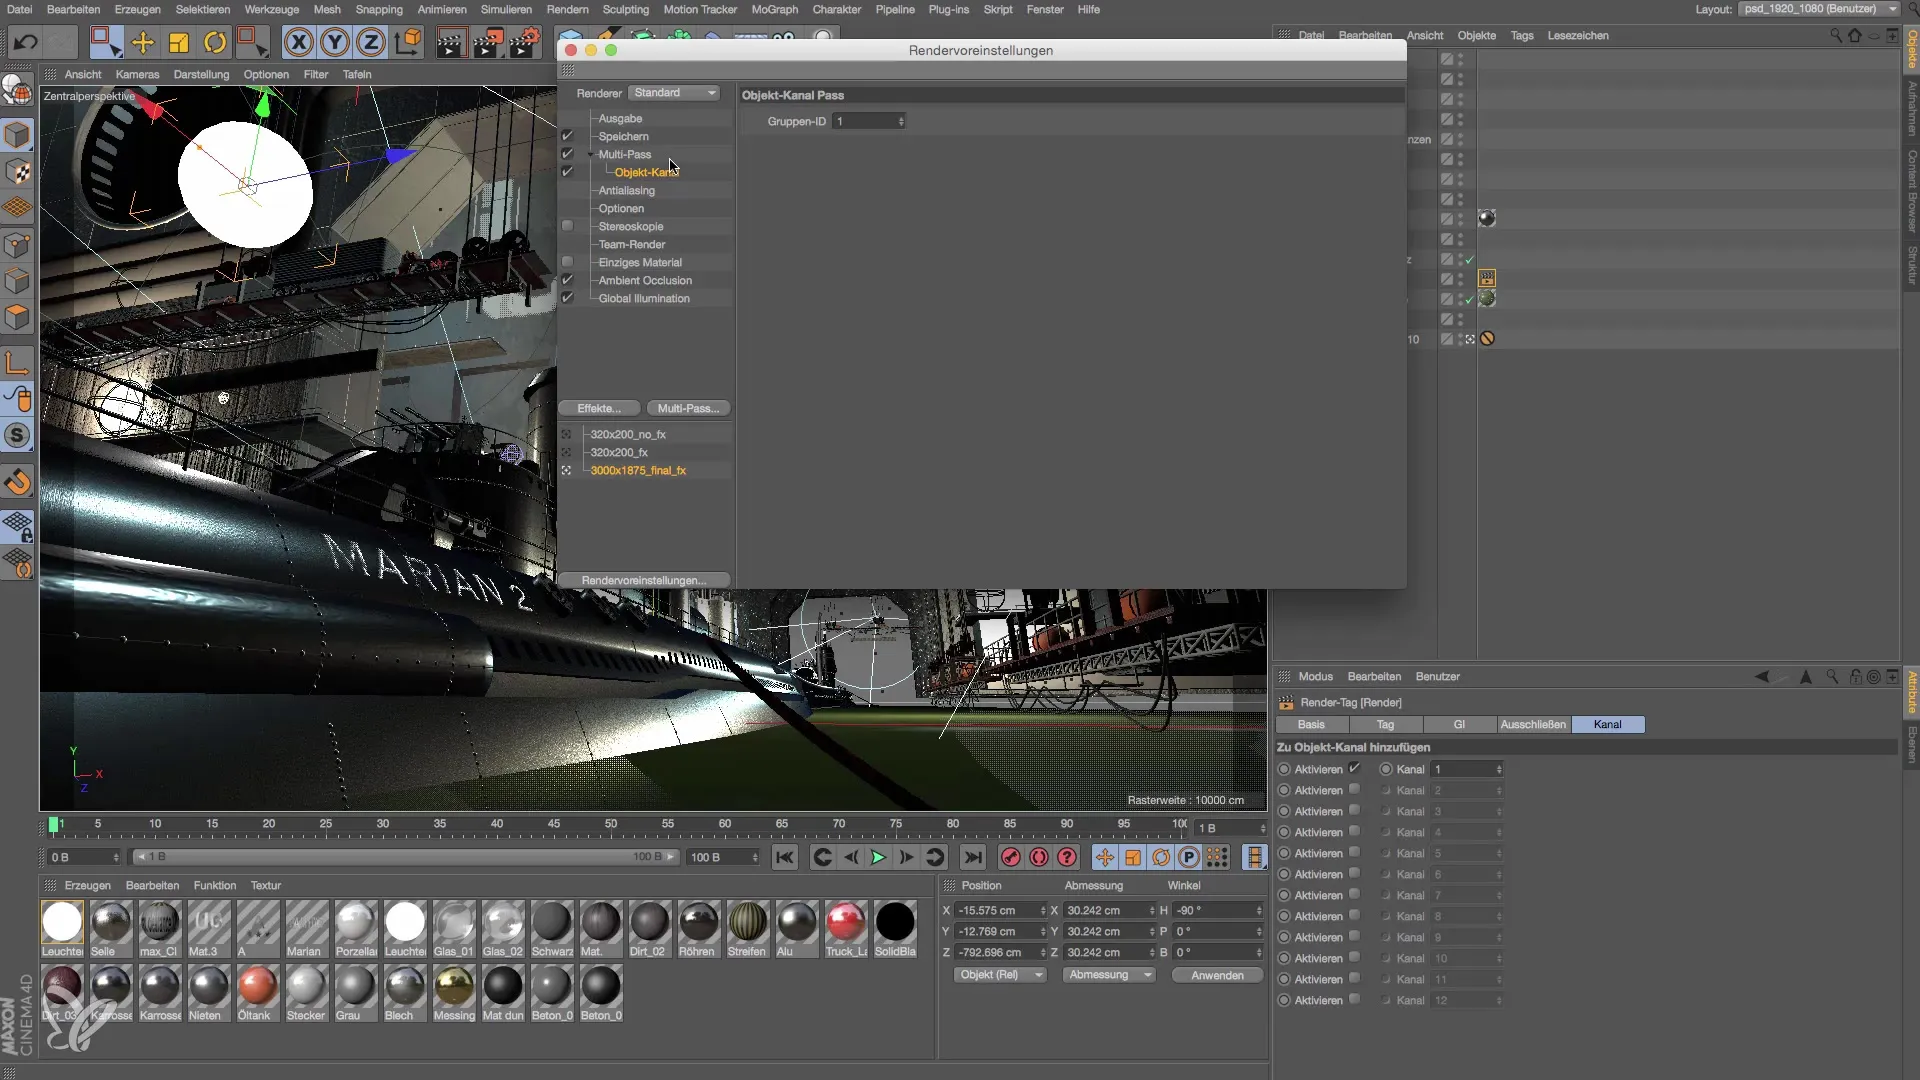
Step 5: Activate multipass
Check the box for "Multipass." This allows you to create separate channels for your lights, which can be particularly useful when editing later in Photoshop. Make sure to correctly assign the identification number for object channels.
Step 6: Light check and create channels
Check your light sources and create the required channels. You will receive three separate layers in Photoshop for each light source: the diffuse channel, the highlights, and the shadows. These layers will appear in a group named after the respective light source.
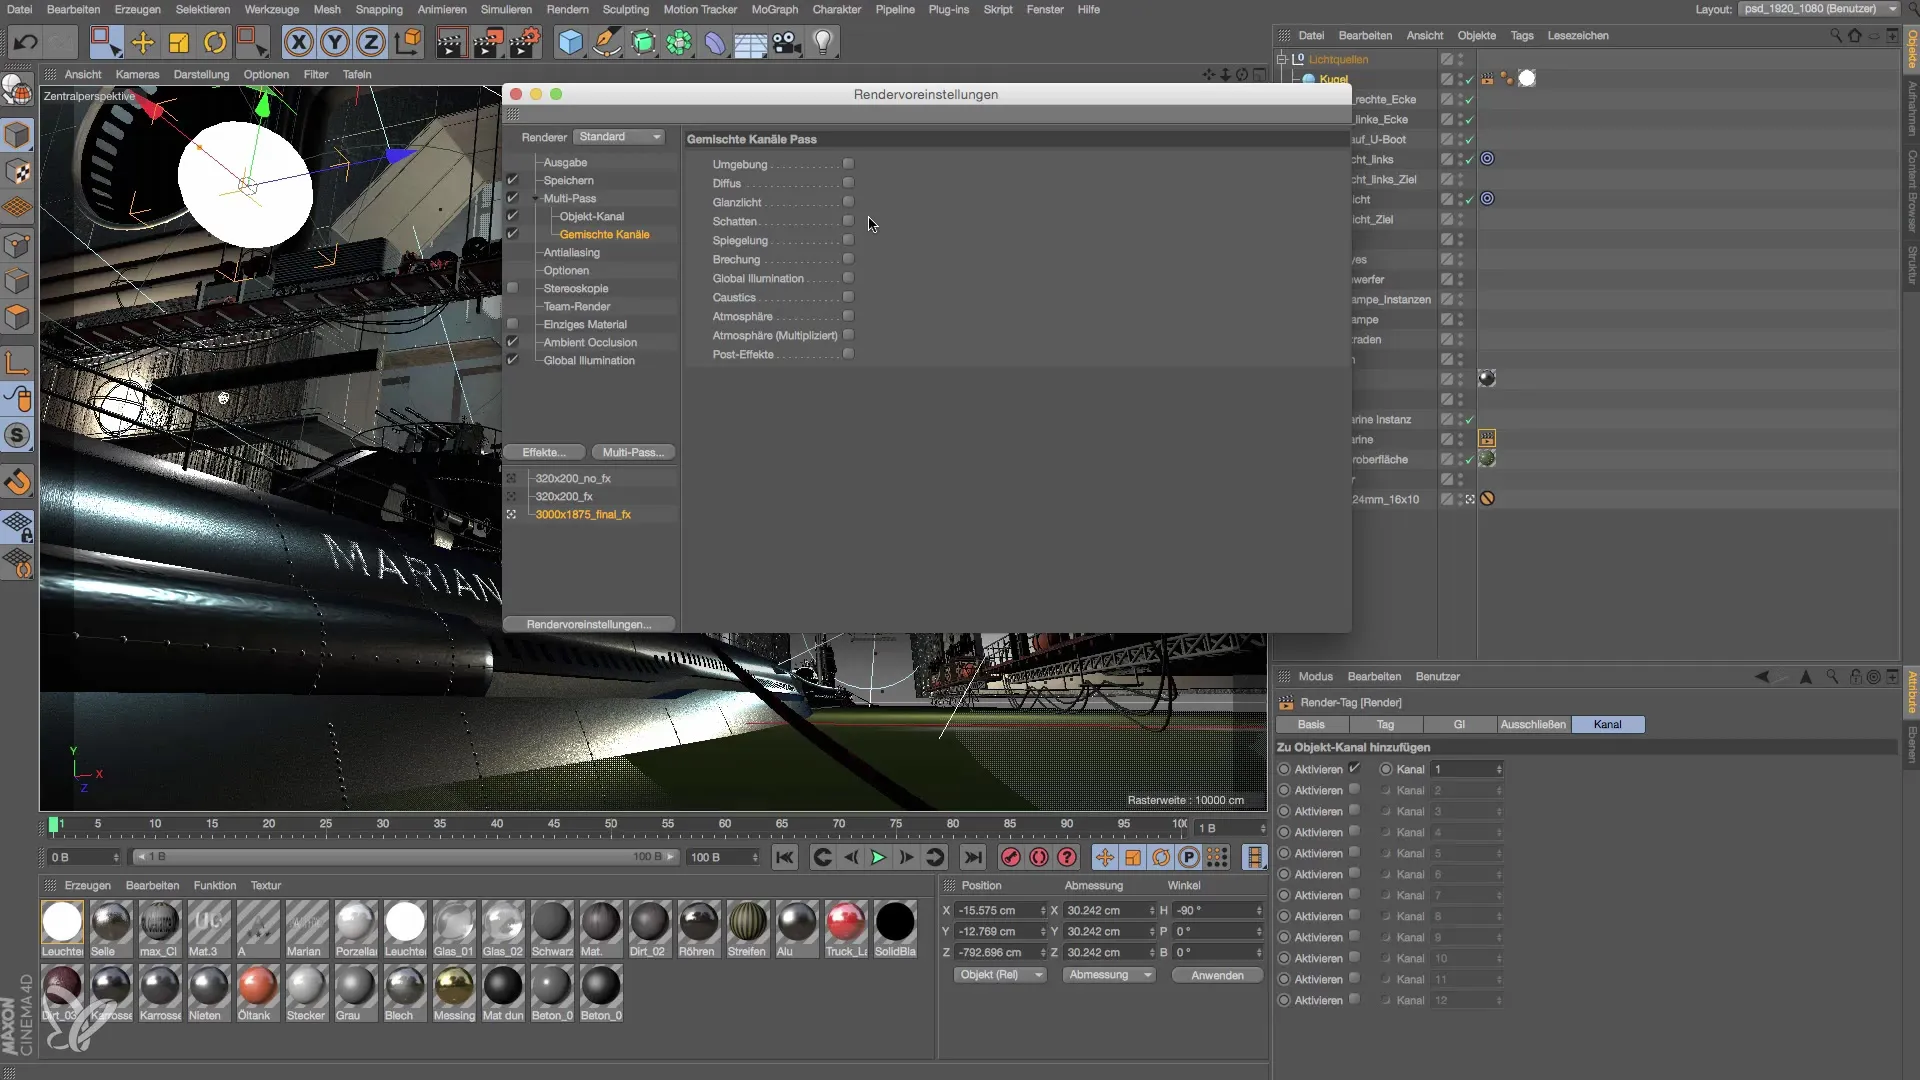
Step 7: Add mixed channels
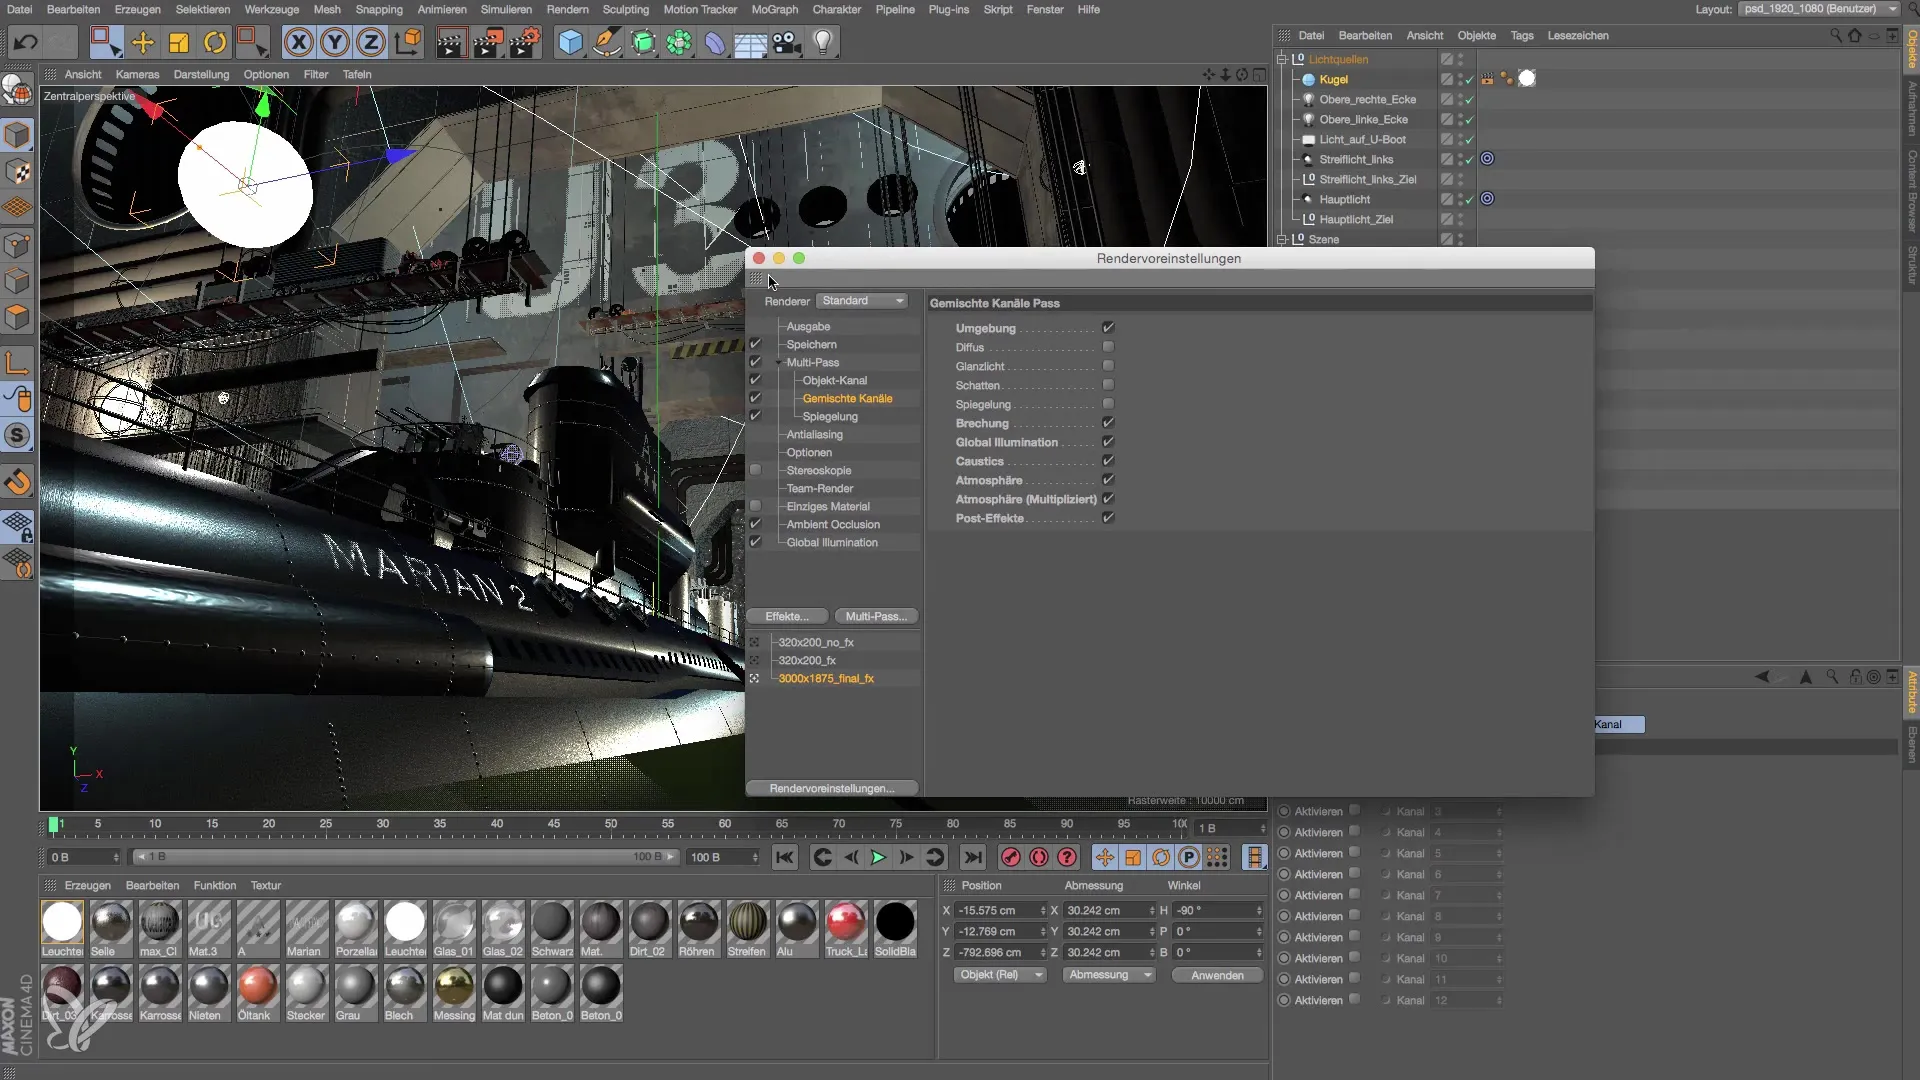
To complete your render settings, create mixed channels. These allow you to save additional effects like reflections in separate channels, greatly improving the editing in Photoshop.
Step 8: Final settings and rendering
Make sure all necessary settings have been made and then proceed with your rendering. Ensure that no required channels or effects are missing so that you achieve an optimal result.
Summary – Lighting setup in Cinema 4D: Efficient render settings for Photoshop
In this guide, you learned how to adjust your render settings in Cinema 4D so that you can work efficiently in Photoshop. By optimally setting up image size, multipass, and antialiasing, you ensure that your work meets the highest standards.
Frequently Asked Questions
How do I choose the right image size for rendering?Choose a width and height that maintain your aspect ratio, e.g., 3000x1875.
What is multipass and why is it important?Multipass allows rendering separate channels for lights that can be edited later in Photoshop.
How do I set antialiasing in Cinema 4D?Change the setting from "Geometry" to "Best" to ensure the highest image quality.


