To unlock the full potential of your 3D-graphics in Cinema 4D, it is crucial to approach color correction and lighting purposefully. This guide shows you how to apply effective techniques for color optimization to avoid color banding and make your images more vibrant and engaging.
Key Insights
- Color banding in dark areas can be caused by the color space and multipass rendering.
- Reducing multiple layers to a single background layer can resolve such issues.
- Switching from "Linear Color Space" to Adobe RGB improves color representation.
- With the Camera Raw filter, you can adjust the colors, saturation, and clarity of your images.
Step-by-Step Guide
To fully utilize the array of features available to you, follow this structured guide.
Step 1: Check for Color Banding
First, you should check your file and ensure that color banding is present in the dark areas. These appear particularly in the shadowy regions and can severely affect the quality of your work.
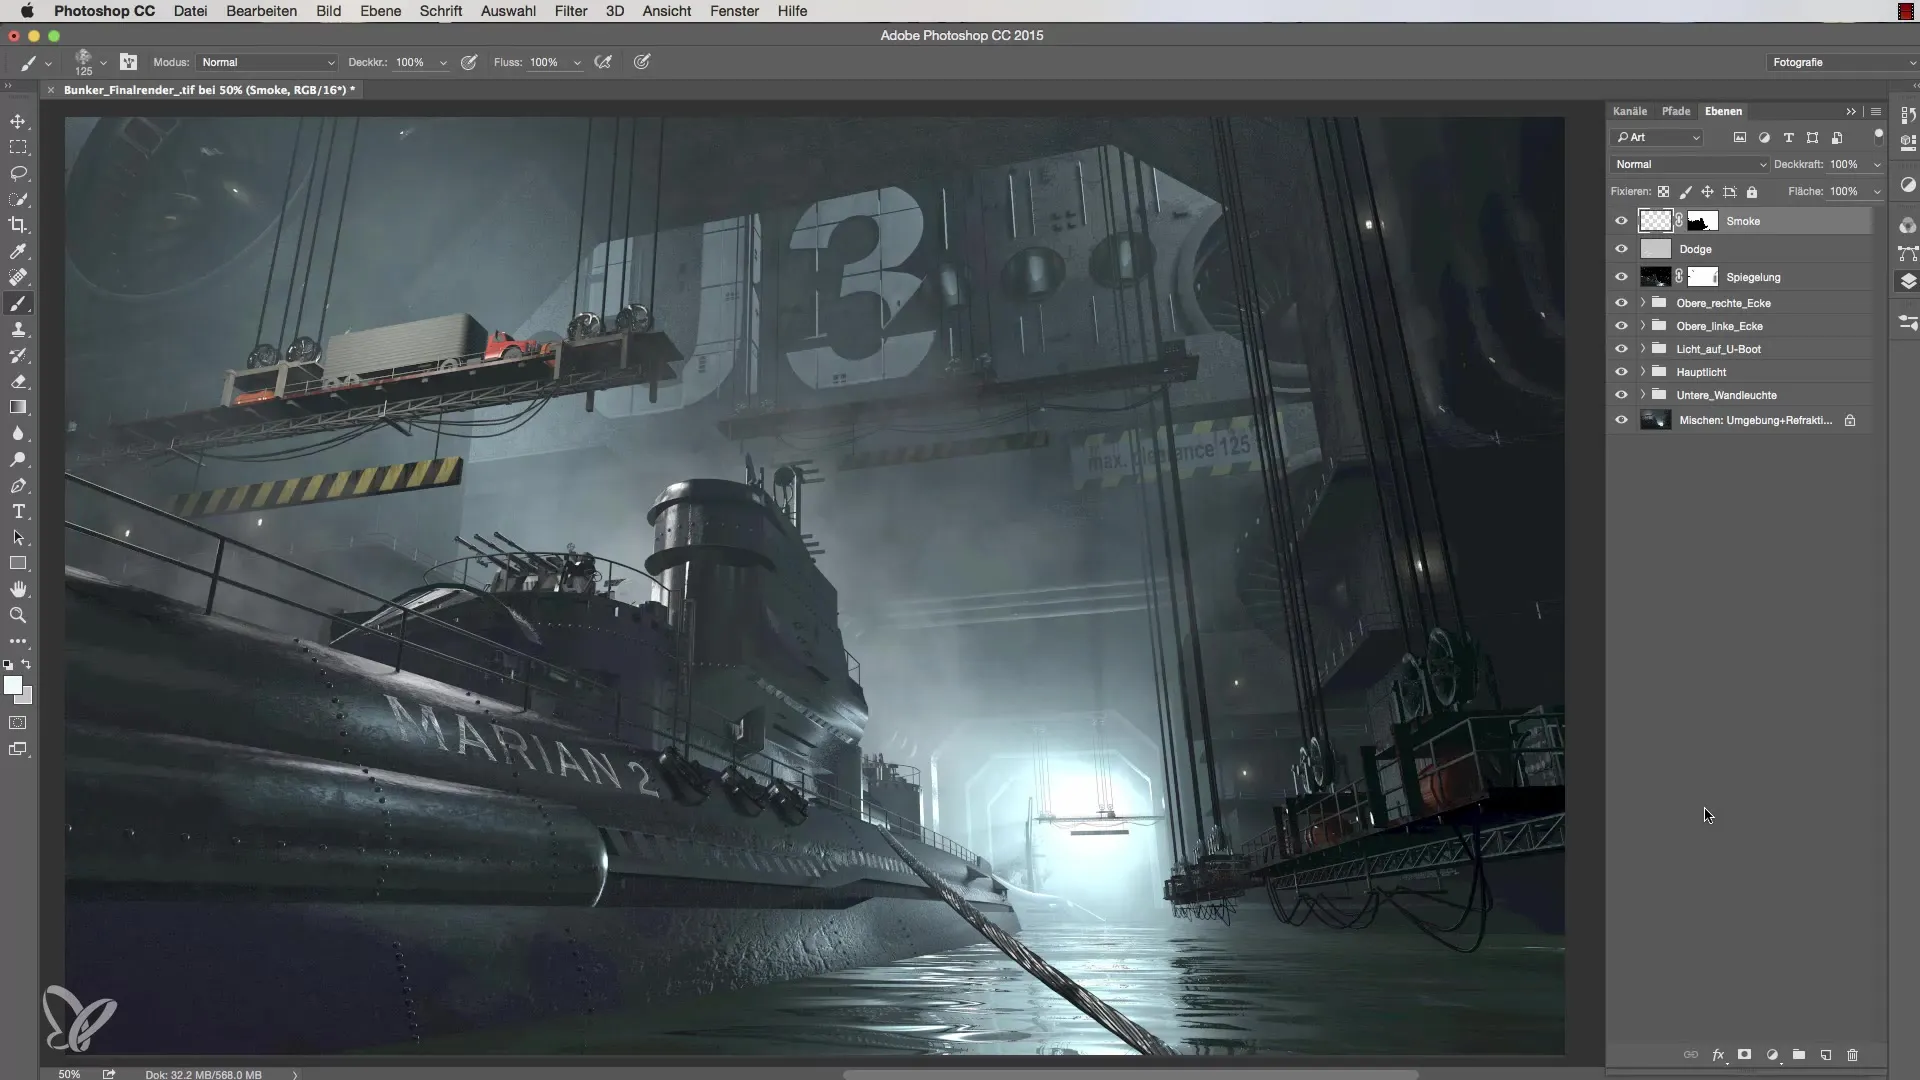
Step 2: Duplicate the File
To fix the color banding, it is necessary to duplicate the existing file. Go to "Image" and select "Duplicate". Name this new layer as "one layer" or according to your preference.
Step 3: Reduce to a Background Layer
Once you have created the new layer, the next step is to reduce the file to a background layer. This is important for editing effectively and without further color banding. Go to "Layer" and select "Flatten to Background Layer".
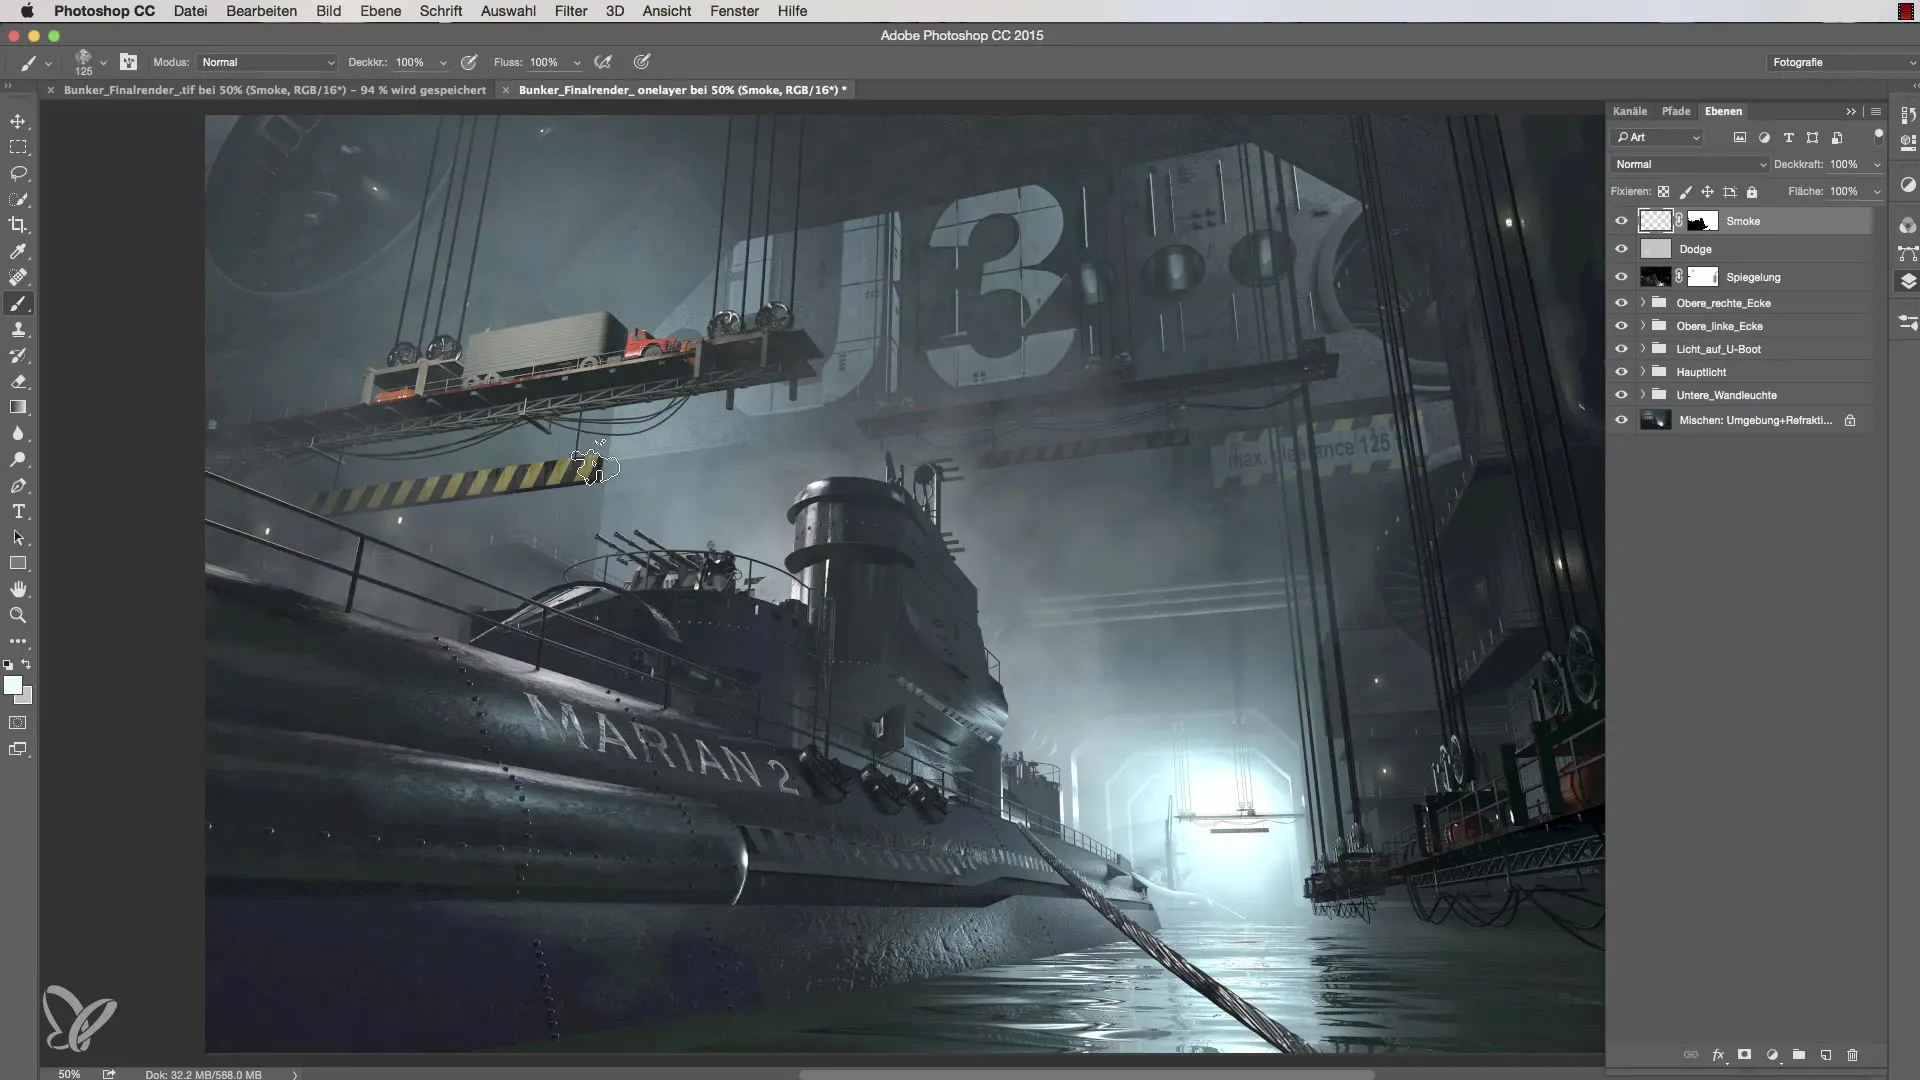
Step 4: Fix Issues with Color Banding
With the reduced background layer, the previously visible color banding disappears, and the image quality improves. Check that all areas are now clear and without breaks in color distribution.

Step 5: Convert Color Space
Now it’s time to change the color space from "Linear Color Space" to Adobe RGB. Go to "Edit" and select "Convert Profile". Here, you can also choose the rendering intent; typically, "Adobe Ace" is a good choice.
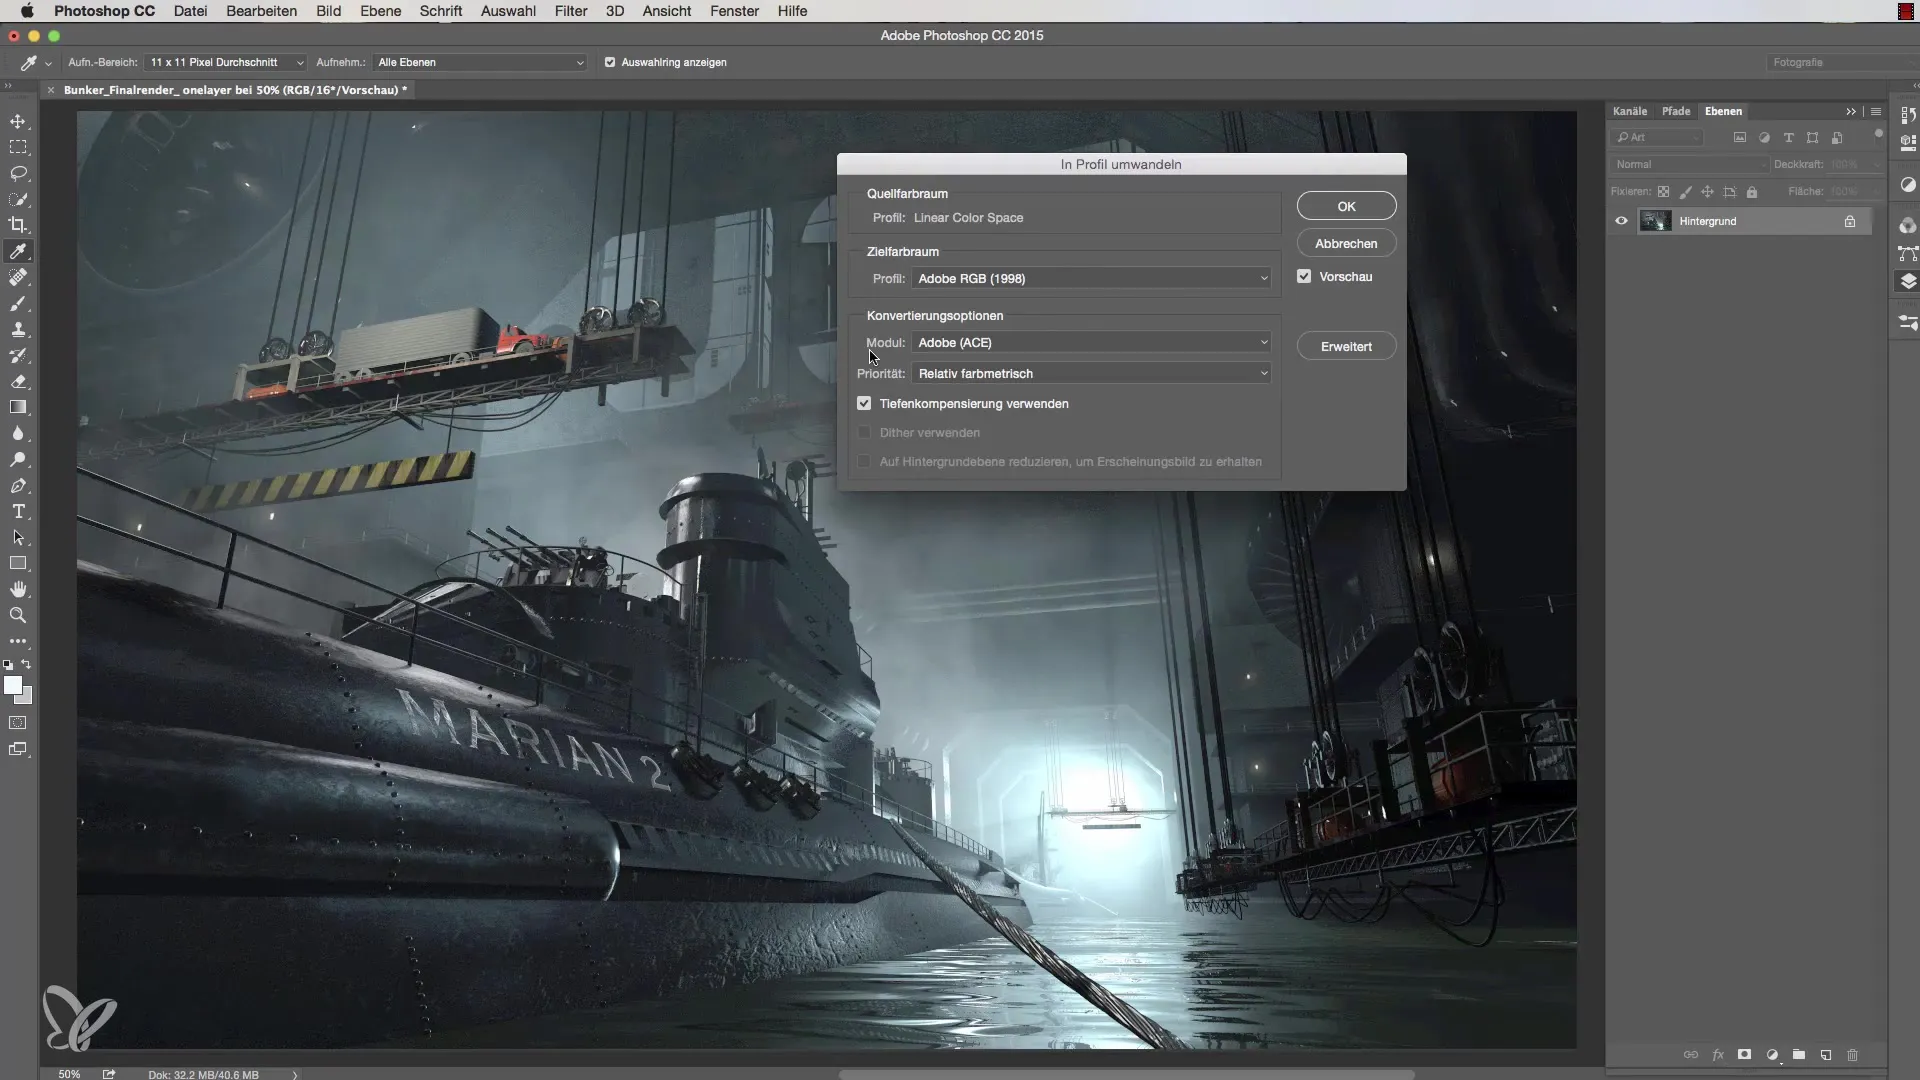
Step 6: Accept Color Changes
After you have made the conversion, the preview will refresh once again. Check that you are satisfied with the result and confirm the changes.
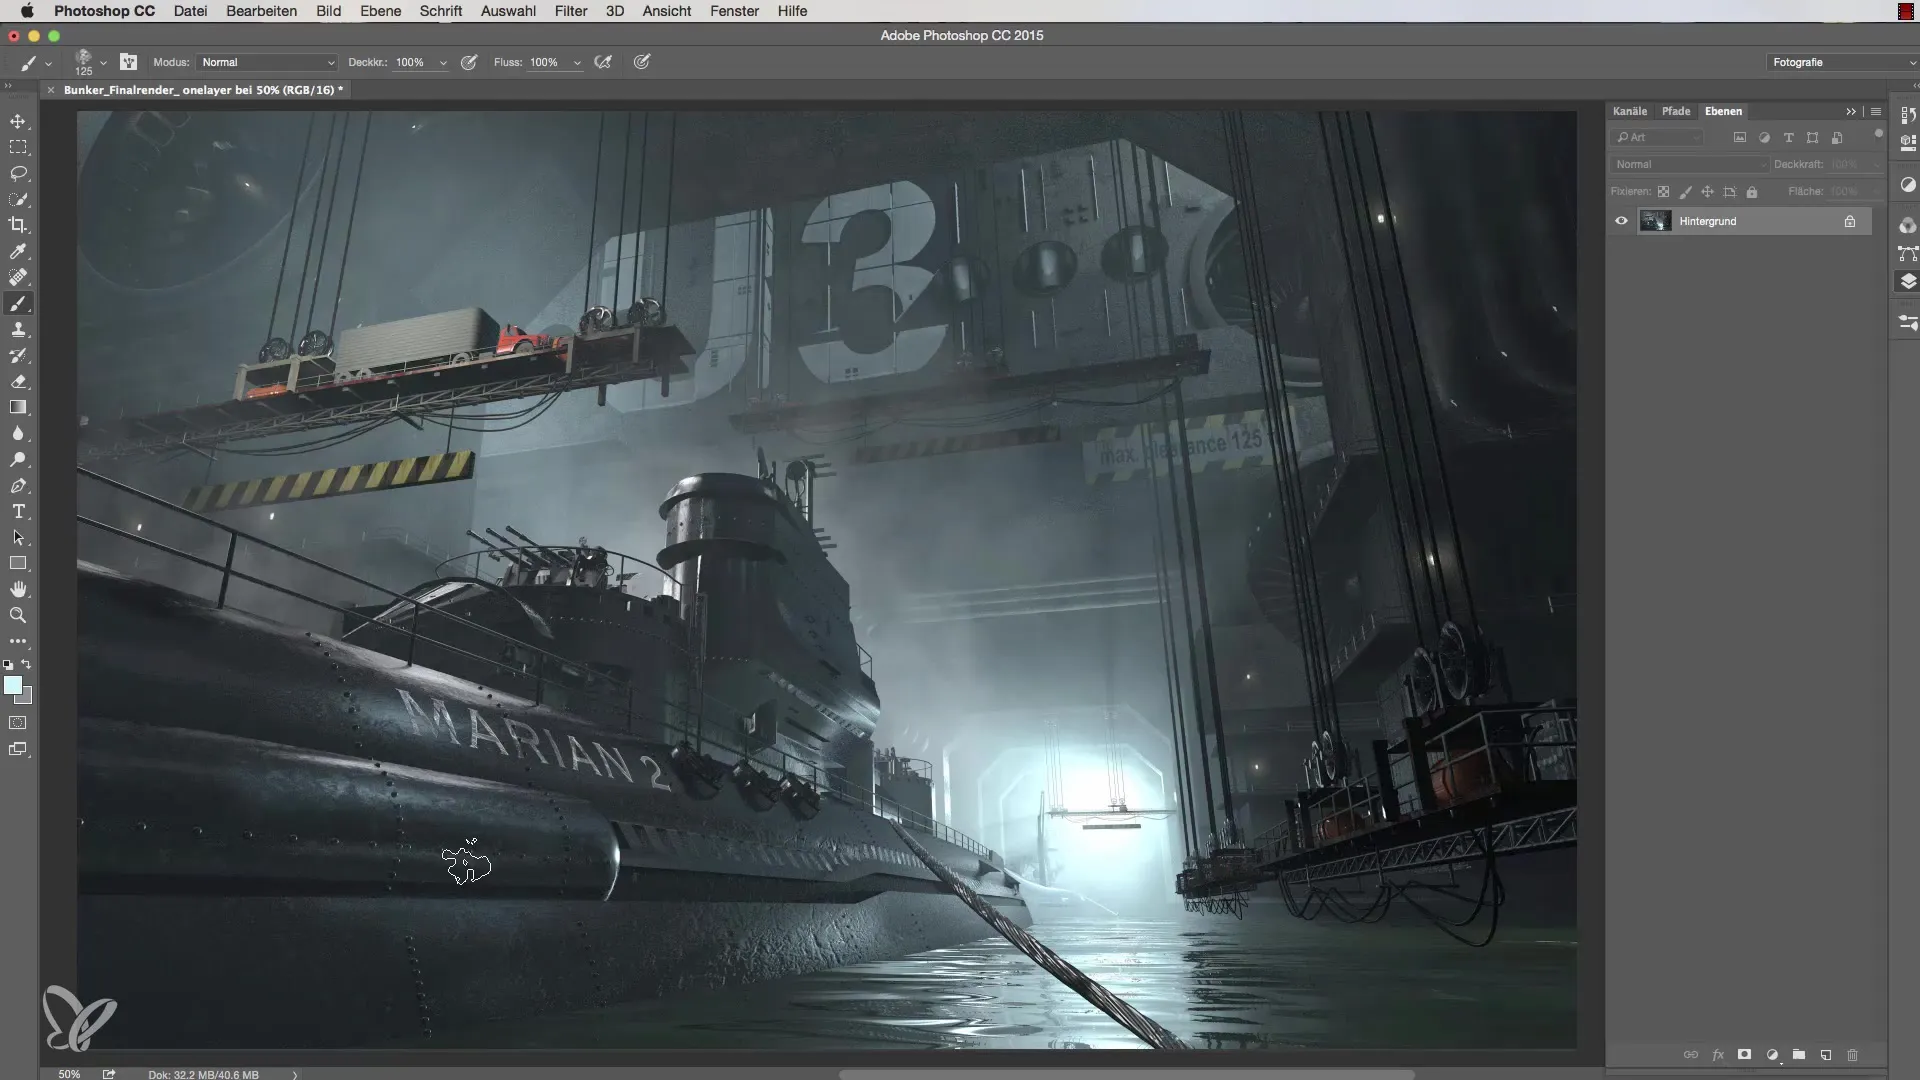
Step 7: Using the Camera Raw Filter
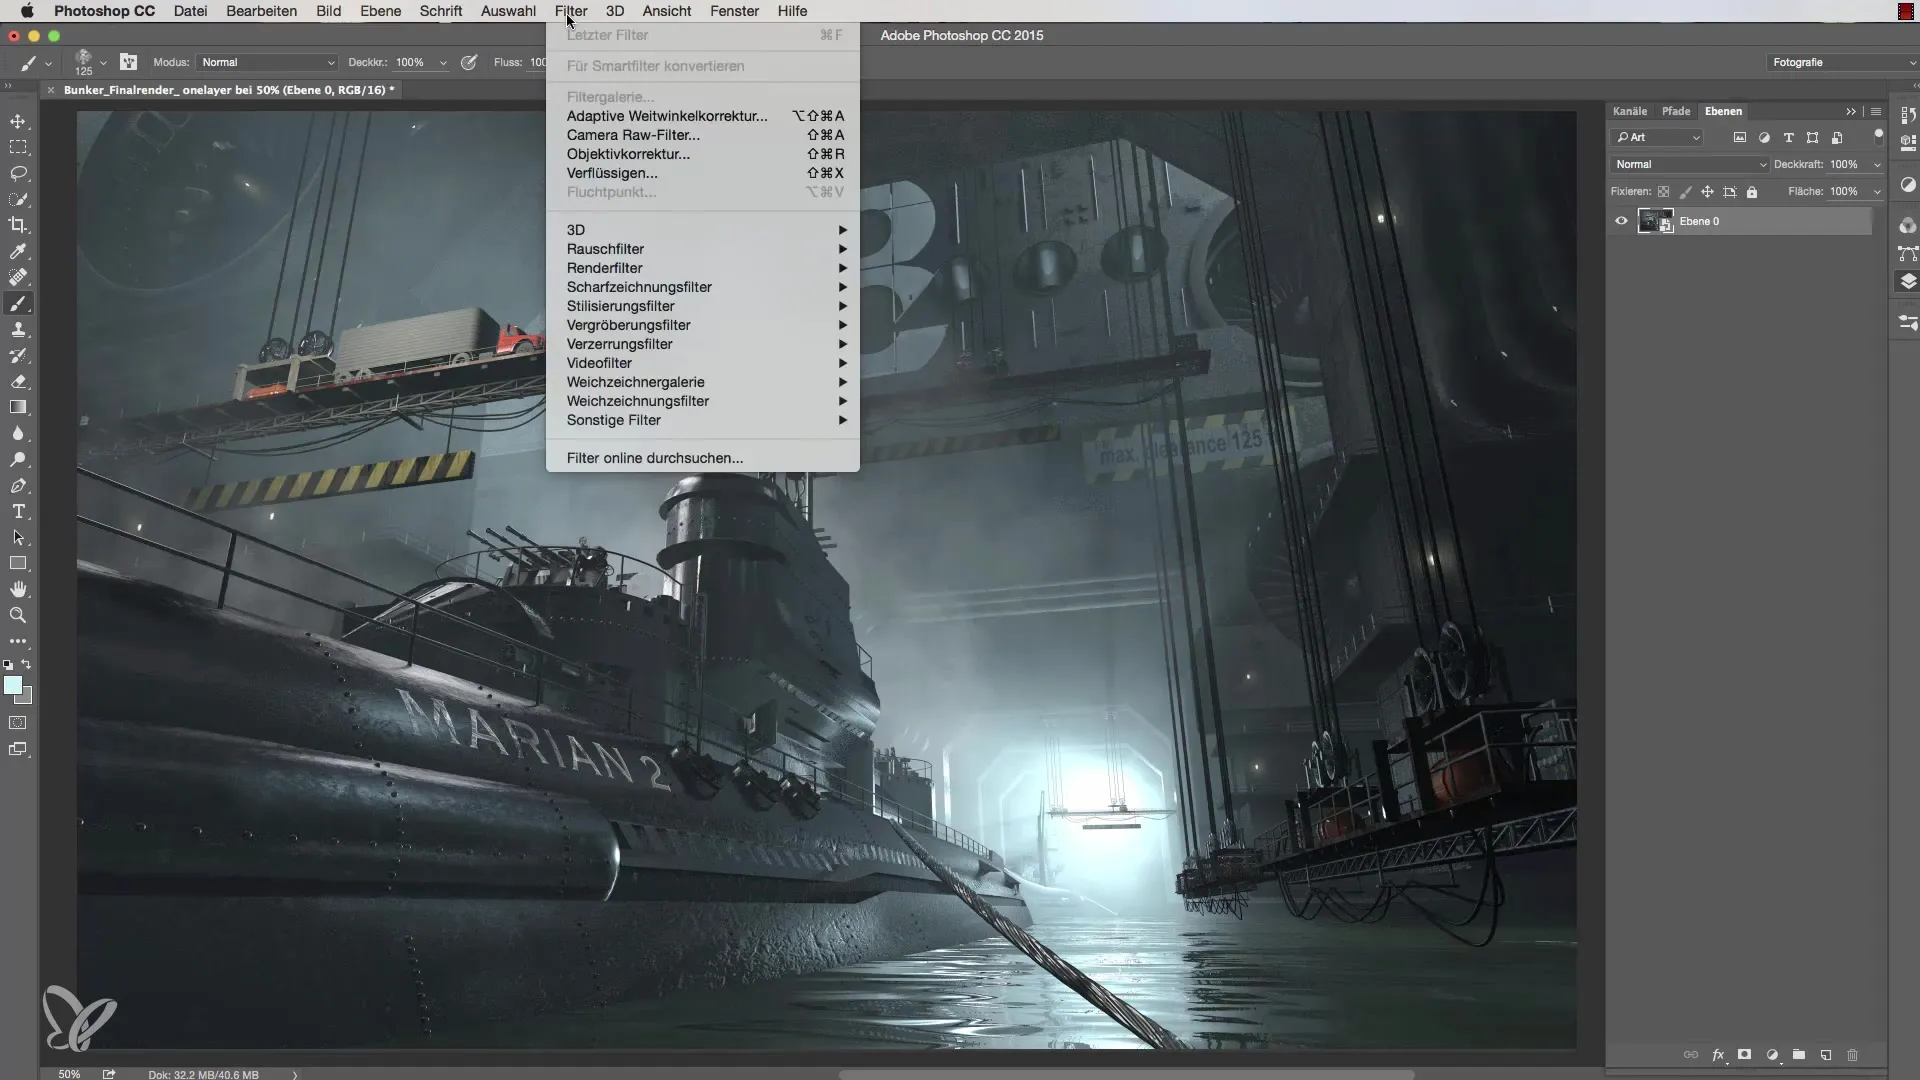
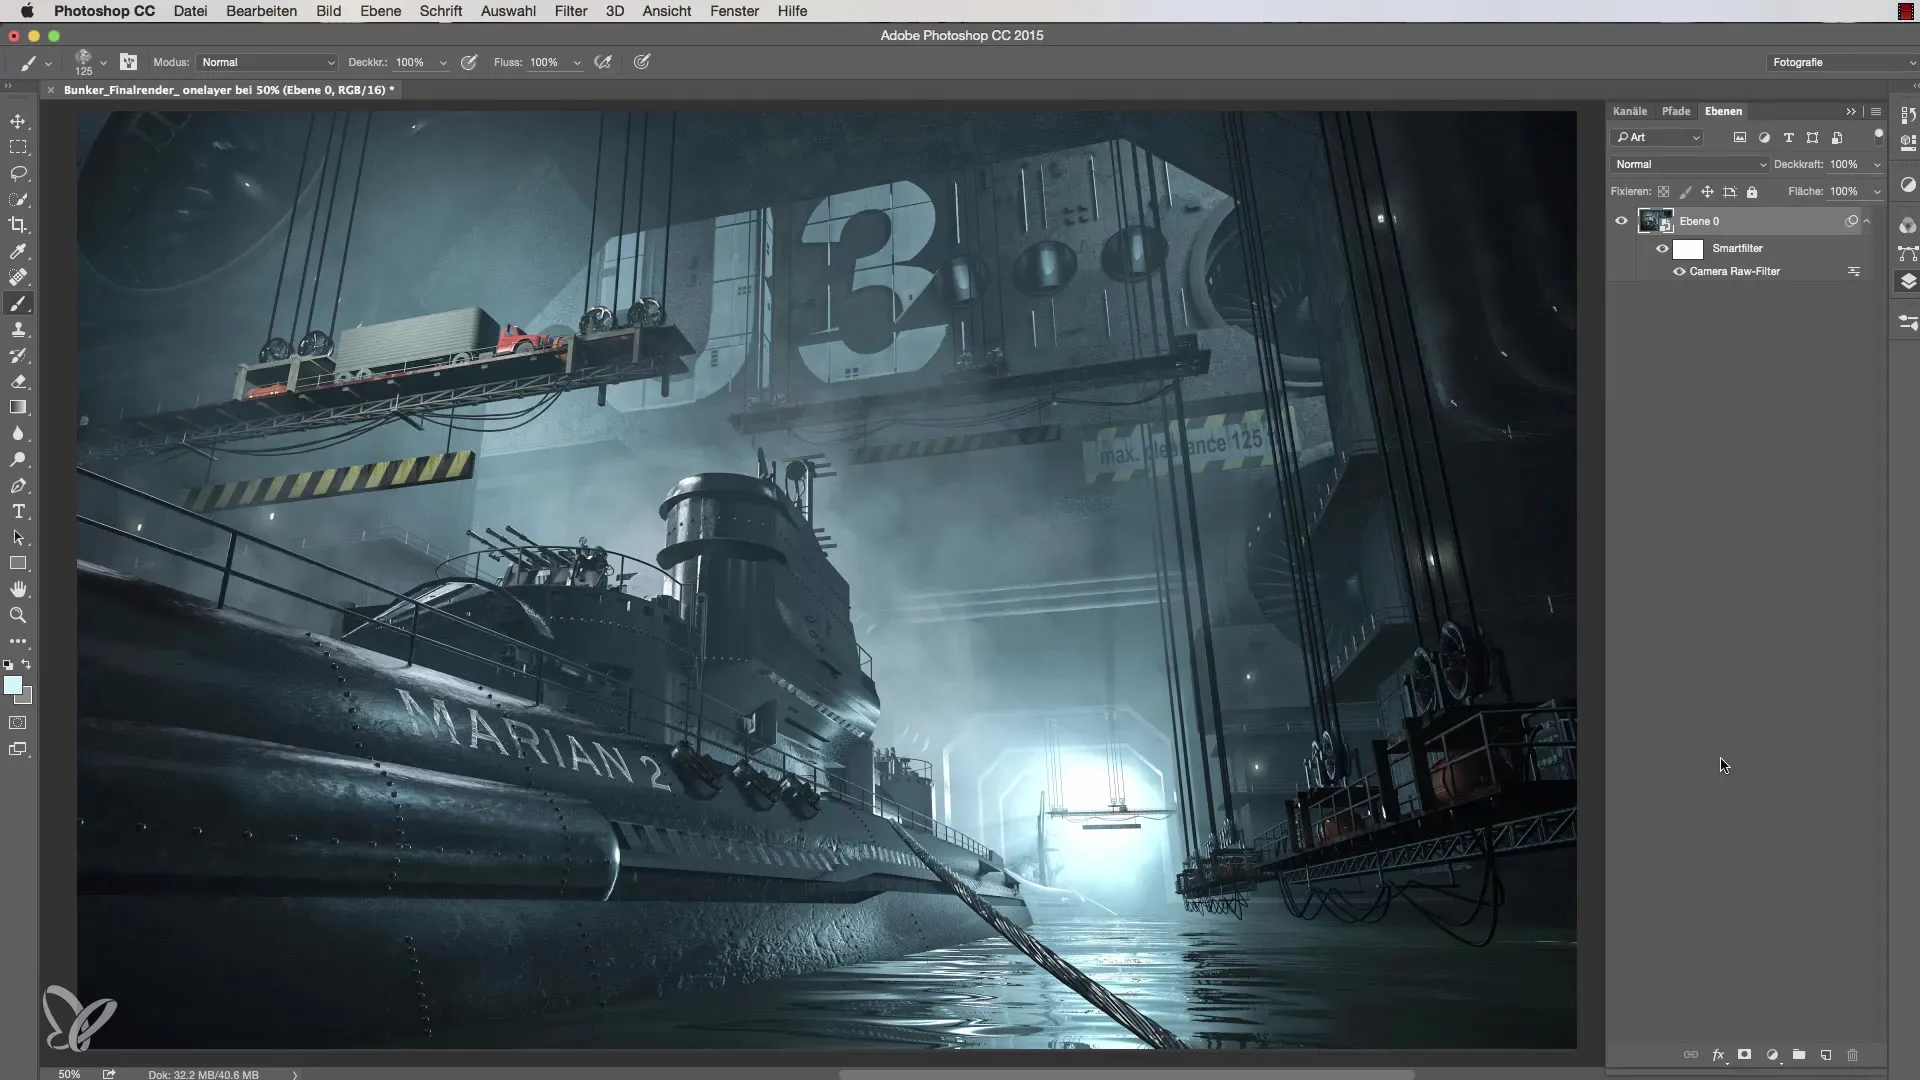
To further adjust your colors, convert the layer into a Smart Object. Then, select the Camera Raw Filter from the filter option. Here you can adjust various aspects like color saturation, clarity, and more. Experiment to achieve the best results.
Step 8: Make Color Adjustments
In the Camera Raw filter, you can now make additional adjustments. For example, you can enhance the colors by adding more blue and green. Ensure that clarity and contrast are preserved.

Step 9: Adjust Lens Corrections
Even though they are 3D objects, it is worth adjusting the lens corrections to optimize image quality. Use the effects in the Camera Raw filter and apply a subtle vignette to add more depth to your image.

Step 10: Finalize and Save
Once you have made all the adjustments, save the image in your desired format. This ensures that all changes are retained and that you can present your image in optimal quality.
Summary – Guide to Color Optimization in Cinema 4D
In this guide, you have learned how to effectively avoid color banding in your images, change the color space, and optimize colors using the Camera Raw filter. With these techniques, you can significantly enhance and professionalize your 3D graphics.
Frequently Asked Questions
What is color banding?Color banding is visible transitions in the colors or brightness of an image that appear unpleasant and degrade image quality.
How do I fix color banding?You can fix them by reducing multiple layers to a background layer and changing the color space.
What is a Smart Object?A Smart Object allows you to perform non-destructive edits, meaning you can make adjustments at any time without altering the original image.
Can I always use the Camera Raw filter?Yes, the Camera Raw filter is a powerful way to optimize your images in terms of color and quality.
Should I always use Adobe RGB?Adobe RGB is ideal for print production, while sRGB is better suited for web applications. Choose the color space based on your intended use.

