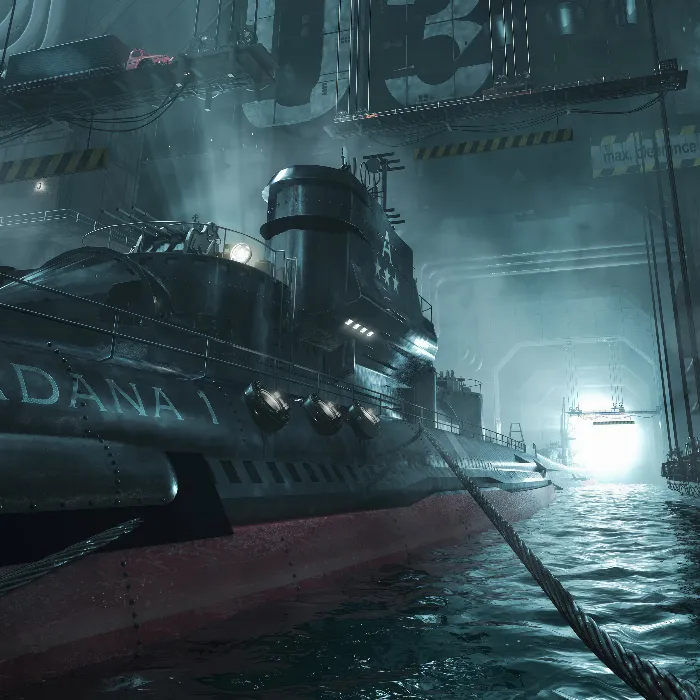
The design of the foreground and background in Cinema 4D can be crucial for the depth and quality of your graphic. When the boundaries between the boat and background are blurred, the overall impact of the image suffers. In this guide, you will learn how to manipulate the haze in your scene with a simple technique and create a clear separation between objects.
Key Insights
- Use the render tag for the alpha channel to effectively structure your selection.
- A layer mask helps you paint and emphasize the background individually.
- The use of high-quality brush tips significantly enhances the quality of your work and provides more realistic results.
Step-by-Step Guide
First, let's look at the basic technique to improve separation between the foreground and background. To achieve this, it is helpful to highlight the details of the boat and enliven the background with haze.
Step 1: Load Selection and Create New Layer
First, you need to ensure that you have an object channel added for rendering your boat. To achieve precise separation, you need a new layer for editing the haze. You can capture this number in your timeline at 31 seconds.
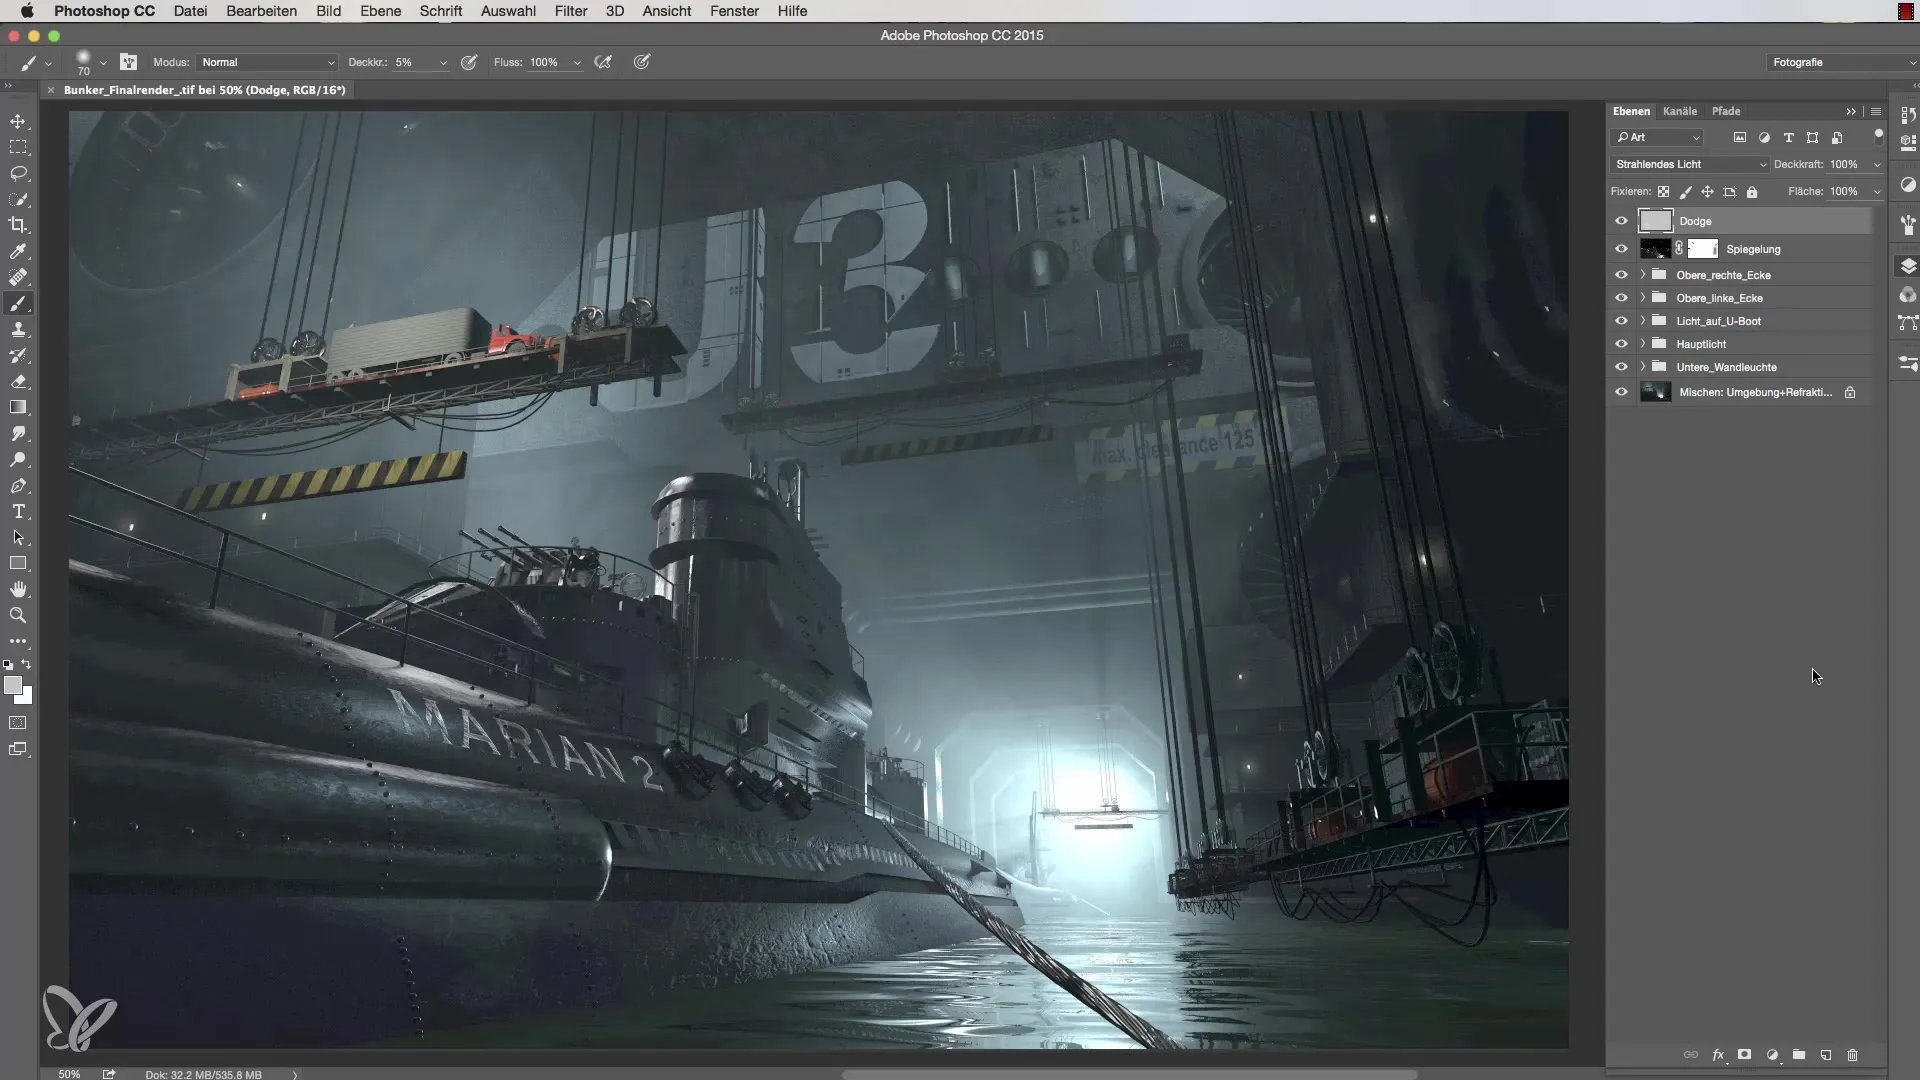
Step 2: Create Mask
To create the perfect separation between the boat and the background, a layer mask is necessary. You can do this by simply holding down the Command or Control key and clicking on the thumbnail of the boat to load the selection. This step is demonstrated at 67 seconds.
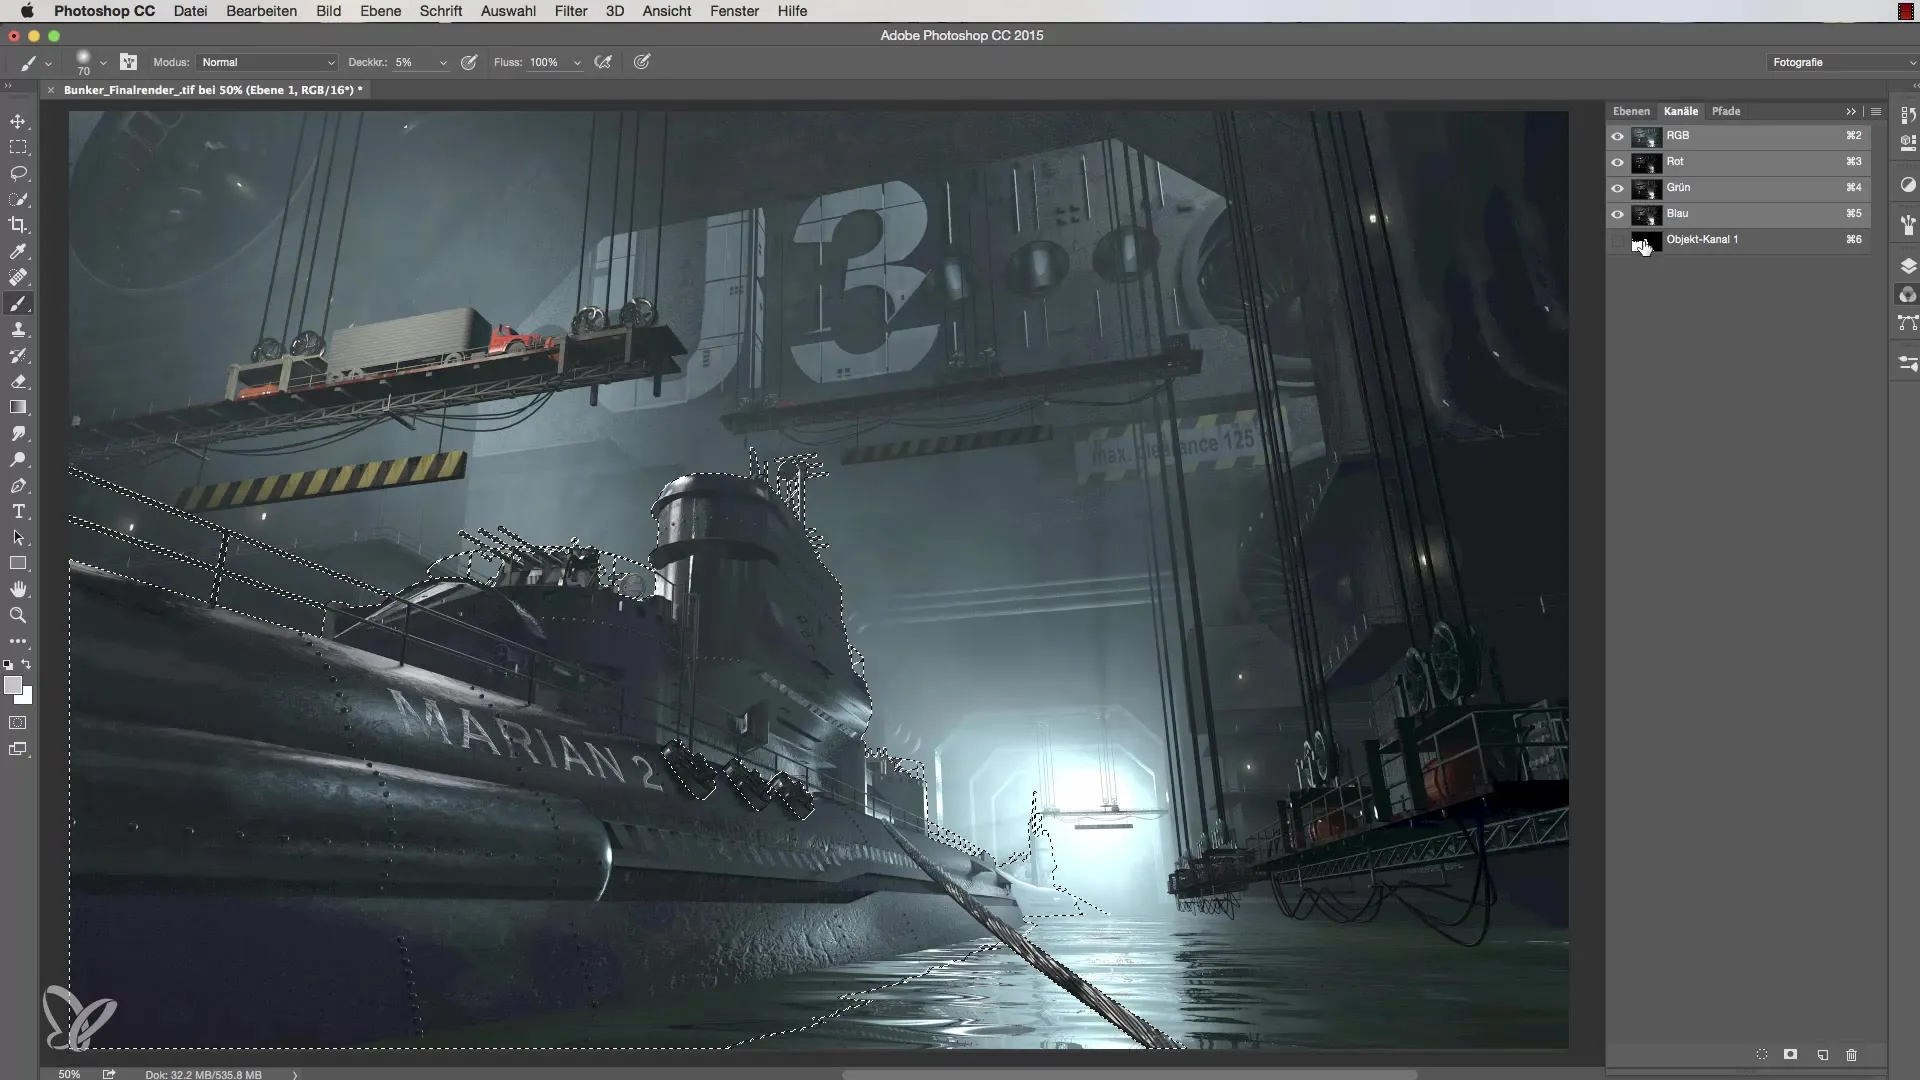
Step 3: Invert Layer Mask
Now the next step is to invert the mask. This is important so that the boat is no longer visible, only the surroundings around the boat. You can achieve this with the shortcut Command + E. See the timestamp at 91 seconds for this.
Step 4: Painting the Haze
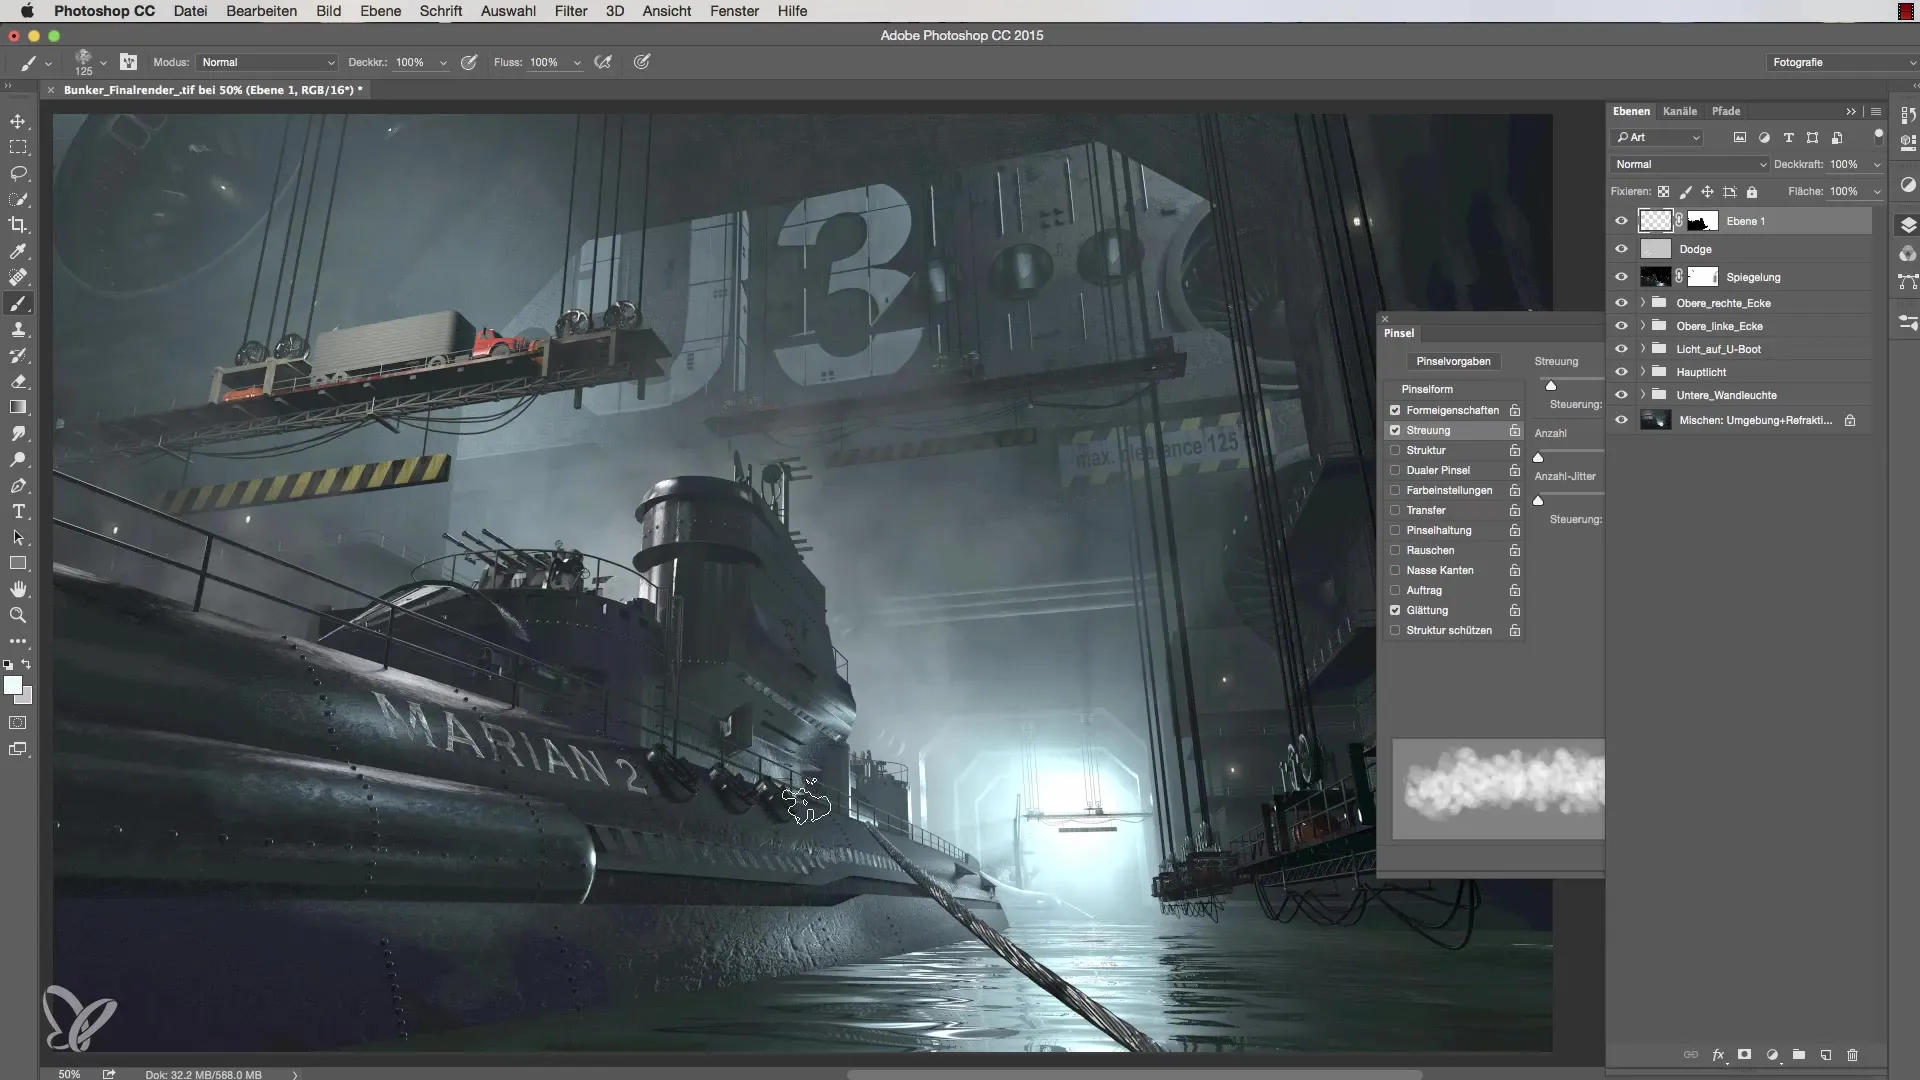
Now select a white color and set the opacity to 50% so that just enough of your effect can be seen. It is important that you do not paint within the mask. So click on the thumbnail again. This will be illustrated at 102 seconds.
Step 5: Reselect Brush Tips
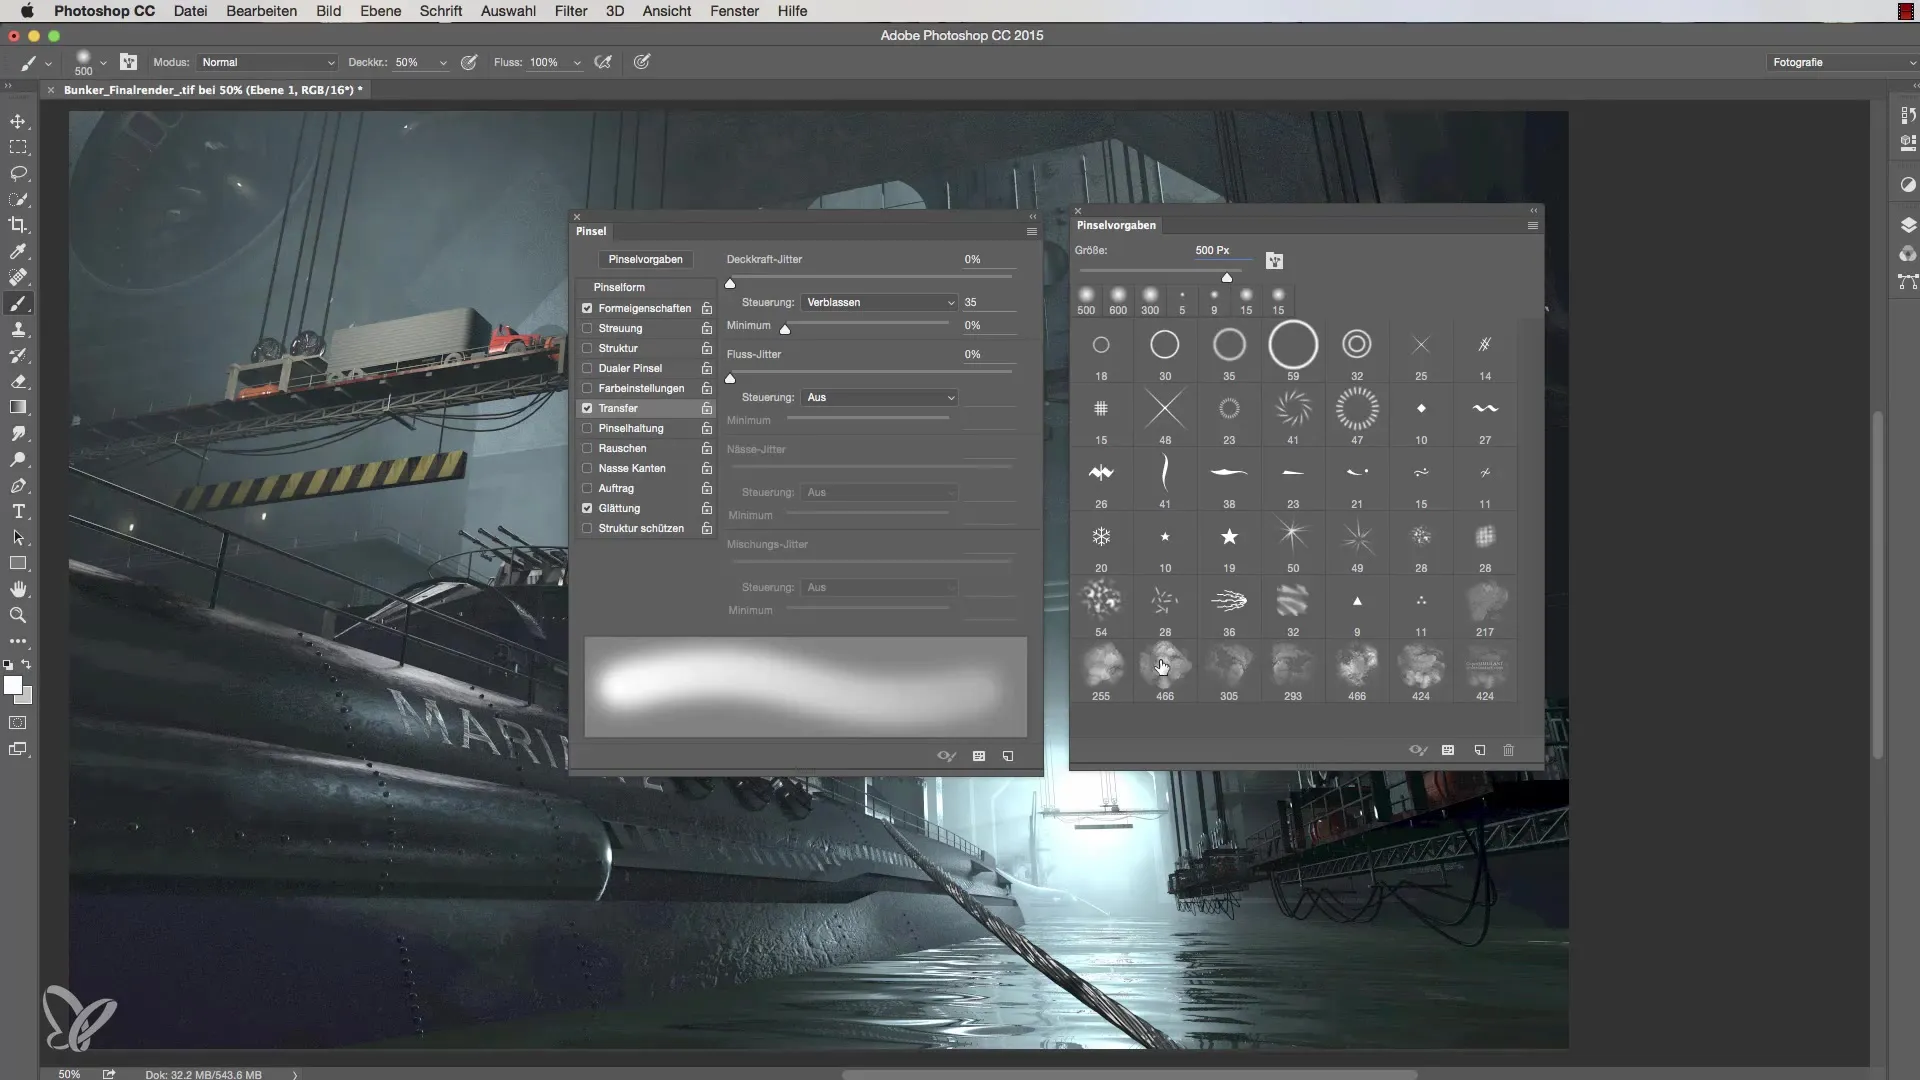
To enhance the painting technique, it is advisable to use special brush tips. Look for a suitable brush in the brush presets. This step is shown at 126 seconds.
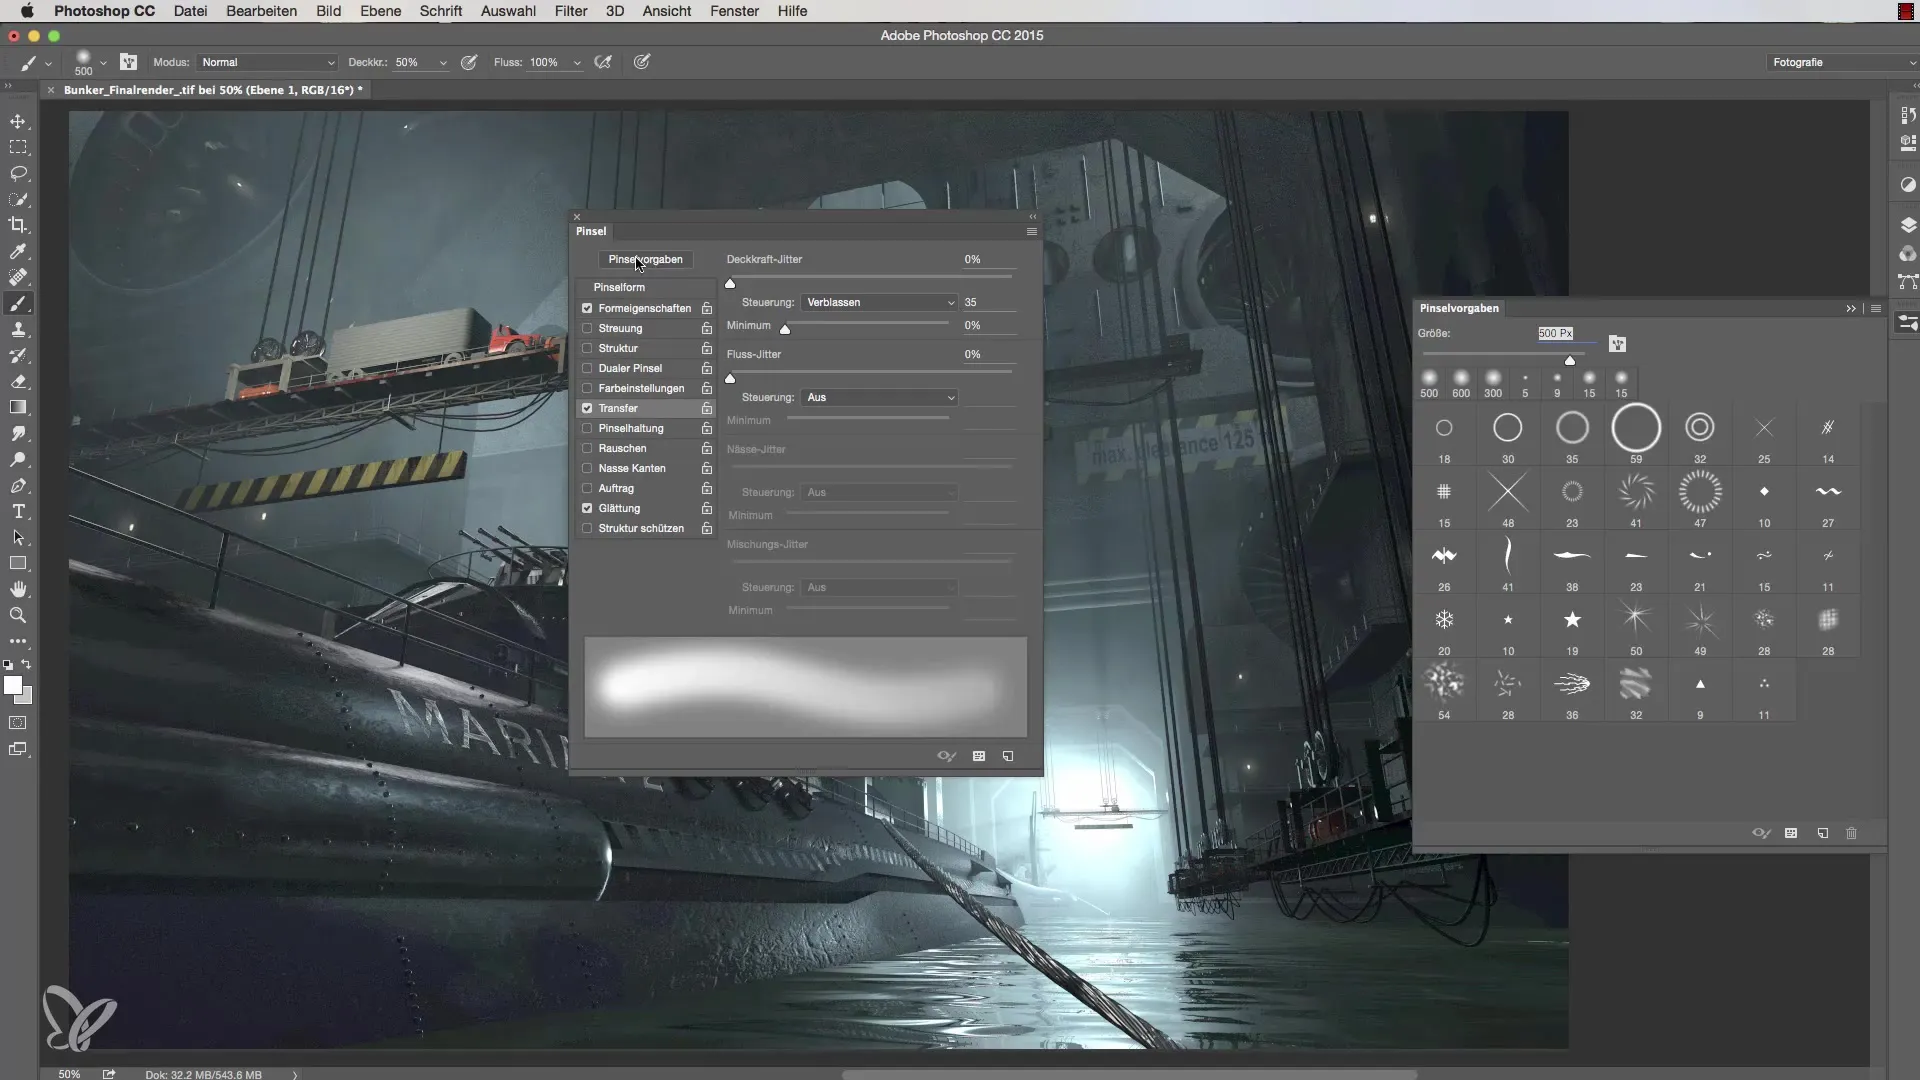
Step 6: Adjust Brush
Select the brush you want to use and adjust its properties to achieve the best results. You should choose the largest brush and add a slight angle. The adjustments will be shown at 180 seconds.
Step 7: Paint Haze
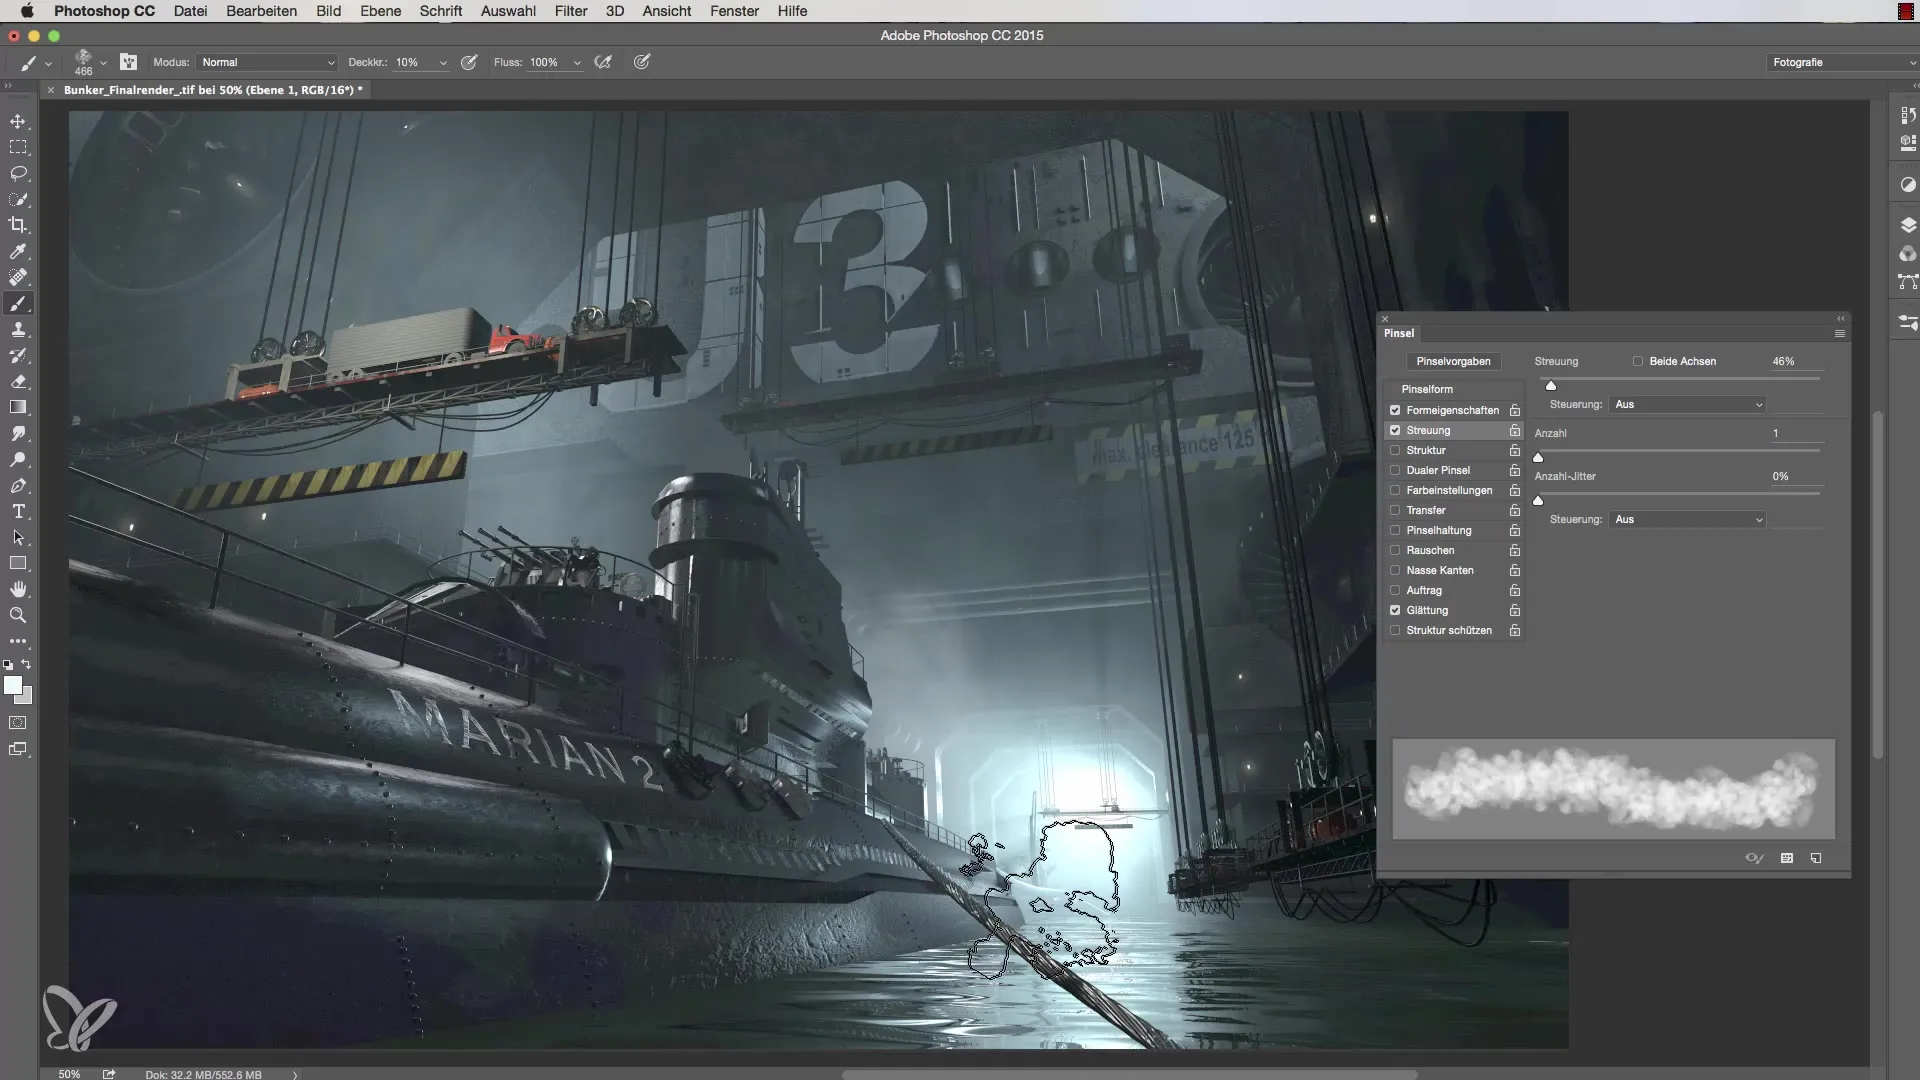
Now you can carefully paint within the mask to add haze around the boat. Start with 10% opacity for more control over the outcome. You will see the result at 234 seconds.
Step 8: Fine-Tuning the Haze
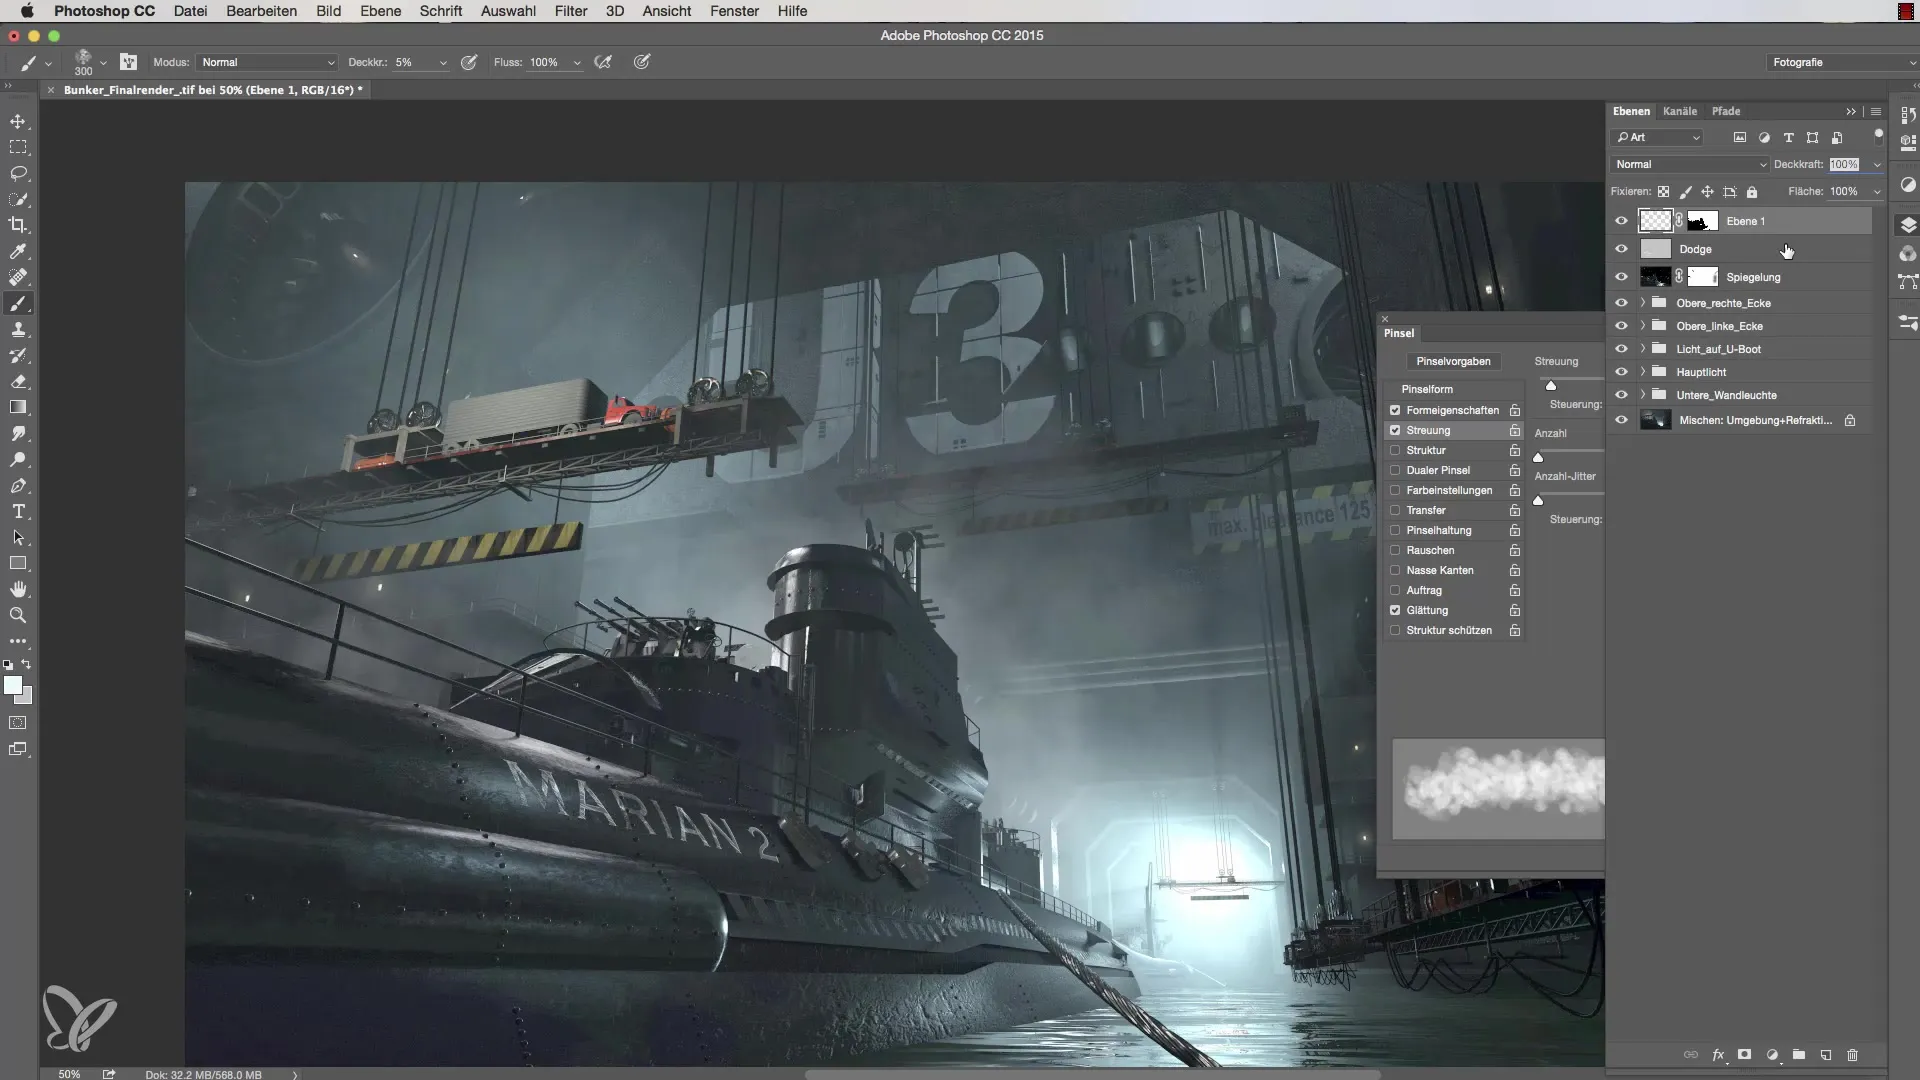
Experiment with brush sizes and opacity to achieve impressive separation. Be careful not to overdo it, as demonstrated at 288 seconds.
Step 9: Adjust Brightness of Portholes
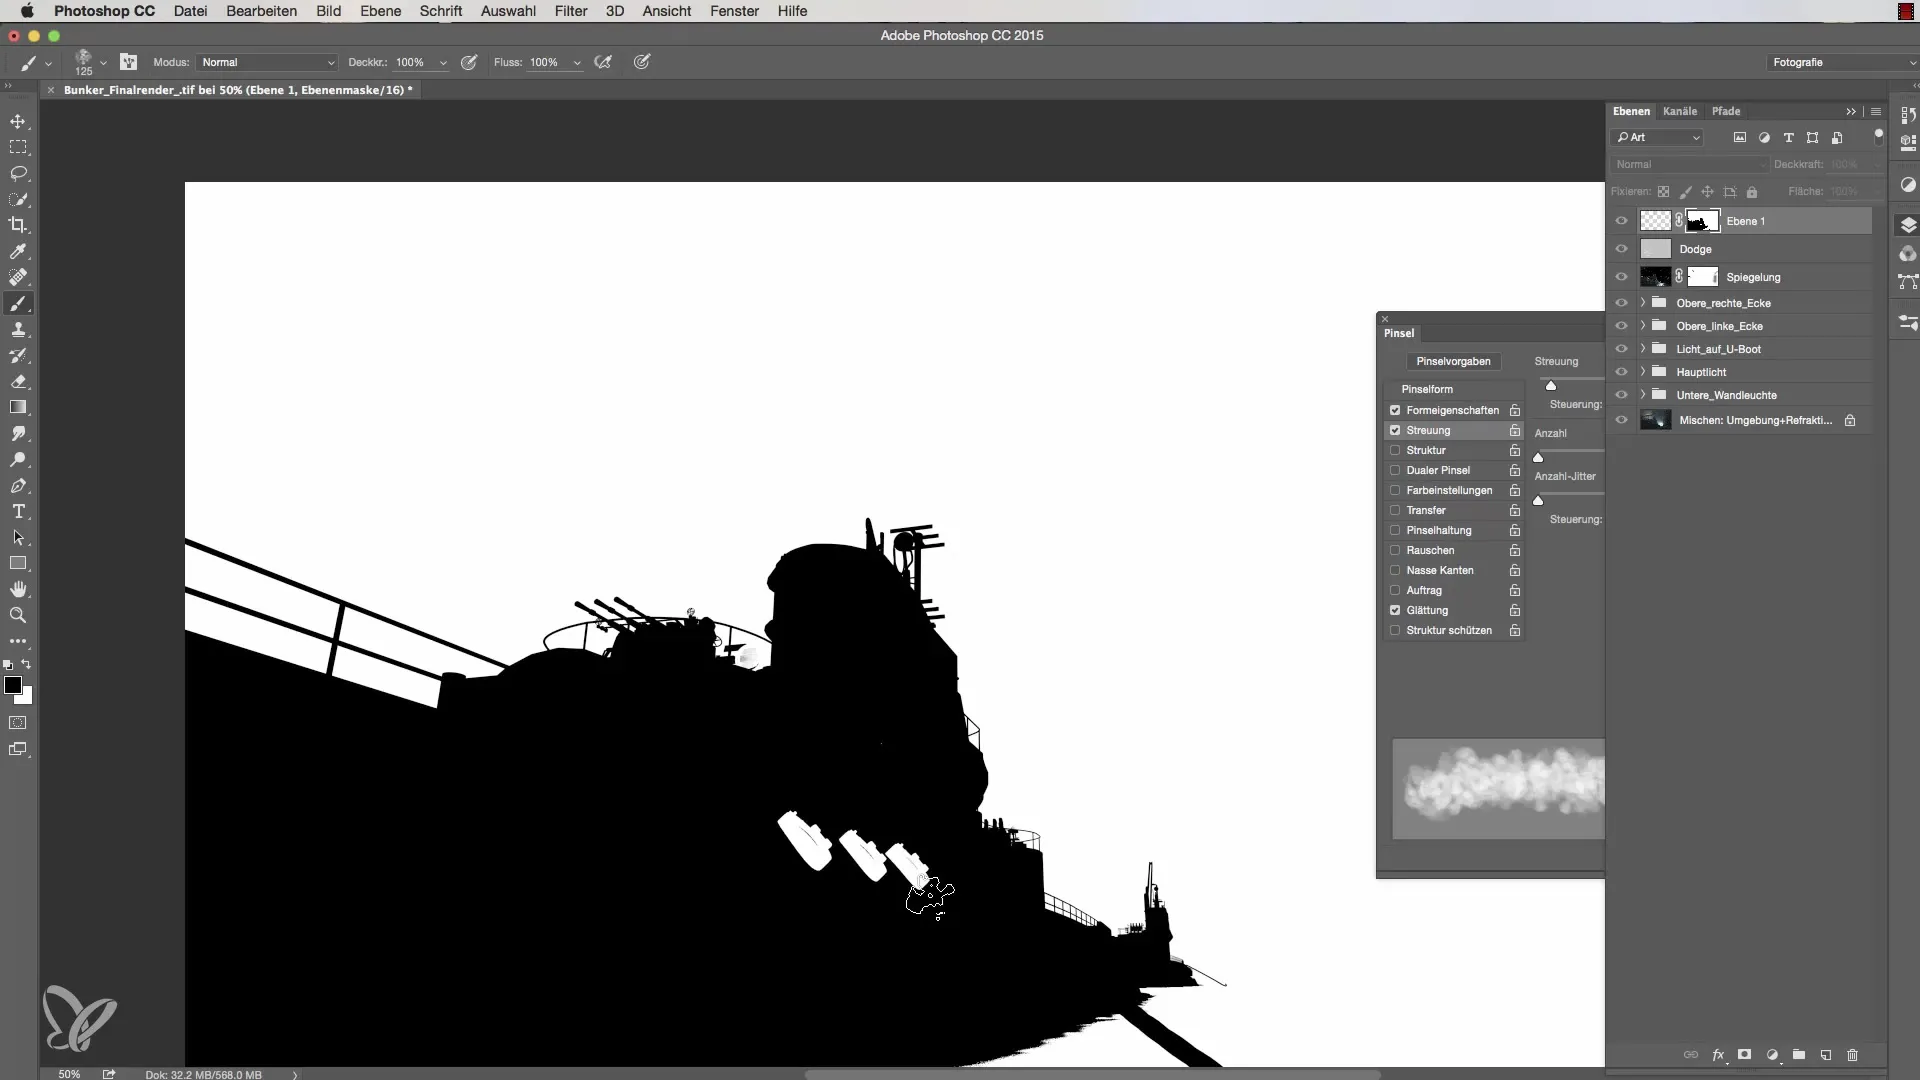
Don't forget to also pay attention to the details of the portholes. They may not be saved in the alpha channel. Paint over them with black color to achieve the desired brightness. This is explained at 319 seconds.
Step 10: Final Adjustments
Give your image the final touch by reviewing the colors and overall look of your scene and ensuring everything looks harmonious. Conclude this step at 342 seconds.
Summary - Effective Lighting in Cinema 4D: Optimizing Haze and Atmosphere
In this guide, you learned how to effectively use a layer mask to enhance separation between the foreground and background in Cinema 4D. With the right handling of haze and brush tips, you can achieve impressive results and add more depth and atmosphere to your image.
Frequently Asked Questions
How do I load a selection in Cinema 4D?Click on the object's thumbnail while holding down the Command or Control key.
What is the purpose of a layer mask?A layer mask allows you to hide or edit parts of an image without affecting the original.
How do I find the brush tips in Cinema 4D?You can select various brushes in the brush presets and adjust their properties.
How can I ensure I don't paint too much haze?Start with low opacity and adjust the strength as needed.
Why can't I see the brightness of the portholes?These may not be saved in the alpha channel and need to be adjusted manually.
