The correct lighting setup plays a crucial role in creating realistic 3D scenes. By using luminous material, you can achieve impressive lighting effects that highlight your truck in Cinema 4D. In this guide, you will learn how to create an effective lighting for your truck using a polygon sphere, without having to deal with complicated shadows or fading. Let’s dive directly into the steps to give your project the necessary light.
Key Insights
- Use a polygon sphere for lighting.
- Luminous material requires activated Global Illumination.
- Shadows and reflections are automatically generated during rendering.
Step-by-Step Guide to Effective Truck Lighting
Step 1: Set Up Basic Lighting
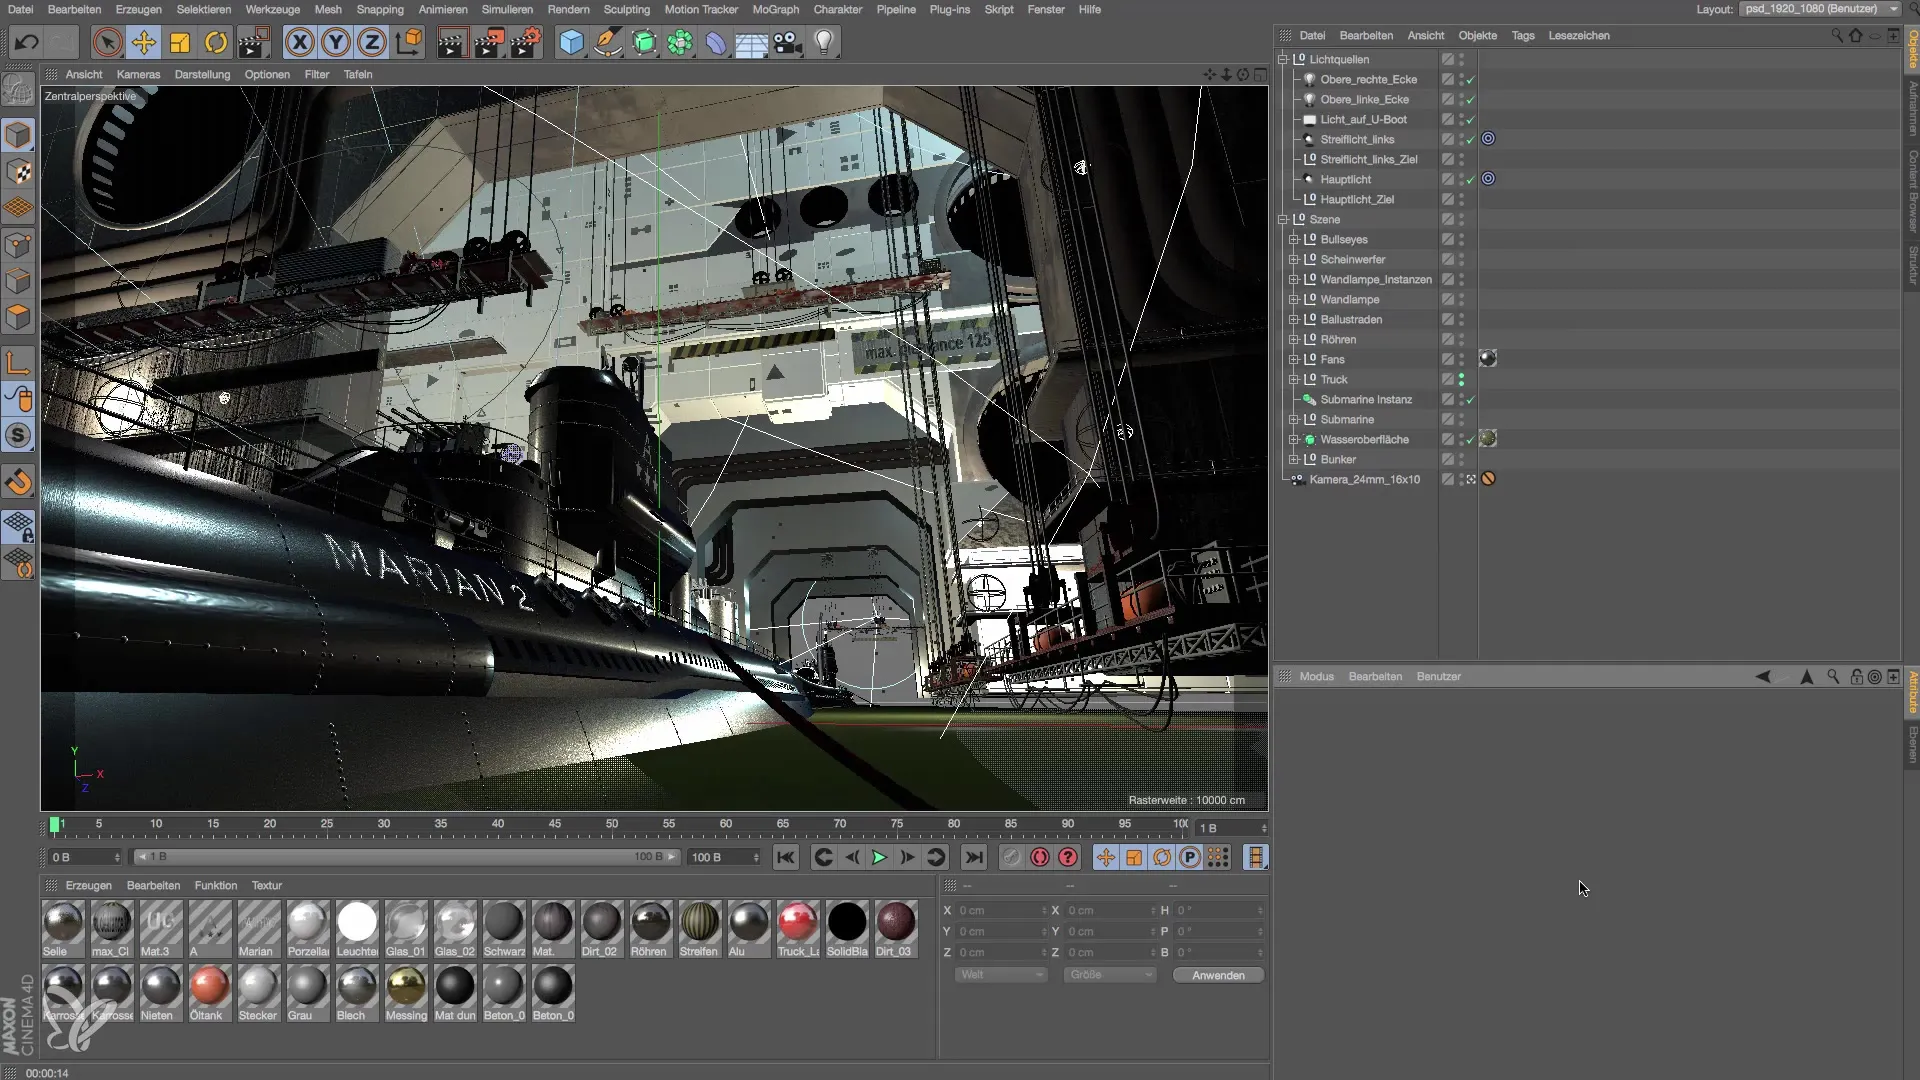
Before you start with the special lighting effects, you should ensure that the basic lighting of your scene is correct. The lights you have already implemented should be positioned to illuminate the key areas of the truck. Now display a basic lighting setup you have already created to get a feel for the lighting conditions in the scene and create a sense of life.
Step 2: Create a Polygon Sphere
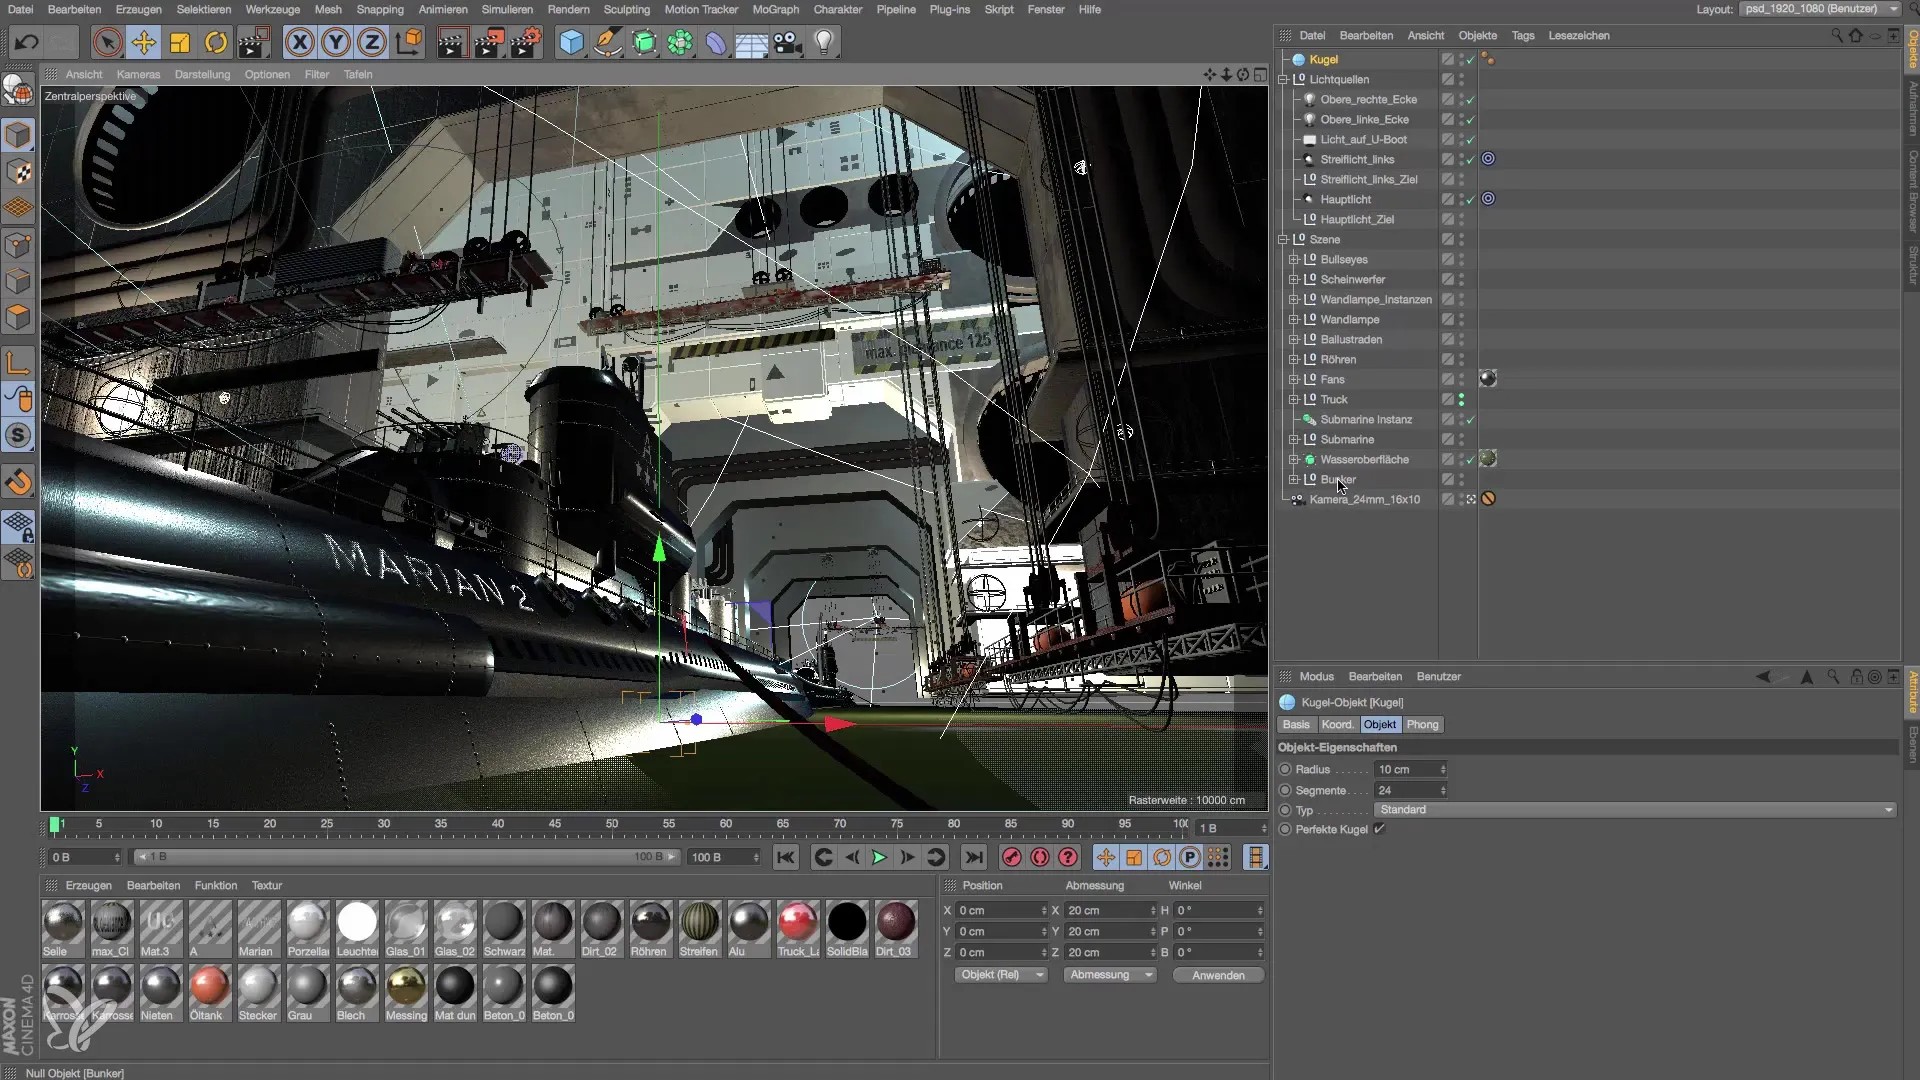
Now comes the creative part. To give the truck a special light, we will use a polygon sphere. Create a new sphere by clicking on “Objects” in the top menu bar and then selecting “Spheres.” Reduce the sphere's radius to about 10 cm to obtain the right size for lighting your truck. This sphere will be the source of the luminous material.
Step 3: Adopt Sphere Position
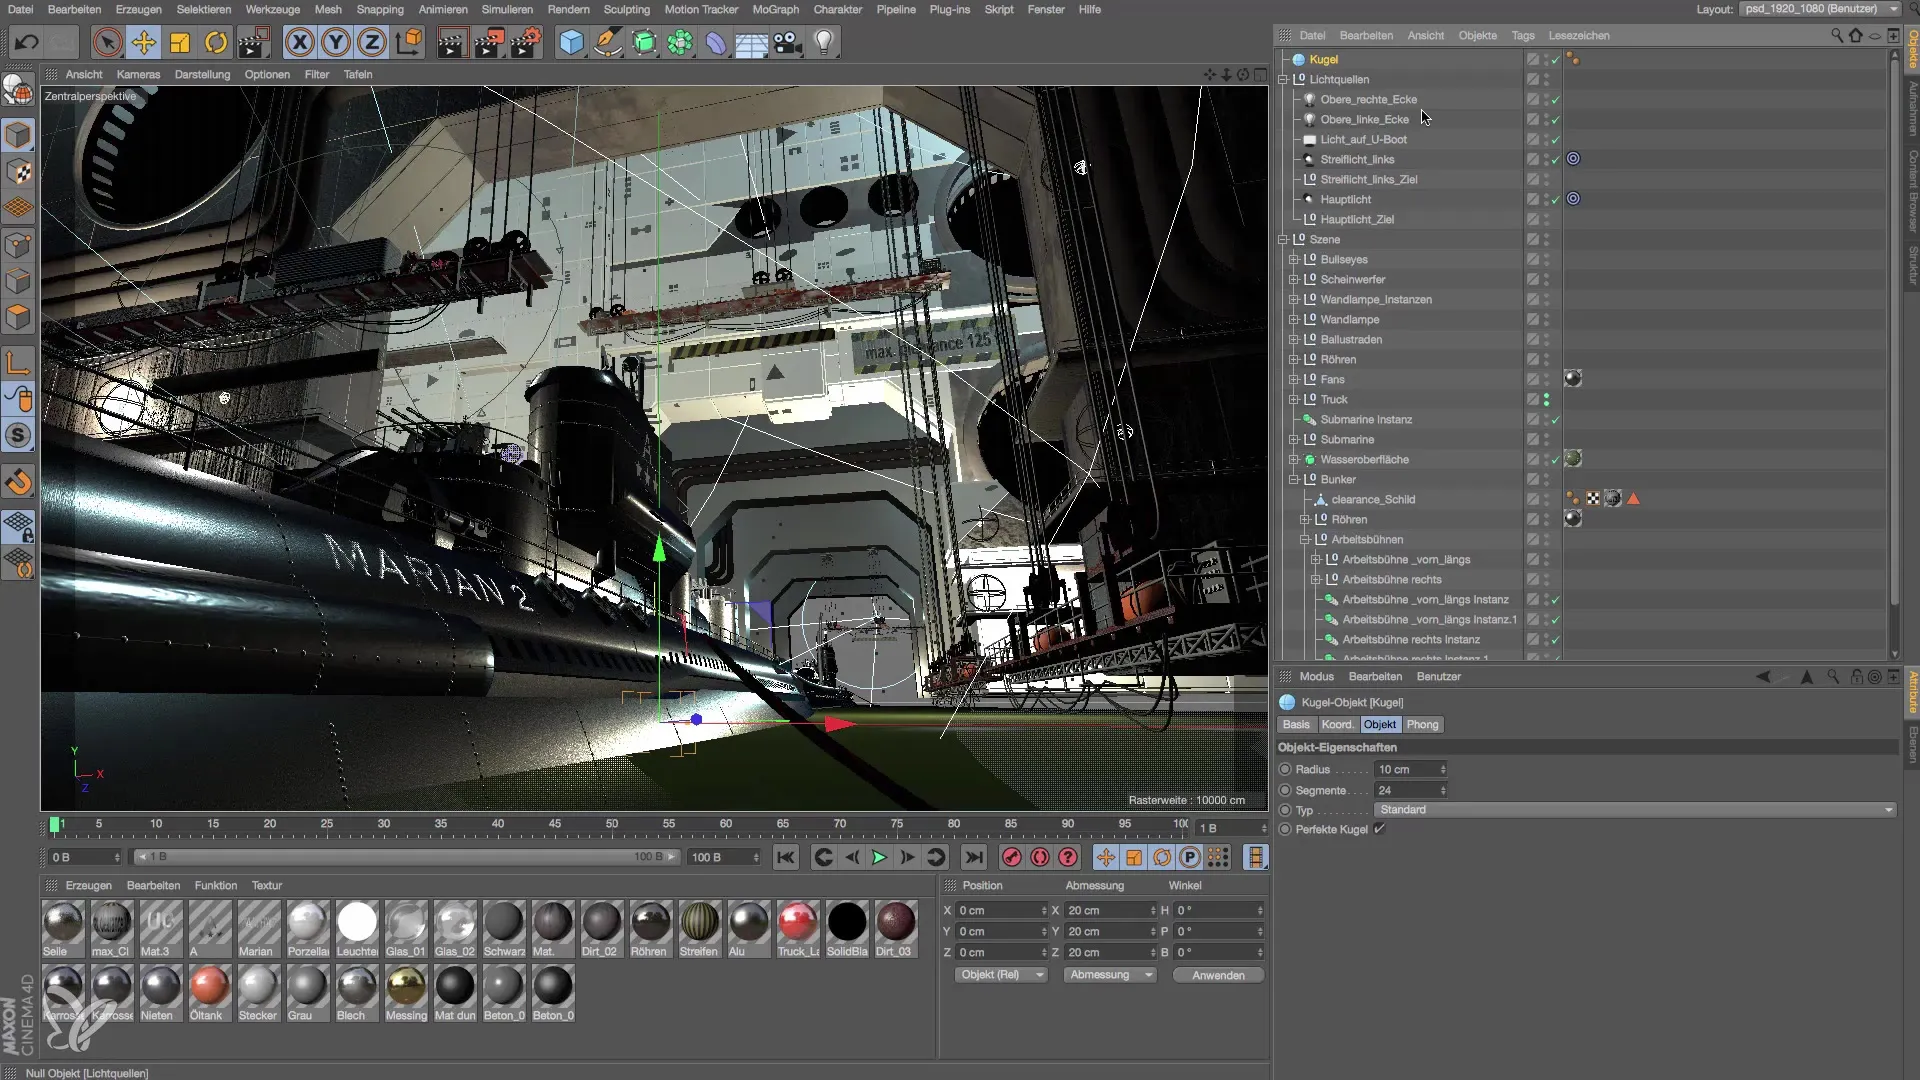
To position the sphere correctly, you should adopt the position of an existing workspace or an object nearby. This makes it easier to place the light source precisely. Right-click on the relevant object and select “Adopt Position.” This ensures that the sphere is placed exactly where you want it.
Step 4: Use Sphere as a Light Source
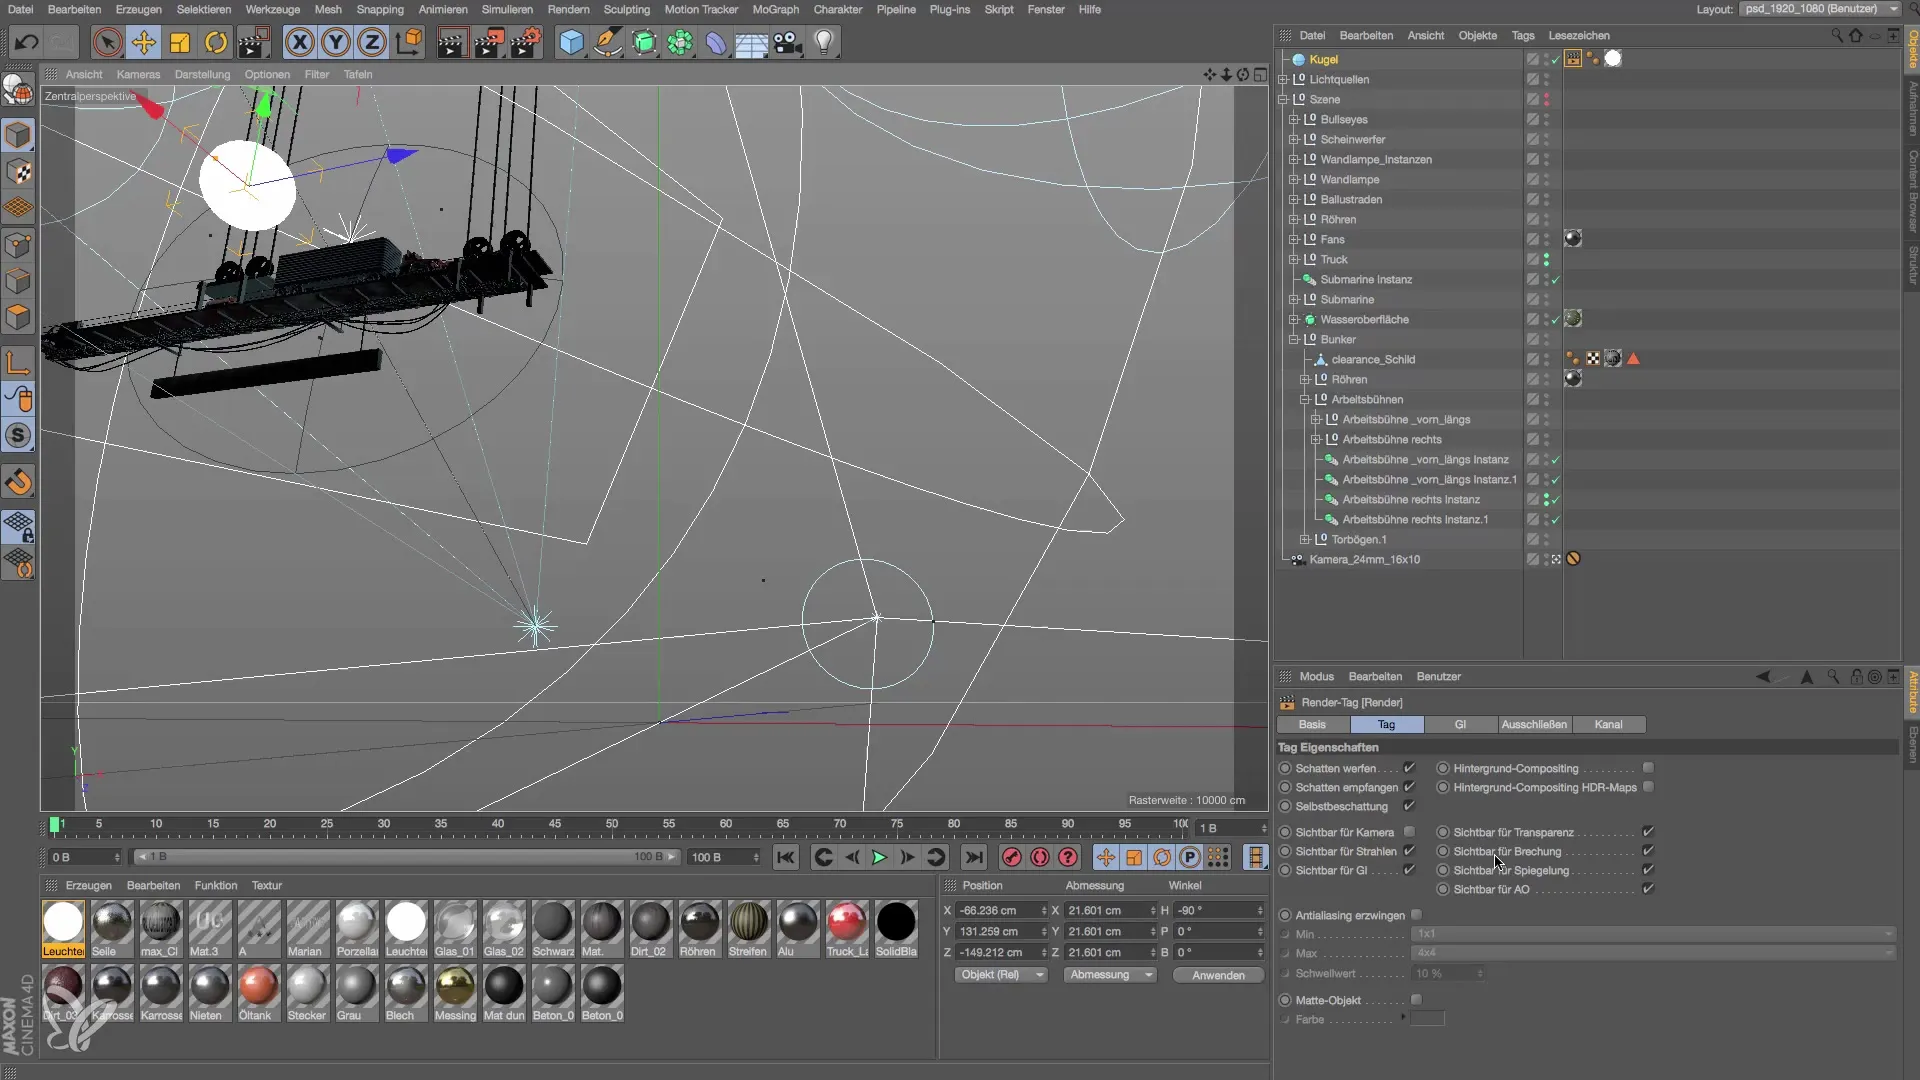
Now click on the sphere and go to the object settings. Activate the option to use the sphere as a light source. Make sure the sphere is positioned in the right direction toward the scene and has a good angle to cast light on the truck. You have now successfully set up the sphere as a light source.
Step 5: Assign Luminous Material
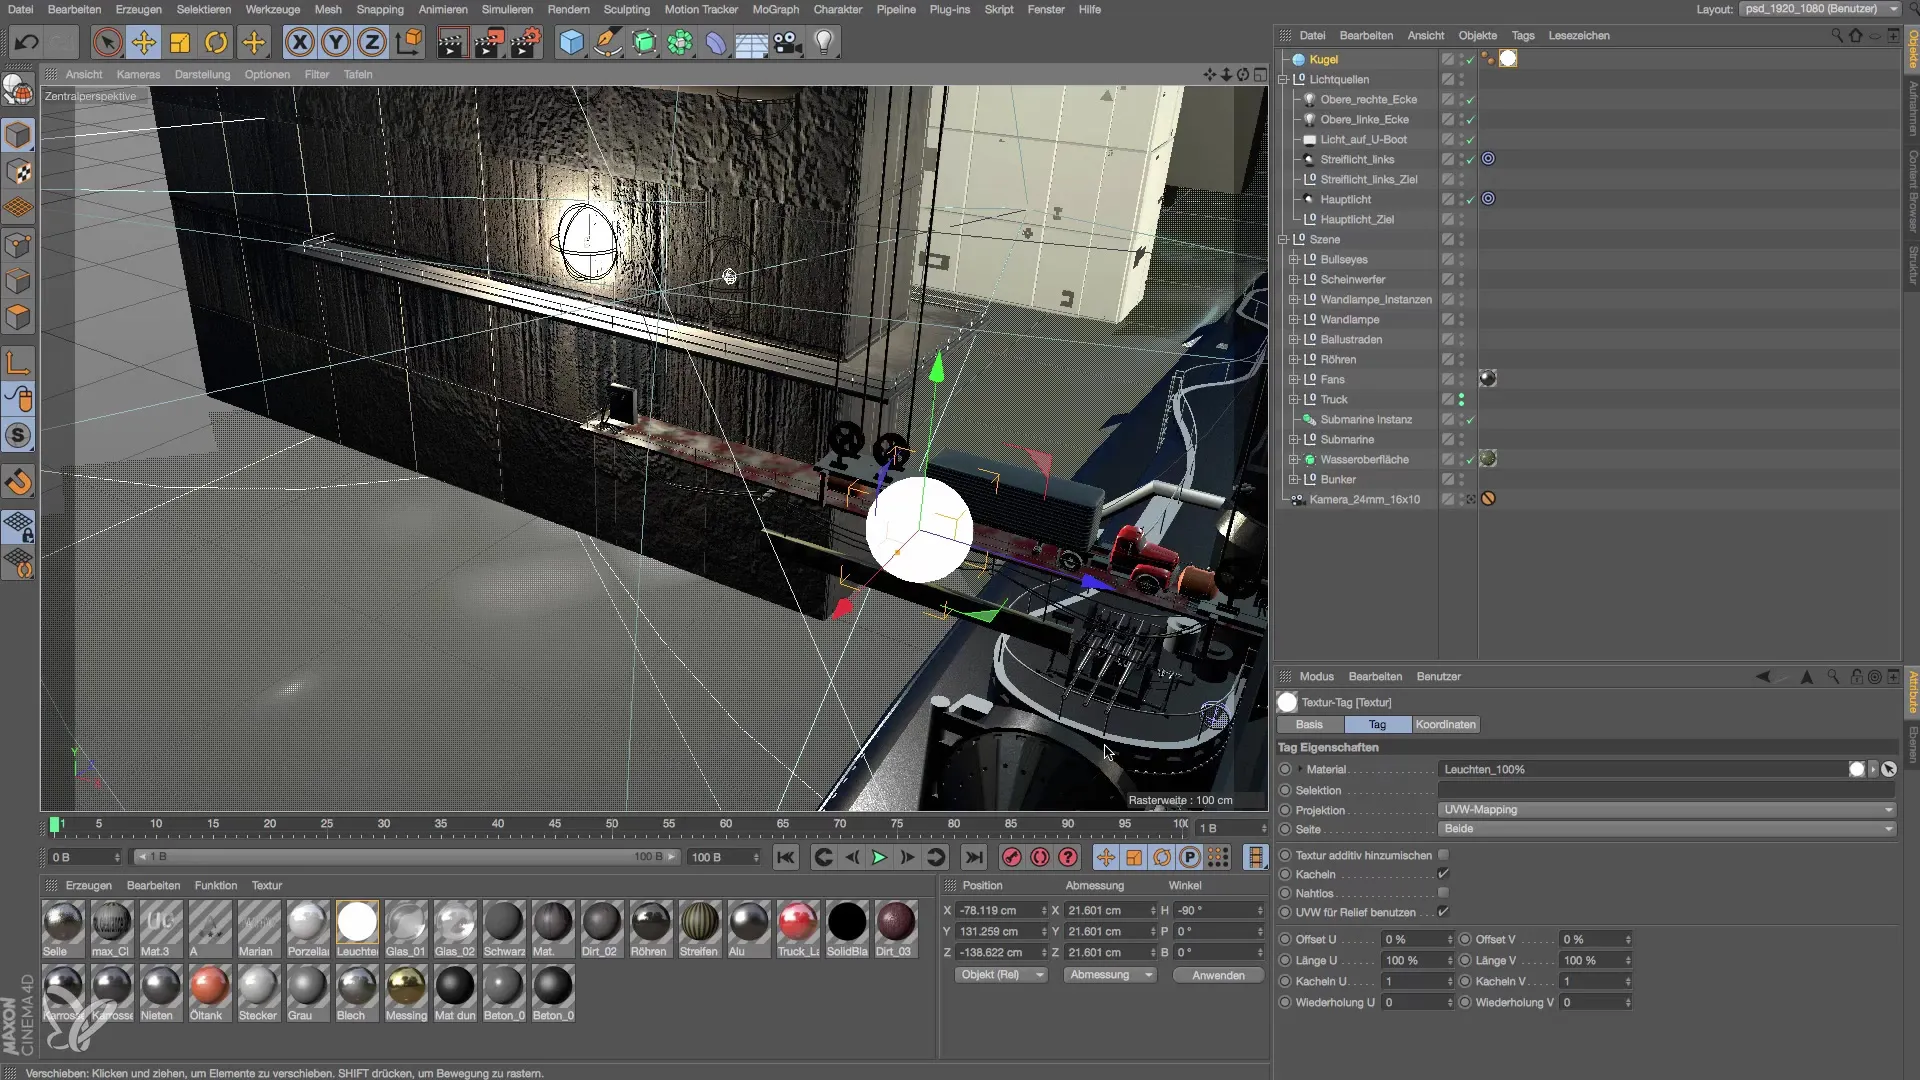
To assign luminous material to the sphere, click on the material settings and select the appropriate luminous material. Ensure that the material is set to be highly visible and emits a warm white or yellow light. Increase the light value to about 250%, so the sphere shines brightly and adequately illuminates the surroundings.
Step 6: Adjust Render Settings
Now it is important to adjust the render settings so that Global Illumination is activated. This feature ensures that the luminous material works correctly and you get a realistic lighting image. Go to the render settings and enable the Global Illumination option.
Step 7: Test Shadows and Reflections
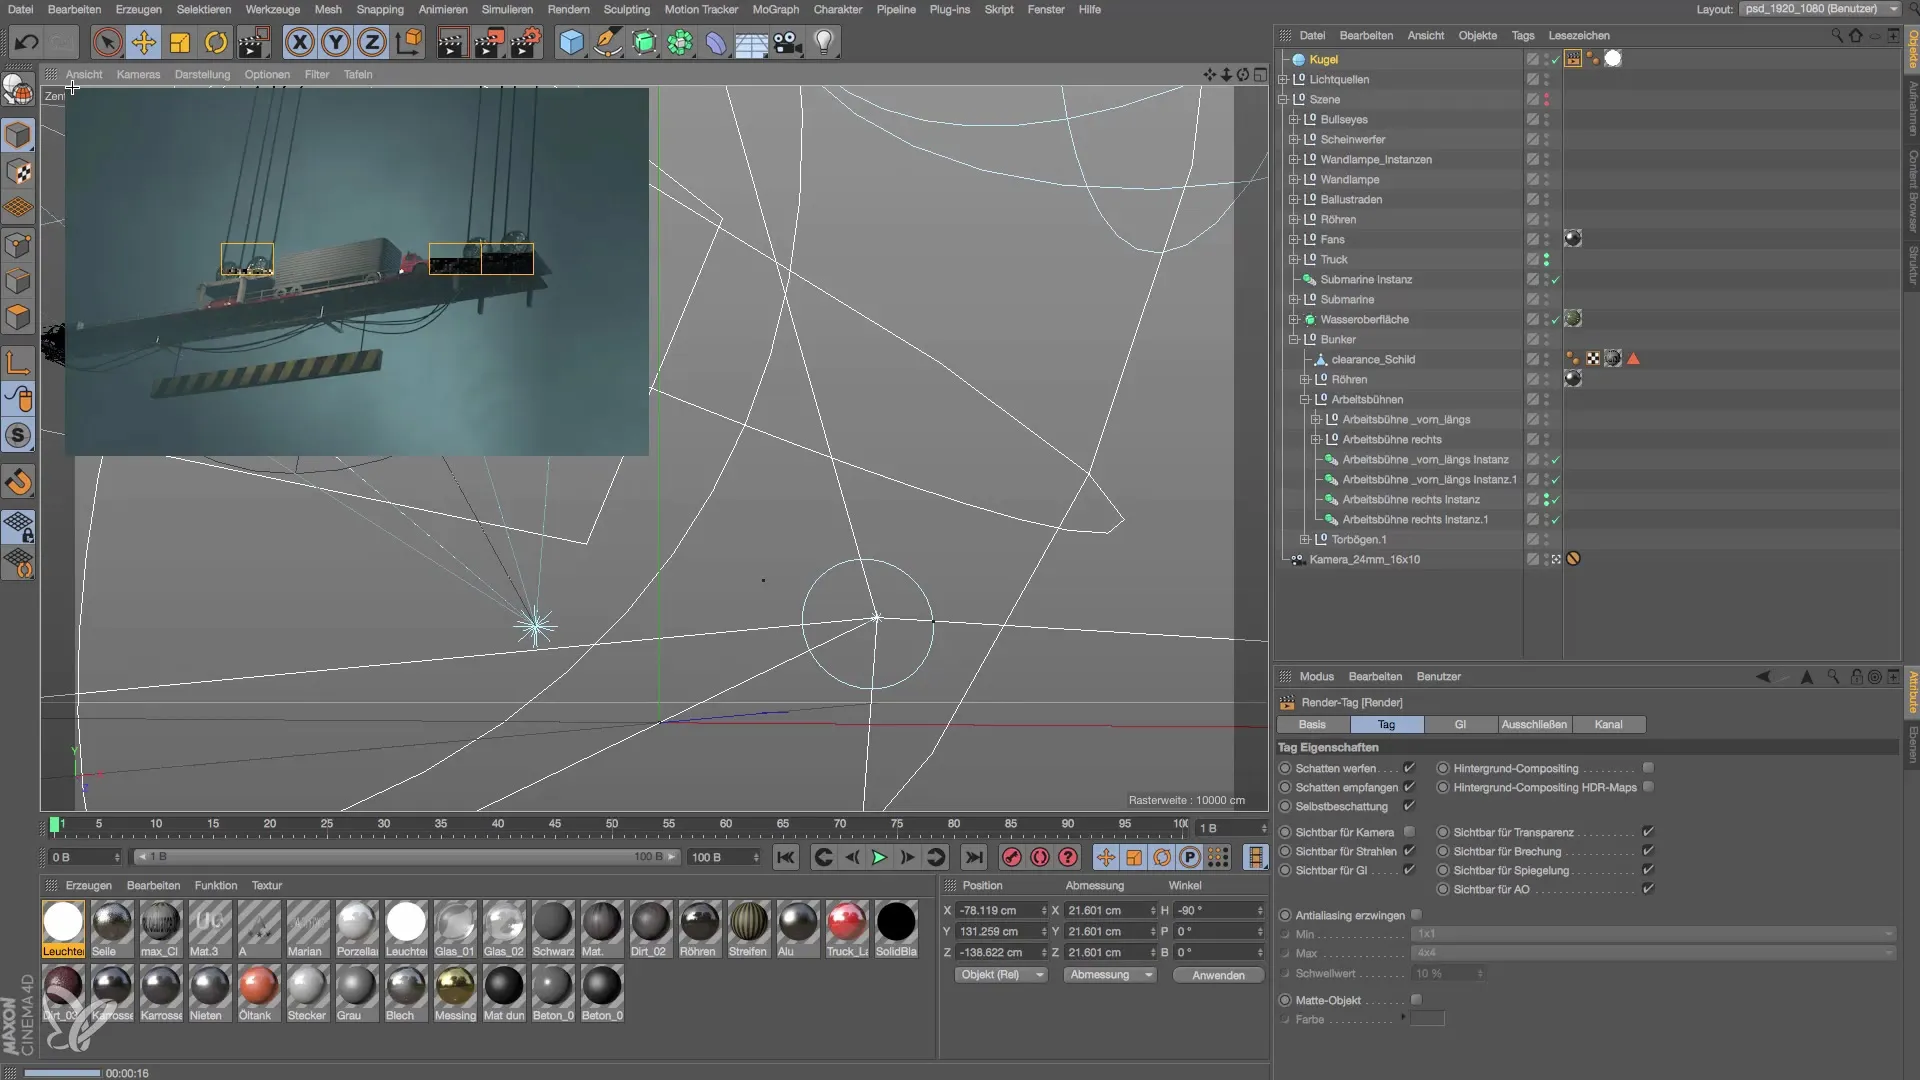
Once the sphere has been set as a light source and the luminous material has been correctly assigned, perform a test render. Pay attention to how the shadows play on the truck and in the surroundings. It will be automatically determined that shadows and reflections are rendered correctly without the need for additional adjustments.
Step 8: Make Fine Adjustments
If you are not satisfied with the light distribution and shadows, you can change the size of the sphere and make additional adjustments to the light intensity. Slightly pull the sphere forward and increase its size to 14 cm if needed. Ensure that the light color is also set to be slightly warmer, creating a pleasant effect throughout the image.
Step 9: Final Tests and Render
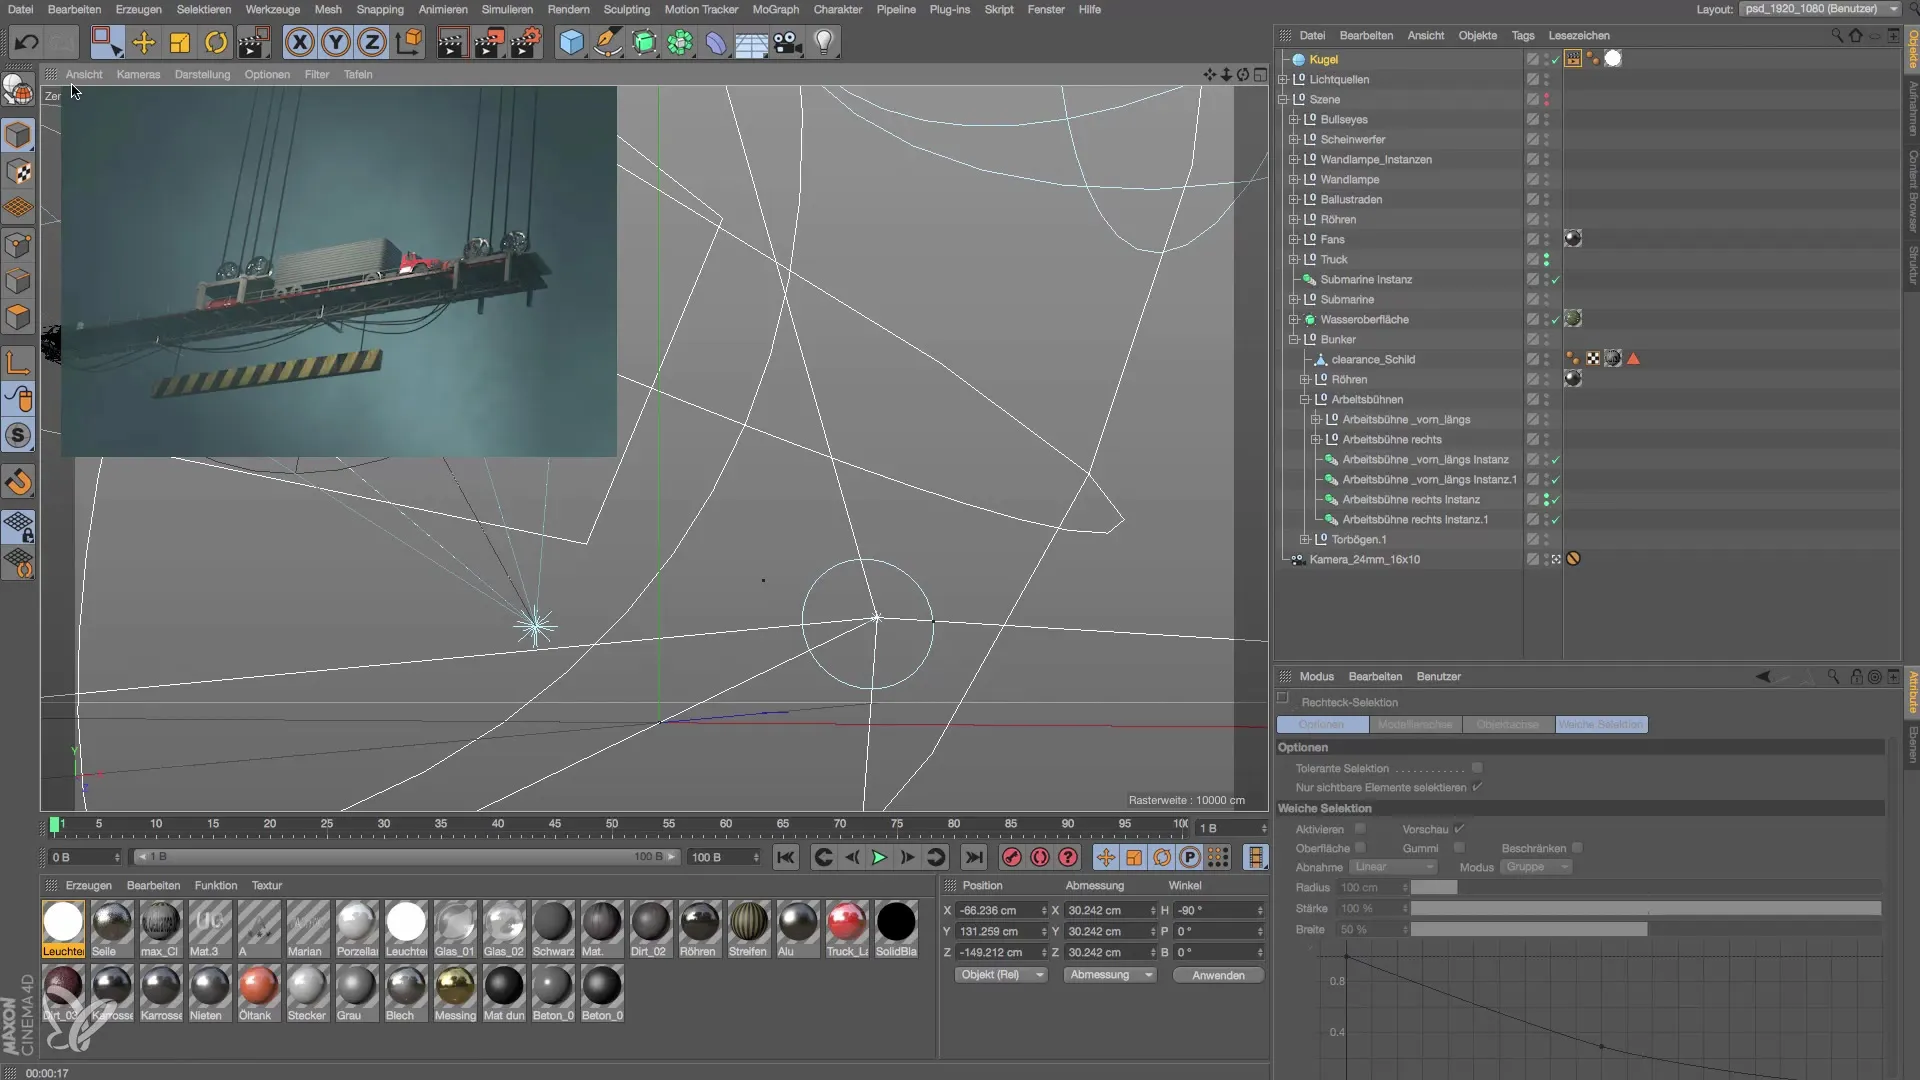
After all adjustments, perform a final render and check if the lighting effects meet your expectations. Ensure that the truck and its surroundings are well lit. If necessary, experiment with the placement of the light source to achieve the optimal effect.
Summary - Truck Lighting in Cinema 4D: A Detailed Guide to Using Luminous Material
In this guide, you have learned how to use a polygon sphere as a light source in Cinema 4D to give your truck impressive lighting. By correctly applying luminous material and activating Global Illumination, you achieve a realistic result that enhances your scene.
Frequently Asked Questions
How do I activate Global Illumination?Go to the render settings and activate the Global Illumination option.
Why use luminous material?Luminous material creates realistic lighting effects and saves you from manual adjustments of light sources like shadows.
Can I keep the light source visible?Theoretically yes, but it is recommended to turn off visibility for rendering to ensure a clean scene.
What happens if I change the size of the light source?The light distribution becomes softer, and the light is cast more broadly, resulting in less harsh shadows.
How does the camera position affect lighting?The camera position can change the lighting effect and shadows on the objects, depending on the viewpoint.


