When working with 3D models, proper lighting is crucial to achieve the desired realism and necessary detail depth. In this tutorial, I will show you how to apply highlights to a boat model using brush techniques in Cinema 4D. This not only gives your model visual depth but also makes it appear more lifelike. Let's go through the process step by step.
Key Insights
- Adding highlights significantly improves the appearance of 3D models.
- Color and transparency settings are important for the precision of the highlights.
- Using smudge techniques can make highlights appear more organic and natural.
Step-by-Step Guide to Creating Highlights
Step 1: Prepare the Surface for Highlights
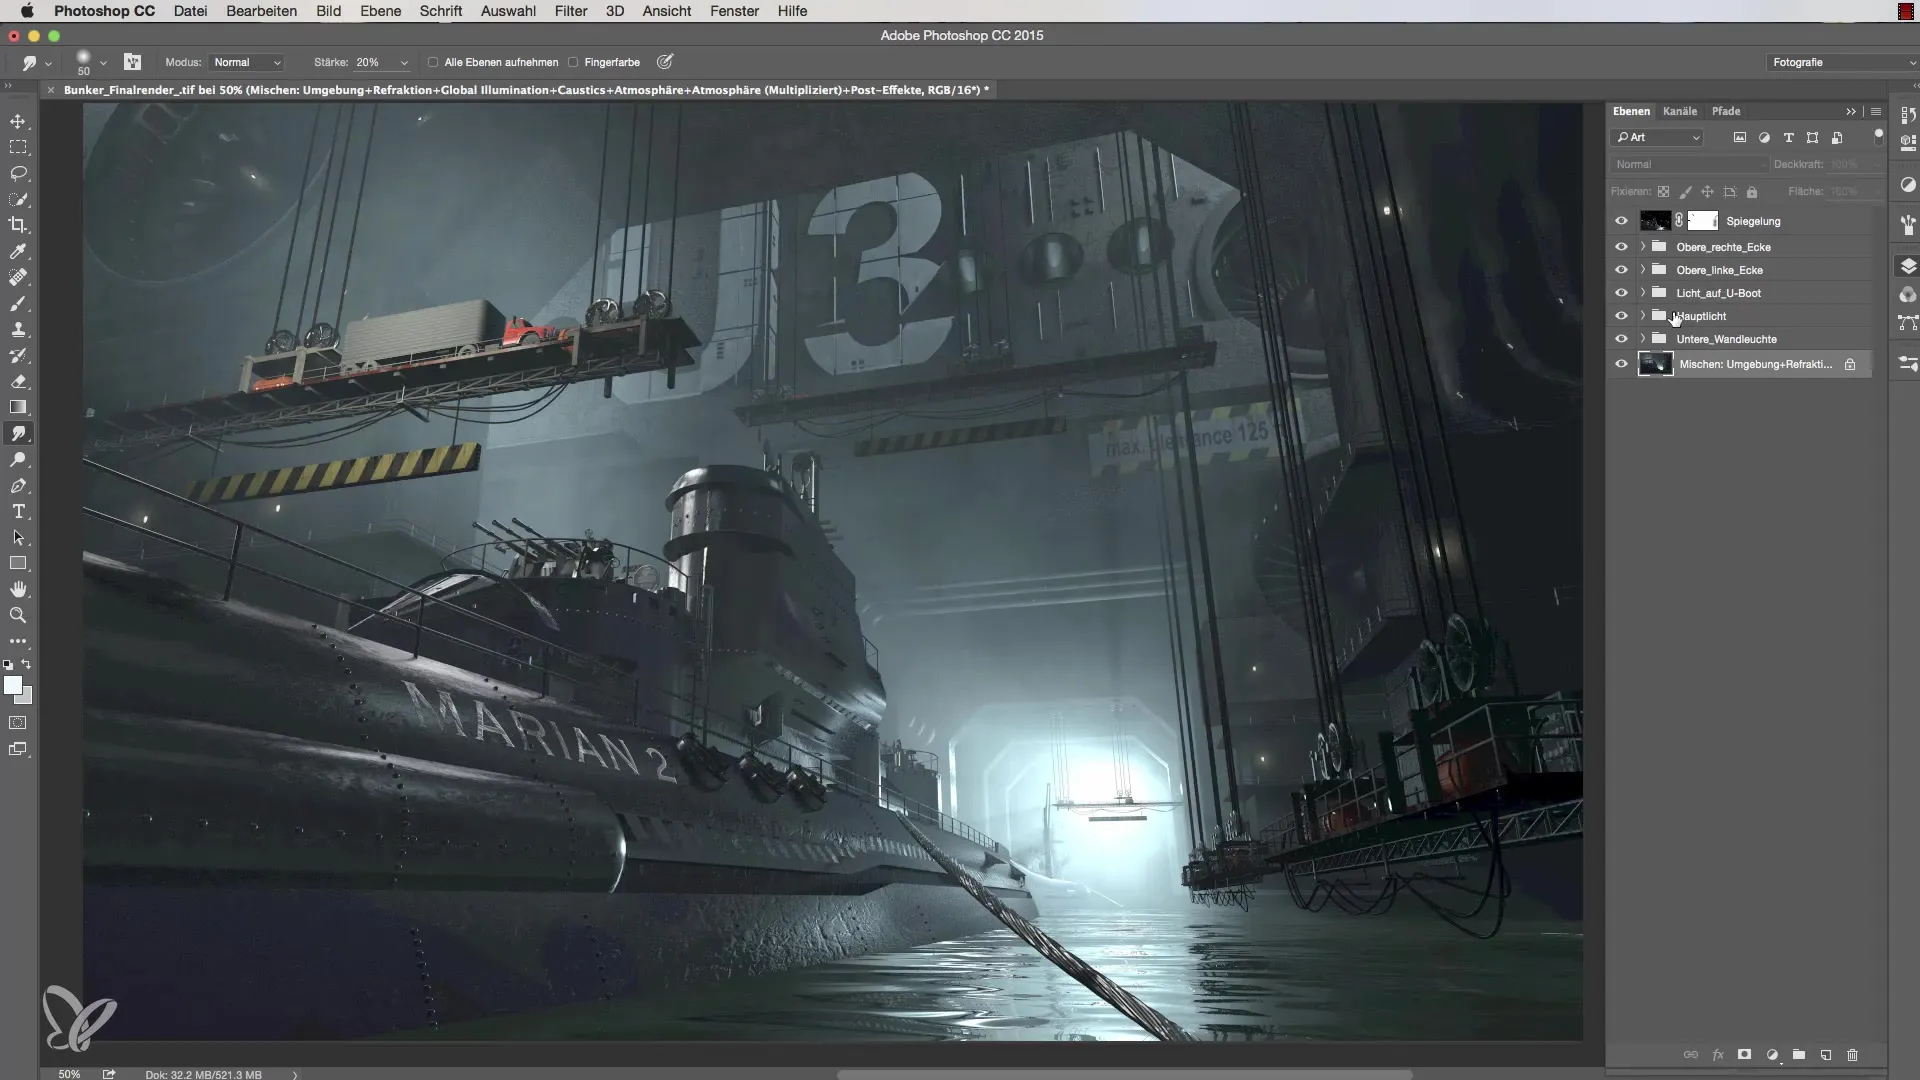
First, ensure that the surface you are painting on is prepared. You can create a new layer by going to the "Edit" menu and selecting "Fill Layer". Choose 50% gray as the fill color so that the base is neutral and does not distract from the desired effect.
Step 2: Choose the Right Light Type
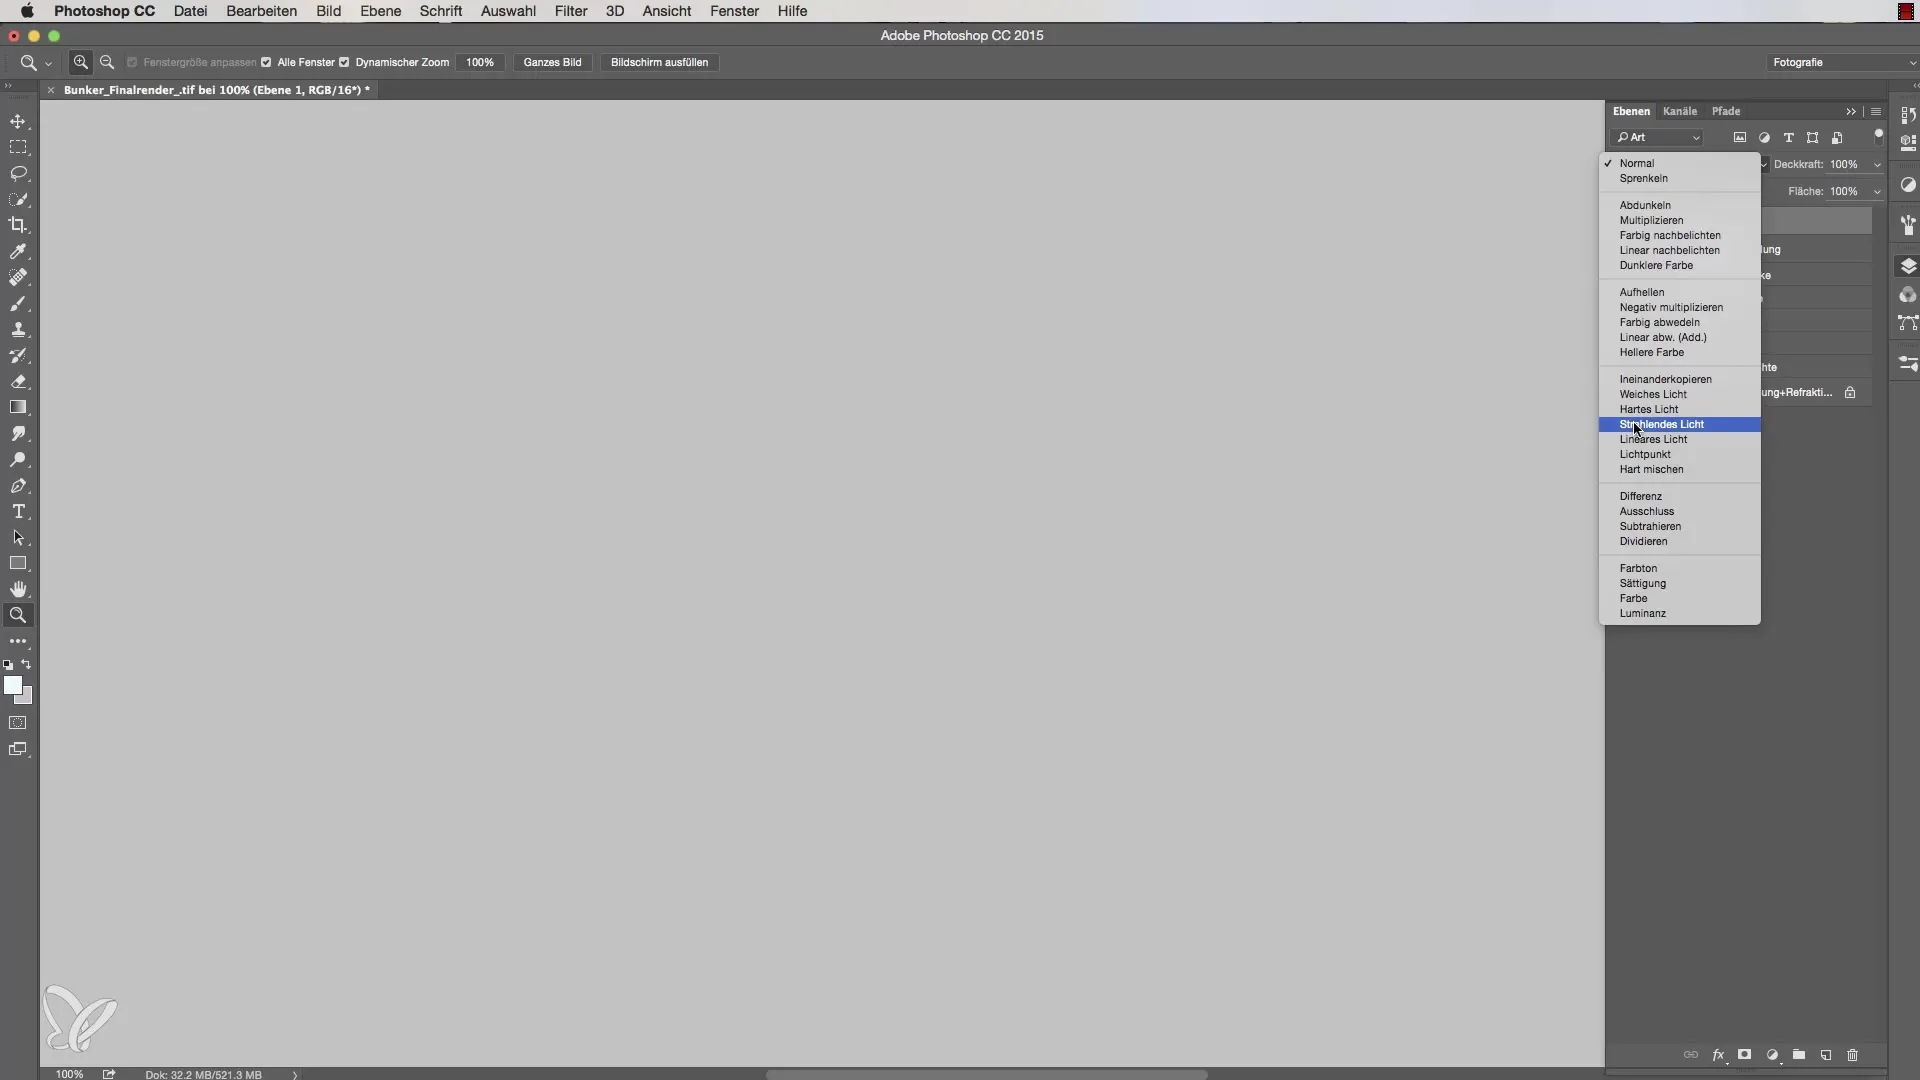
An important decision is the choice of light setting. You should select the "Ray" option as it gives you more freedom when painting the highlights and has fewer restrictions. This also allows you to place shiny accents on different surfaces without having to keep the limitations of other light types in mind.
Step 3: Select Brush Tool for Highlights
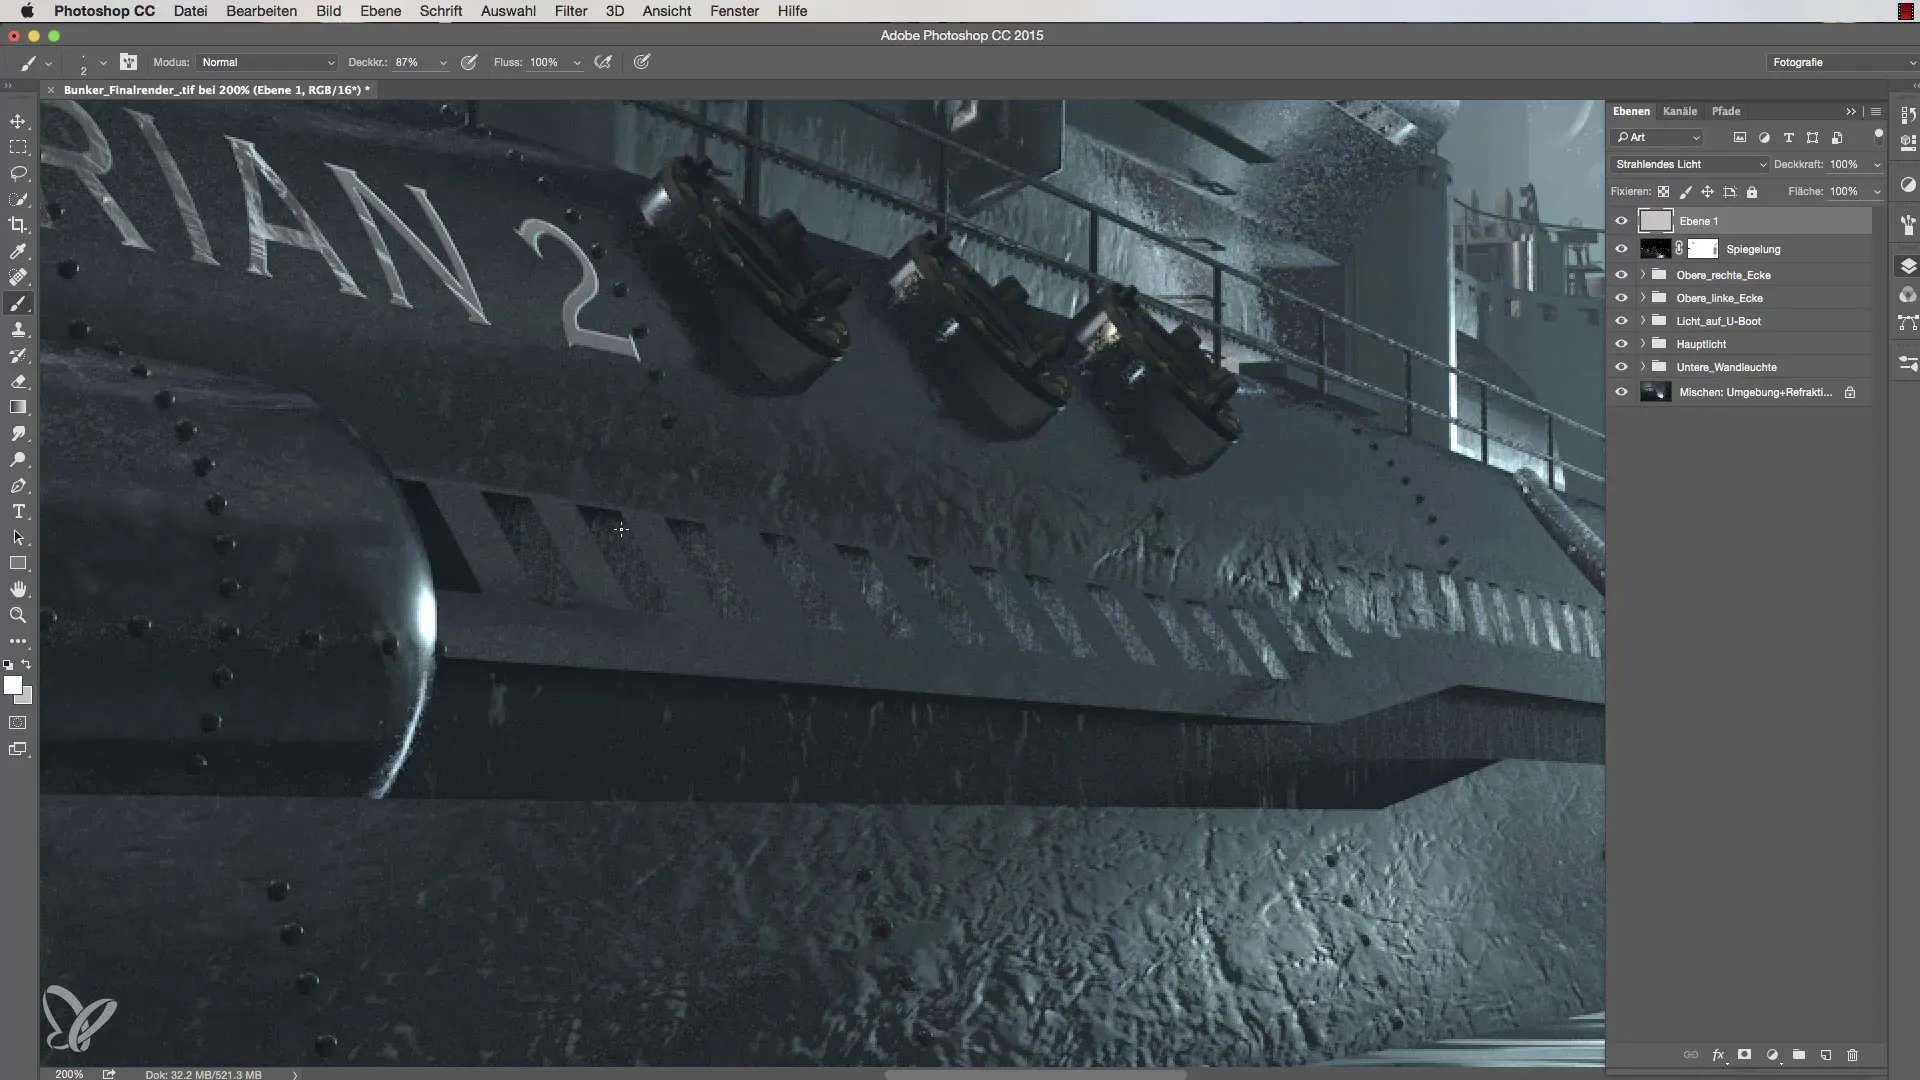
Now it's time to call up the brush tool. Be sure to select a small brush with a radius of two pixels to work precisely. Ensure that the brush opacity is set to about 70%. This allows you to place the highlights without exaggeration.
Step 4: Place Highlights
To apply highlights, select the spot on the model you wish to illuminate. Hold down the Shift key and click on the desired positions. The advantage here is that you only see the brightness in the spots that truly reflect. Repeat this step for multiple sections to create a harmonious and appealing overall appearance.
Step 5: Blur Edges for More Naturalness
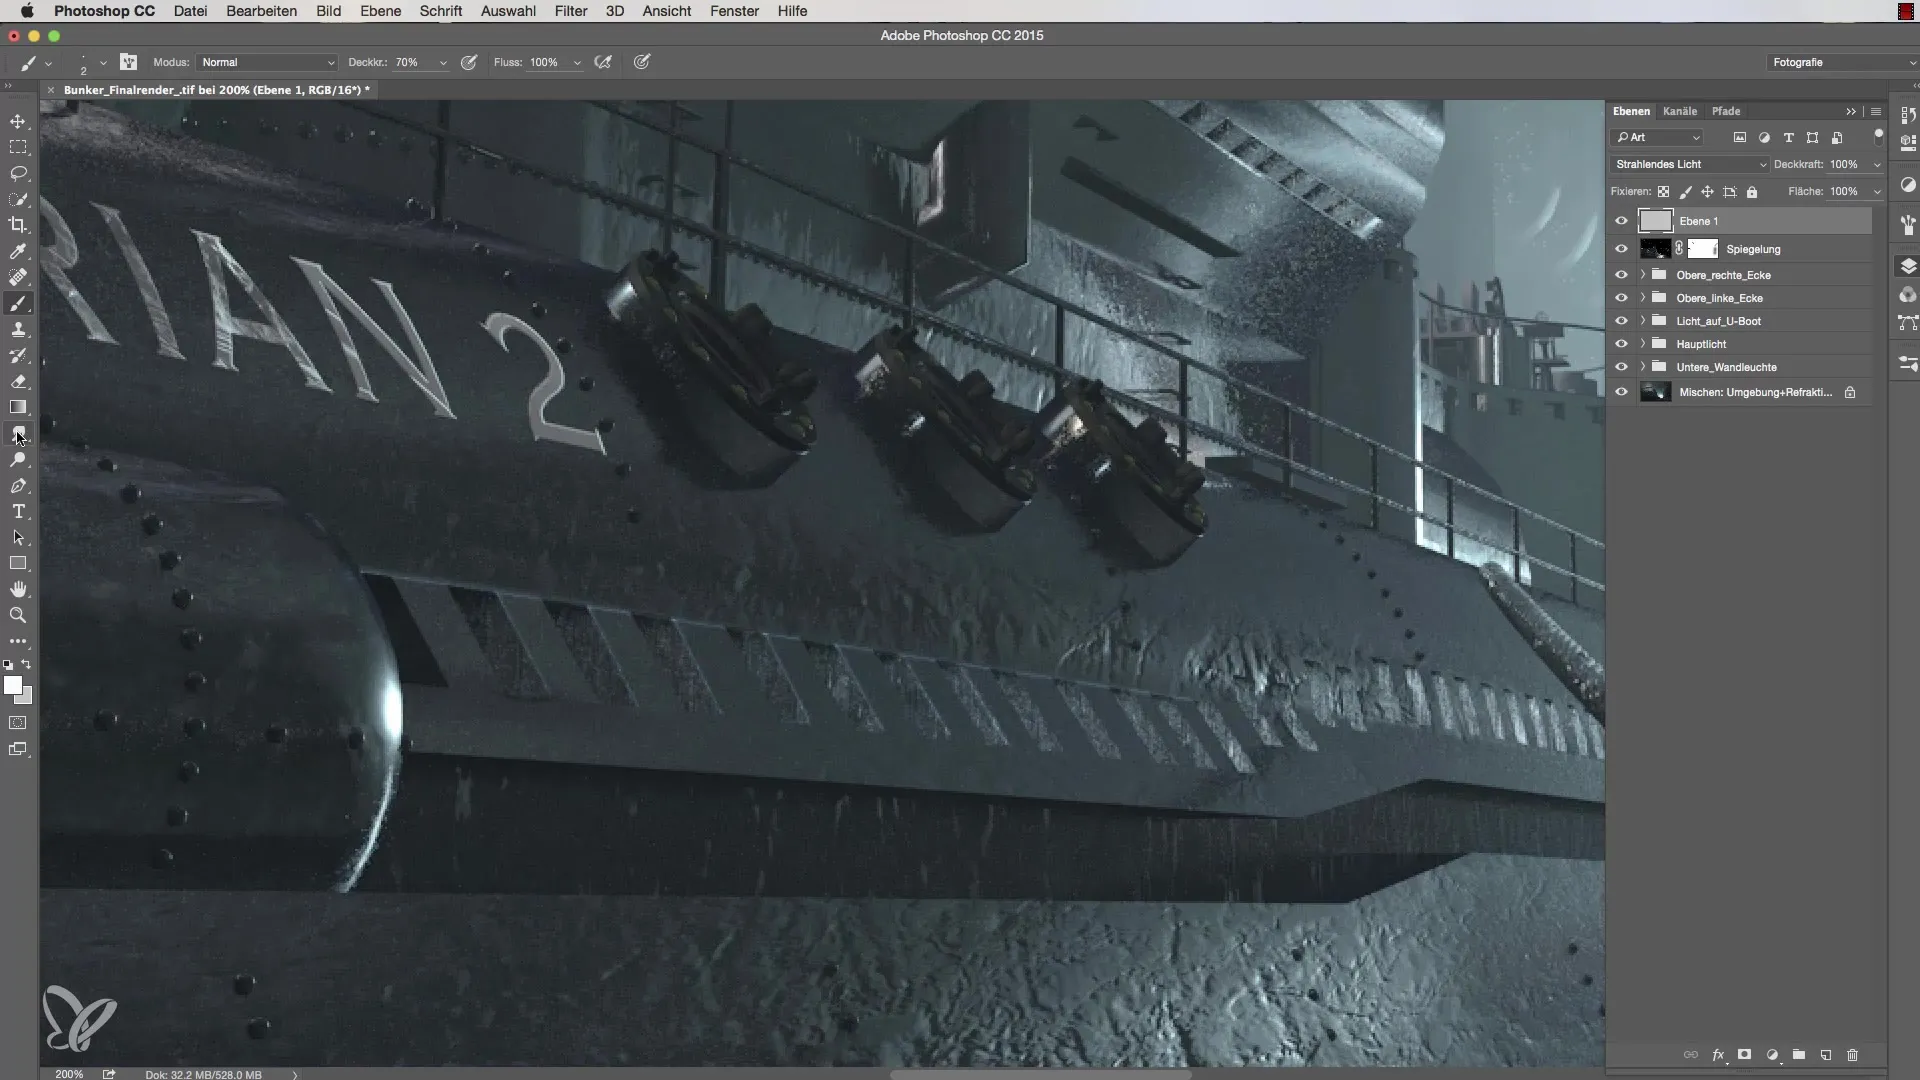
To refine the edges of the highlights, switch to the smudge tool by using the shortcut R. This technique helps blur the sharp edges of the highlights, creating a more organic look. Set the strength of the smudge tool to 20% and work carefully over the edges.
Step 6: Add More Highlights
Continue to edit other edges of the model and add highlights. Here, you can let your creative instincts run free. Ensure that the light edges are harmoniously integrated into the overall structure. If an edge appears too straight, blur it again with the smudge tool.
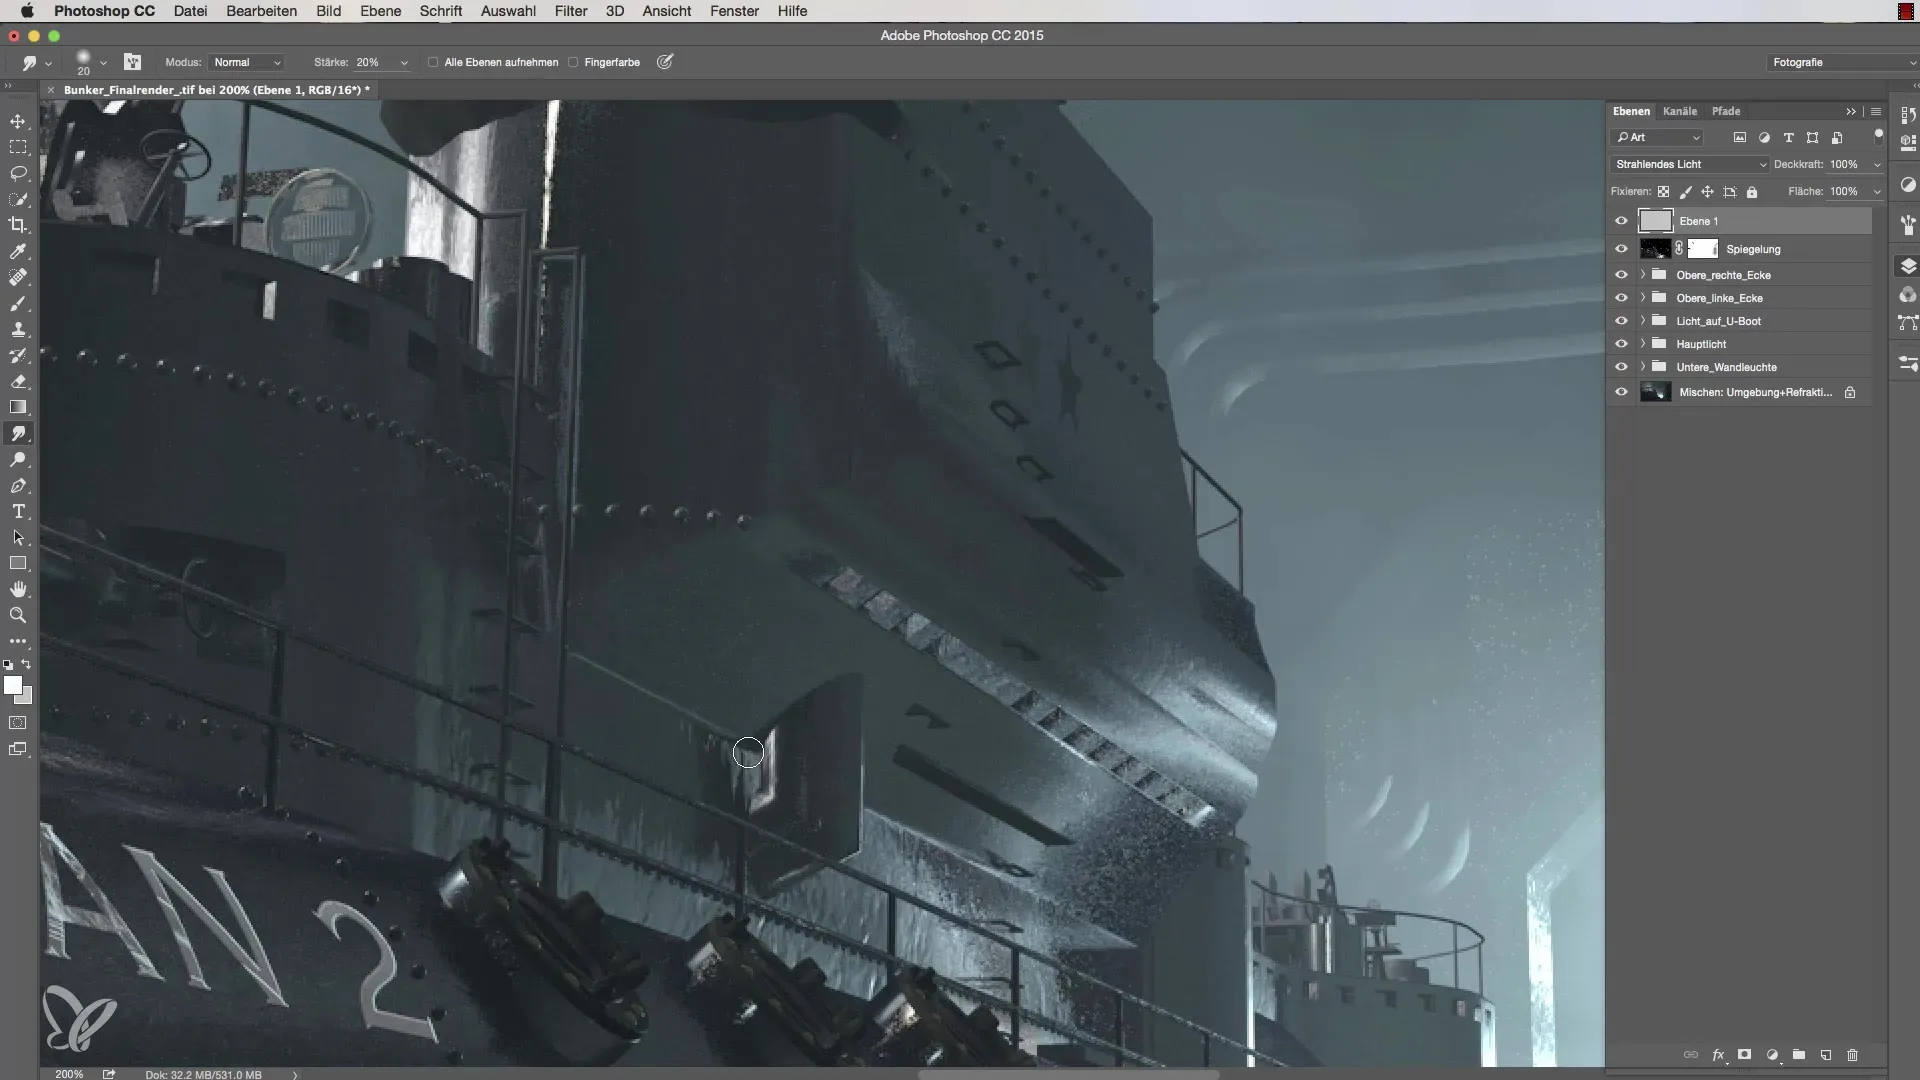
Step 7: Detail Work and Finishing Touches
Finally, go back and place additional highlights at strategic points. These small details bring the model to life. You can also work on reflective areas to achieve an additional dimensional effect. If necessary, use your 50% gray color as a background environment to have a clear view of the placement of the highlights.
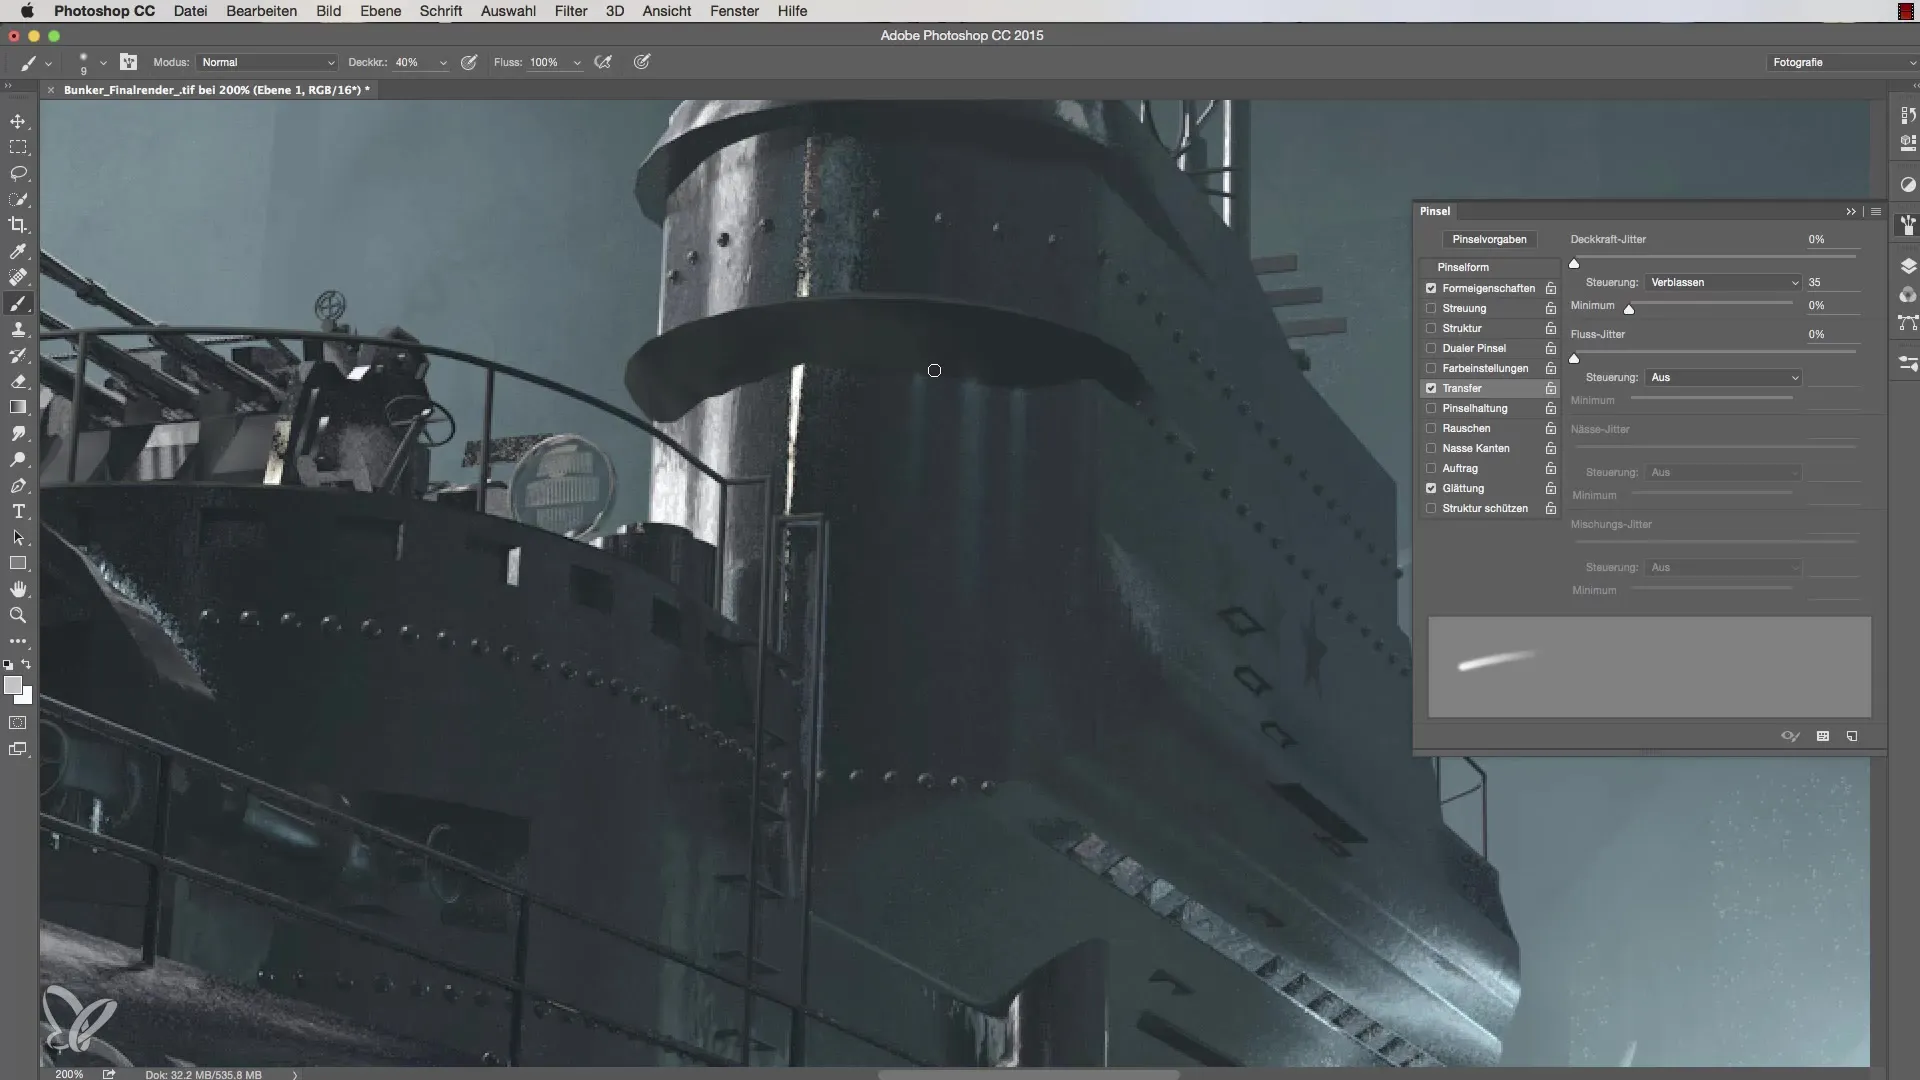
Summary of Lighting Setup in Cinema 4D – Fixing Highlights
By skillfully adding and editing highlights, you can significantly enhance the detail depth and realism of your 3D models. Use the techniques described to get the most out of your models and make them appear vibrant.
Frequently Asked Questions
How do I choose the right color for highlights?Select a color that is strong enough to represent reflections, usually a light color in the blue channel.
How can I change the brush opacity?This can be directly adjusted in the brush tool or in the brush settings.
What can I do if the highlights appear too intense?Use the smudge technique to gently blur the edges of the highlights.
How can I add more details to my model?Add additional highlights at strategic positions and use the same techniques.
What tools do I need to work with highlights?You need the brush tool, the smudge tool, and a suitable background color.


