When it comes to creating impressive renderings in Cinema 4D, lighting plays a crucial role. It is often difficult to find the perfect balance between light and shadow, especially when reflections and highlights are excessively strong in the work. In this tutorial, you will learn how to specifically edit layers in Cinema 4D to control unwanted light sources and make your textures shine. It's time to experiment with layer masks and adjust the opacity. Let’s get started!
Main insights
- By applying layer masks, you can specifically reduce certain areas of highlights and reflections.
- Reducing the opacity of an entire layer is a simple method to optimize the overall impression.
- Duplicating highlight or reflection layers can enhance their effect and provide more depth.
Step-by-step guide
Selecting and analyzing the layer
Start by going through the individual layers of your project. Click on the reflection layer and see how it affects the overall image. Go to your layers browser and hide the reflection to see how much it contributes to the scene.
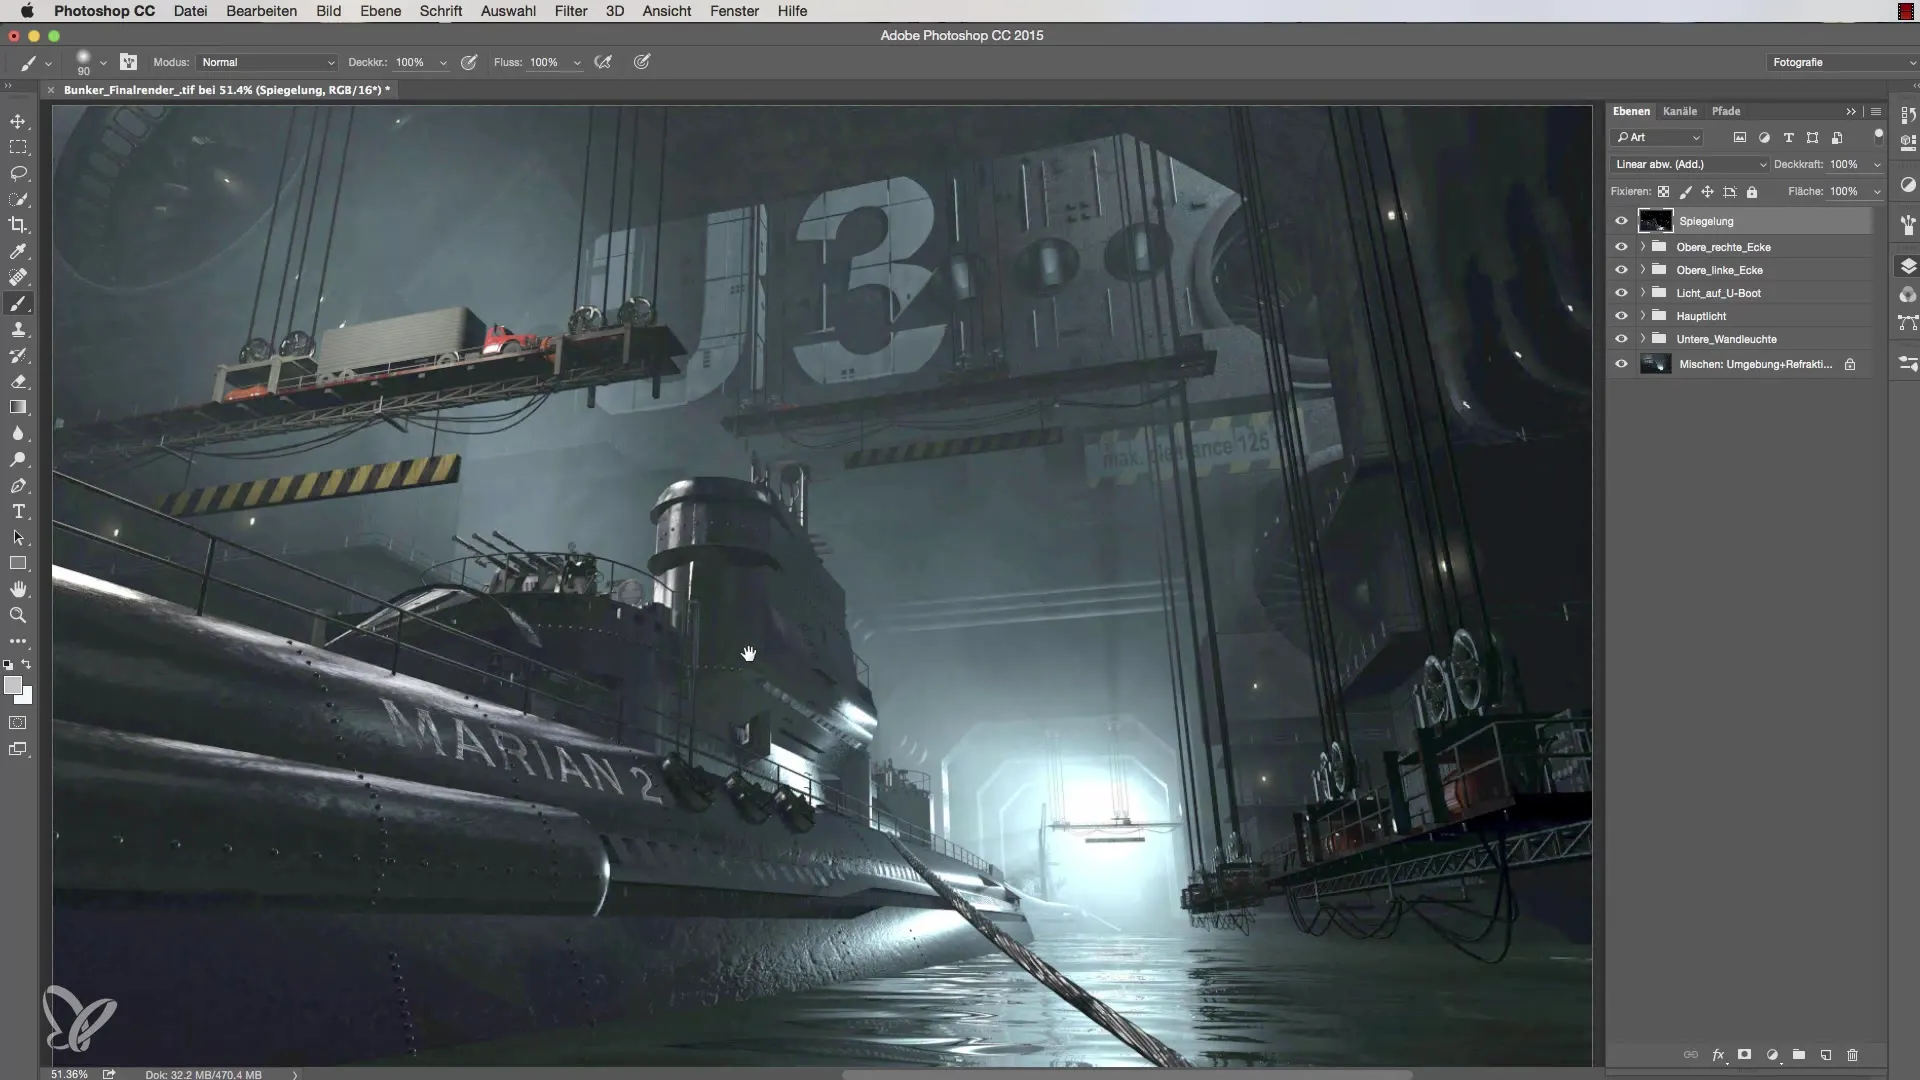
Create a layer mask
If you notice that certain spots, like hard reflections, are distracting, it’s time to create a layer mask. Select the affected layer, click on “Add Layer Mask”, and use a brush with black color. Set the opacity to 50% and paint over the areas you want to reduce. This way, you can reduce reflections selectively and reveal the structure of the underlying textures.
Make further adjustments
Now take a look at the other reflections that may also be too strong. For example, go through the reflections on the boat. You can also work with a layer mask here to decrease the brightness of the reflection without losing the structure of the boat. Keep the opacity at 50% and carefully paint over the problematic areas.
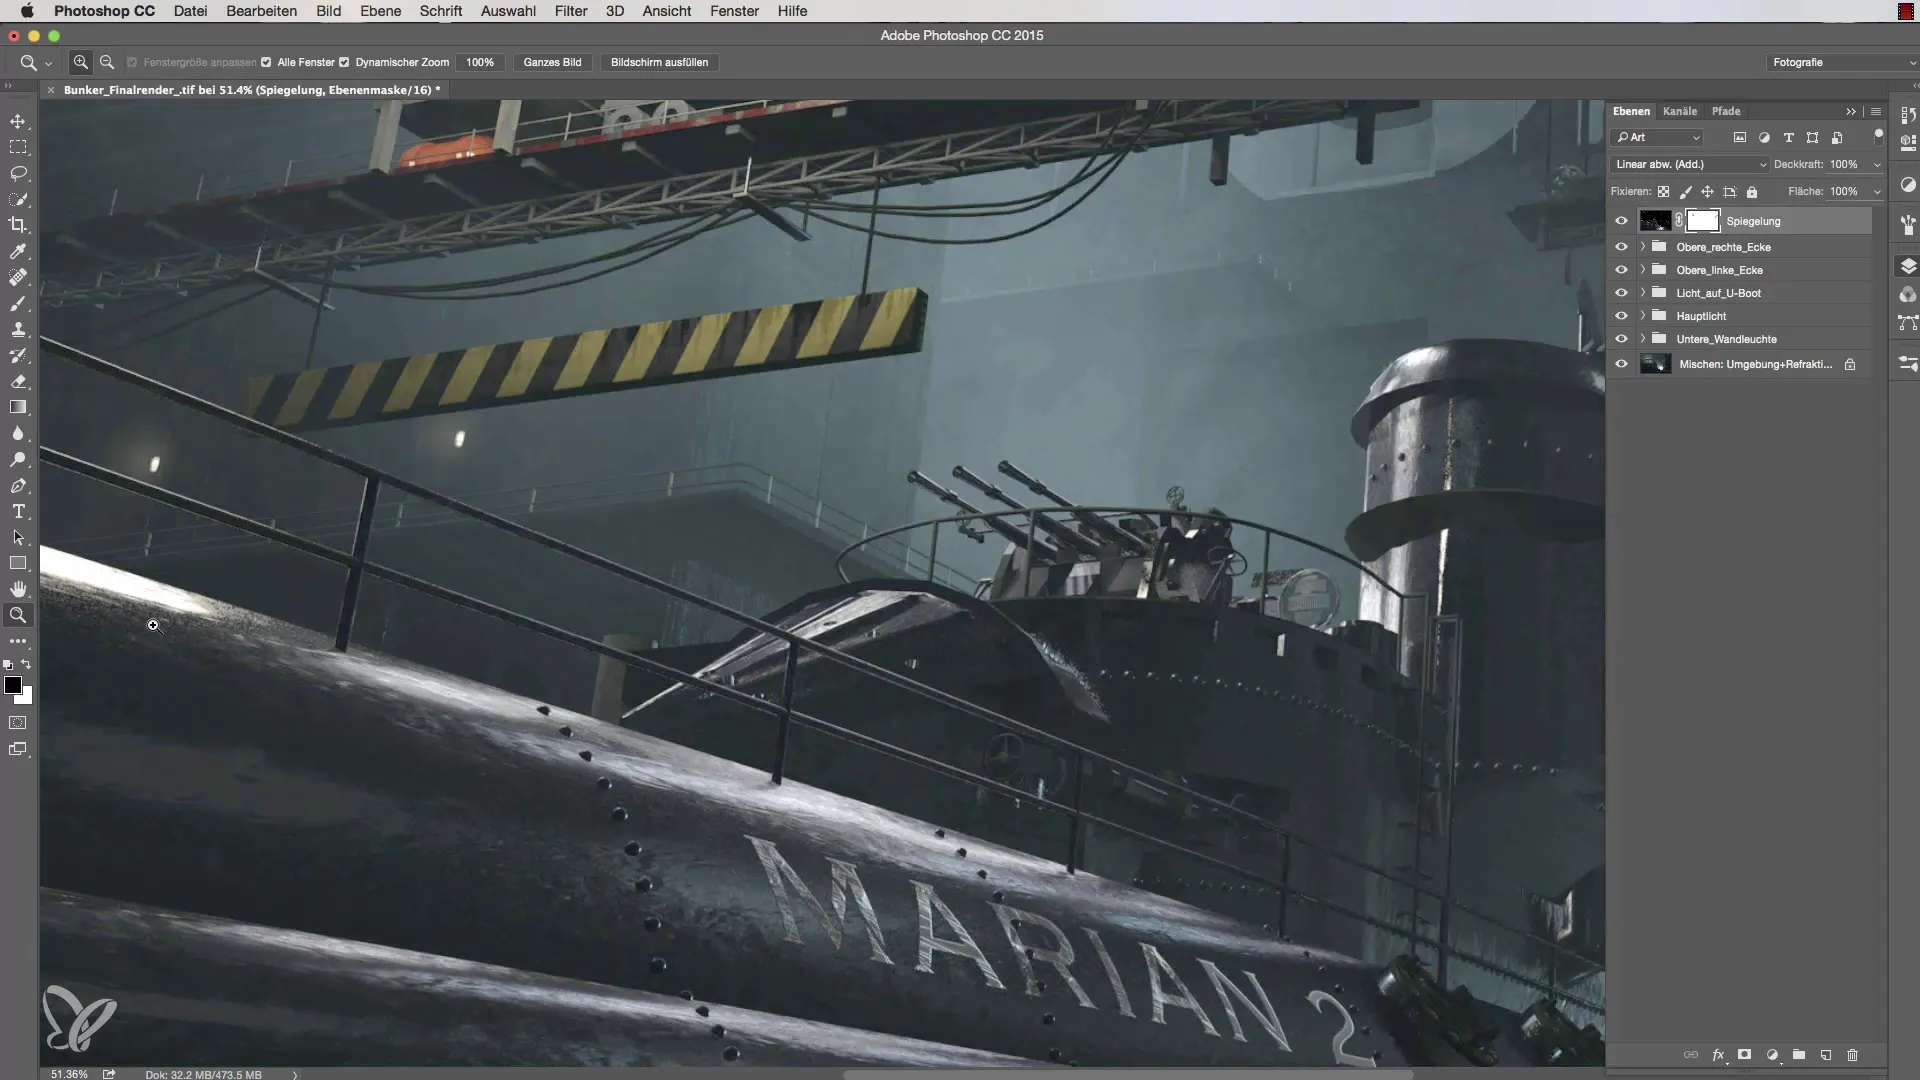
Checking the light sources
Now focus on the different light sources and their influence on visibility. Click on the light source and observe which areas are particularly well-lit. If necessary, you can reduce the highlights. Select the layer mask and work with a small brush at 30% opacity to go over the bright spots.
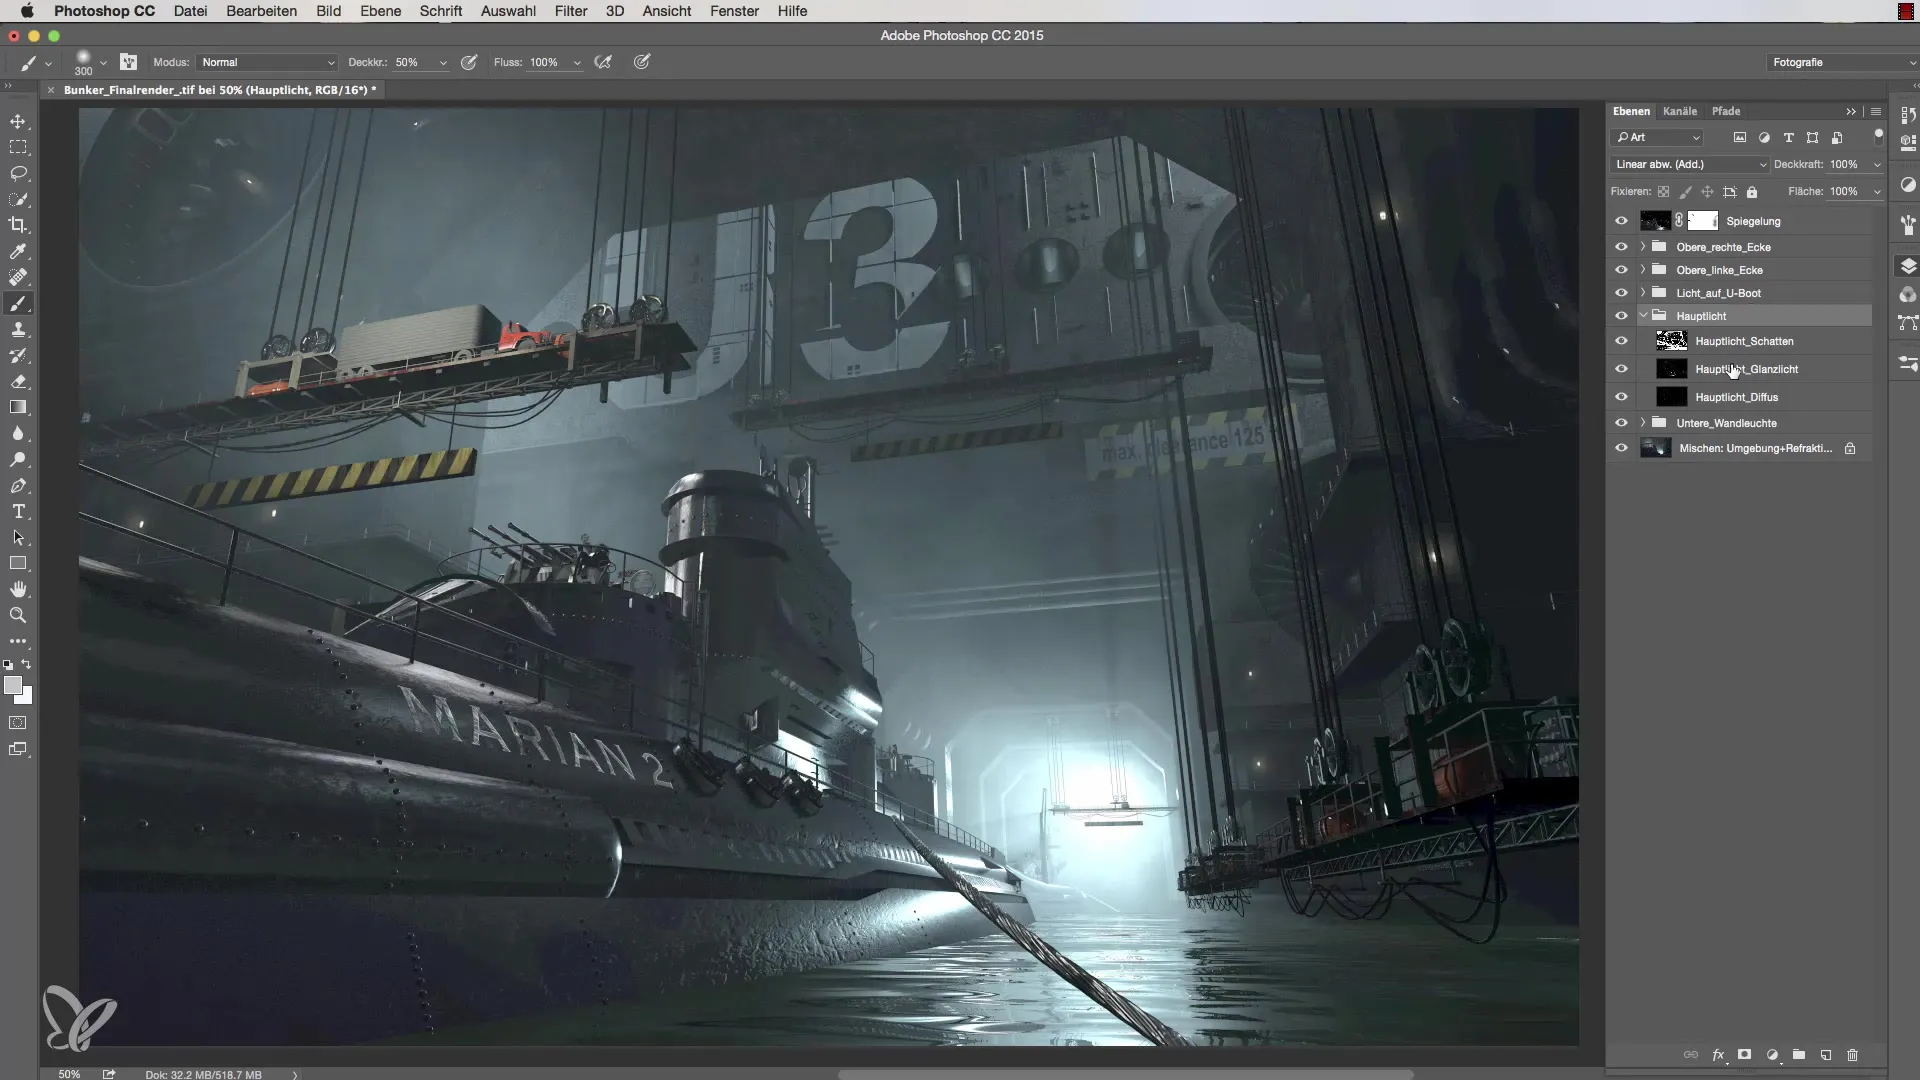
Improving overall structure
The structure should not suffer from the adjustment of brightness. Check these points especially well and test whether you can optimize the light-dark distribution. By enhancing the highlights at the right spots, you will achieve a more interesting texture. Experiment with copying layers to increase their effect, and use another layer mask, for example.
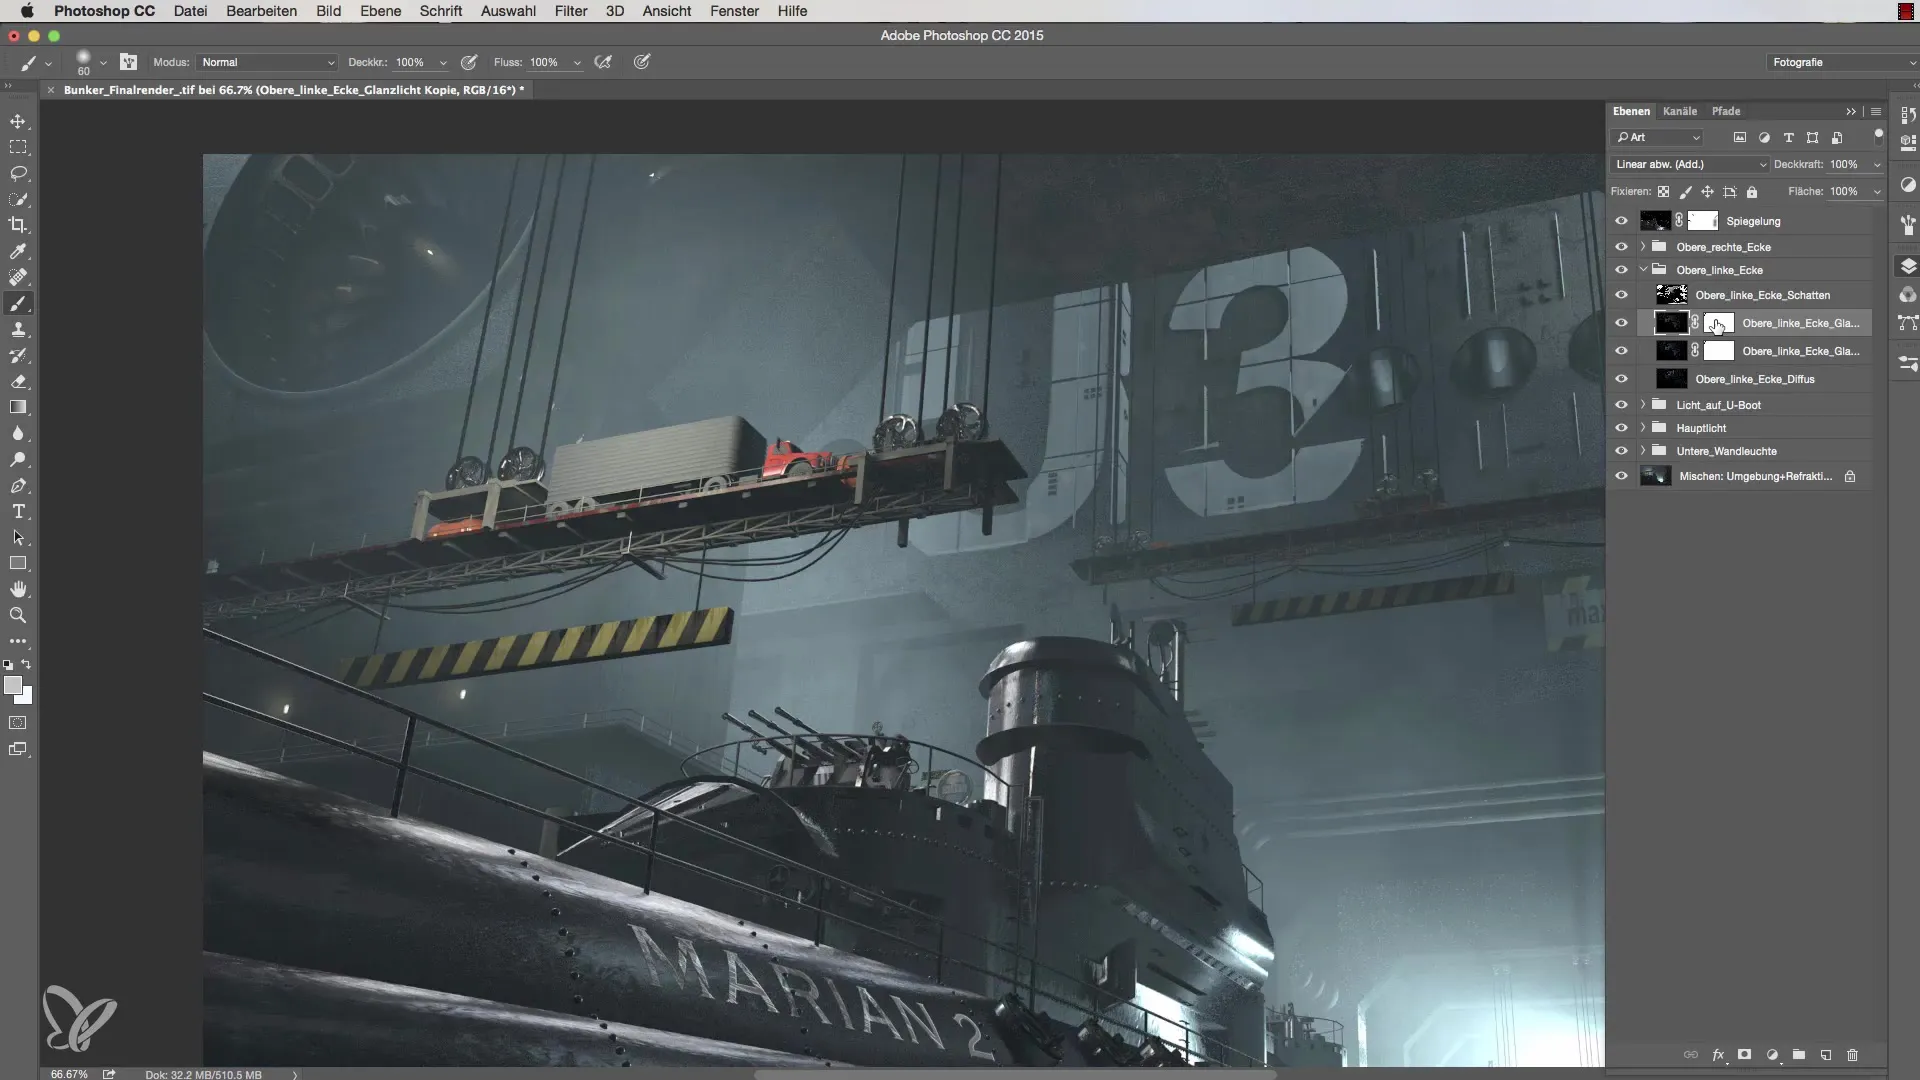
Final touches on the shadows
Lastly, check the shadows in your scene. If they are too strong, it may be worthwhile to use a brush here as well to selectively darken areas. Remember to maintain the depth and structure of the shadows in all your adjustments to keep the overall image harmonious.
Final review and adjustments
It is important to go through all adjustments one more time to ensure that all light sources are in harmonious alignment. Experiment with layers and, if necessary, introduce additional light sources or textures that can make your rendering more appealing. A well-lit 3D image thrives on the balance between light and shadow.
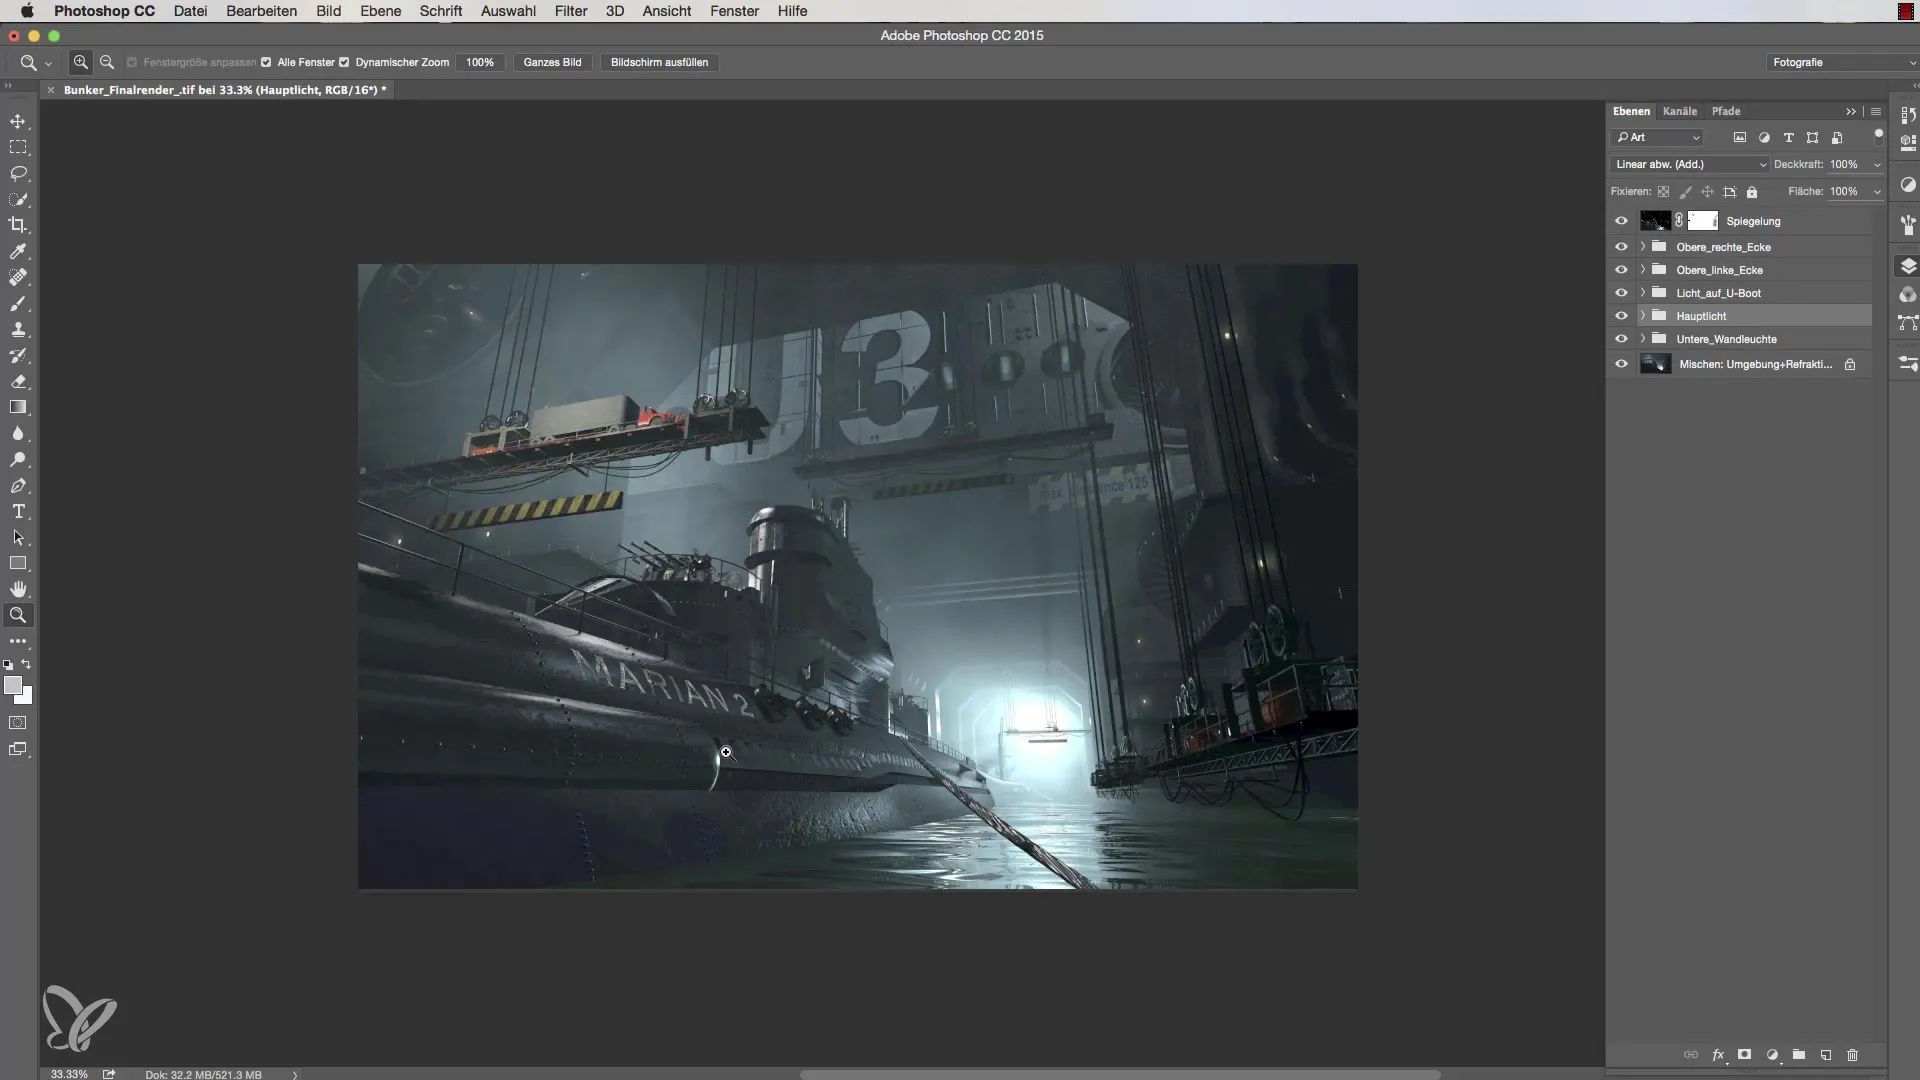
Summary – Lighting in Cinema 4D: Editing Layers
In this tutorial, you learned how to work effectively with layers in Cinema 4D to control highlights and reflections. With little effort and the right tools, you can achieve impressive results. Whether by working with layer masks or adjusting opacity – you unlock the secrets of lighting in your projects.
Frequently Asked Questions
What is a layer mask in Cinema 4D?A layer mask allows you to hide or reveal parts of a layer without altering the original layer.
How can I adjust the brightness of a layer?You can control brightness by reducing the opacity of the entire layer or by applying a layer mask.
What does "reducing highlights" mean?Reducing highlights means lowering their brightness so that they appear less dominant in the image.
Should I remove all highlights?Not necessarily; highlights often contribute to texture and vibrancy. It’s about balance and proper use.
Can I use multiple layer masks?Yes, you can use multiple layer masks to adjust different areas within a layer individually.


