Illuminating a three-dimensional space can make the difference between a flat representation and a dynamic, vibrant scene. In this guide, you will focus on lighting setups in Cinema 4D to impressively highlight the immense height of a bunker. You will learn how to use two point light sources to illuminate the upper areas of the bunker, giving the scene enormous depth. These scars of the digital world are brought to life by light and invite the viewer to want to learn more about the designed space.
Key Insights
- Two targeted point light sources are essential for lighting the space.
- The targeted use of light colors and shadows creates a dynamic representation.
- The right balance of light intensity and falloff can highlight or obscure details.
Step-by-Step Guide
To optimally implement the lighting setup in Cinema 4D, follow these steps:
1. Prepare the Scene
Before you make the lighting adjustments, it's important to ensure that your scene is optimally set up. Turn off all elements of the room except for the bunker. This will save rendering time and allow you to focus specifically on the lighting setup.
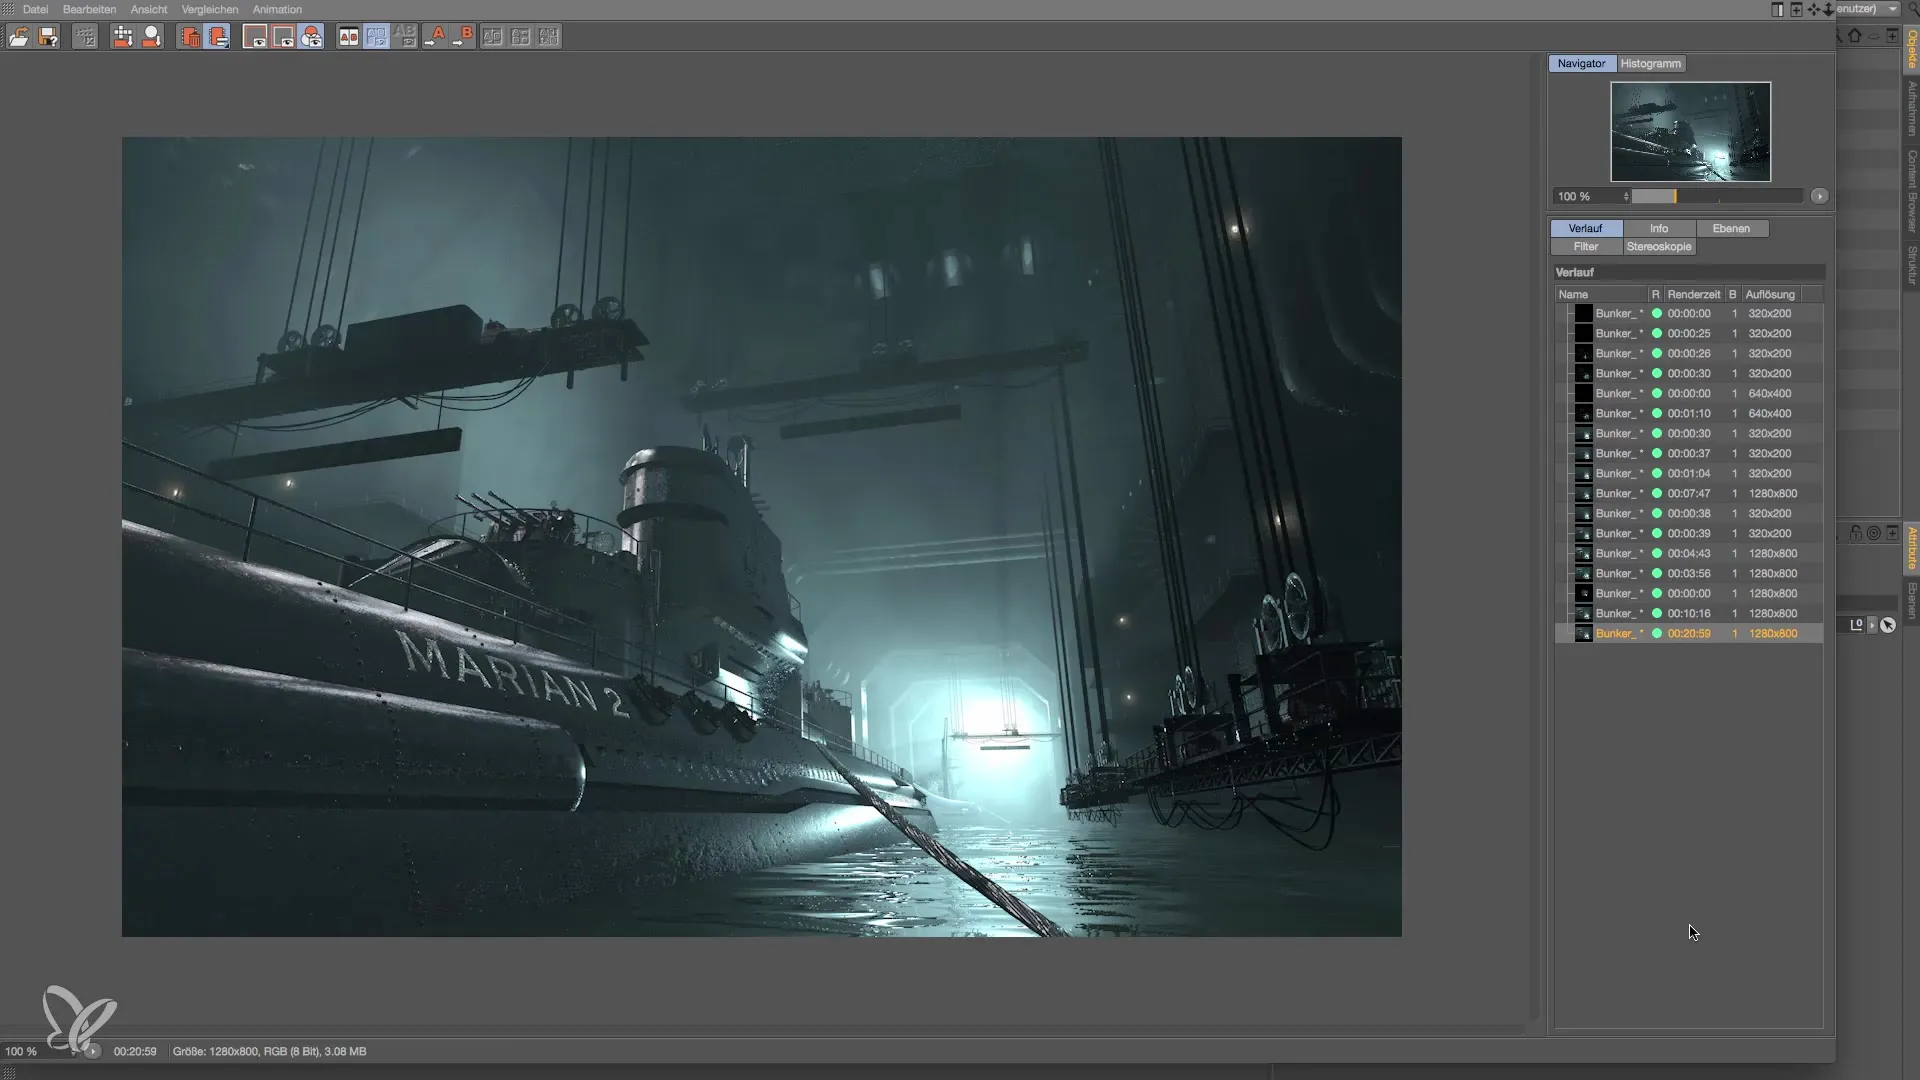
2. Add First Point Light
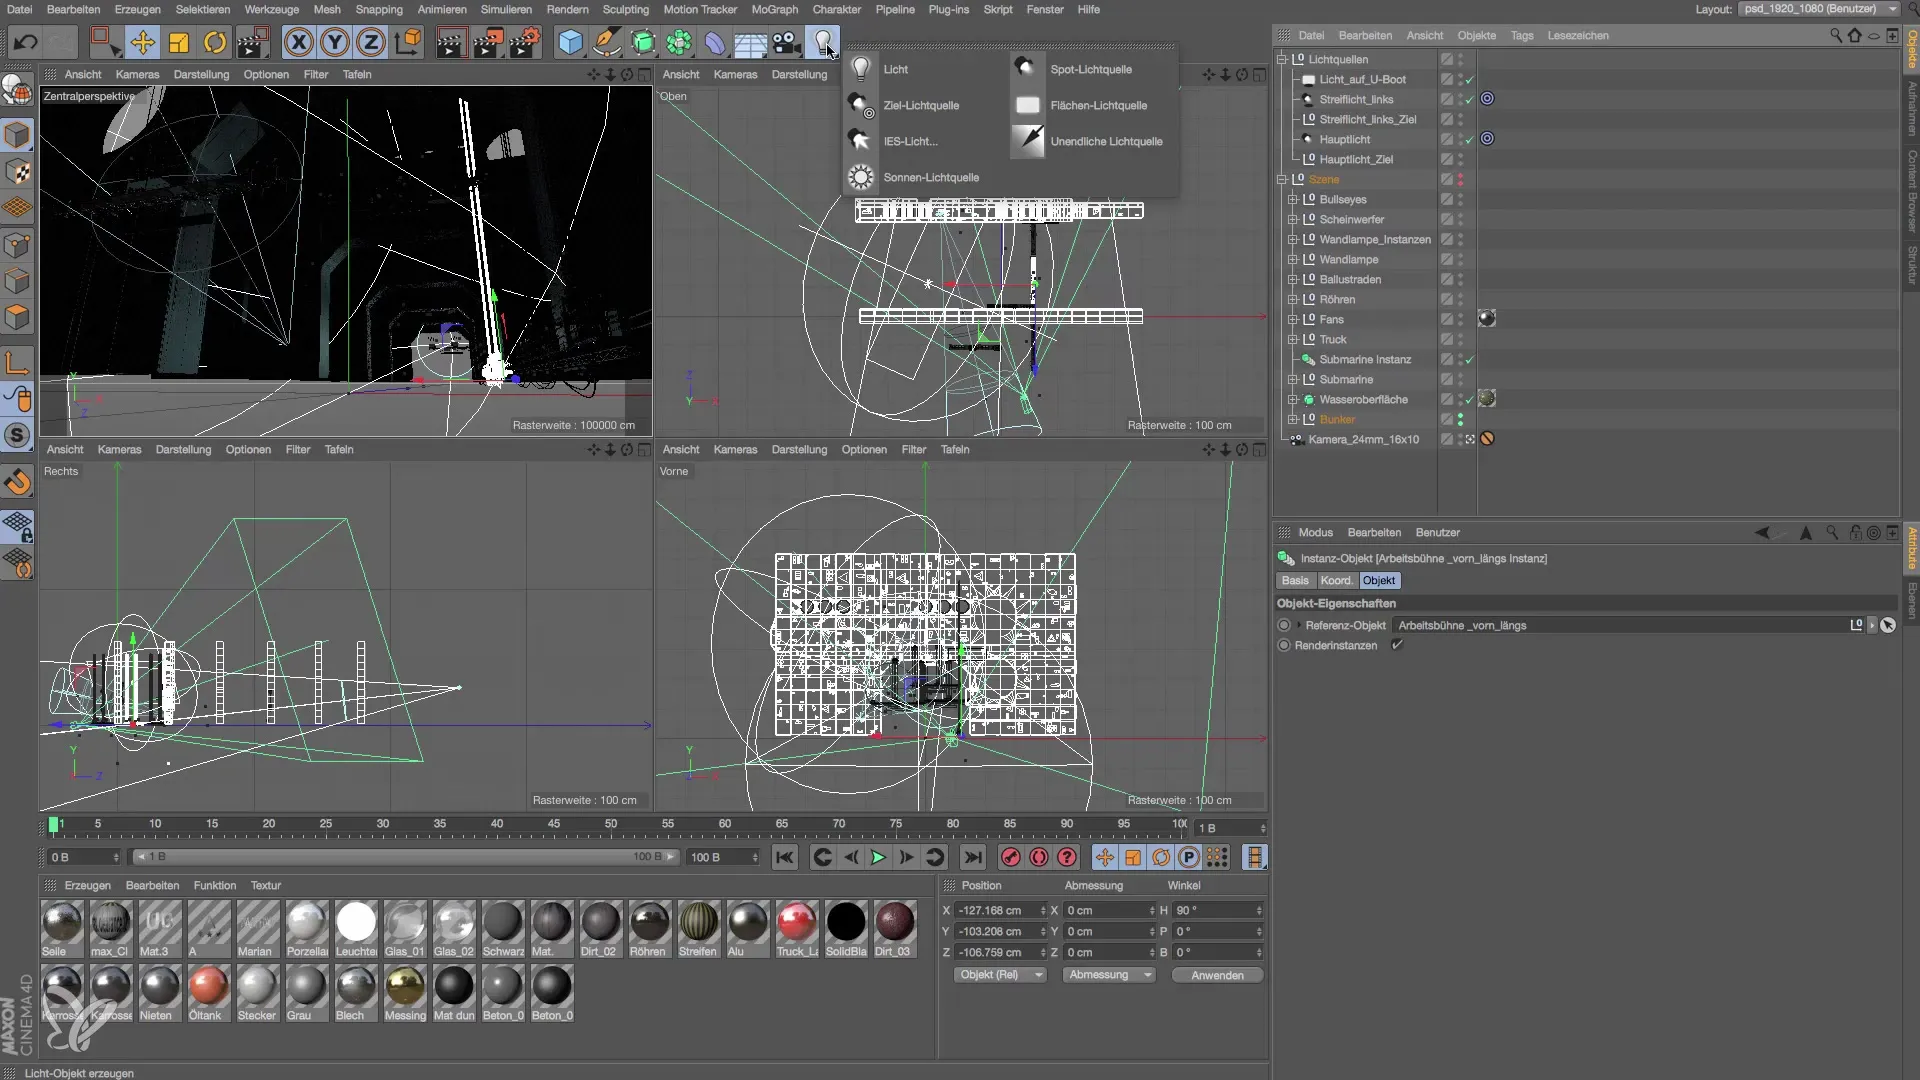
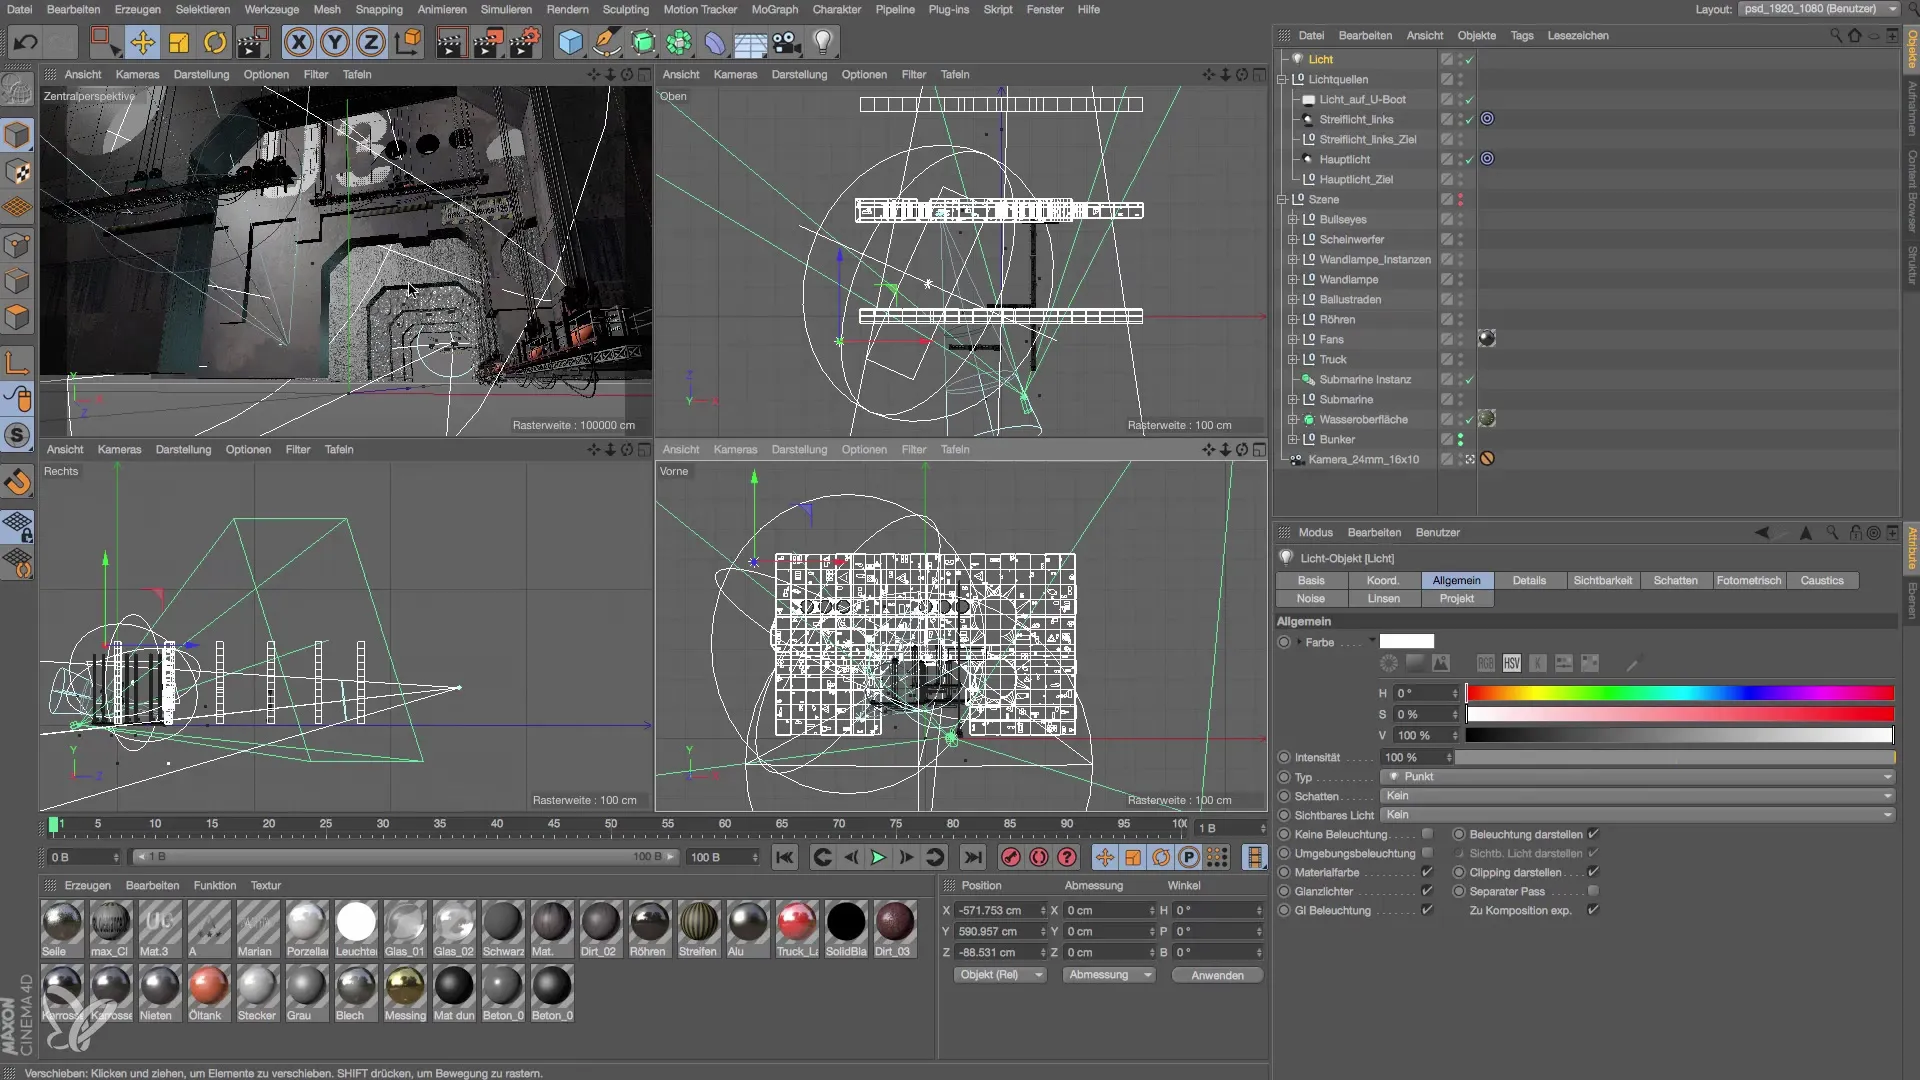
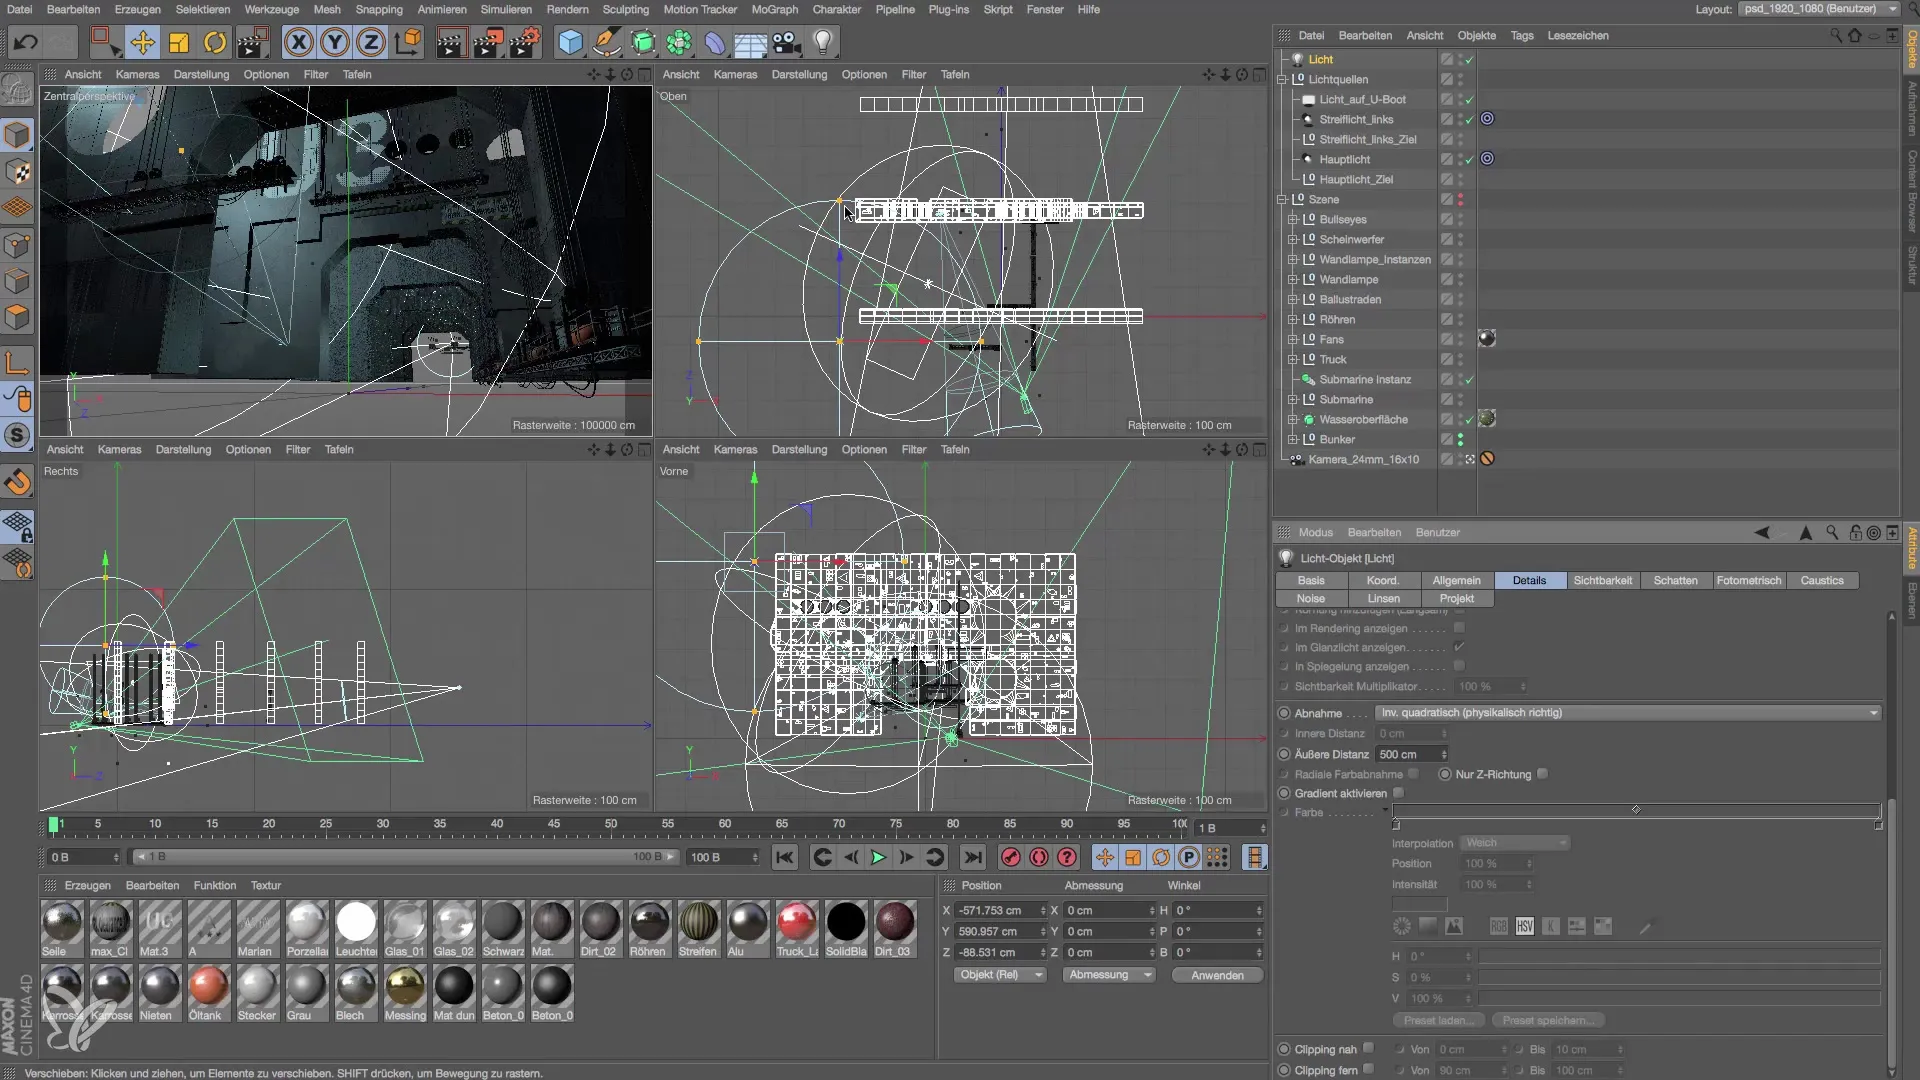
Add a point light to your scene by selecting "Light" from the menu and then choosing "Point Light." Position this light in the upper left corner of the bunker. Make sure the light is directed in the right direction to illuminate the desired areas.
3. Adjust Light Color
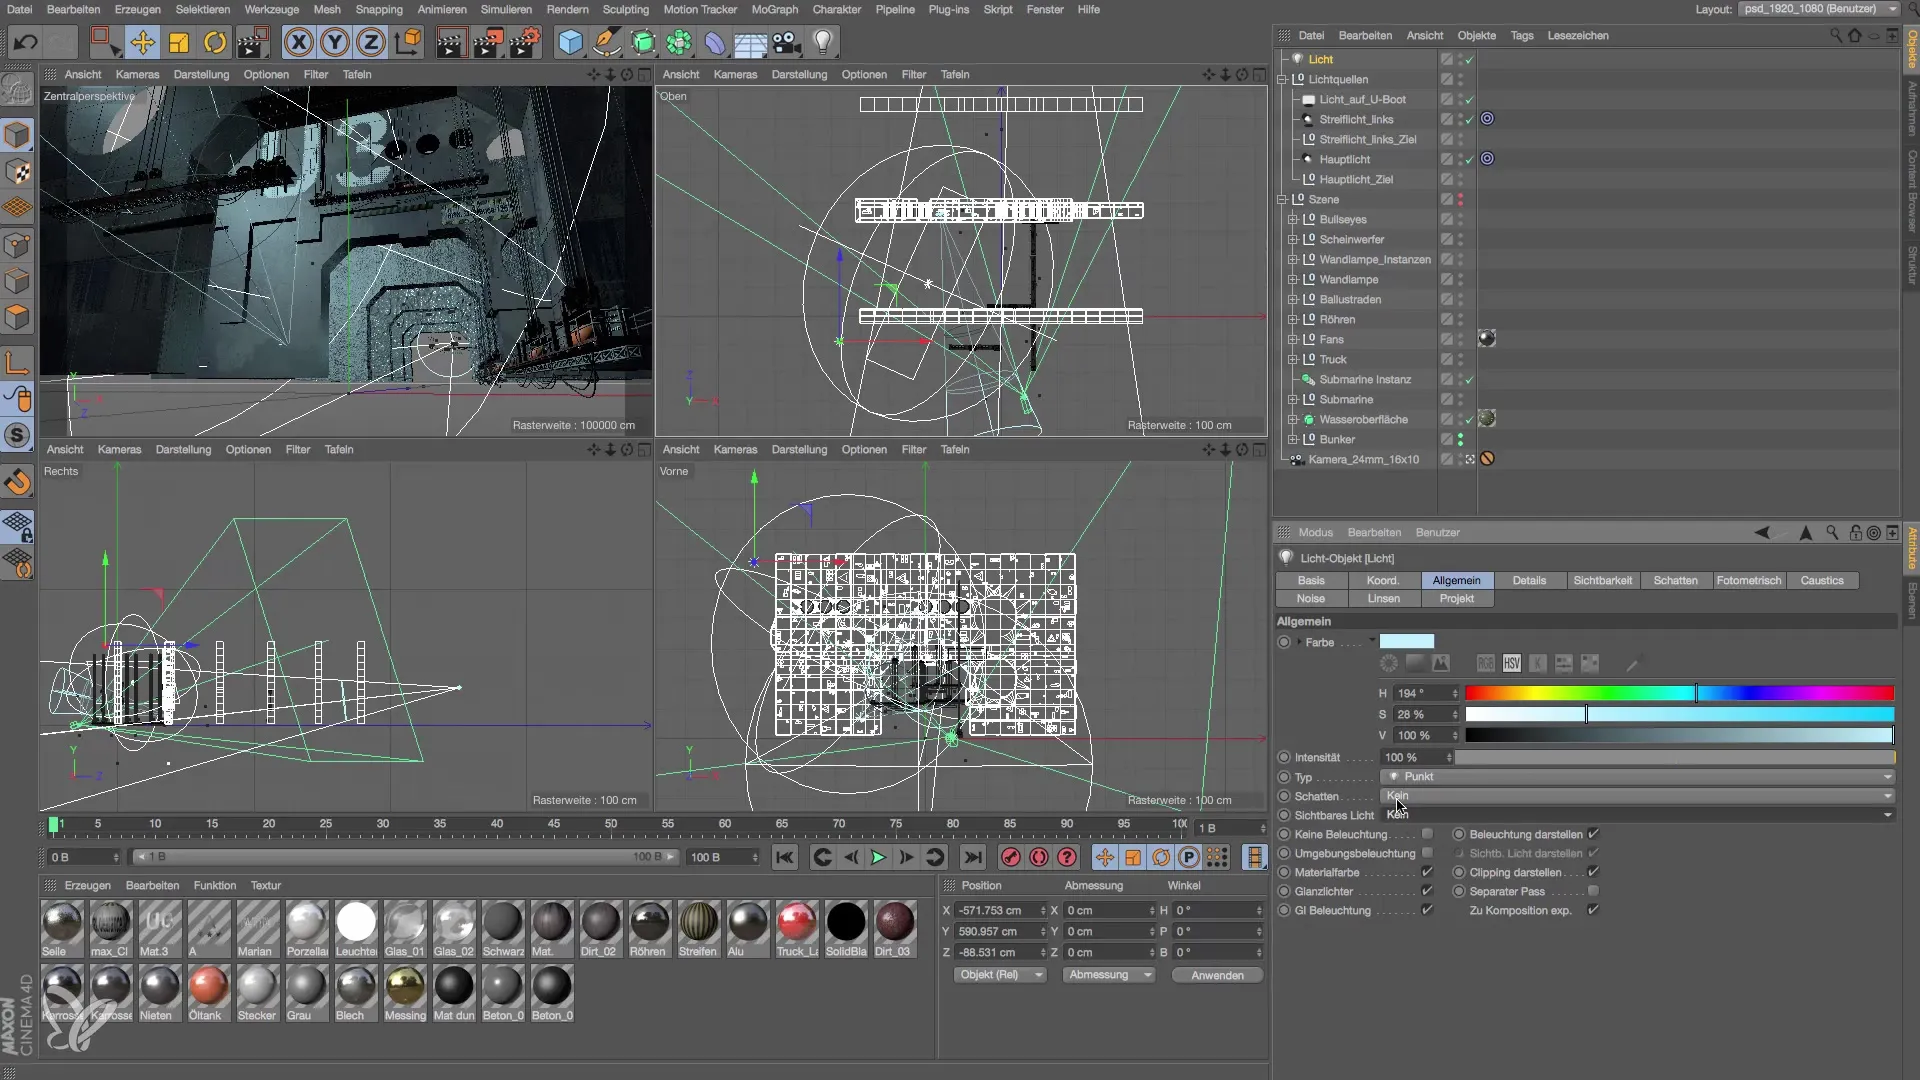
After placing the light, you should adjust the hues of the point light. Avoid harsh white light and instead choose a softer color that matches the mood of the room. You can experiment with this to achieve the best effect.
4. Activate Shadows
To give the light more depth, activate the shadow option for your point light. Choose a surface-based shadow technology to make the light appear more natural. This will spread the light over the walls of the bunker while also highlighting interesting details.
5. Set Falloff
An important setting is the light falloff. Set it so that the light does not reach into the furthest corners of the scene. The inverse square falloff ensures that the light is strongest at the source and becomes brighter outward.
6. Place Second Point Light
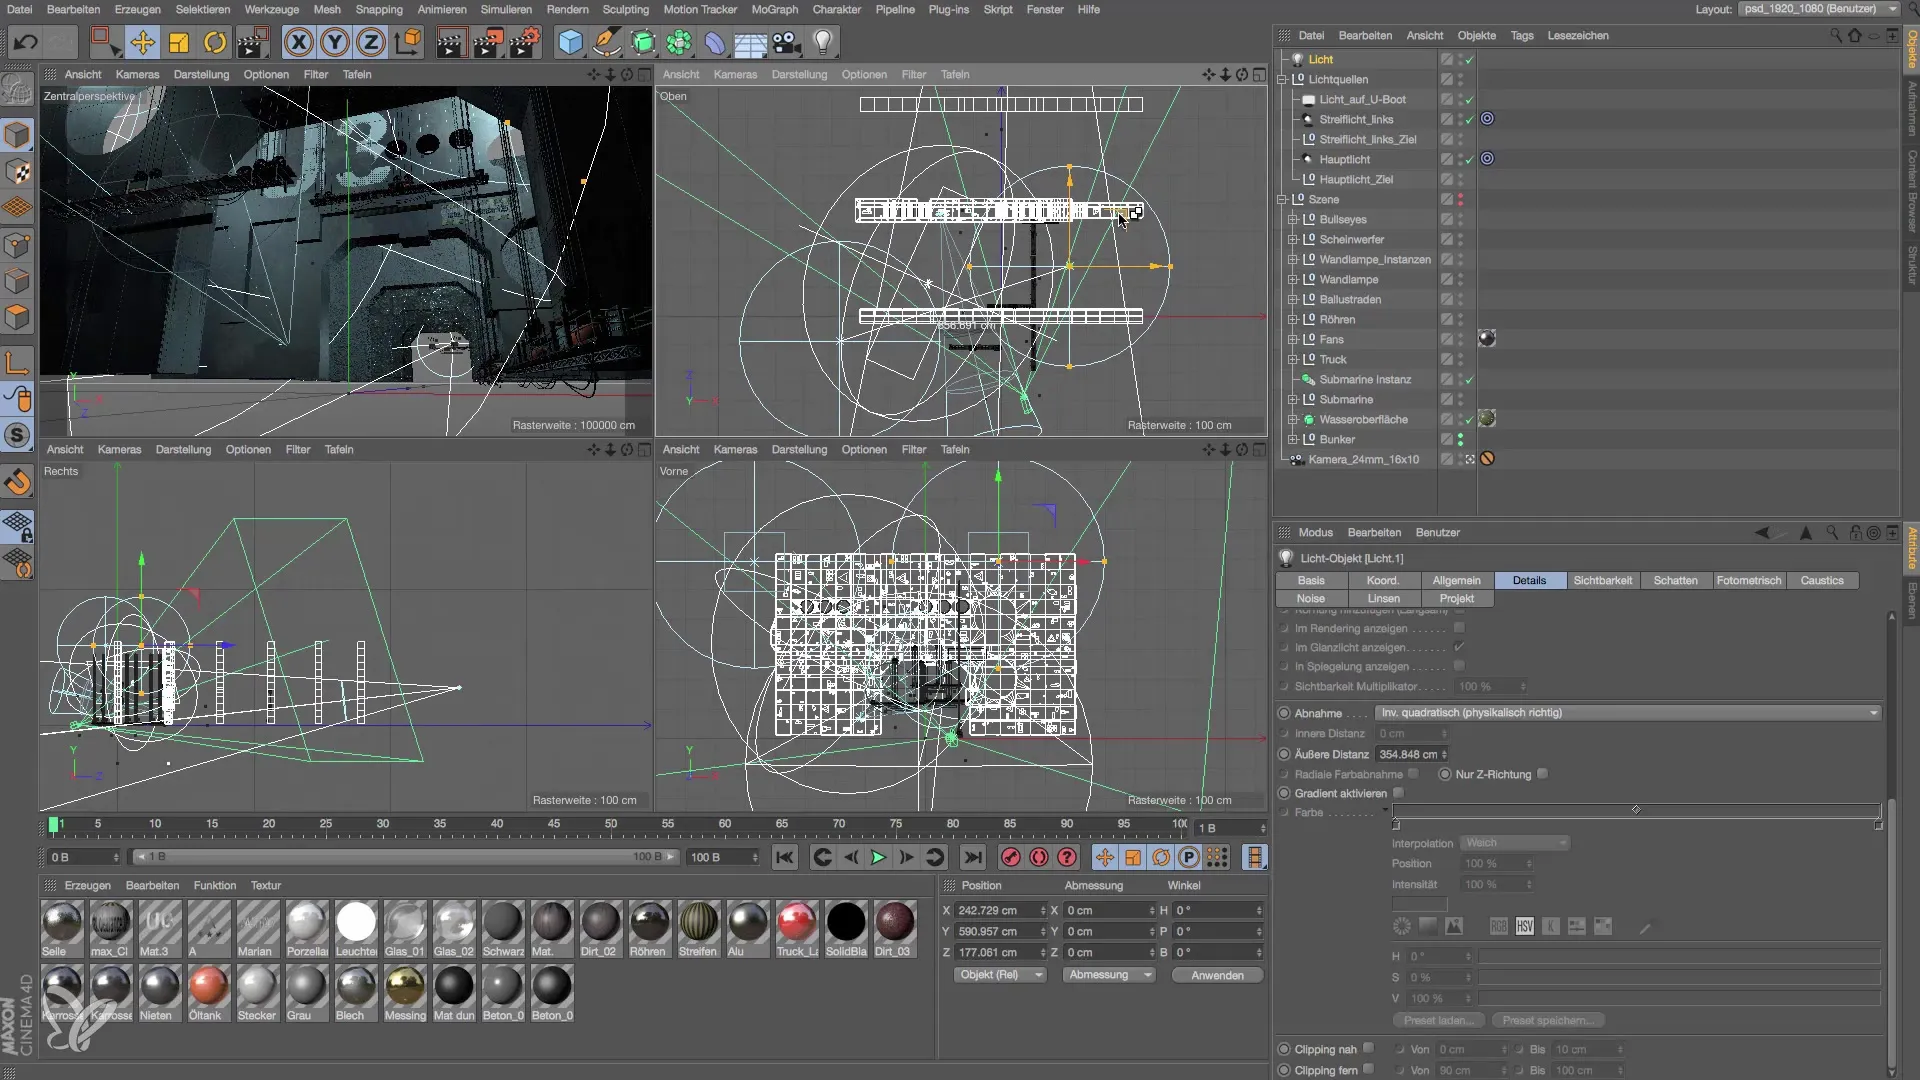
Repeat the process to add a second point light. This time, position it in the upper right corner of the bunker. Ensure that both lights are evenly distributed to create a harmonious light flow.
7. Adjust Light Intensity
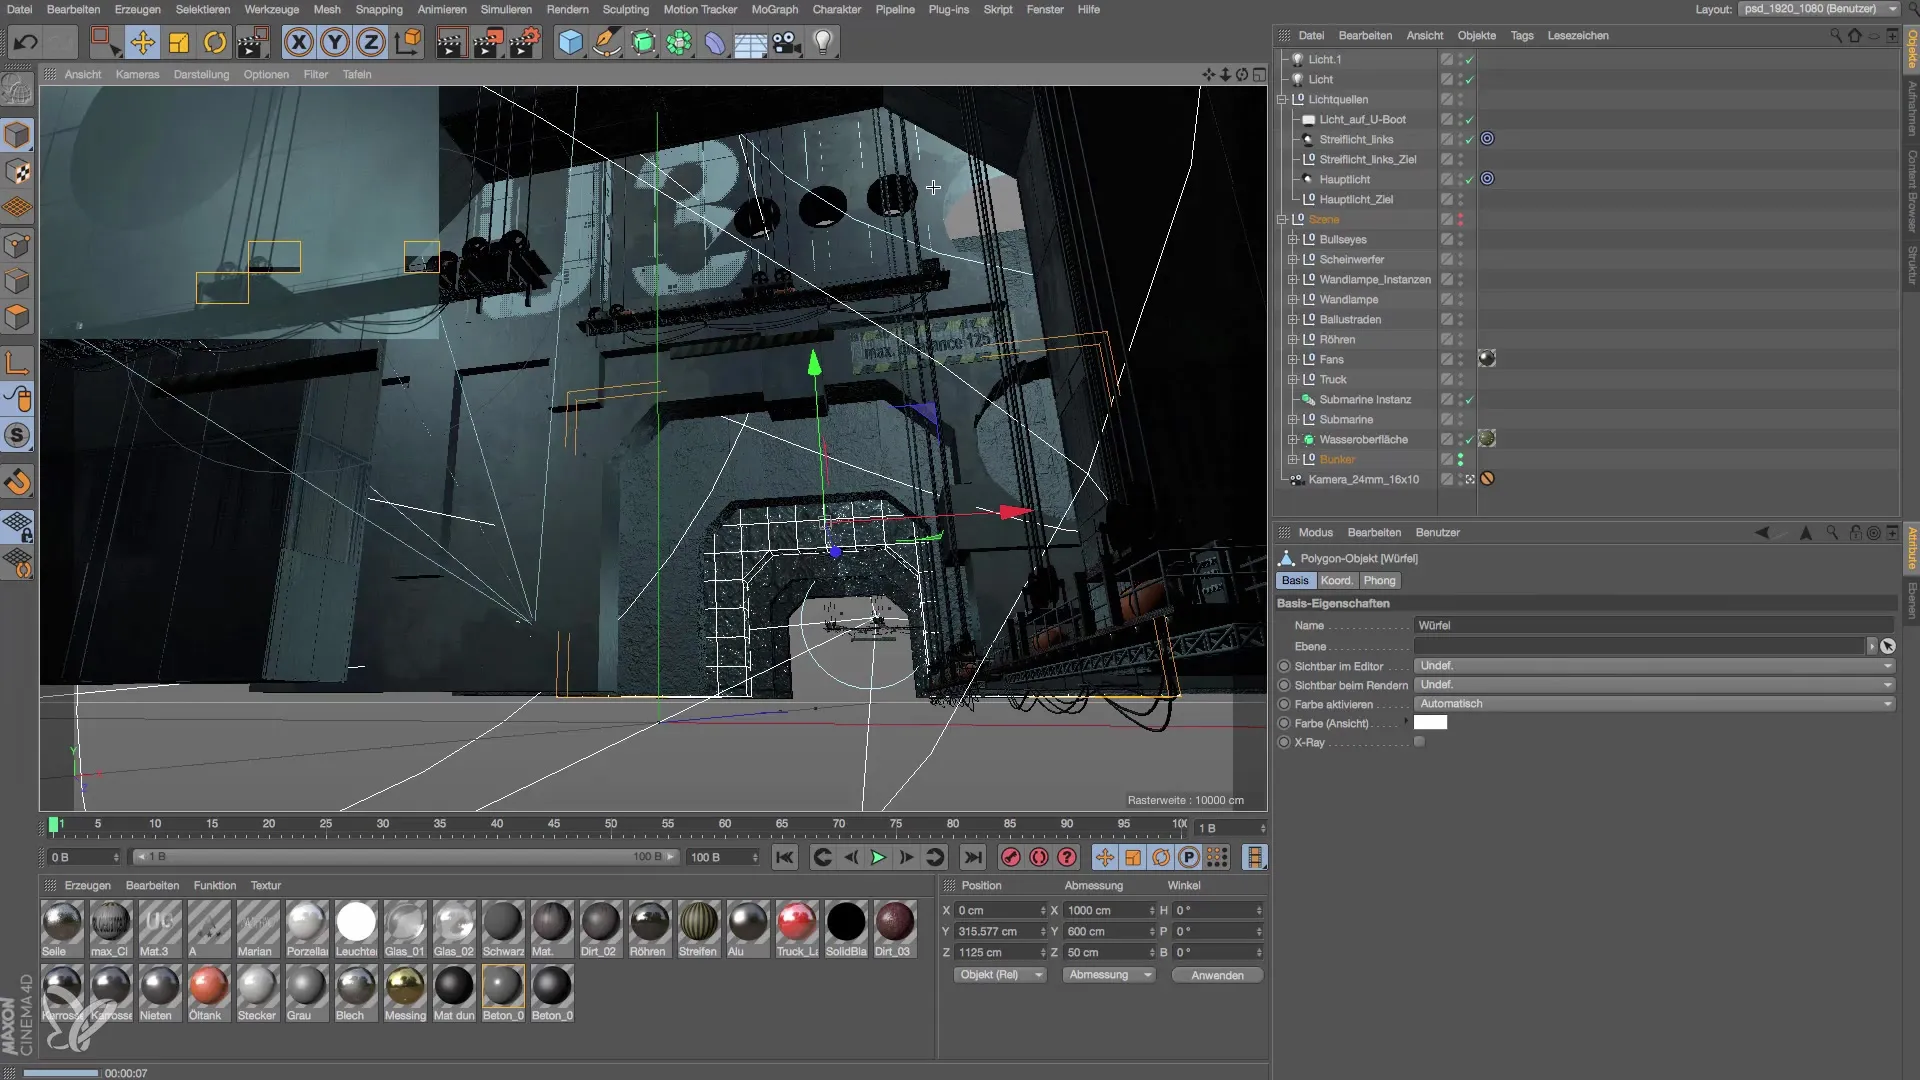
Test the light intensities for both lights. You may need to dim one of the lights to balance the overall light mood in the room. Ensure that the space is not overexposed.
8. Visual Check
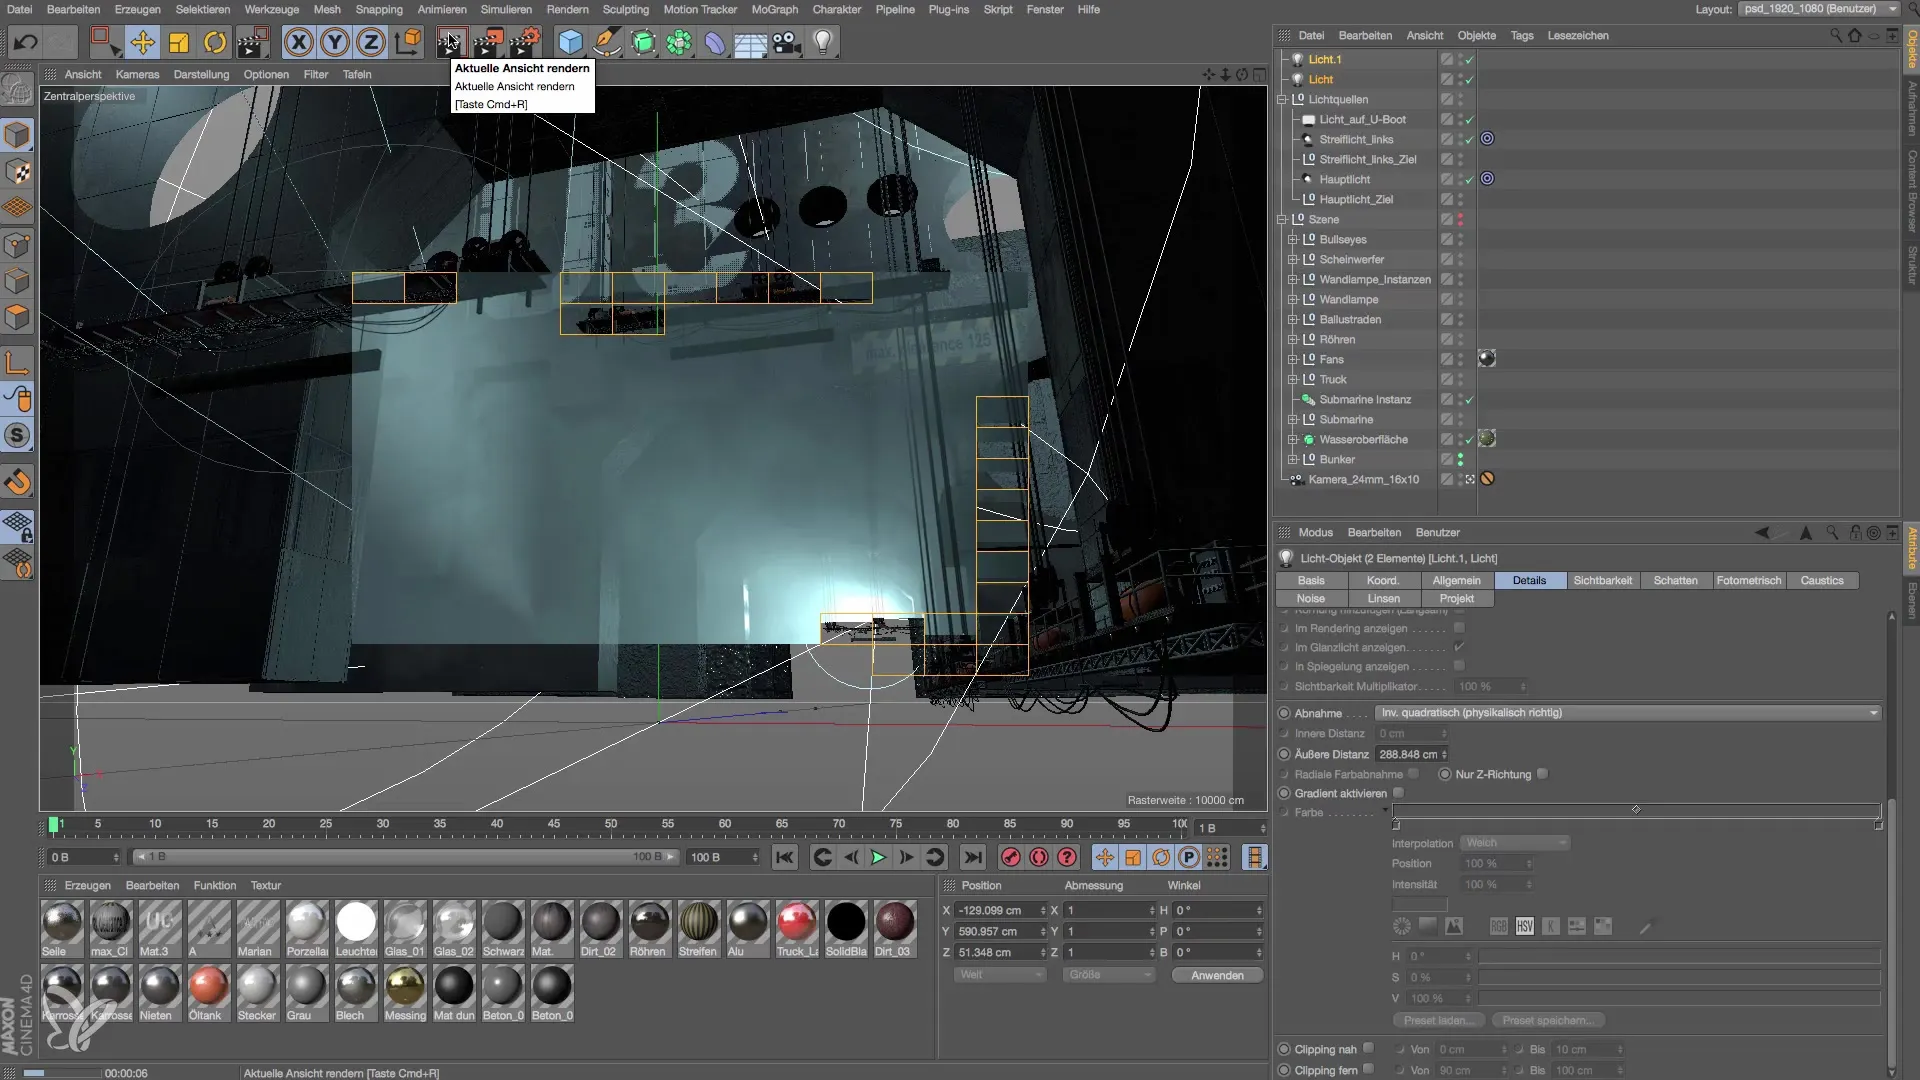
To ensure everything looks good, perform a quick test render. Check that the upper areas of the bunker are well lit without any details being lost in shadows or appearing overexposed.
Summary – Lighting Setup in Cinema 4D: Effectively Shaping Space Height
You have now learned how to highlight the dimensions of a bunker through targeted lighting setup in Cinema 4D. With just a few light sources and adjustments, you can create a vibrant, inviting scene that captivates the viewer's gaze.
Frequently Asked Questions
What is the advantage of point lights in Cinema 4D?Point lights are ideal for illuminating specific areas of a room and creating depth.
How do I choose the right light color?Avoid harsh light and select softer tones to create the right mood.
How do shadows affect the image impact?Shadows give the scene a natural depth and make it more interesting.
How can I adjust the falloff of light sources?The inverse square falloff adjusts the light near the source to achieve a more realistic distribution.
What should I pay attention to regarding light intensity?Avoid overexposure and ensure that details in shadow areas are not lost.


