In the field of 3D animation and light design, lighting setup plays a crucial role. It not only determines the mood of a scene but also significantly influences the appearance of the objects. In this guide, you will learn how to create a key light source in your Cinema 4D scene that acts as a back light and produces effective light beams. This is achieved using a targeted light source that is specifically positioned to shine through delicate structures.
Key Insights
- The right light source clarifies the character of a scene and creates atmosphere.
- Targeted light sources offer more control options than conventional spotlights.
- The positioning of the light source is crucial for creating highlights and shadows.
- Volumetric light creates impressive light beams through fine structures.
Step-by-Step Guide
Step 1: Add Key Light Source
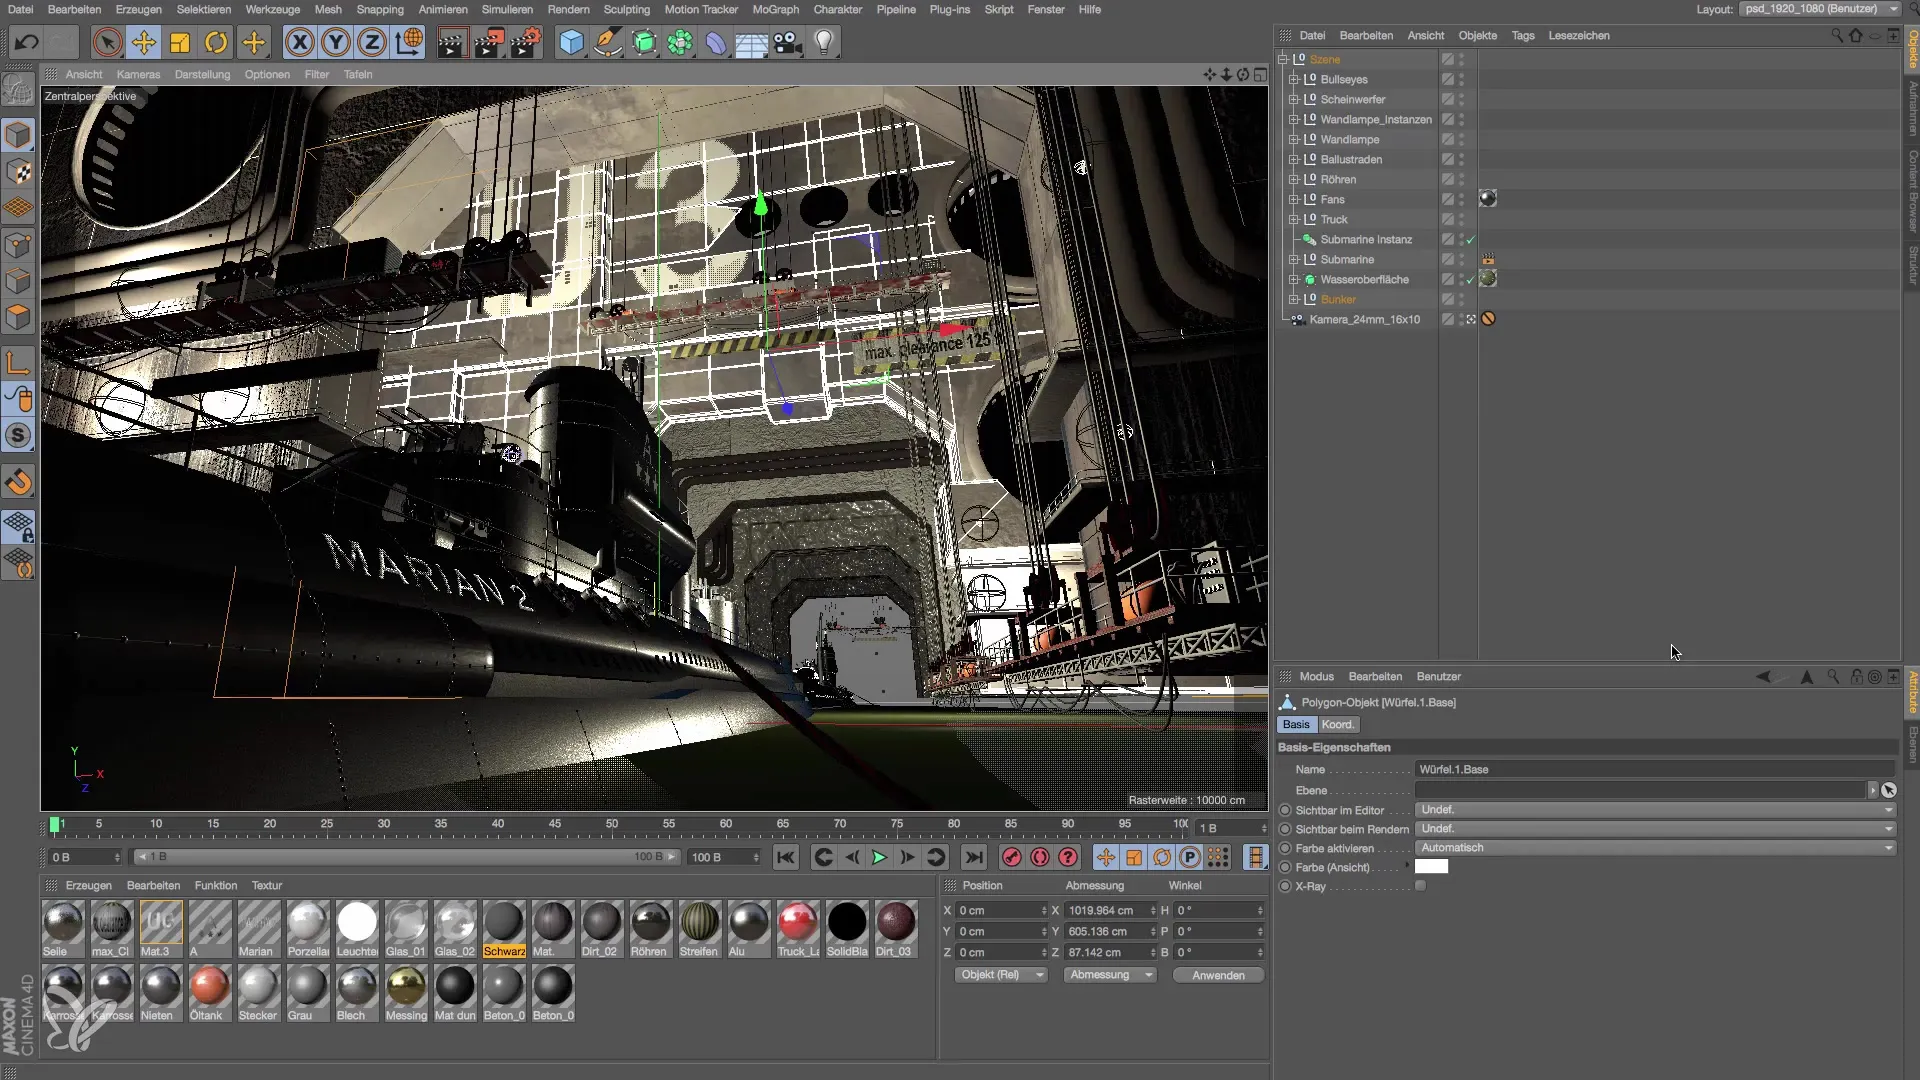
To place a key light source in your scene, you should first select the required light tool. You can use a targeted light source, which is ideal for this type of application. It allows for more precise control over the light direction and intensity.
Step 2: Positioning the Light Source
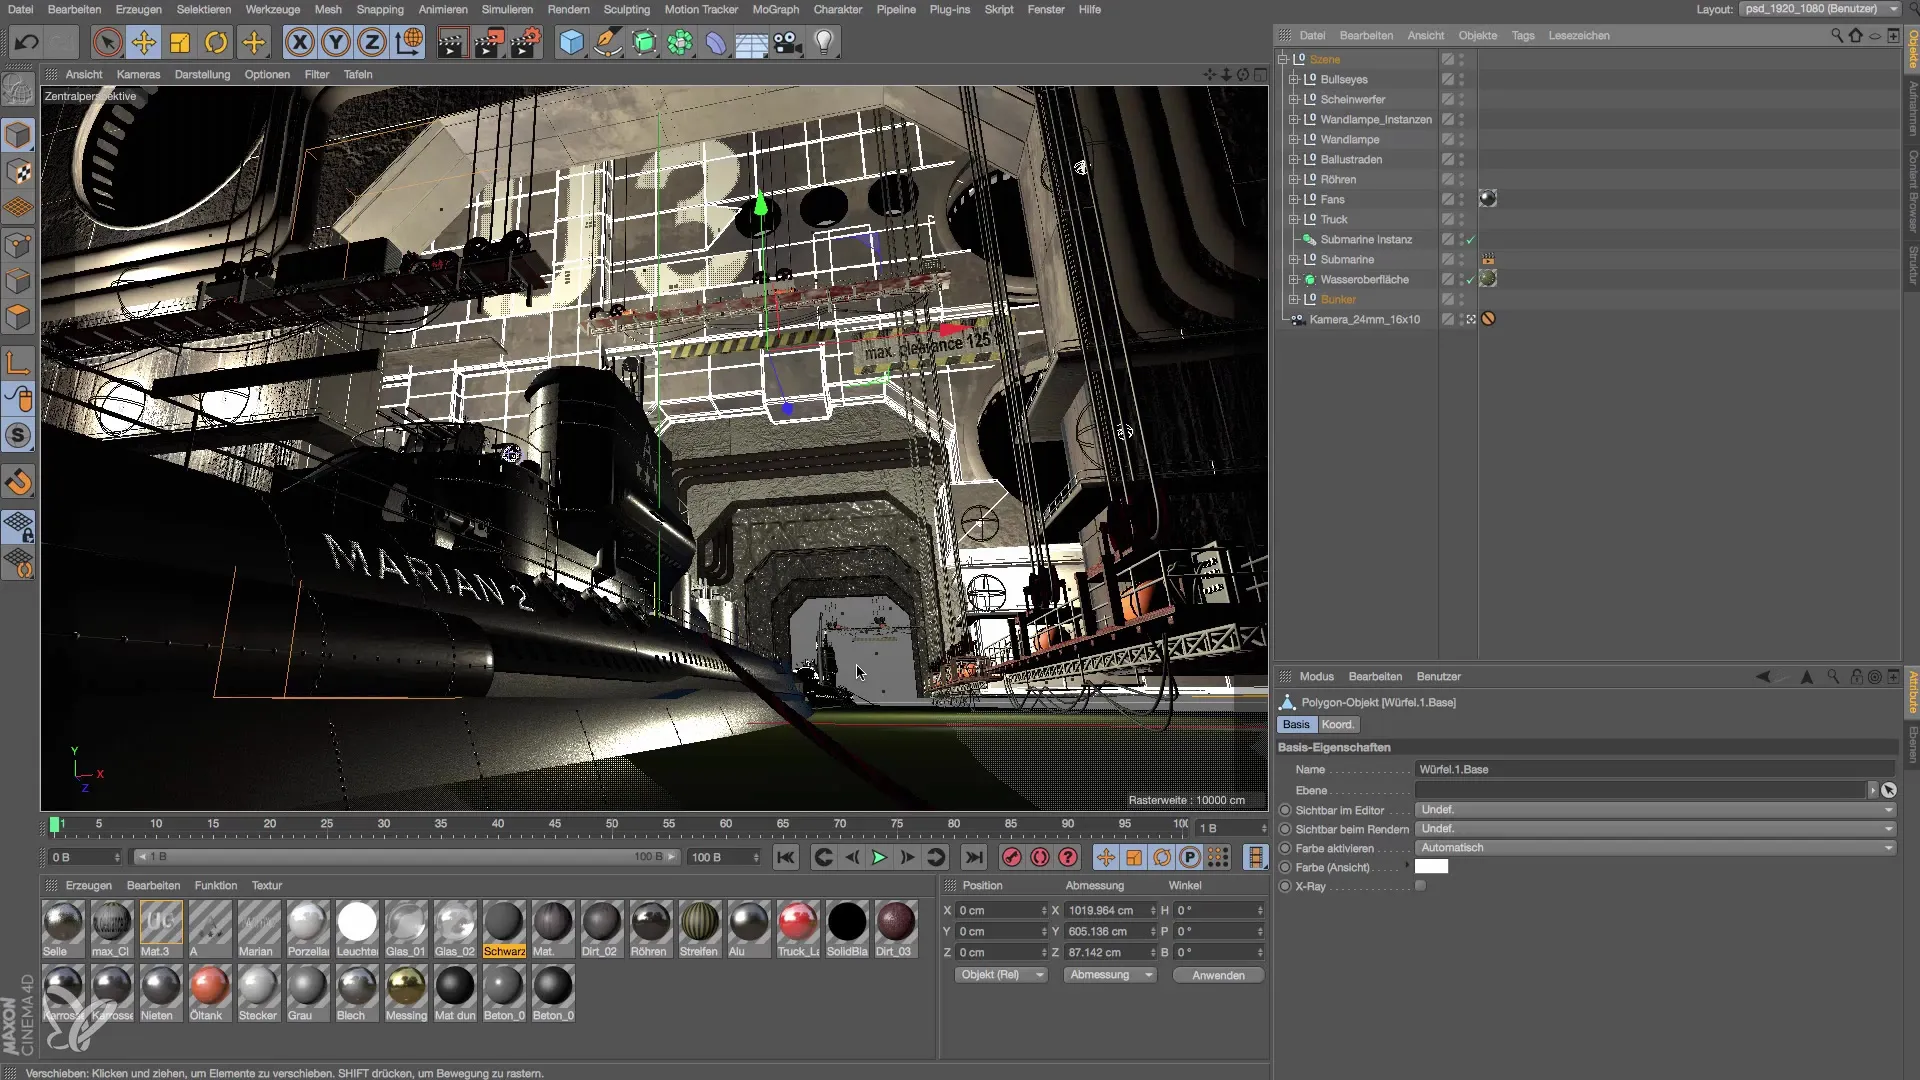
Position the light source in the scene. Since this bunker is underground, it is important to use a light source that is not perceived as daylight. Place the light source in a corner to shine outward.
Step 3: Orienting the Light Source
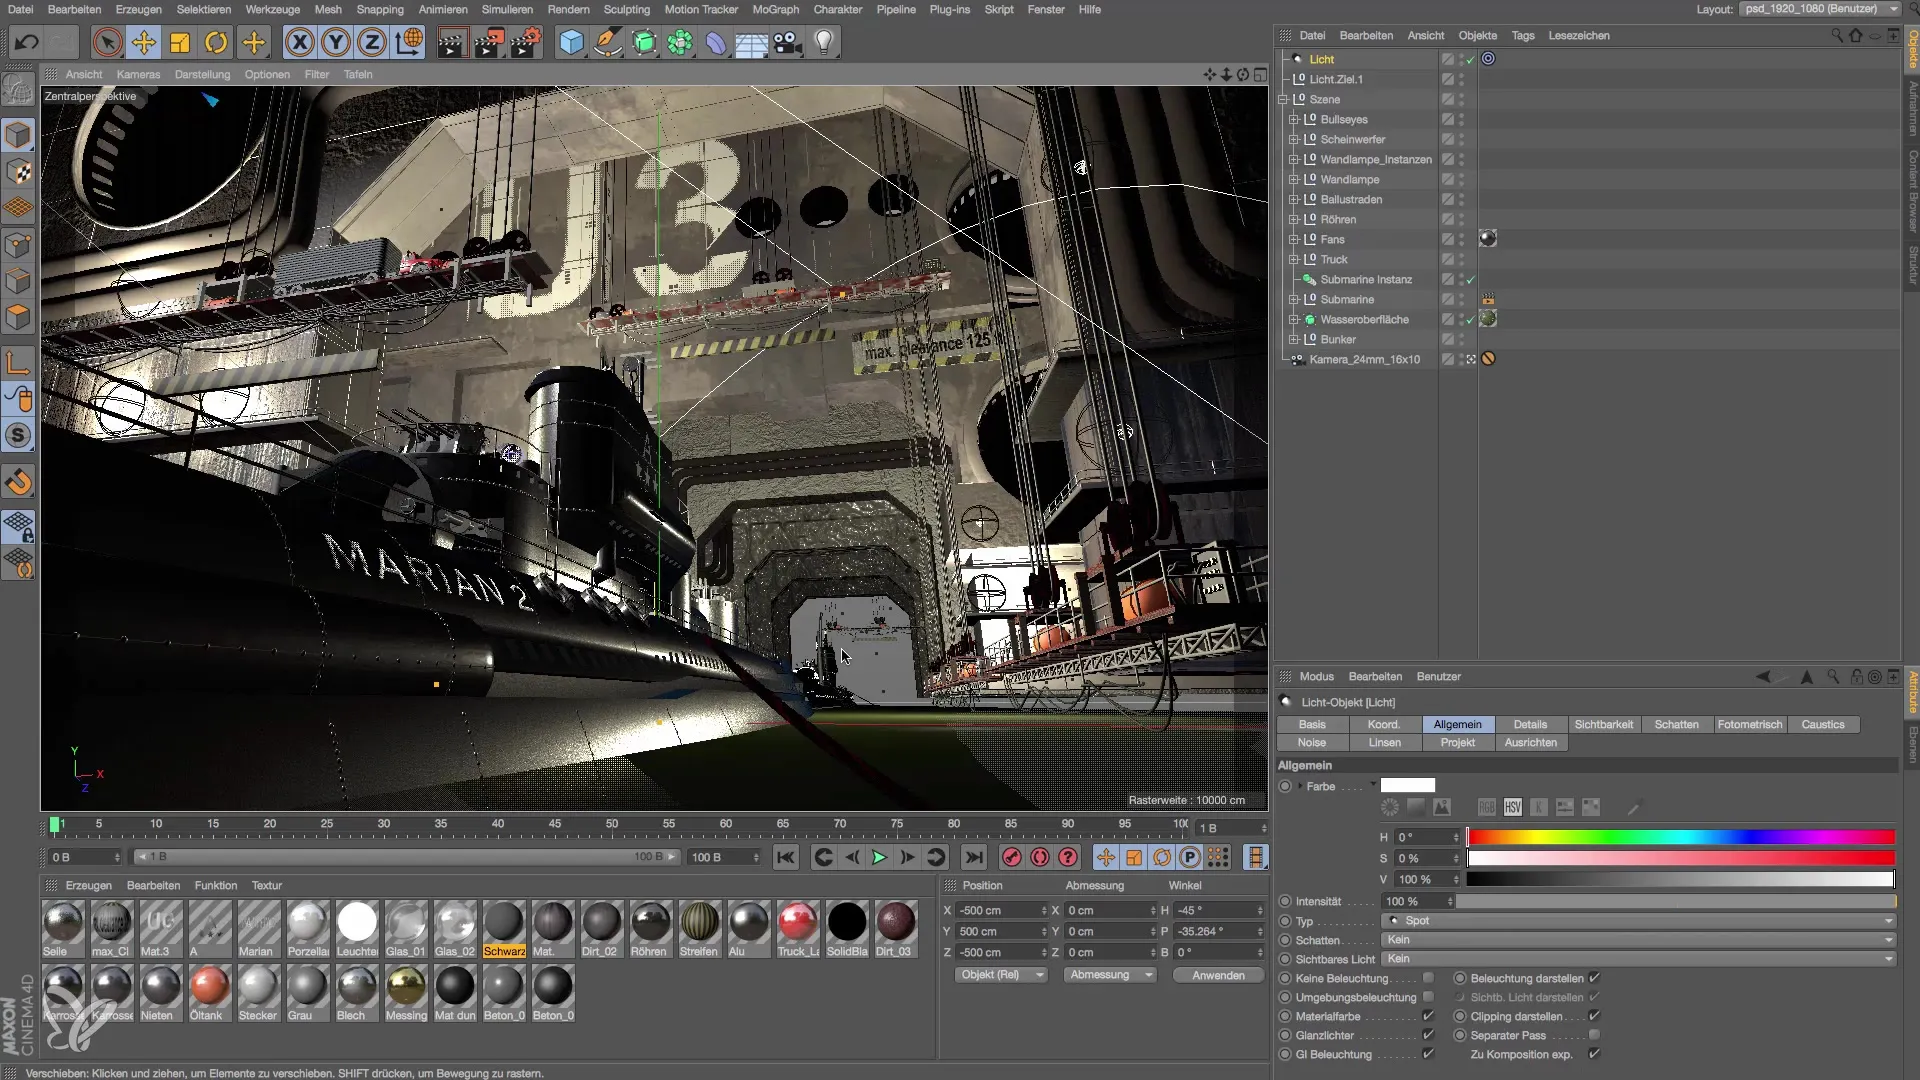
Now it’s about orienting the light source so that it points exactly to the desired spot. Click on the light source and drag it into the correct position. This can be easily done by aligning it to the target, which is very user-friendly in Cinema 4D.
Step 4: Visibility of the Light Source
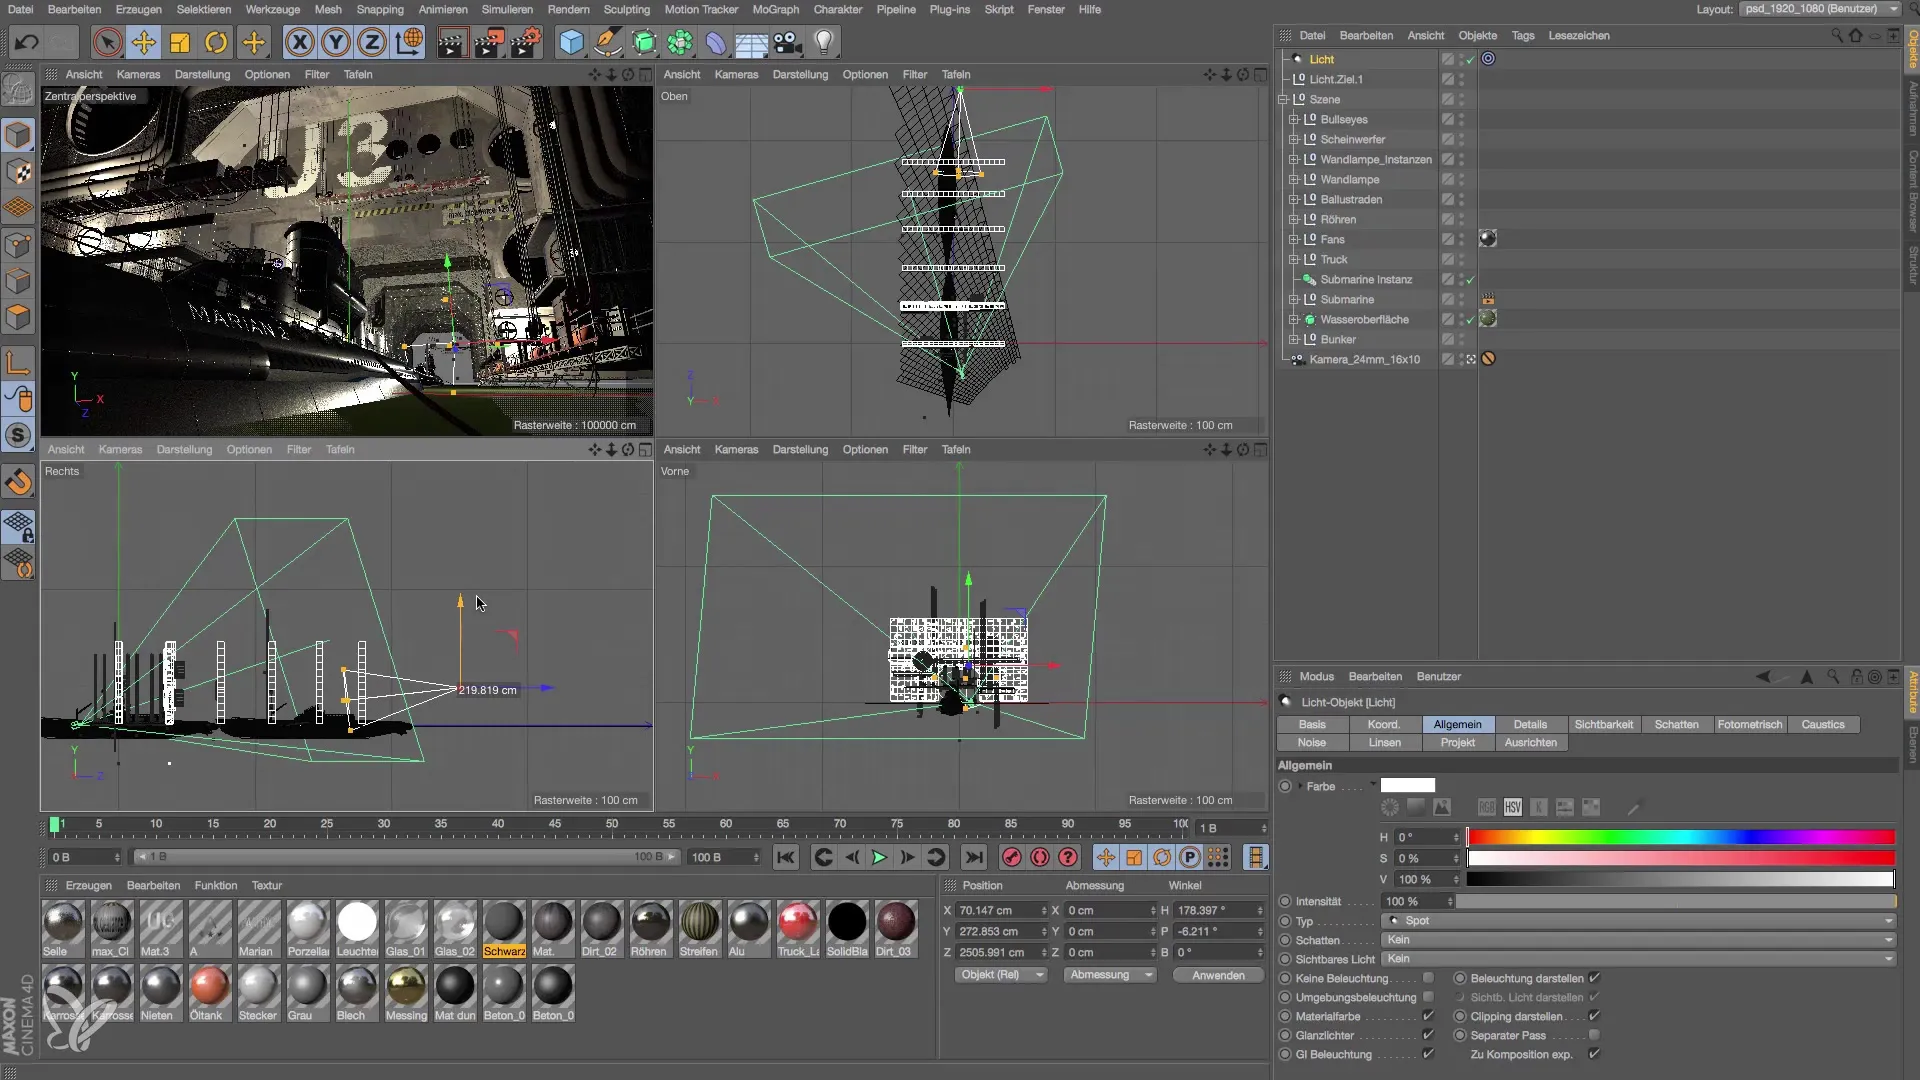
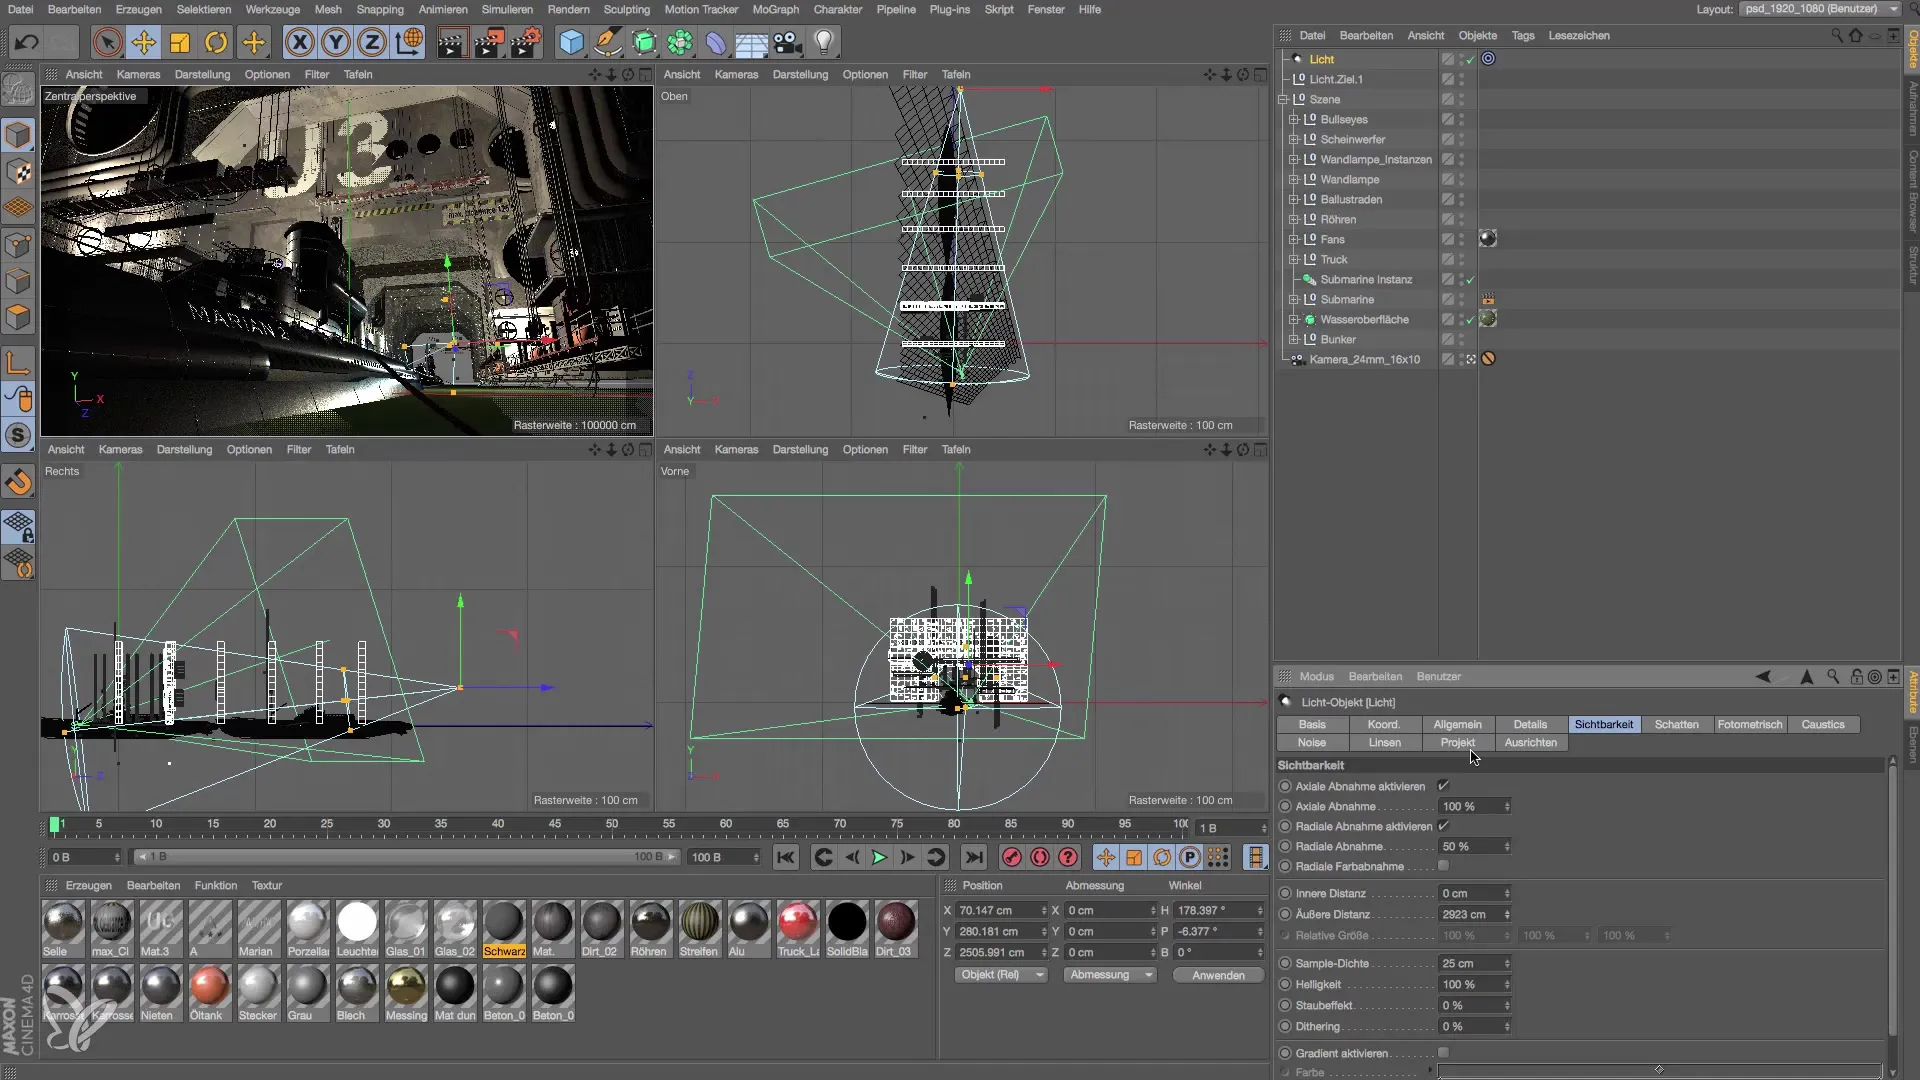
Check the visibility of your light source by ensuring it is visible and produces a clear glow. The light should illuminate the desired objects without being blocked by the structure itself. Adjust the height of the light source to achieve the perfect effect.
Step 5: Setting the Light Color
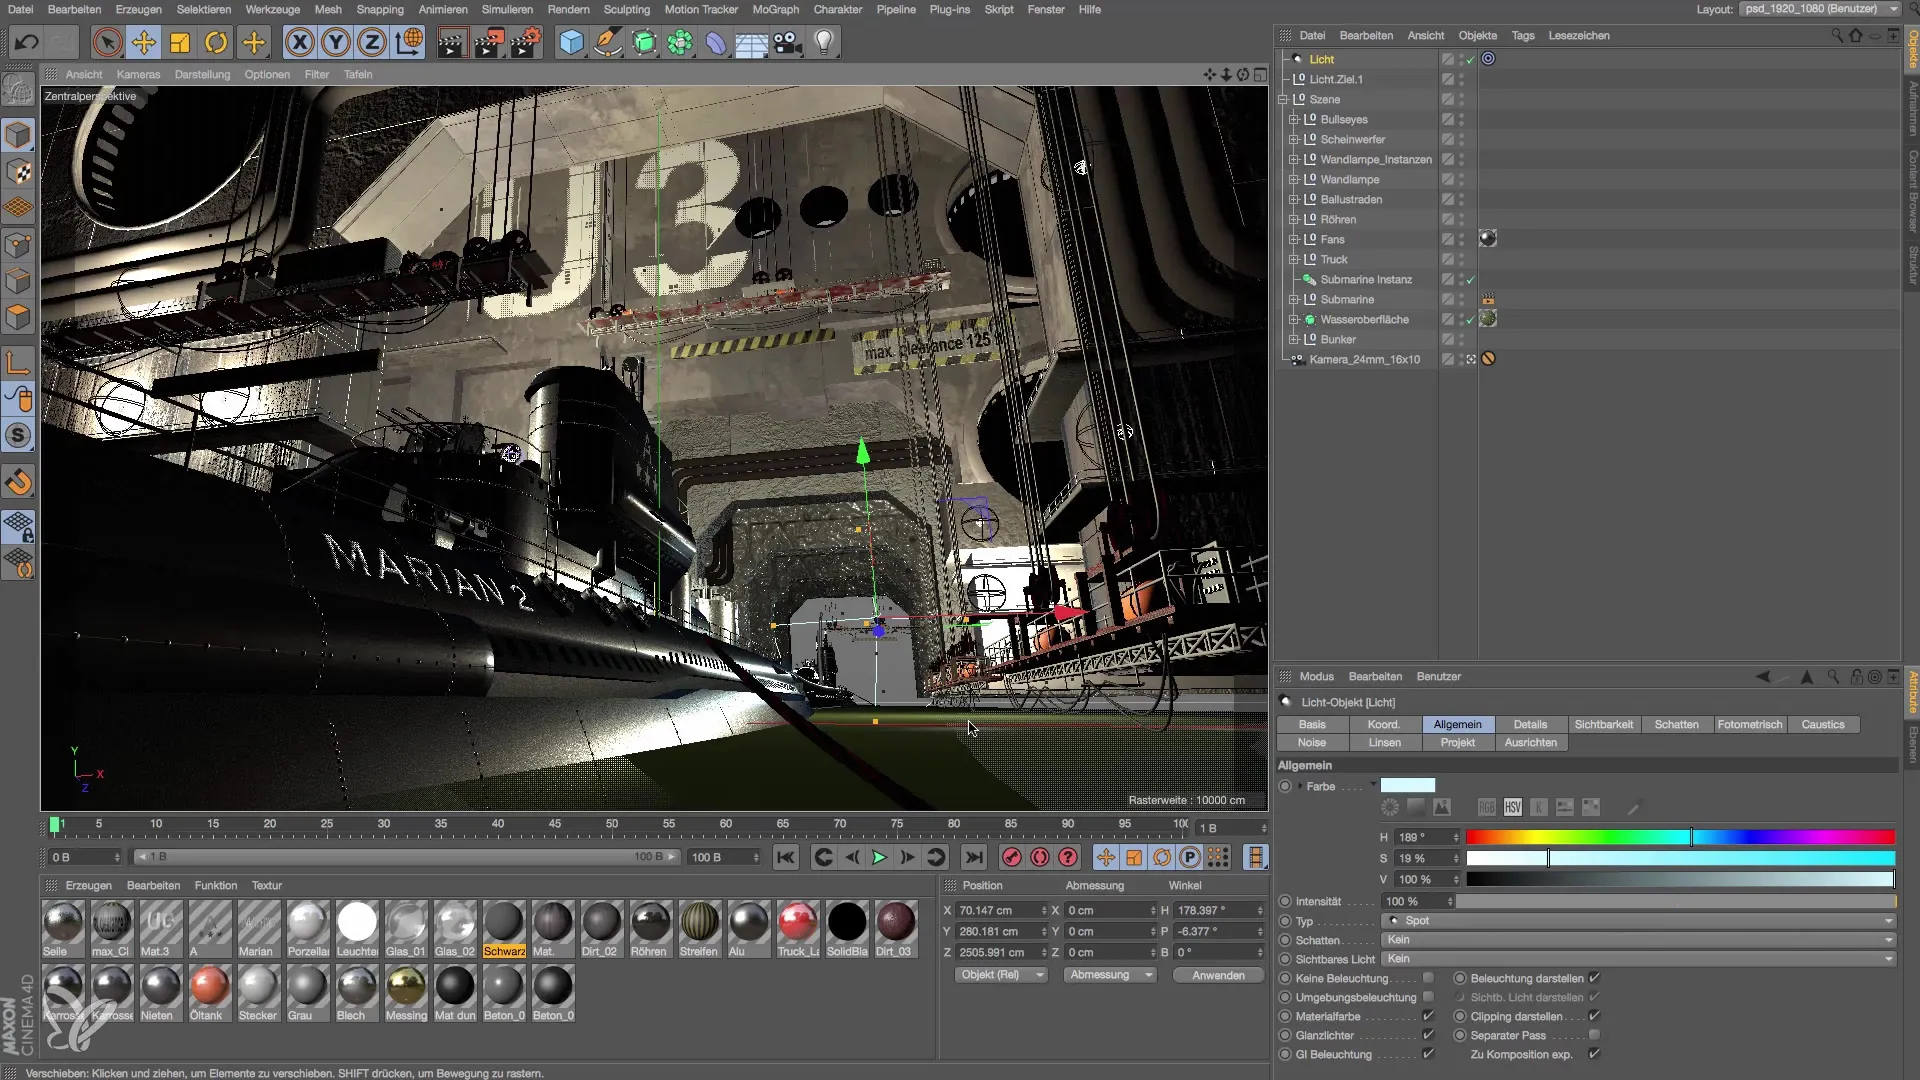
To bring more atmosphere to your scene, change the light color of the light source. In this tutorial, it is recommended to choose a bluish color temperature to simulate a natural daylight spotlight. Set the color saturation to 30%.
Step 6: Activate Volumetric Properties
Activate the volumetric effects of your light source. This creates stunning light beams that shine through other object structures. Ensure that the visibility is adjusted so that it is visible from the camera and that the intensity is distributed smoothly.
Step 7: Final Review and Fine-Tuning
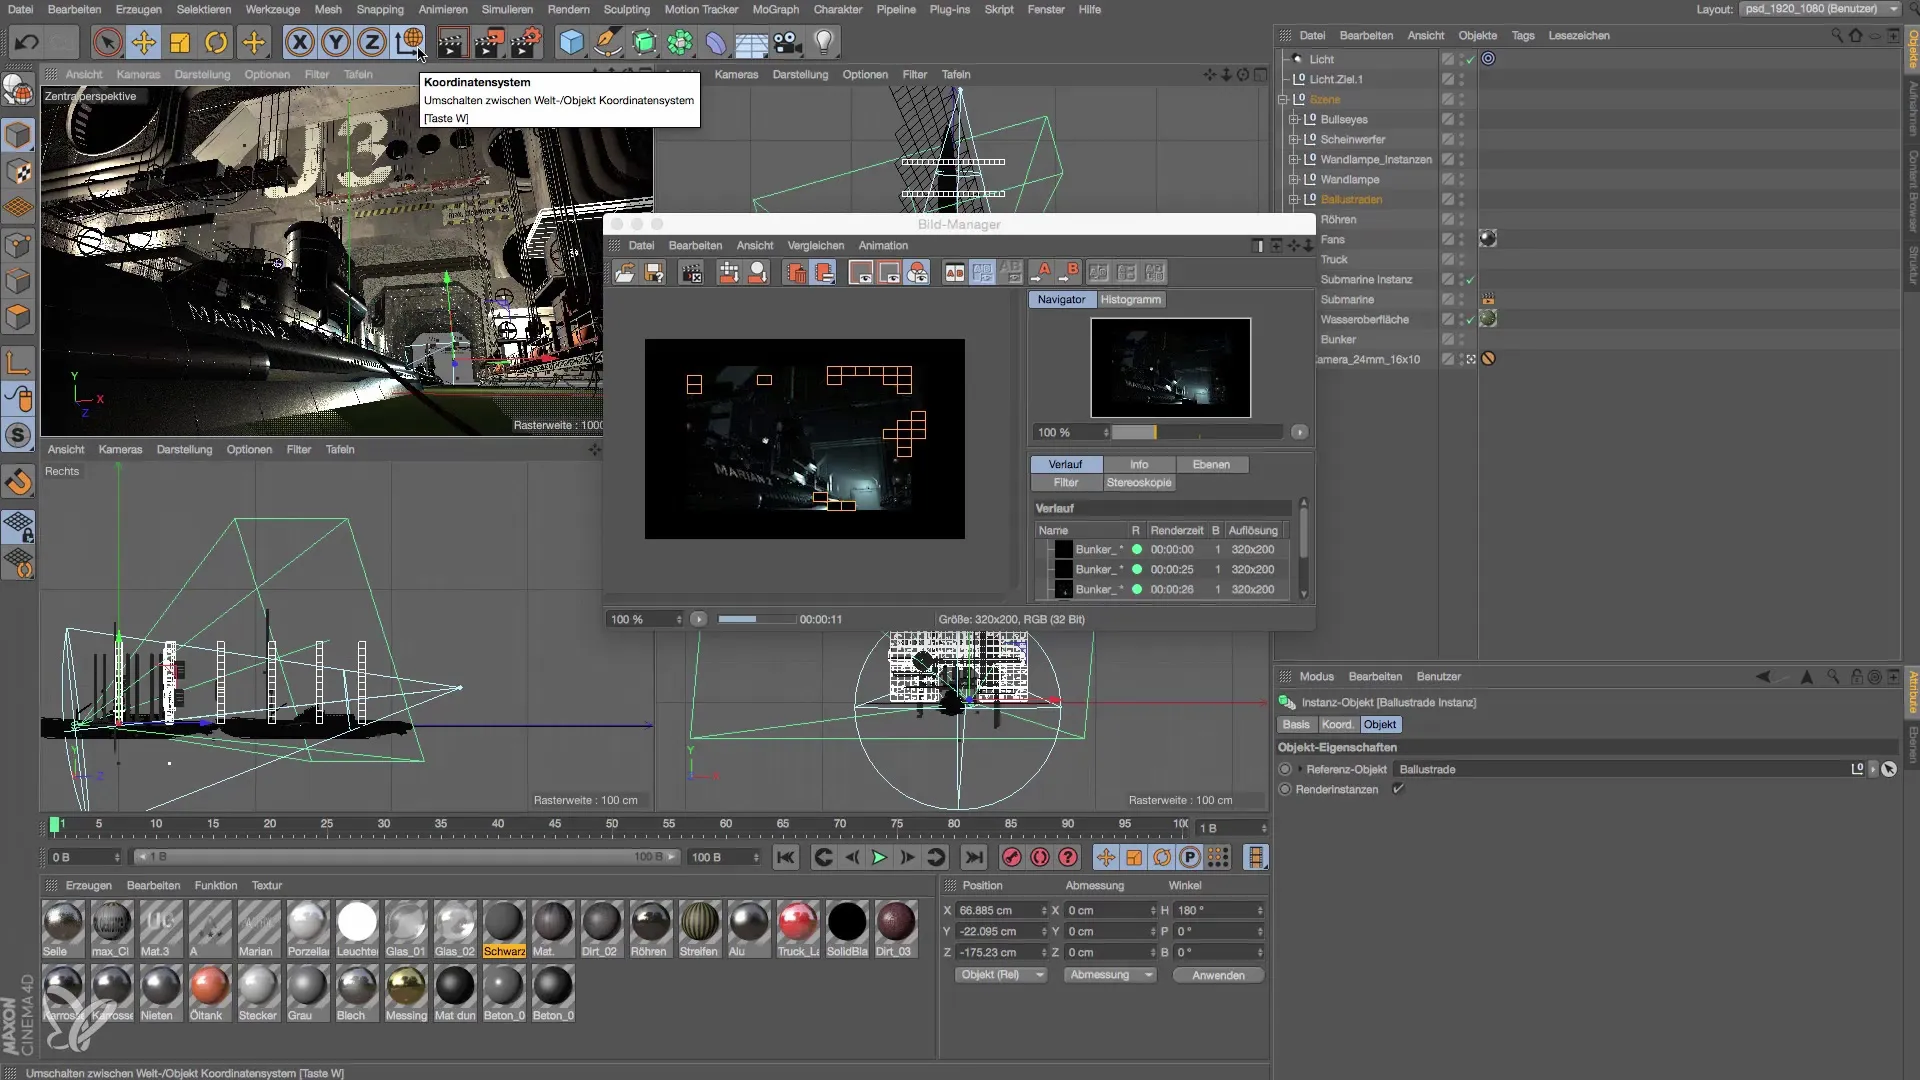
Check all settings to ensure that your key light source achieves the desired effect. Test the lighting with a quick render view to see how the light structures look in the scene.
Summary – Lighting Setup in Cinema 4D: Create Key Light Source
By creating a key light source in Cinema 4D, you can not only control the atmosphere of your scene but also effectively model highlights and shadows. The use of targeted light sources allows for precise alignment and creates impressive light beams that bring your 3D environment to life.
Frequently Asked Questions
What type of light source is best suited for this scene?A targeted light source is best suited as it allows for precise control of the light direction.
Why is color temperature important?The color temperature determines the atmosphere and realism of your lighting. A bluish temperature often appears more natural and appealing.
How can I adjust the visibility of the light source?The visibility can be adjusted in the light source dialog to set volumetric effects and range.


