The use of light sources in 3D modeling can make the difference between a flat and vibrant scene. In this tutorial, you will learn how to effectively use a wall lamp in Cinema 4D and adjust the lighting conditions to bring your project to life. We will go through the assembly and adjustment of the lamp step by step, so you can achieve important lighting effects.
Key Takeaways
- The "Apply" command is crucial for placing the light source correctly.
- The right material properties of the objects significantly affect light reflection and emission.
- Light sources require adjustments in terms of shadows and attenuation, in addition to placement, to achieve realistic effects.
Step-by-Step Guide
Step 1: Select and Support the Wall Lamp
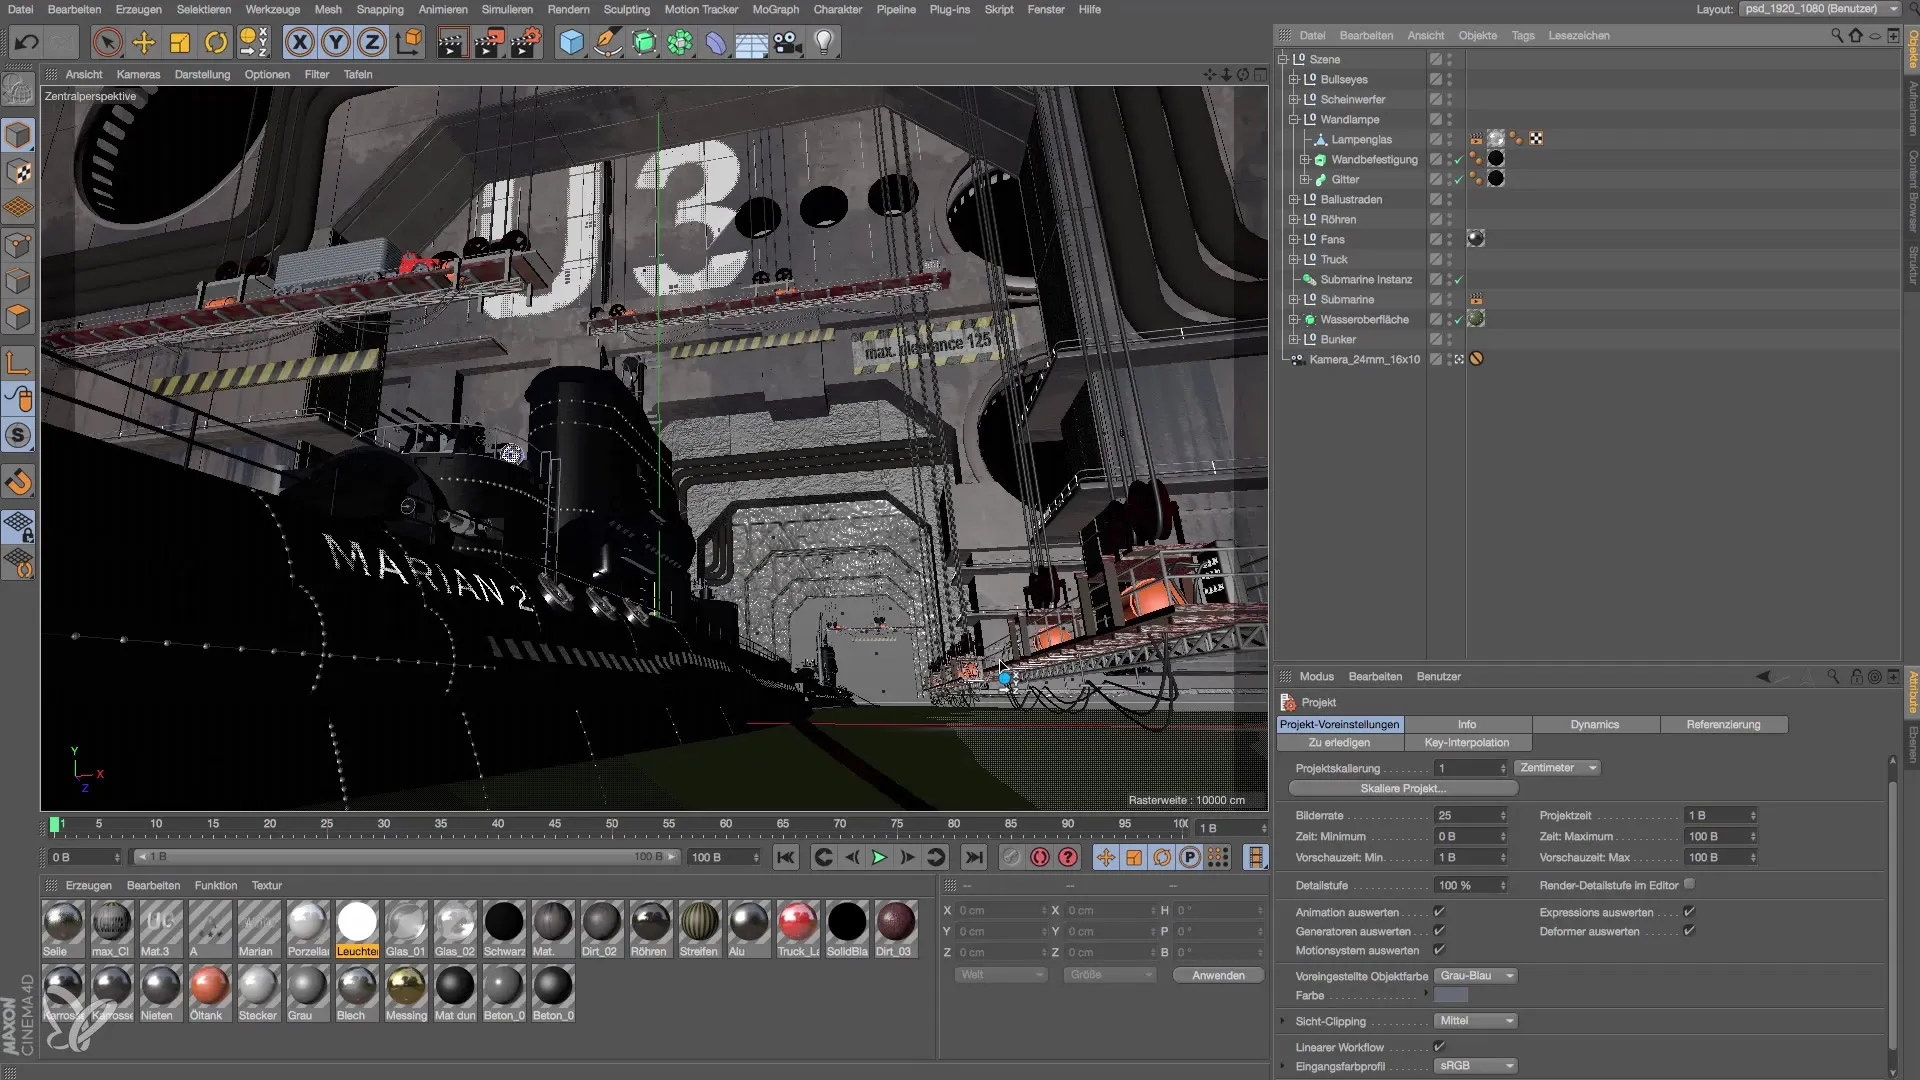
Start by inserting a point light into your project by selecting a new light object from the toolbar. Make sure the lamp is positioned in the right area. Turn off the camera to get a better overview of the placement. Select the wall lamp and press the "O" key to focus directly on it. This helps you gain the right perspective.
Step 2: Adjust Light to Wall Lamp
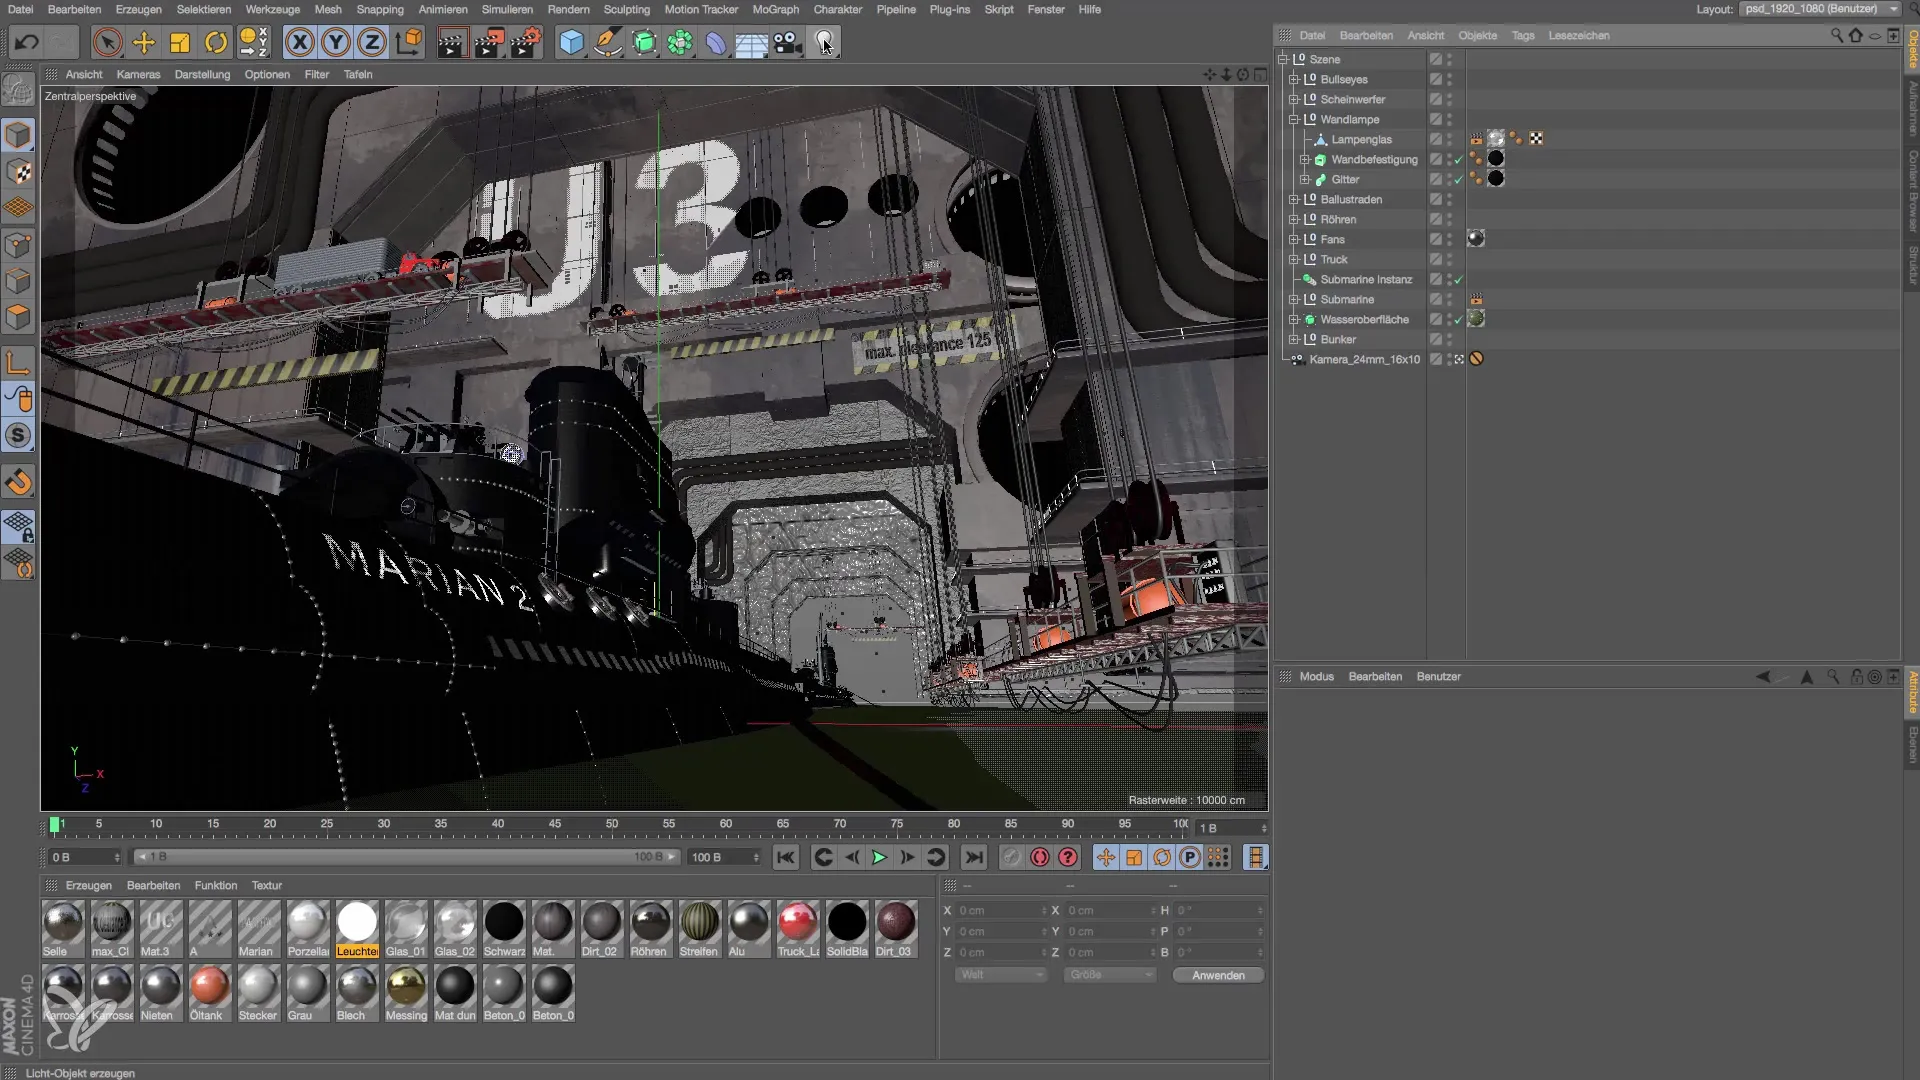
Now that you have placed the point light, you need to integrate it into the housing of the wall lamp. Use the "Apply" command found in the menu under "Tools" → "Arrange Objects." Here you can choose whether to integrate the complete lamp or just the lamp glass. In this case, select only the lamp glass for more efficient handling.
Step 3: Move Light Source
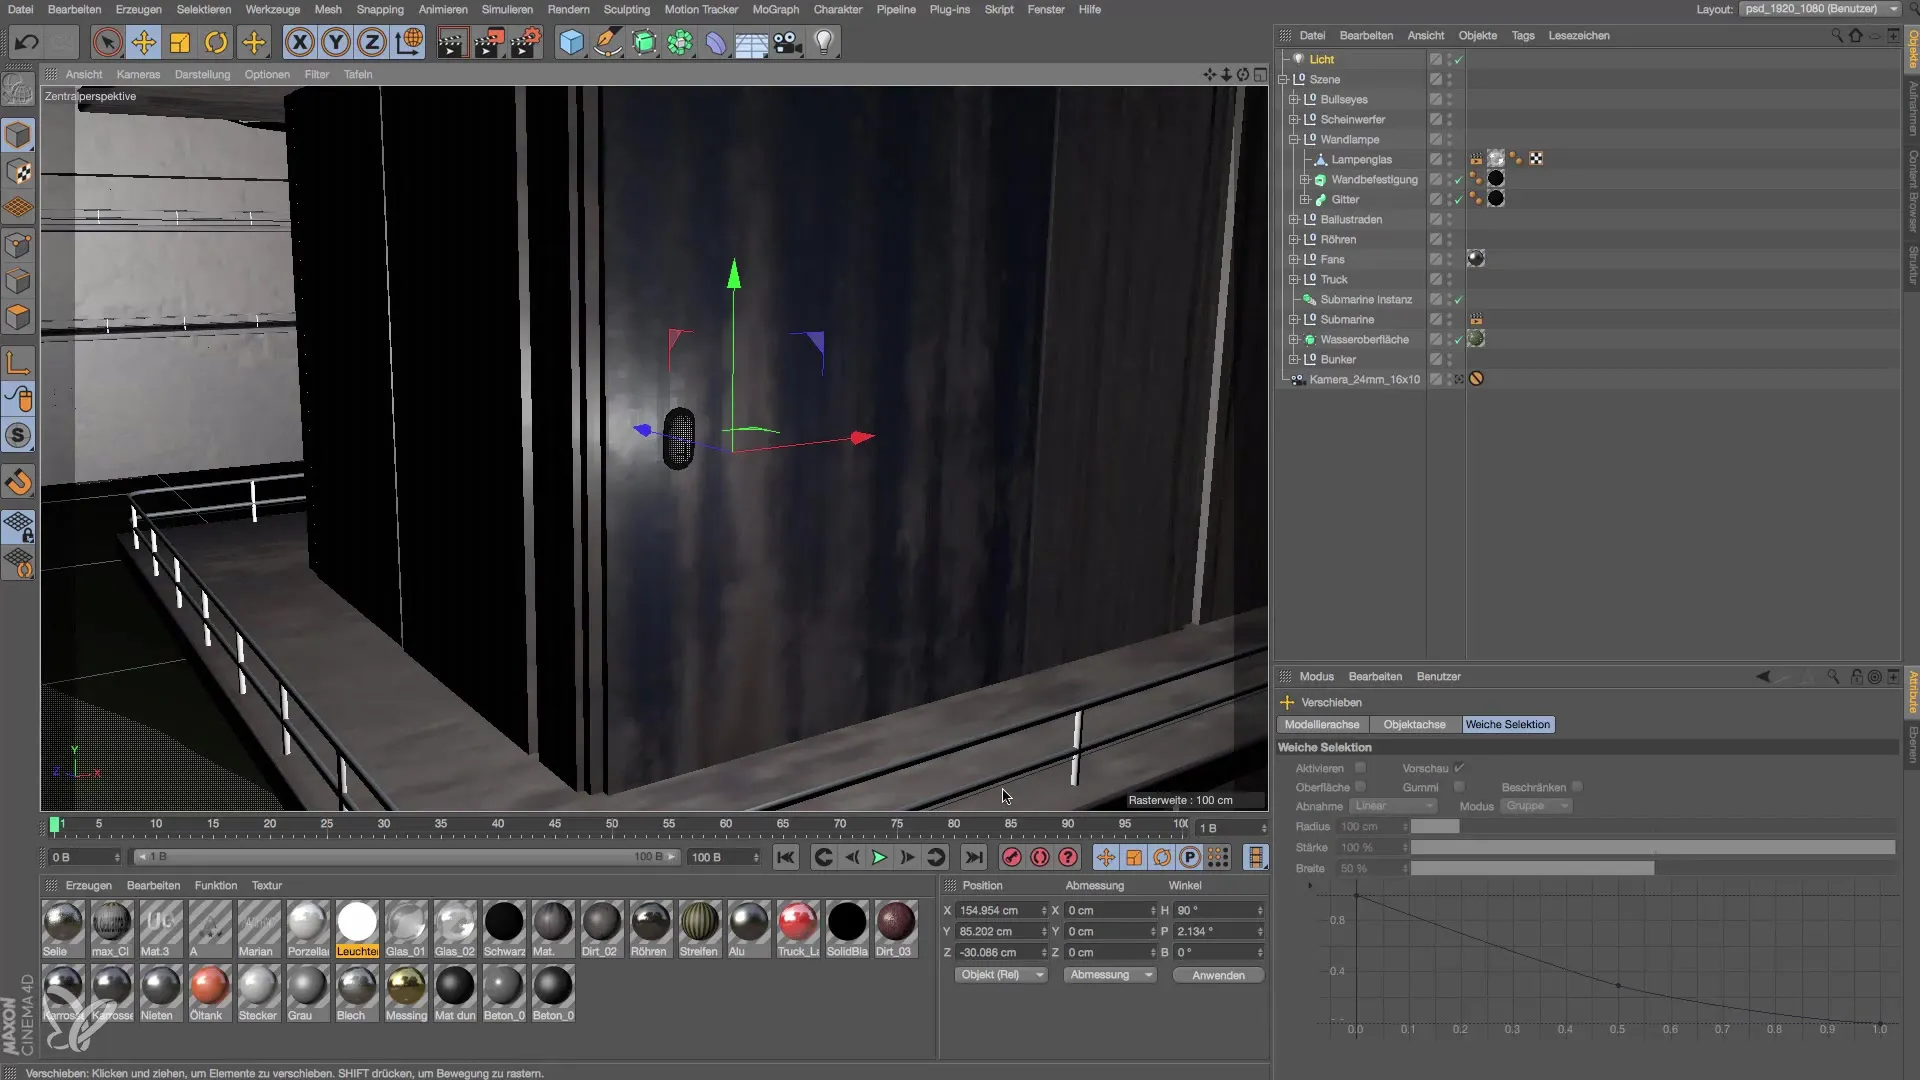
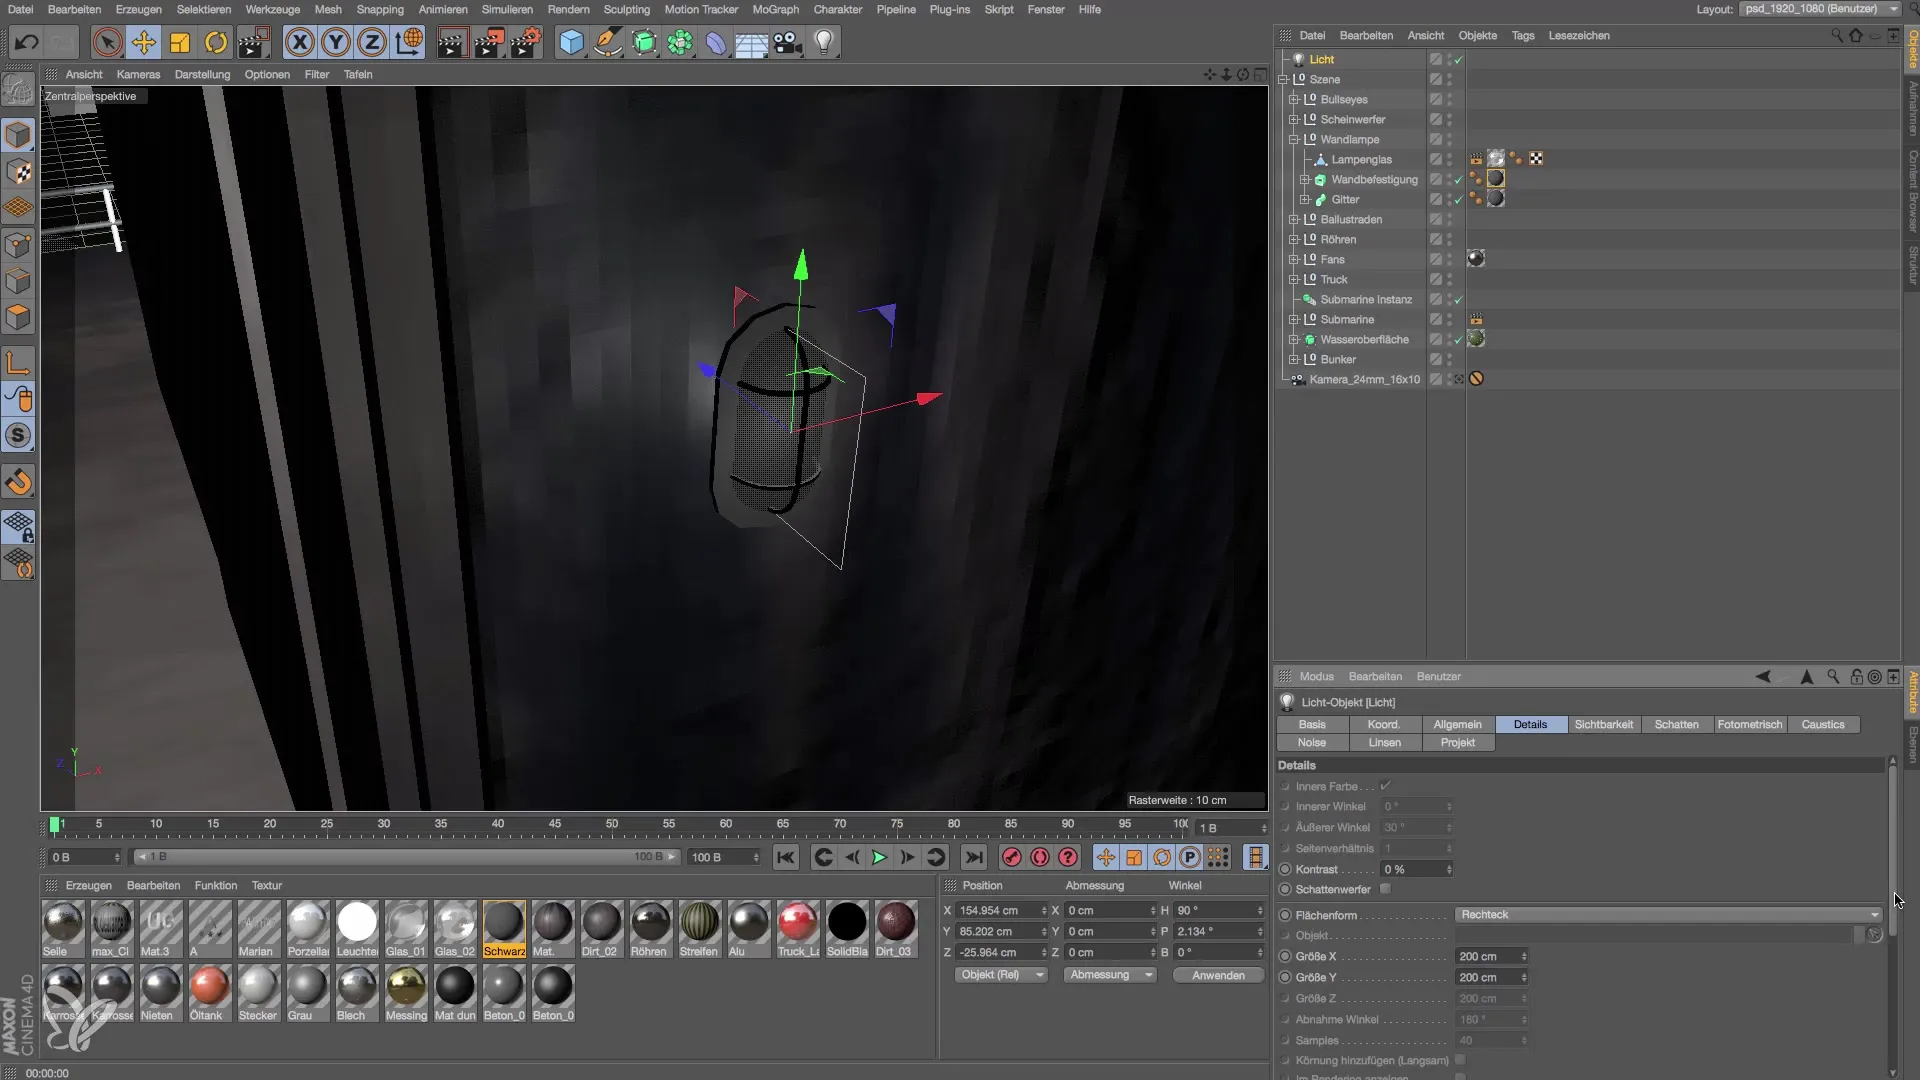
After you have integrated the lamp glass, the light source becomes invisible as it is located behind the wall. To make it visible, you need to select the light and carefully pull it forward using the move tool until it is inside the housing of the wall lamp. This is an important step, as the light should actually shine from within the housing.
Step 4: Correct the Light Effect
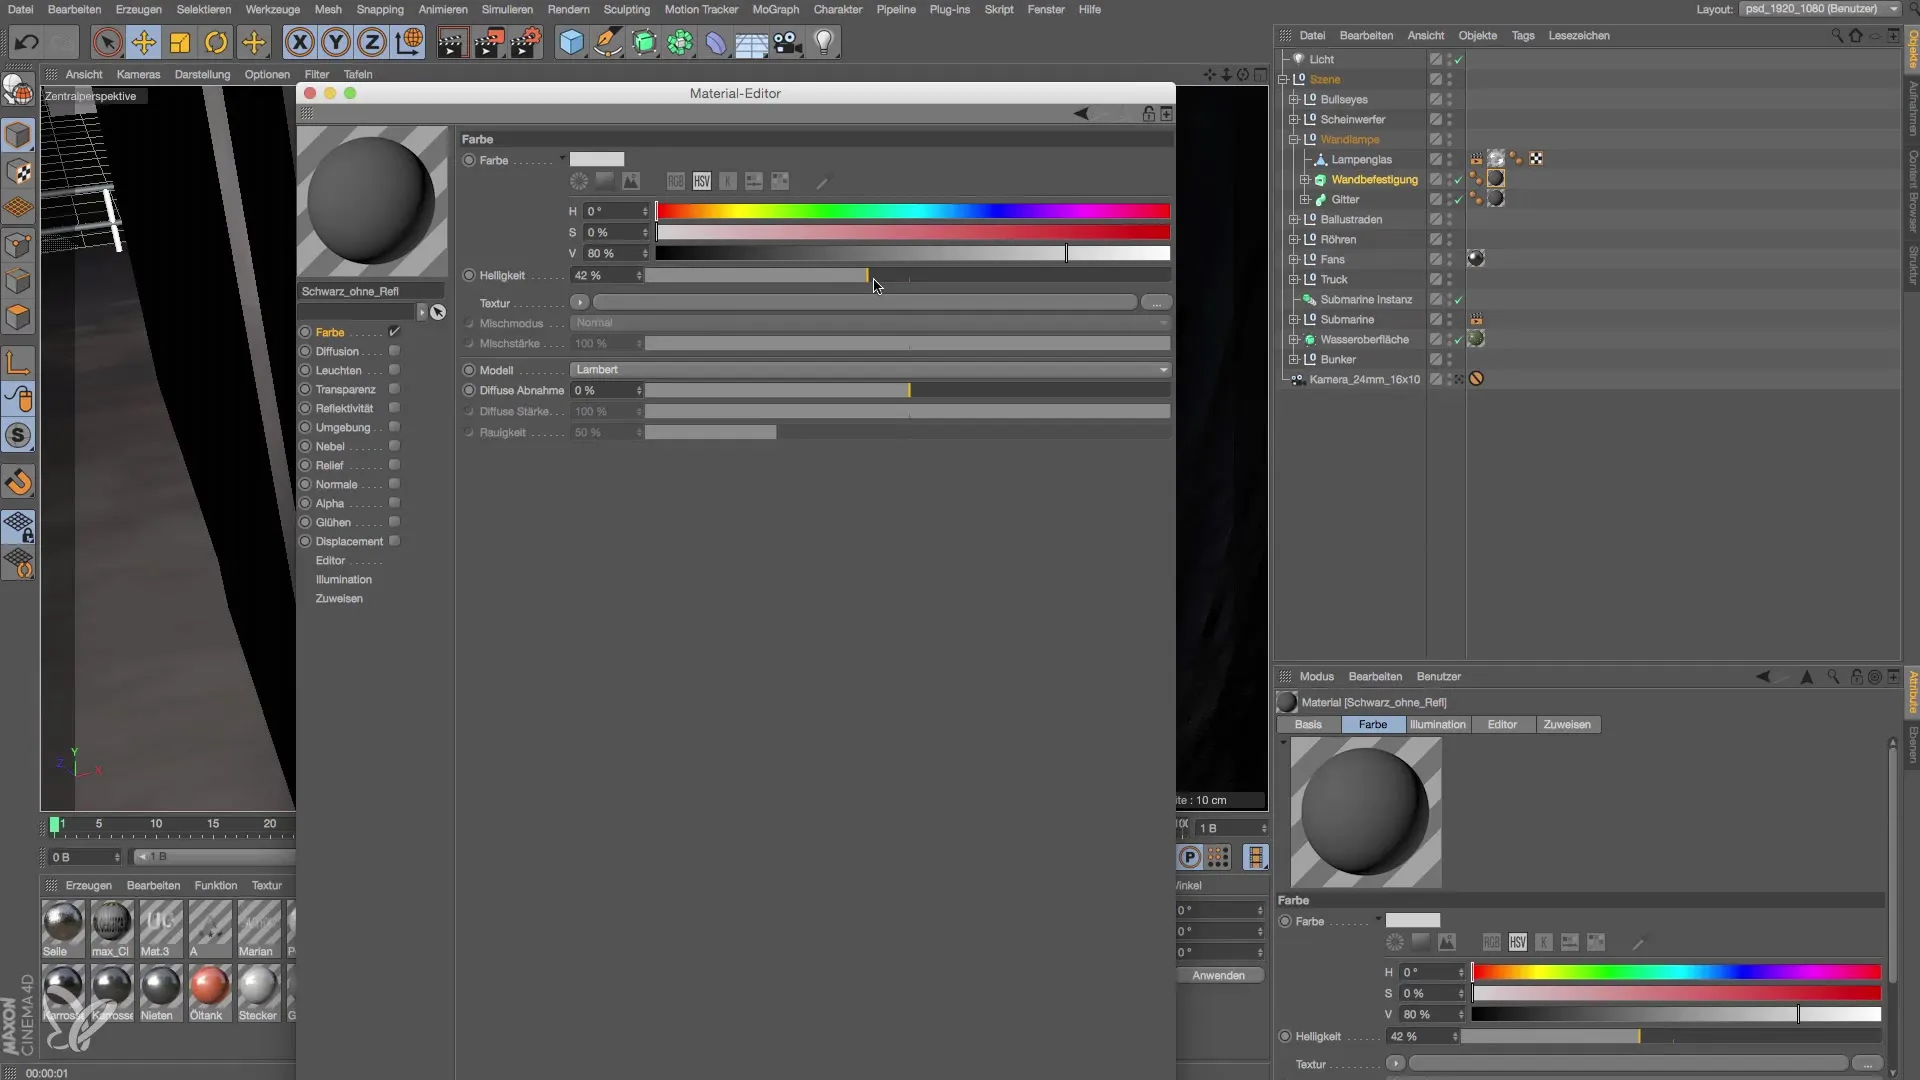
Now take a look at the parts of the scene that are lit by the light. You may have noticed that while the light is present, it doesn’t appear to be coming from the lamp. This may be due to the material settings of your wall material. The wall application could be too dark or not reflective enough. You need to optimize this setting so that it displays a more realistic light behavior.
Step 5: Adjust Brightness of Wall Material
When you select the wall tile material, you will notice that the brightness is set to a very low value. Increase this value to about 40% and observe how the lighting effect changes. Although this adjustment seems simple, it has a significant impact on the visual end result.
Step 6: Add Shadows and Light Attenuation
To make the light source appear even more realistic, add shadows. Ensure that it casts a soft shadow. Additionally, you should adjust the attenuation settings of the light source. Go to the properties of the light source and set the attenuation to "inverse square" so that the light diminishes realistically the further the light source is from an object.
Step 7: Fine-Tuning the Light Source
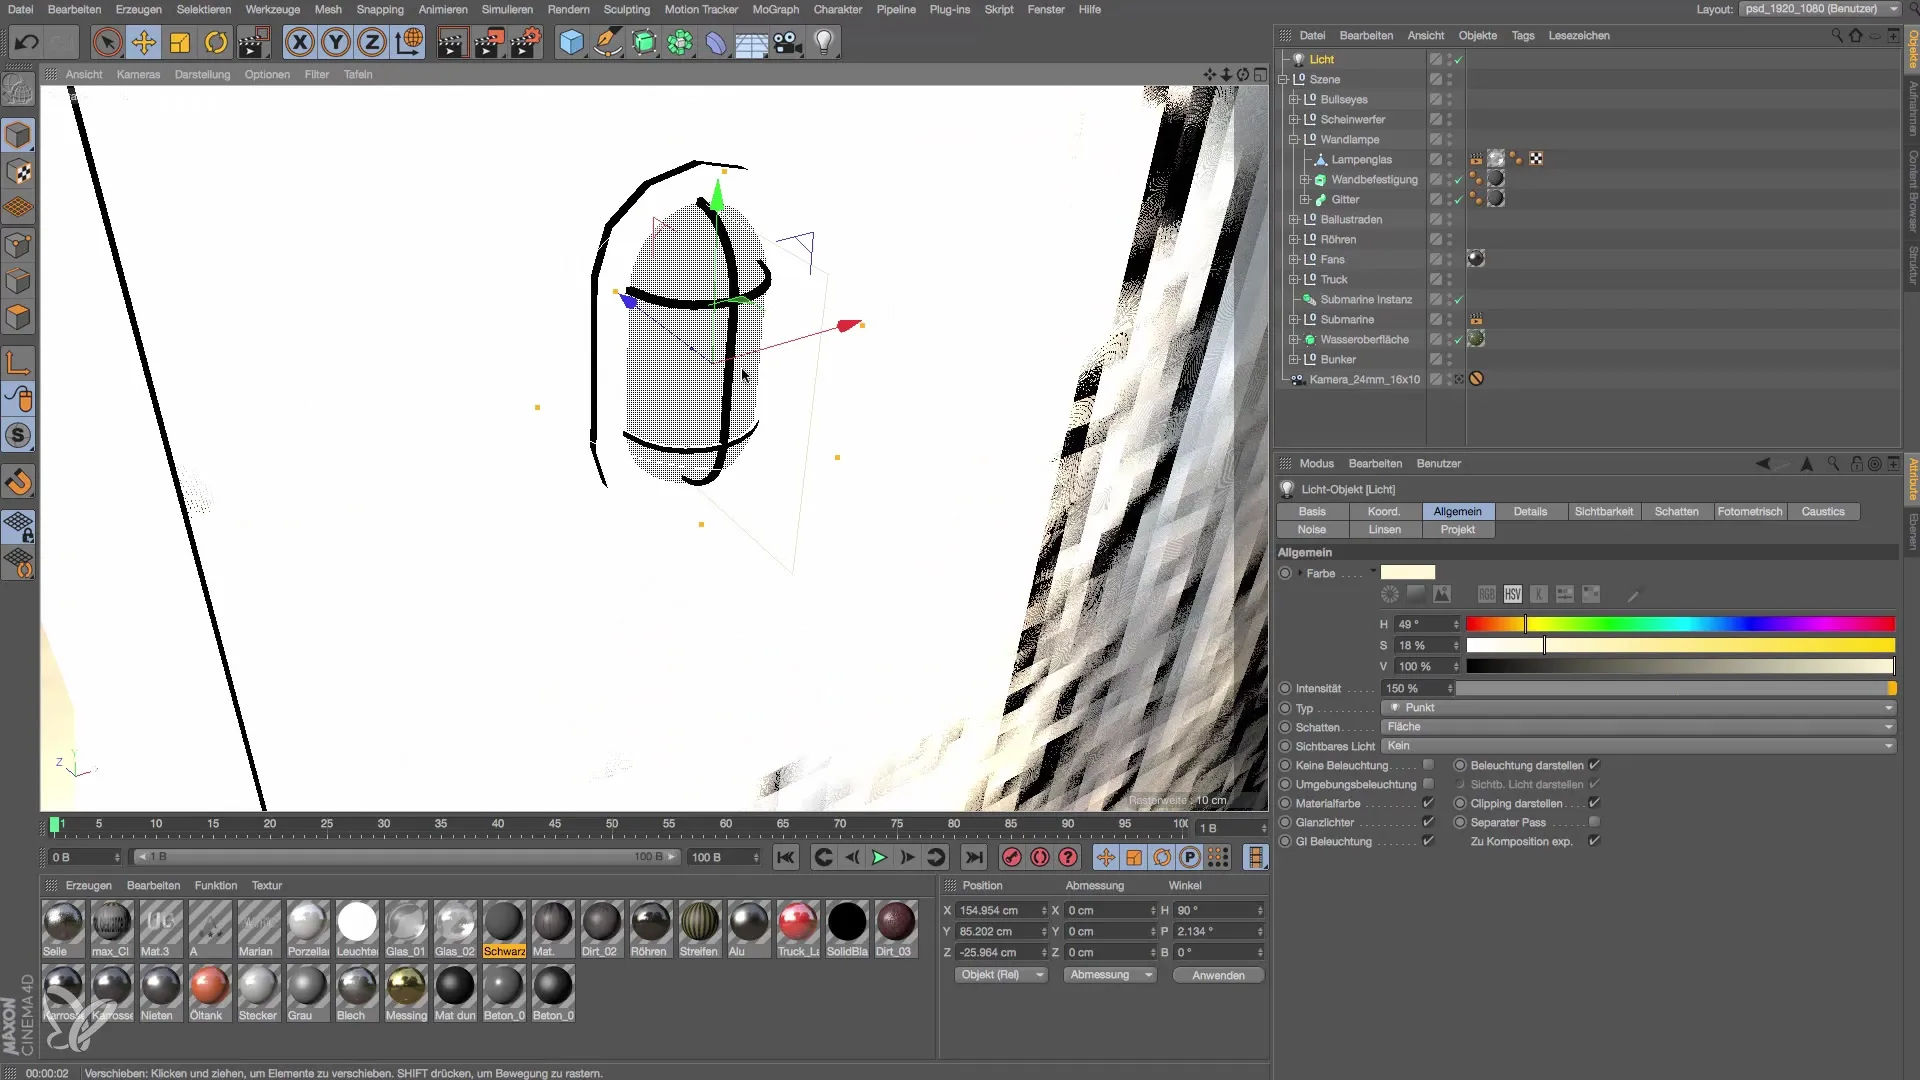
After adjustments, you can further tweak the light source's output to set the desired light accents. Increase the intensity of the light source to about 150% and apply a slight yellow tint for a warm light effect. Use the edge tool to see how the overall image changes.
Step 8: Create a Second Light Source
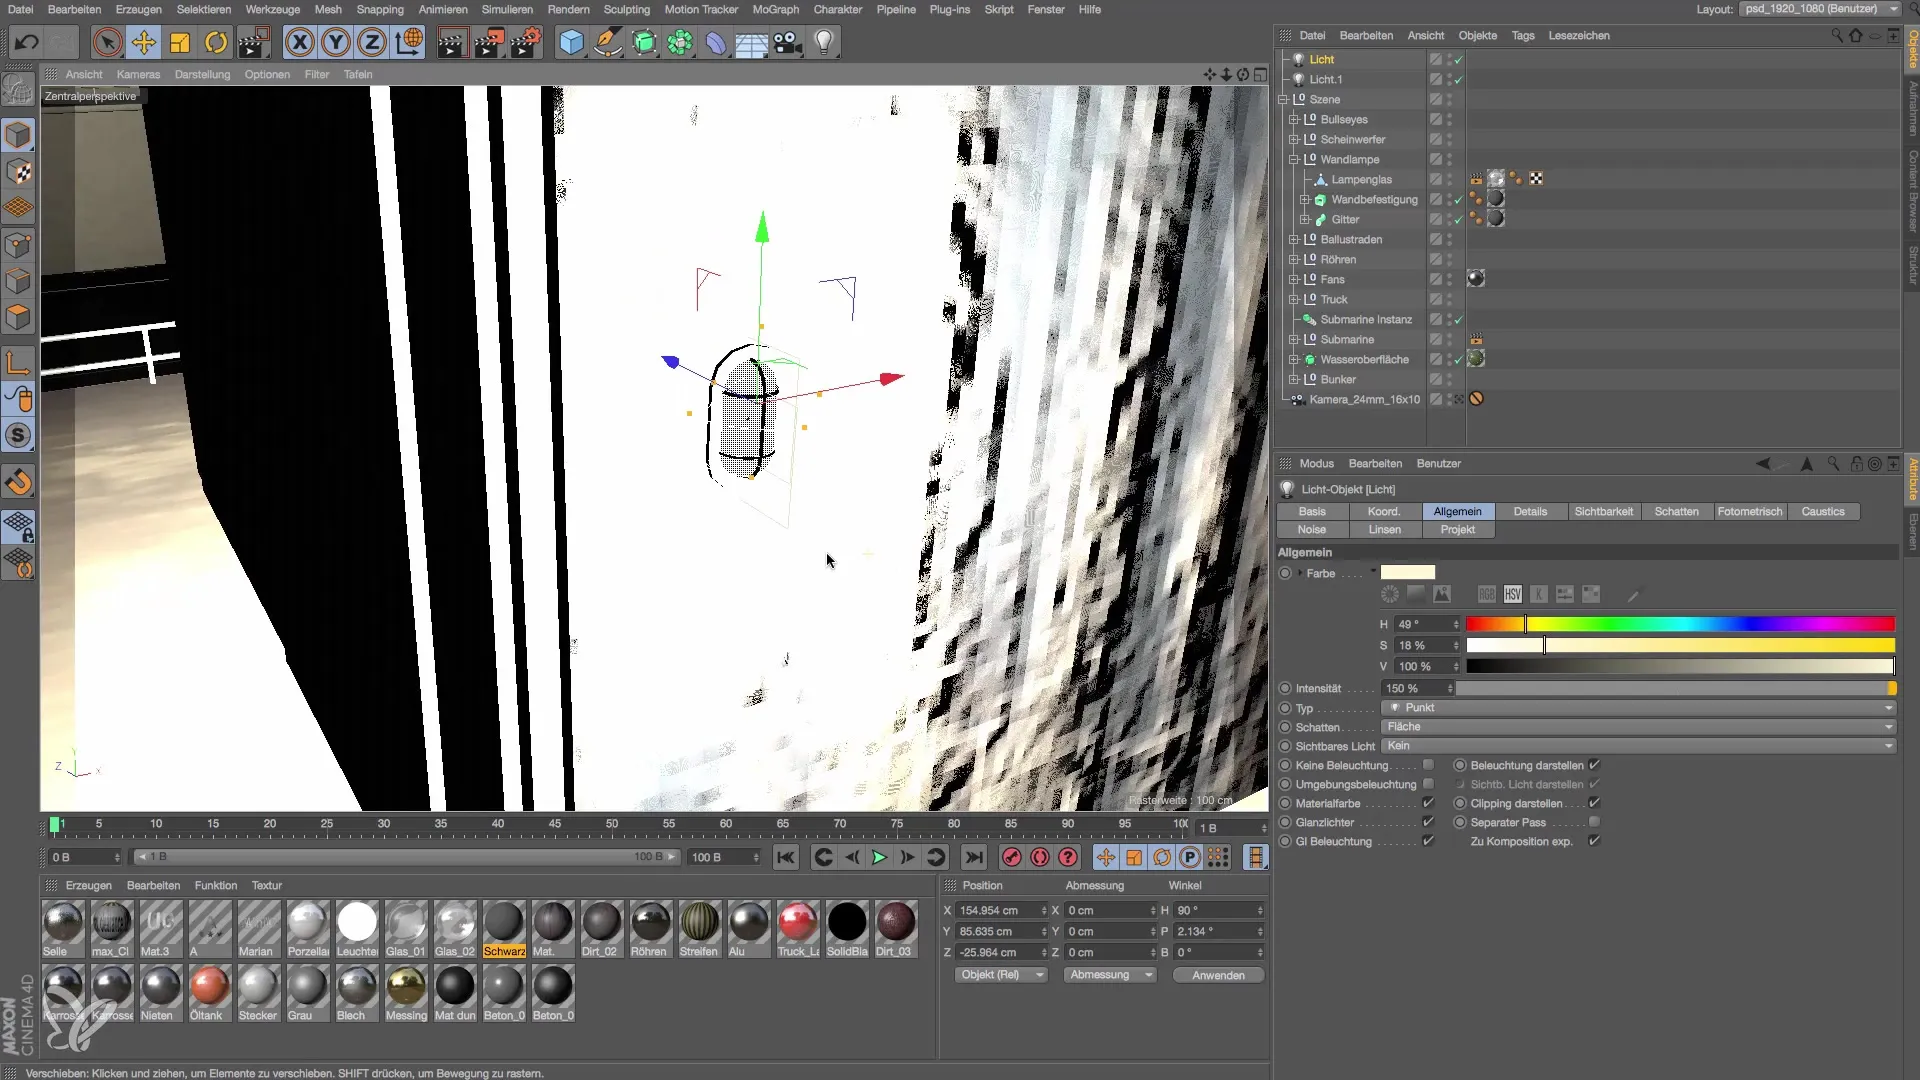
To intensify the effect of the wall lamp, you can duplicate the light source by holding the Control key. Move the new light source slightly up or down to create an aesthetic effect as if two light bulbs were inside the housing of the wall lamp. This enables a more even distribution of light and interesting shadow play.
Step 9: Final Adjustments to the Model
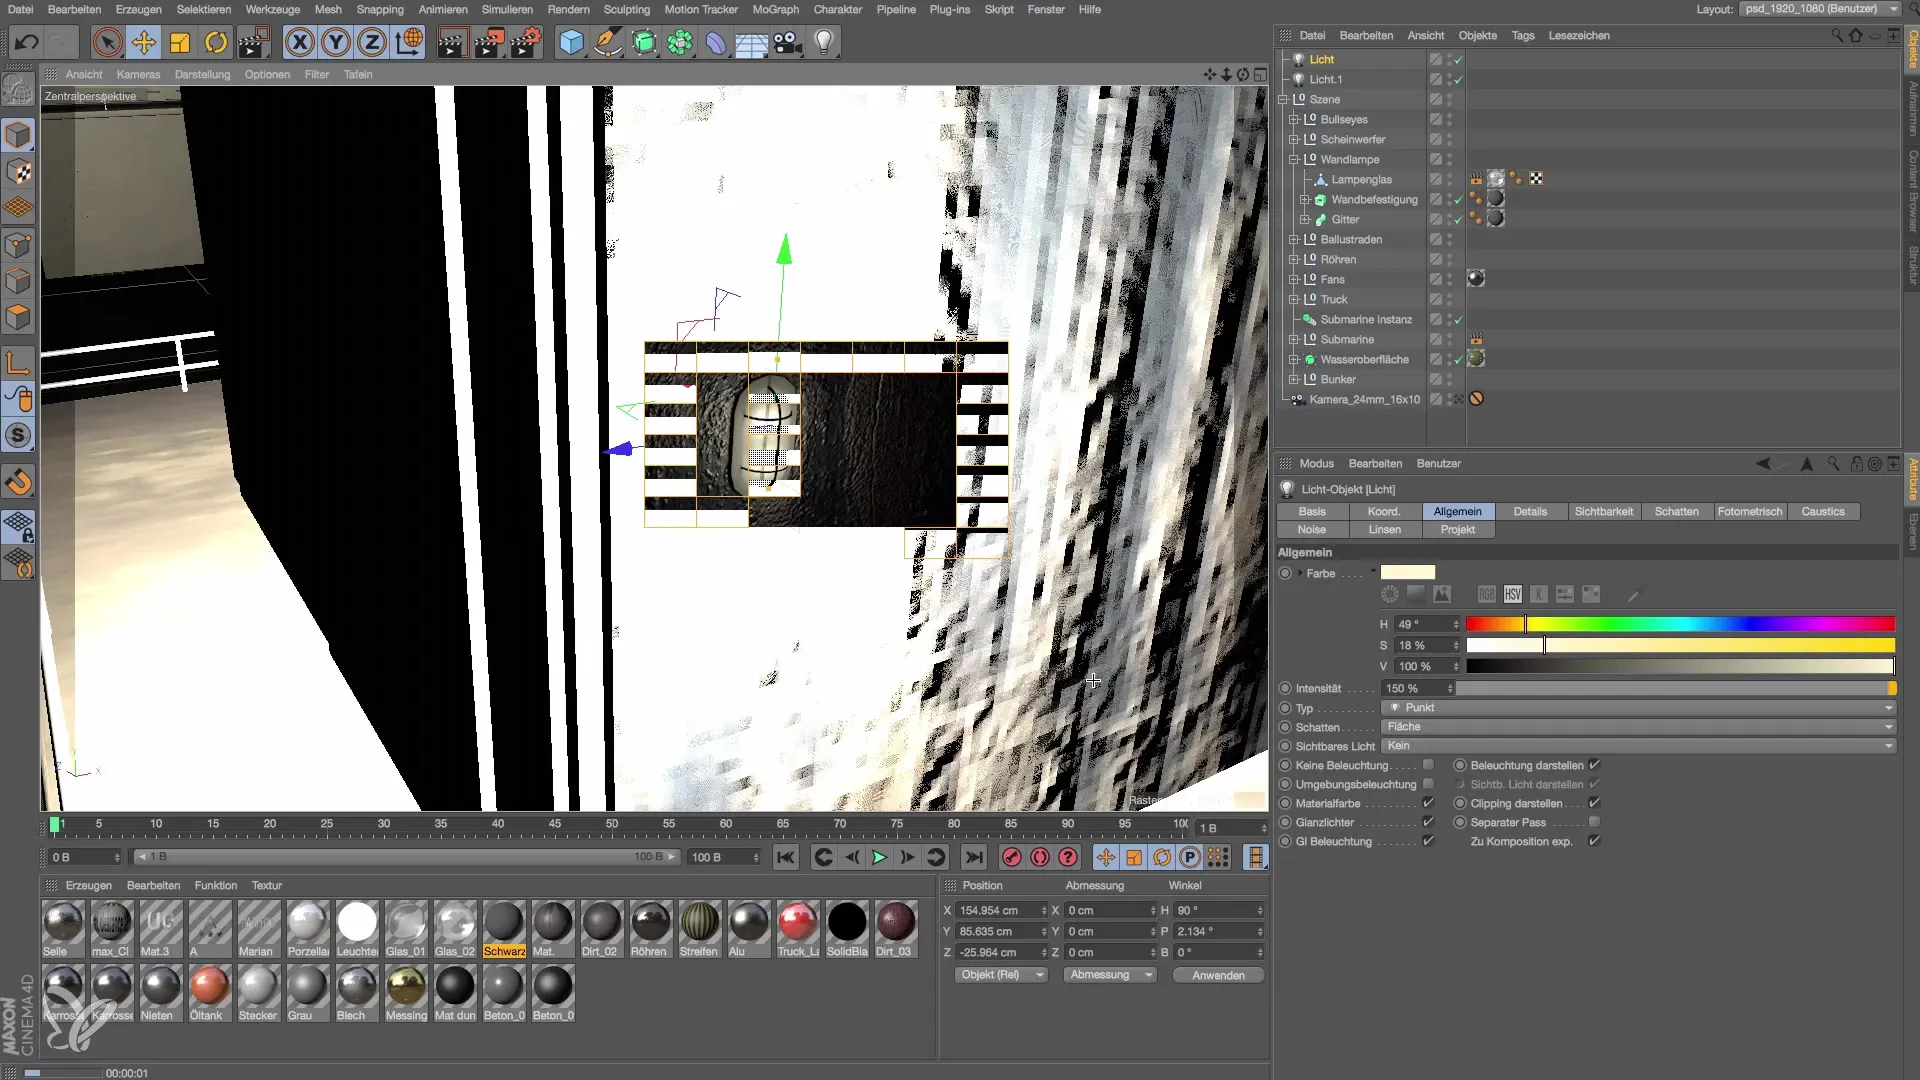
Your wall lamp is almost finished. You might consider modeling the lamp glass in more detail or adding a socket to refine the model. However, these additional details are optional. For the current project, the previous adjustments are sufficient to present an appealing wall lamp. Therefore, it makes sense to render the scene to check the results.
Summary – Creating and Lighting a Wall Lamp in Cinema 4D
To create a wall lamp in Cinema 4D, you combine technical steps with a creative approach to ultimately achieve effective and convincing lighting integration. From the right material selection to lighting settings, every step is important to produce a high-quality result.
Frequently Asked Questions
How do I insert a point light in Cinema 4D?Select the Tools menu and go to "Object" and then "Add Point Light."
How do I change the brightness of the wall material?Select the material, go to the Material Manager, and adjust the brightness value.
What is the best setting for light hardness?Use inverse square attenuation for physically accurate light hardness.
How can I add shadows to my light source?Enable the shadow option in the properties of the light source and choose the desired shadow type.
Can I copy the light source?Yes, simply hold down the Control key and drag the light source to create a copy.


