The use of image stabilization can make a significant difference in the quality of your video recordings. Especially in stressful situations where you need to move the camera quickly, unwanted shaking or trembling can occur. With the new image stabilization from VEGAS Pro 14 and the plugin proDAD Mercalli V4, powerful tools are now available to you. In this guide, you will learn everything important to effectively use these tools and significantly improve your shaky footage.
Key Insights
- With VEGAS Pro 14, you can use tools for effective image stabilization to minimize shaking and optimize image quality.
- The plugin proDAD Mercalli V4 offers comprehensive functions for analyzing and stabilizing your videos.
- By properly adjusting and using these tools, you can achieve a significant improvement in image quality.
Step-by-Step Guide
To make optimal use of image stabilization in VEGAS Pro 14, follow this detailed step-by-step guide:
Step 1: Prepare Video Material
First, you need to import the video material into VEGAS Pro. You can use multiple clips at once to demonstrate different stabilization techniques. Start VEGAS Pro 14 and load your footage into the timeline.
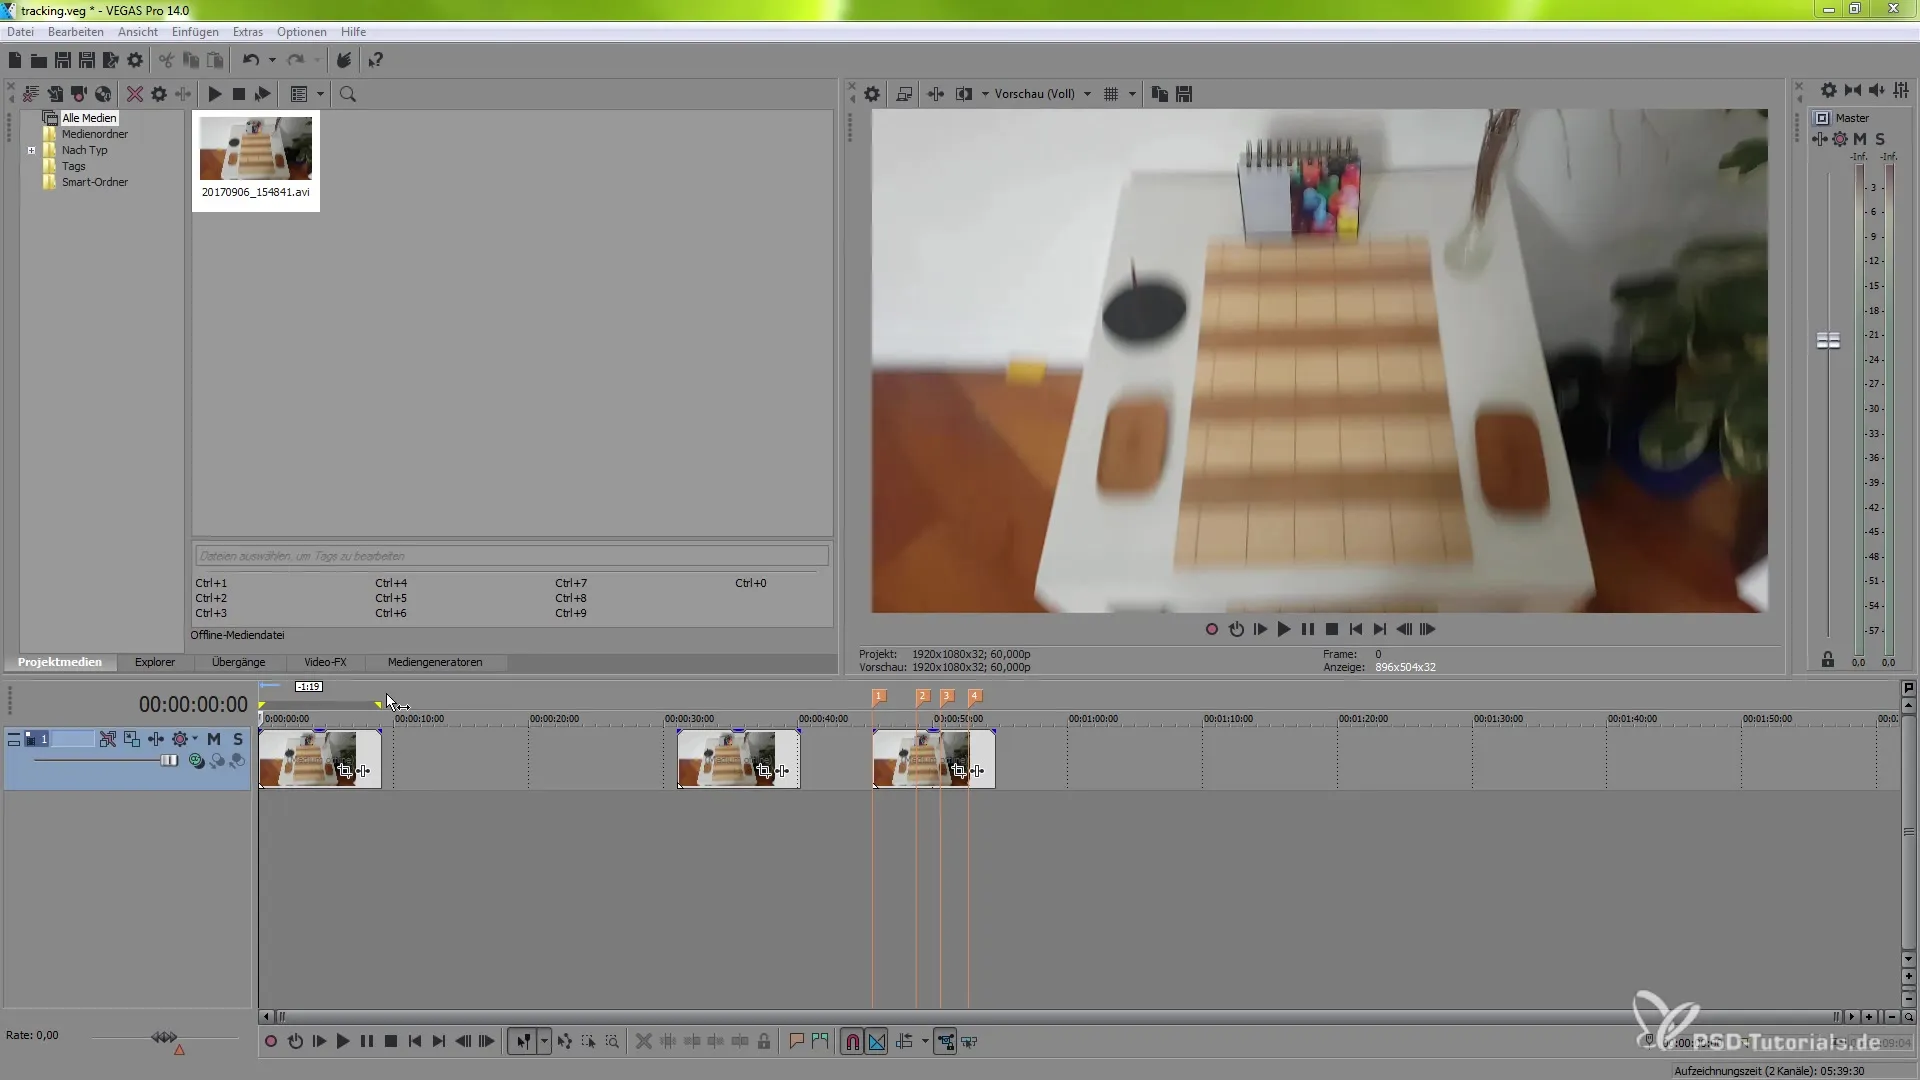
Step 2: Open Event FX
Select the clip you want to stabilize and open the Event FX settings. Right-click on the clip and choose the “Event FX” option. Here you will find the plugins for image stabilization, including proDAD Mercalli V4.
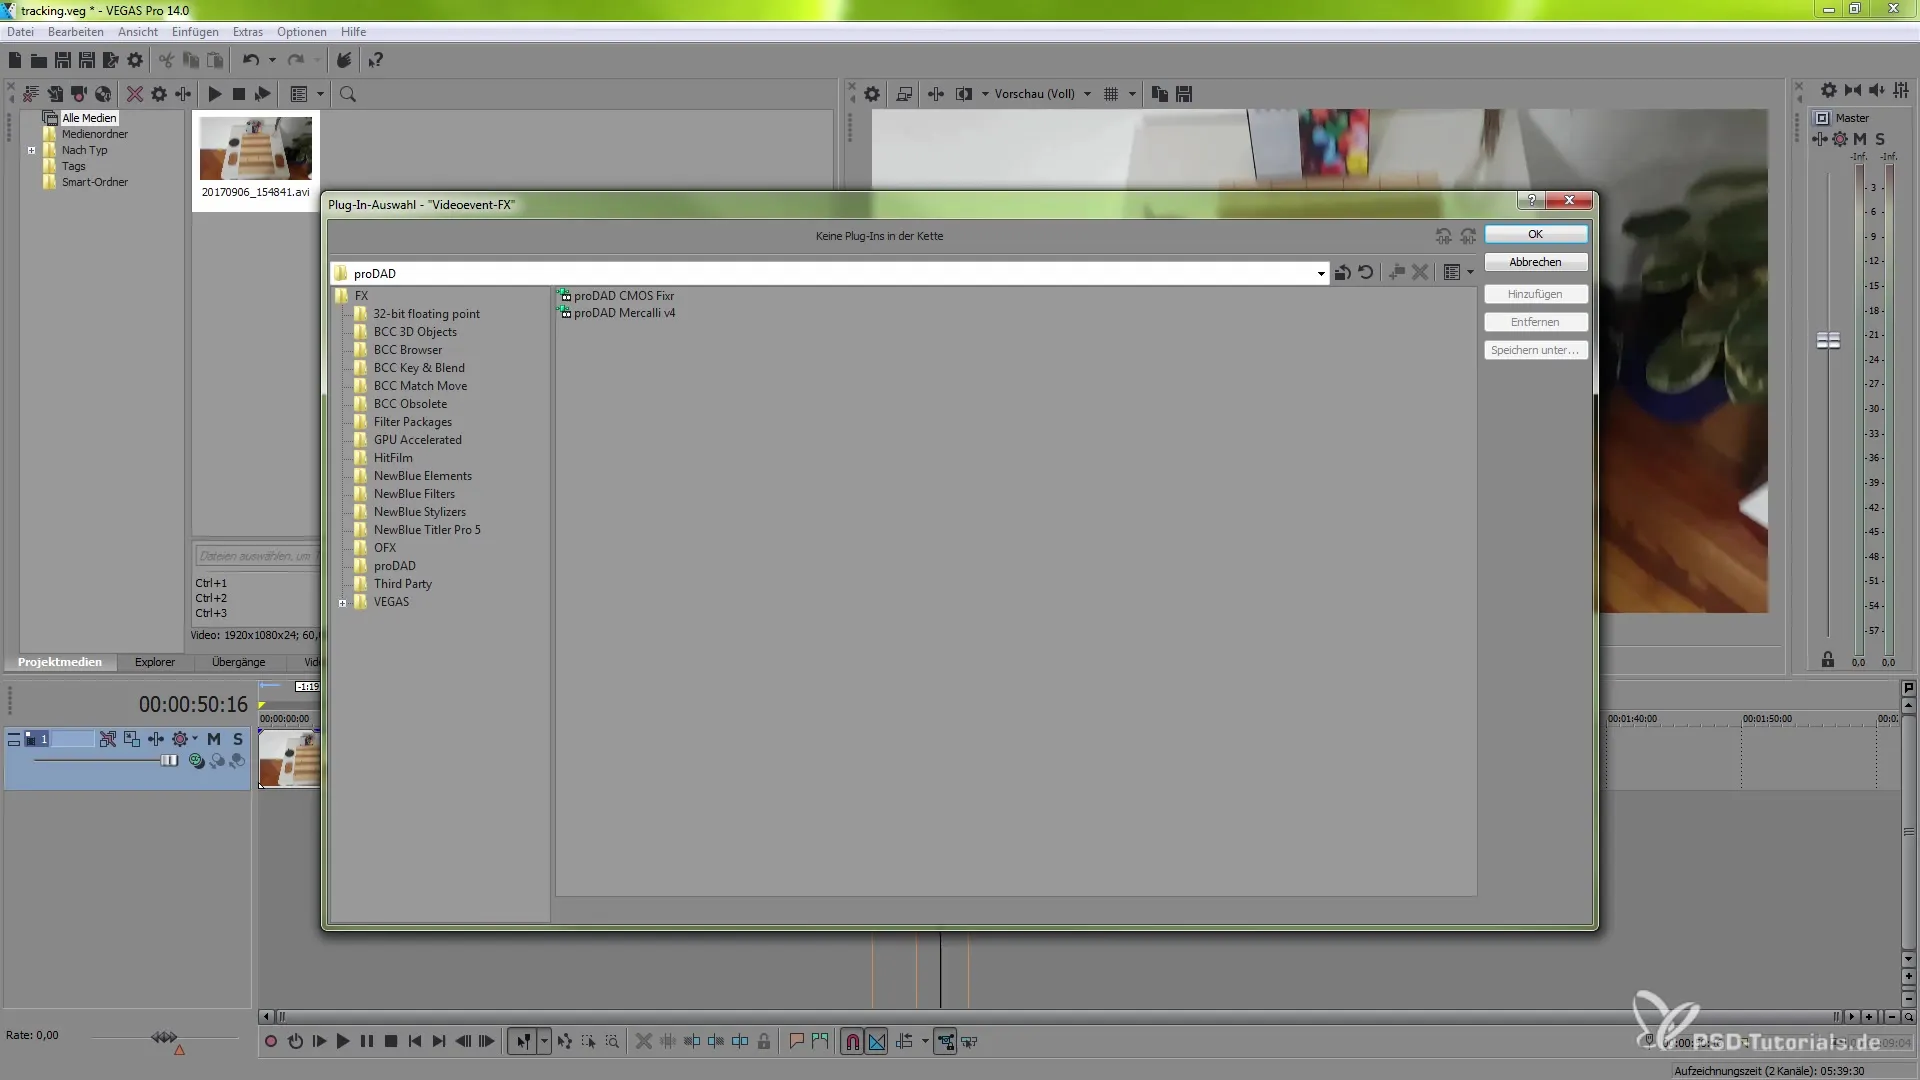
Step 3: Add proDAD Mercalli V4
Select the proDAD Mercalli V4 from the list of available plugins and add it to your clip. Confirm the selection with “OK”. You will now see the plugin's interface, which offers you various options.
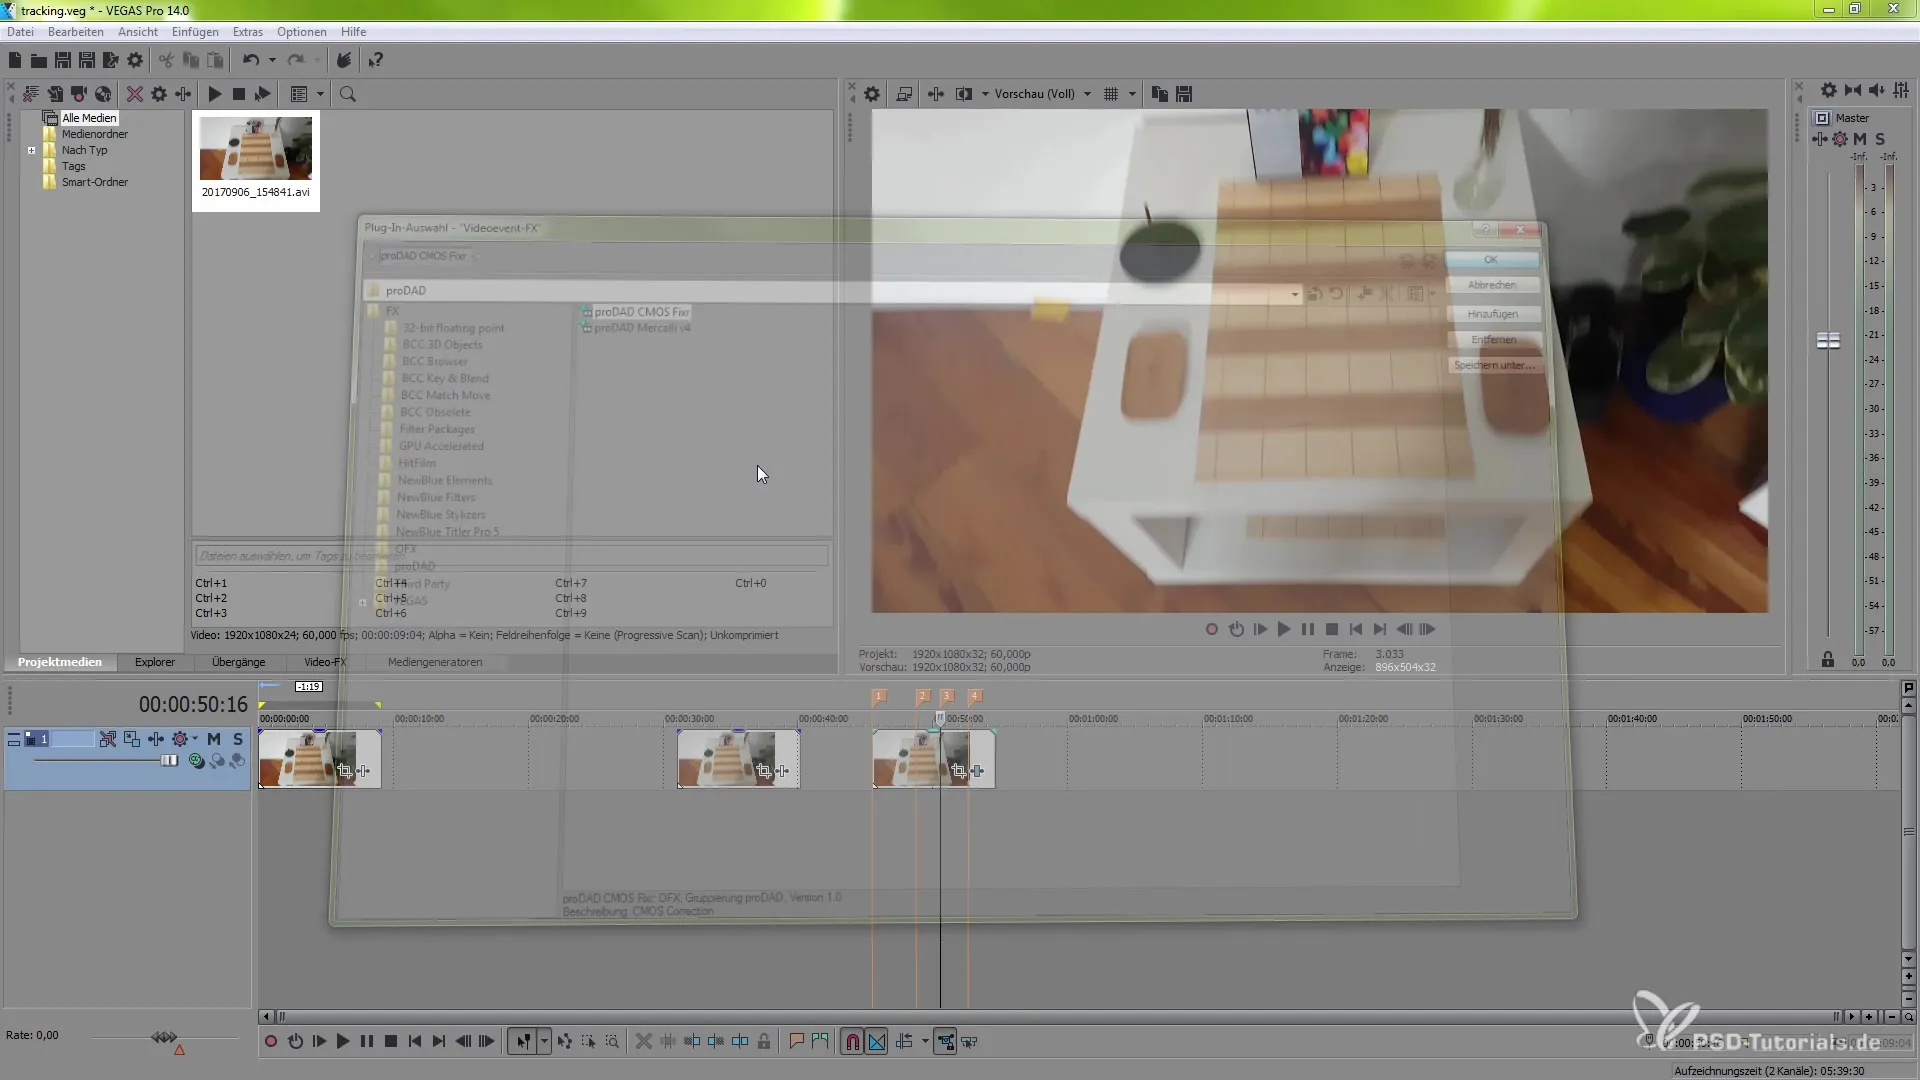
Step 4: Start Clip Analysis
For the first use of the plugin, an analysis is required. To let the plugin know how to stabilize your footage, you need to start the analysis process. Click the corresponding button in the Mercalli V4 interface.
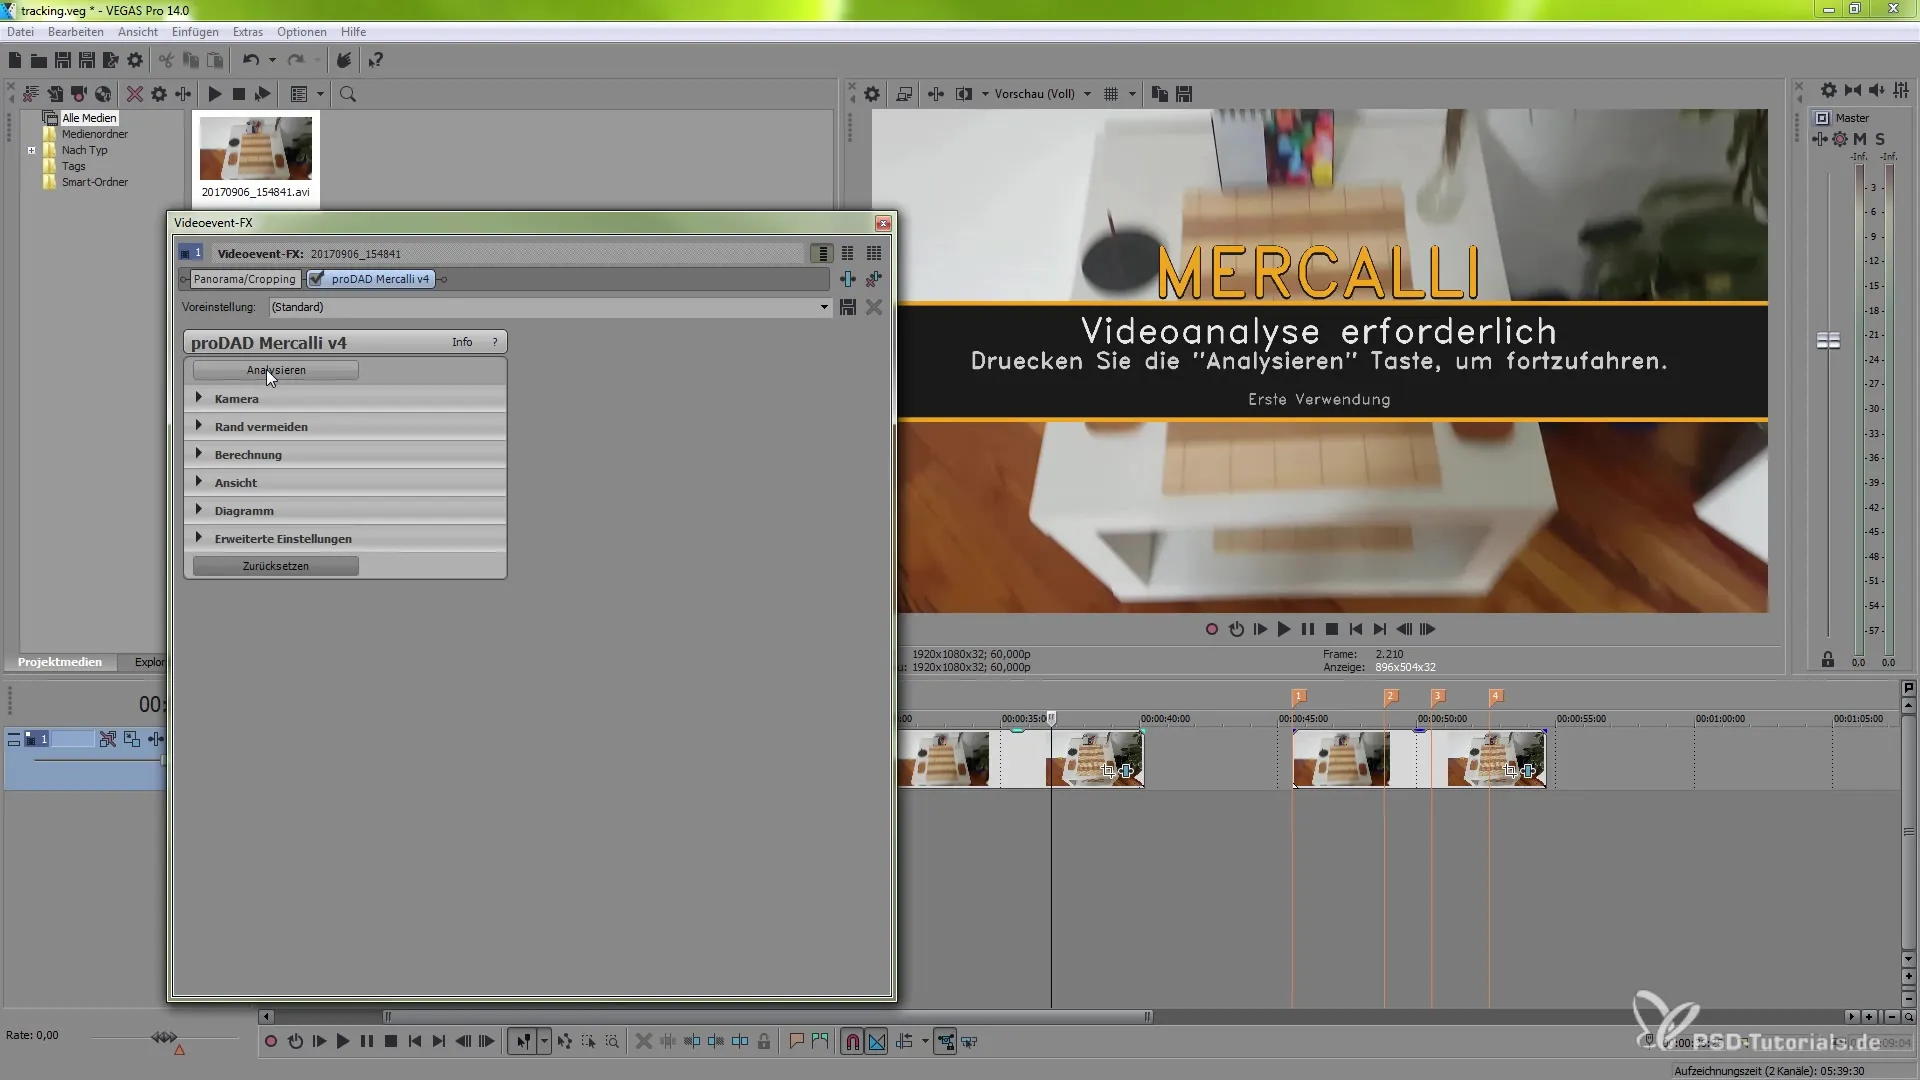
Step 5: Adjust Settings
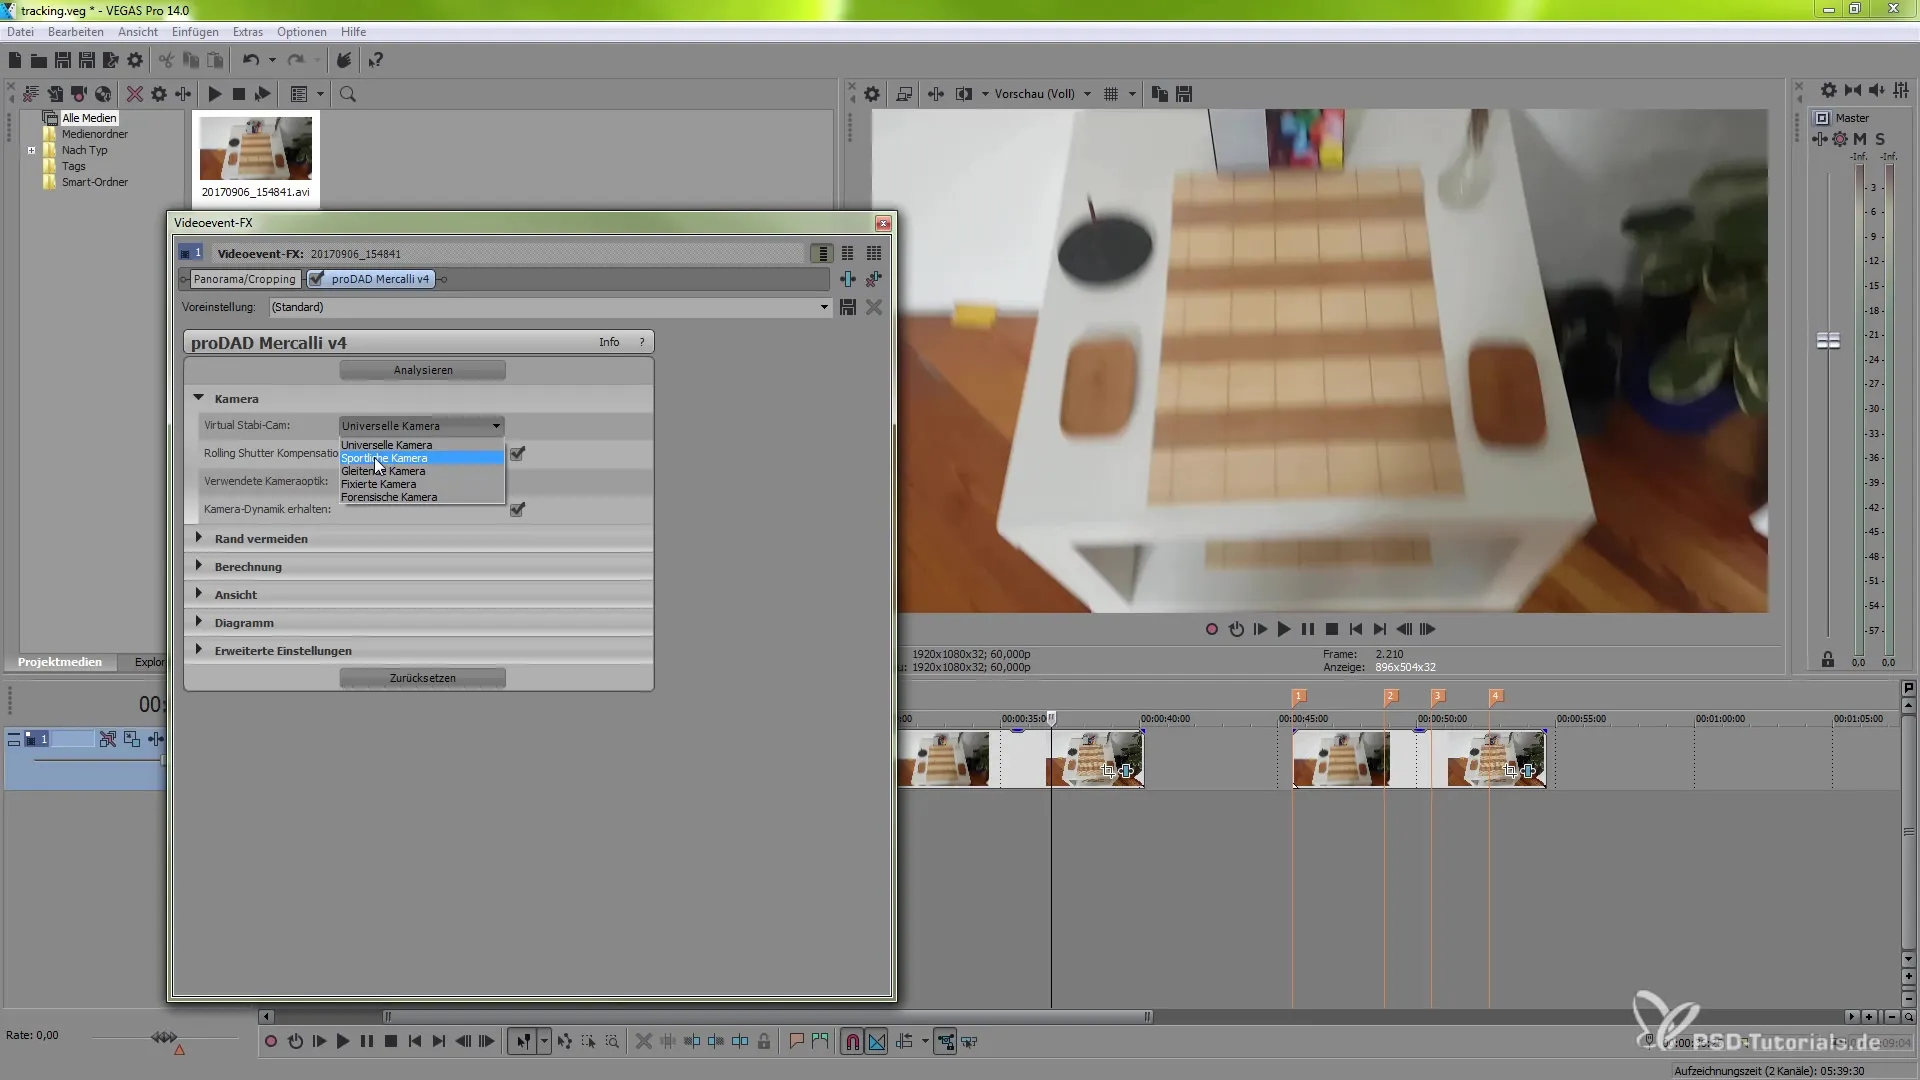
After the analysis, you can start adjusting the stabilization settings. Depending on the camera movement and type of footage, you can choose between different camera models to achieve optimal stabilization.
Step 6: Avoid Edges
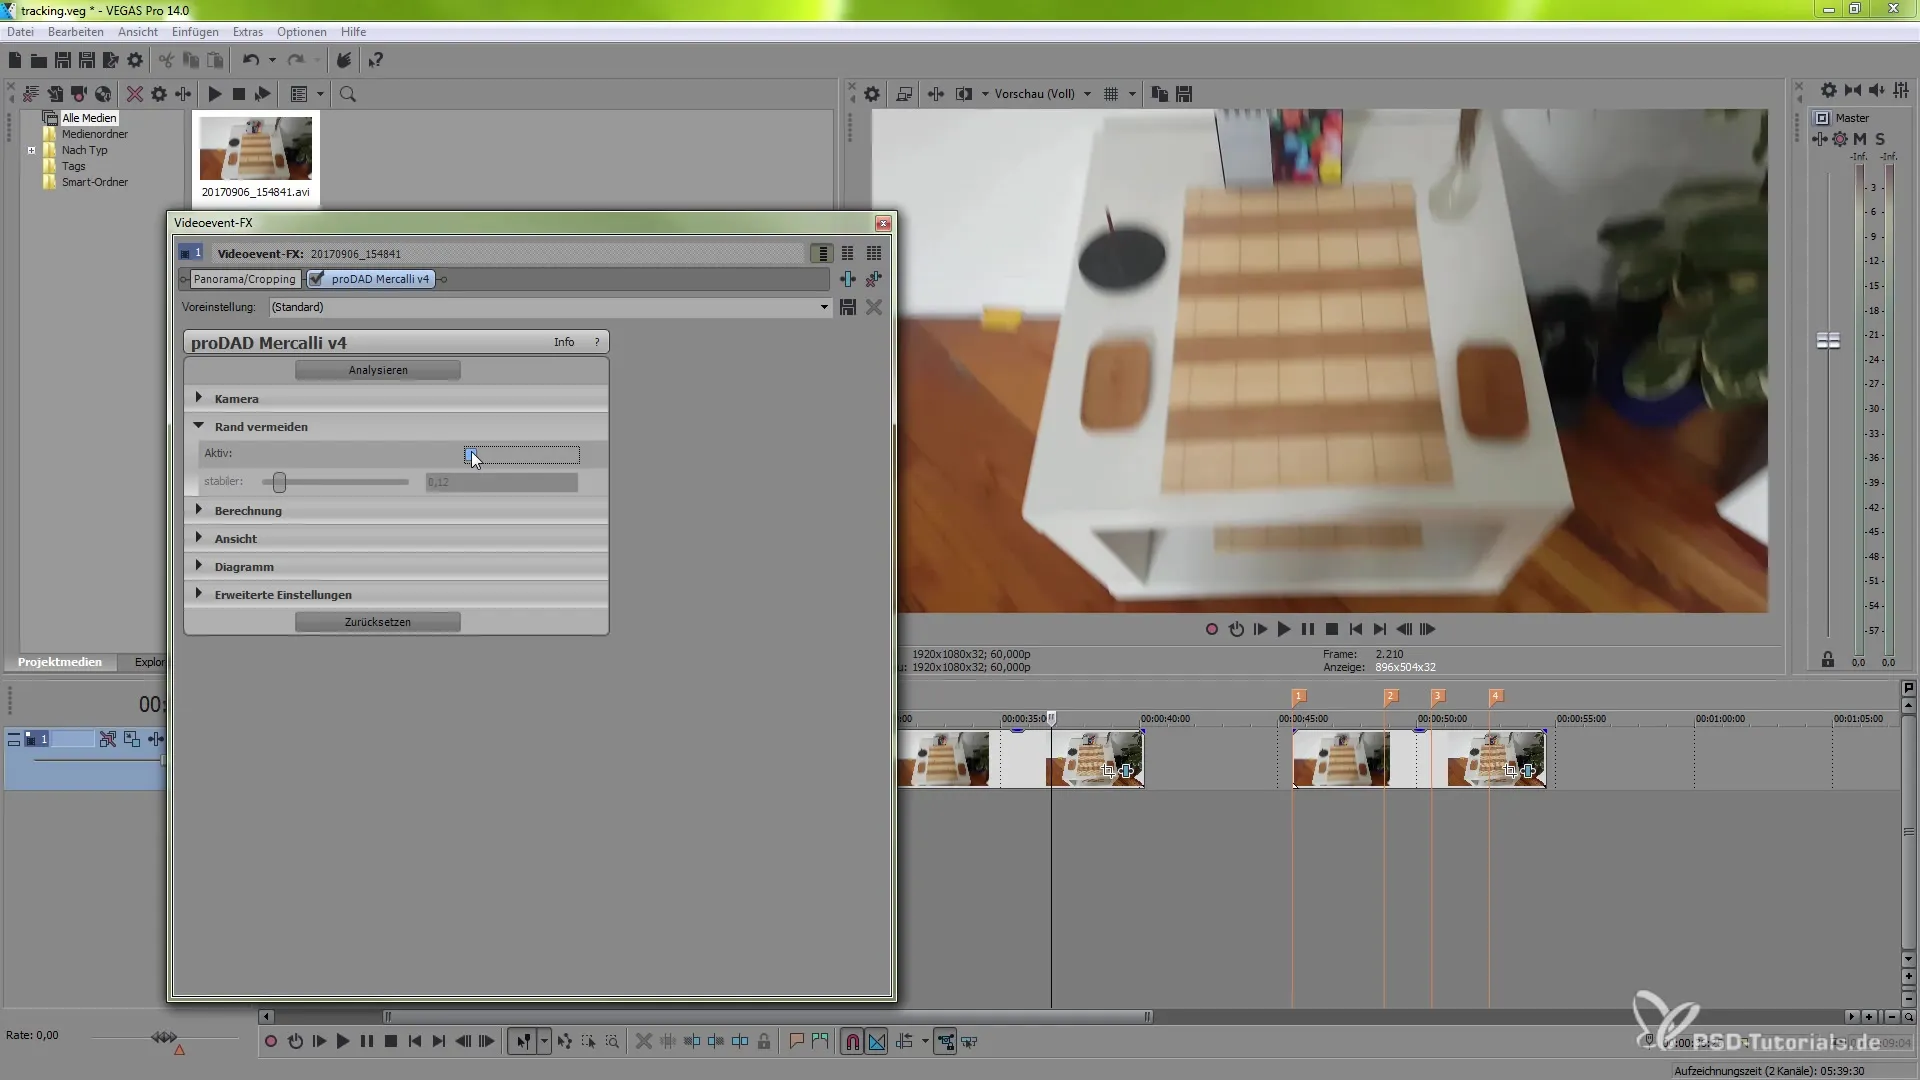
To prevent unwanted blank spaces from appearing in the image during shaking, enable the “Avoid Edges” function. This ensures that the stabilized scene does not move out of the frame and remains stabilized with a slight zoom function.
Step 7: Set Quality and Mode
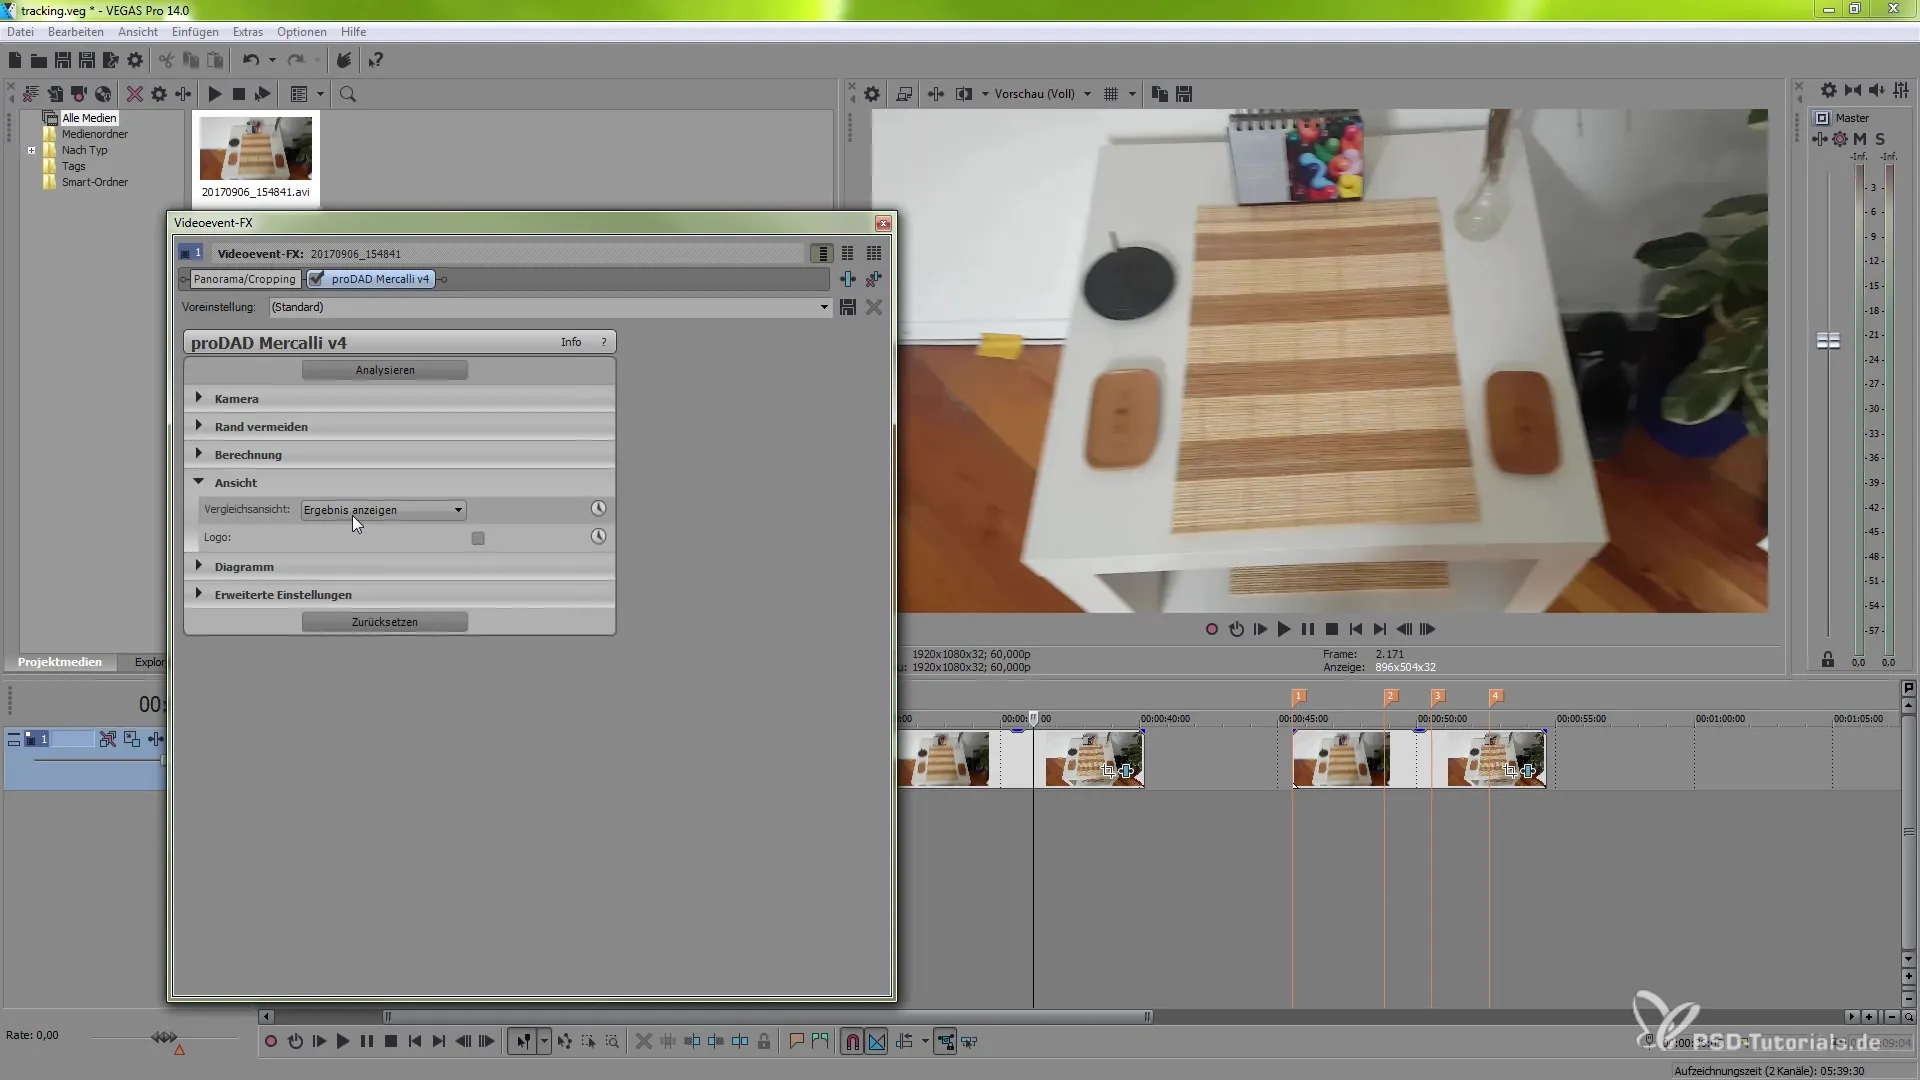
You now have the option to enable the remap mode and choose between various quality levels. Experiment with the settings here to achieve the best possible result for your project.
Step 8: Activate Comparison View
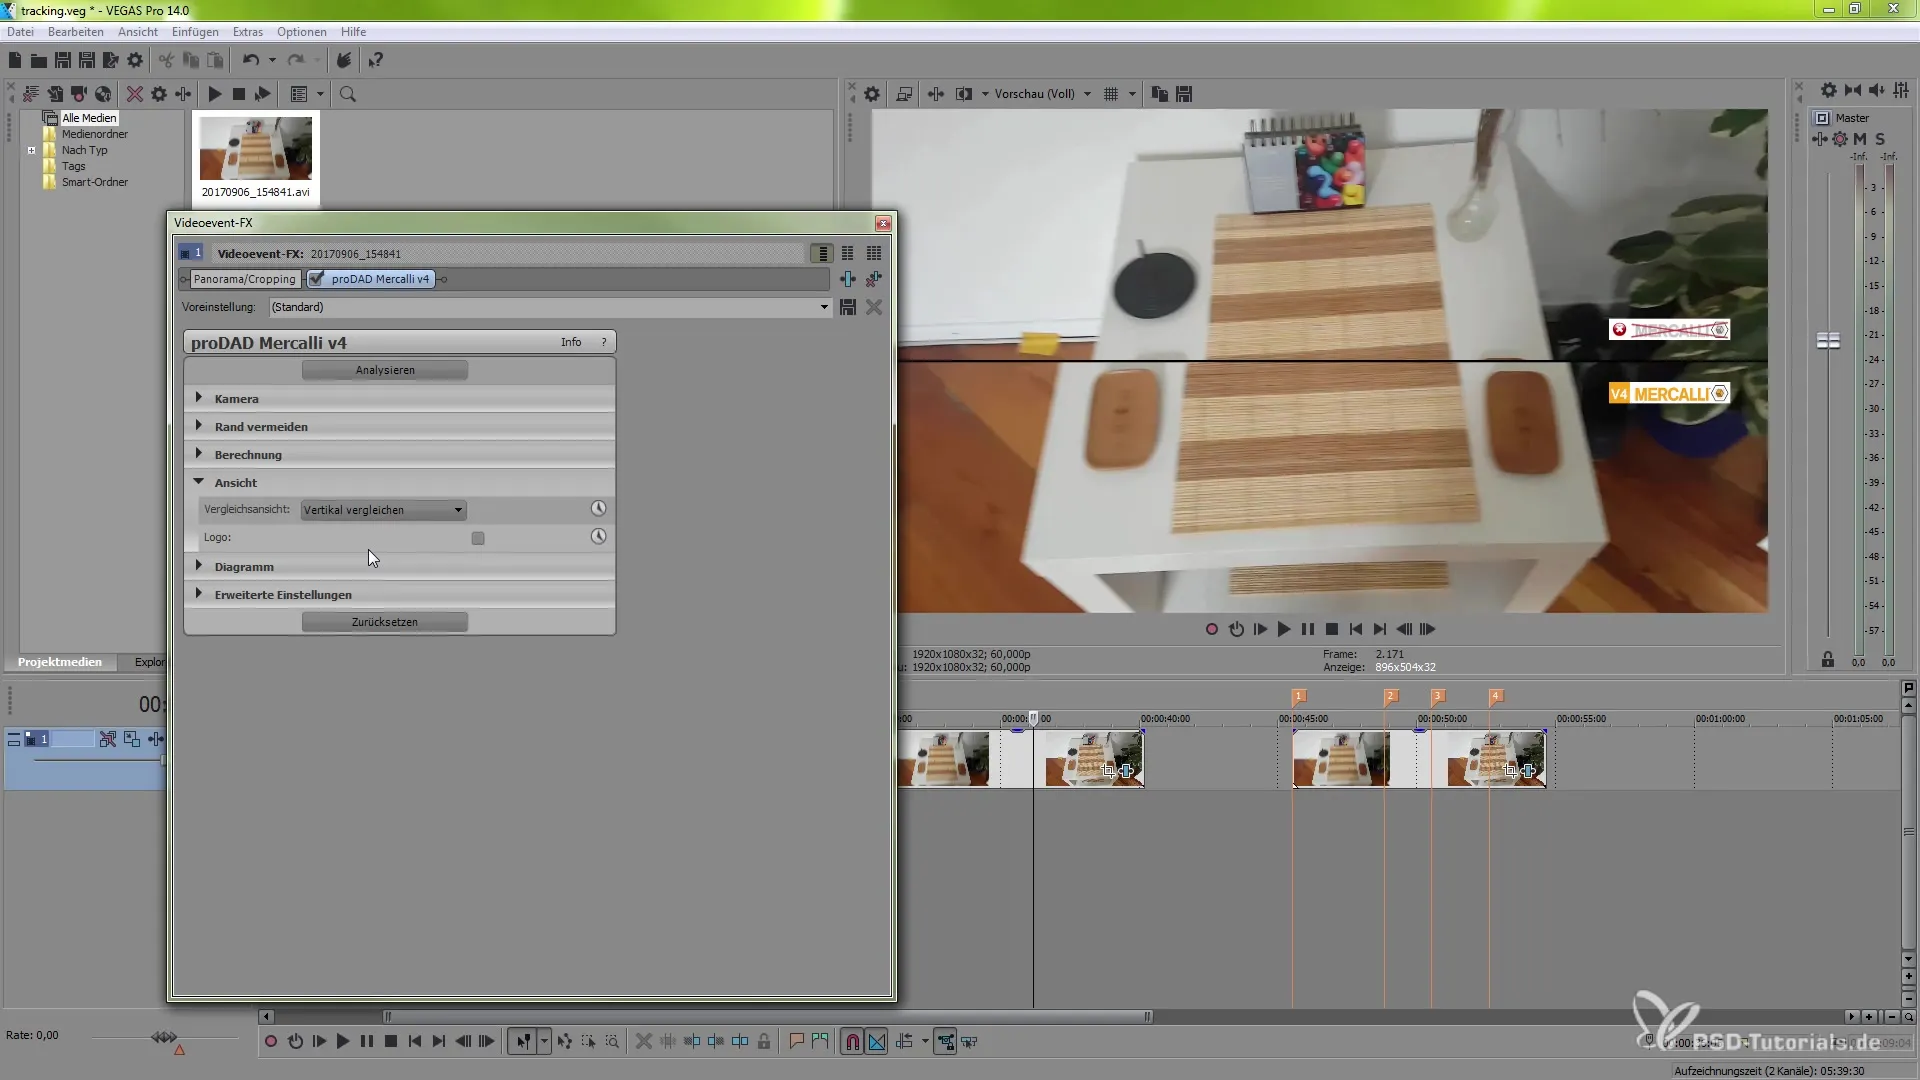
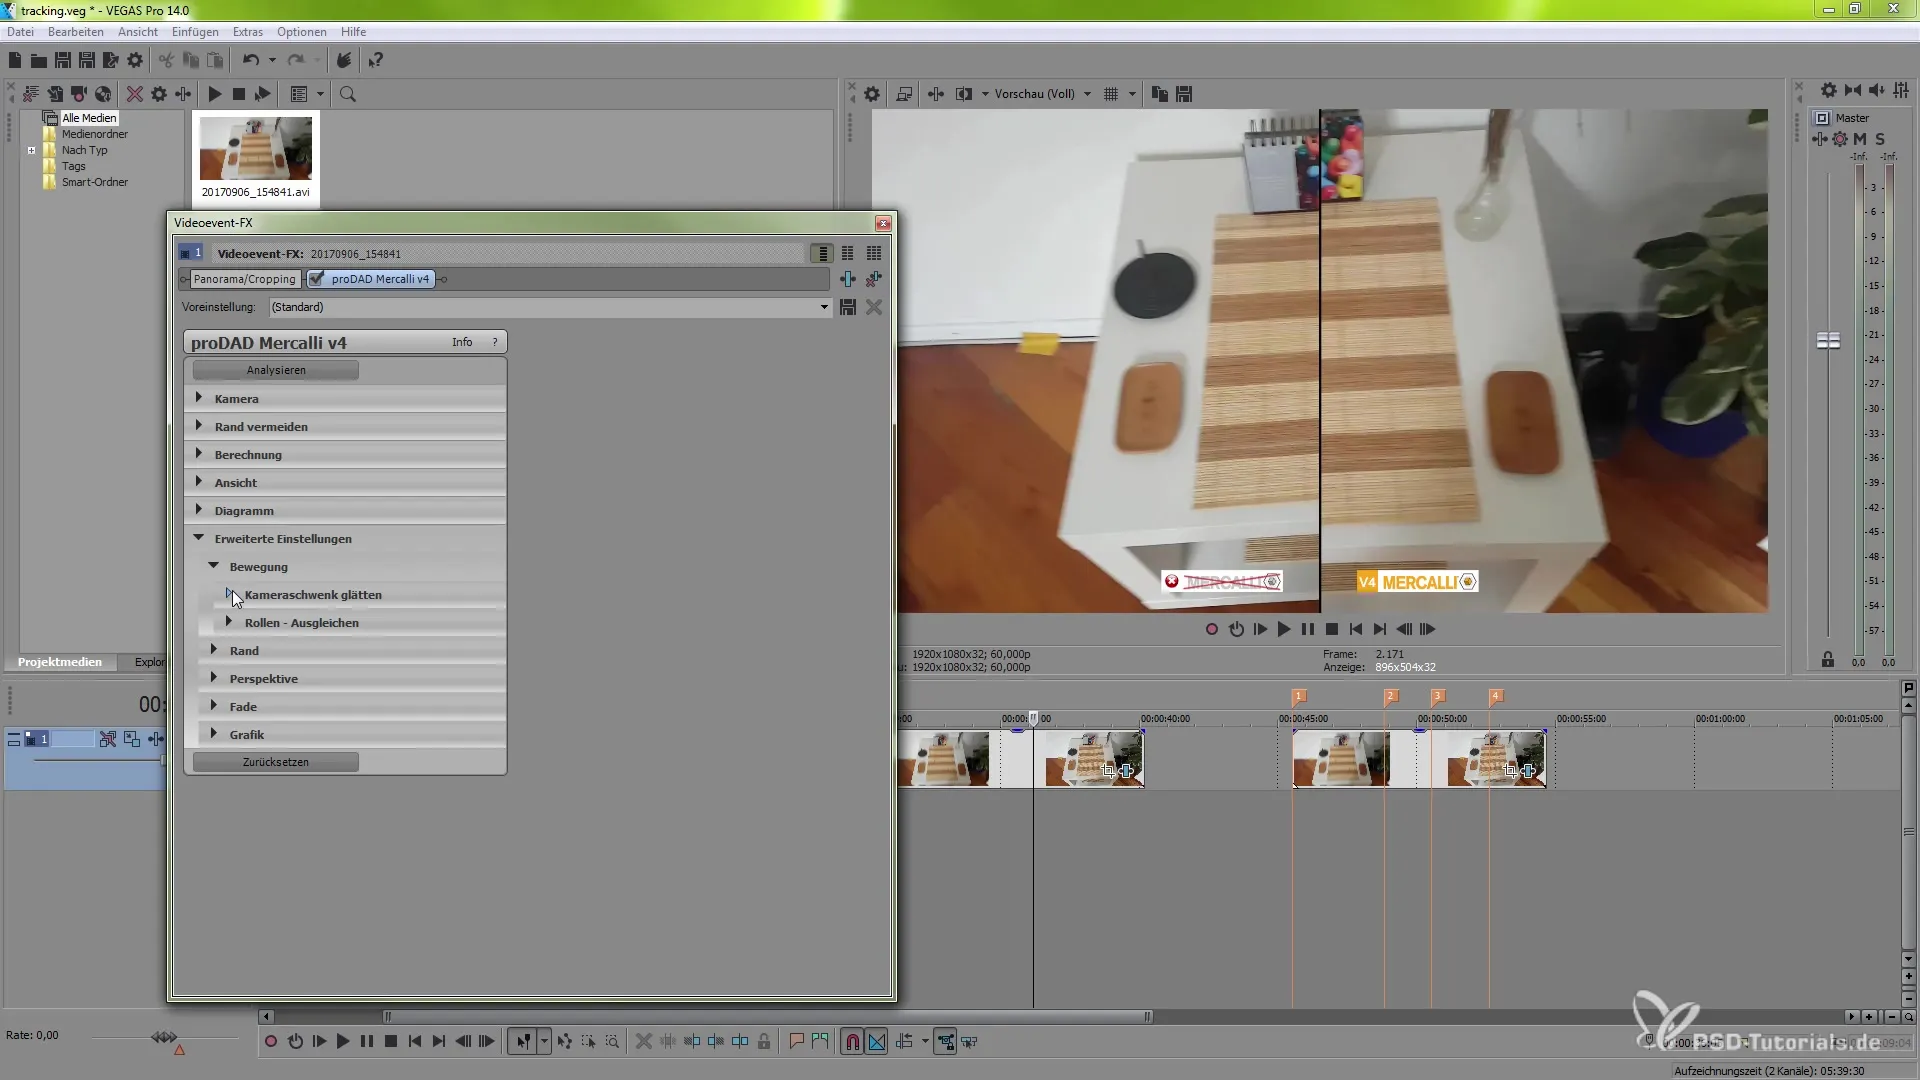
To ensure that the stabilization looks good, activate the comparison view. This shows you a horizontal or vertical split of the screen so you can see the changes in real-time.
Step 9: Advanced Settings
If you want to dive deeper into the settings, you can use the advanced options. Here you will find many parameters, such as pan smoothing and other functions that can be tailored to your specific needs.
Step 10: Finalization
Once all adjustments are made, check the quality of your stabilized clip. Ensure that the image is aesthetically pleasing and that the shakes have been successfully removed. Render the clip to see the final result in full resolution.
Summary – Image Stabilization in VEGAS Pro 14 with proDAD Mercalli V4
In this guide, you learned step by step how to apply image stabilization in VEGAS Pro 14 with the proDAD Mercalli V4 plugin. With the right settings, you can effectively improve shaky footage and create high-quality videos. Use these tools and experiment to achieve the best results for your projects.
Frequently Asked Questions
How do I add the proDAD Mercalli V4 effect?Select your clip, go to Event FX, and choose proDAD Mercalli V4.
How do I start the analysis in Mercalli V4?Just click the corresponding button in the plugin's interface.
What is the “Avoid Edges” function?This ensures that no blank spaces appear in the camera image by applying zoom.
Can I adjust the stabilization settings later?Yes, you can return to the settings anytime to make adjustments.
How do I see the changes in stabilization in real time?Activate the comparison view to view your stabilized footage next to the original image.


