Alpha channels are a central element in media production, especially when it comes to creating transparencies and overlays in video projects. With VEGAS Pro, you have powerful tools at your disposal to work effectively with these transparencies. This guide explains how to use, import, and export the alpha channel in your clips. Important tips for editing and enhancing your projects are also included.
Key Insights
- The alpha channel allows you to create transparencies in your clips.
- You can export clips with an alpha channel and use them in other projects.
- In VEGAS Pro, you can adjust various settings for the alpha channel to achieve the desired results.
- The alpha channel can also be used in other programs, increasing your flexibility.
Step-by-step Guide
To work effectively with the alpha channel in VEGAS Pro, follow these steps:
To create a clip with an alpha channel, first drag your desired clip into the timeline. This ensures that the clip has the necessary properties to work with the alpha channel.

You can activate the alpha channel by right-clicking the clip and selecting "Properties." In the menu, you can now select the alpha channel and adjust the settings.
To use the alpha channel effectively, select the "Straight Unmatted" option from the dropdown menu. This will make the black areas in the clip transparent.

If there are still black edges visible after selection, go back to properties and select "Full Multiplicative." This allows for a clean cut of areas that should no longer be visible.
You can also create animations and use them through the alpha channel by adding additional clips. By dragging an extra layer, you can create various effects and adjust the transparency accordingly.

If you want to create your own animation, you can use the "Pan and Crop" function to precisely define the size and position of your clip. Here, you can set keyframes to control the animation.
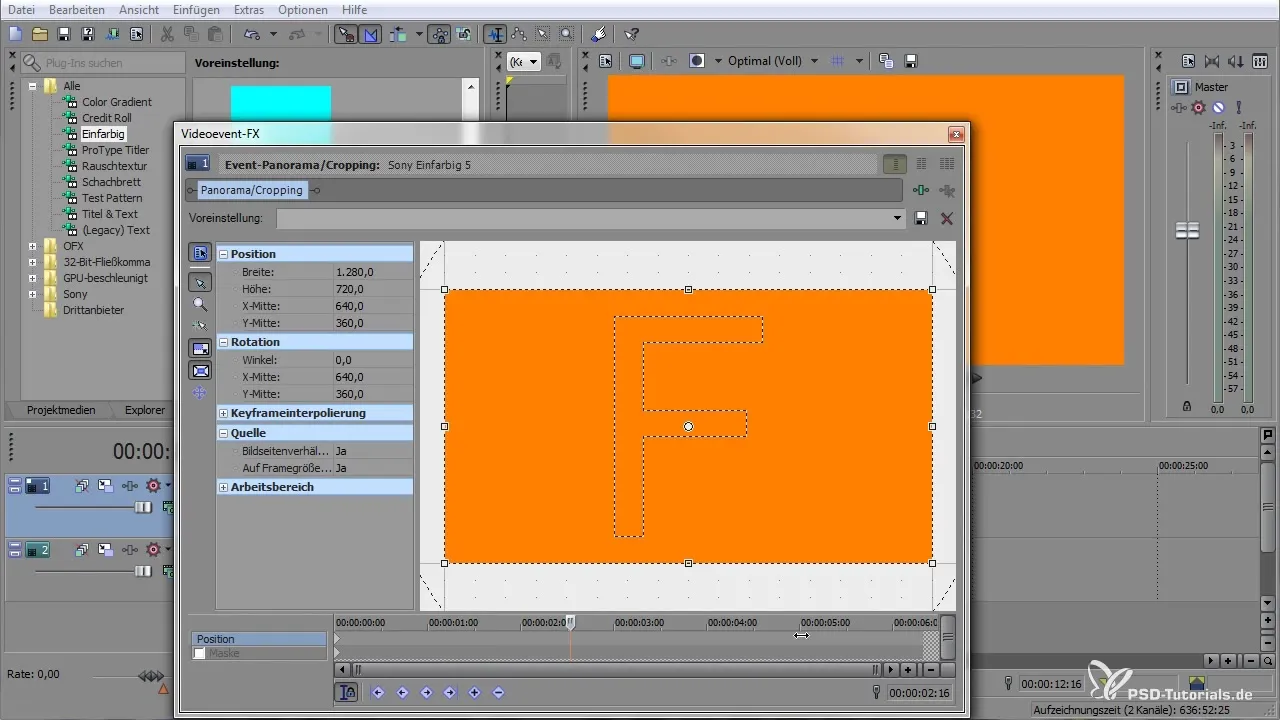
Once you have made the desired settings, you can render the clip. Select "Render As" and ensure that the alpha channel is activated to receive the desired format.
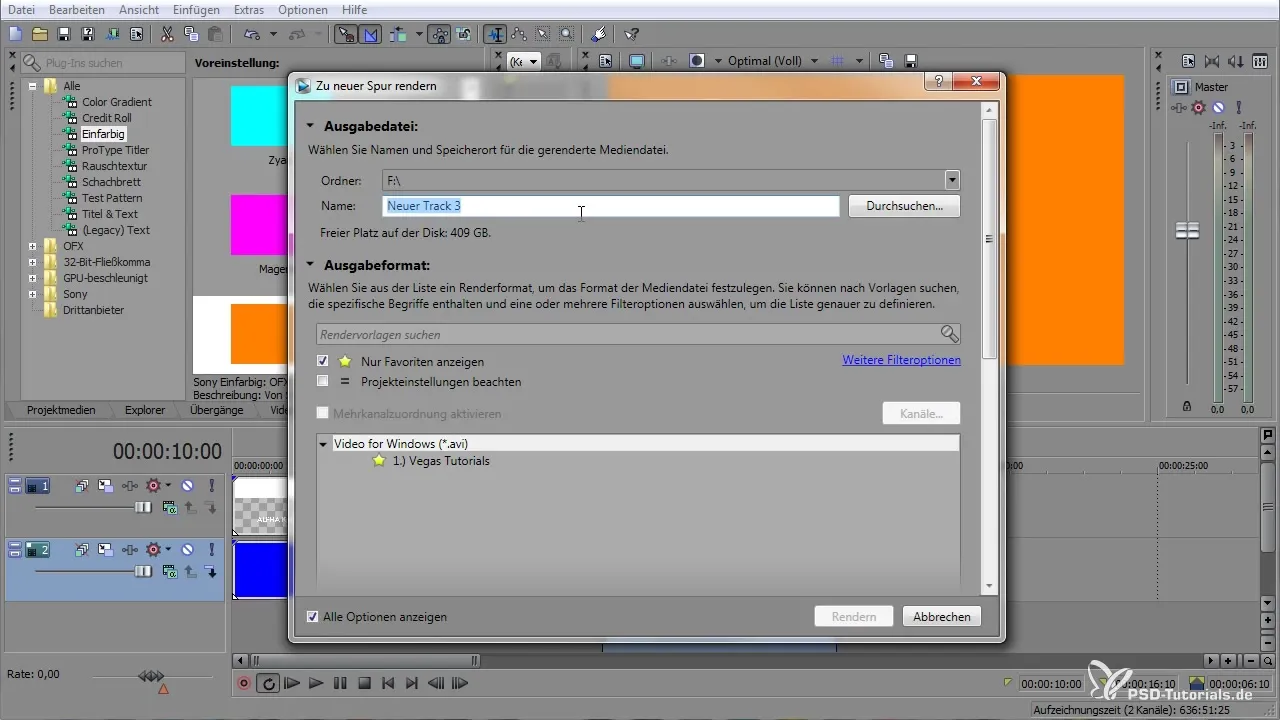
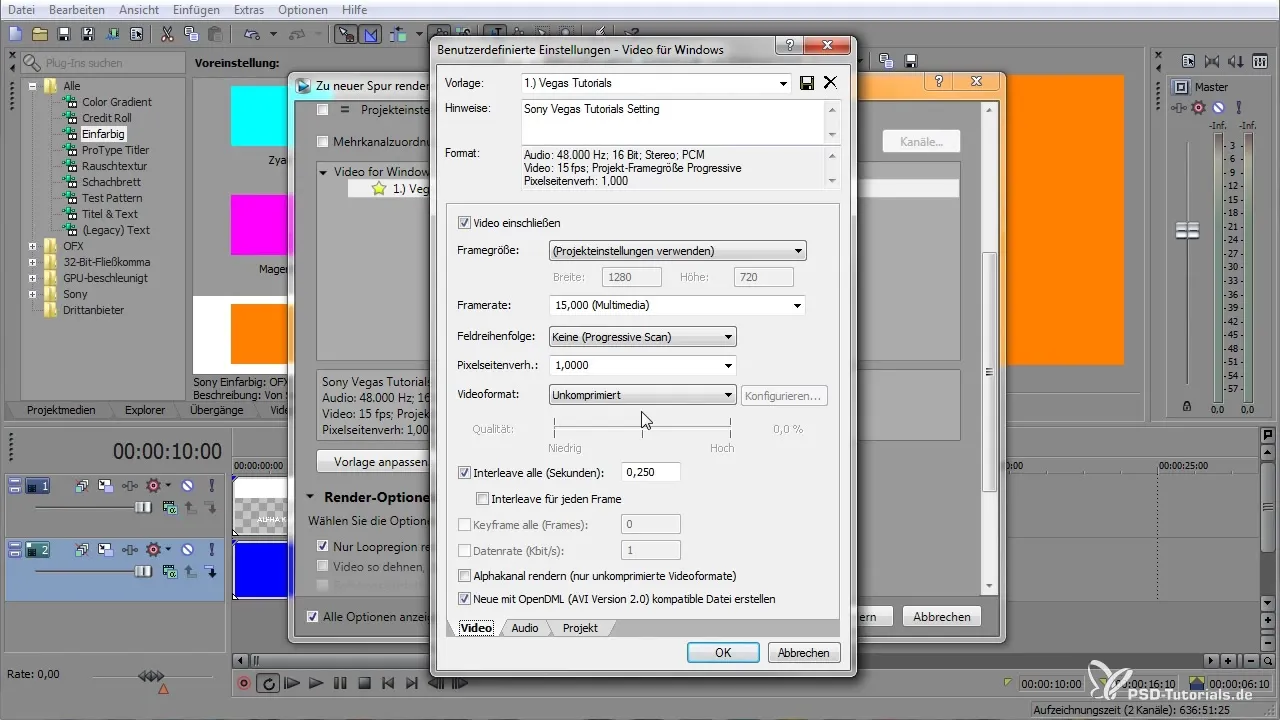
Make sure to choose uncompressed formats, as other codecs may not support the alpha channel. Ensure that "Audio" is disabled if you don't want to add an audio track.
Once the rendering process is complete, drag the rendered file back into your project. Here you now have the opportunity to adjust the transparencies and ensure that everything looks as desired.
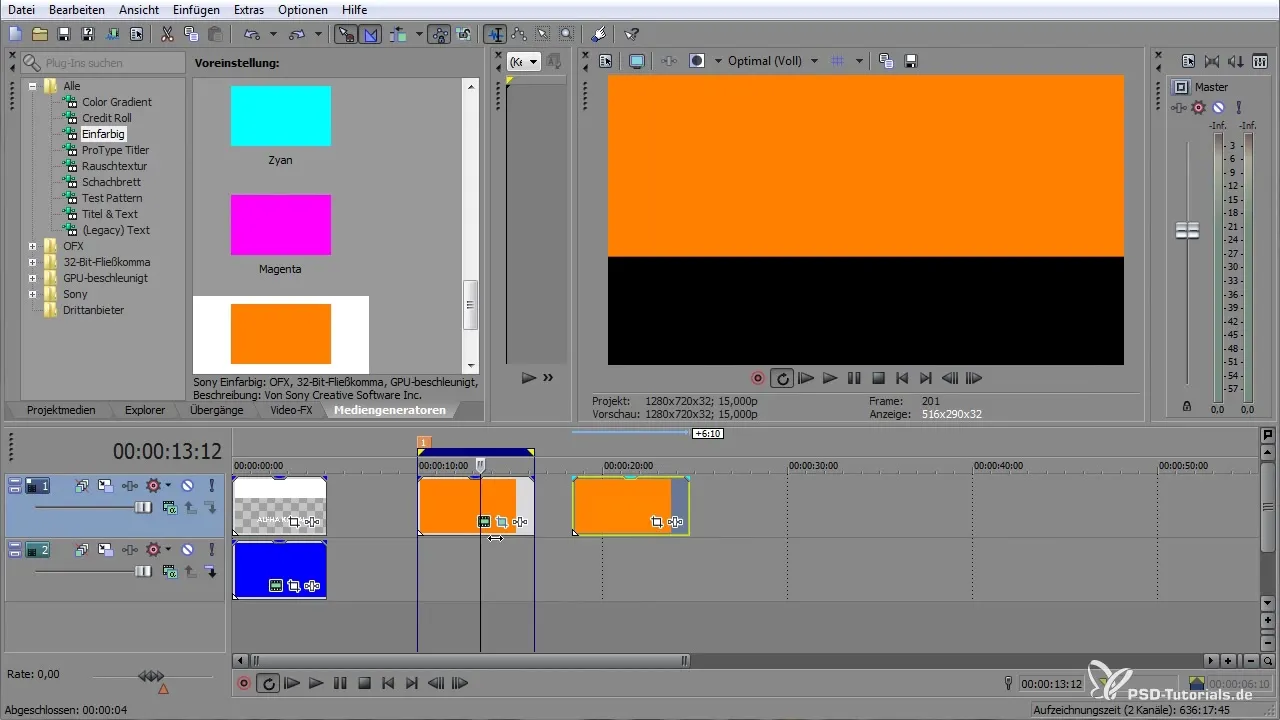
To create another project or combine multiple clips, you can reuse the alpha channels you have already created. Deactivate unwanted layers and render the needed area again to utilize the alpha channel.
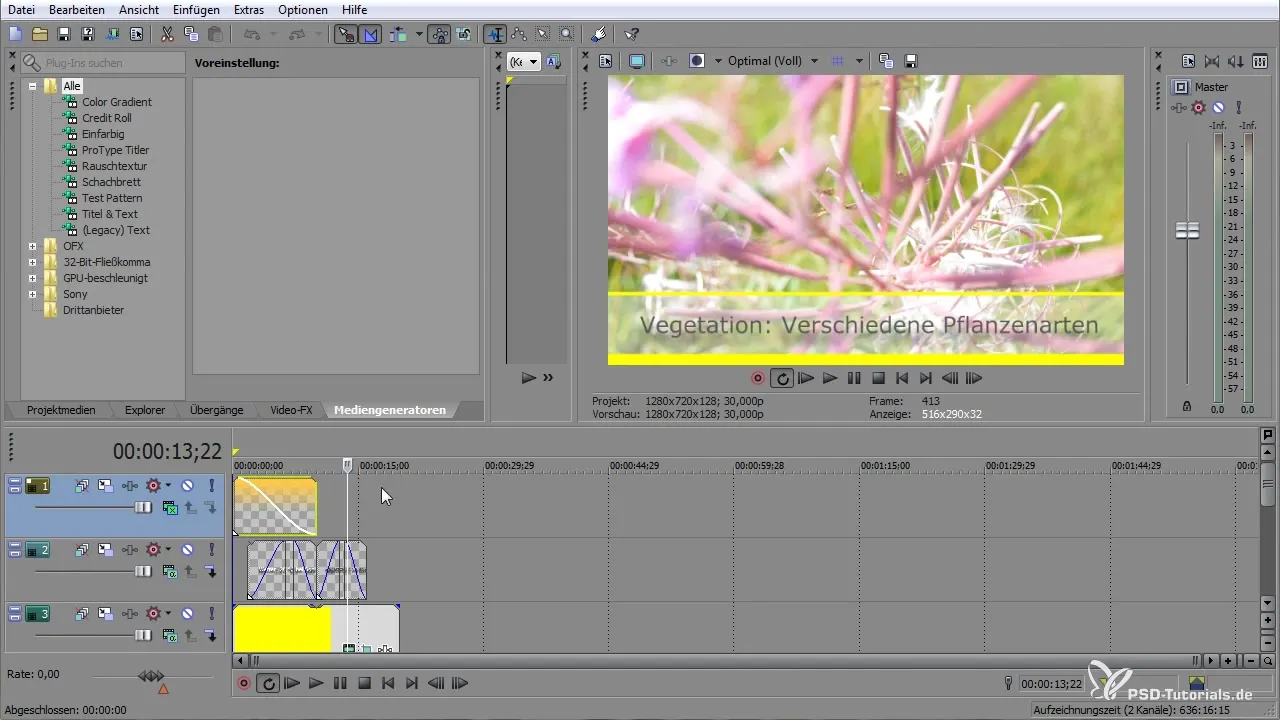
If you have worked with the audio track and want to remove it, you can ungroup it and simply delete the audio layer to make room for the new clip.
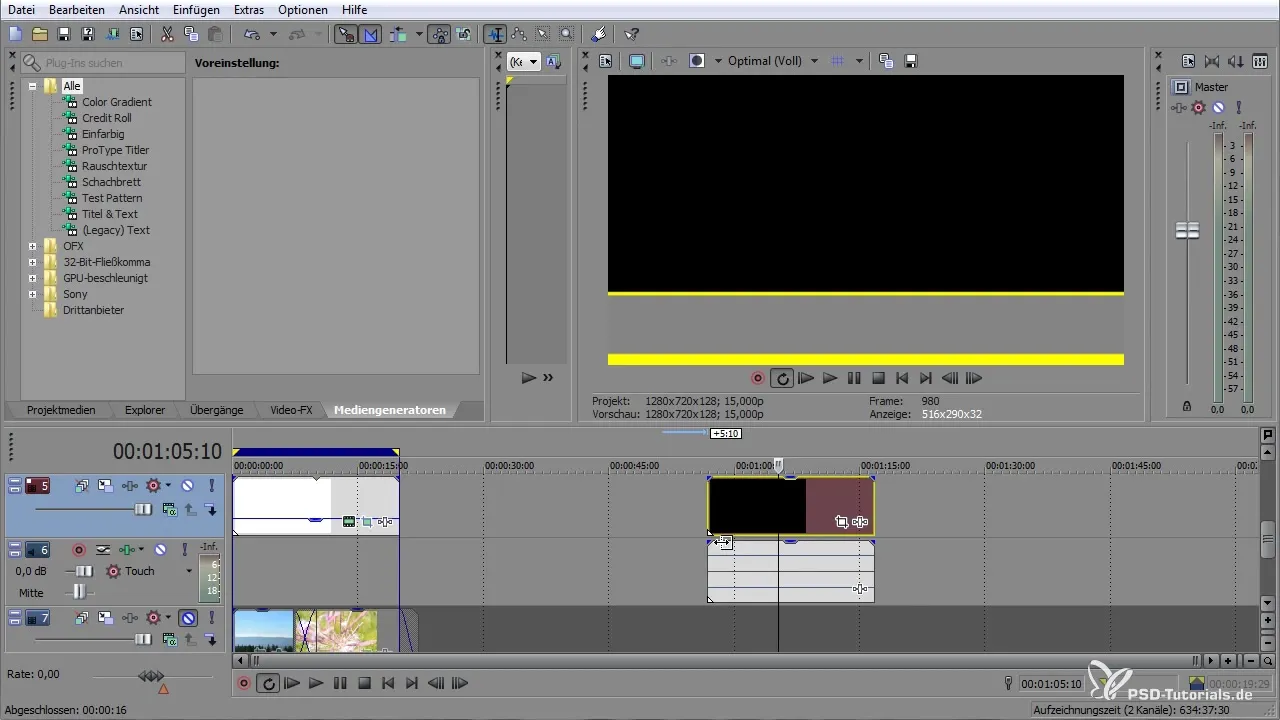
After adding your clip, you can also adjust the properties and ensure that everything matches with the alpha channel. This way, you achieve proper alpha transparency and can handle your projects creatively.
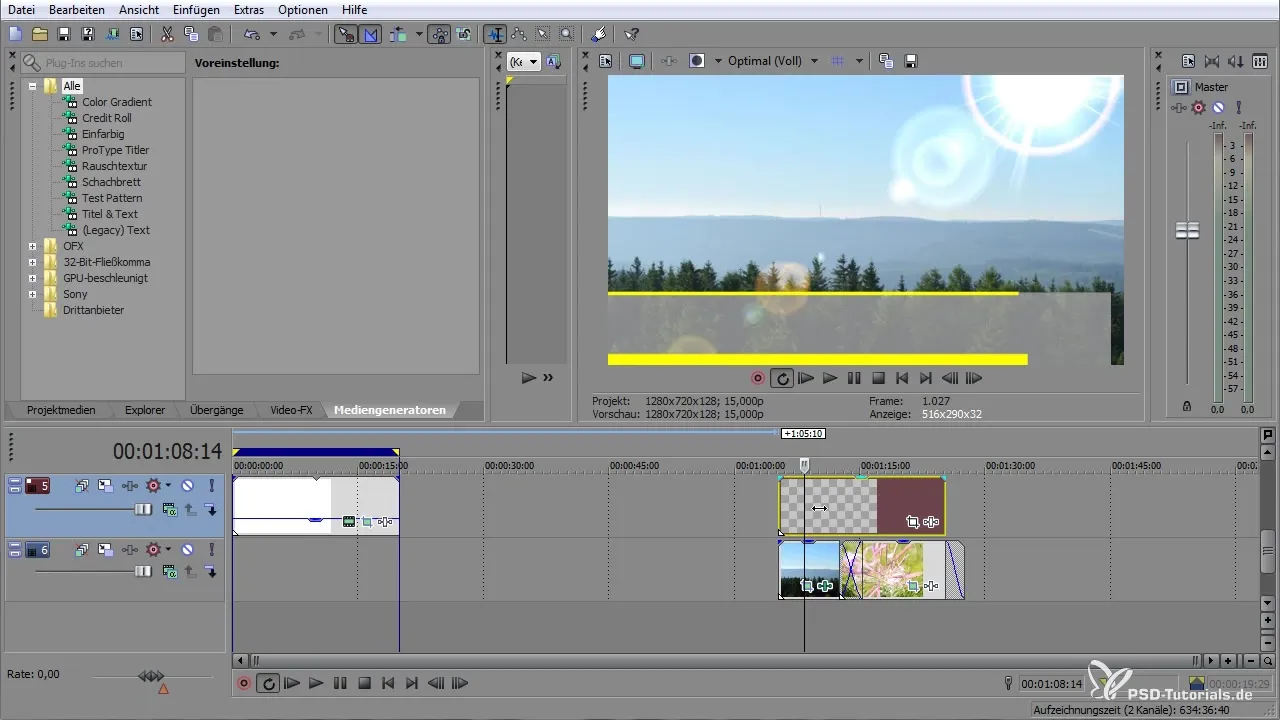
With this guide, you have all the necessary steps at hand to successfully work with the alpha channel in VEGAS Pro. The possibilities are versatile, and the flexibility it offers you is enormous.
Summary — Working with the Alpha Channel in VEGAS Pro
The alpha channel in VEGAS Pro allows you to create and edit transparencies that can be reused in various projects. In this guide, you learned how to create, adjust, and render clips with an alpha channel. Additionally, you saw how to insert new animation options and effects.


