With DVD Architect Pro 6, you have the opportunity to significantly expand the functionality of Sony Vegas Pro. This software is the link that helps you create high-quality DVD and BluRay menus. In this comprehensive guide, you will not only learn about the basic functions but also how to personalize the design of your menus and prepare them optimally for playback in a DVD or BluRay player.
Key insights
- DVD Architect Pro 6 is a powerful software for creating menus for DVD and BluRay.
- You can insert custom menus and subtitles and manage clips and audio tracks.
- The user interface offers numerous tools for customization and enhancing the user experience.
Step-by-Step Guide
1. Start a New Project
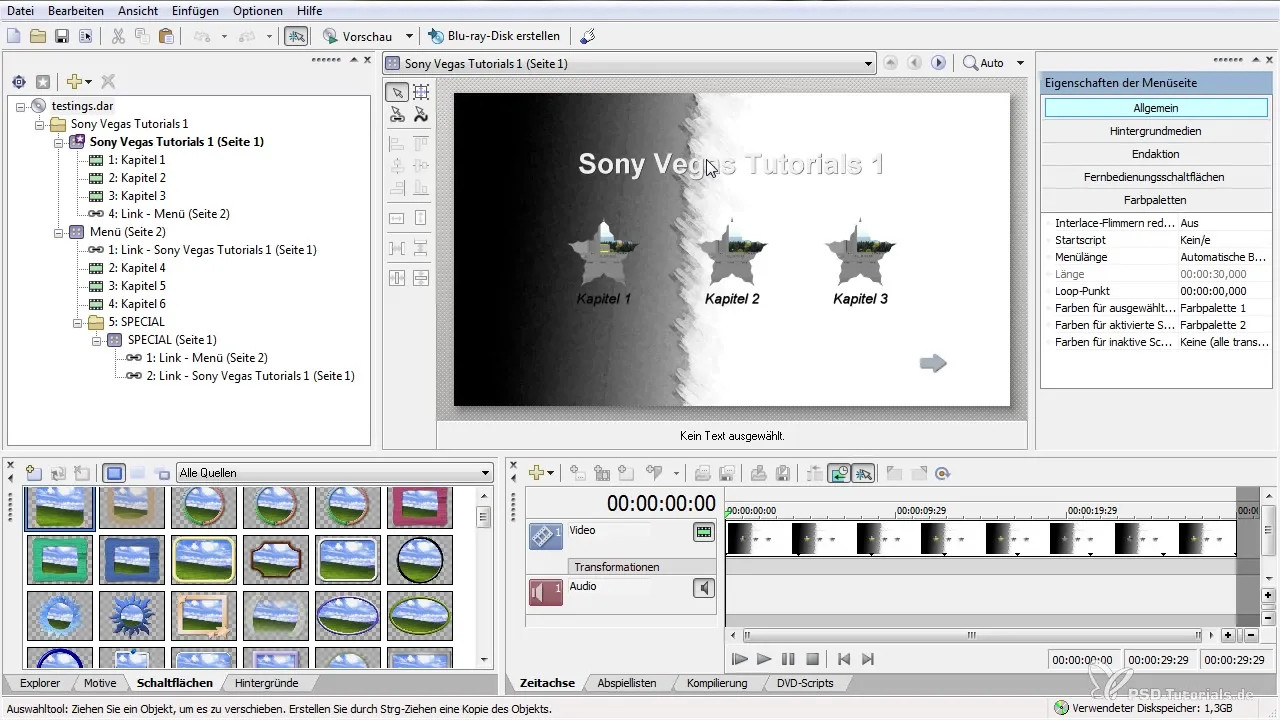
Open DVD Architect Pro 6 and go to the "File" menu. Here you can create a new project or open one of your existing projects. Your choice can be crucial in determining the desired starting point for your work. Use the shortcut "F9" to display the user interface in large view to make it easier to work.
2. Get to Know the User Interface
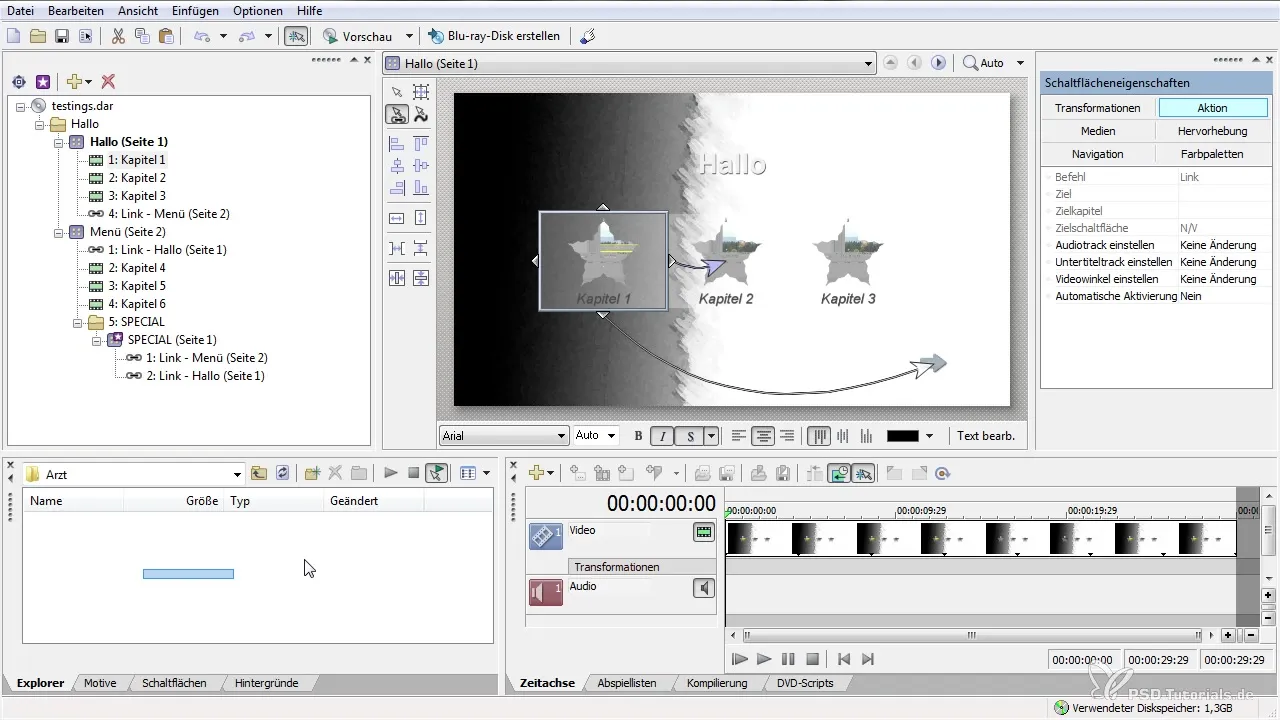
In the large view, you will see the main tools you need for creating your DVD or BluRay menus. On the left side, you will find your menu items, while the right side offers various customization tools. These settings allow you to make all the desired adjustments to your DVD or BluRay.
3. Customize Menu Design
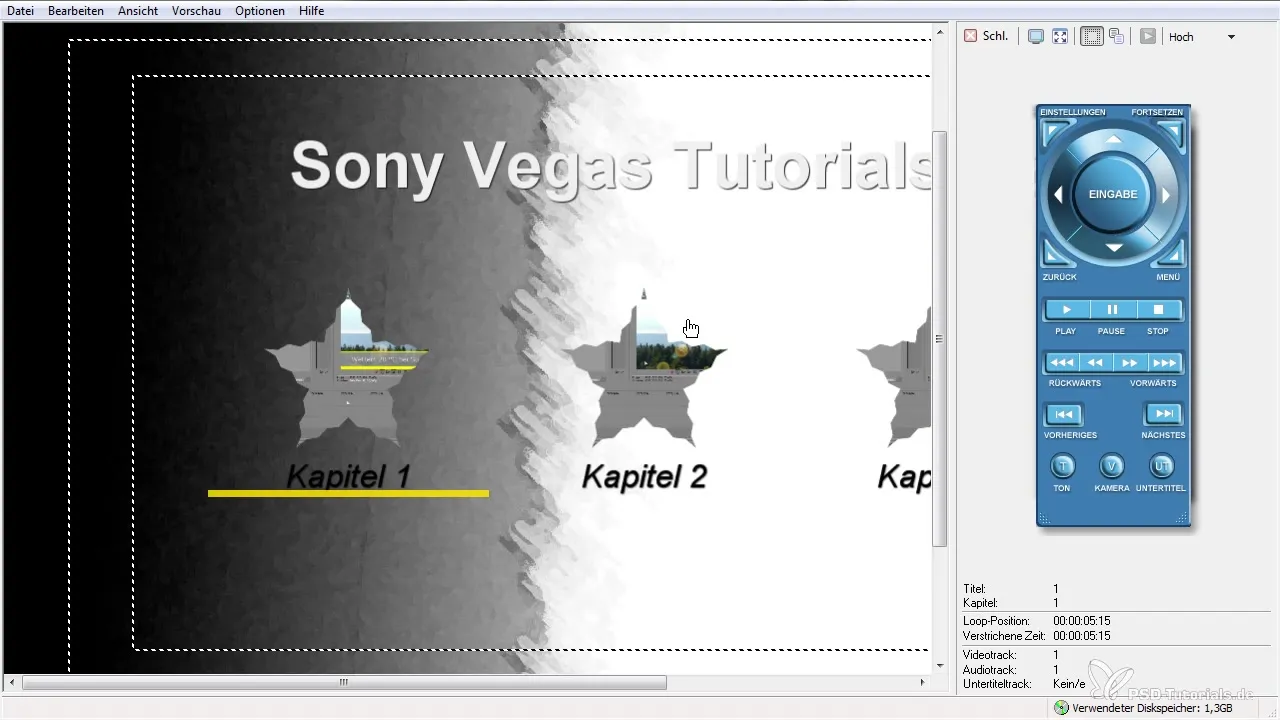
Now you can start designing your menus. You have the option to add images for the background as well as thumbnails for the menus. Right-click on the areas to explore and select various options for changing the menu items. Use the preview to see how your changes will look.
4. Create Chapters and Menu Items
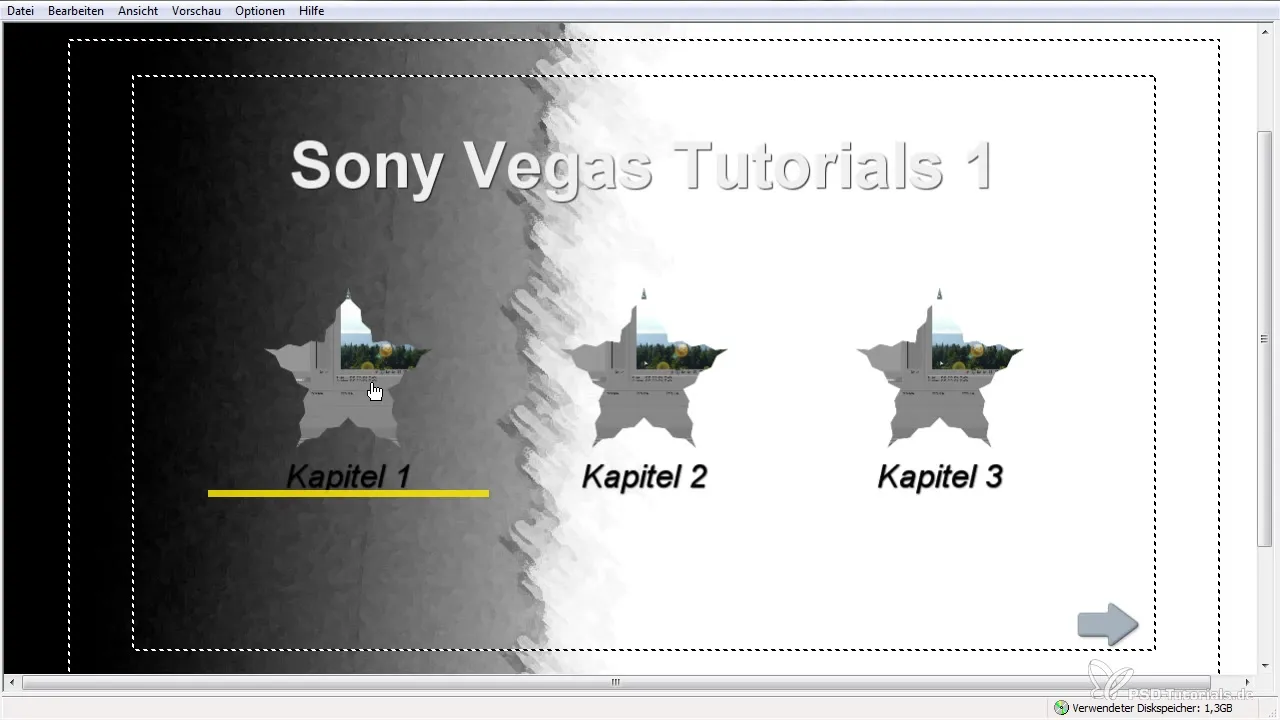
To generate chapters from your clips, you can set markers within Sony Vegas Pro. After importing the clips into DVD Architect Pro, right-click and select "Create Chapters." This allows you to easily define the structure of your DVD.
5. Insert Animations and Transitions
A special highlight of DVD Architect Pro 6 is the ability to use animated backgrounds and transitions. You can select them directly or create your own. Click on "Background" to choose an animation that fits your project.
6. Customize Text and Fonts
To customize the text within the menus, click on the text box. You can choose the size, color, and font, as well as adjust the text style (bold, italic, etc.). Ensure that your text remains legible, even against an animated background.
7. Set Up Navigation Between Menus
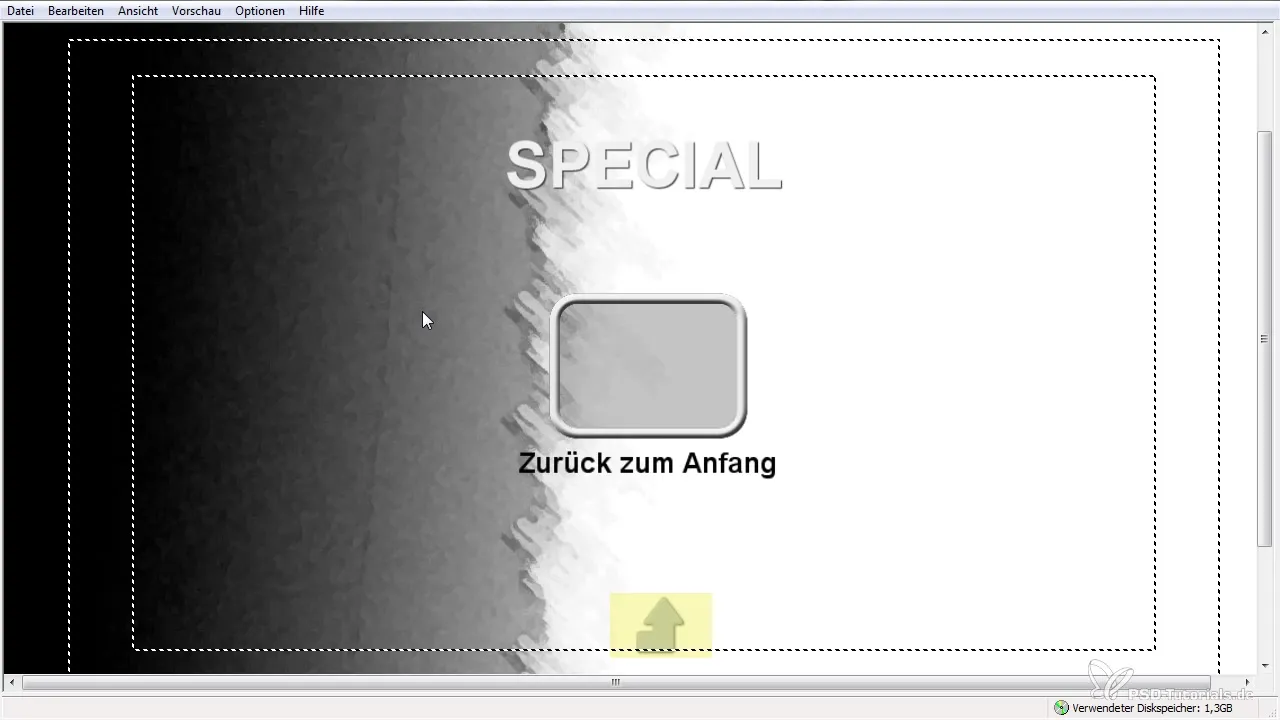
Navigation is crucial for the user-friendliness of your DVD or BluRay. With the navigation tool, you can specify where users will go when they click on a menu item. Use arrows to indicate the links between the menus, allowing for easy navigation.
8. Preview and Make Adjustments
Use the preview feature to check your project in real-time. Here you can see how everything fits together and whether your animations run smoothly. It is important to fix any errors at this stage to optimize the user experience.
9. Burn the Project
Once you are satisfied with the design and navigation, it is time to burn your project. Go to the "Burn" menu and select the appropriate settings. Be sure to consider the storage capacity of your DVD or BluRay to ensure everything is saved correctly.
10. Completion and Testing of the DVD
After burning your DVD or BluRay, test it on a compatible player. Check if all menus, animations, and chapters work correctly. This is the final step to ensure that your project meets the desired quality standards.
Summary – DVD Architect Pro 6: Comprehensive Guide to Creating DVD and BluRay Menus
Through the structured steps and utilizing the versatile features in DVD Architect Pro 6, you can create appealing and functional menus. This guide provides you with the necessary foundation to effectively realize your projects. Use the software's capabilities to achieve creative and high-quality results.


